. DIY jewelry. New ideas and workshops")
New Year is associated with a fairy tale. To create a miracle is not difficult from an ordinary bottle, and with a minimal budget.
Content:
A few words about decoupage
Decoupage is an application of pictures, made by technology, using paints, glue and varnish
Decoupage is an appliqué of pictures, made according to a certain technology, using paints, glue and varnish. He took a worthy place in the "piggy bank" of interior design ideas.
This lesson enthralls adults and children; it can be a lifelong hobby. With the help of simple techniques of execution it is possible to create exquisite things and unique gifts for loved ones and loved ones.
A little imagination, a little patience, plus hard work and a New Year's masterpiece in your hands
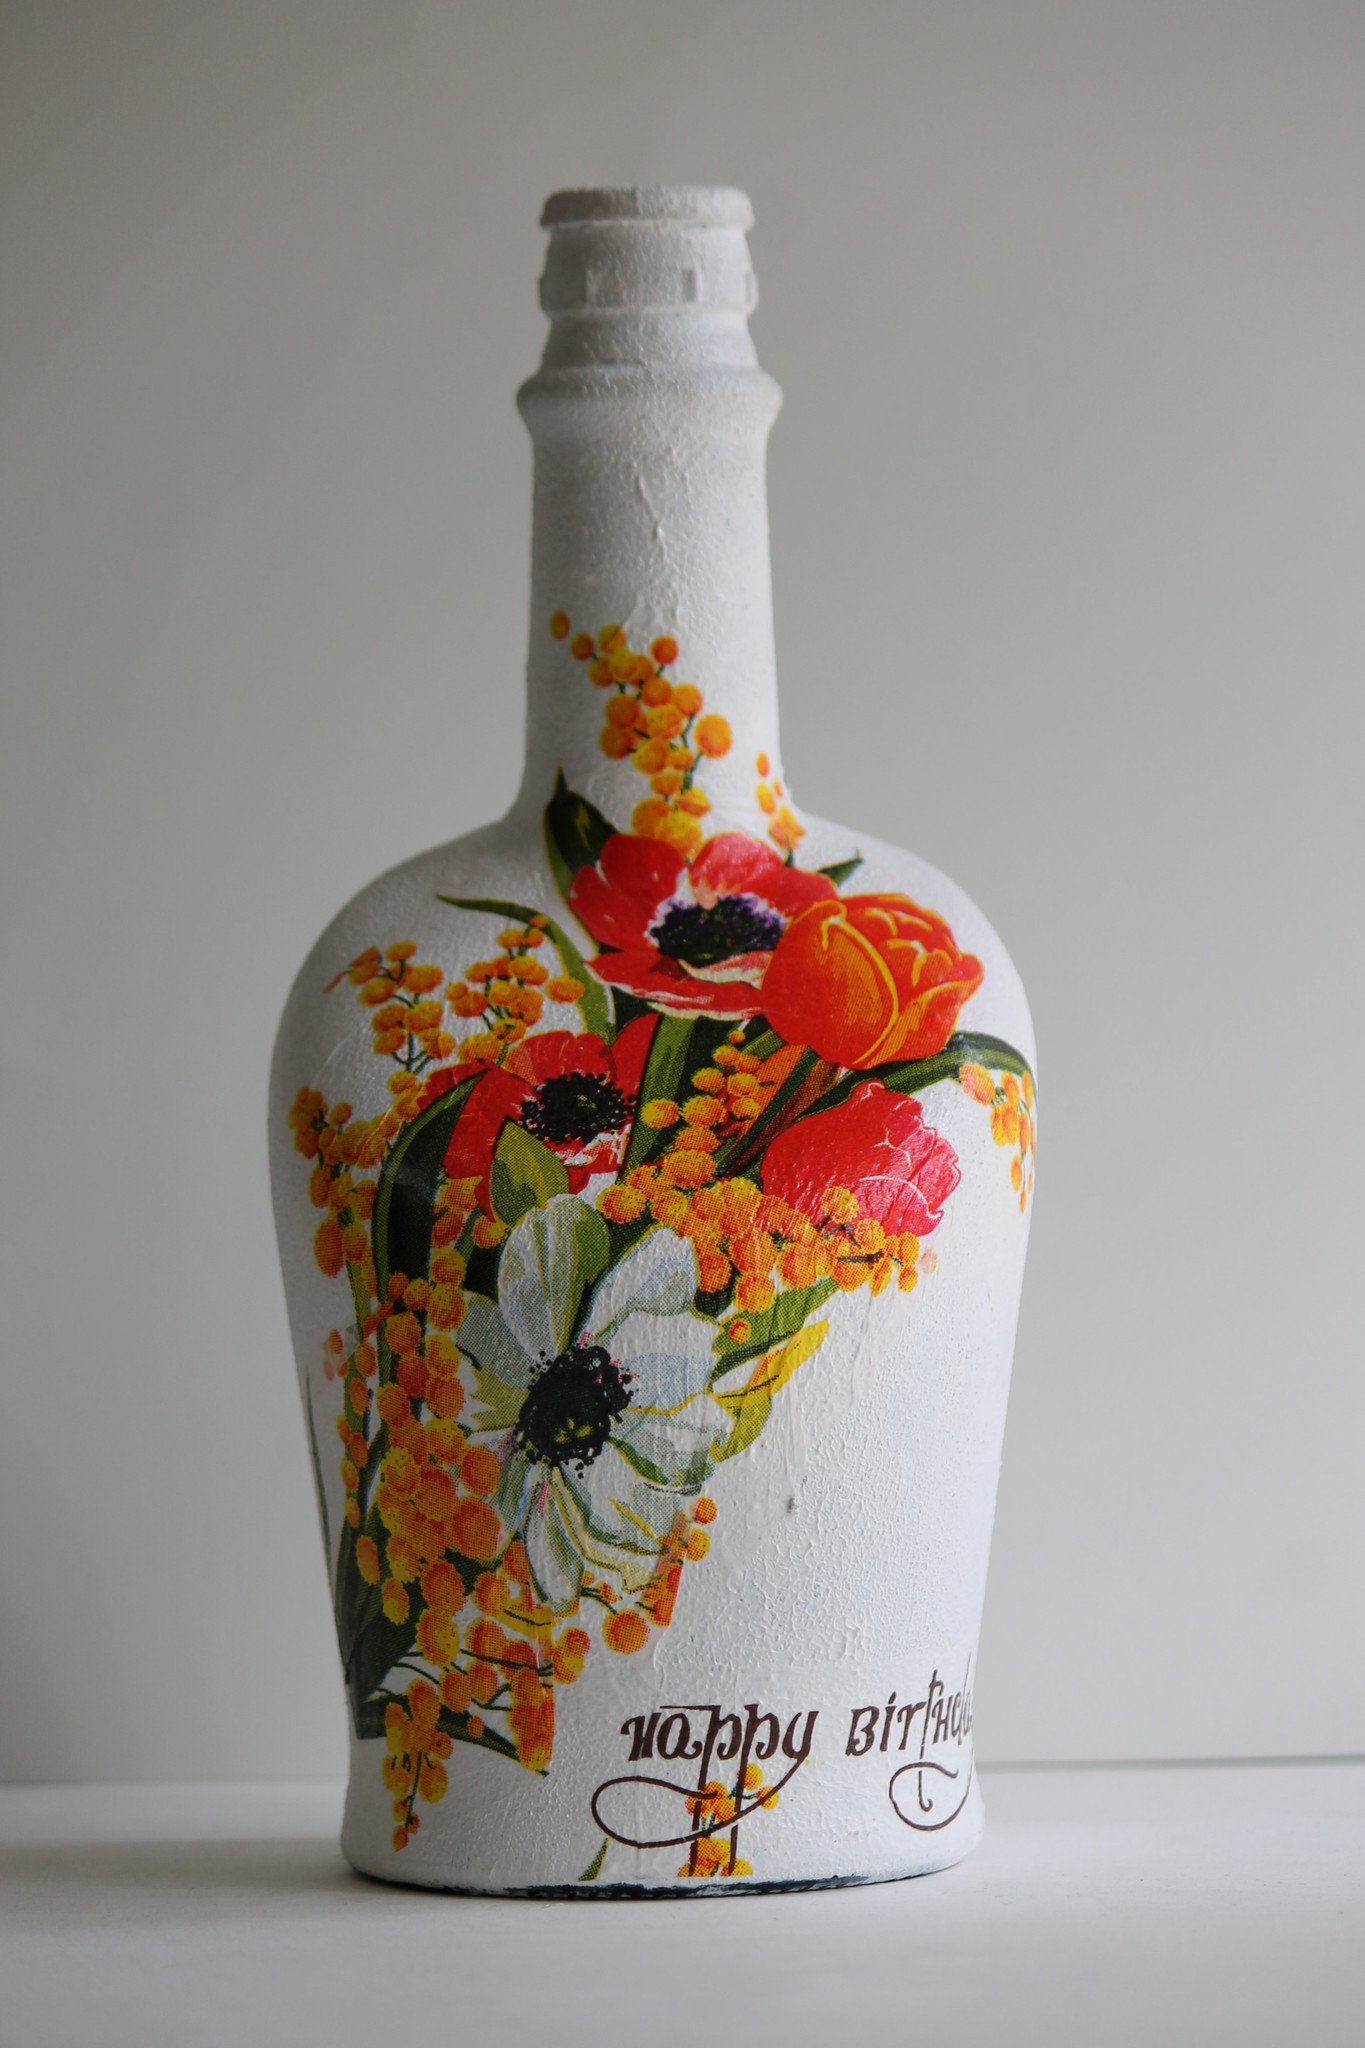
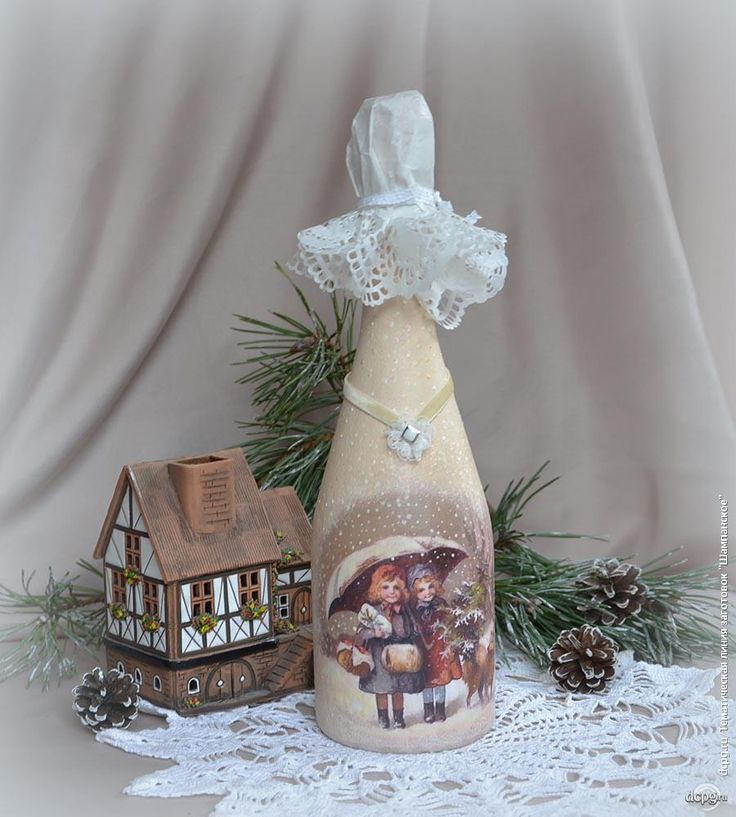
In our case, the subject of design will be a New Year's bottle. Holding this work of art in my hands (I’m not afraid of this word), it’s hard to believe that it has recently been a nondescript glass. A little imagination, a little patience, plus hard work and a New Year's masterpiece in your hands.
return to menu ↑Historical facts
In ancient China, people learned how to create beautiful dishes of drawing pictures of rice paper on it.
Decoupage or the technique of implanting paper drawing into objects has a rich and interesting history, and takes roots from about the 17th century.
Even in ancient China, people learned to create beautiful dishes by applying pictures of rice paper on it. Such a job was considered difficult and expensive.
France became the decoupage fashion legislator
France became the trendsetter on decoupage fashion. World-famous ladies, favorite of Louis XV Madame de Pompadour and Queen Marie Antoinette, whiled away the evenings with this occupation.
Royal enthusiasm picked up the inhabitants of foggy Albion, and after them, the love for the decoupage technique swept the United States. In Russia, this fashionable trend became known much later, only at the beginning of the 21st century.
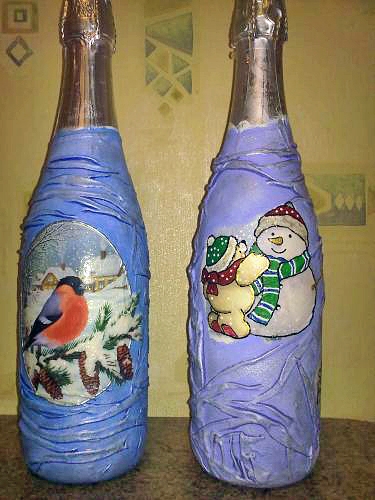
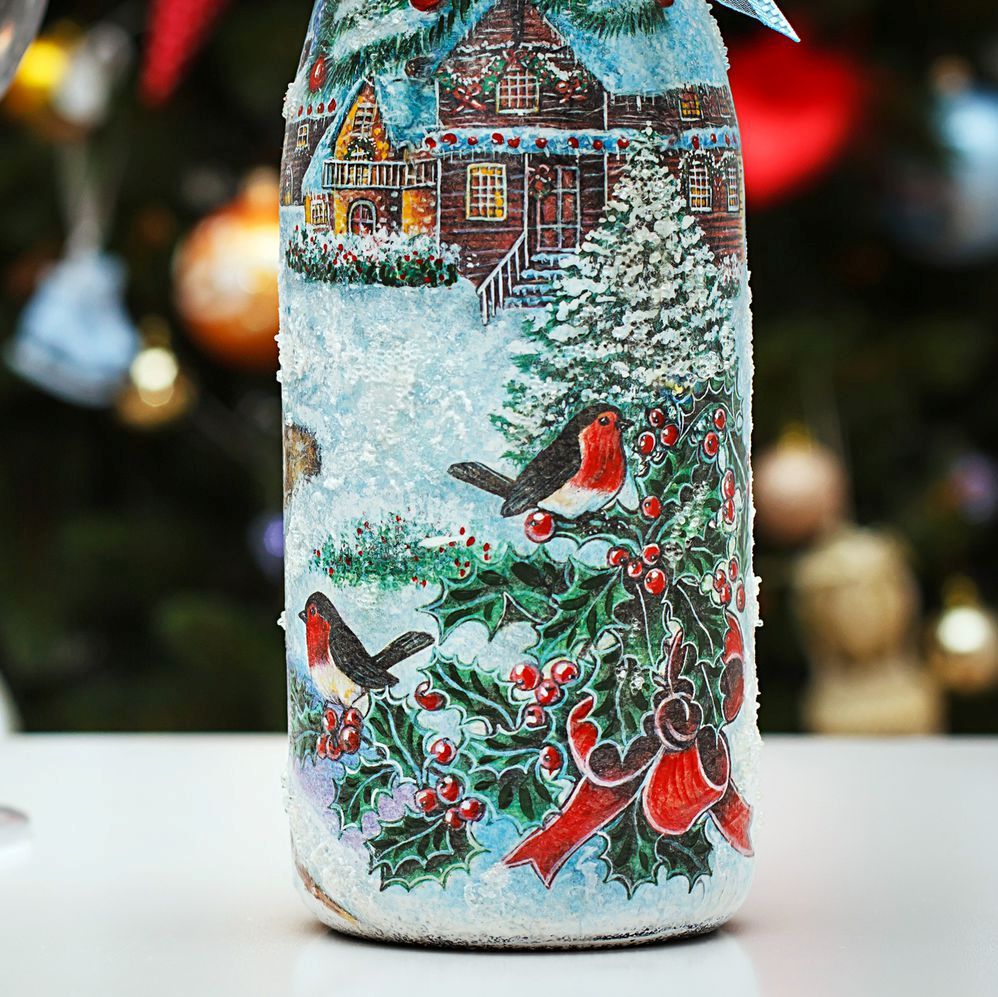
return to menu ↑Choose pictures, stickers
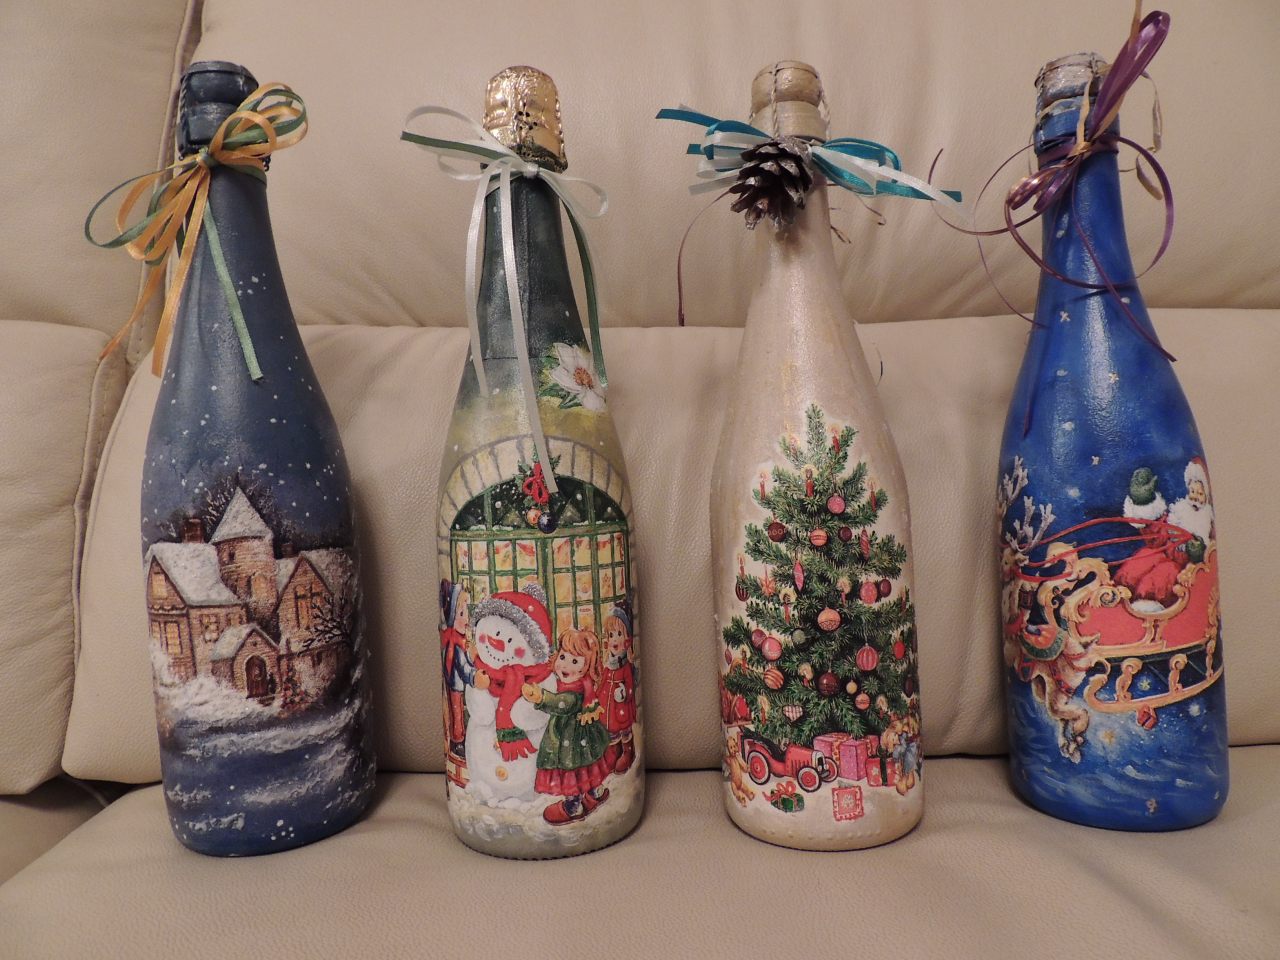
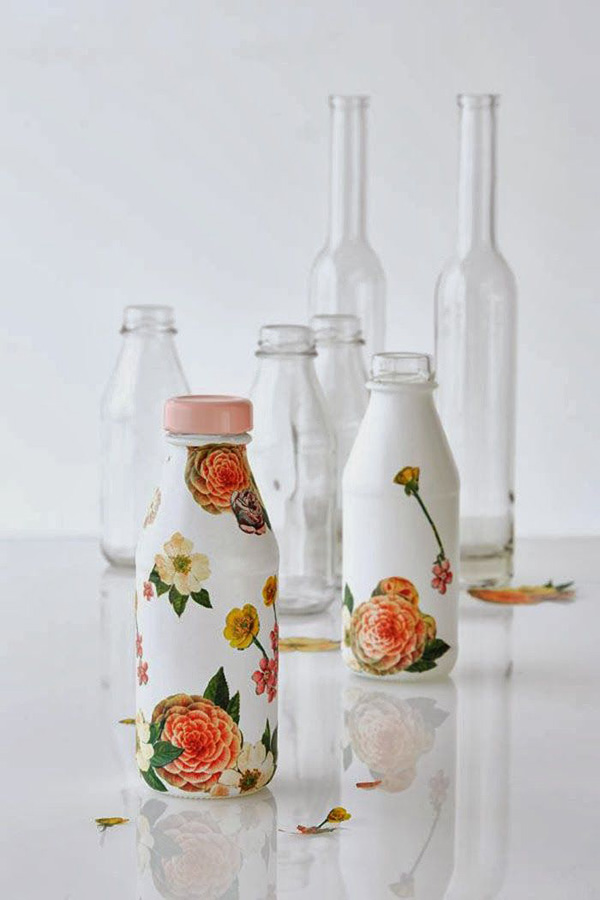
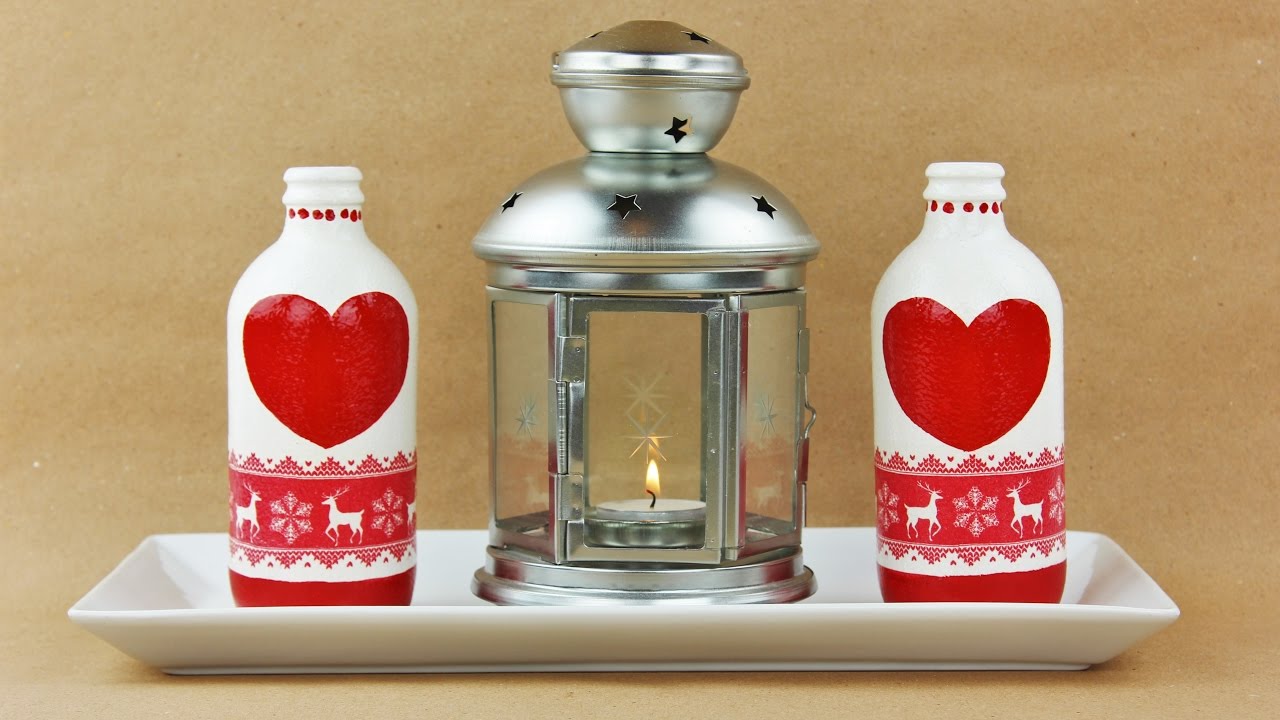
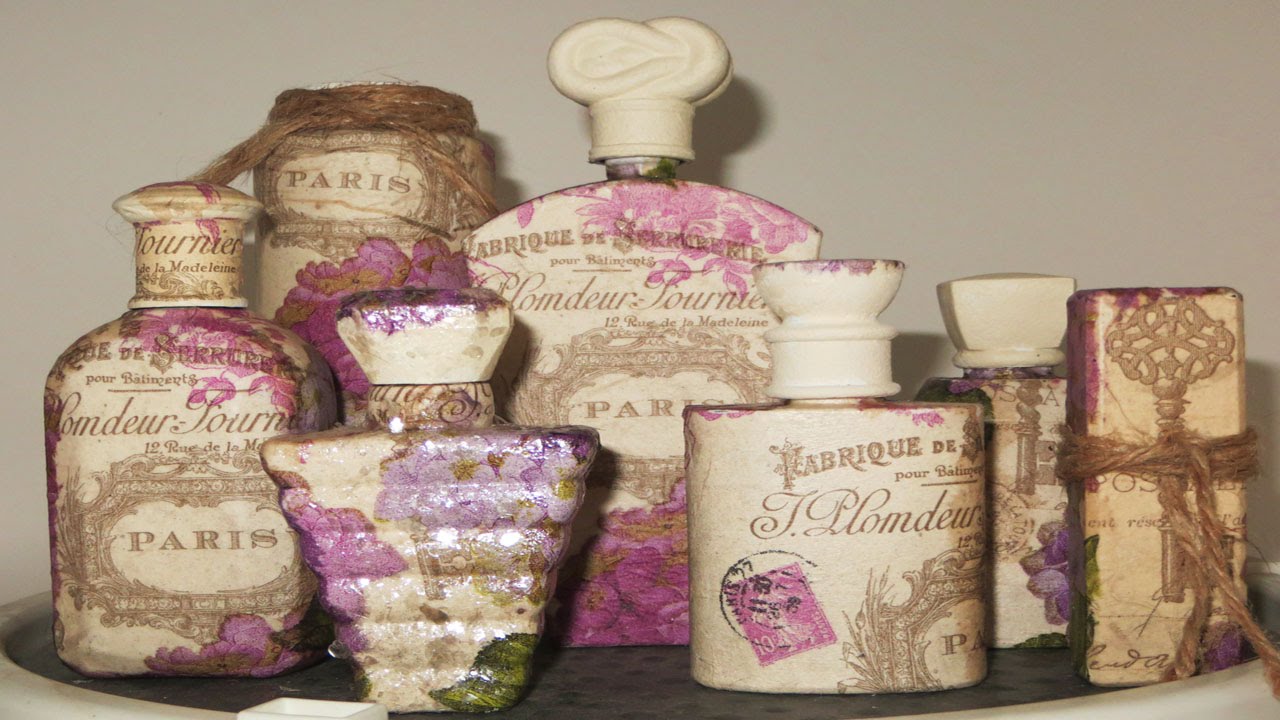
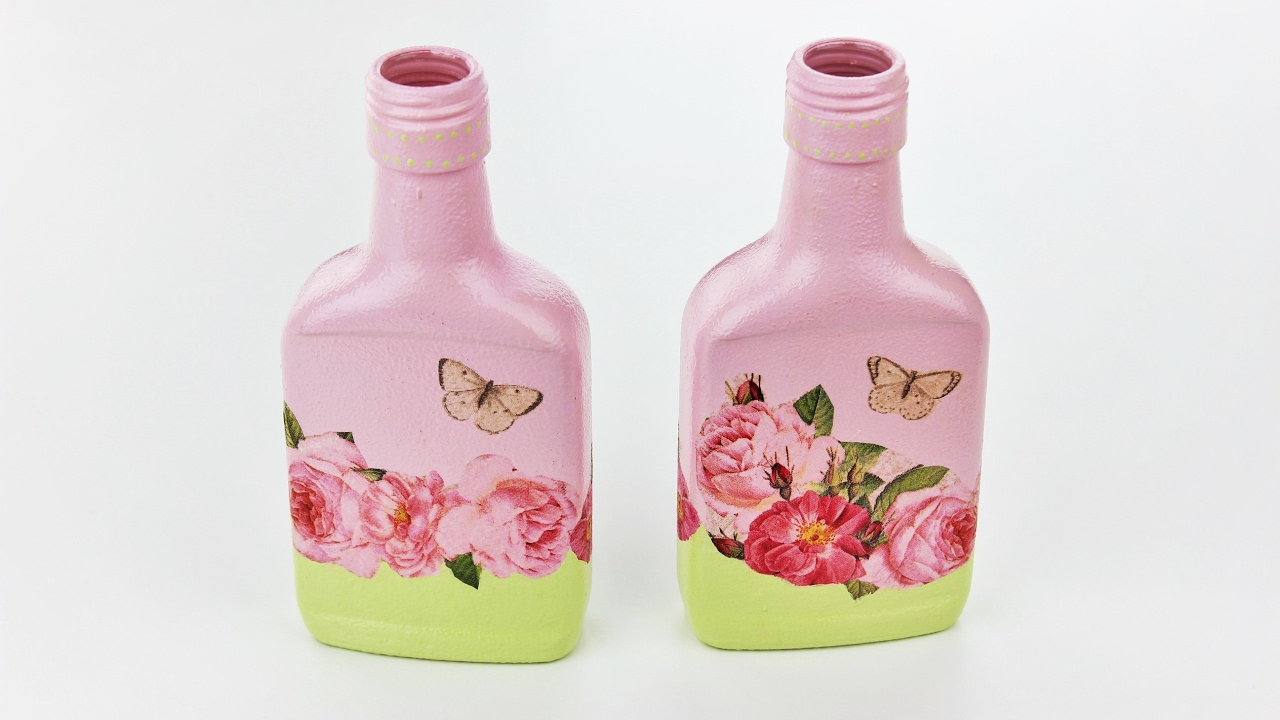
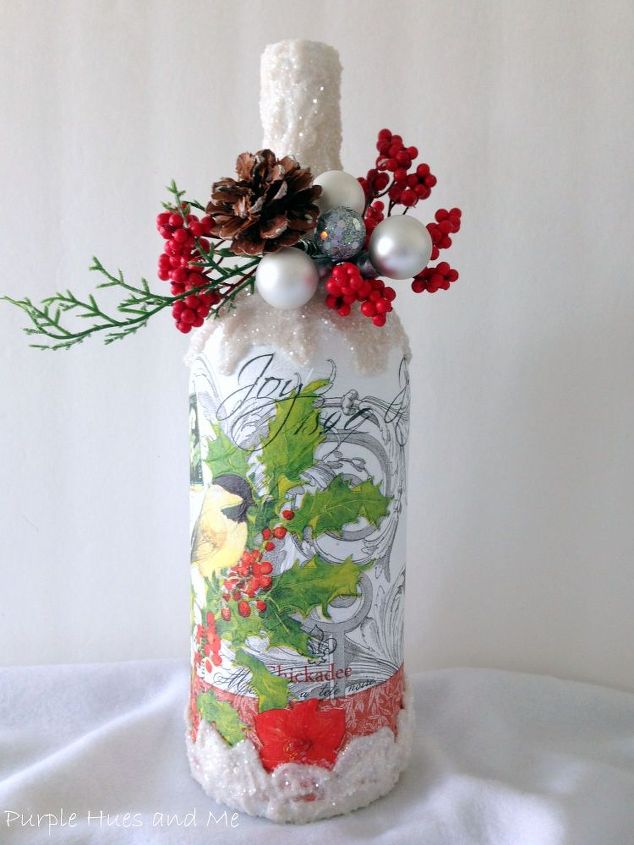
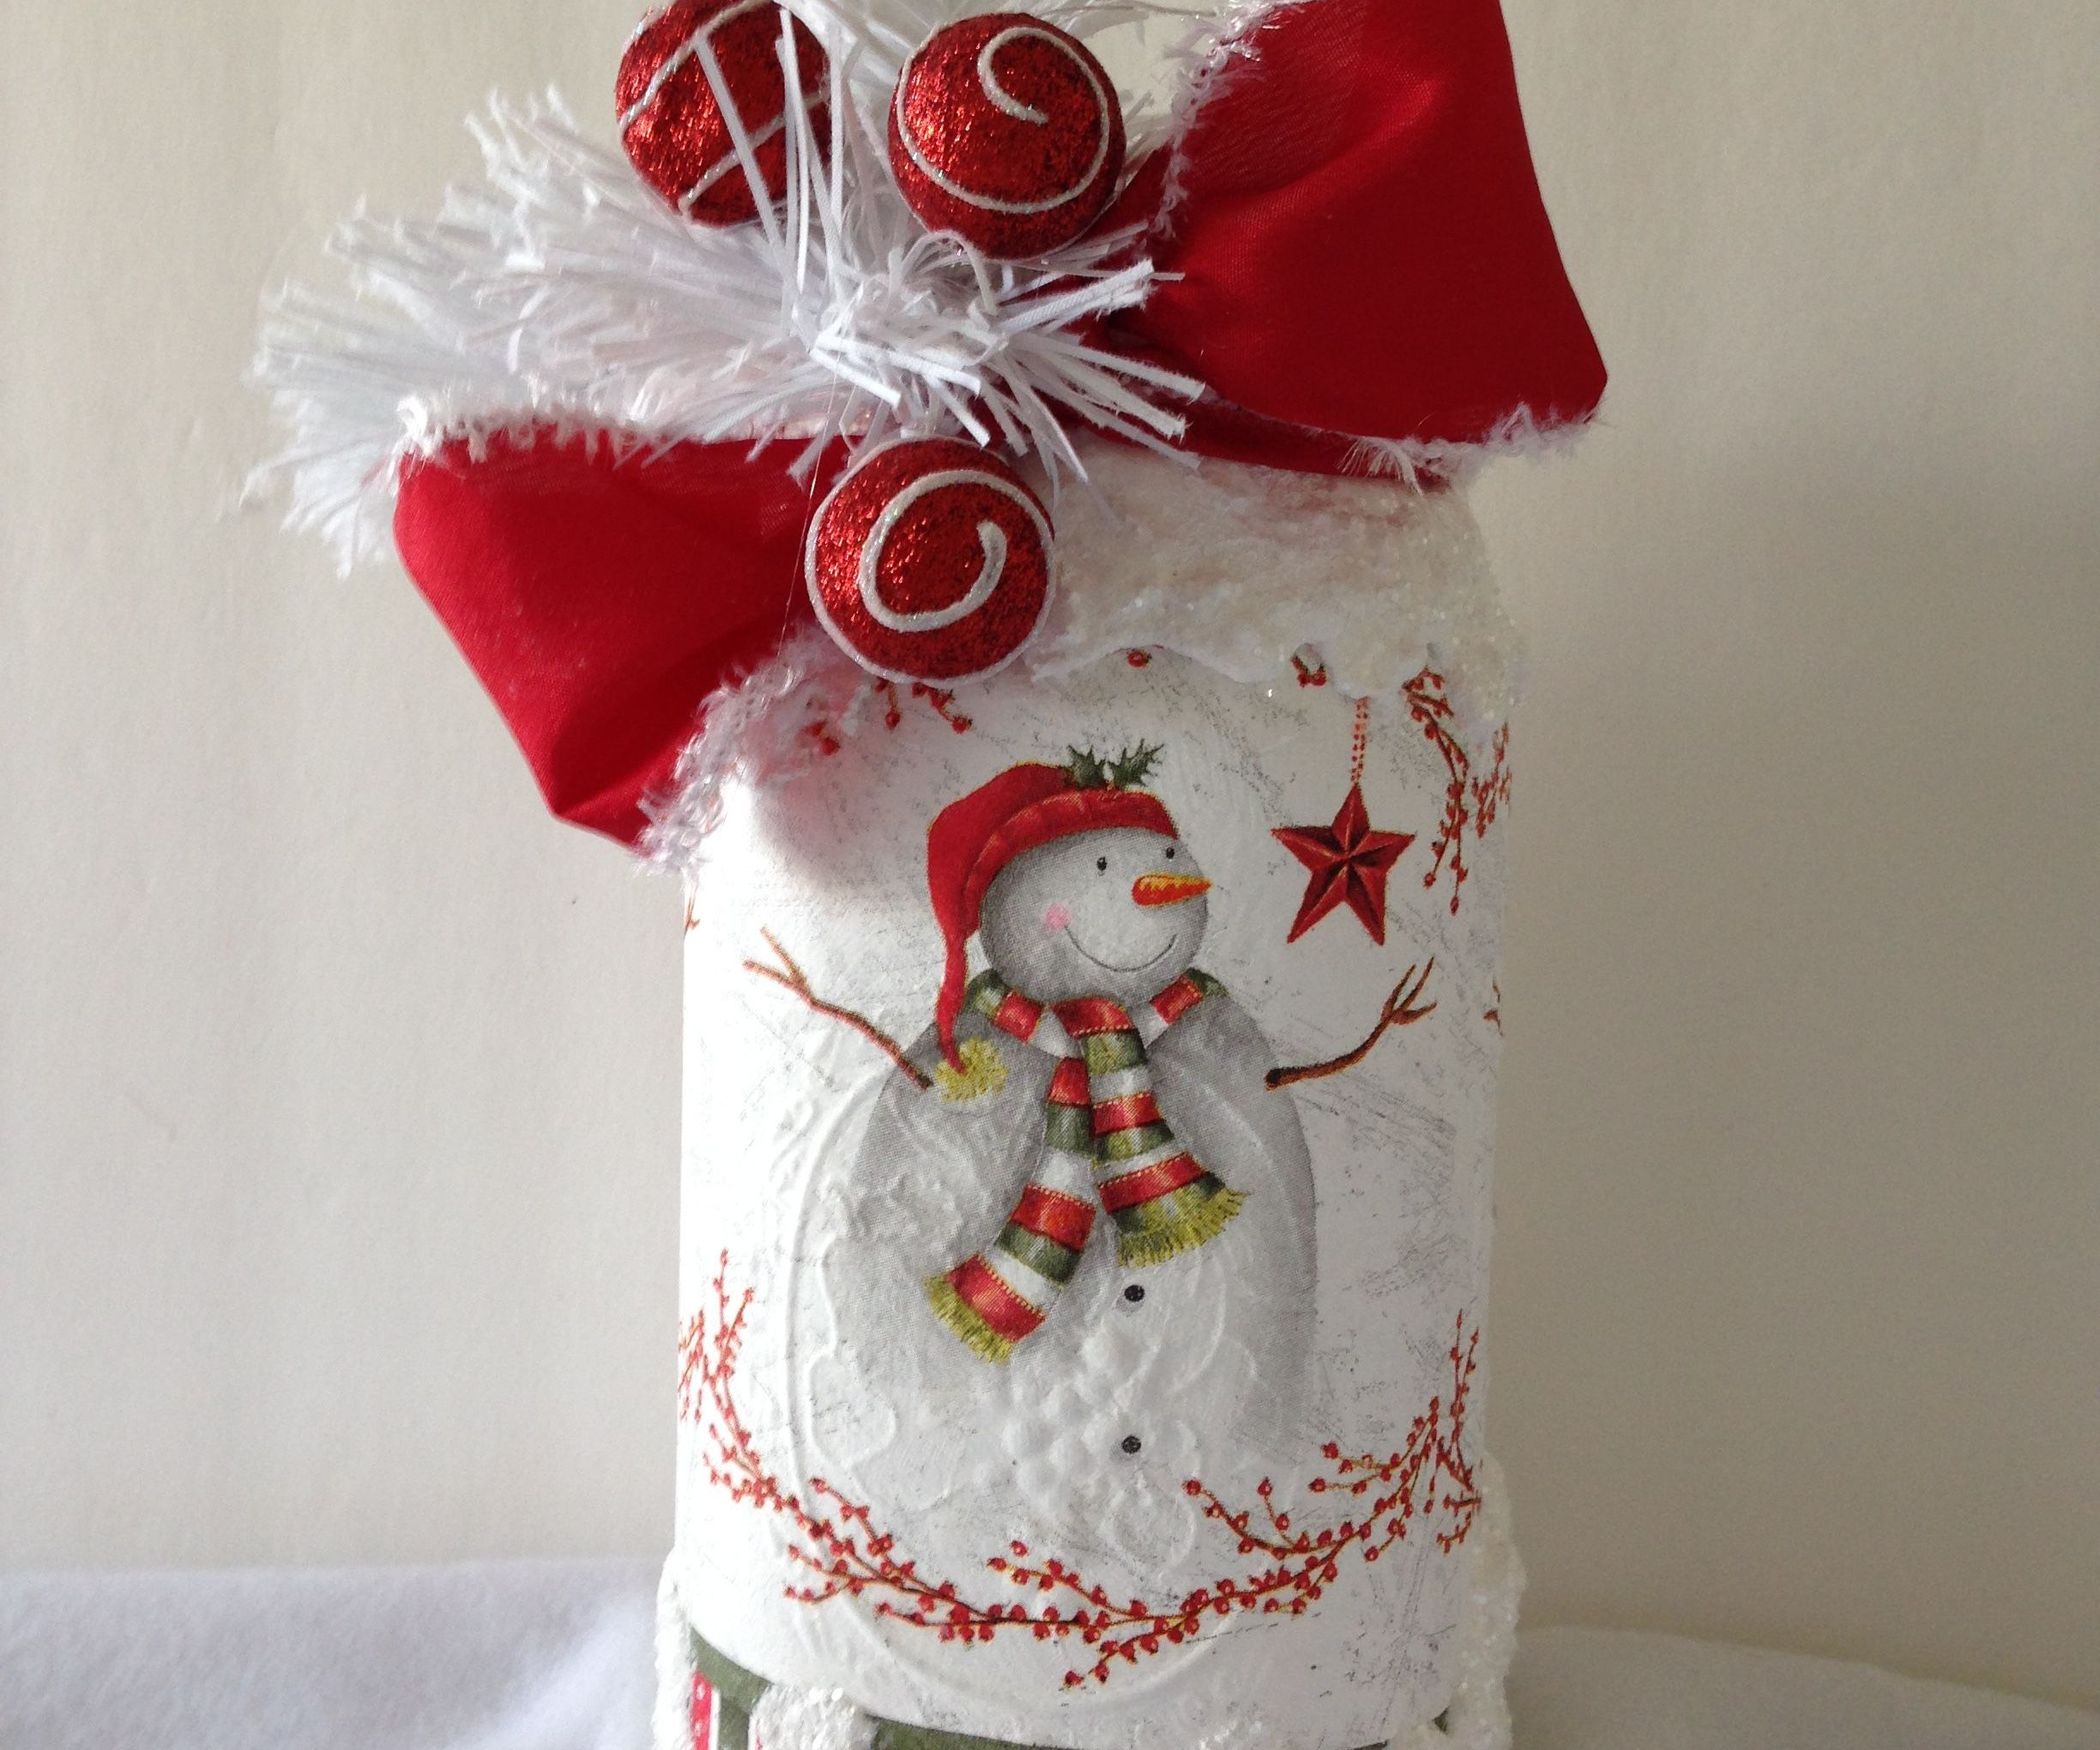
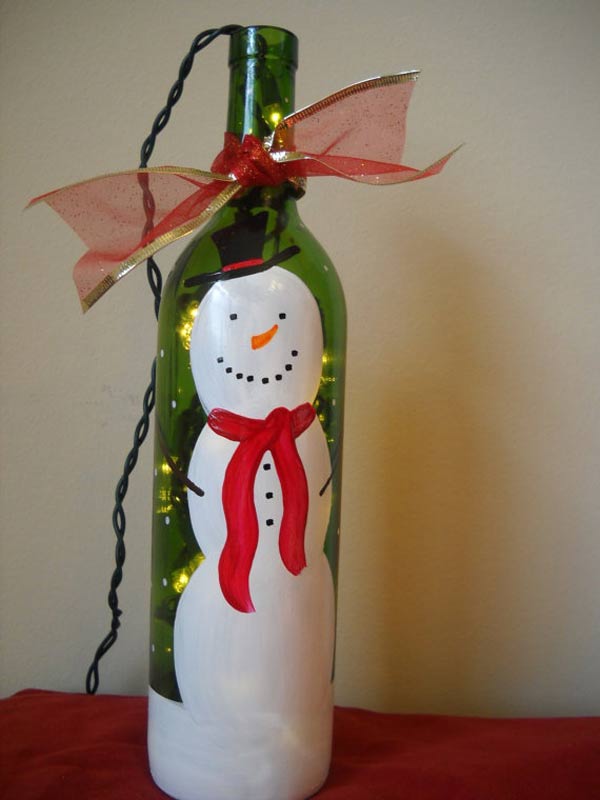
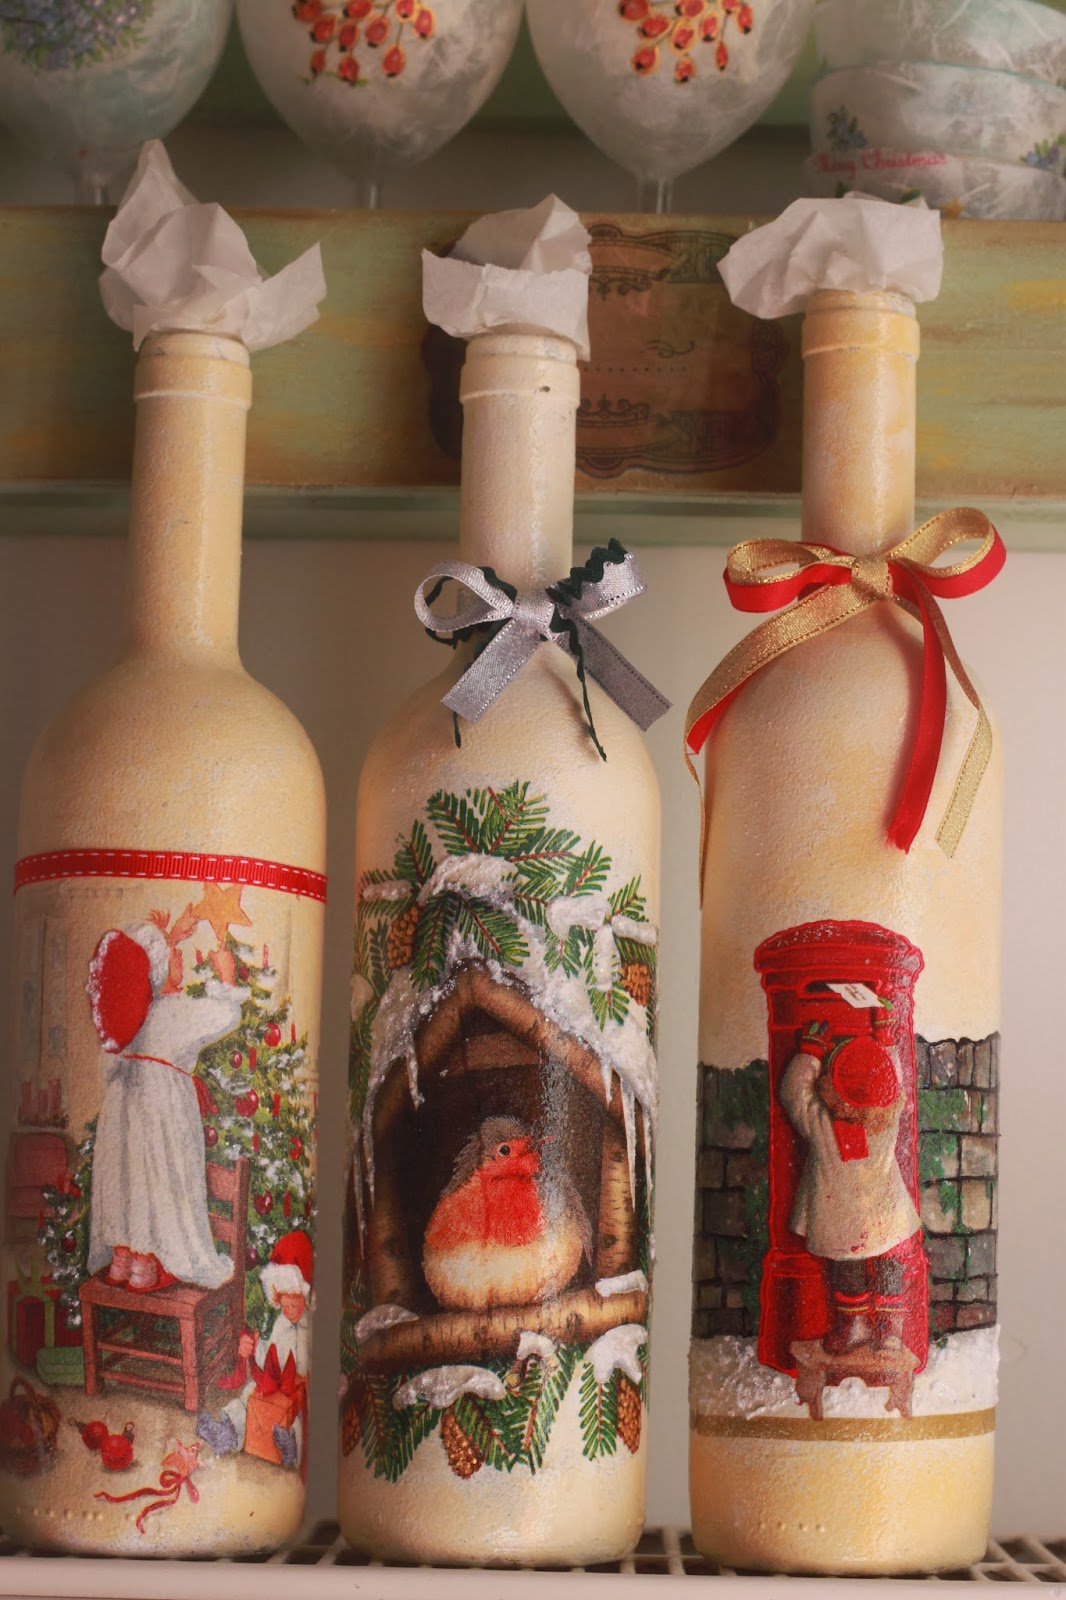
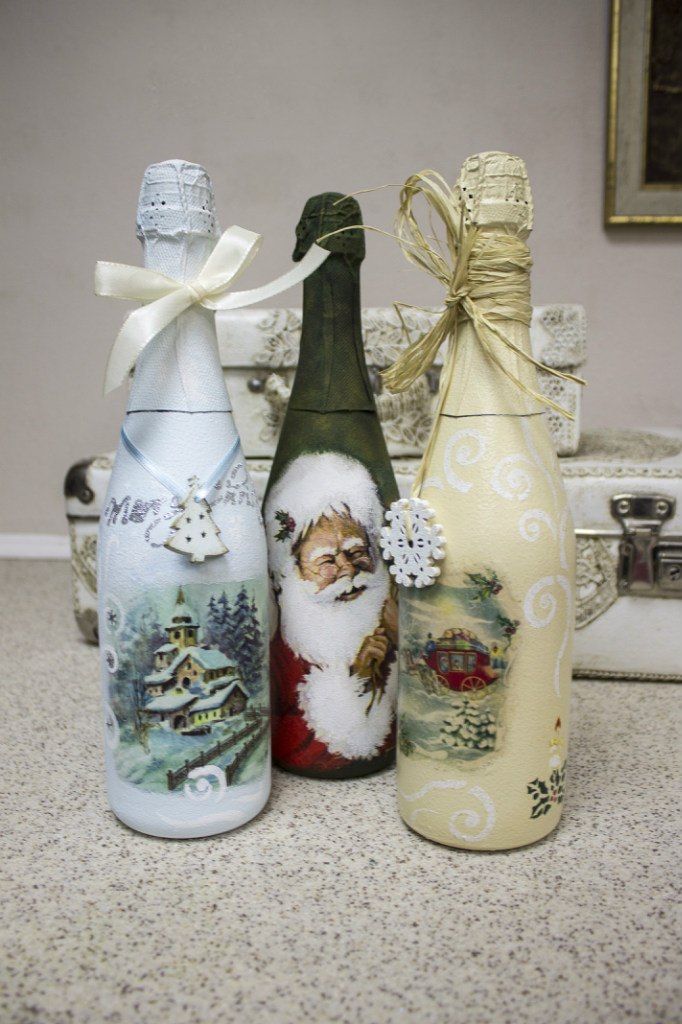
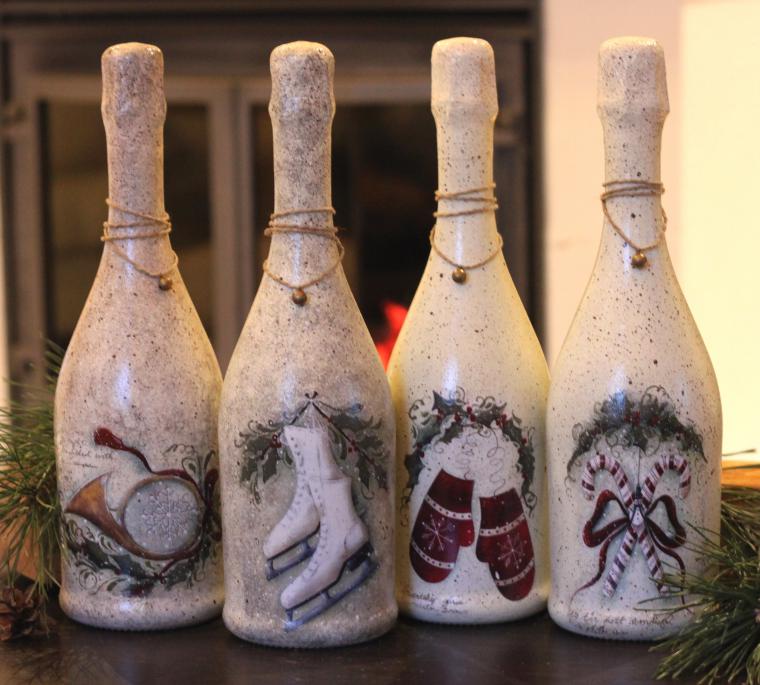
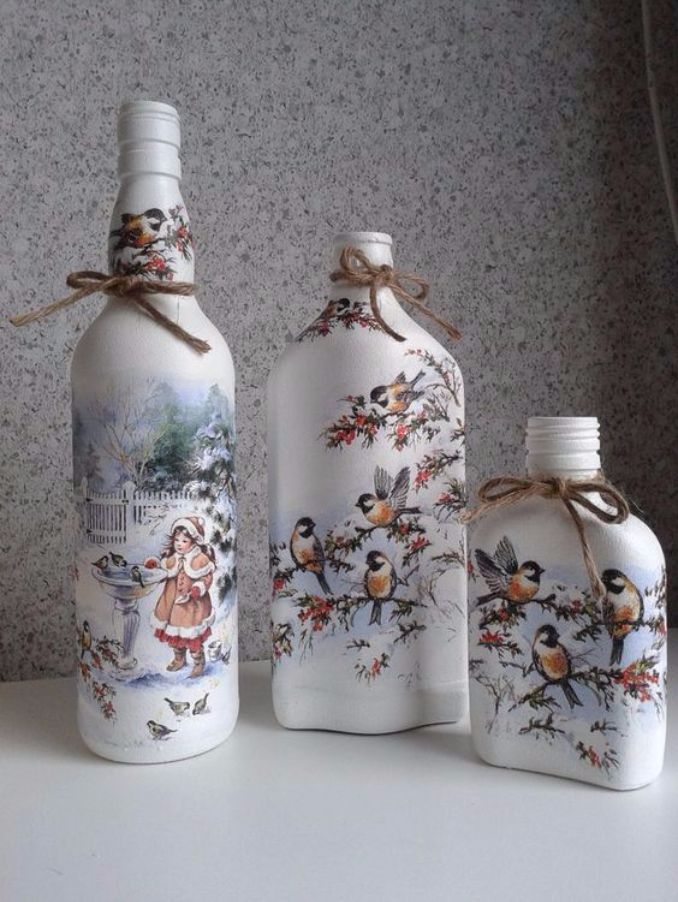
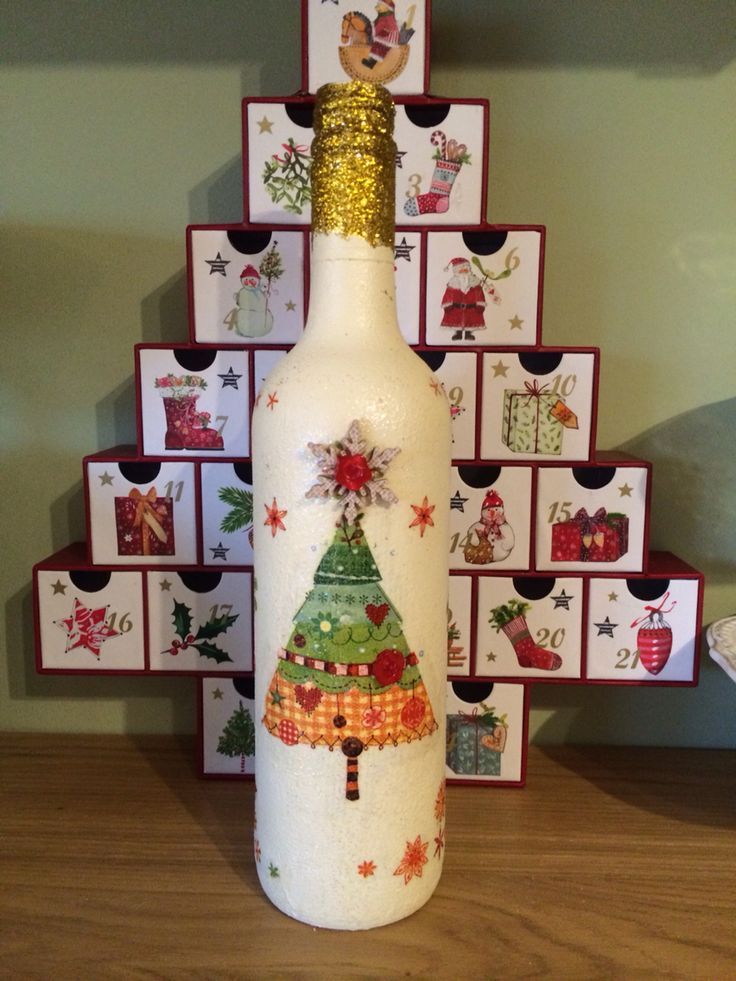
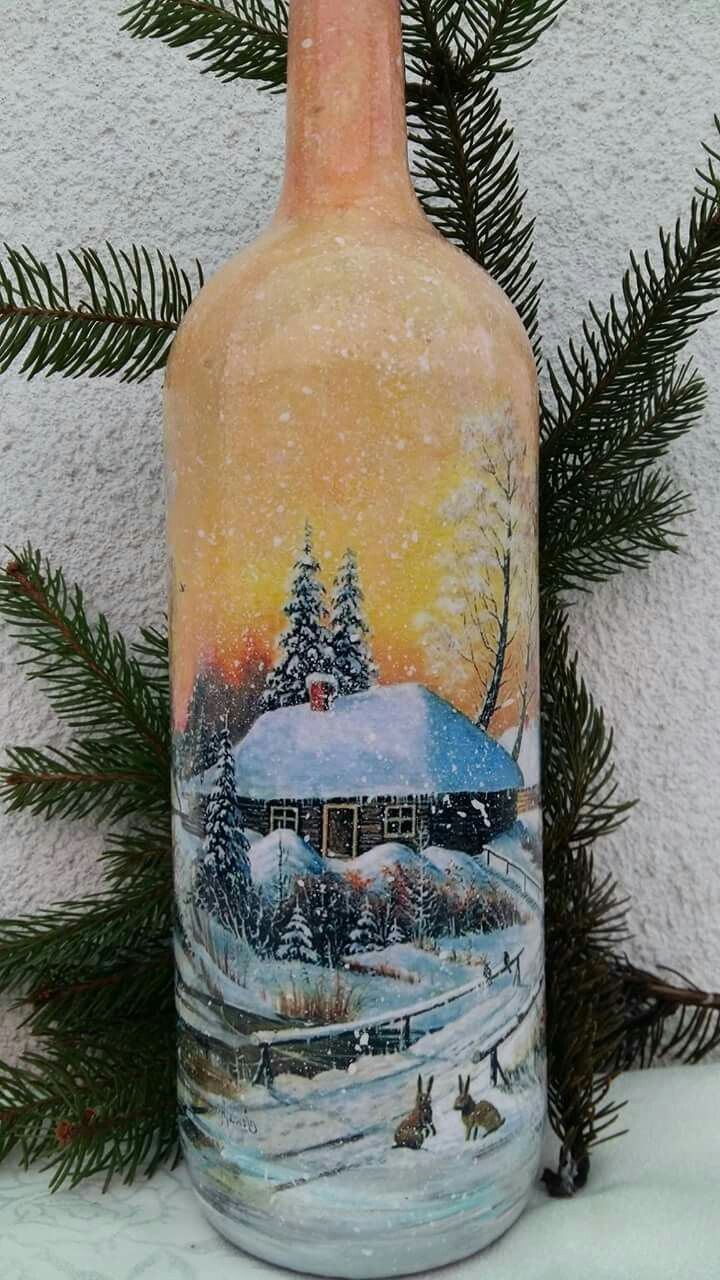
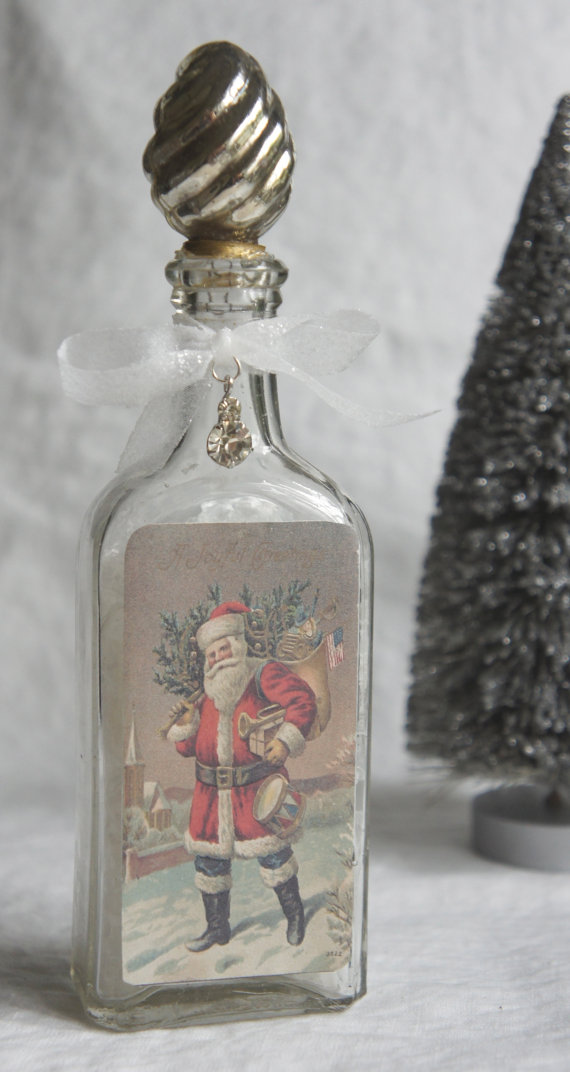
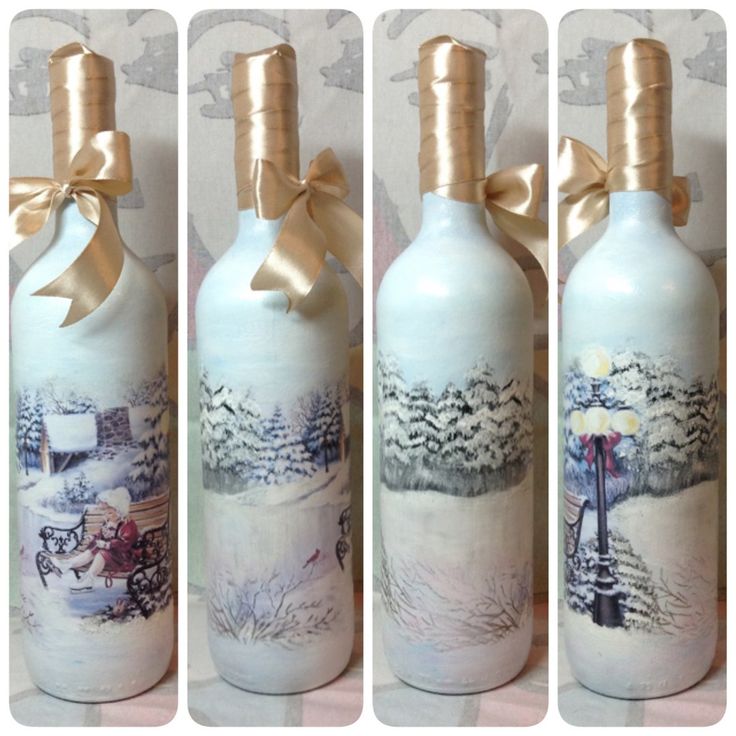
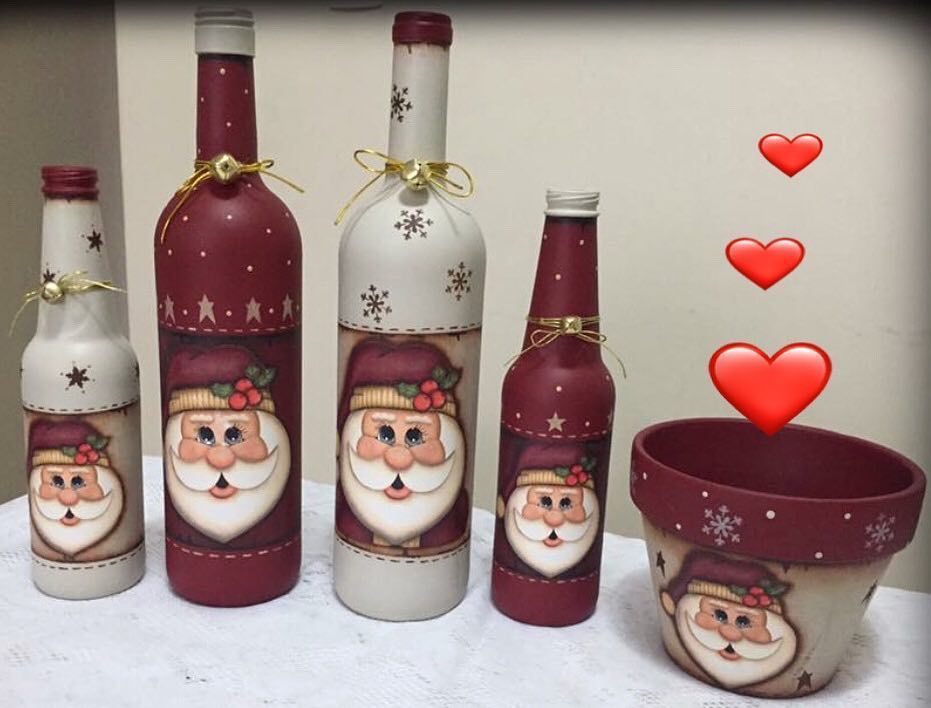
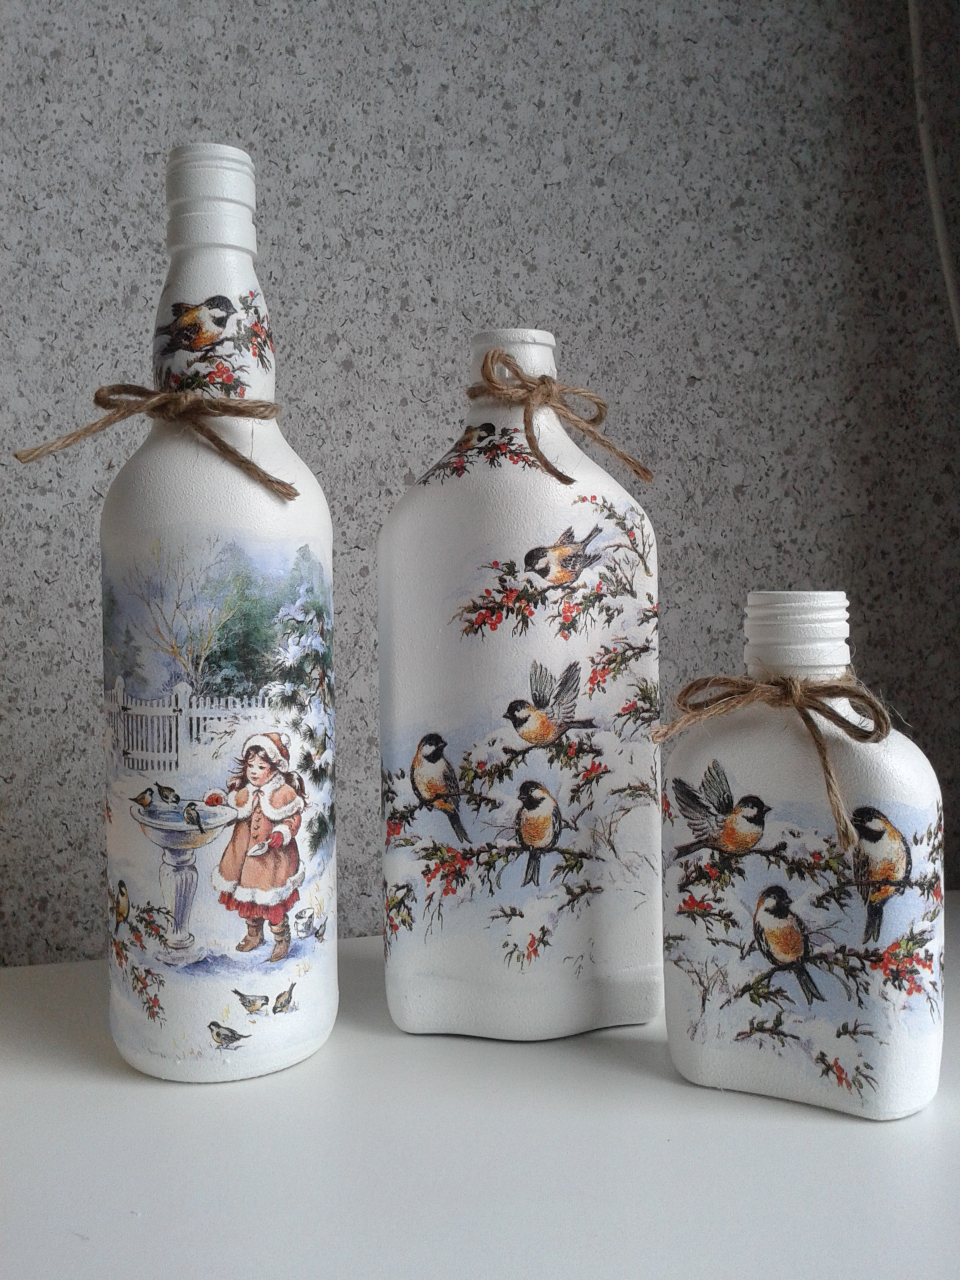
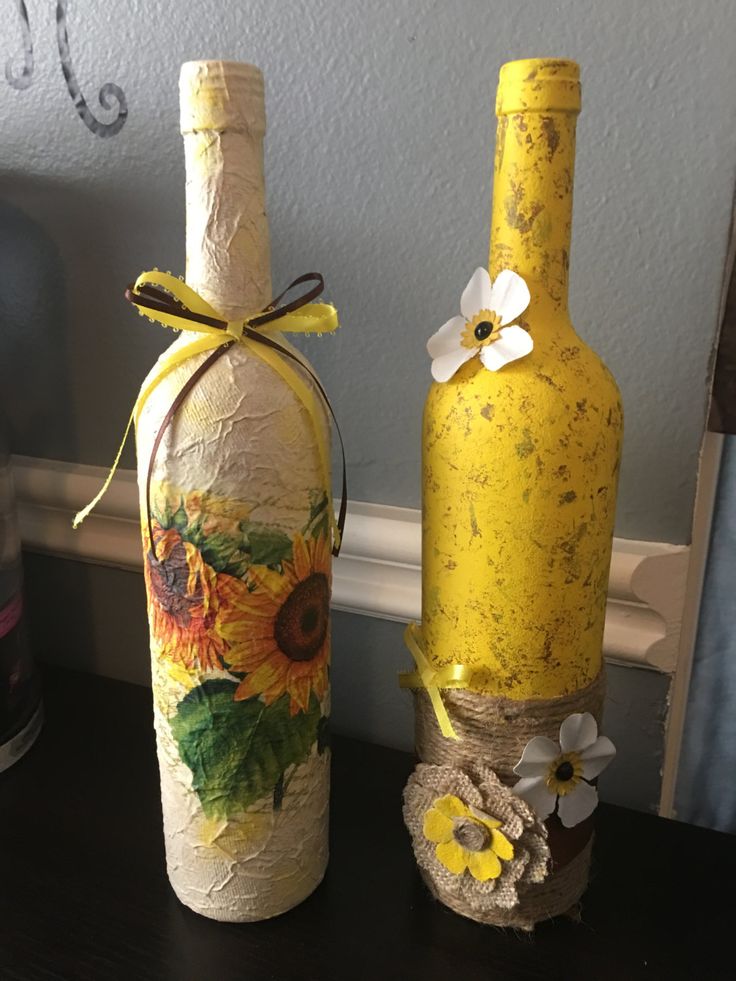
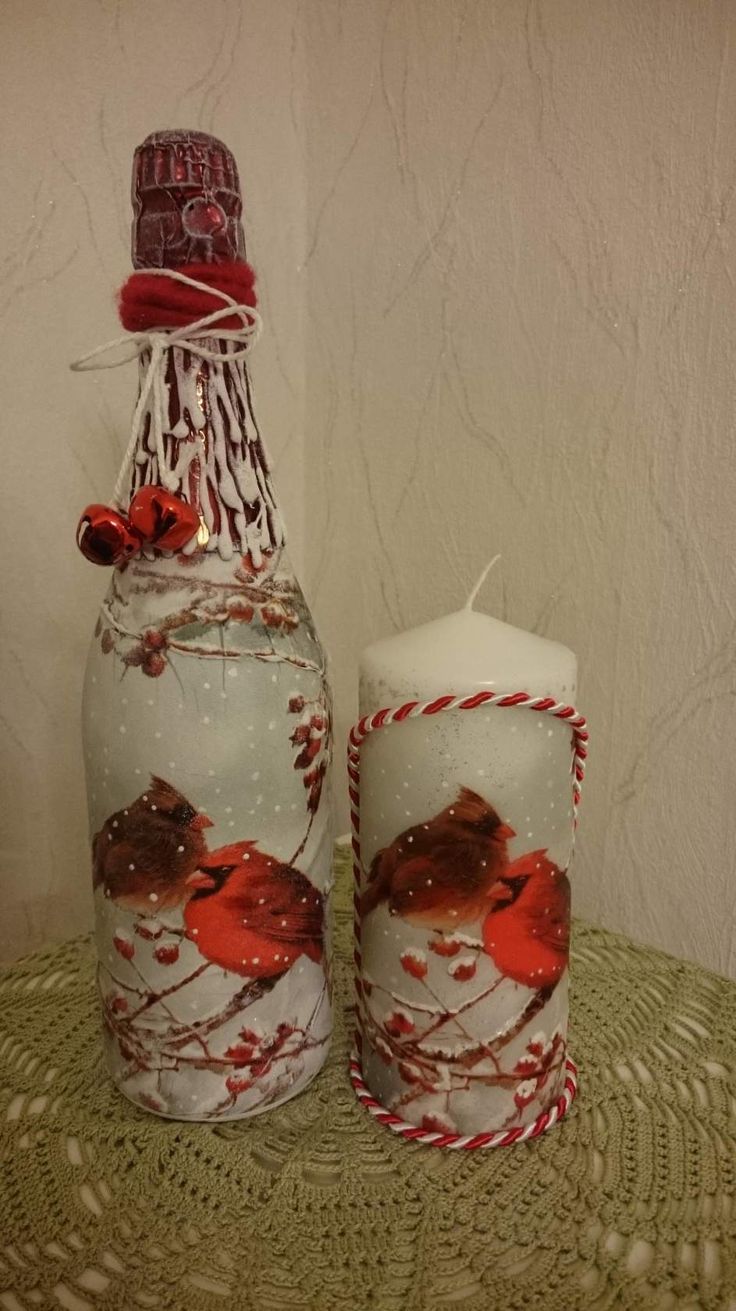
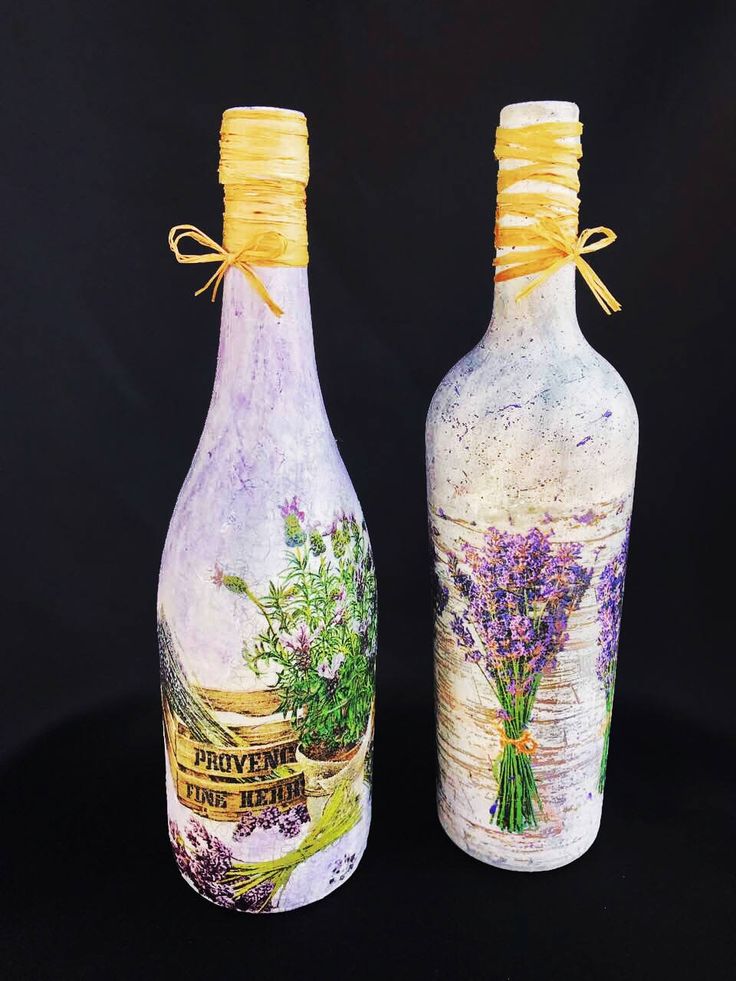
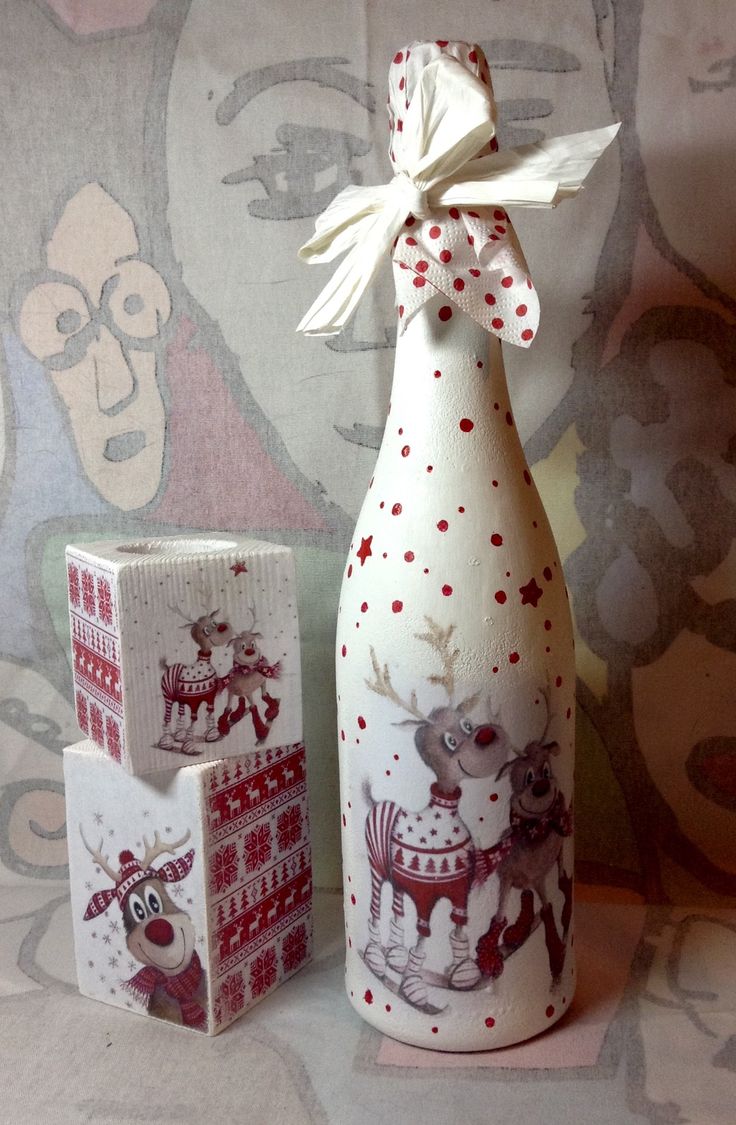
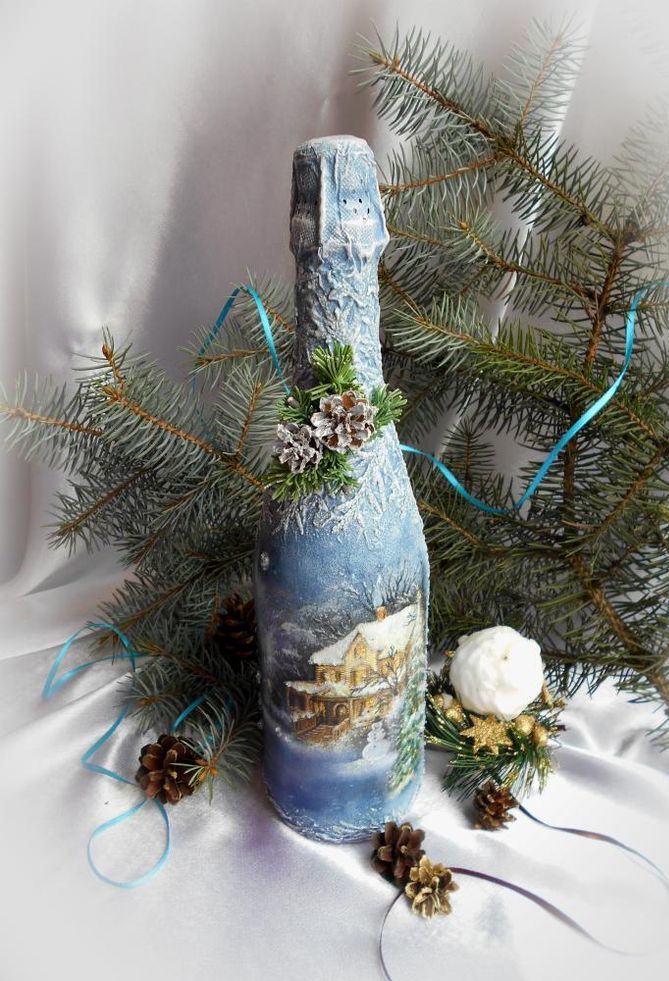
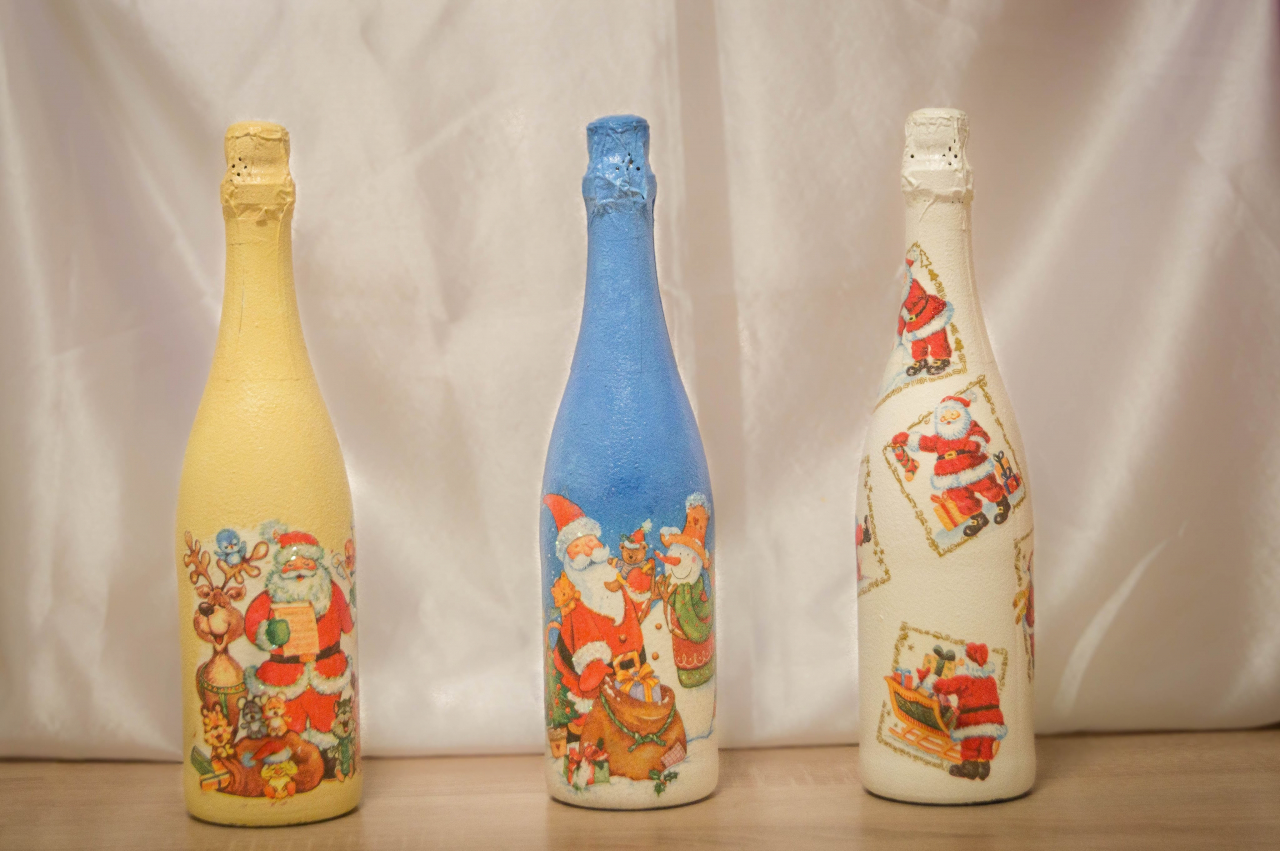
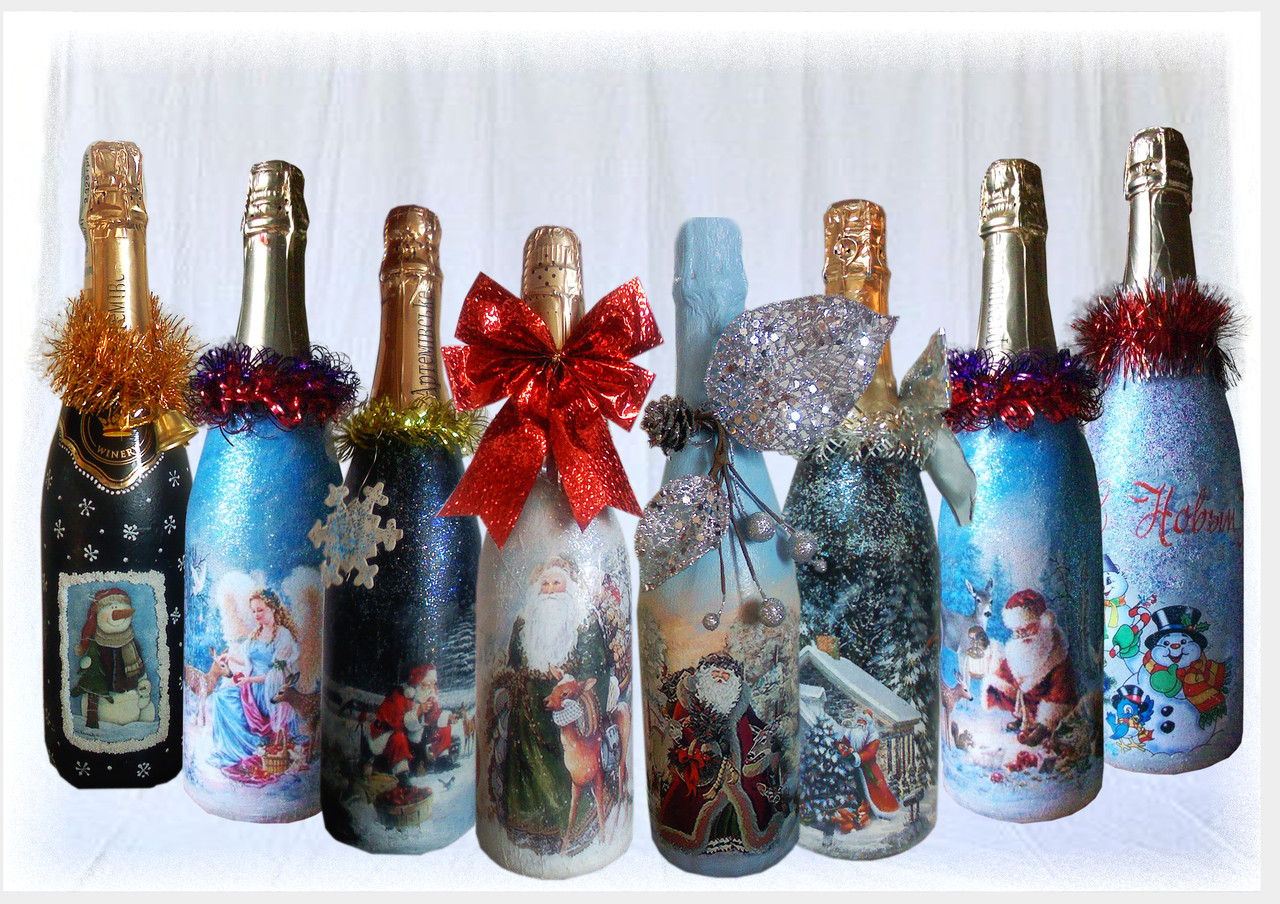
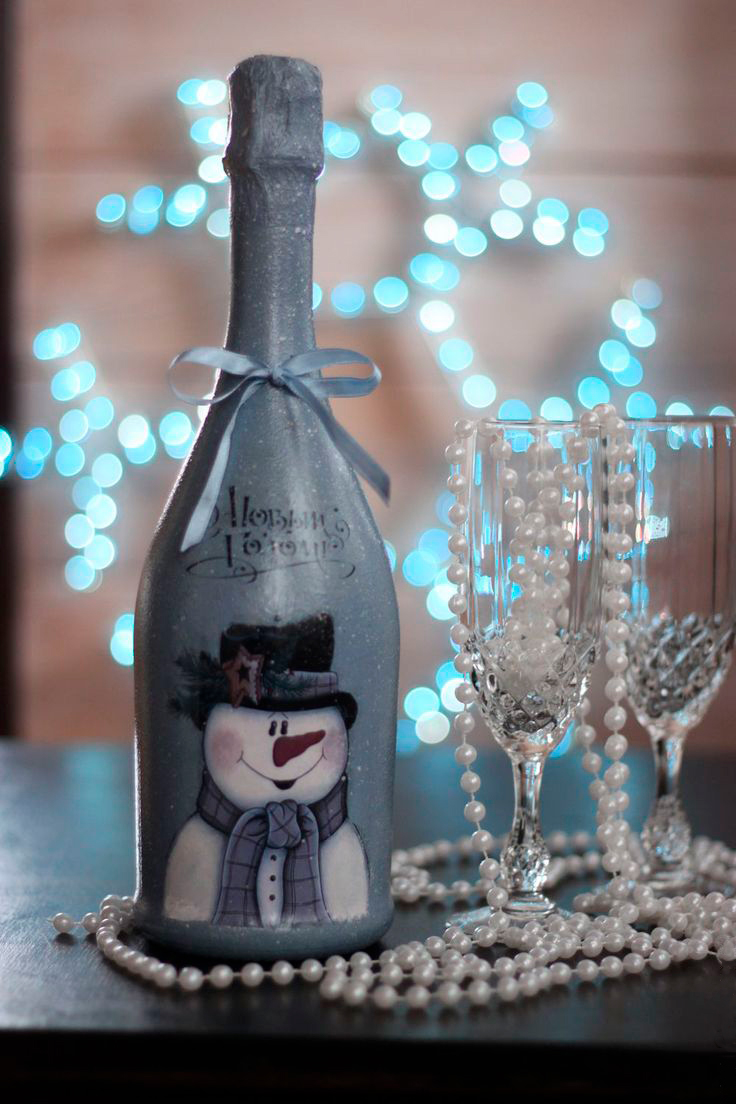
For the New Year and Christmas, we select images in a playful and winter theme.
First, let's think about choosing pictures for future design. Since our theme is dedicated to the New Year and Christmas, we also select images in a playful and winter theme.
Most of all I like calm winter landscapes, as well as red-breasted bullfinches and funny snowmen, jolly Santa Claus or fluffy herringbone. All this fits perfectly into the festive atmosphere.

Professional decoupage napkins sold in specialized stores
“Where can I get pictures?” You ask.Professional decoupage napkins are sold in specialized stores or can be ordered online. Frankly, I often meet successful options on the shelves of hypermarkets and buy them for good.
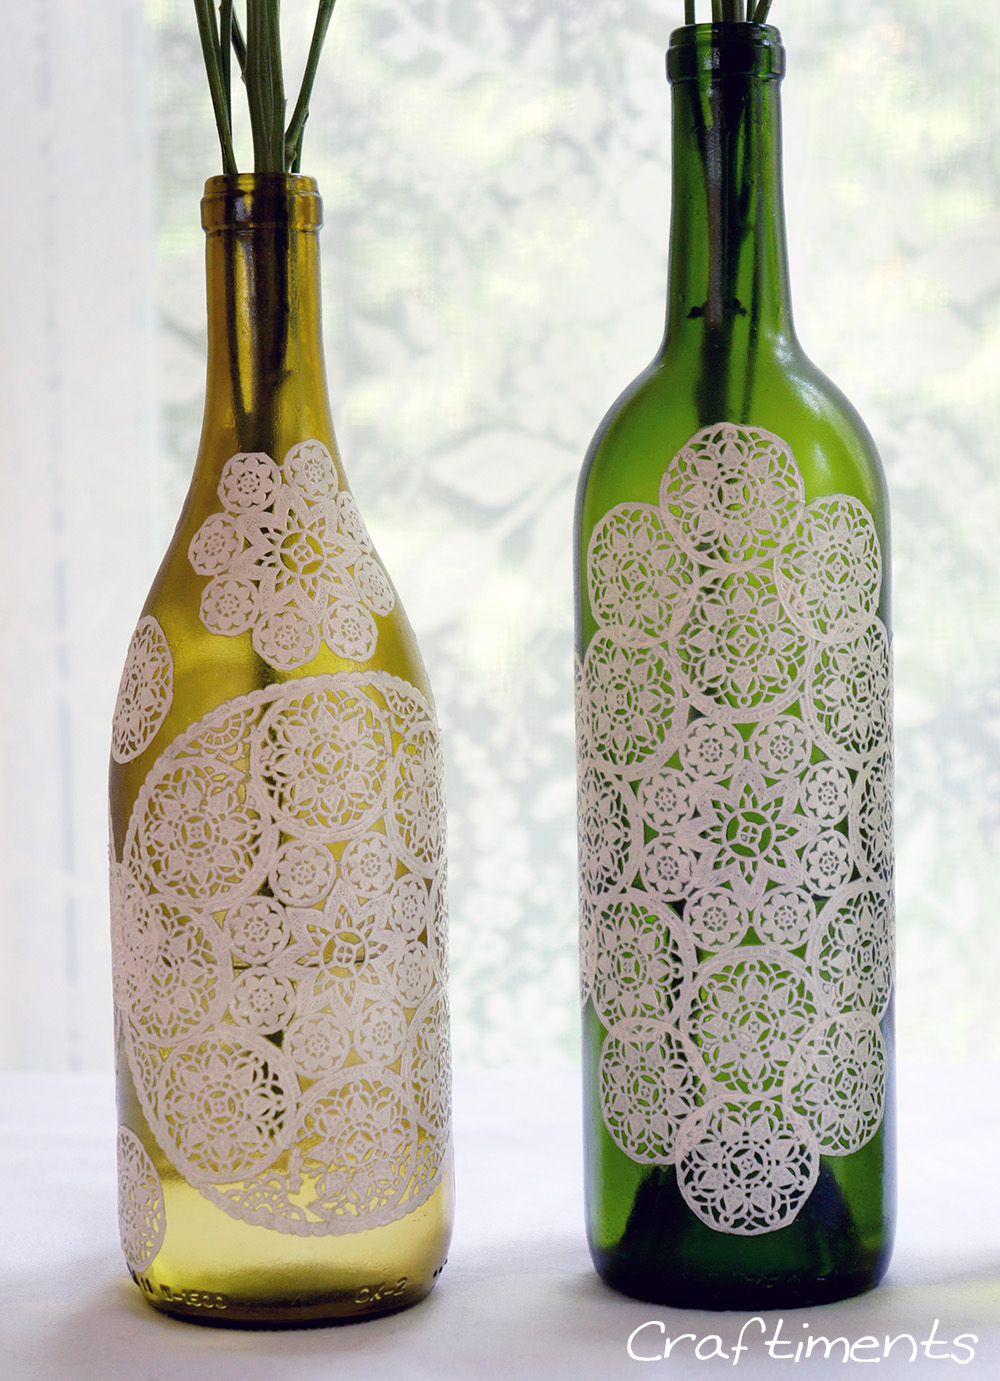
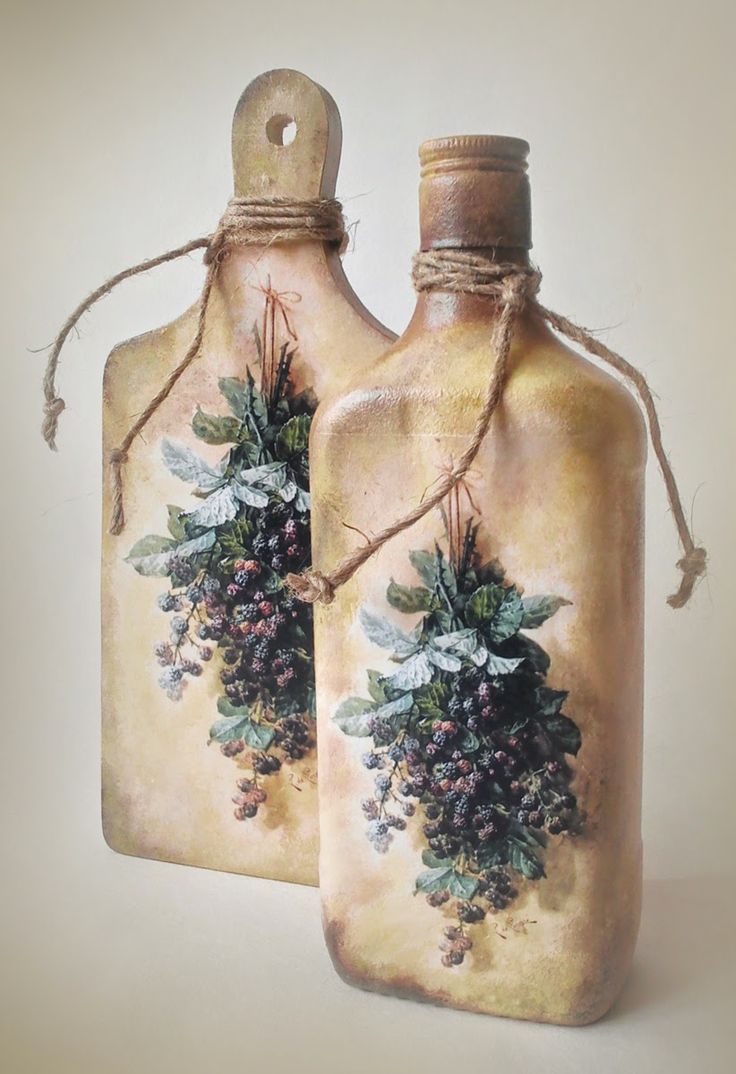
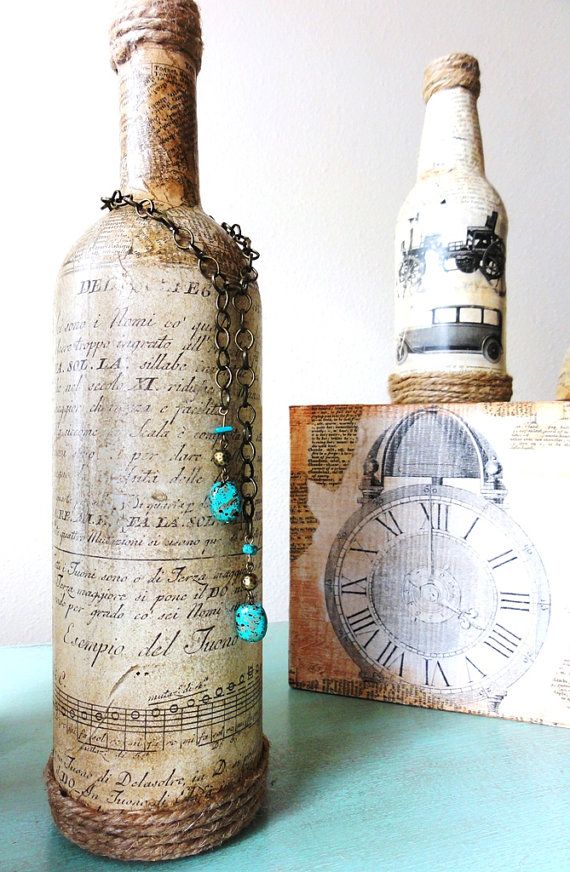
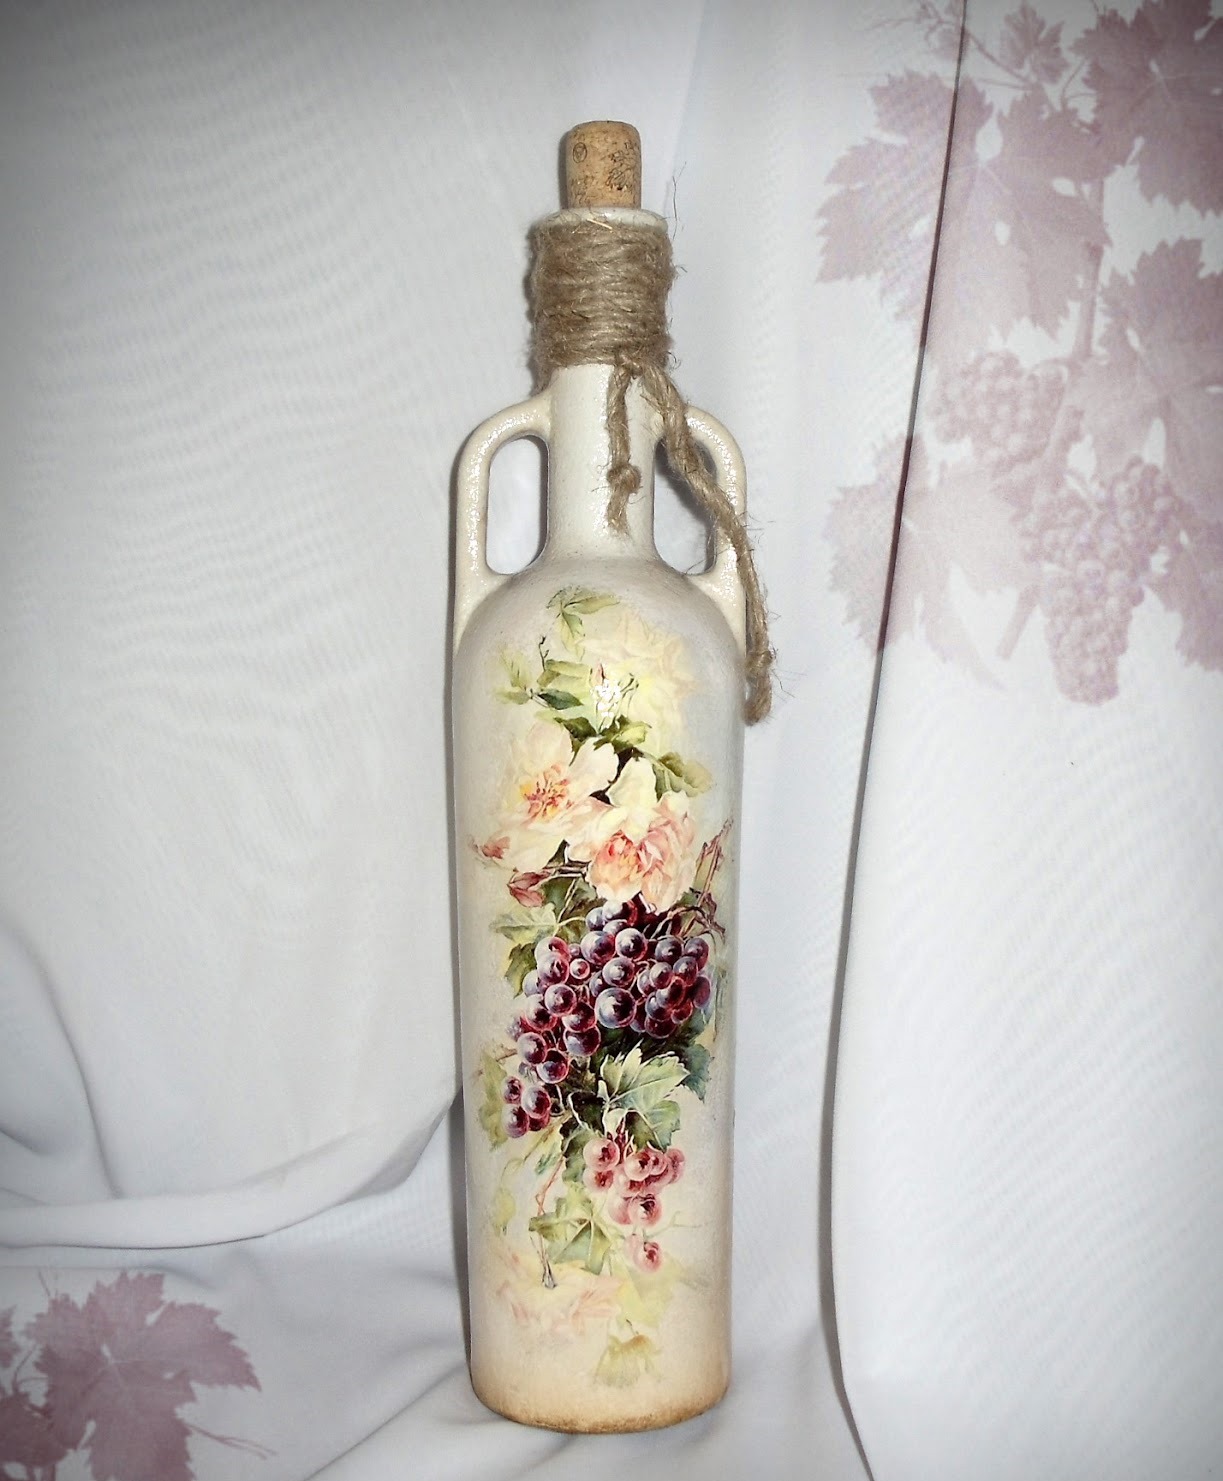
The decoupage technique uses the following materials: napkins, rice paper, newspaper and magazine clippings
In decoupage technique, in addition to napkins, you can use other materials: rice paper, newspaper and magazine clippings. Too thick paper will have to be slightly soaked and remove excess layer, and it is advisable not to take glossy pictures to work.
How to make a picture on the printer
Blending pictures are easy to do by printing on a color laser printer.
Earlier, I was upset that I could not create a festive bottle with an image I liked. It turns out that blending pictures are easy to do. For this photo I download from the Internet and print it on a color laser printer.
The paper can be thinned with tape, stick on the back side of the sheet and remove
Then the paper will need to be thinned with scotch tape. Make it elementary. The adhesive tape is pasted on the back side of the sheet and removed. Thus, I get a thin and almost transparent leaf, which I later use to blend the bottle.
return to menu ↑Handy materials
White acrylic paint. It will be cheaper to buy in the department of building materials
And so the picture was chosen by us and a visual representation of the future masterpiece was obtained. Time to think about the working materials and explore the main stages of work. You will need:
- Means for degreasing the surface of the glass. This may be acetone, white spirit or nail polish remover.
- Glue for decoupage. I use the usual PVA, which I buy at the hardware store.
- White acrylic paint. It can also be bought in the building materials department. It will be much cheaper than professional acrylic for decoupage.
- A set of multicolored acrylic paints in jars and transparent acrylic varnish. You can purchase all this in the special section “Everything for needlework and decoupage”.
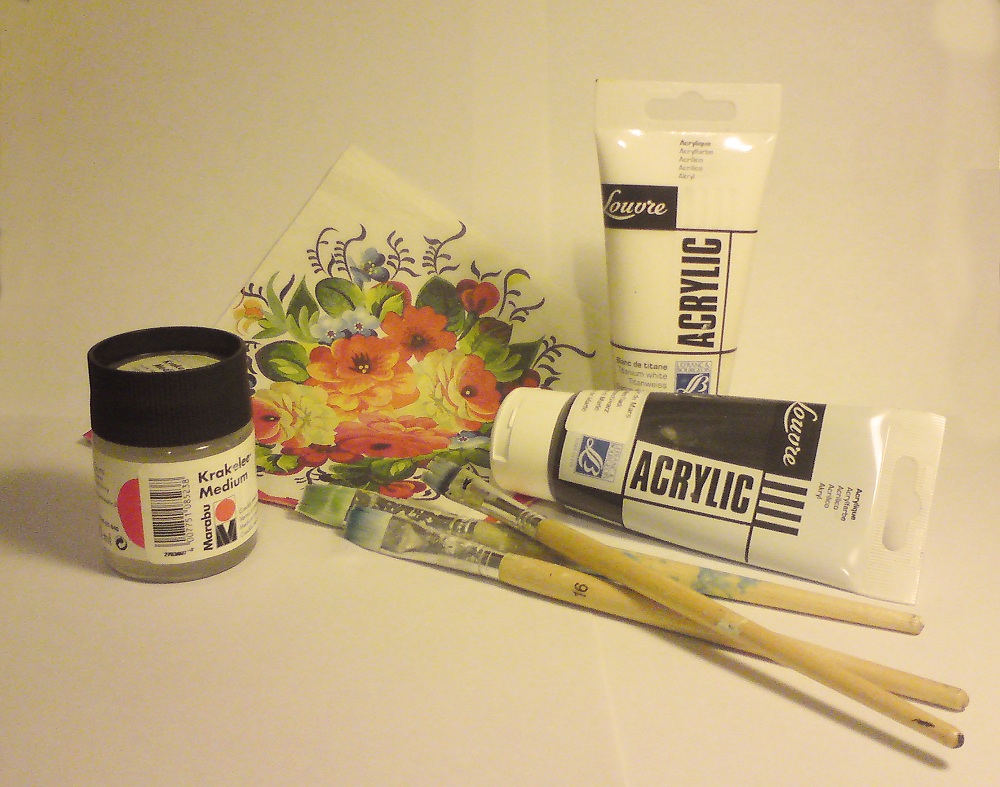
A set of multicolored acrylic paints and clear acrylic varnish can be purchased in special departments
- 2 brushes, 2-3 cm wide. I use one for working with glue and acrylic, and the second is needed for applying varnish.
- A piece of foam rubber. A sponge for washing dishes is perfect.
- Stationery scissors.
- Hair dryer if you want to speed up the process.
- A bowl of water.
- Small rubber trowel or roller.
- A thin brush for painting, if you want to add artistic strokes.
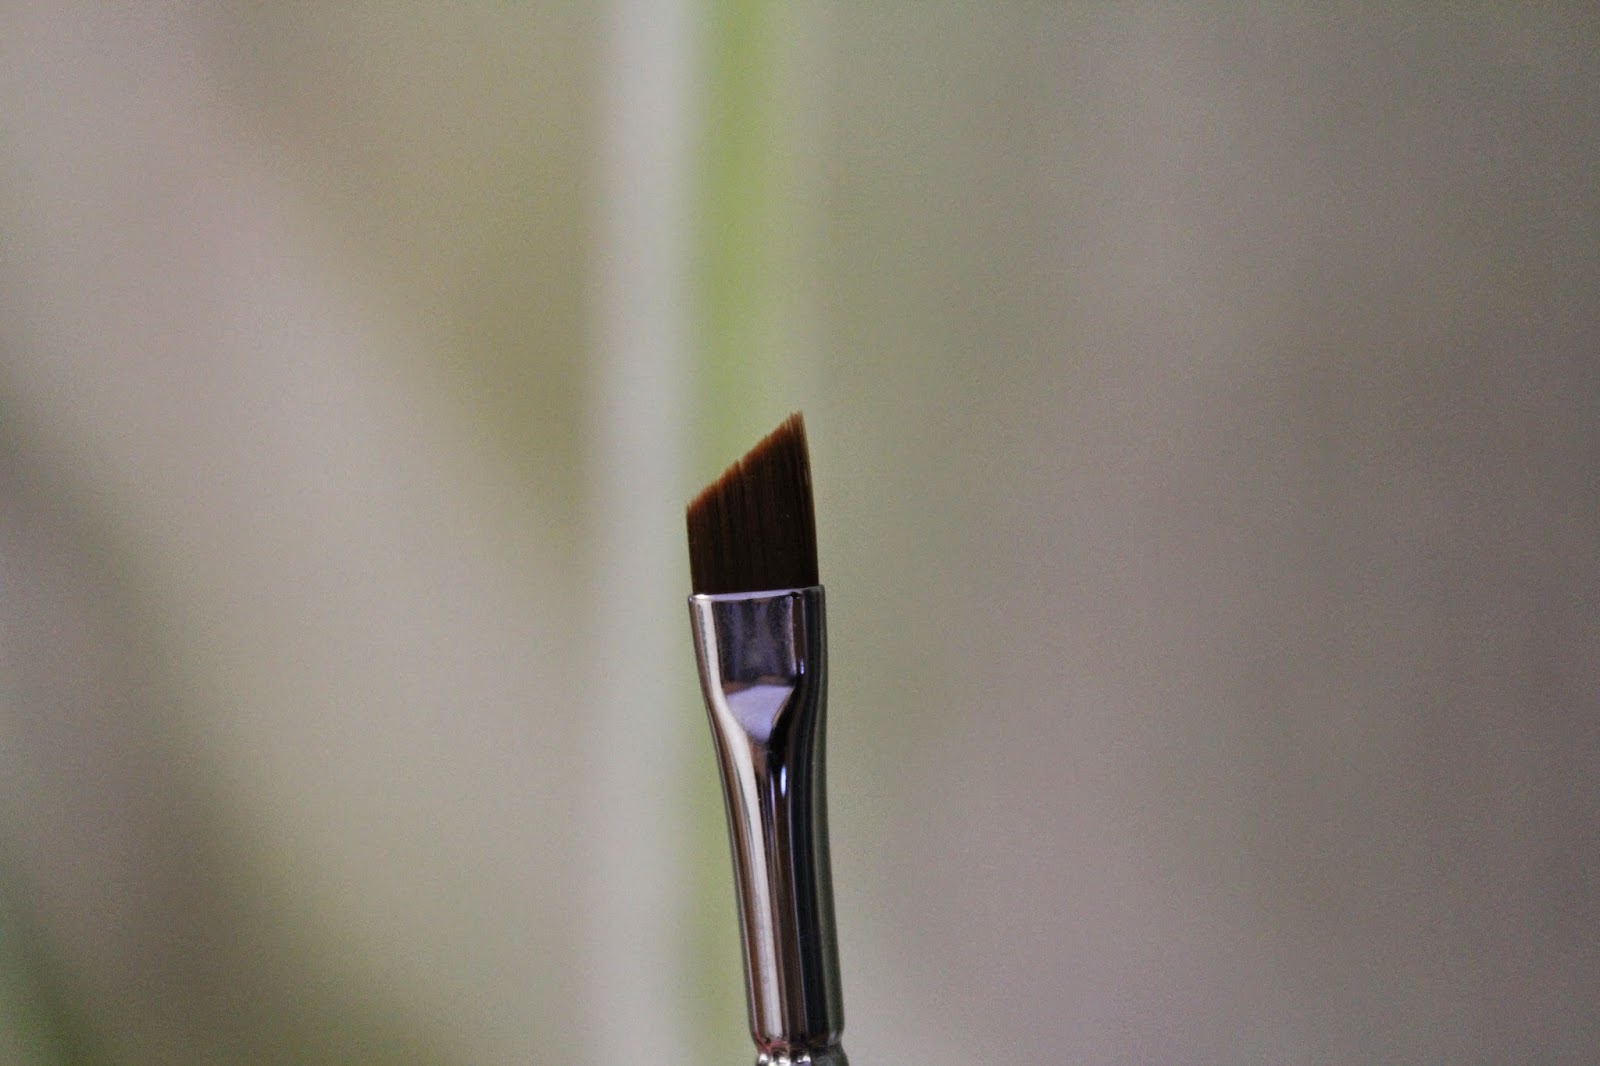
Thin brush for drawing and adding art strokes
Choose a bottle
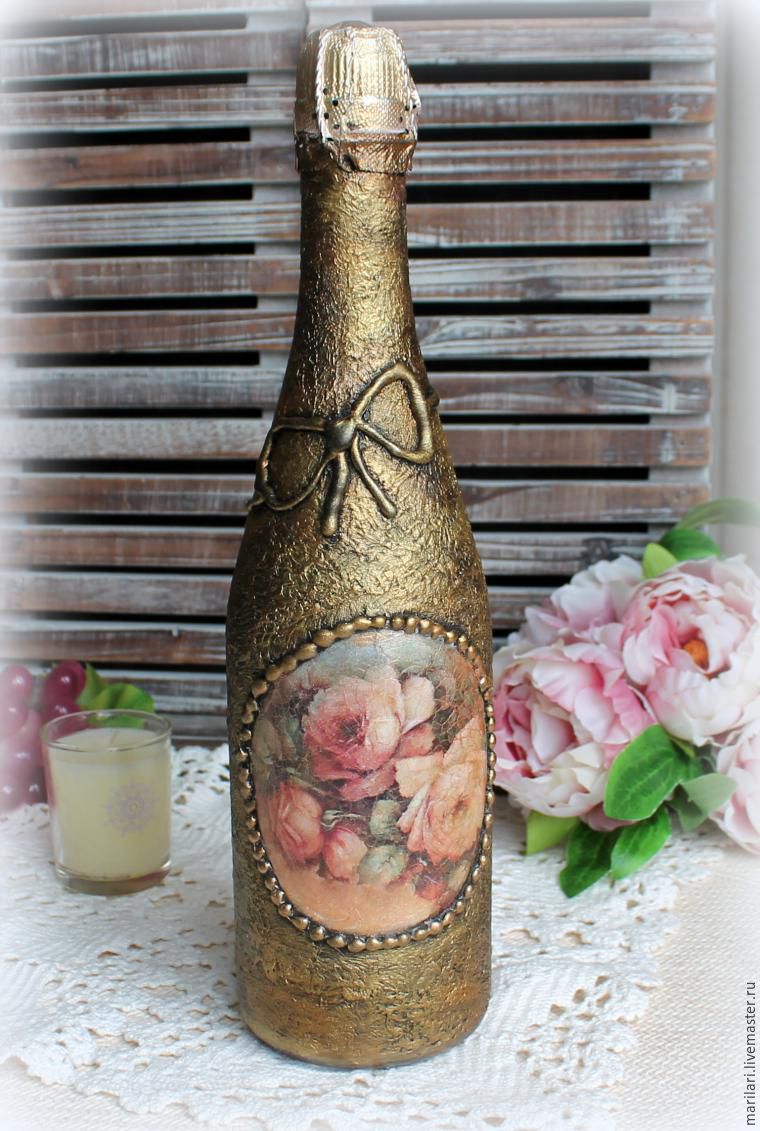
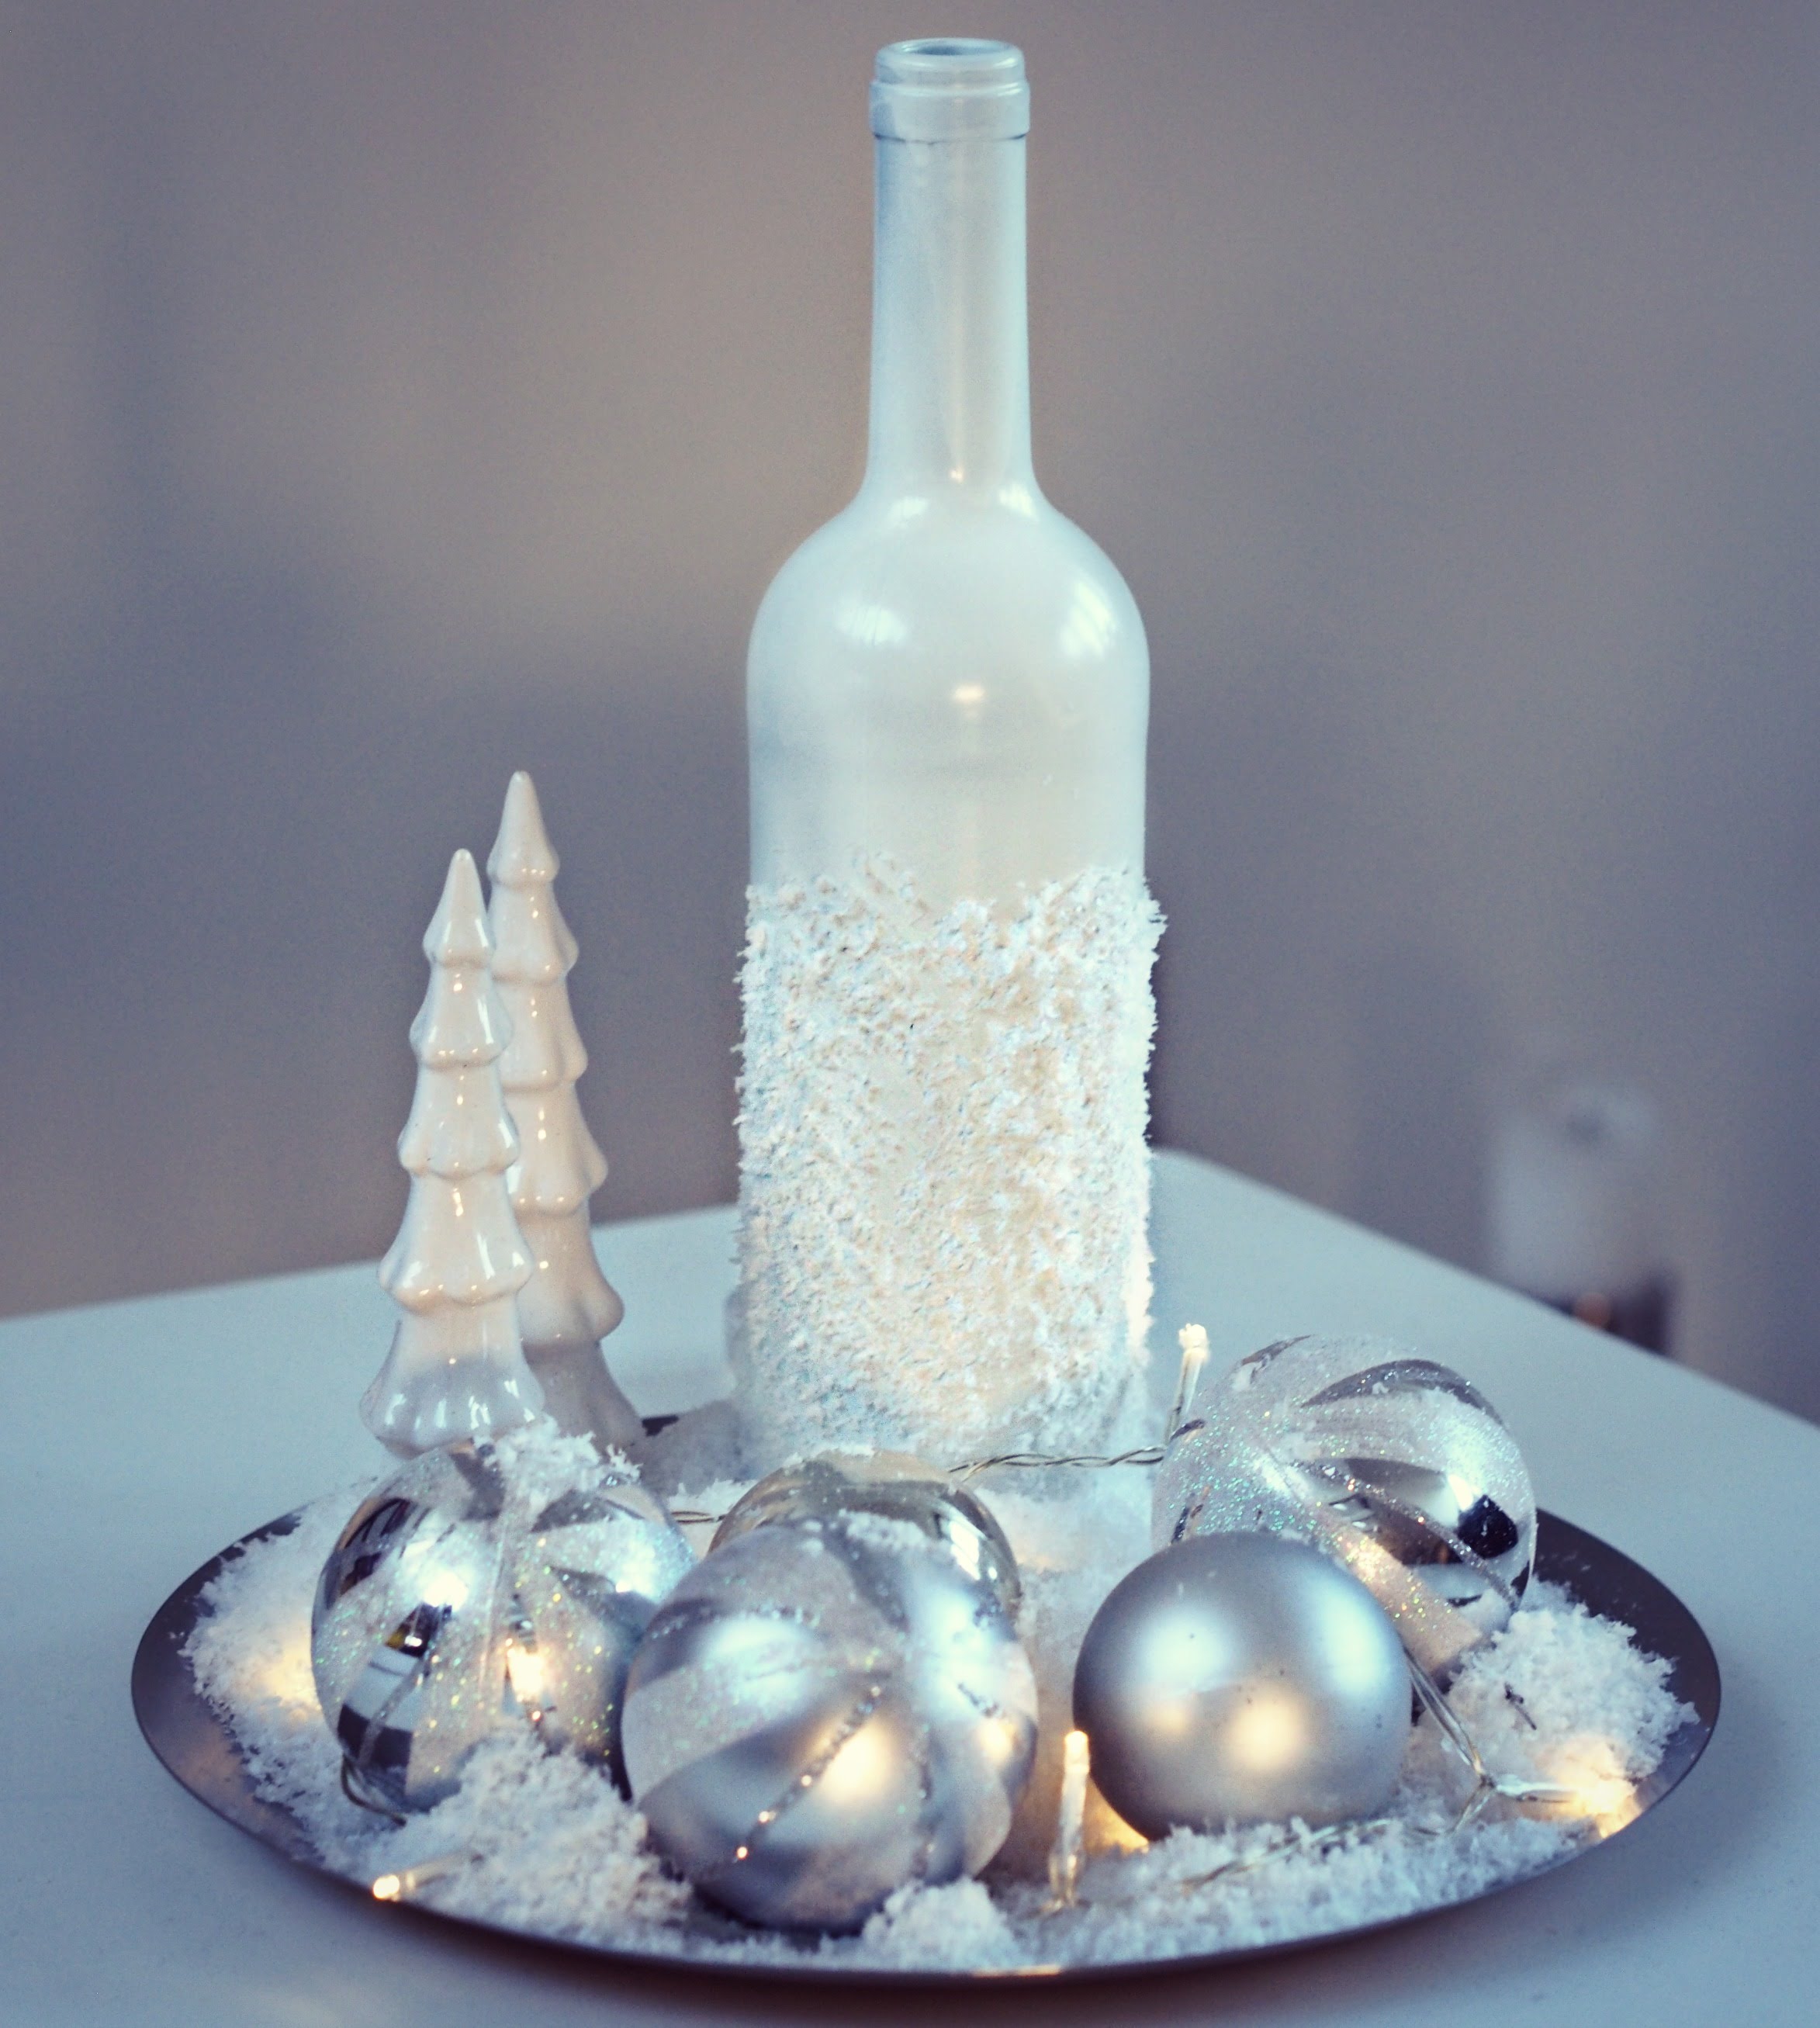
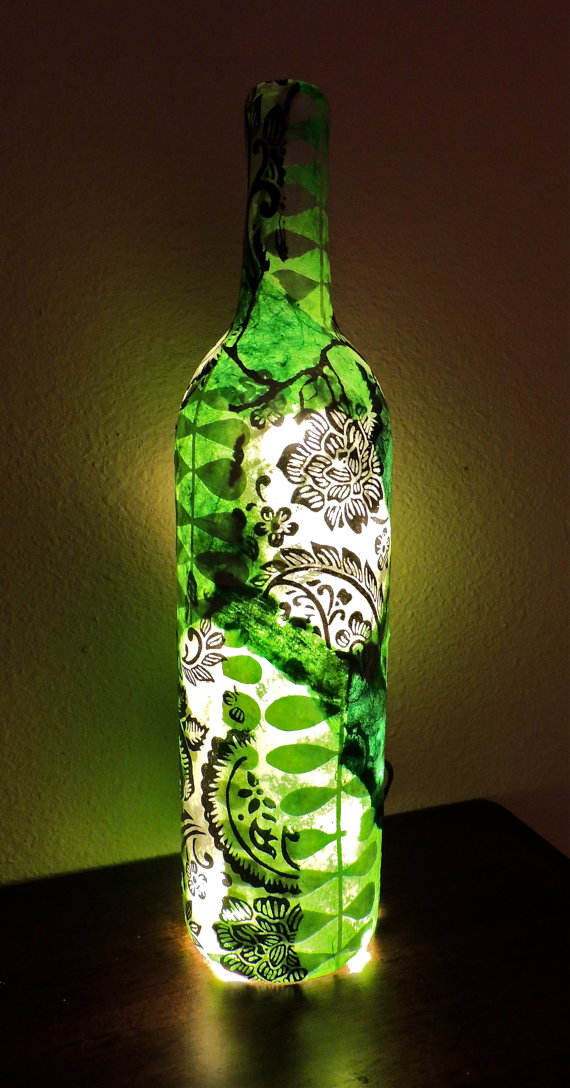
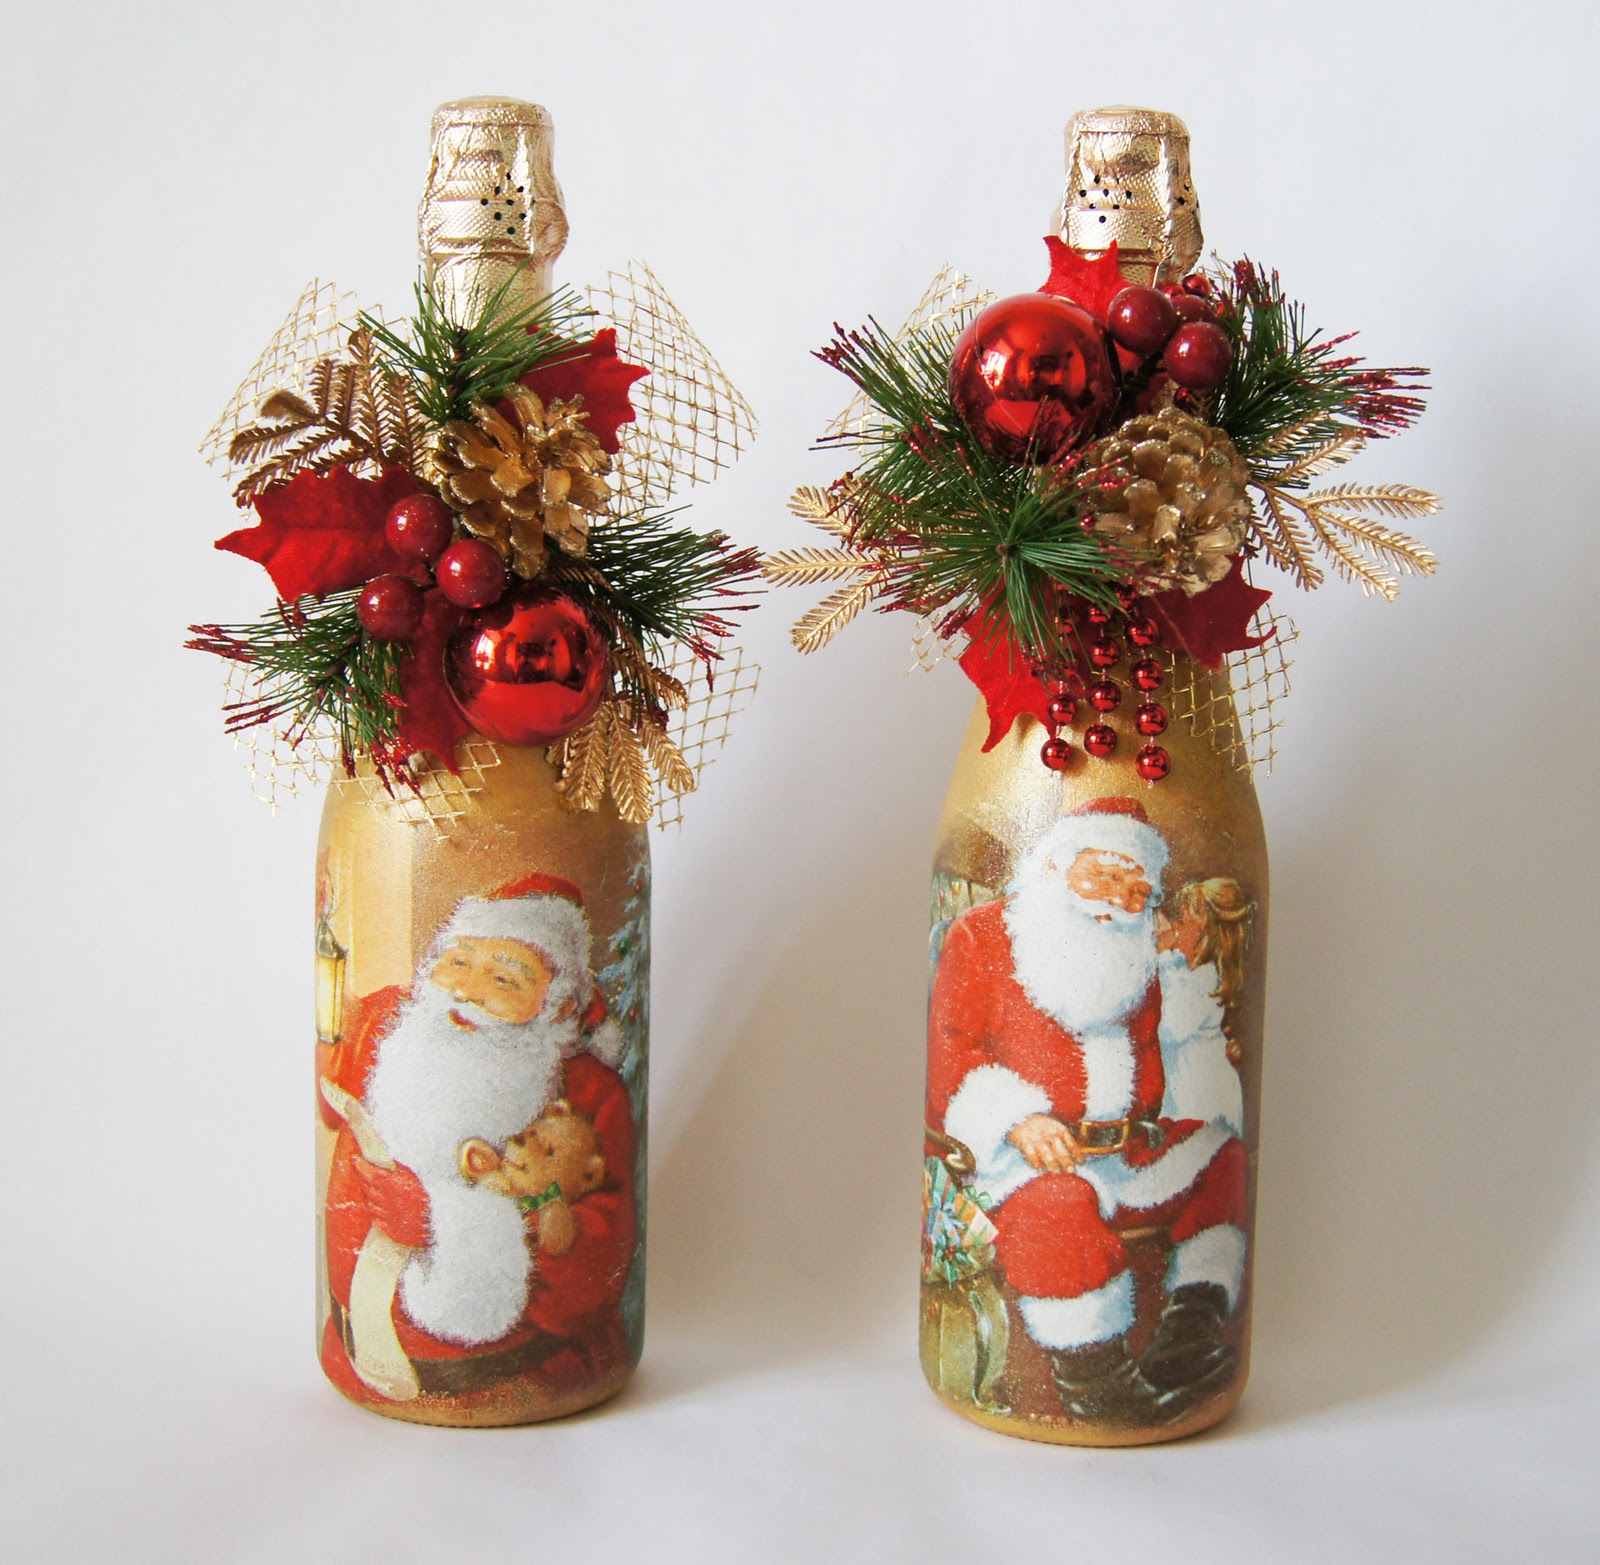
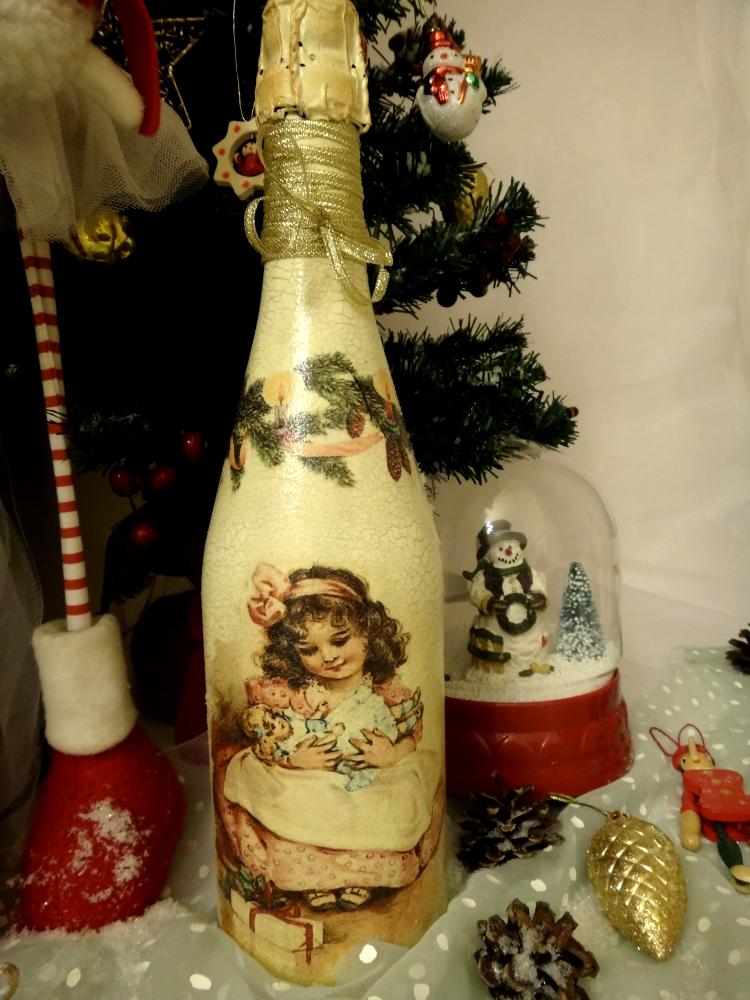
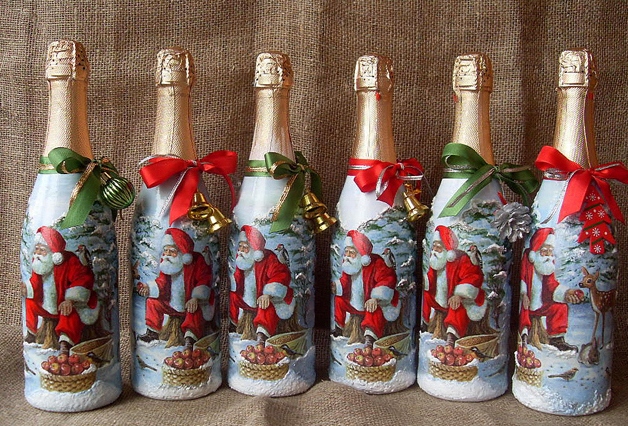
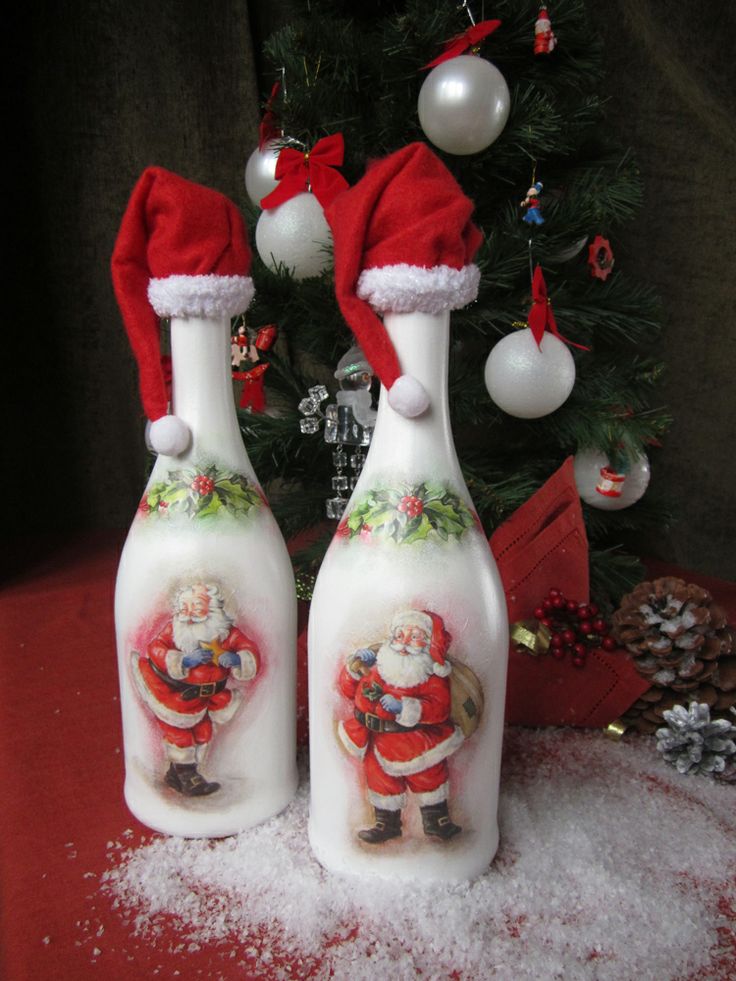
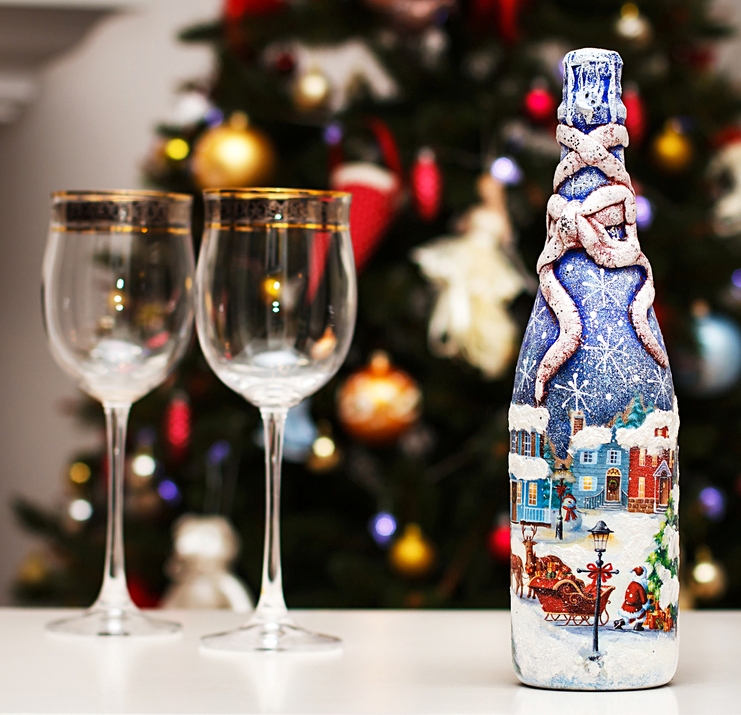
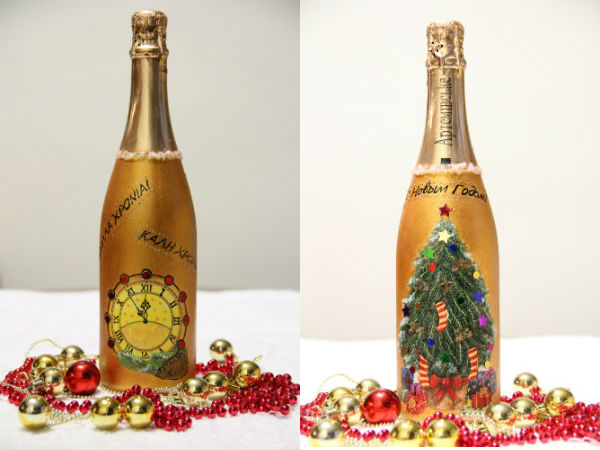
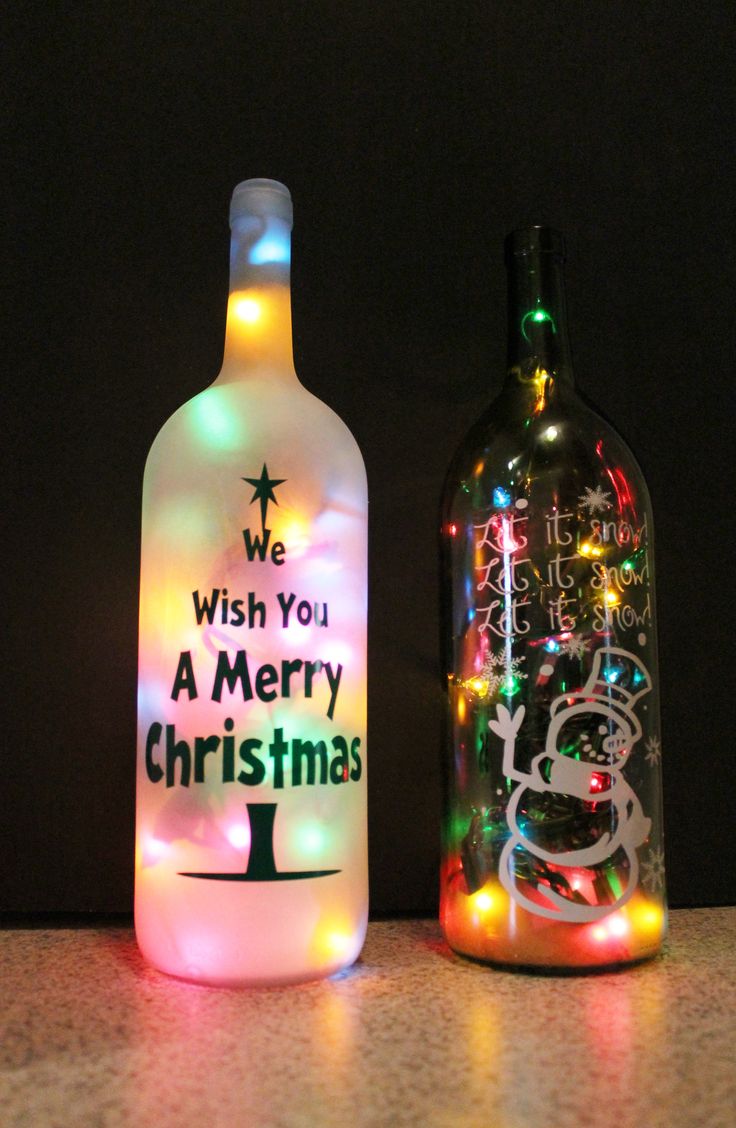
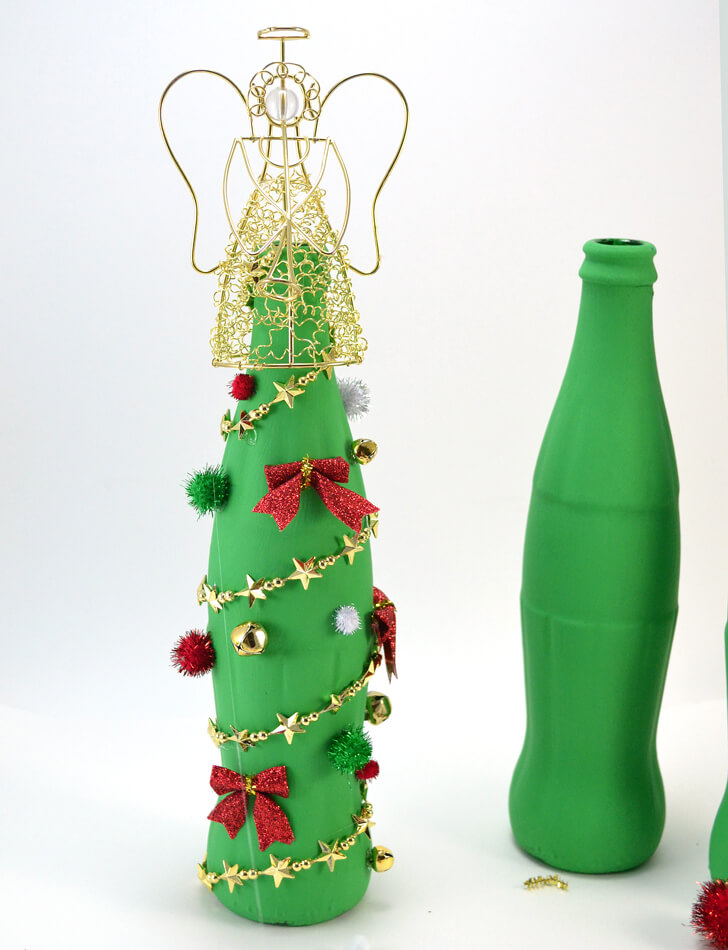
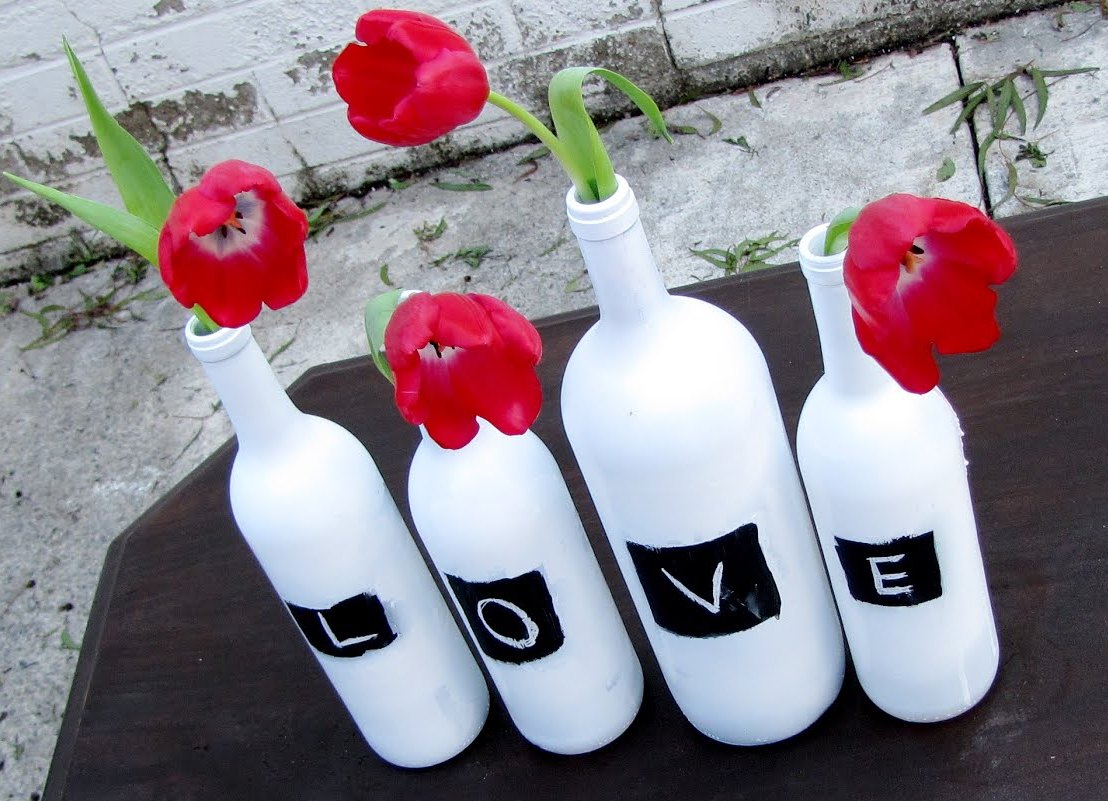
Finally it's time to choose a bottle. It should be the most common form (any wine or vodka will do). Let me remind you that we are decoupage a New Year's bottle. And what is the symbol of the New Year? Of course champagne! I advise you to opt for it.

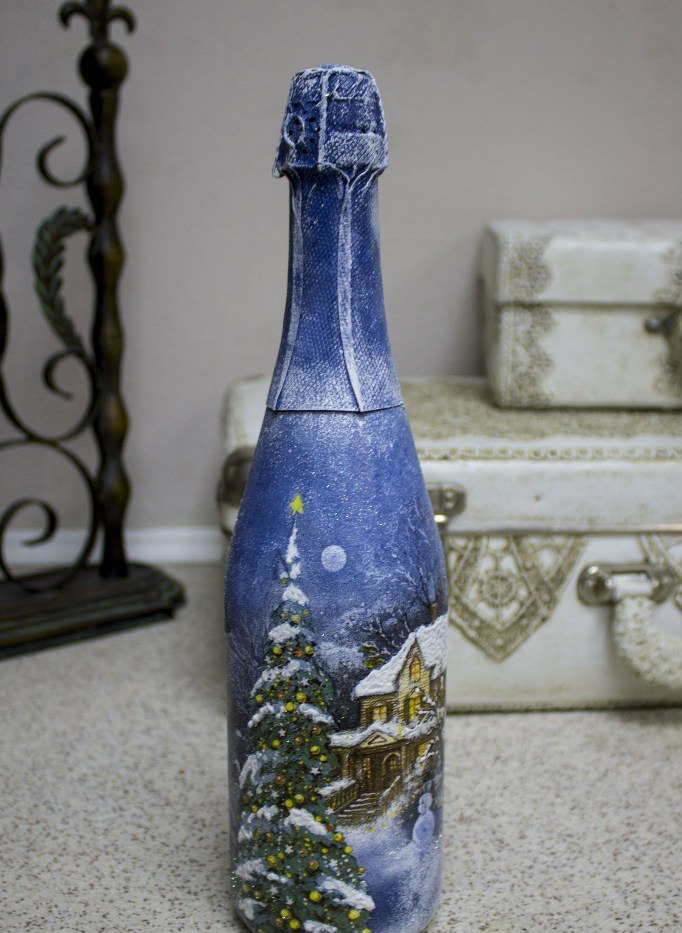
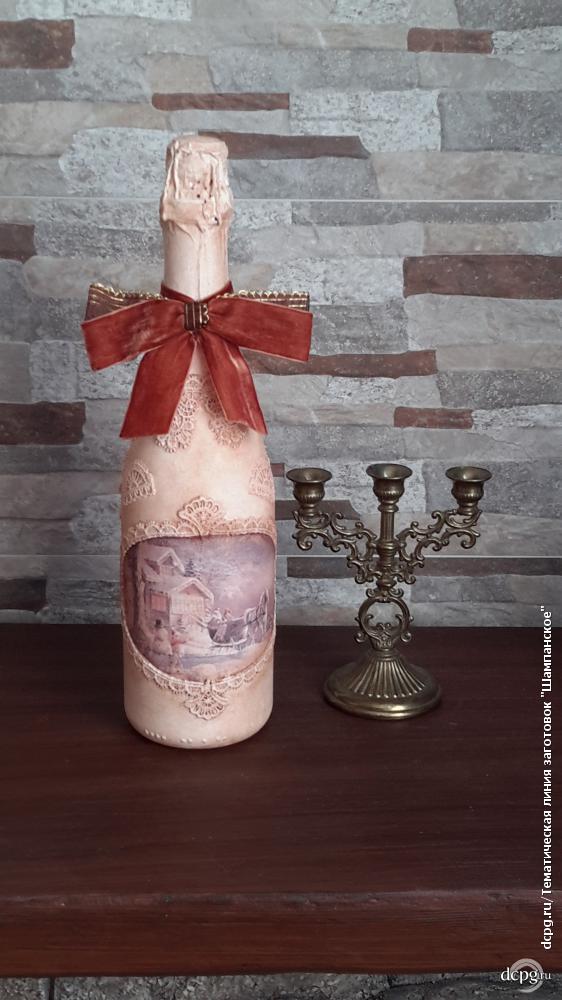
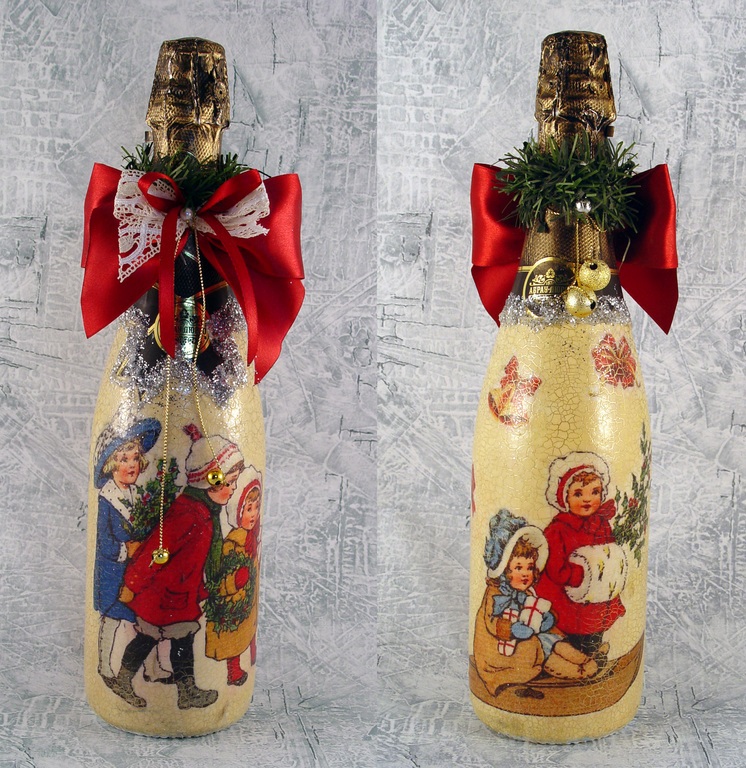
Decoupage New Year's bottle of champagne - a symbol of the New Year
You can arrange and empty capacity, but best of all if it is with the contents. Put it on the holiday table or under the Christmas tree. Give a close. Success in any case will be guaranteed.
return to menu ↑Bottle decoupage - step by step
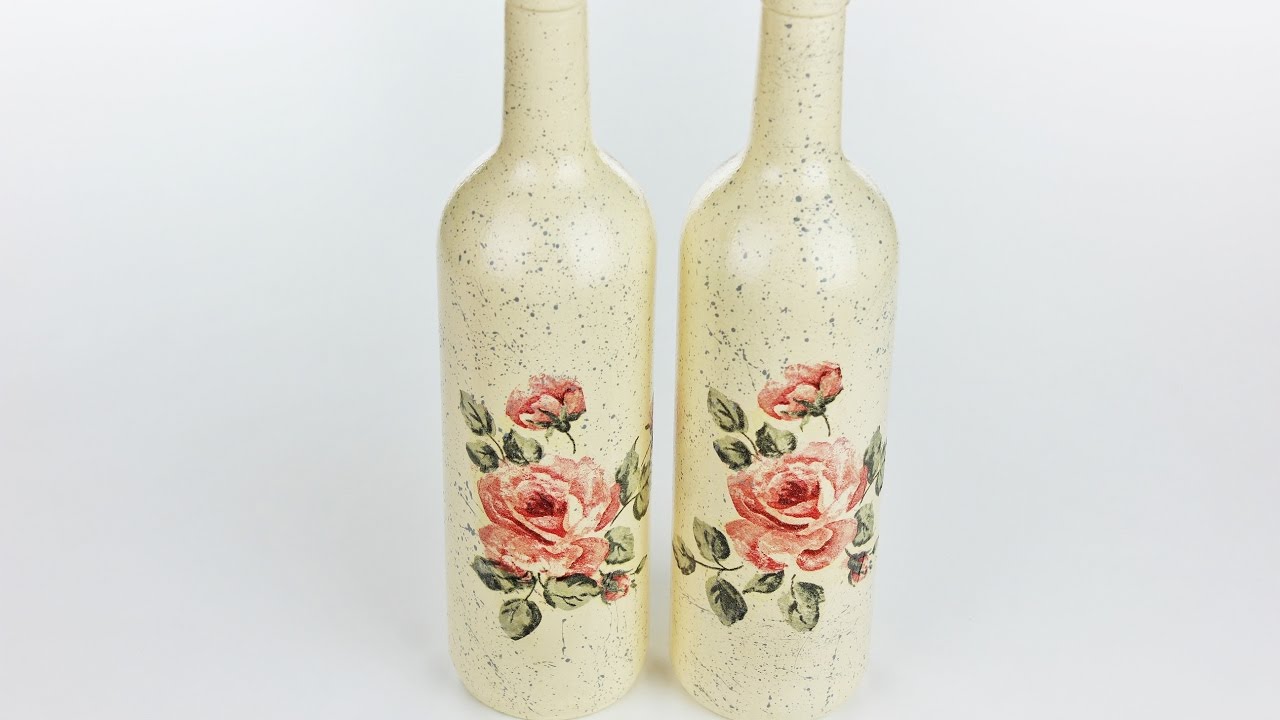
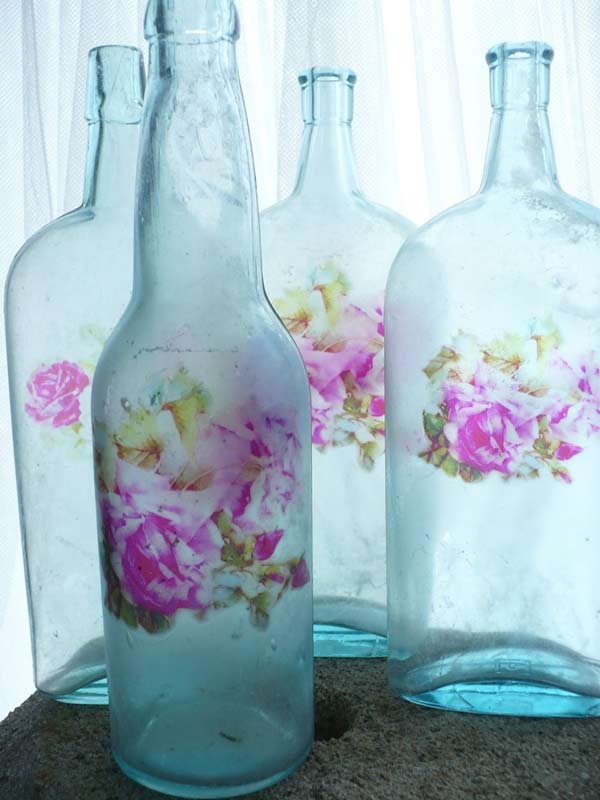
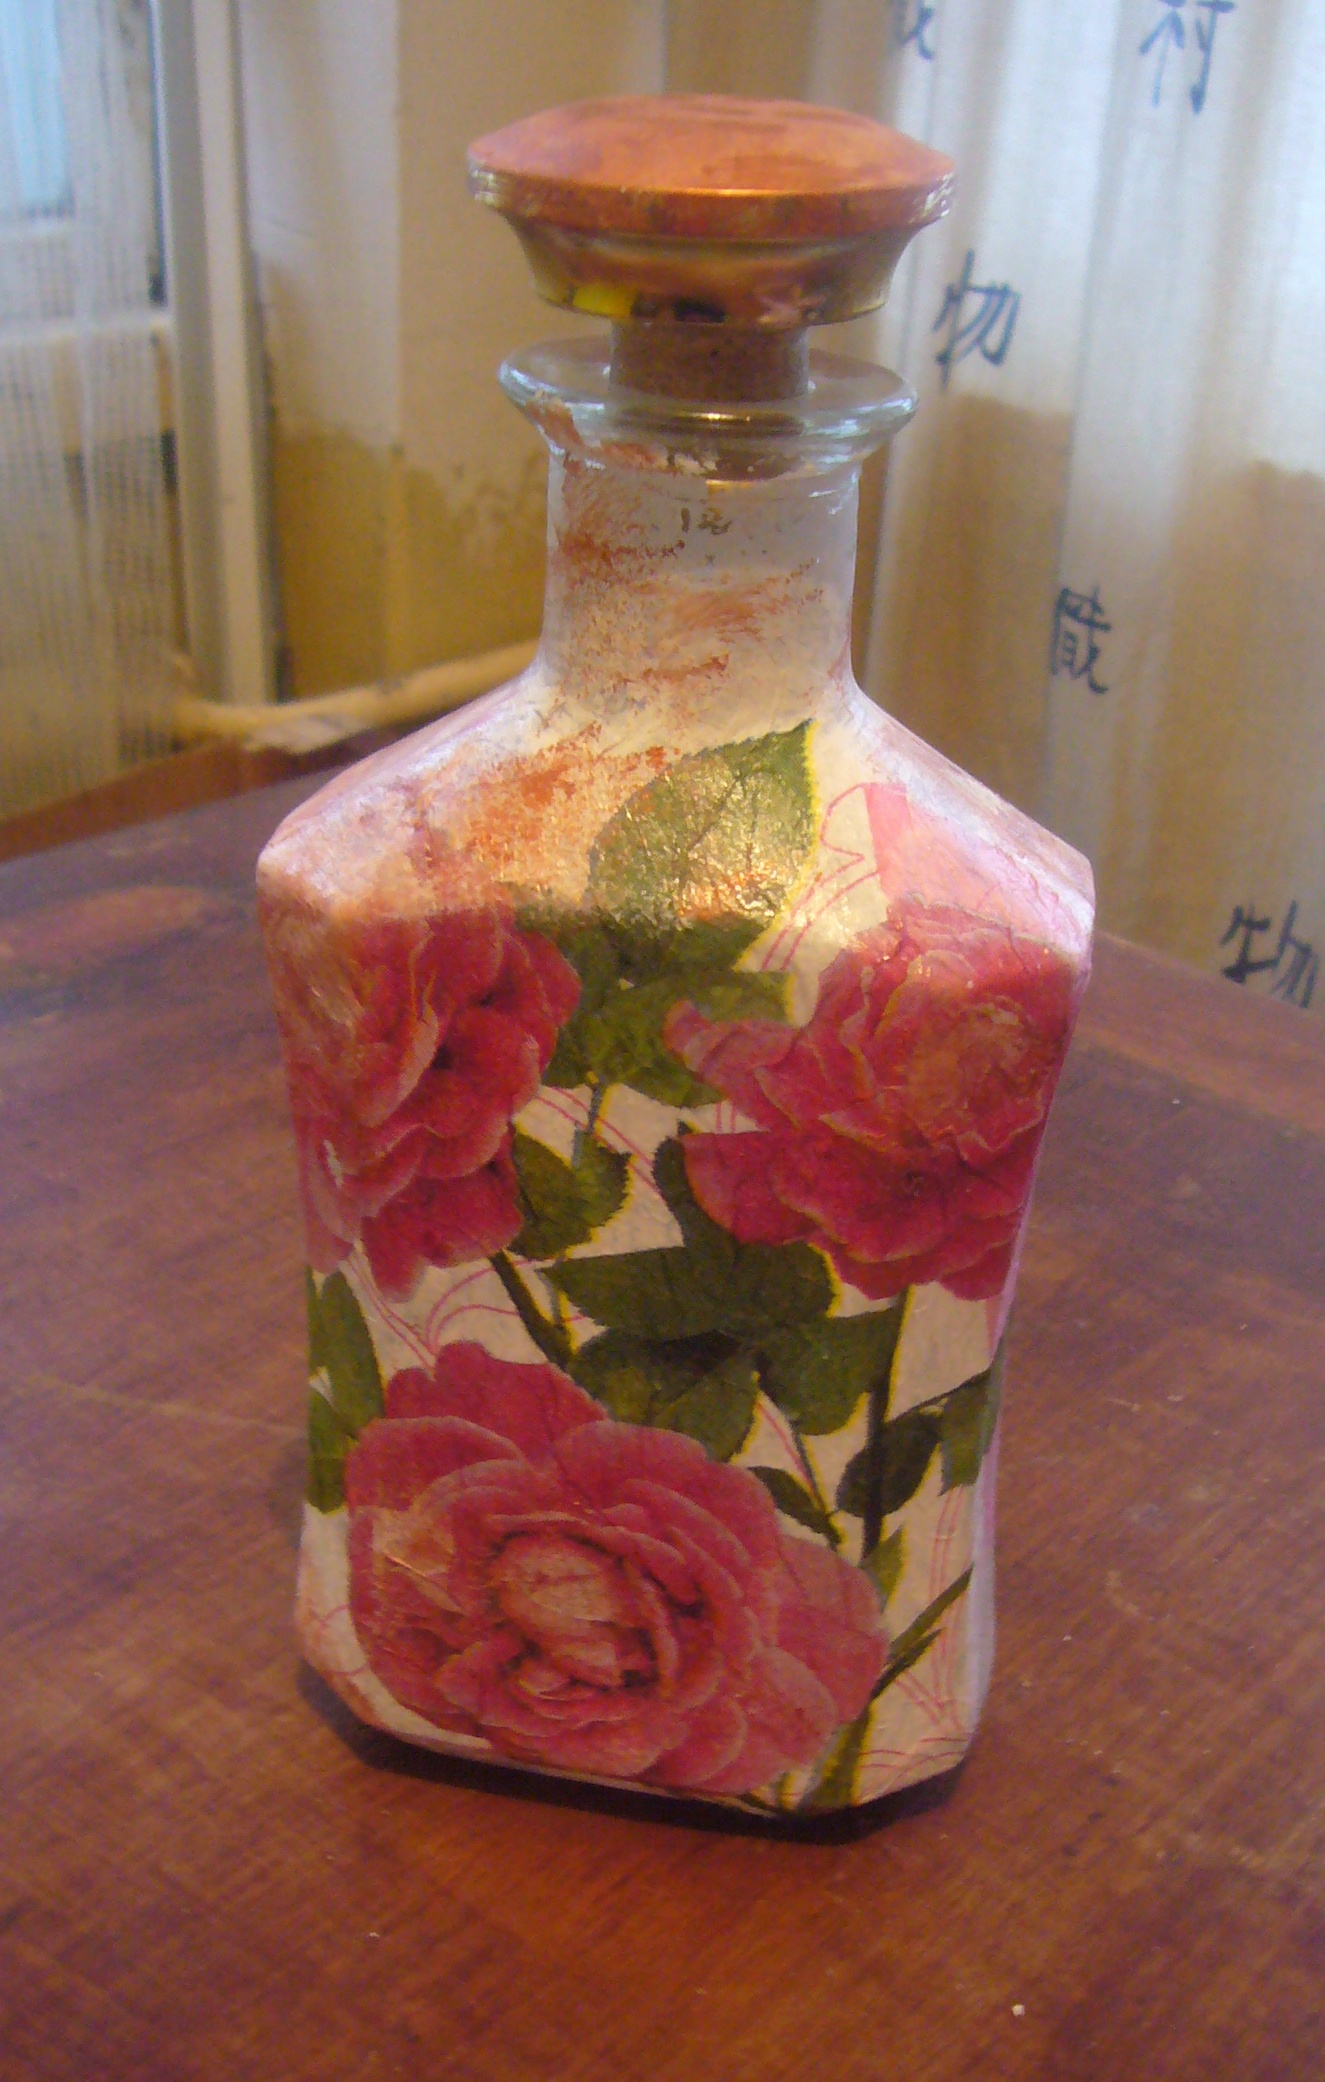
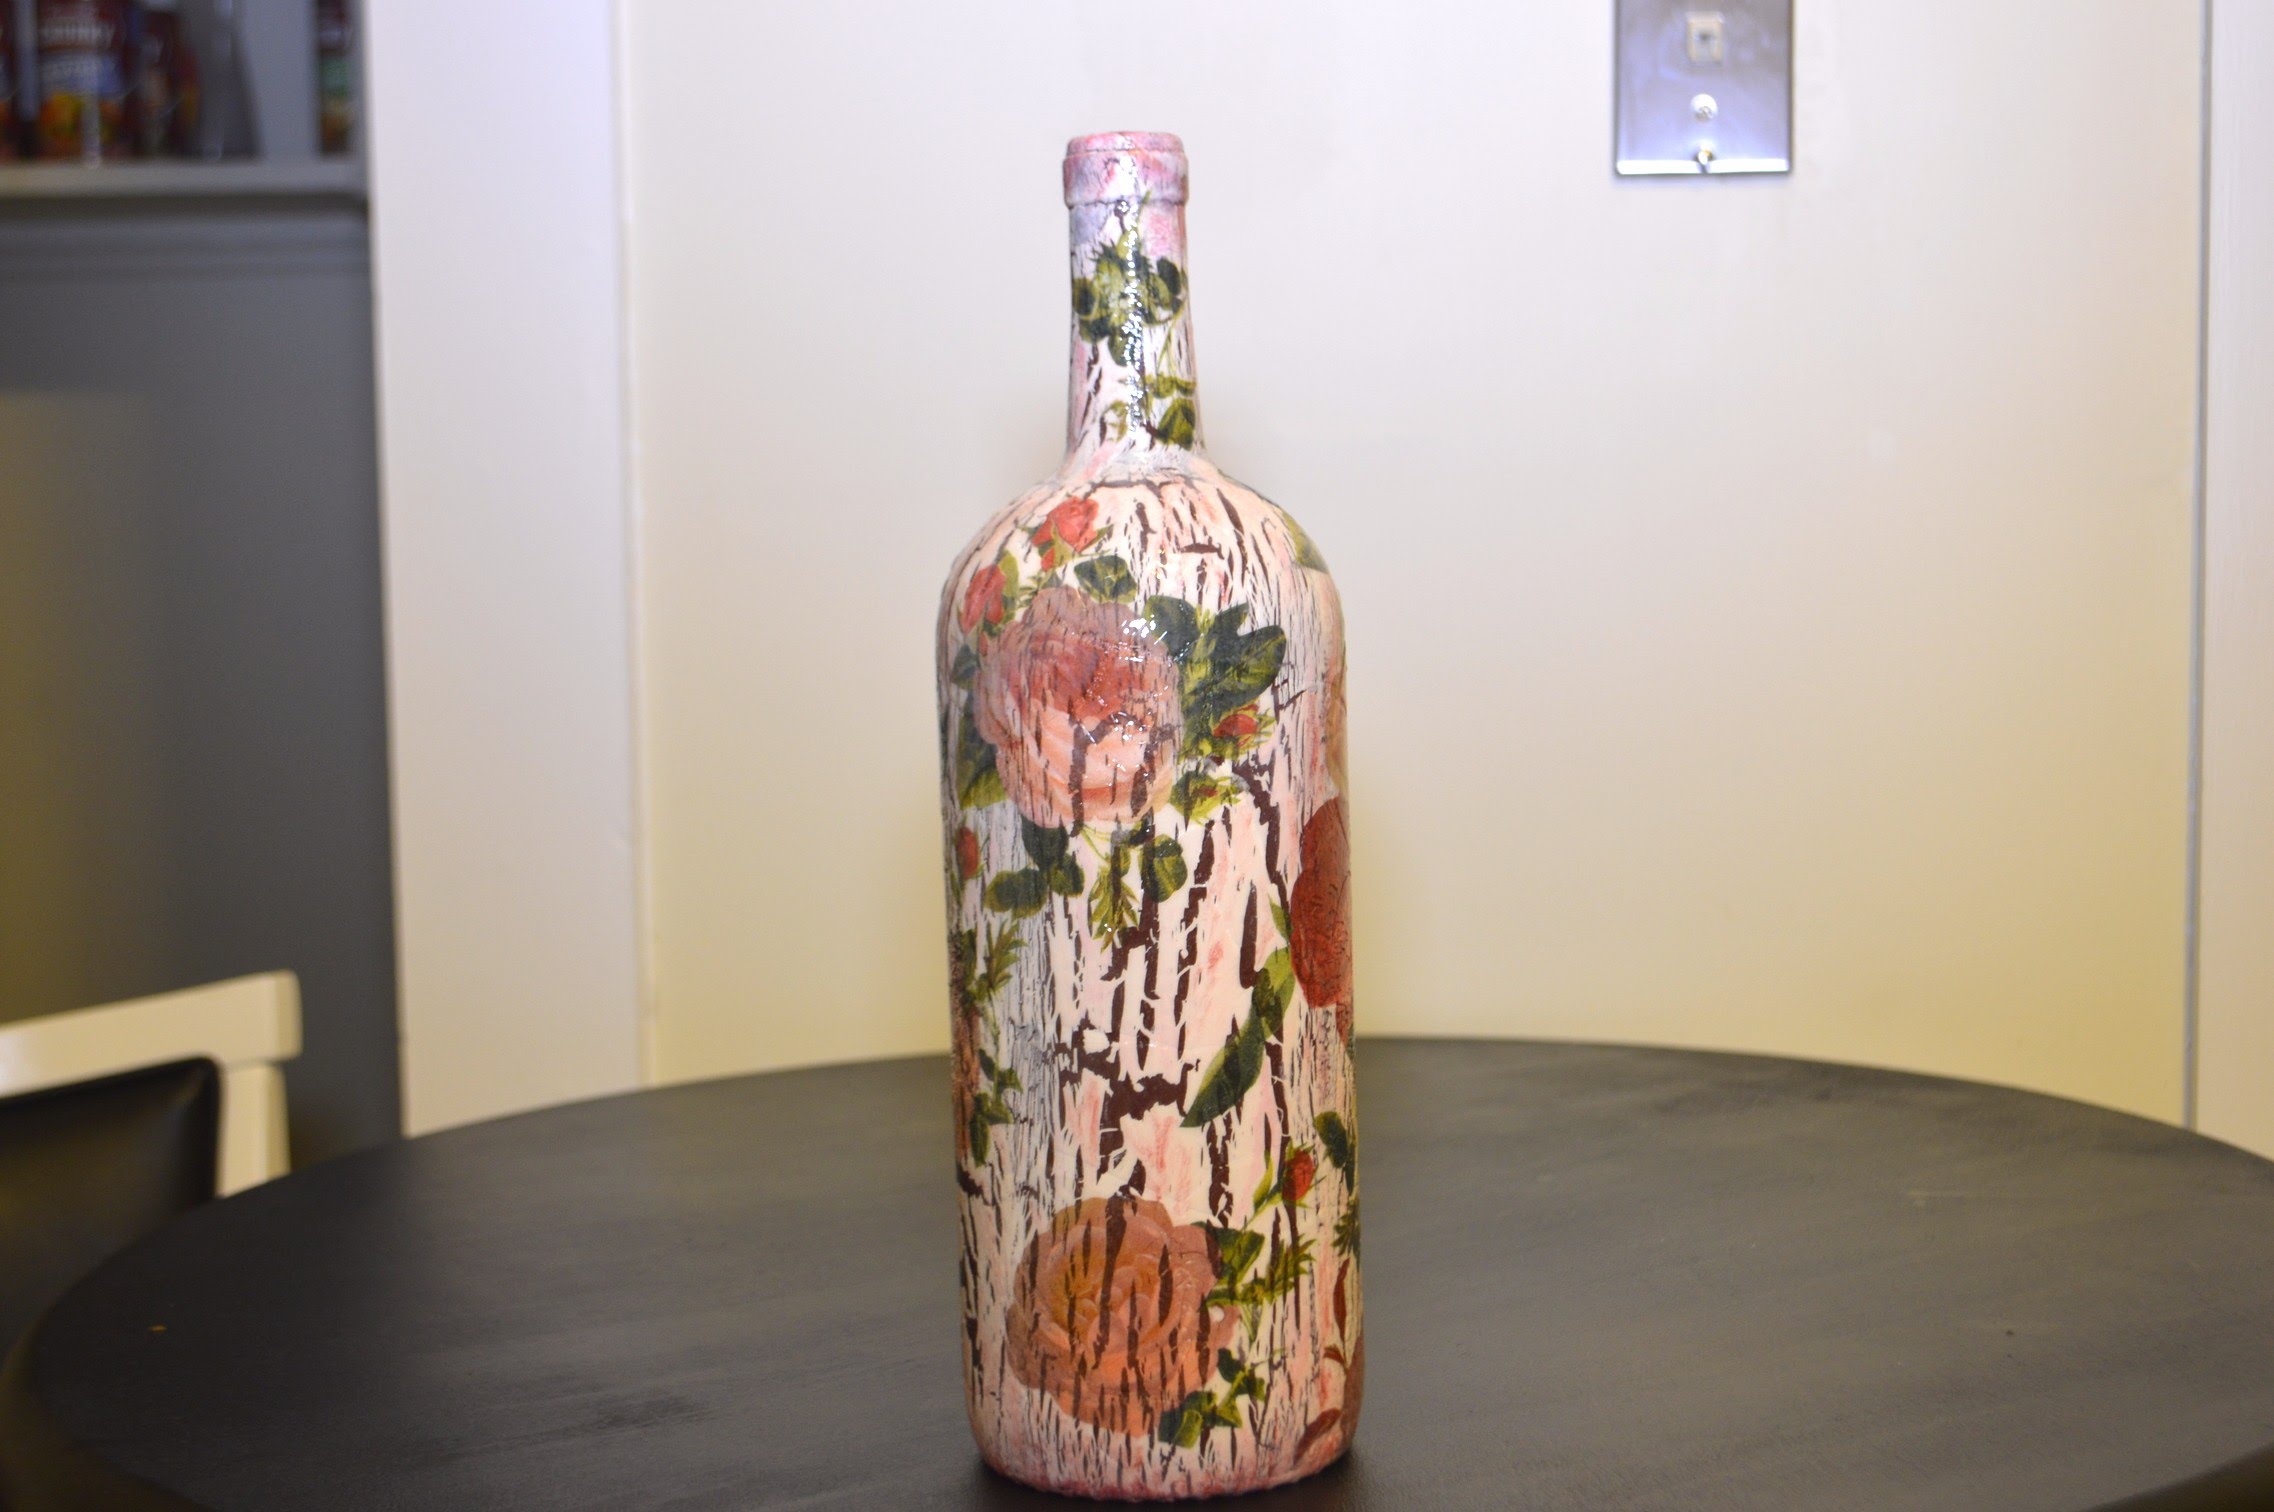
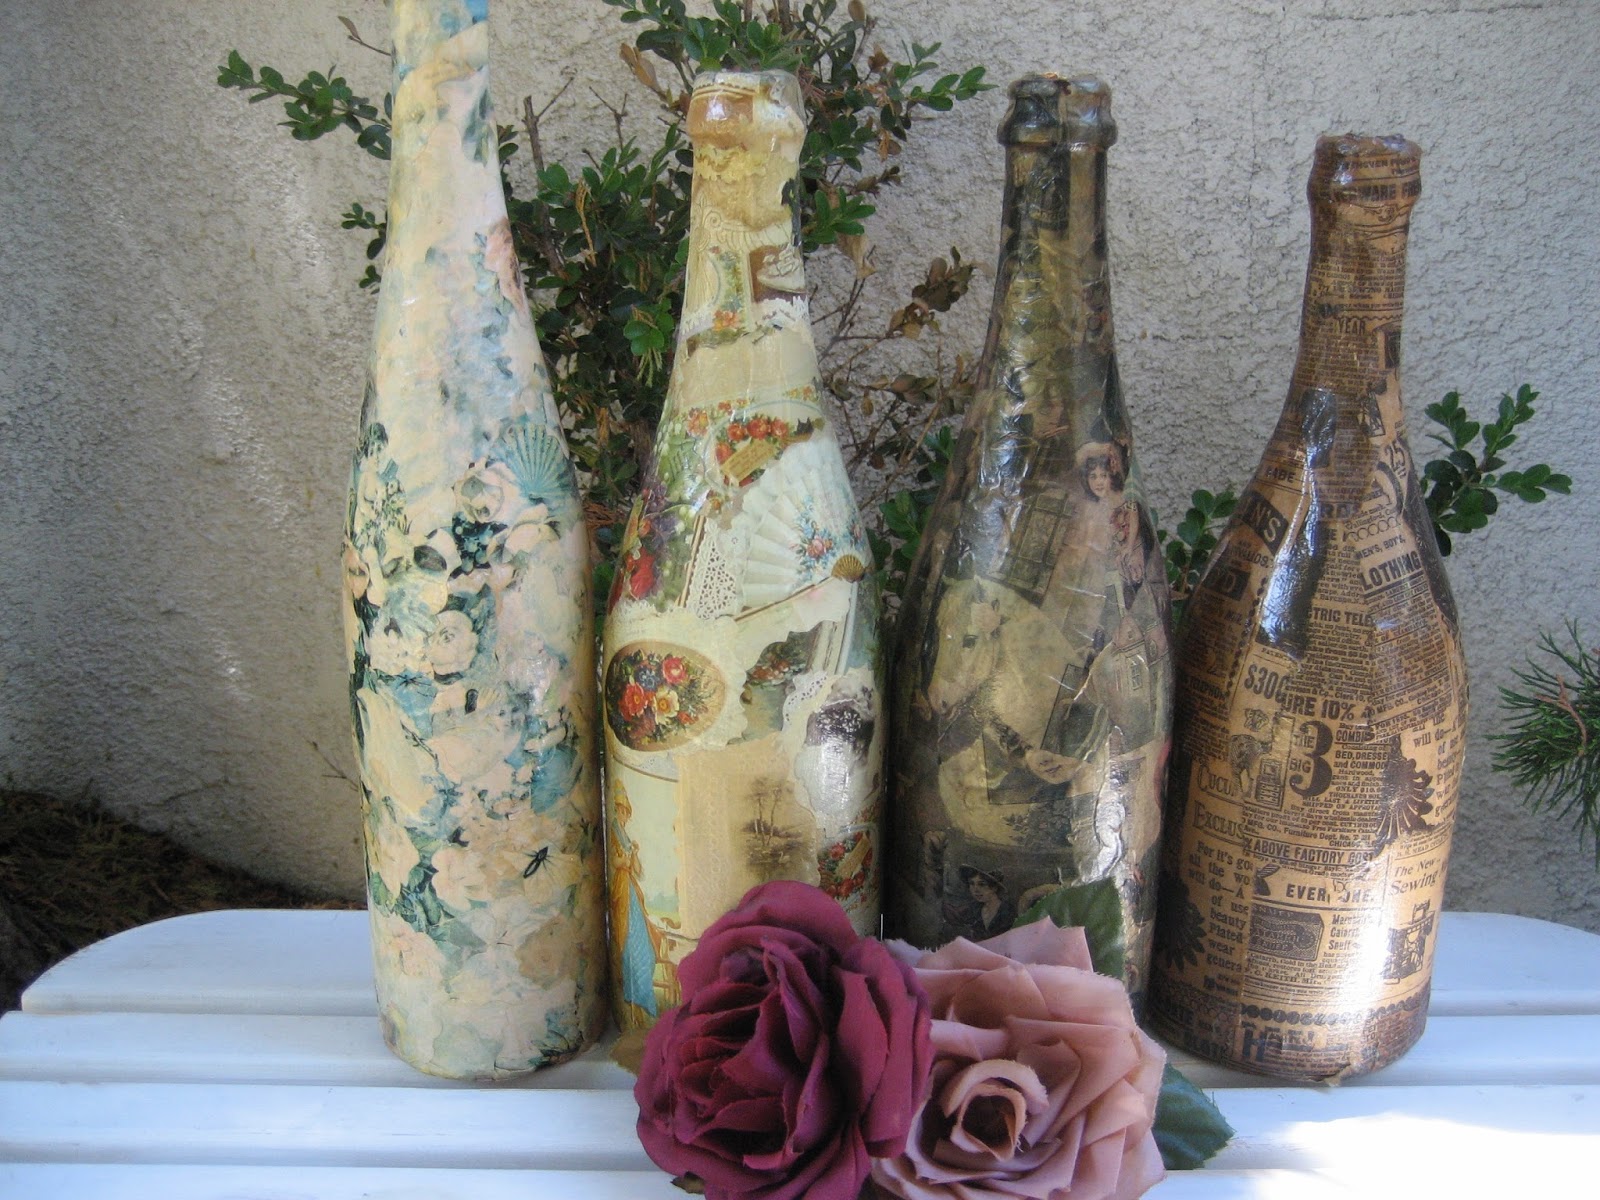
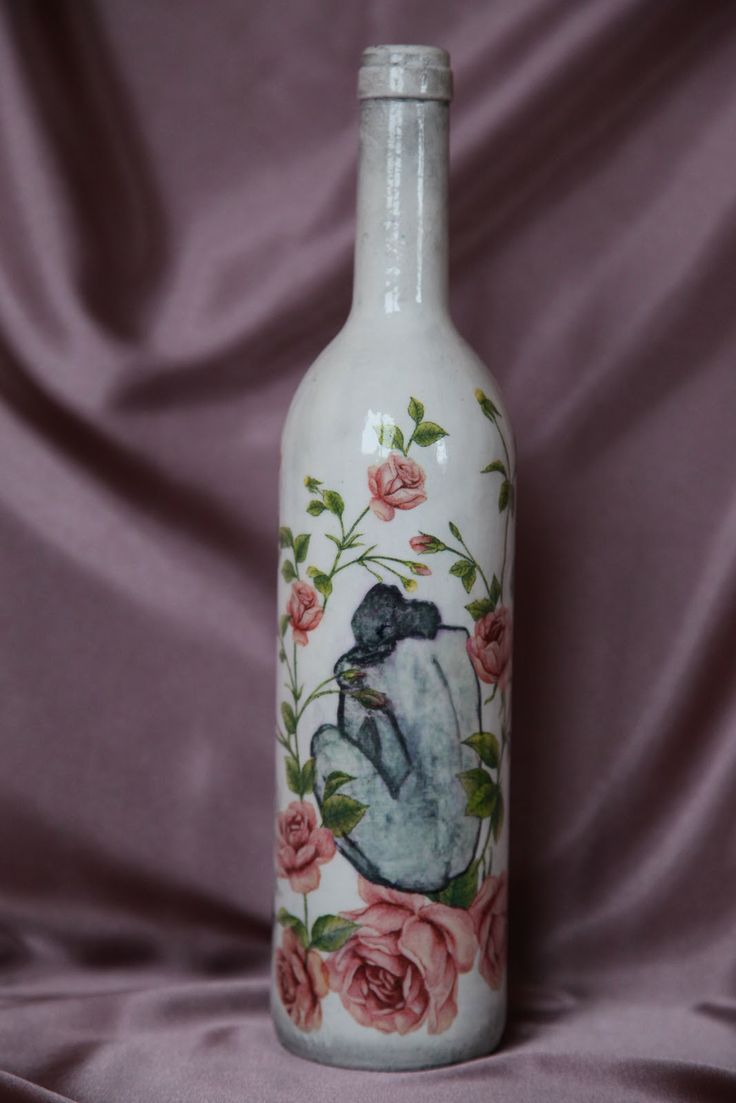
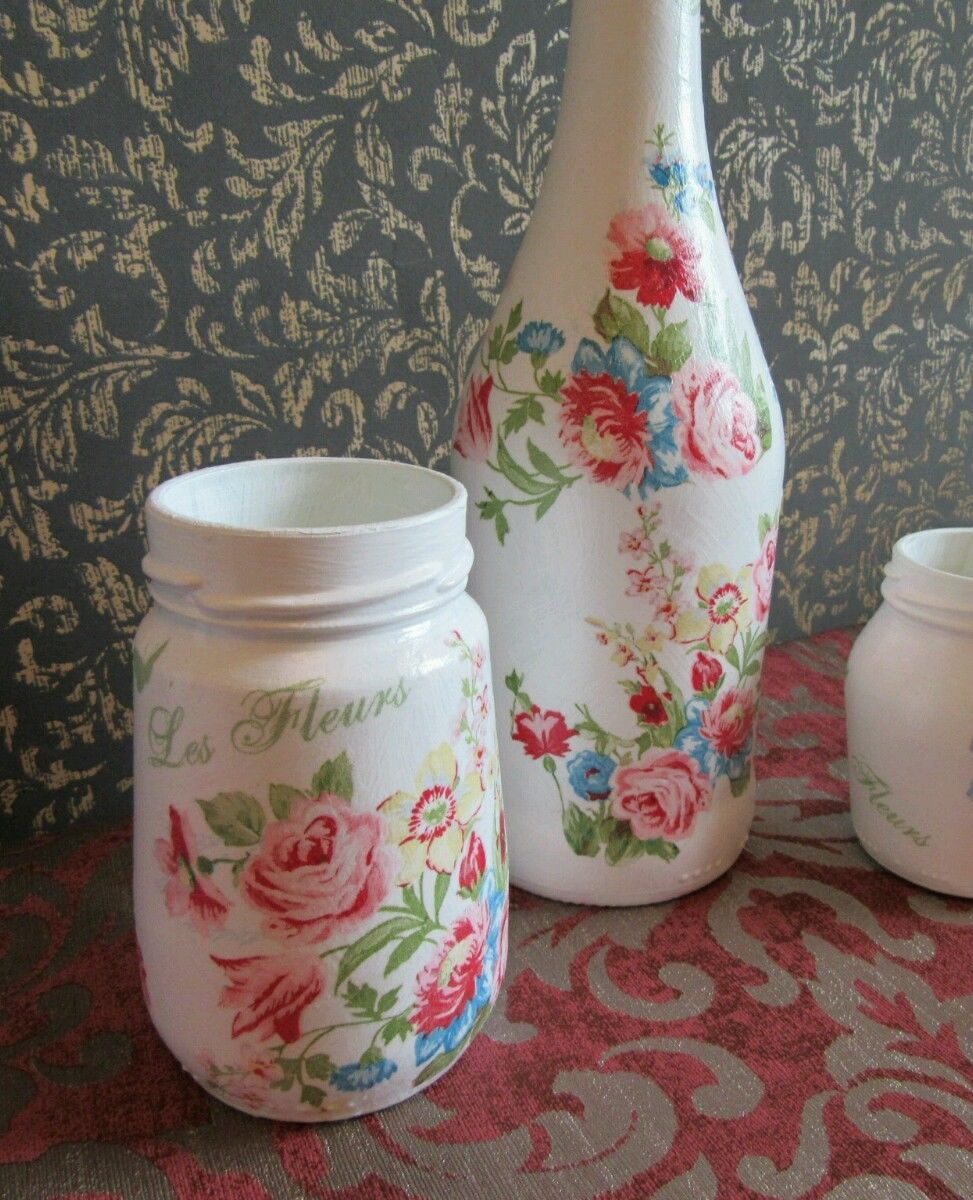
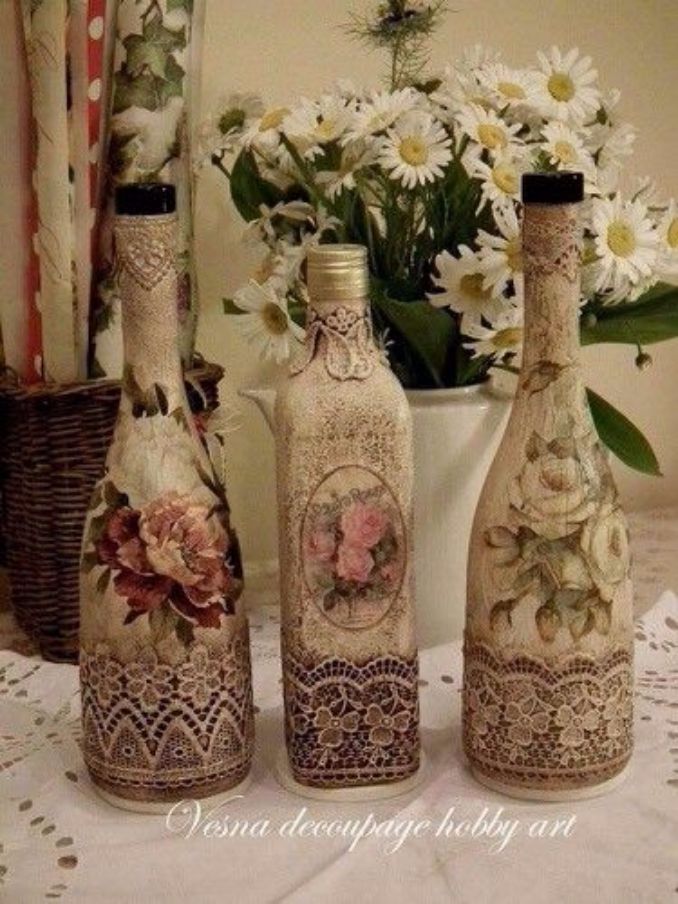
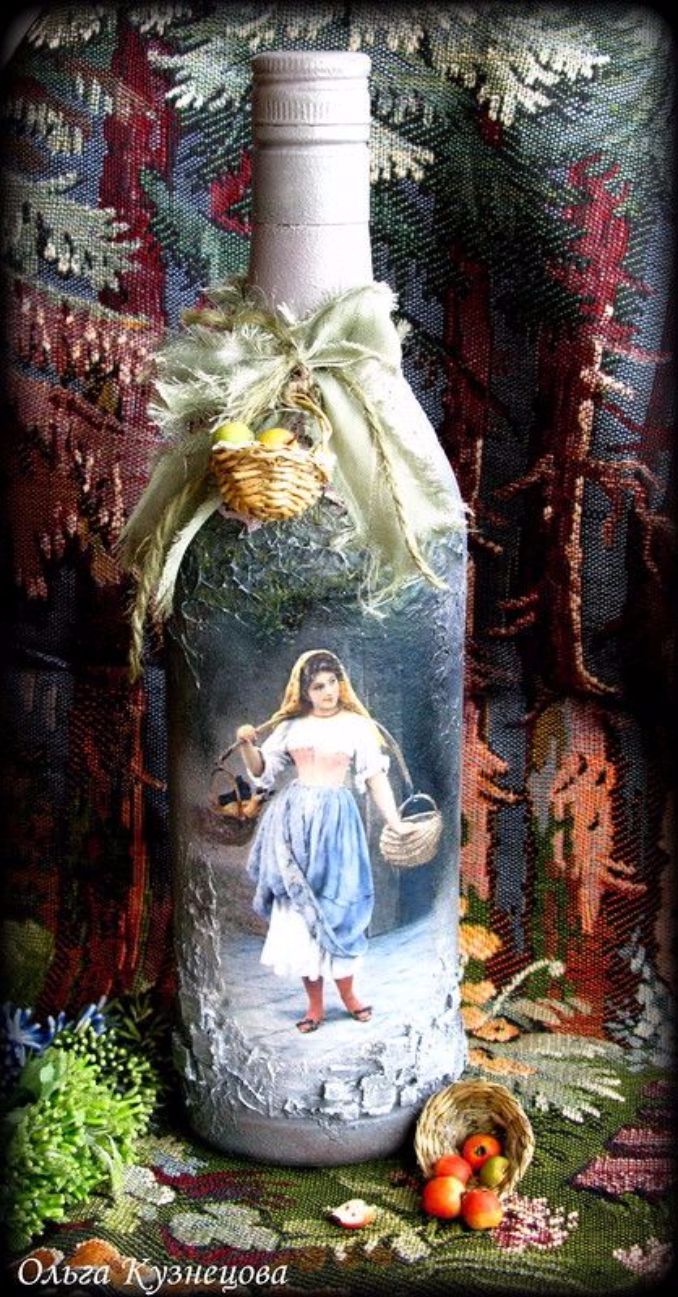
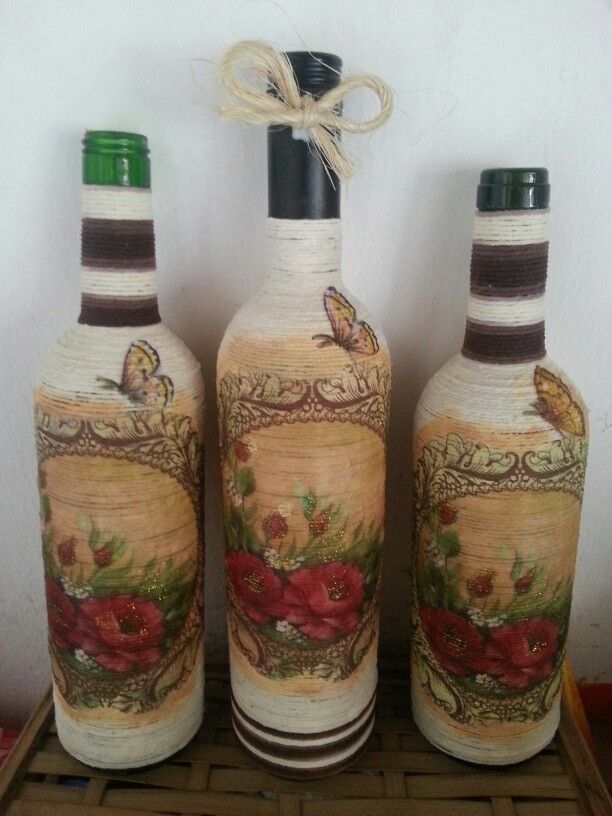
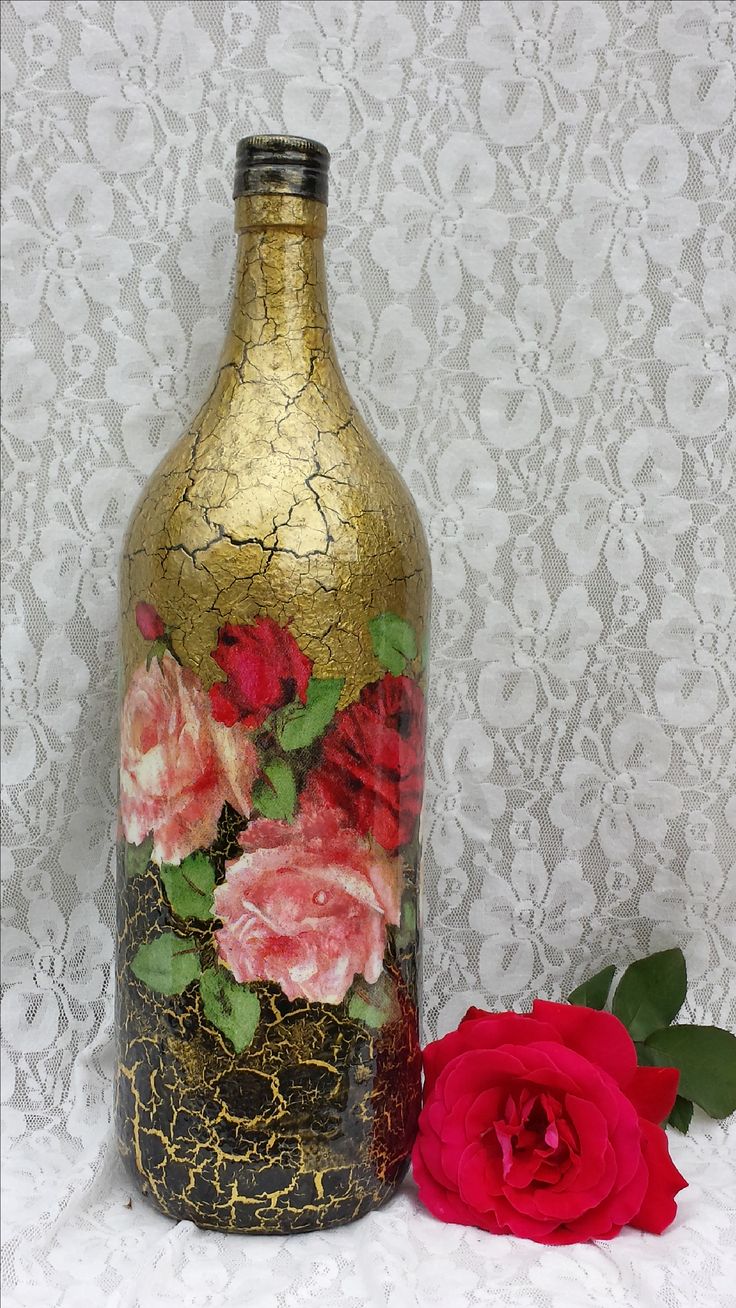
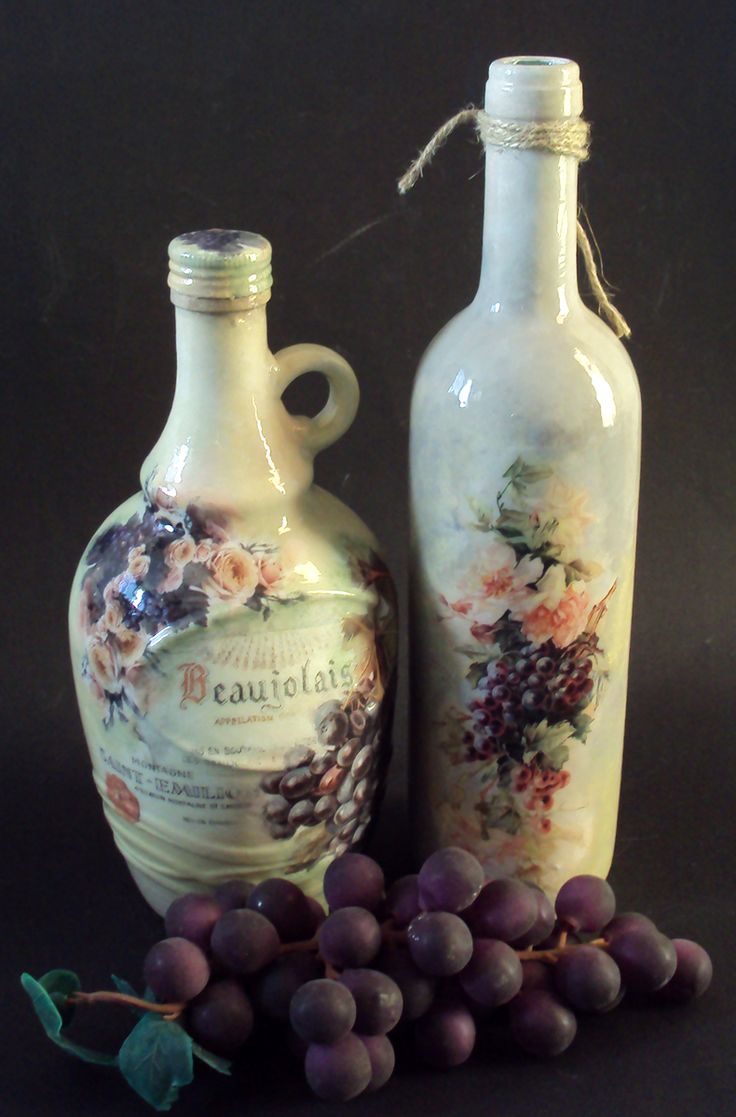
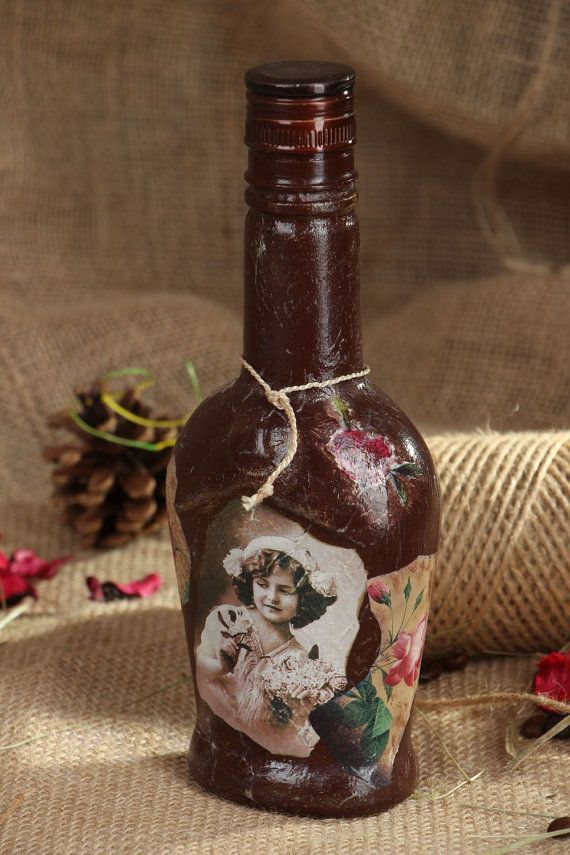
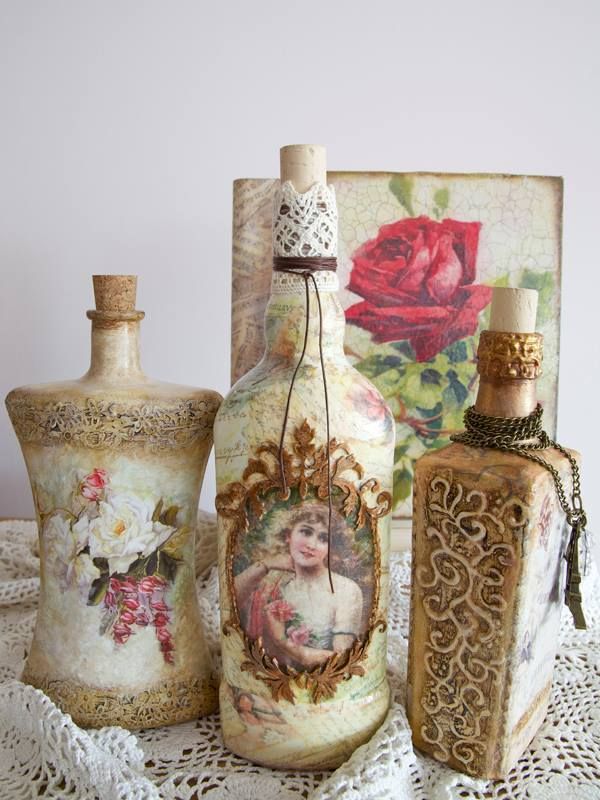
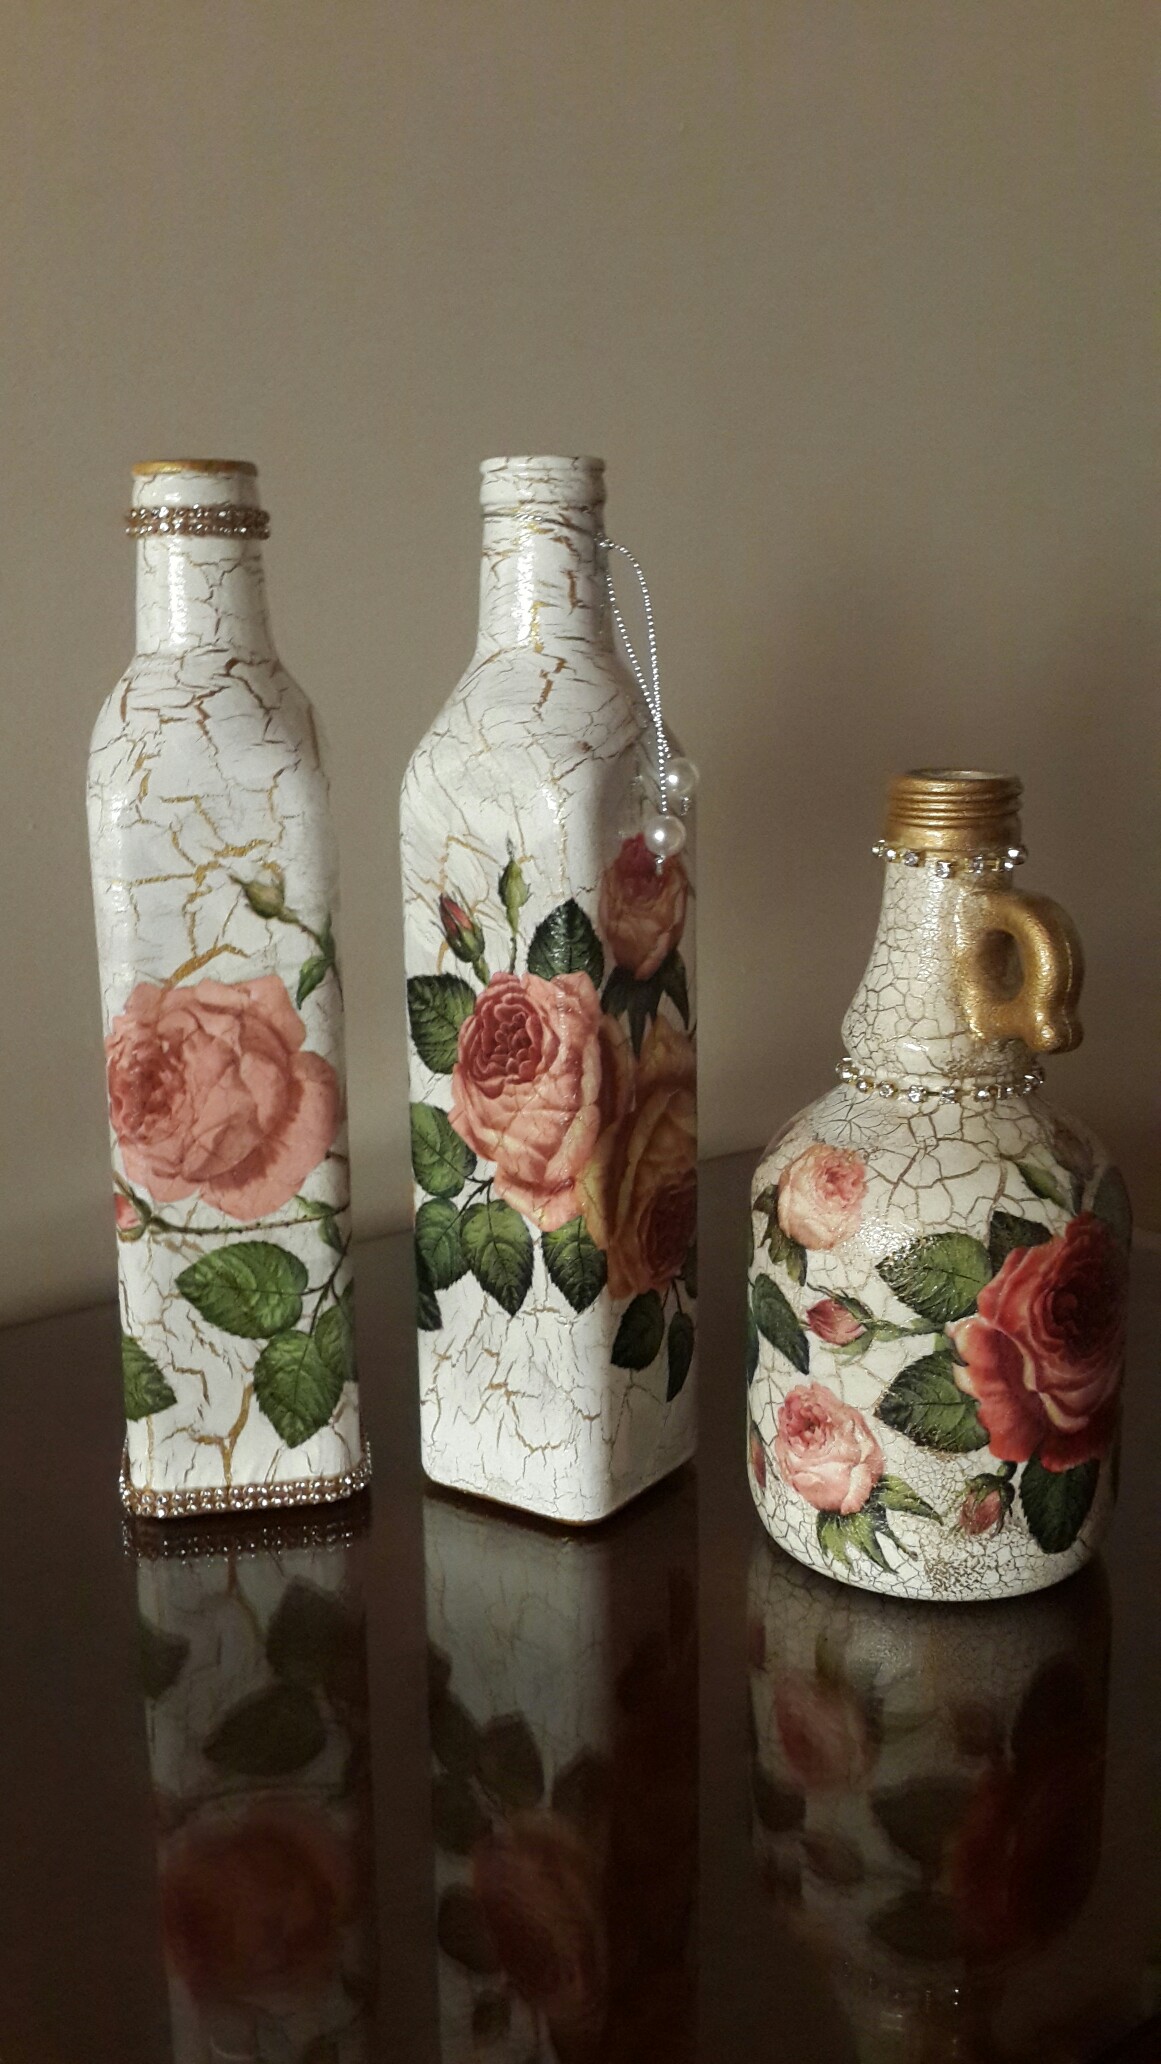
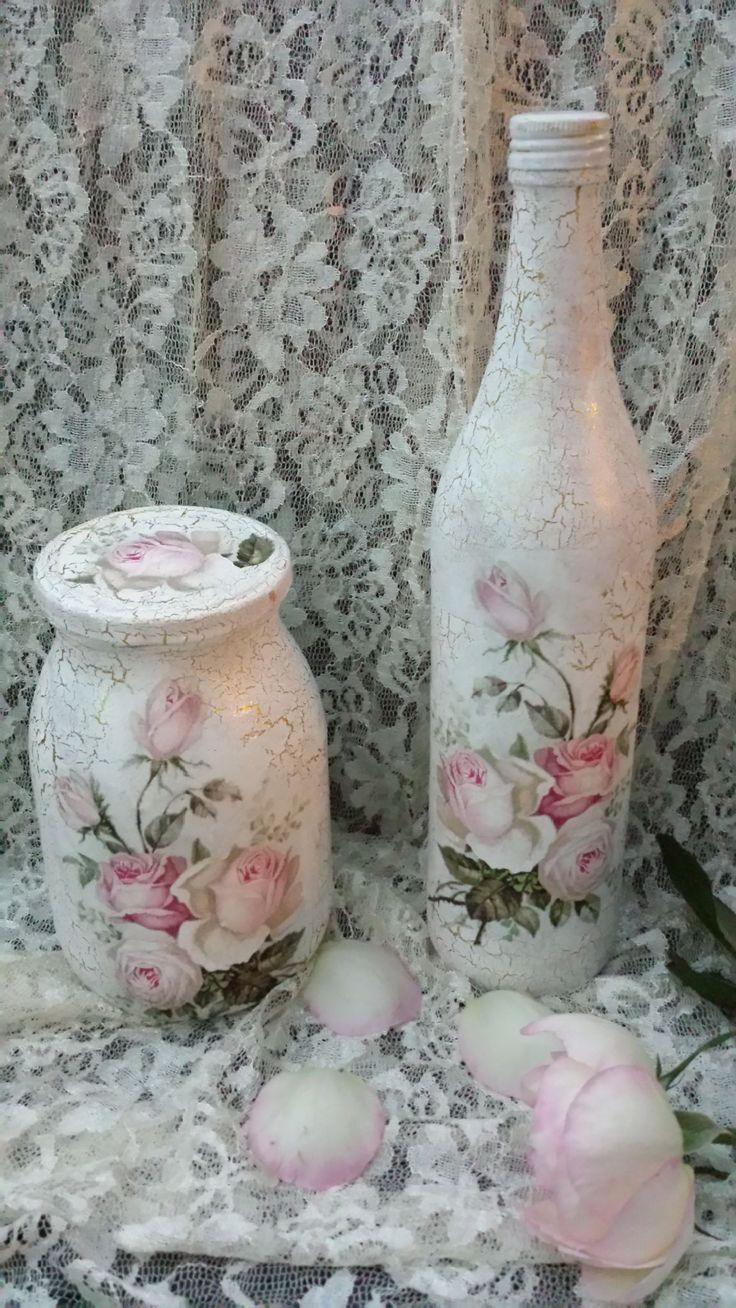
Decoupage bottle patterned with roses
I am preparing a bottle for work. I put it in warm water to peel off factory labels. I remove the remnants of paper with a knife, wipe the glass dry and degrease it with acetone. And now the fun begins.
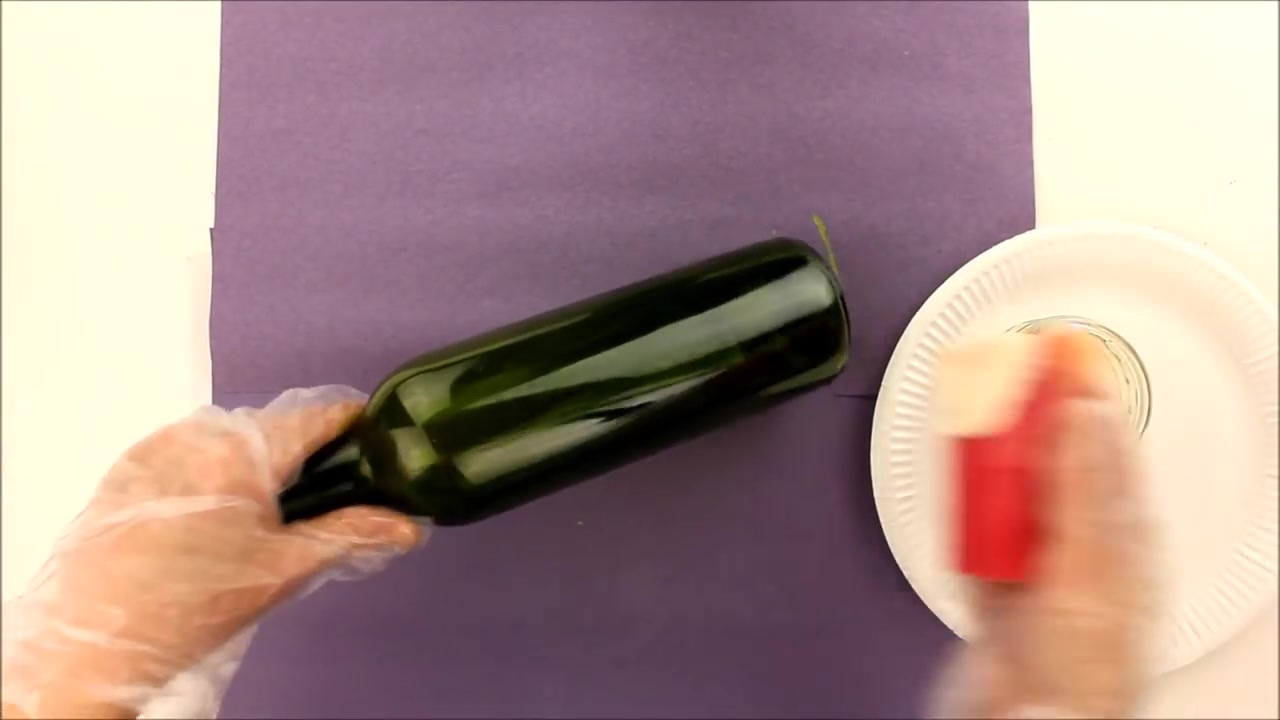
It is necessary to wipe the glass dry and degrease it with acetone.
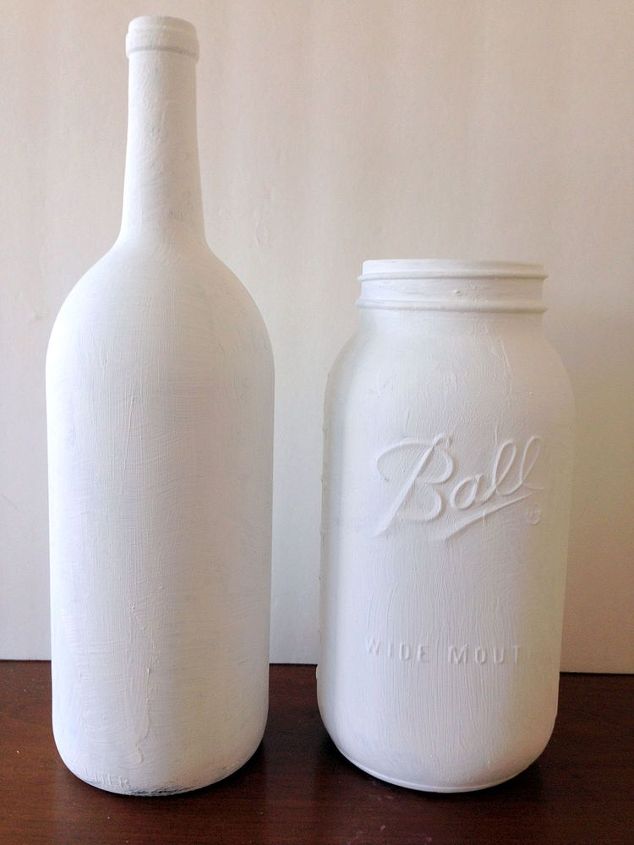
1 step. Prepared
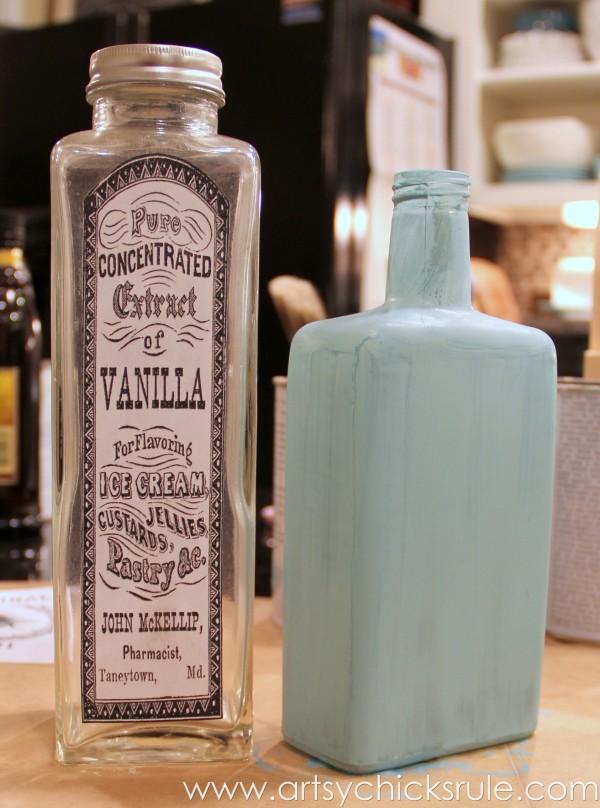
On a clean and degreased glass surface should be applied with a brush or foam rubber primer. As a primer, I use white acrylic paint, diluted with PVA glue, in a 2: 1 ratio. Apply the first layer and let it dry.
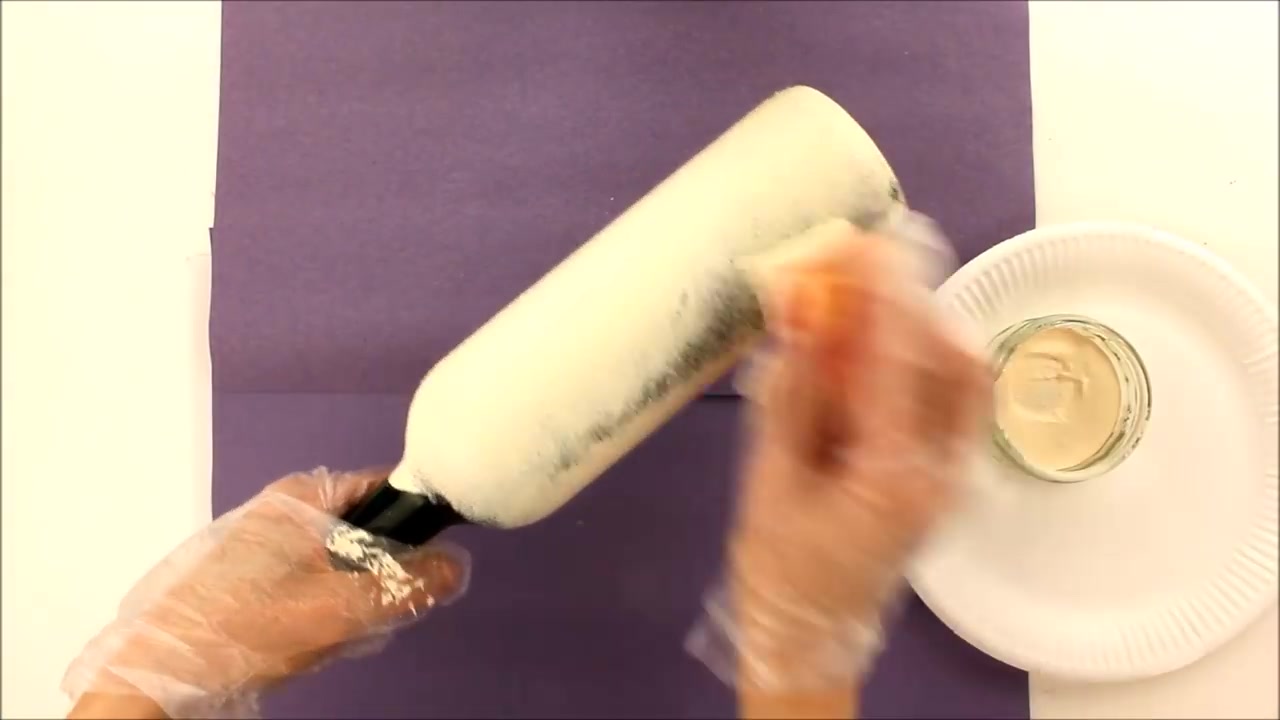
Brush or foam put primer
For the depth of color, apply the second and third layers. The number of layers depends on the quality of the primer.. Dry the product with a hair dryer or dry it in a natural way. Thus, a perfectly white blank is obtained, which asks to decorate it.
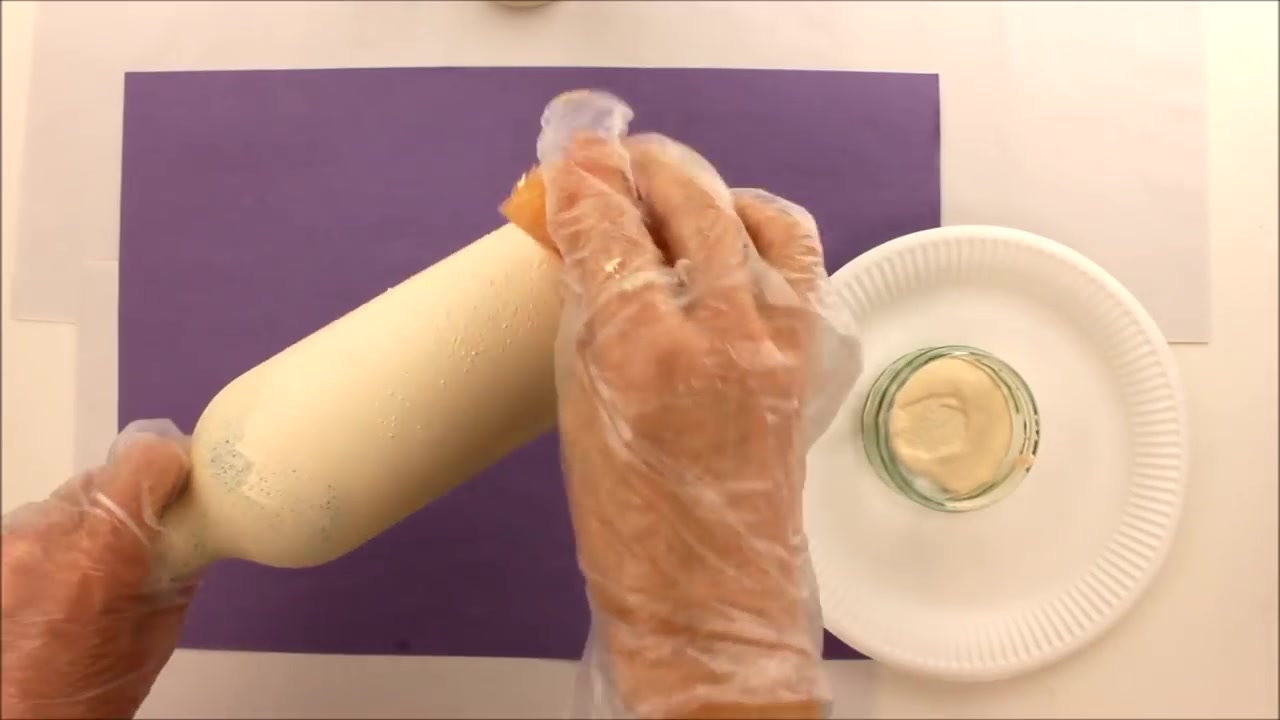
For the depth of color, apply the second and third layers of paint
2 step. Choose an image
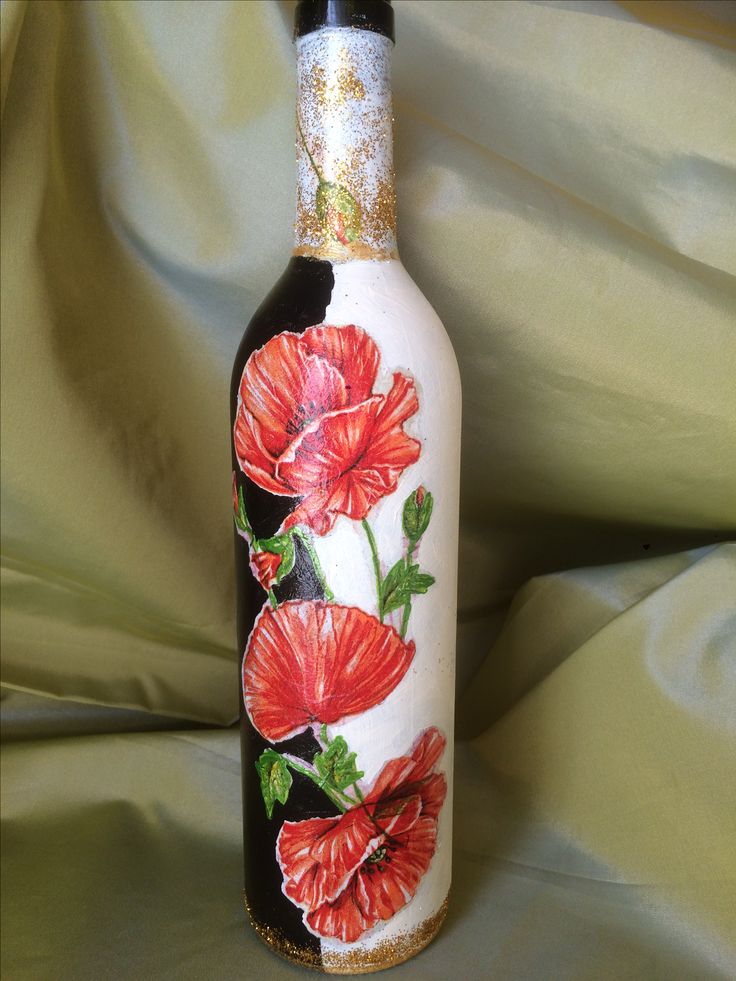
Here it is important to understand how the chosen picture or motive will fall on the bottle. Most likely you will need their preliminary "fitting." Drawing can be cut with scissors. I like the manual pull option more. Not smooth, torn edges of the application look more natural.
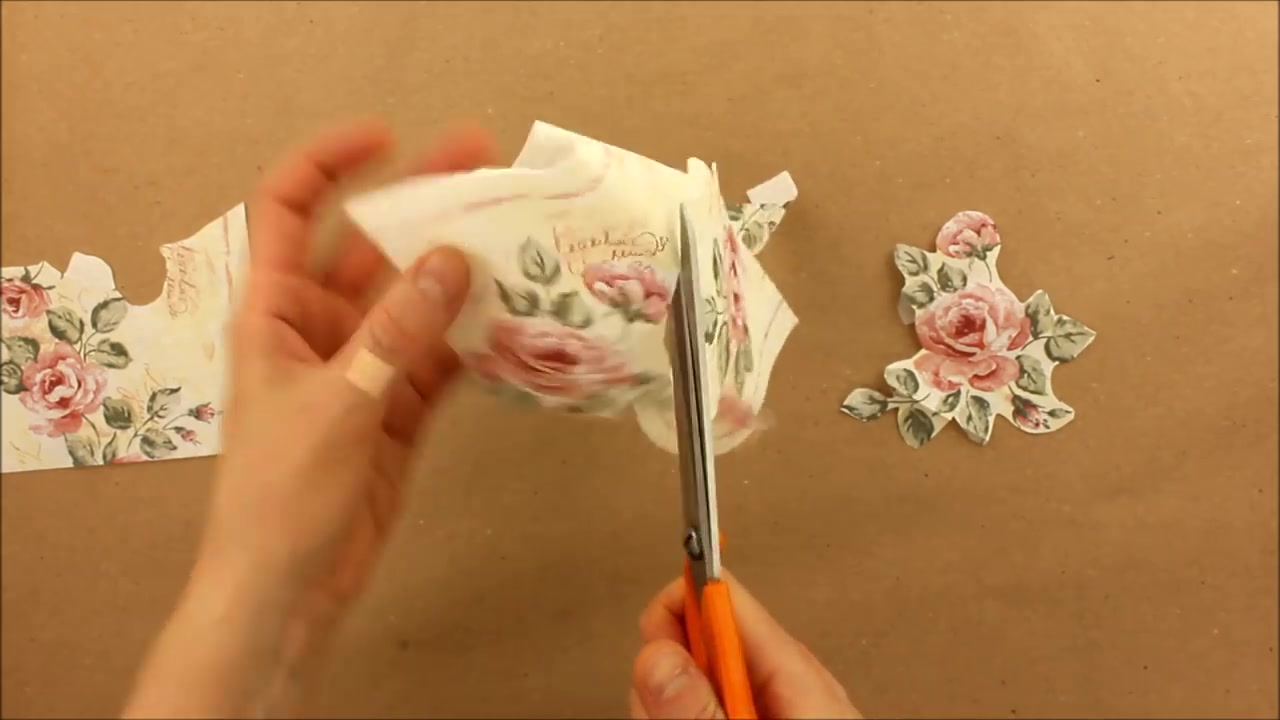
Drawing can be cut with scissors or use the option of "manual pulling"
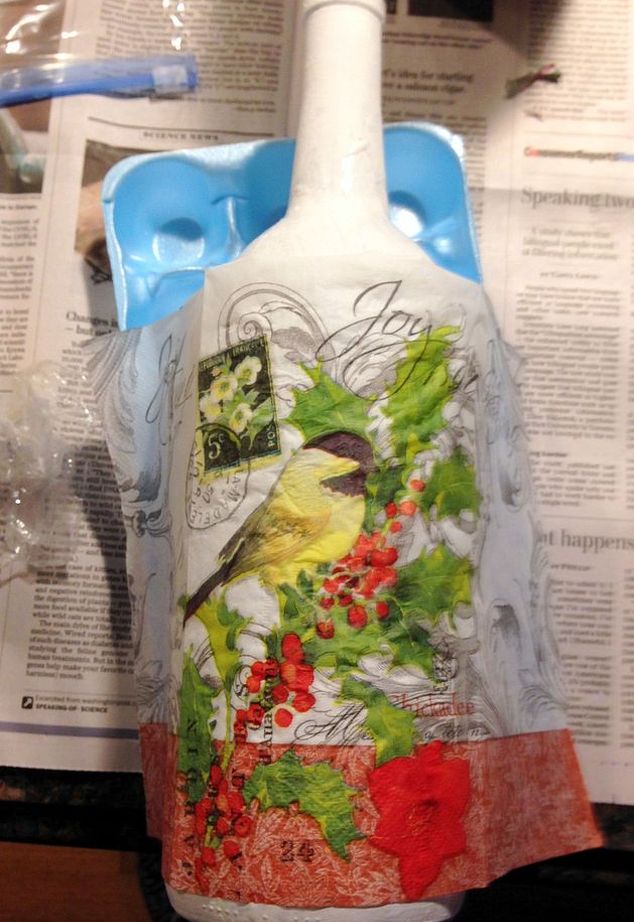
3 step. Glue the picture
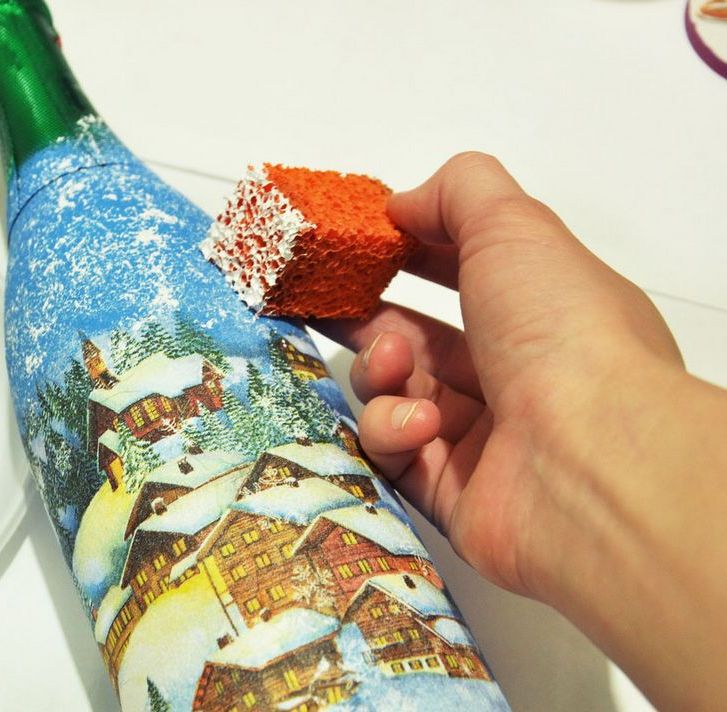
Separate the napkin into layers, take the upper work. Apply the PVA glue to the blank and attach a prepared piece of napkin to it. Then gently smooth it with a roller or brush. Remember that when wetted with glue, the napkin becomes fragile and may tear from awkward movement.. Glue can be applied on top of the application. Both options are used by me in practice.
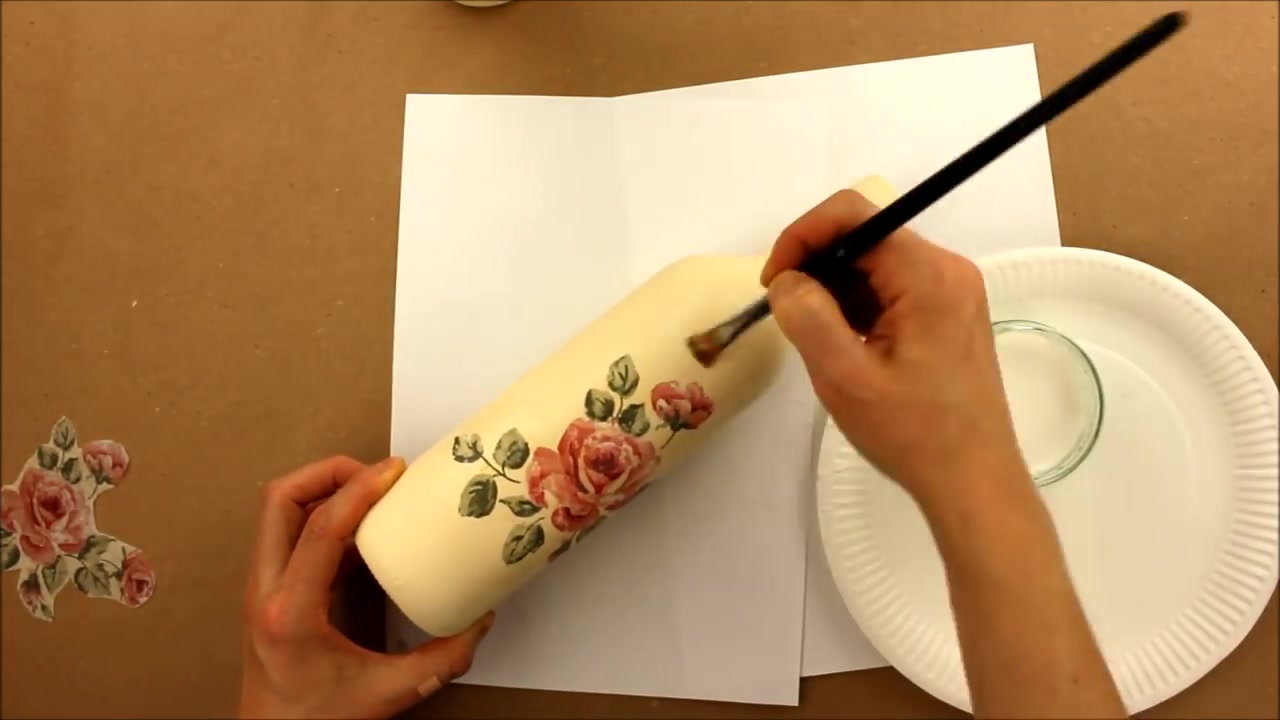
Glued a piece of cloth gently smoothed with a roller or brush
Then we continue to glue on the bottle, fragment by fragment, in order to finally get a conceived idea and dry the product.
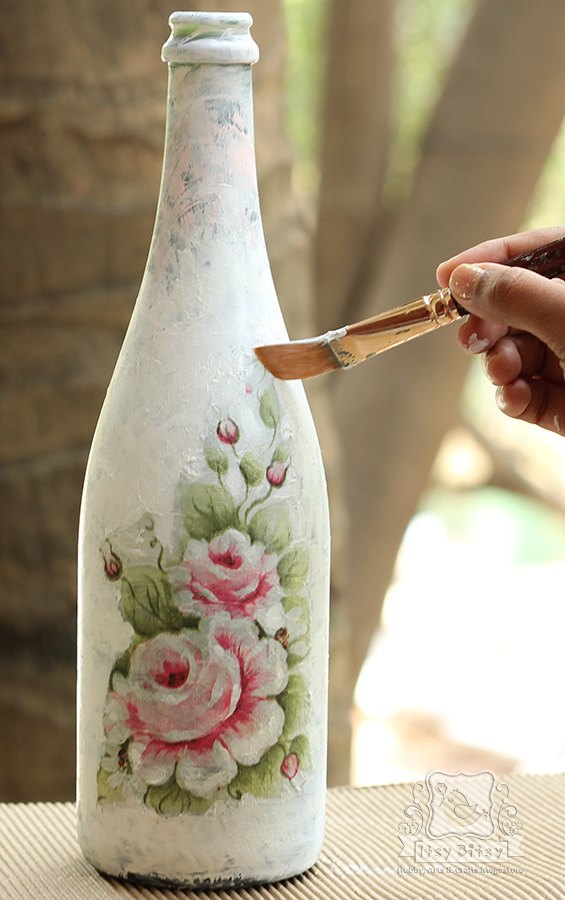
return to menu ↑4 step. Finishing touches
A piece of foam rubber, tangential movements, walk paint on zaduzupazhirovannoy bottle. Thus, you can hide and smooth transitions of paper images to create the impression of the integrity of the picture. I like drawing elements of the image in gold or making them more vivid colors.
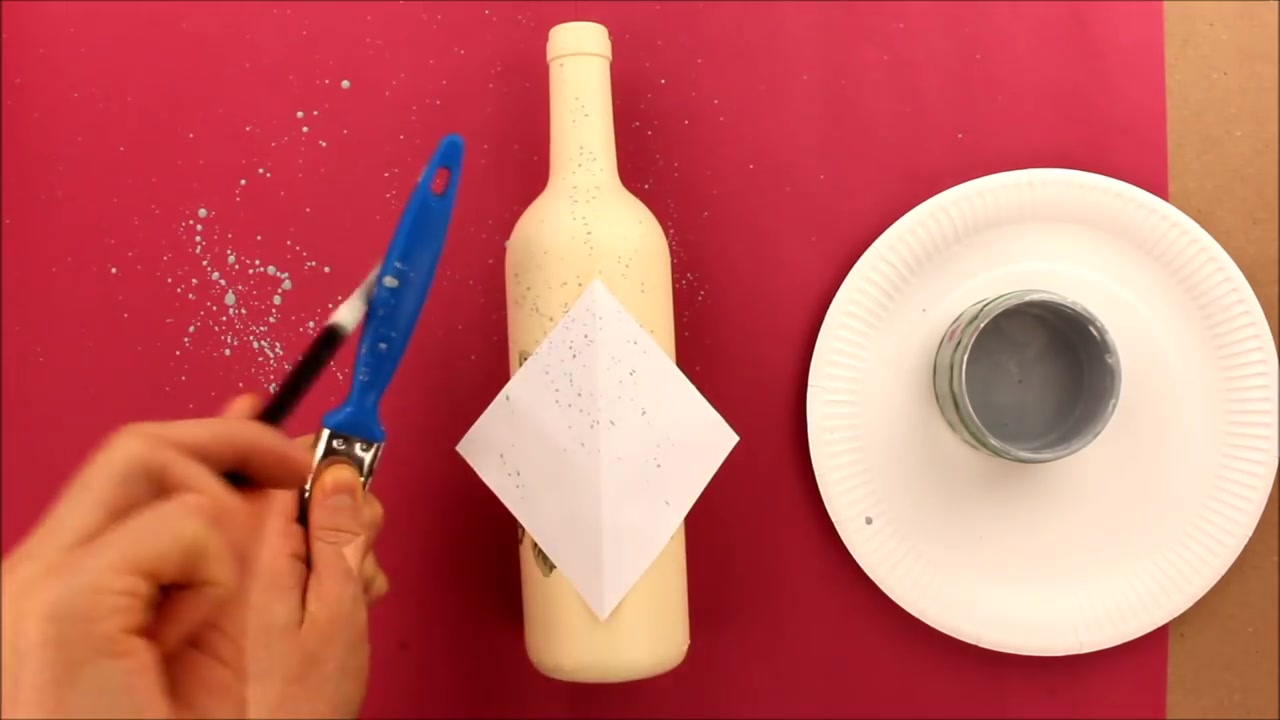
Knock the paintbrush over the surface of the bottle, so you can decorate it with spray
5 step. Adding highlight
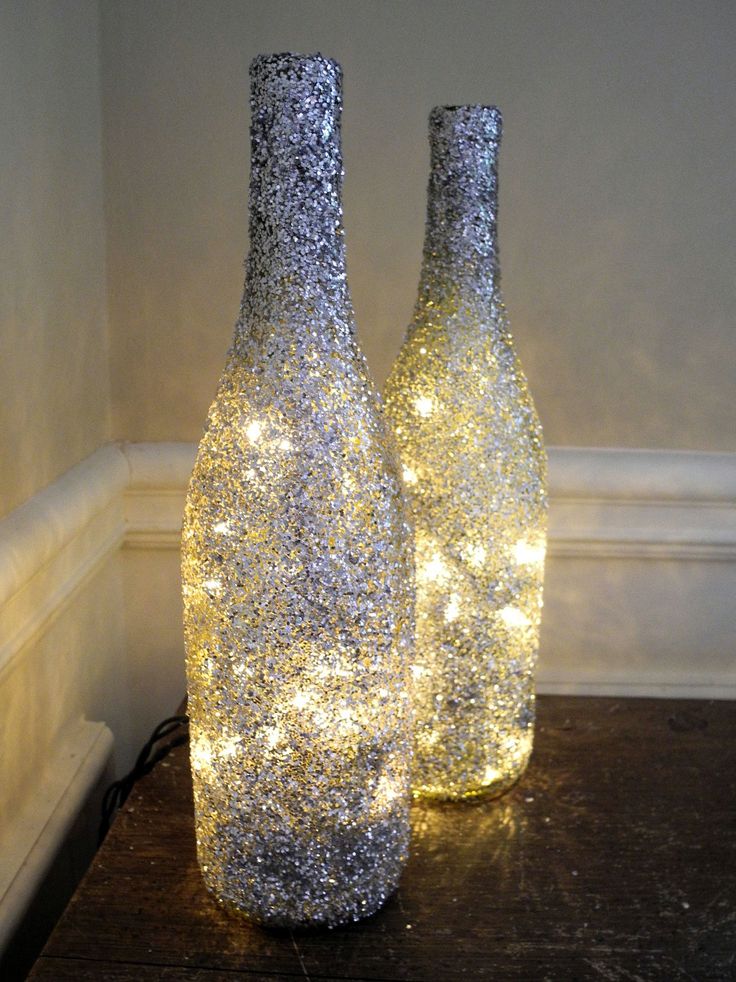
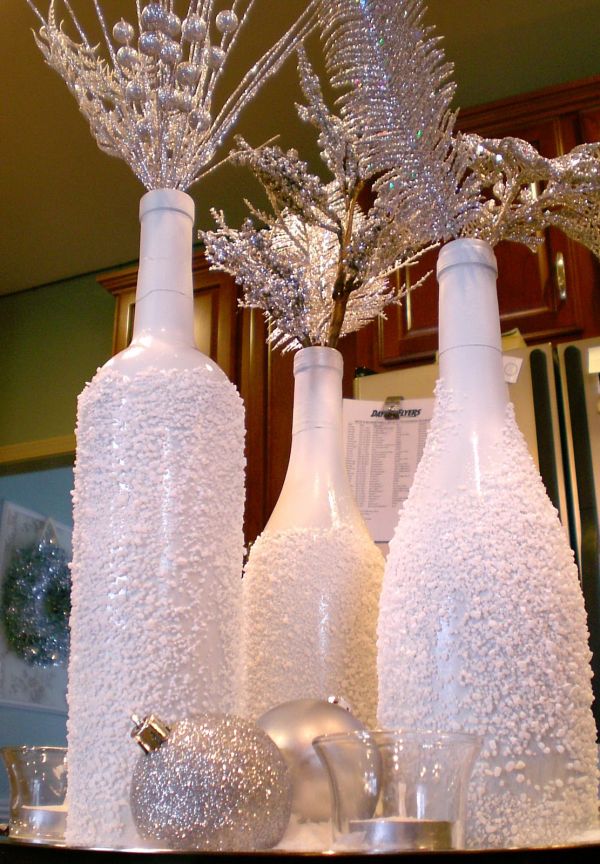
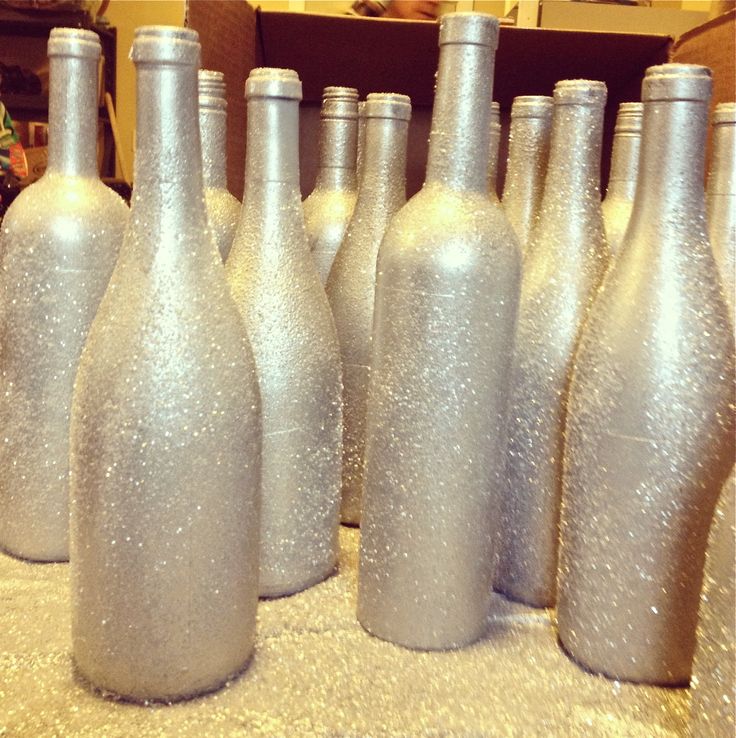
New Year's masterpiece is almost ready. Apply a few chaotic smears of PVA glue on it and roll the bottle in the salt scattered on a sheet of paper - it will turn out snow. Instead of salt, you can take colored beads - you get a scattering of fireworks. As an option, I use materials for nail design. Then everything should be dried again.
return to menu ↑6 step. We varnish
After the main work is completed and the bottle finally becomes dry it needs to be varnished. I cover in 2-3 layers. The varnish protects the product from moisture and mechanical damage. Each layer should be completely dry before applying the previous one.
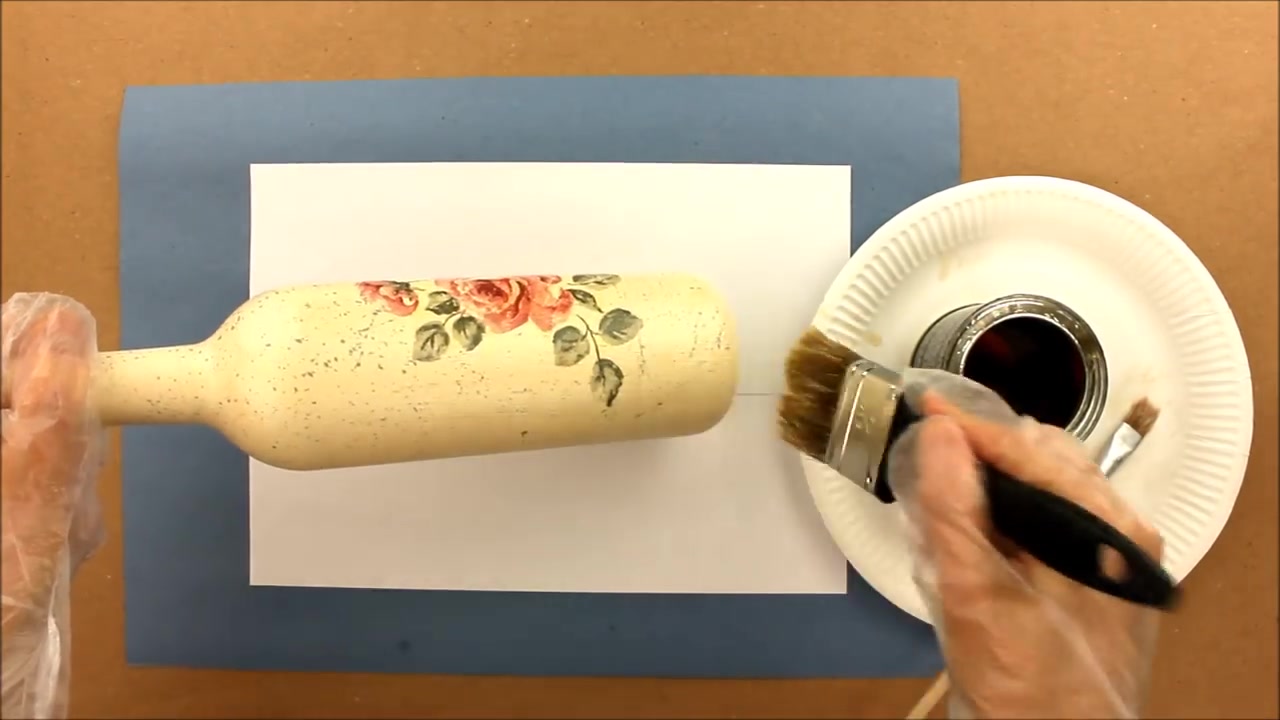
Coat the product with varnish in 2-3 layers
Take a look at the wonderful creation of your hands! In your opinion something is not enough for him? Want a more idle decoration? Then proceed to the additional decoration.
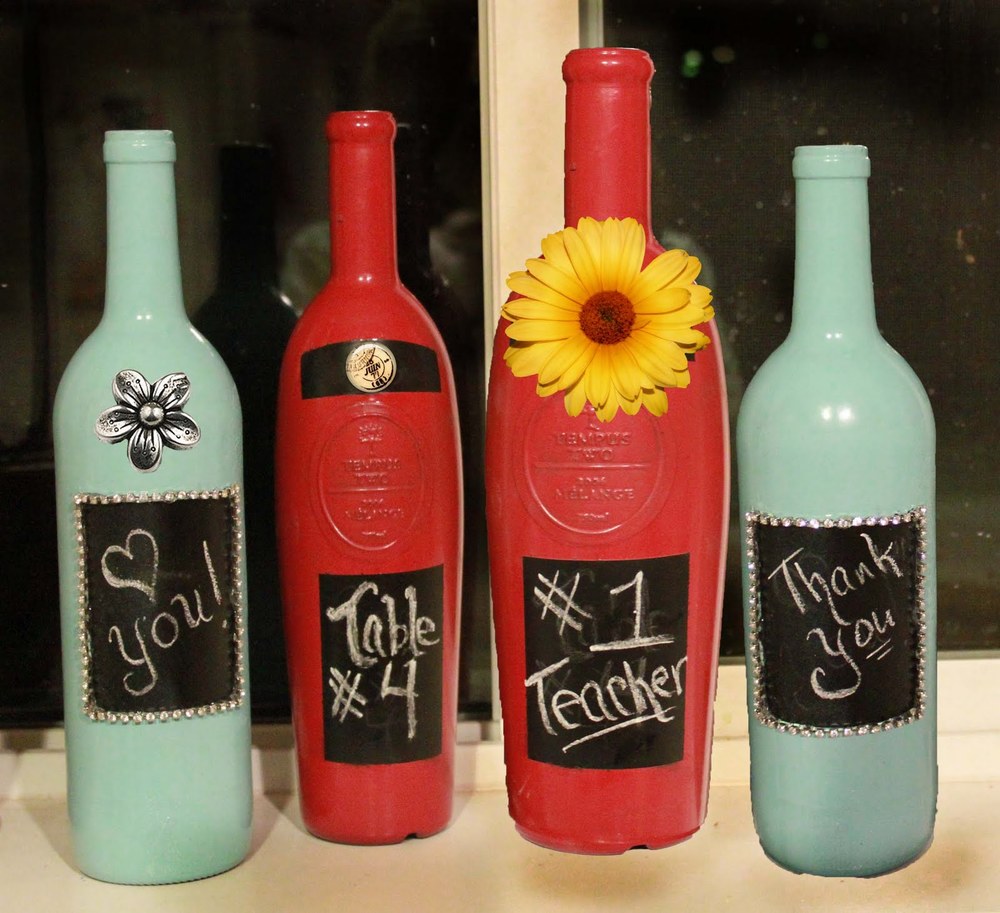
return to menu ↑Decorating the bottle
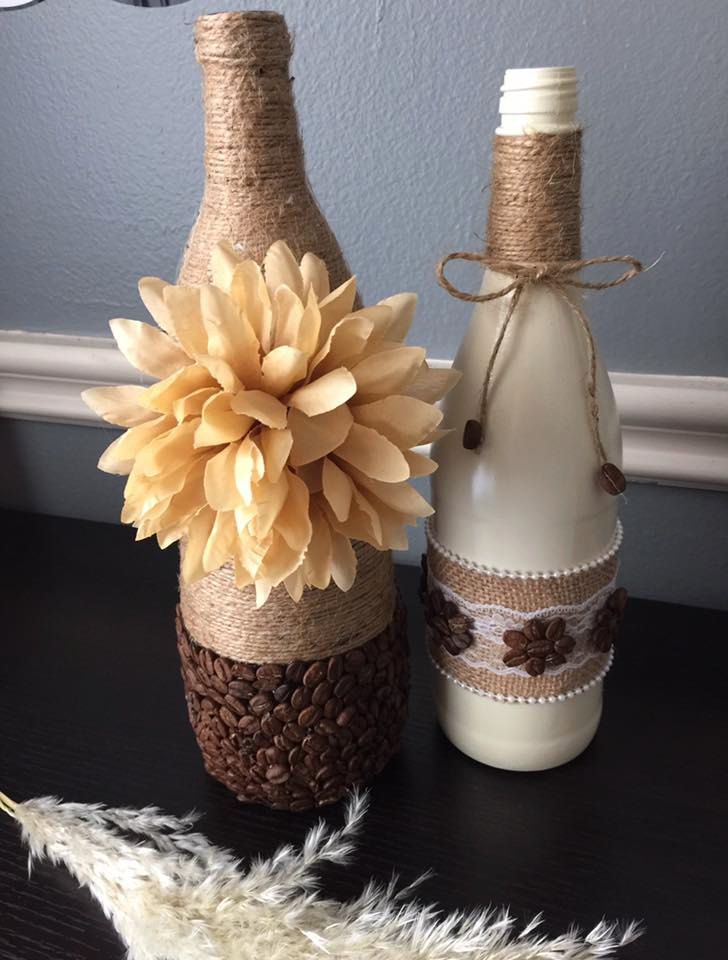
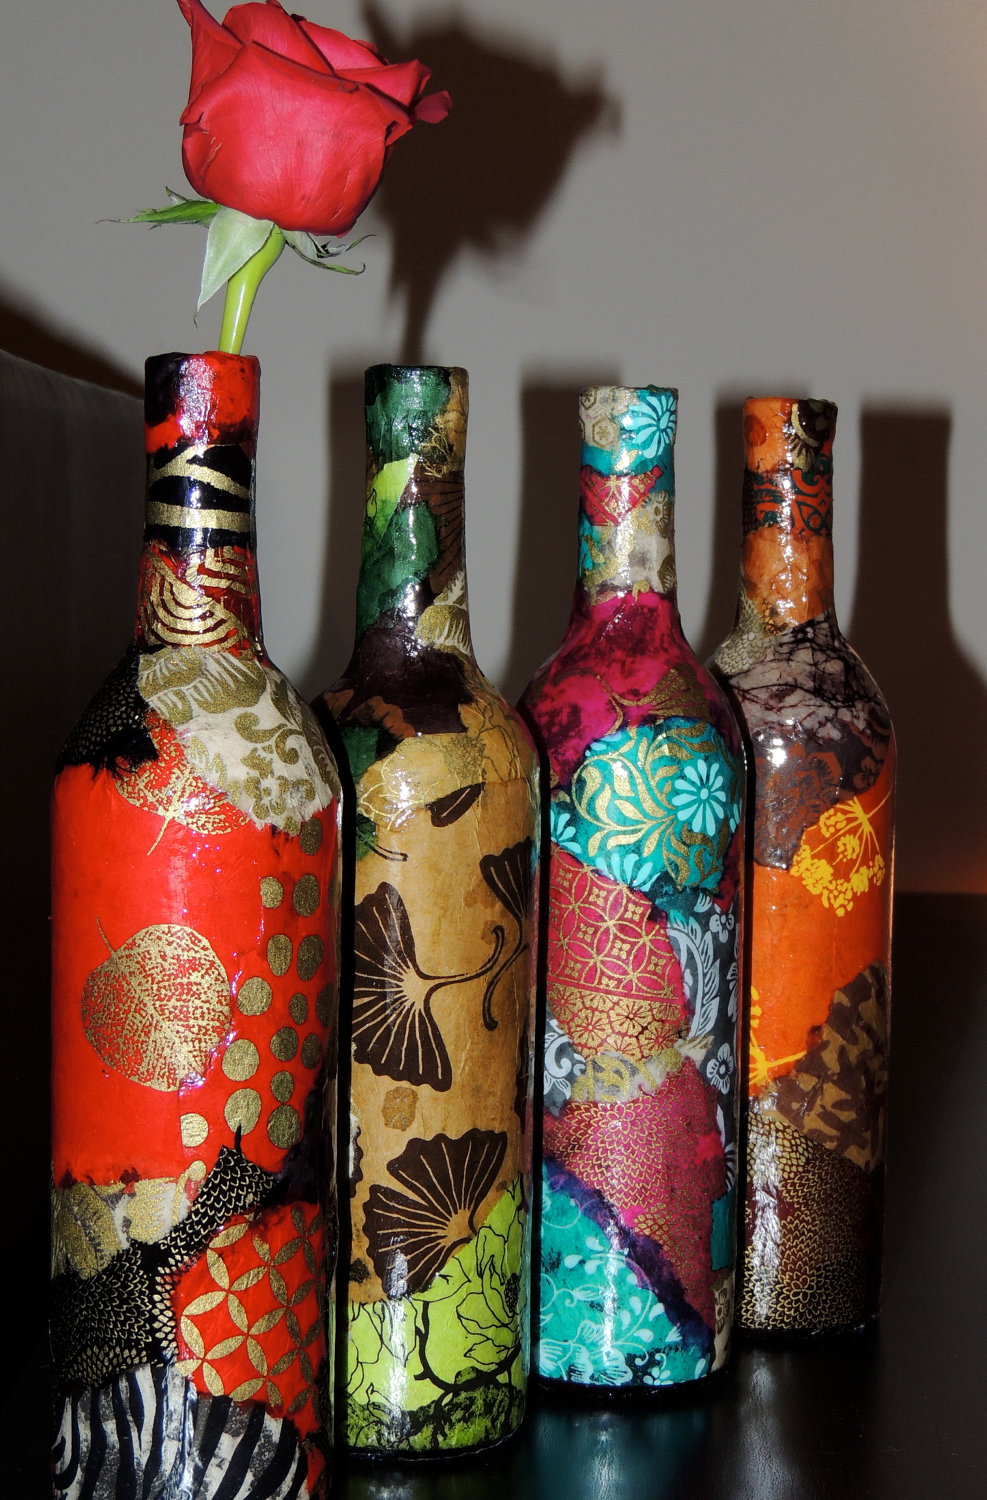
Create a decor for a bottle of different materials.
It is possible that the items are stored unnecessarily in your closet. So today is their finest hour. I use at work:
- beads;
- rhinestones;
- lace, satin and silk ribbons;
- old brooches;
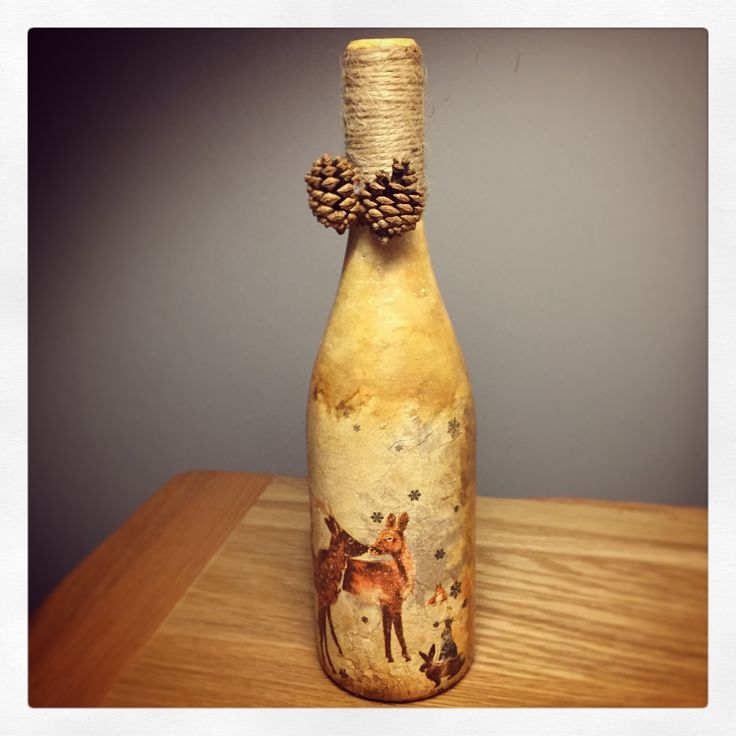
- cones and bark;
- Vatu;
- silver and gold spray paint;
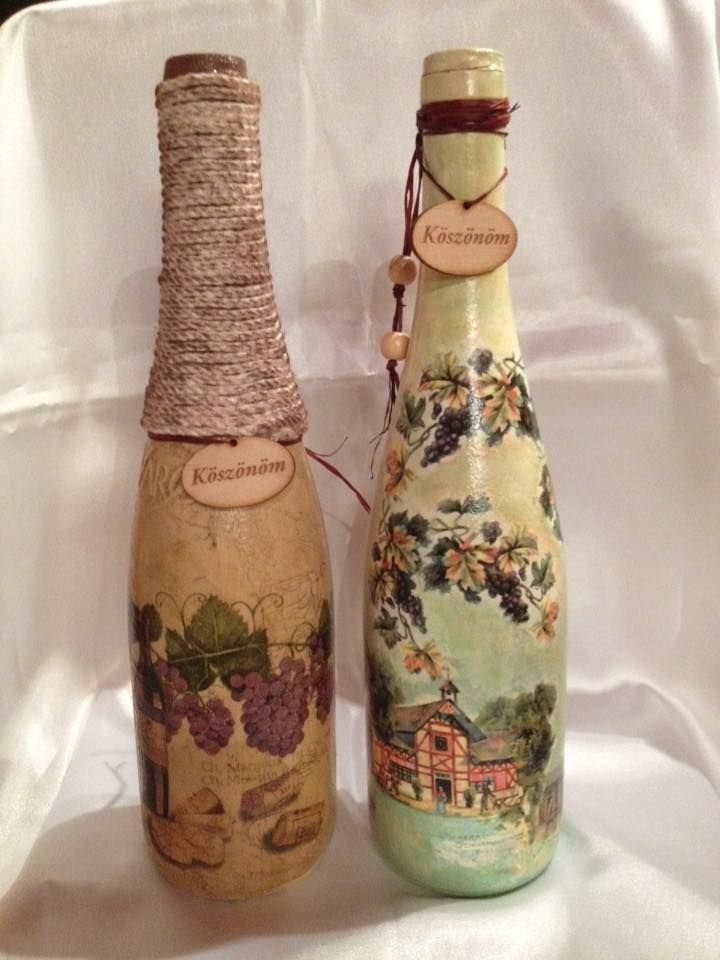
- twine.

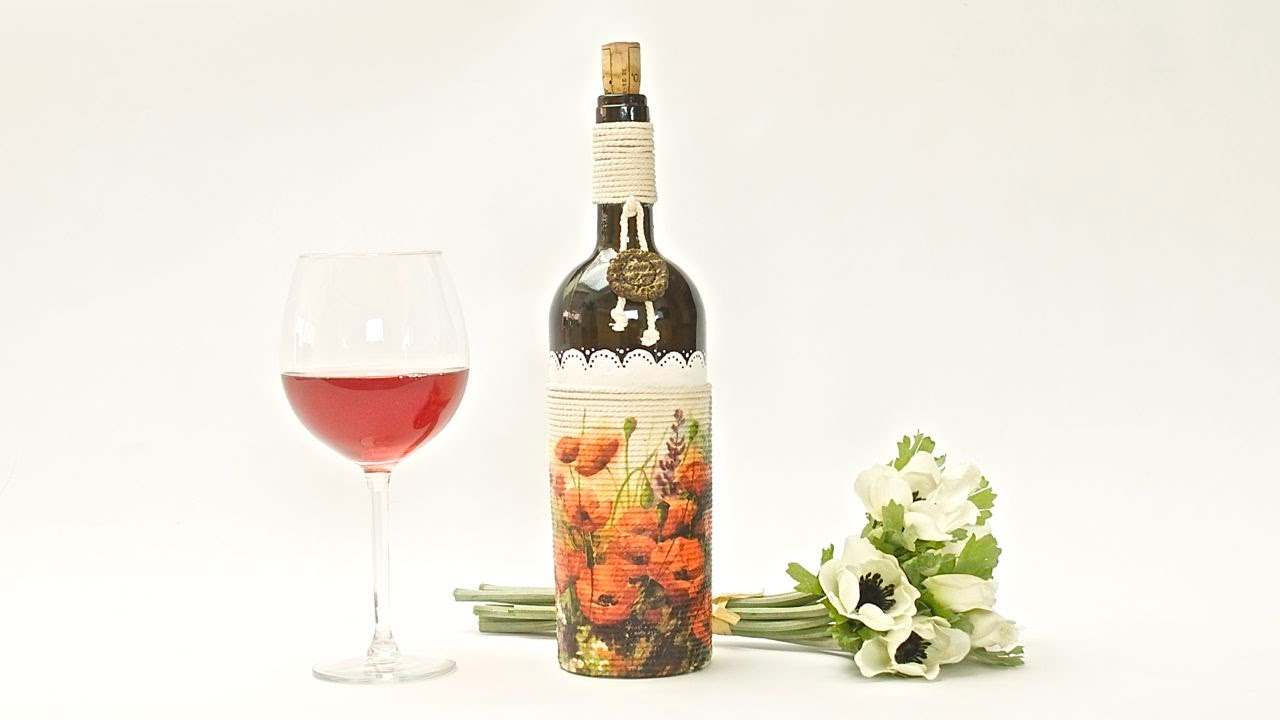
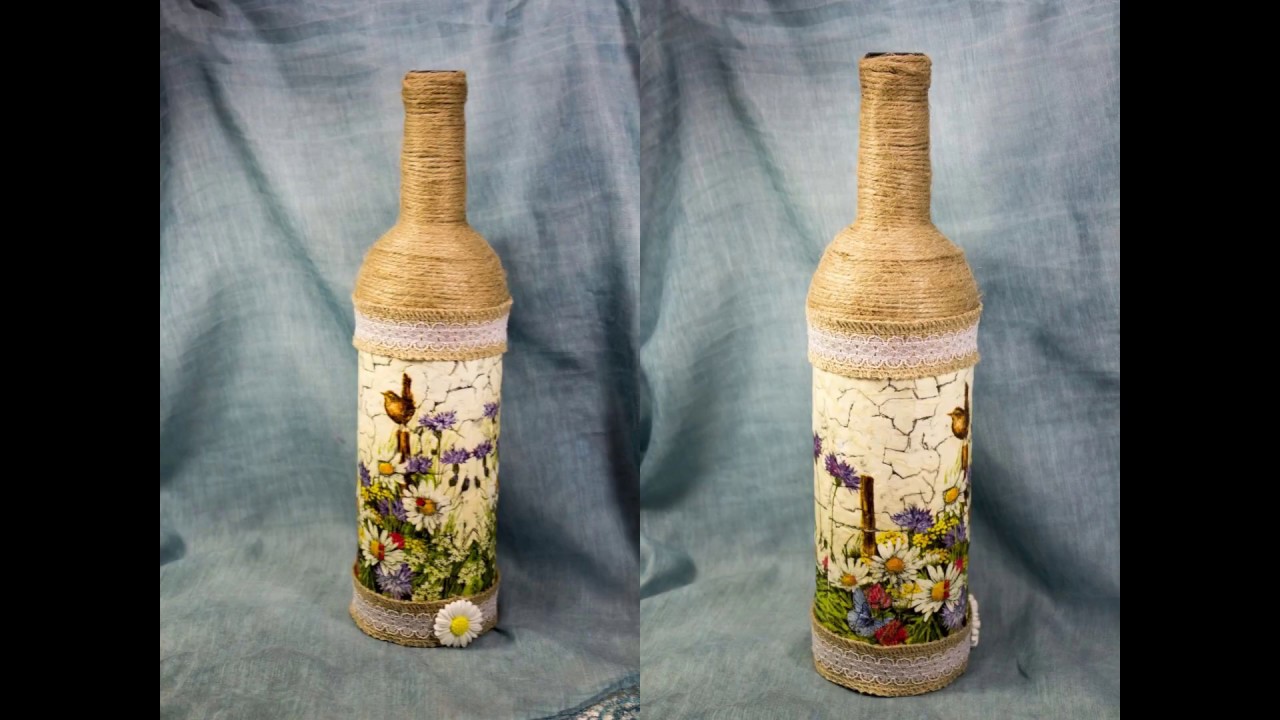
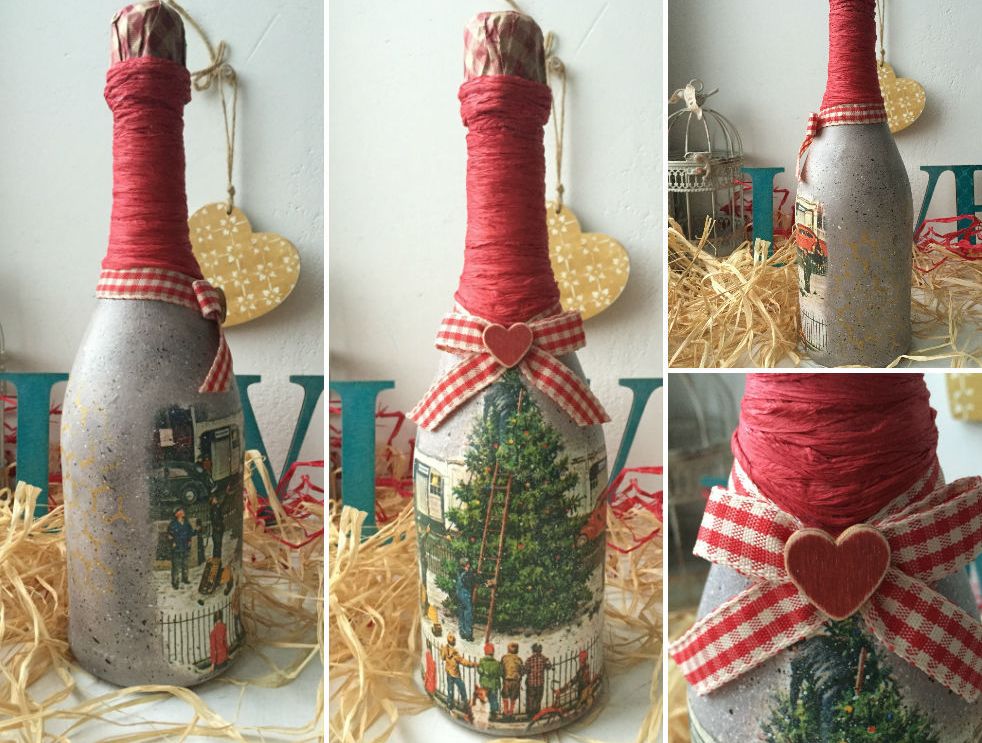
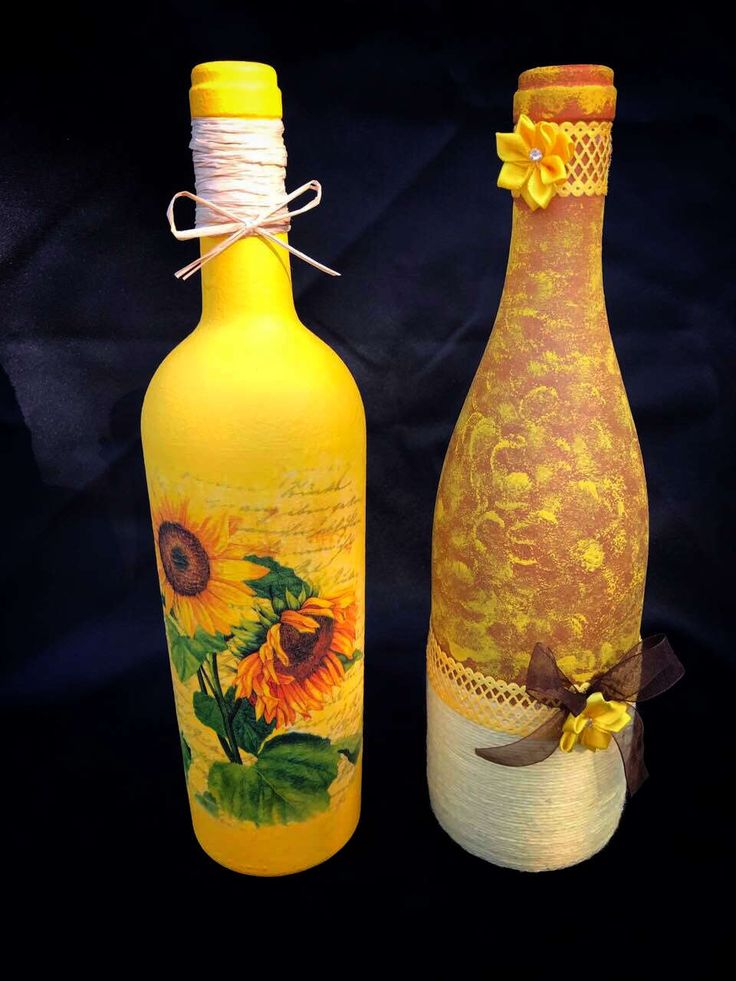
Wrap the neckline with string, paint it if you like.
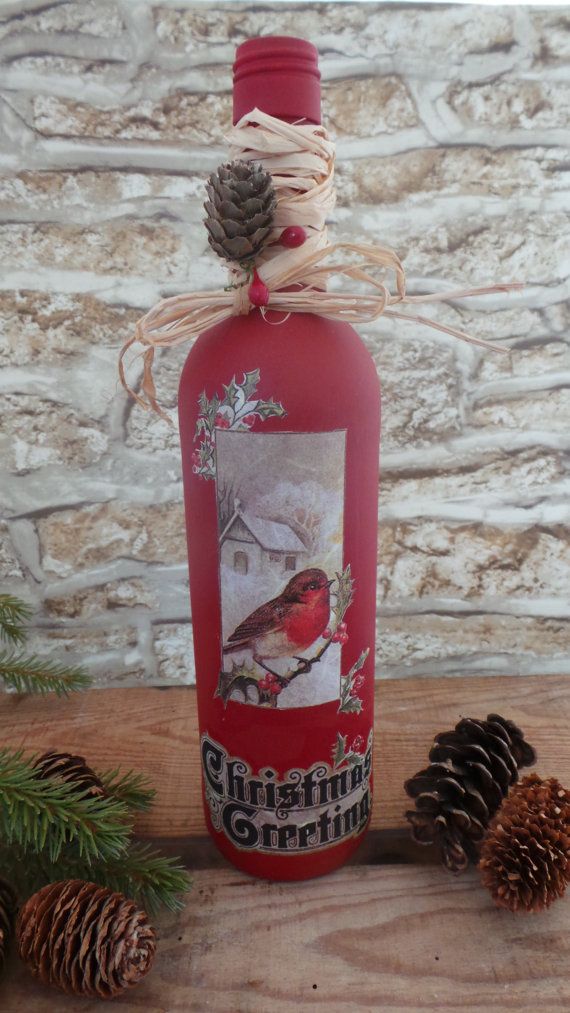
As well as practicing various design options. Today I want to offer them to you with pleasure:
- Tie colored satin or cotton, colored or checkered ribbons and bows on the hanger of the bottle.
- On the bottom contour on the glue super-moment glue pearls or rhinestones.
- Wrap the neck with a string, paint it in silver or red.
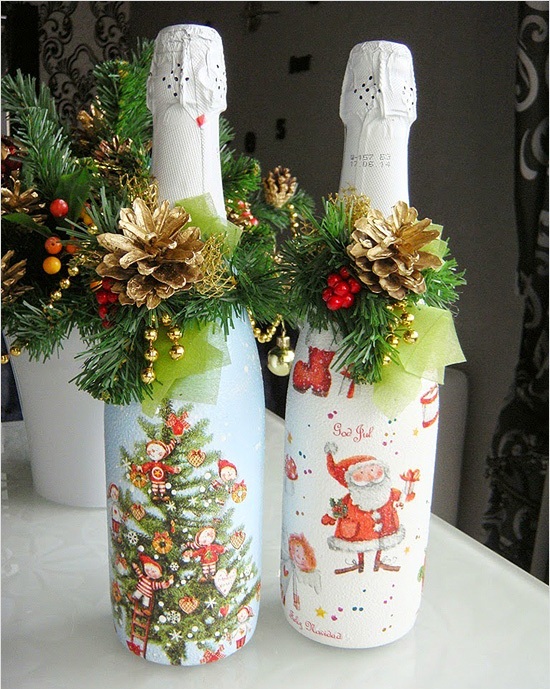
- Gold paint paint pine cones and attach them to the product.
- Artificial berries of mountain ash or viburnum are suitable as decorations.
- Powdered New Year balls.
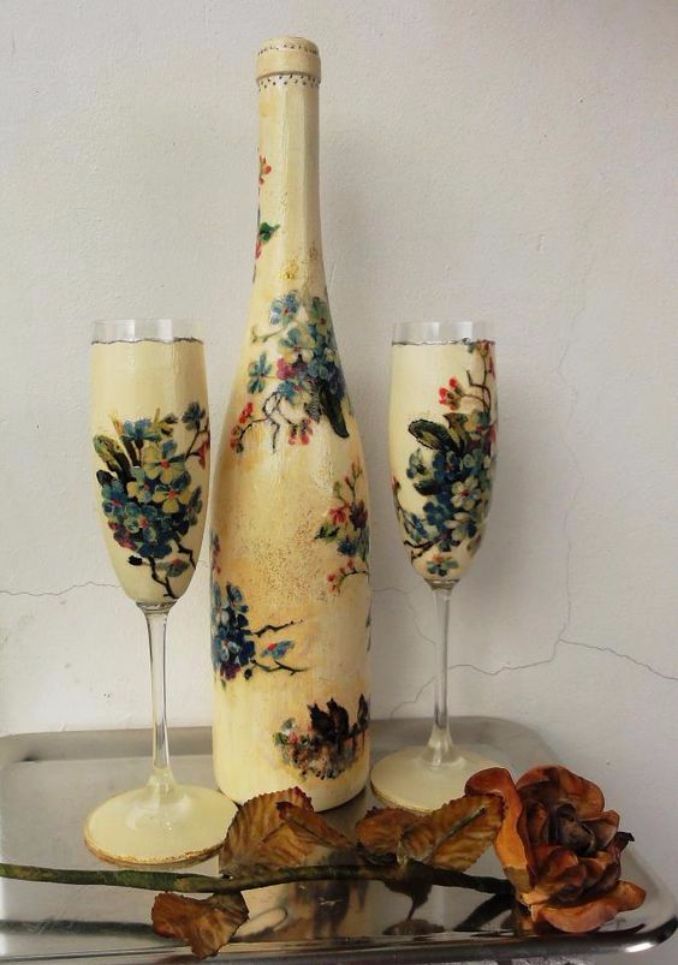
Please respect the sense of proportion. The bottle should be bright, stylish, beautiful. Do not overload it with unnecessary details and decorations.
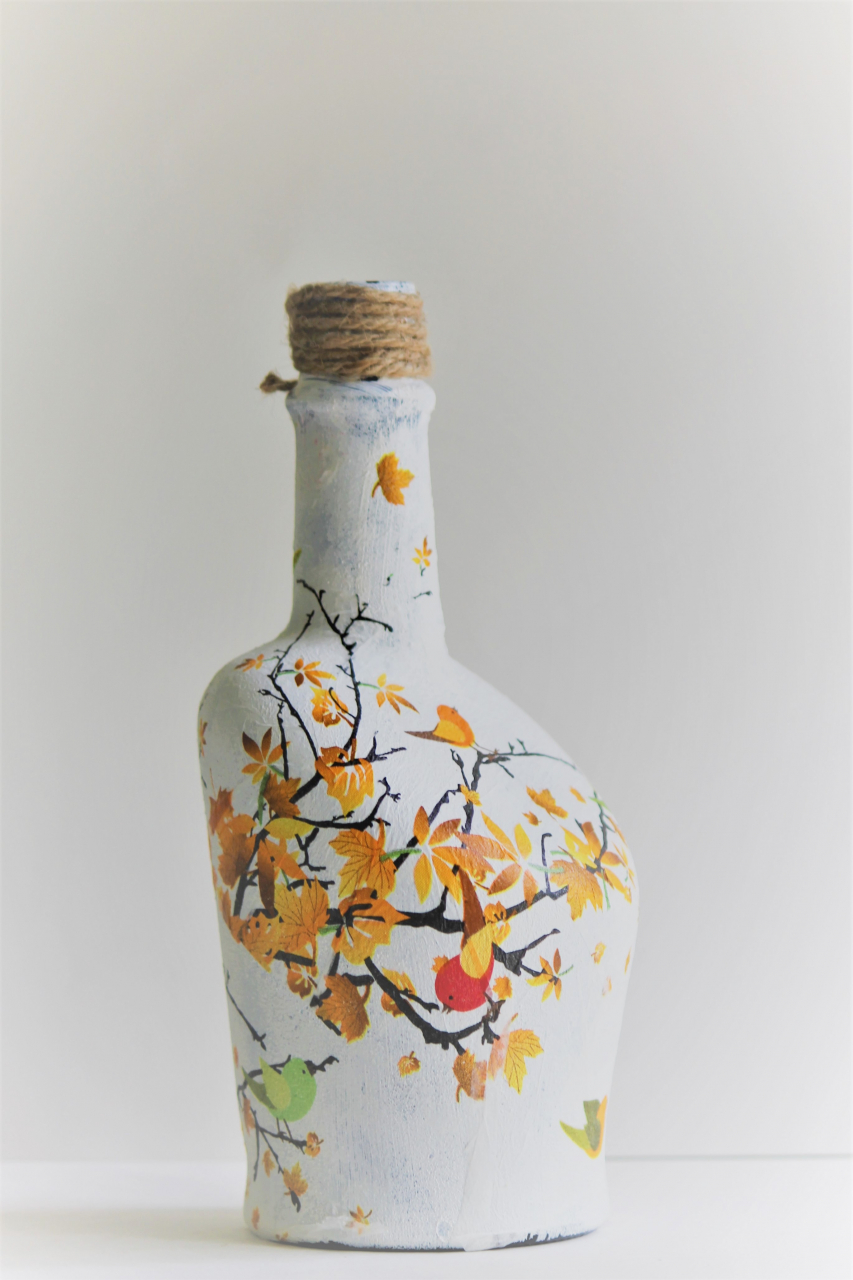
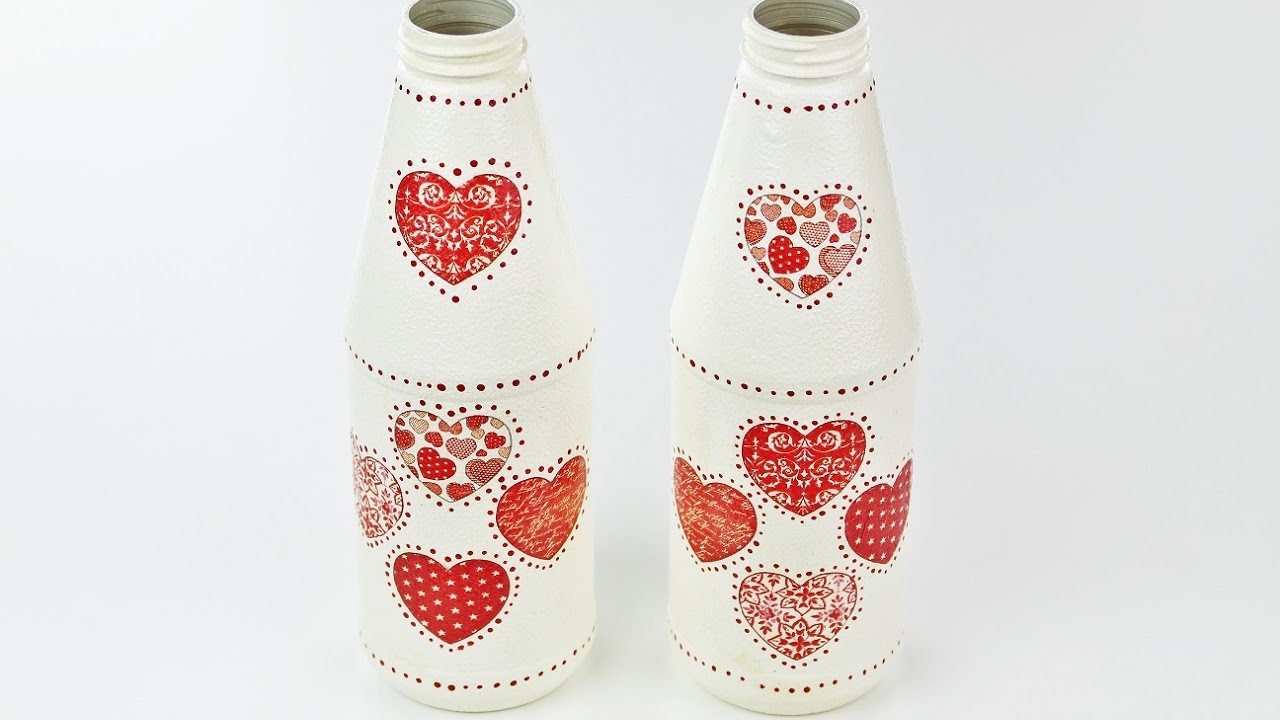
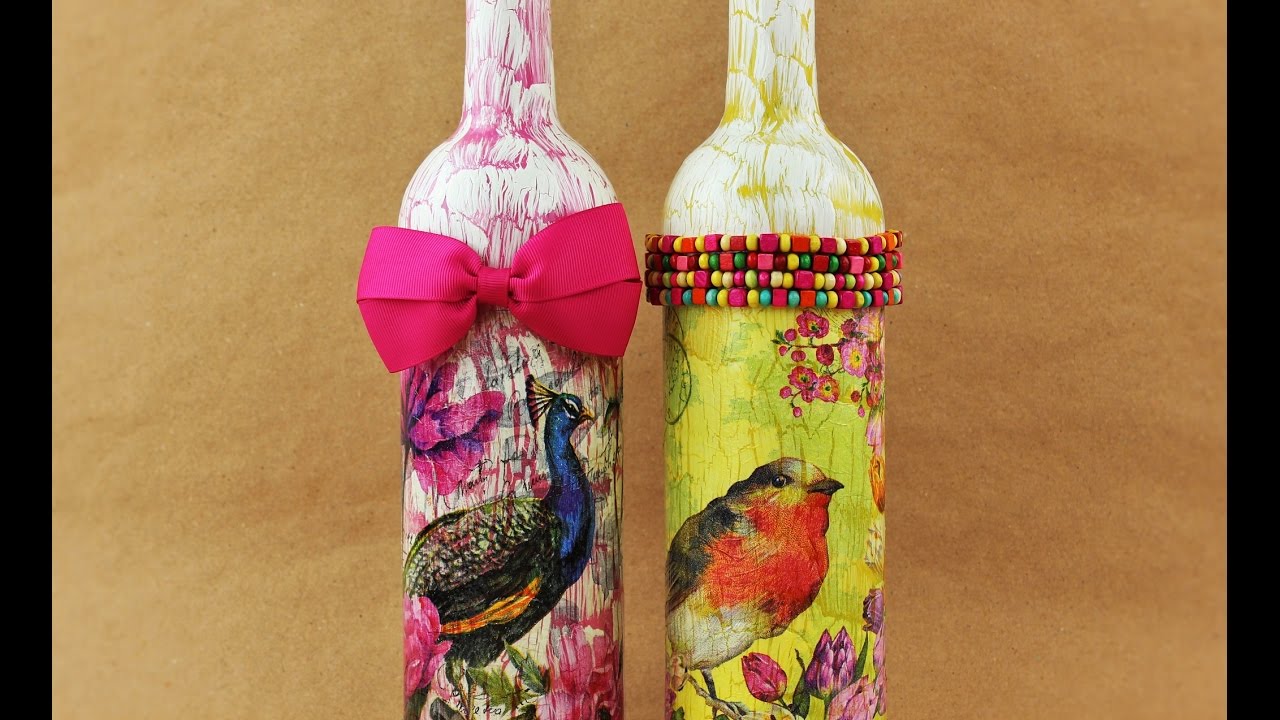
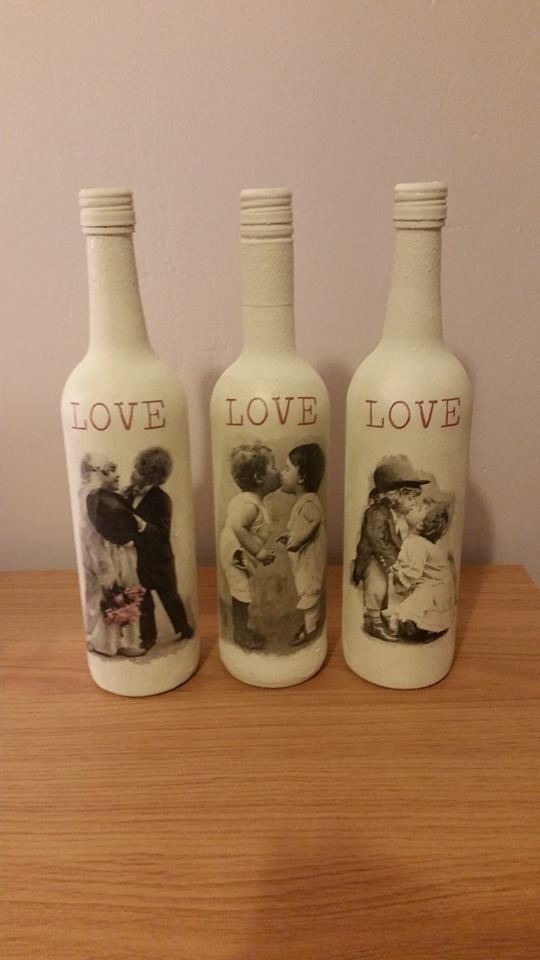
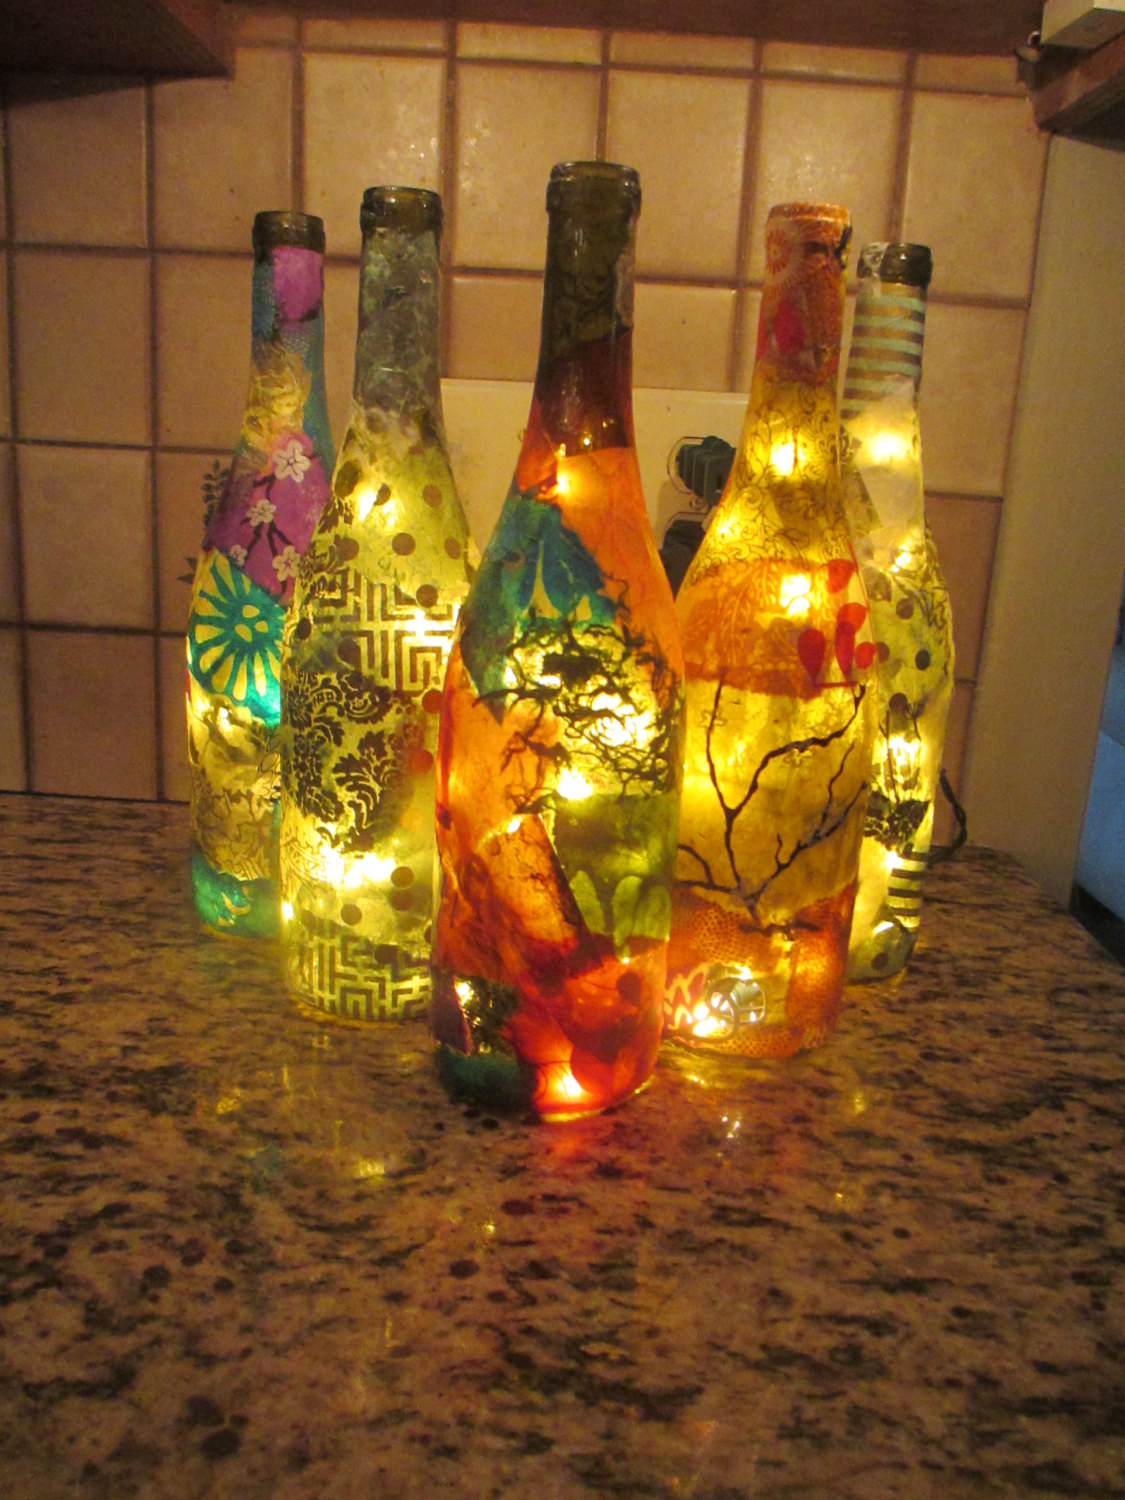
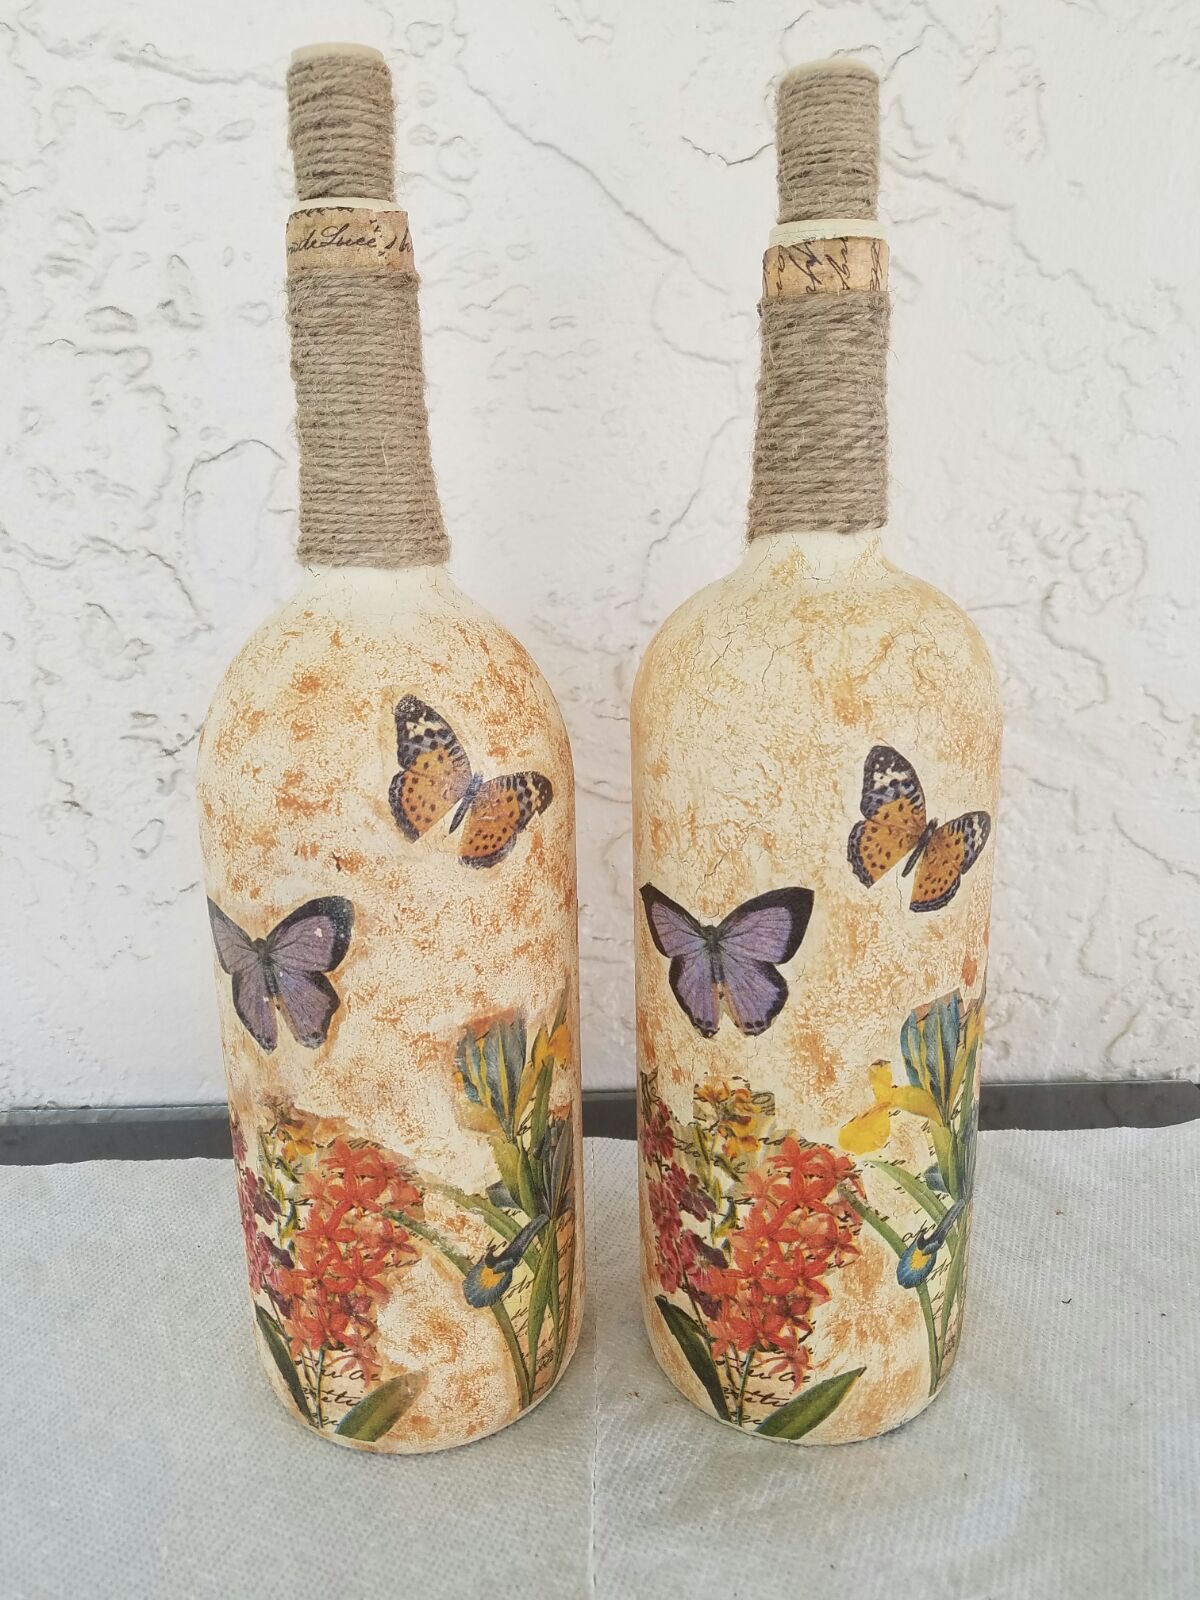
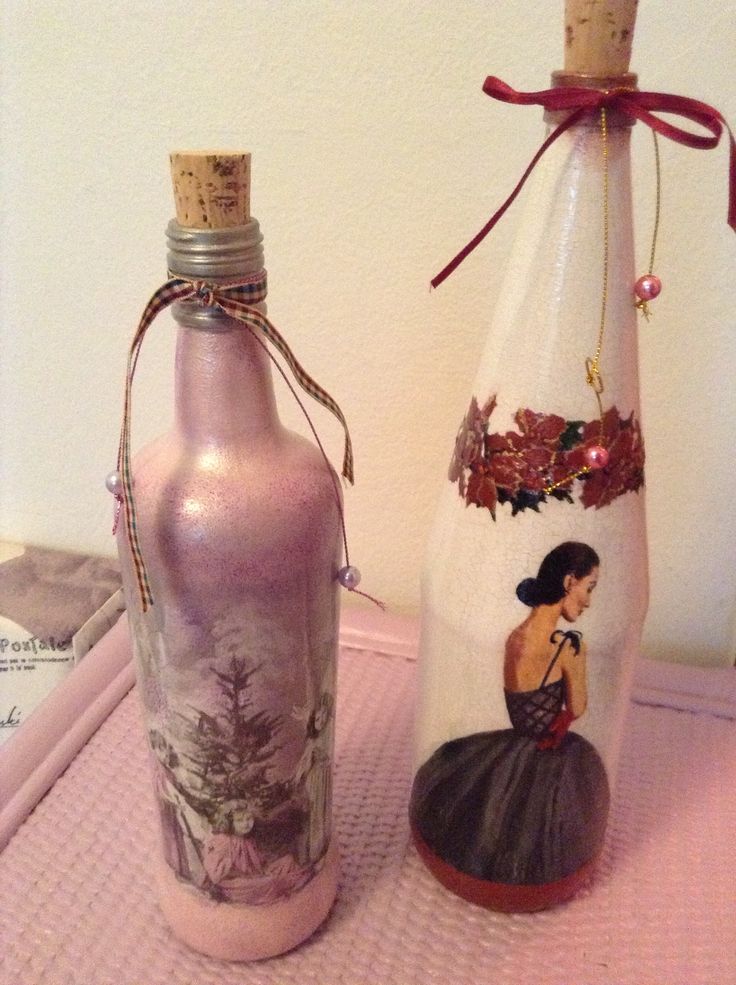
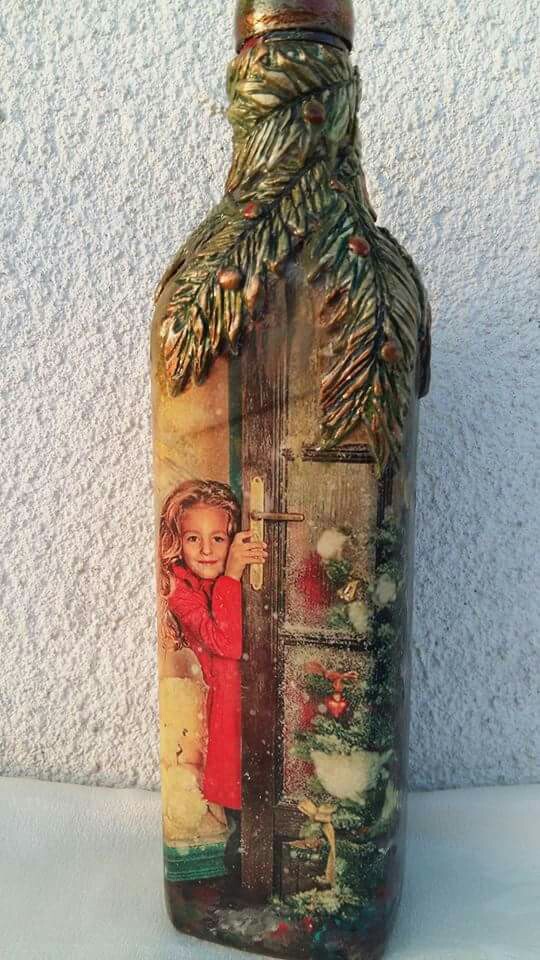
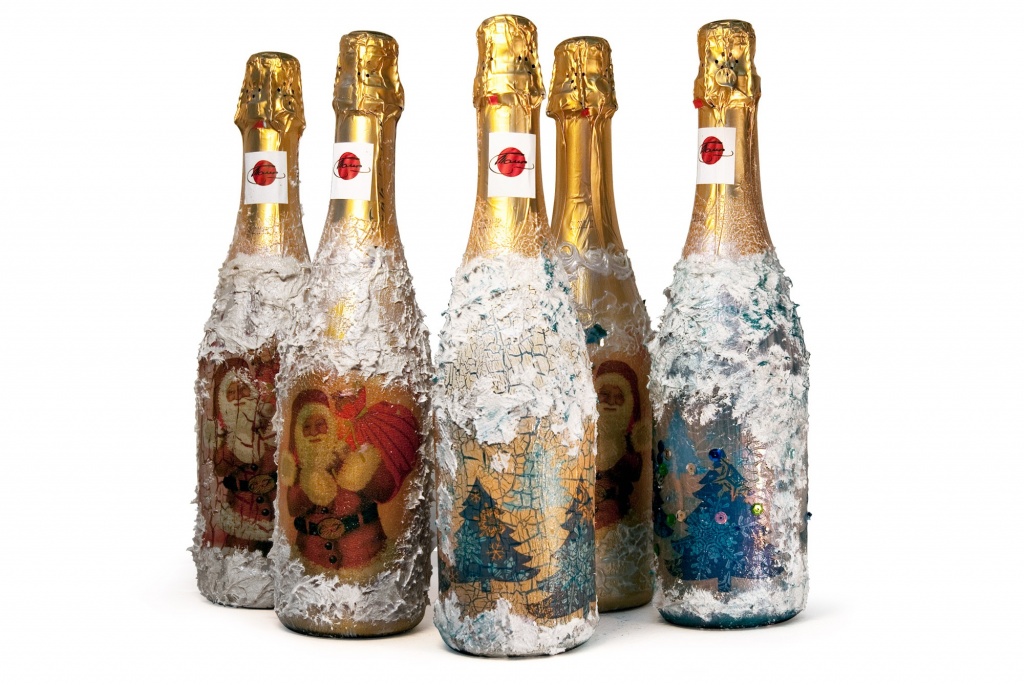
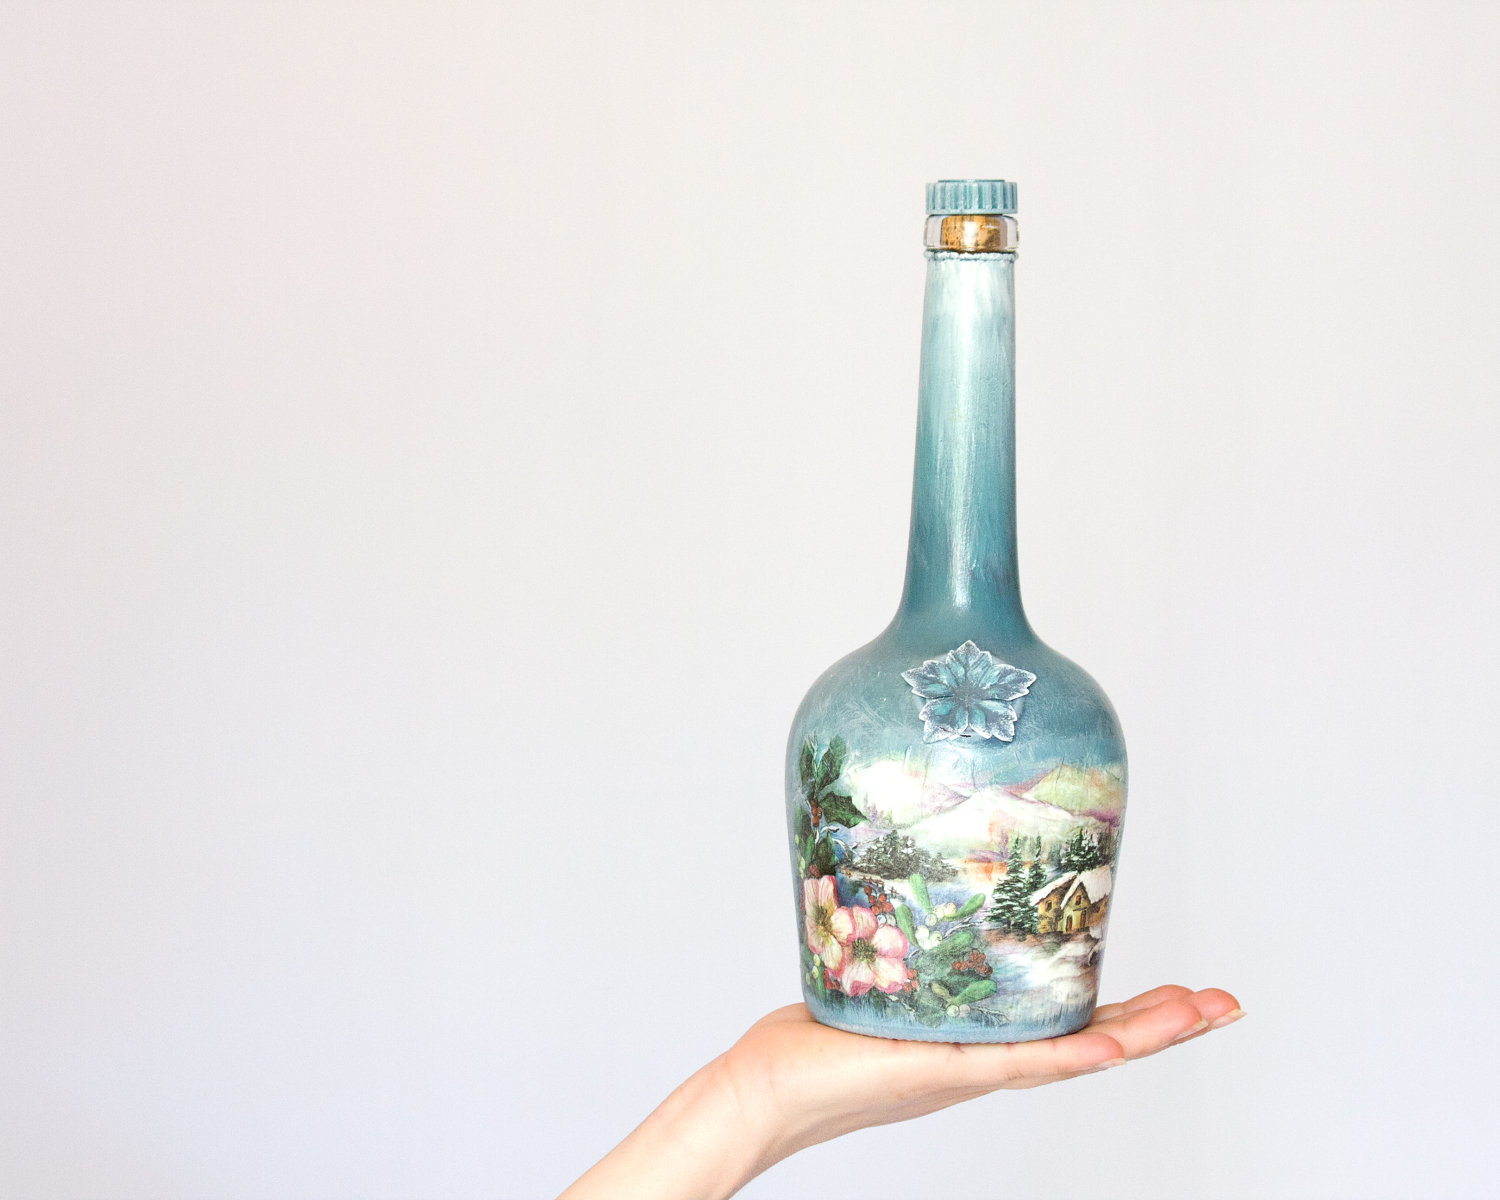
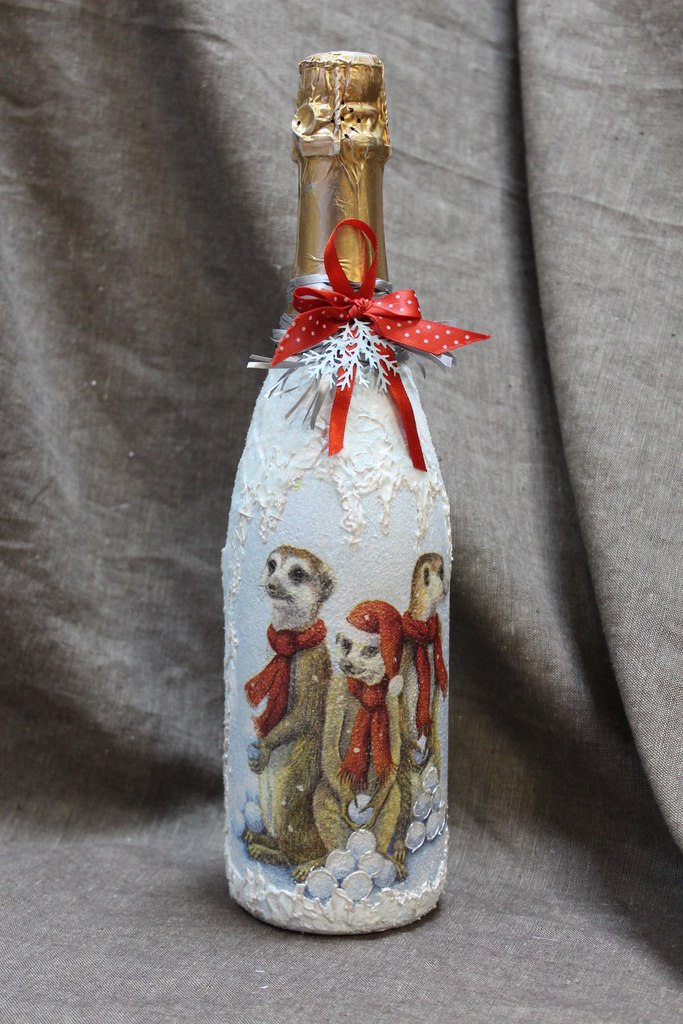
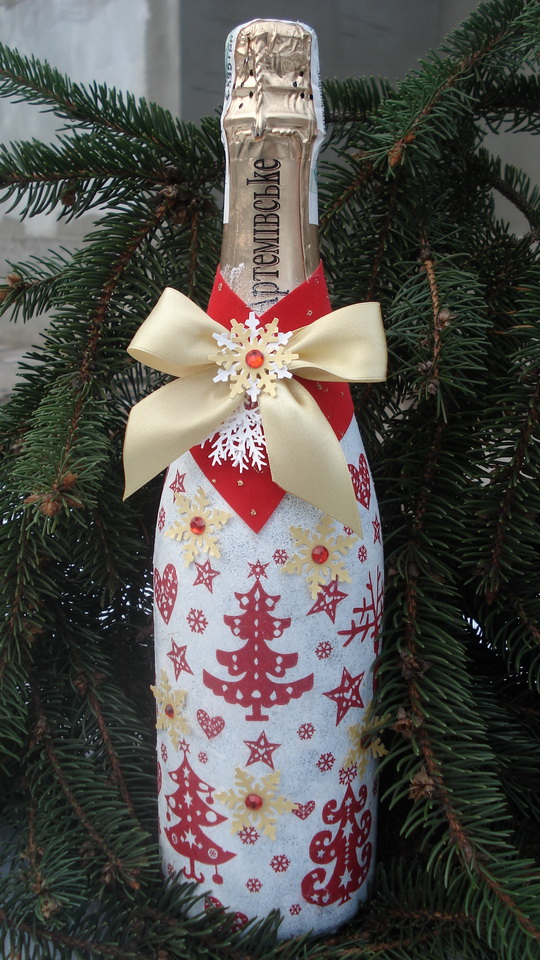
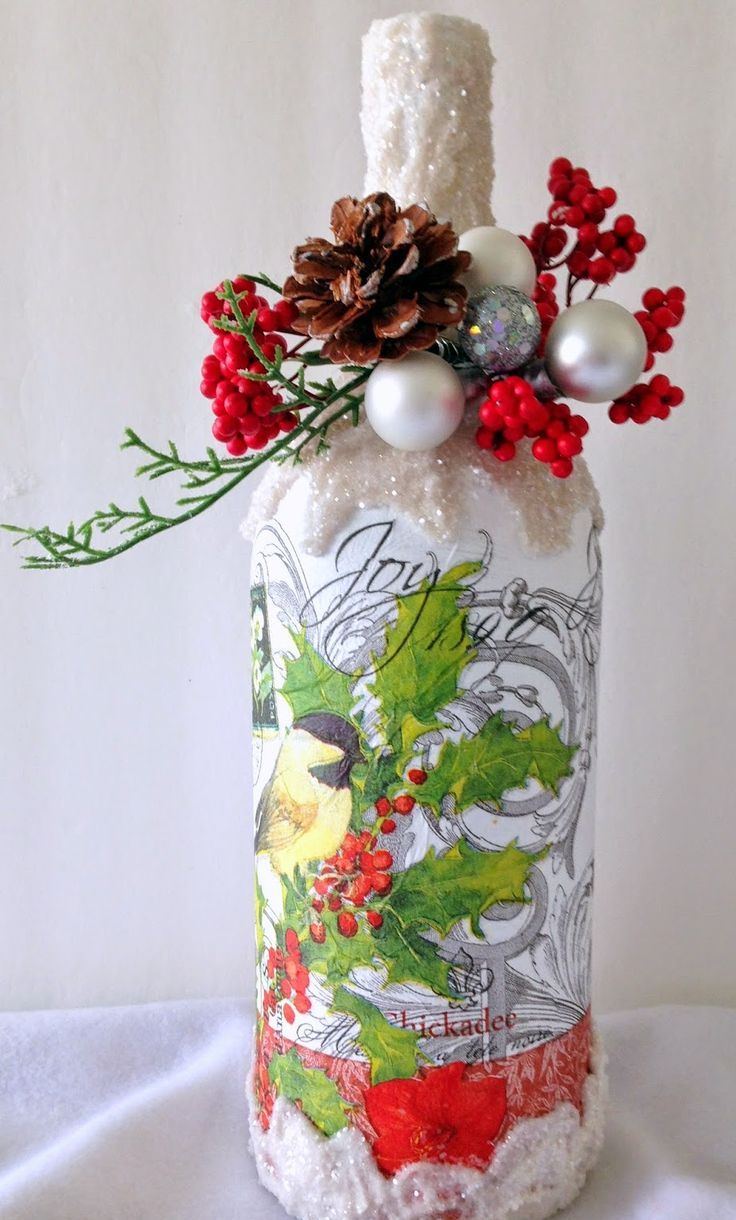
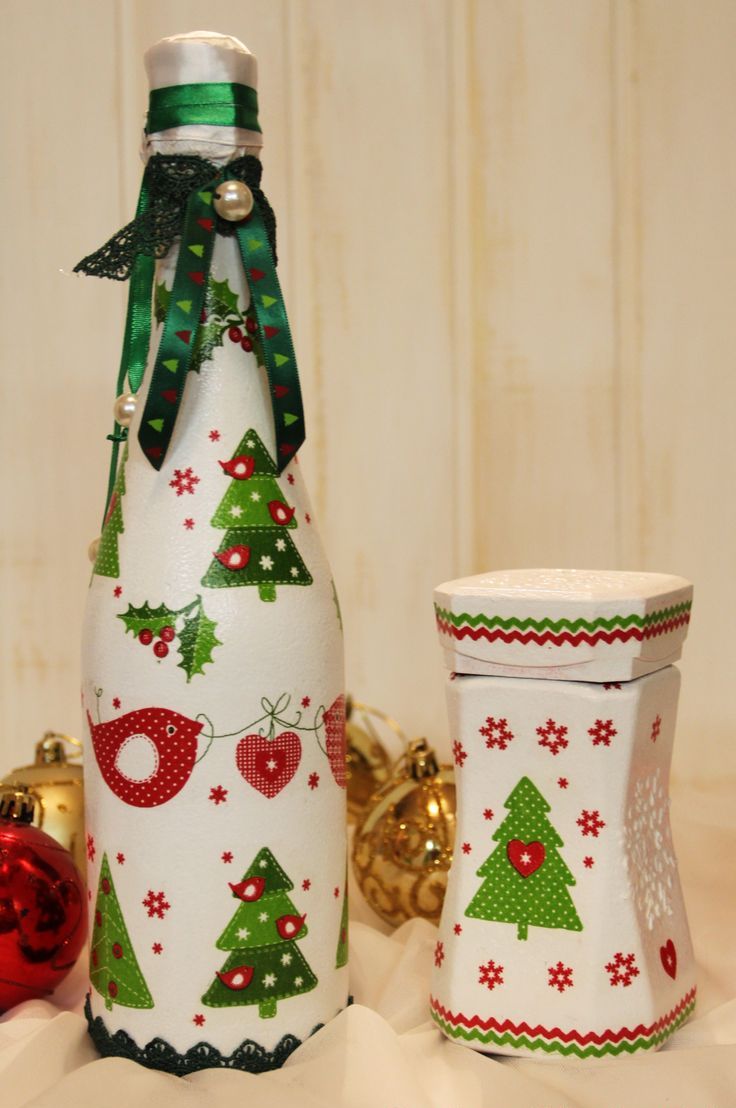
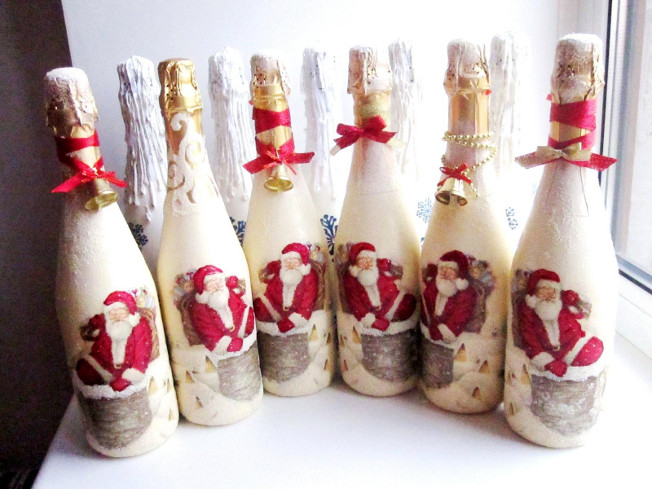
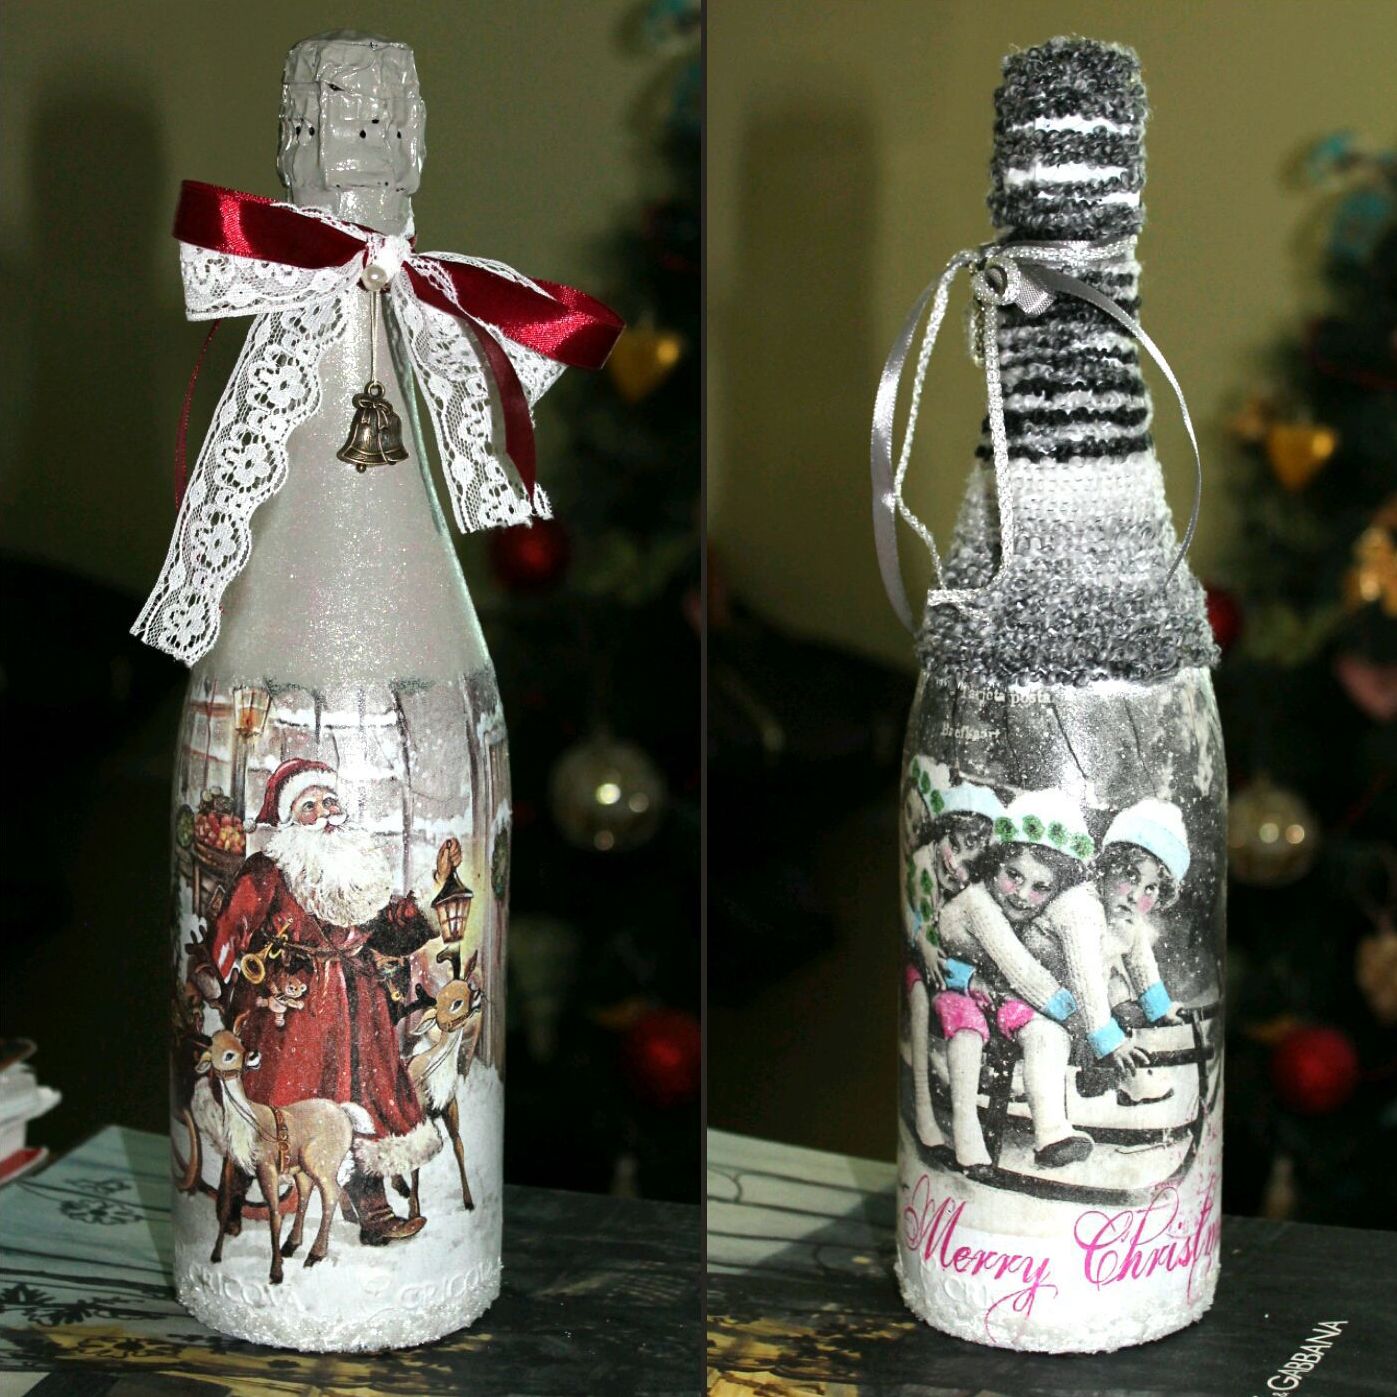
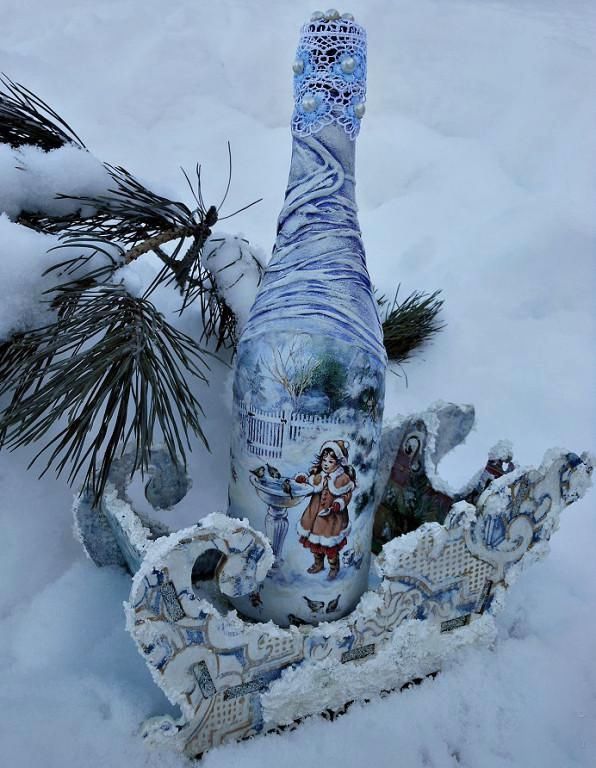
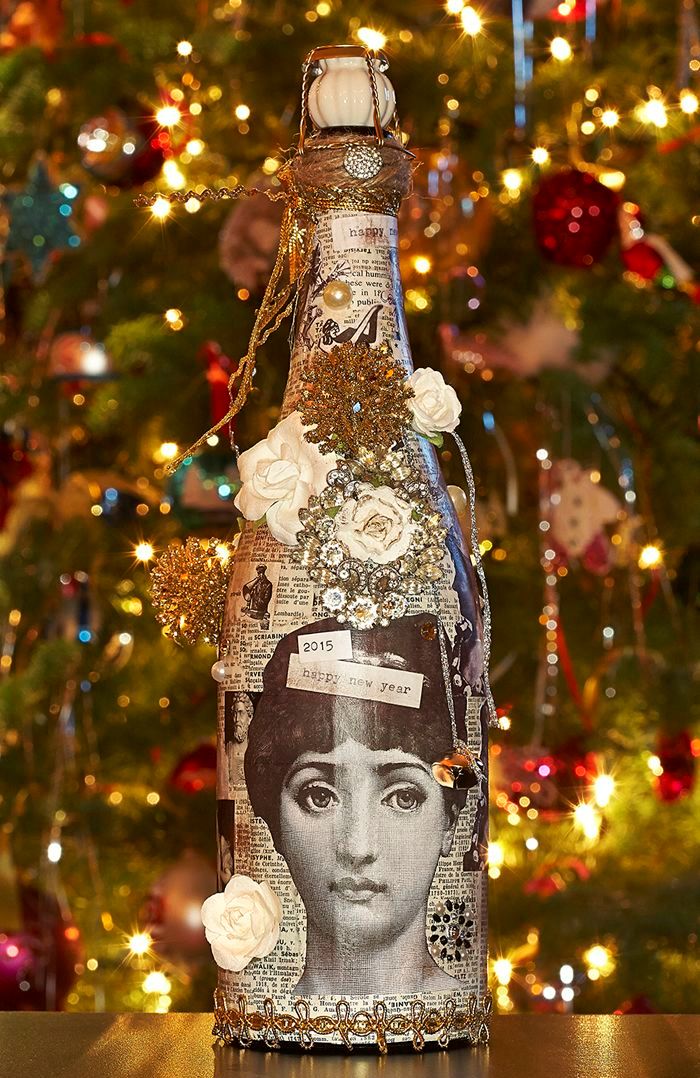
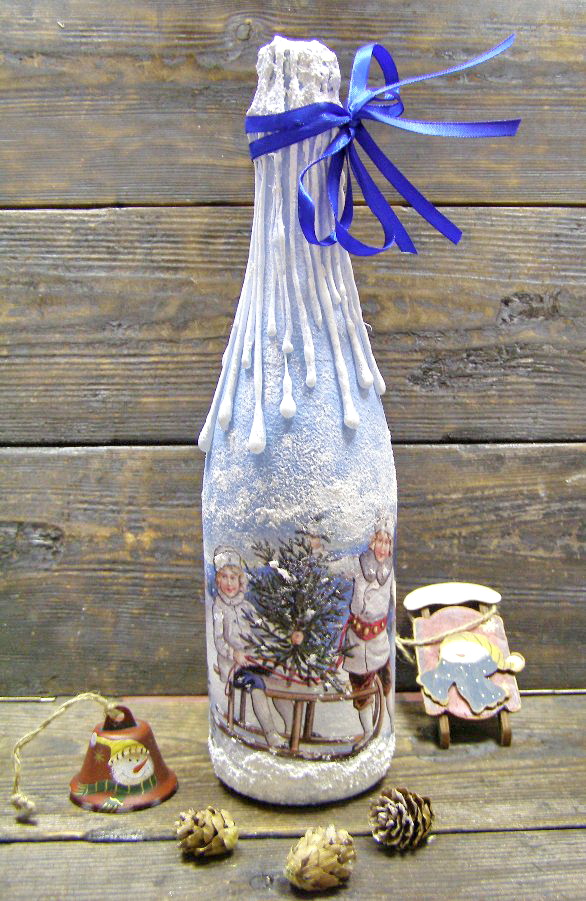
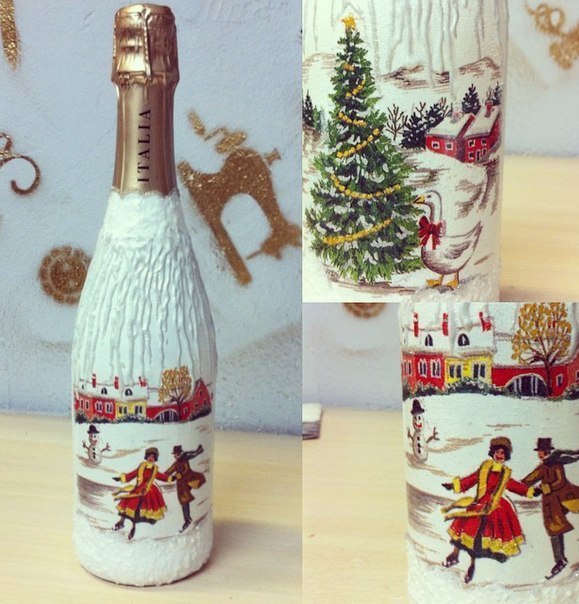
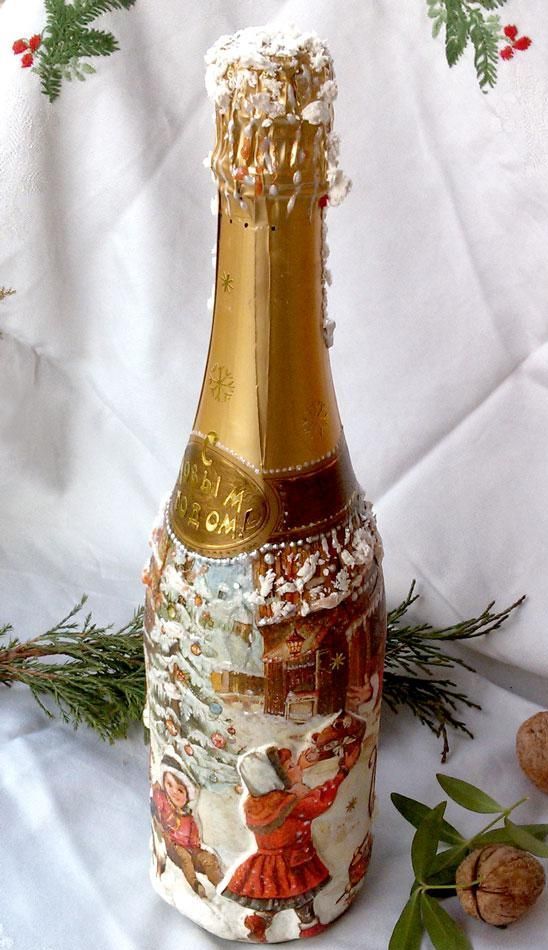
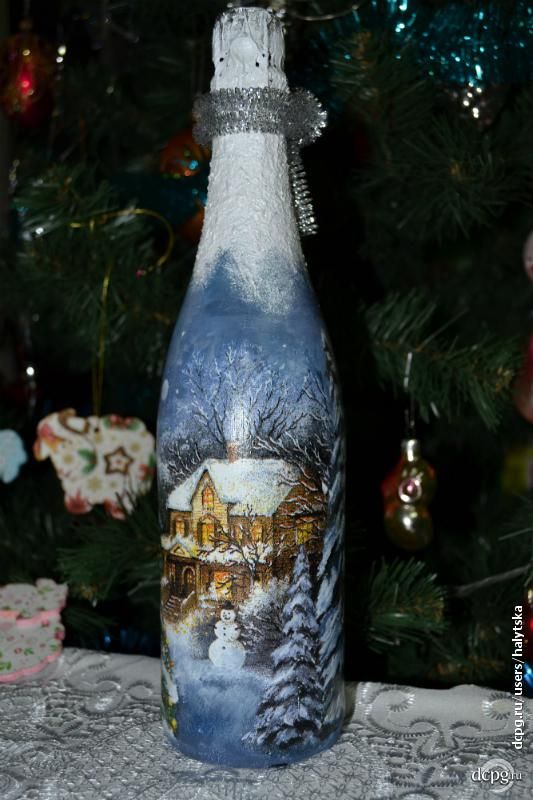
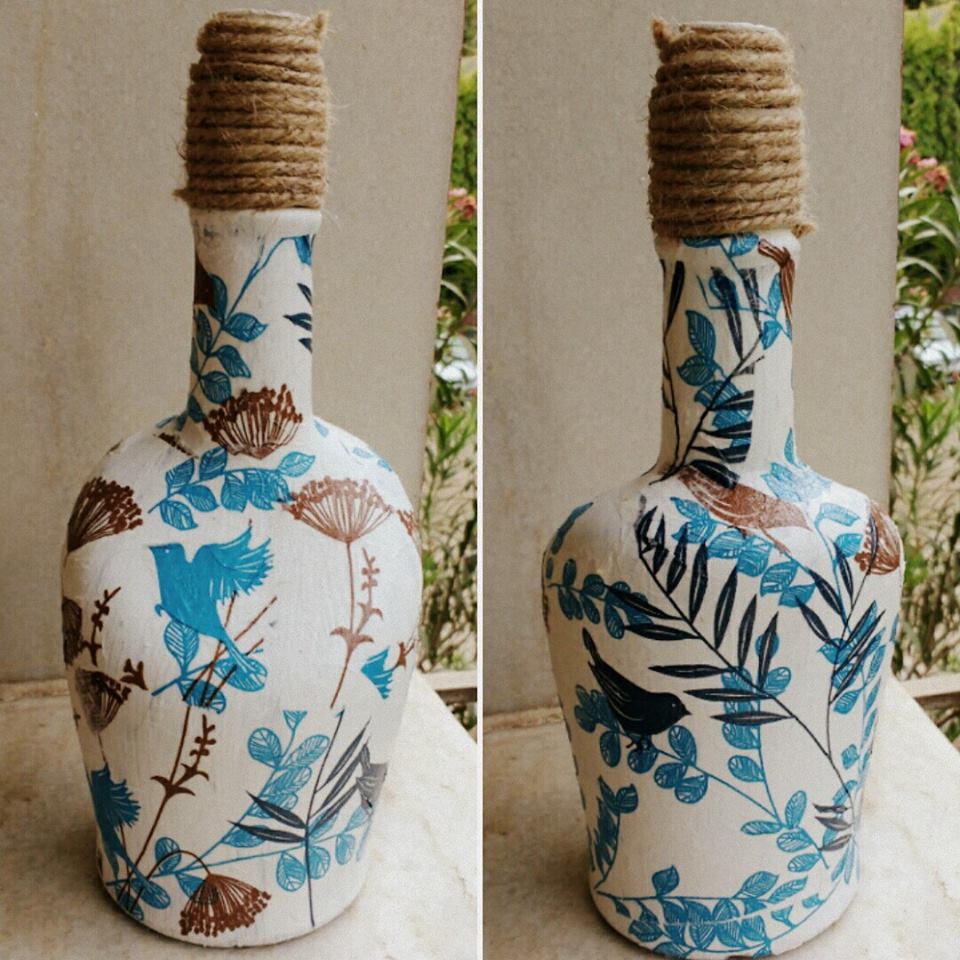
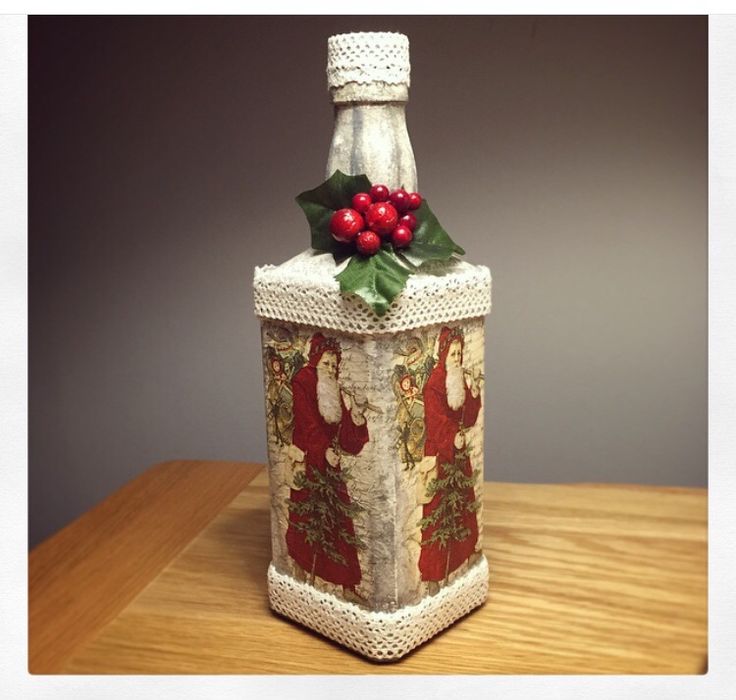
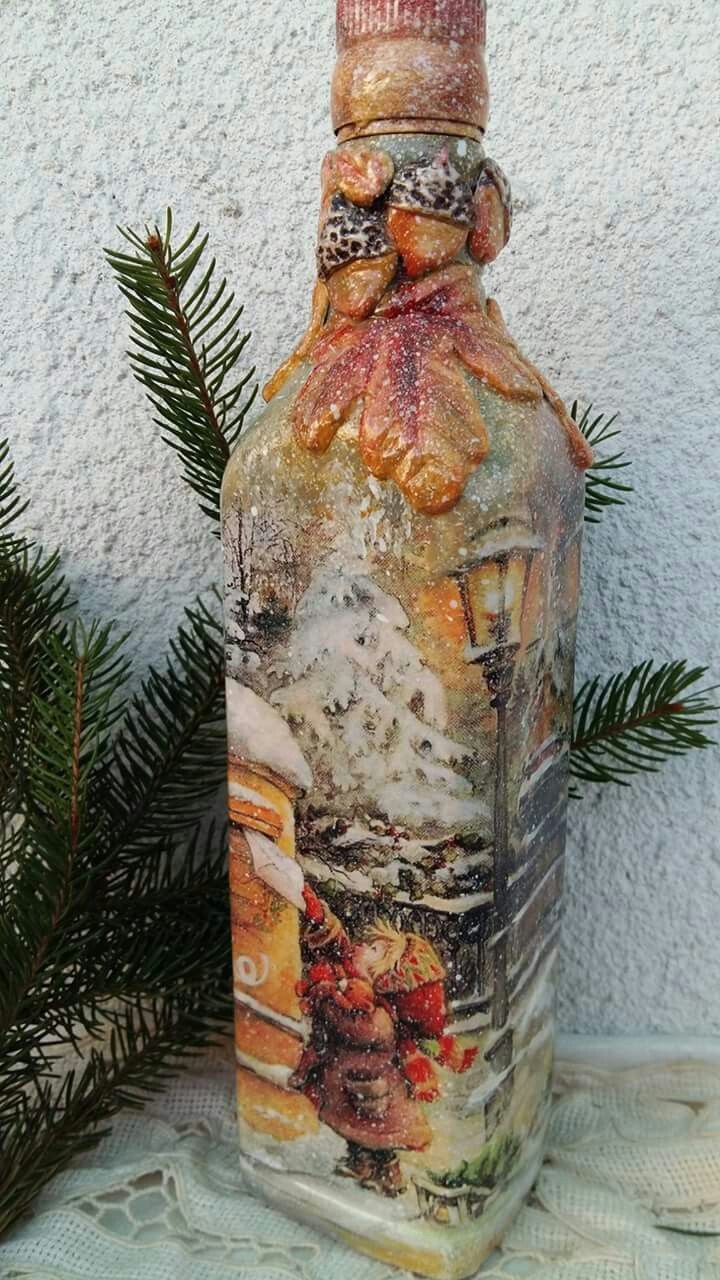
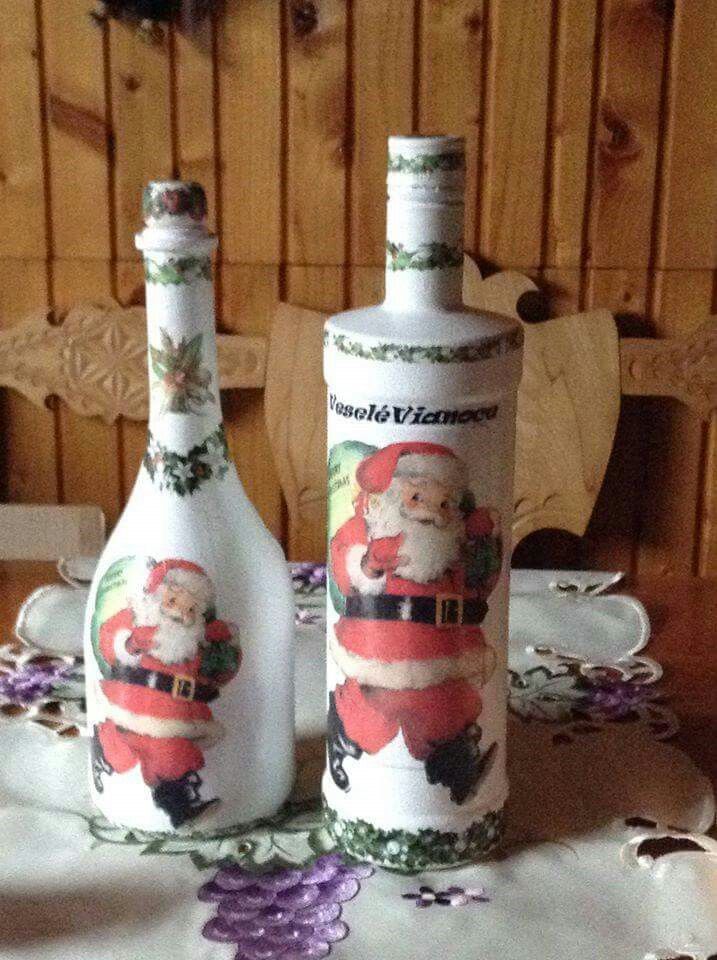
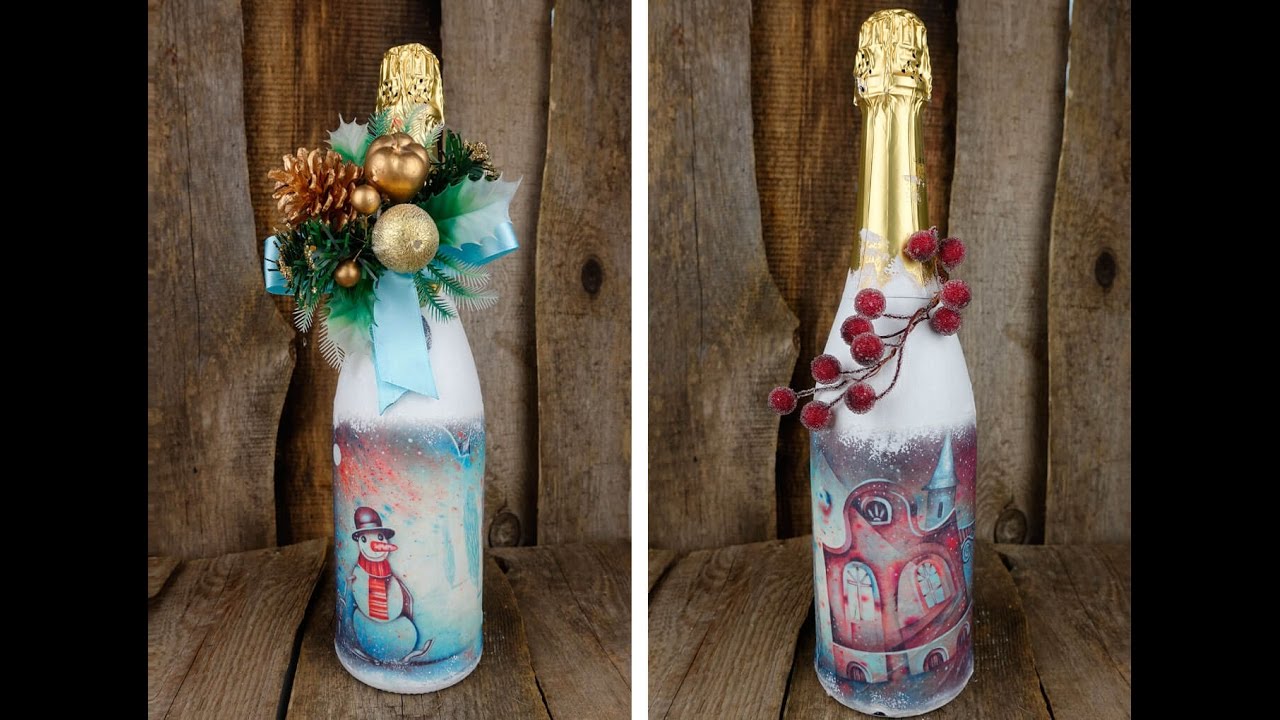
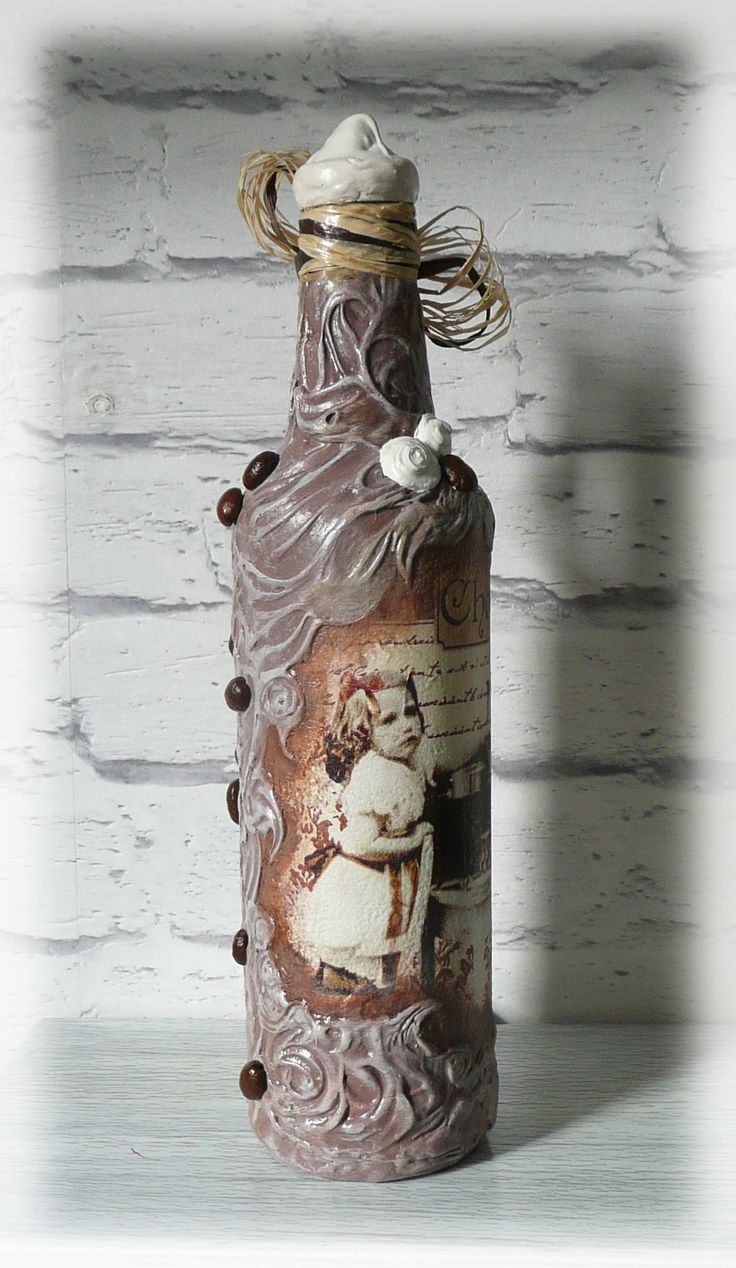
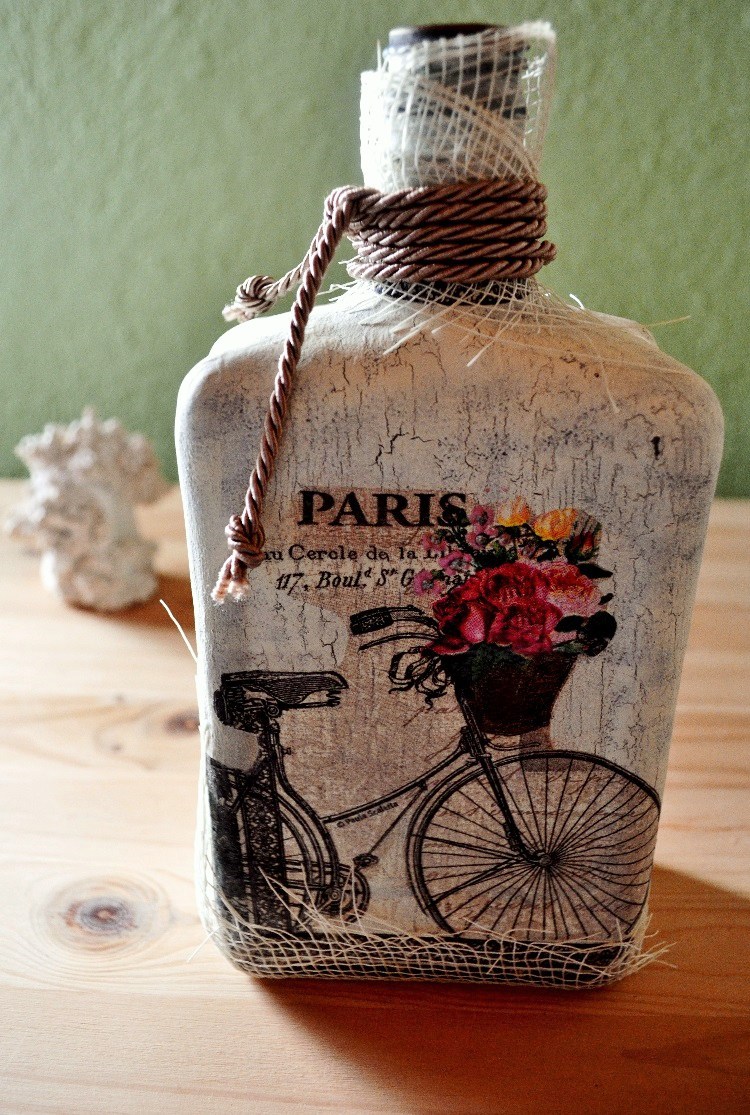
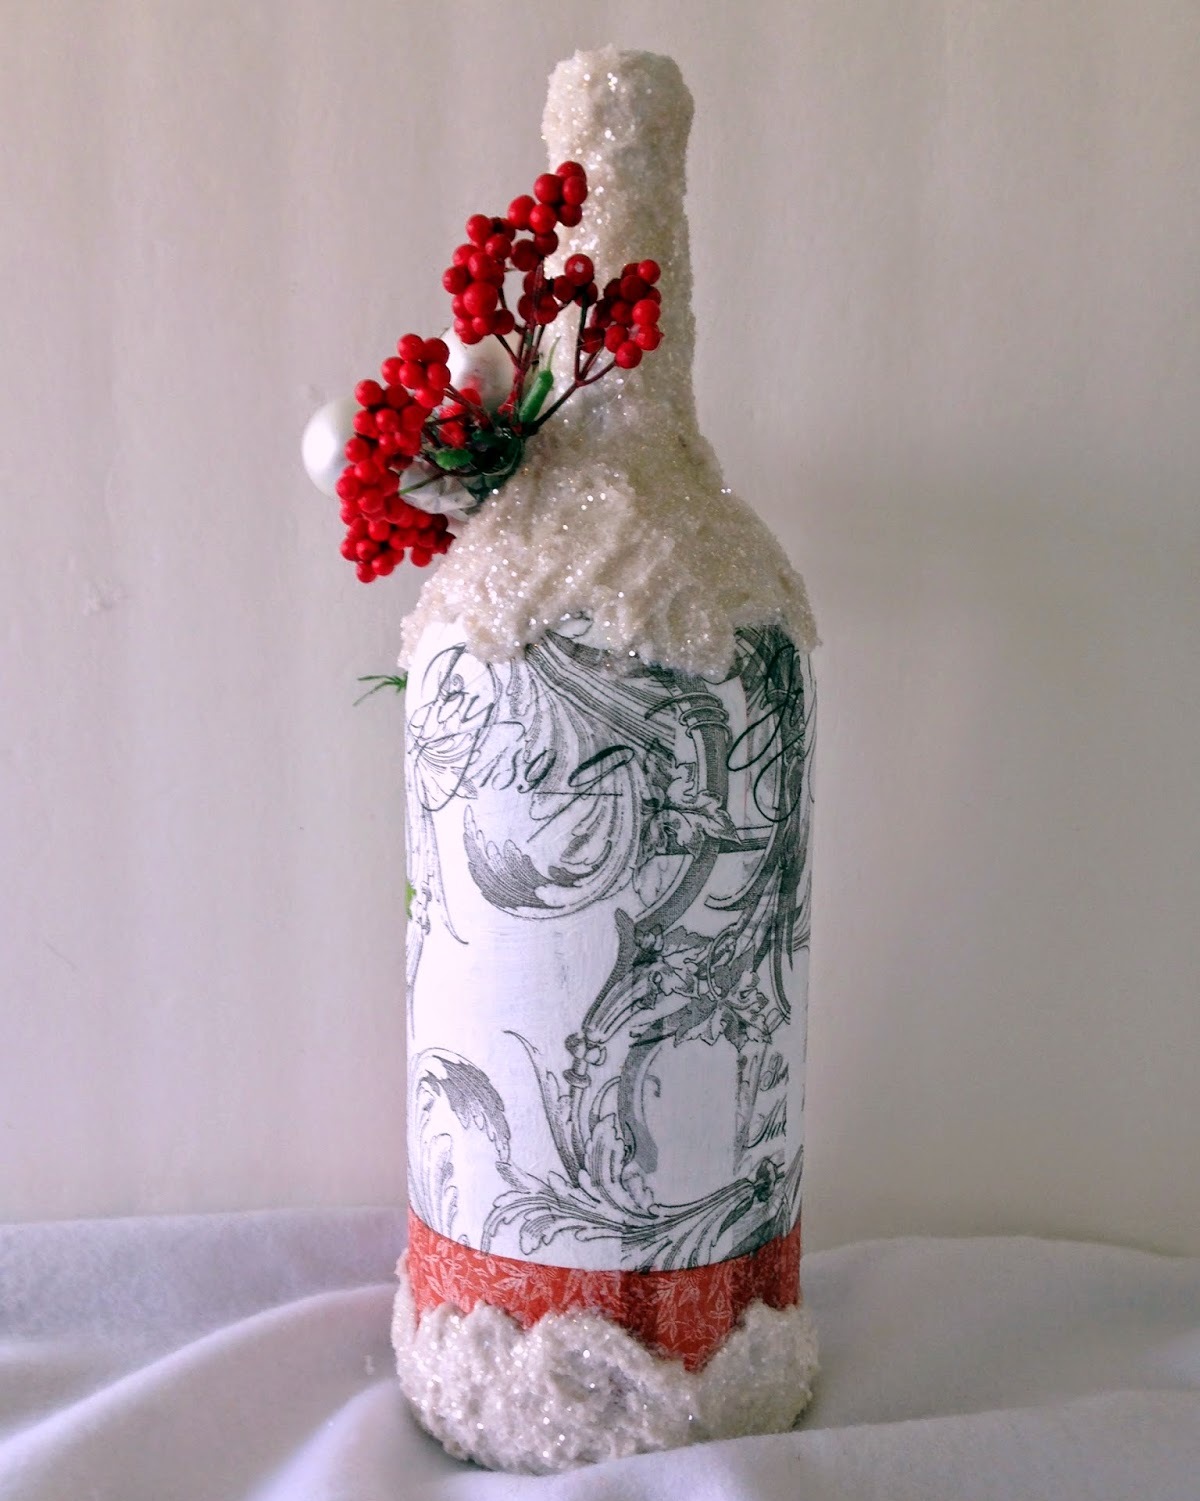
Original decoupage options for New Year's bottle
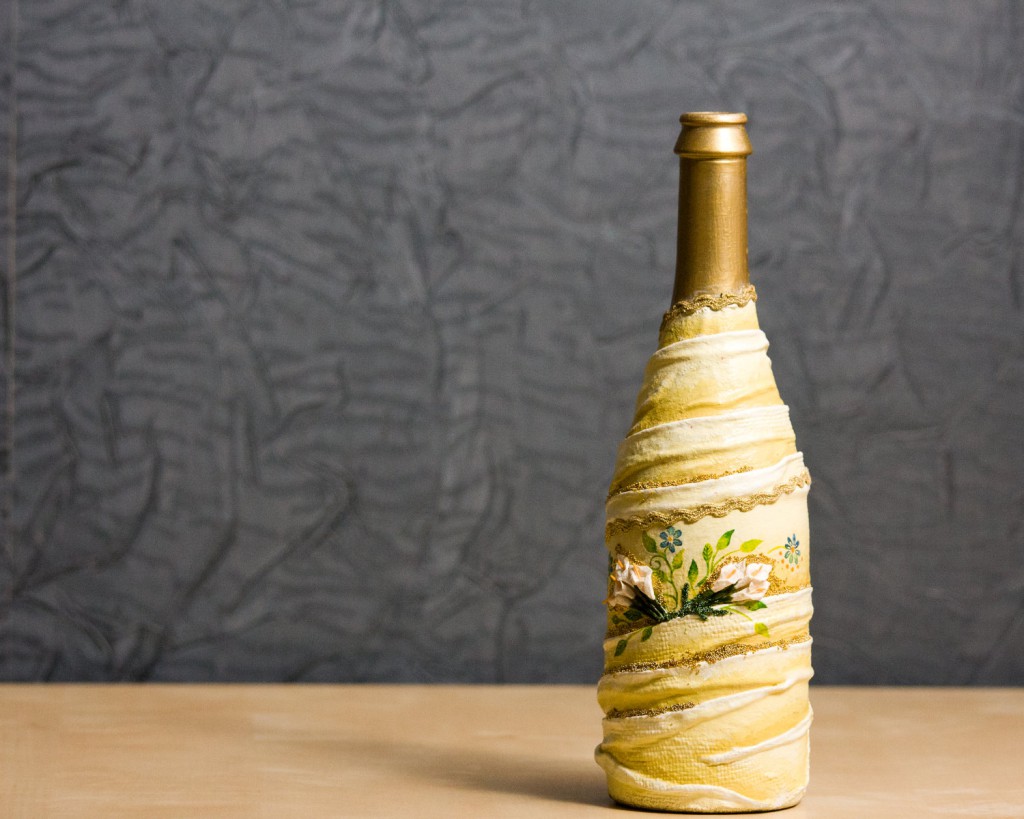
Original and new decoupage options
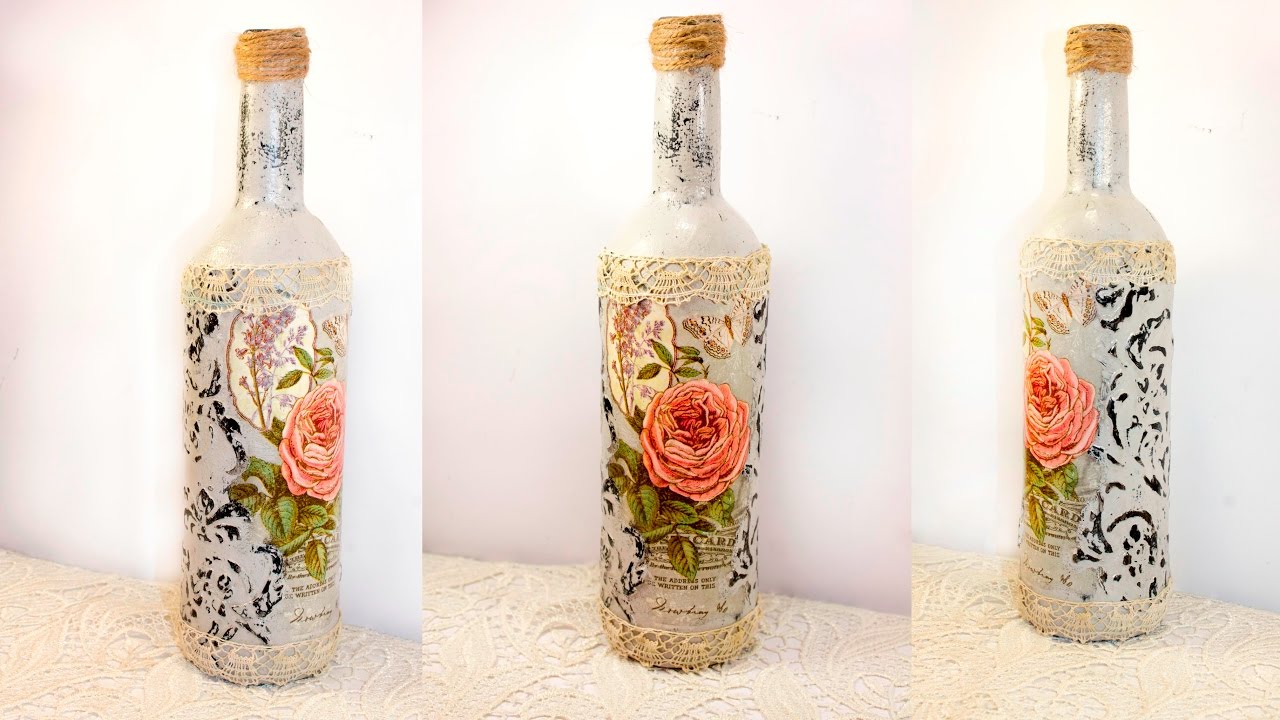
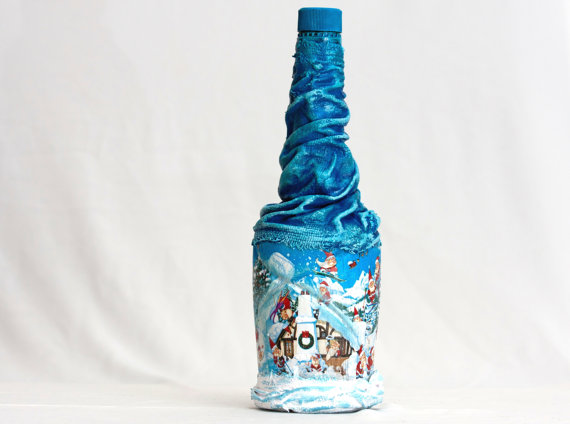
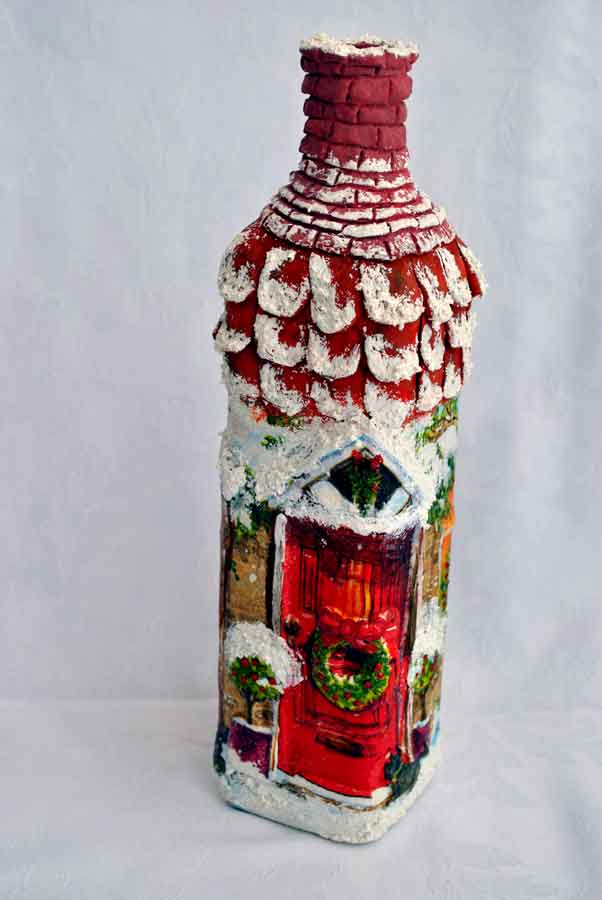
For those craftswomen who have already mastered the basics of napkin-paper craftsmanship, I want to offer something new and original. A fashionable idea to drape a festive bottle with a cloth, create volumetric contours on it, or make the image old with the help of a craquelure.
return to menu ↑Decoupage on fabric
White drapery is ideal for draping
It is necessary to clean the bottle from the labels, degrease and thoroughly lubricate with white glue. For her drapery perfect cotton fabric in white. Wrap the bottle in a cloth and distribute the folds.
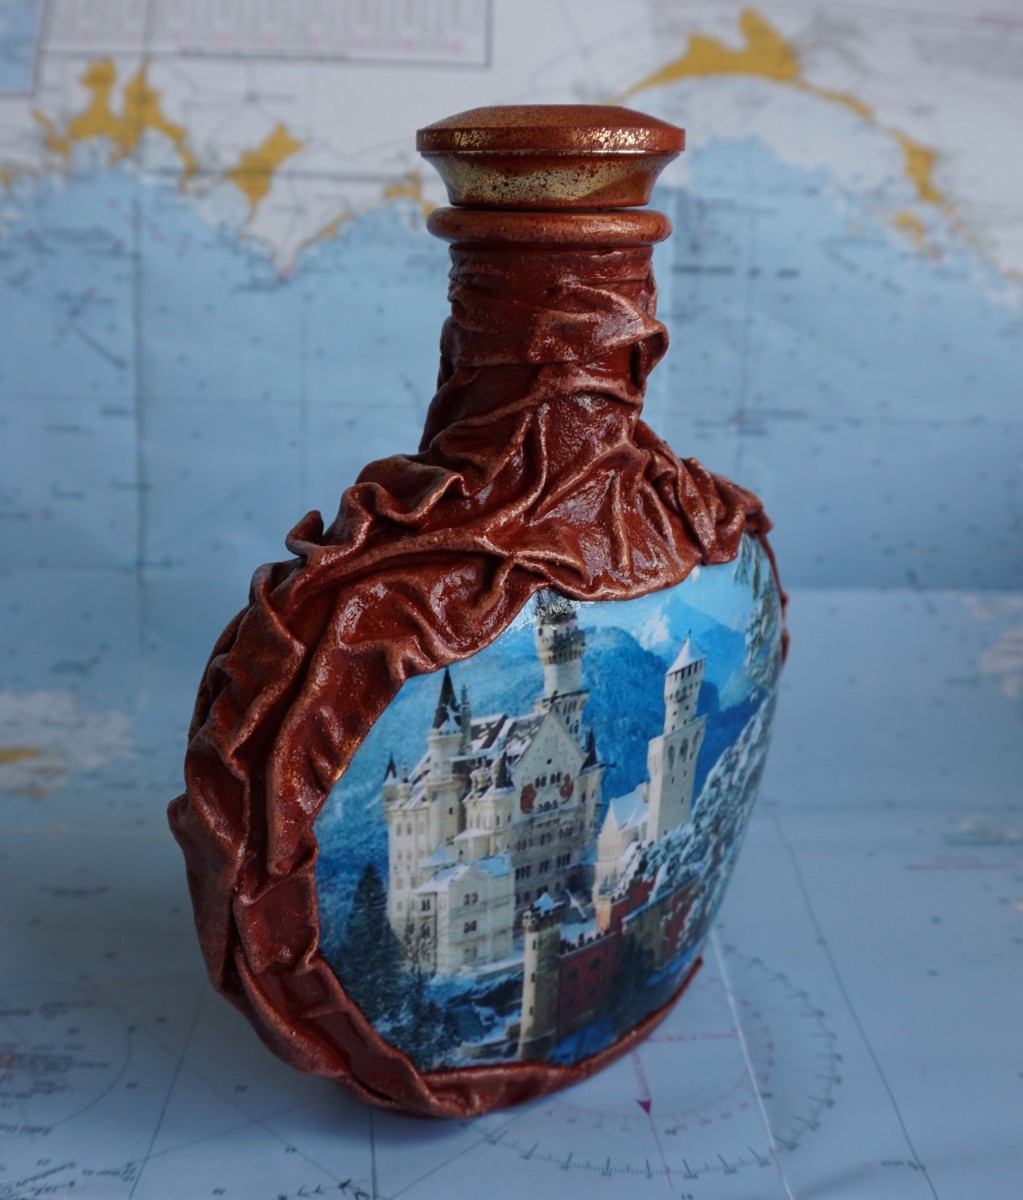
Soak the fabric well with glue and let it dry completely.
Then soak the fabric properly with glue on the outside. Blot excess PVA with a piece of cloth or foam rubber and place the workpiece until completely dry for several hours. After the done manipulations, you can begin to work with it using the usual technology.
At your request, the fabric can be painted with color acrylic paints, and then safely glue applications on it. It all looks very impressive.
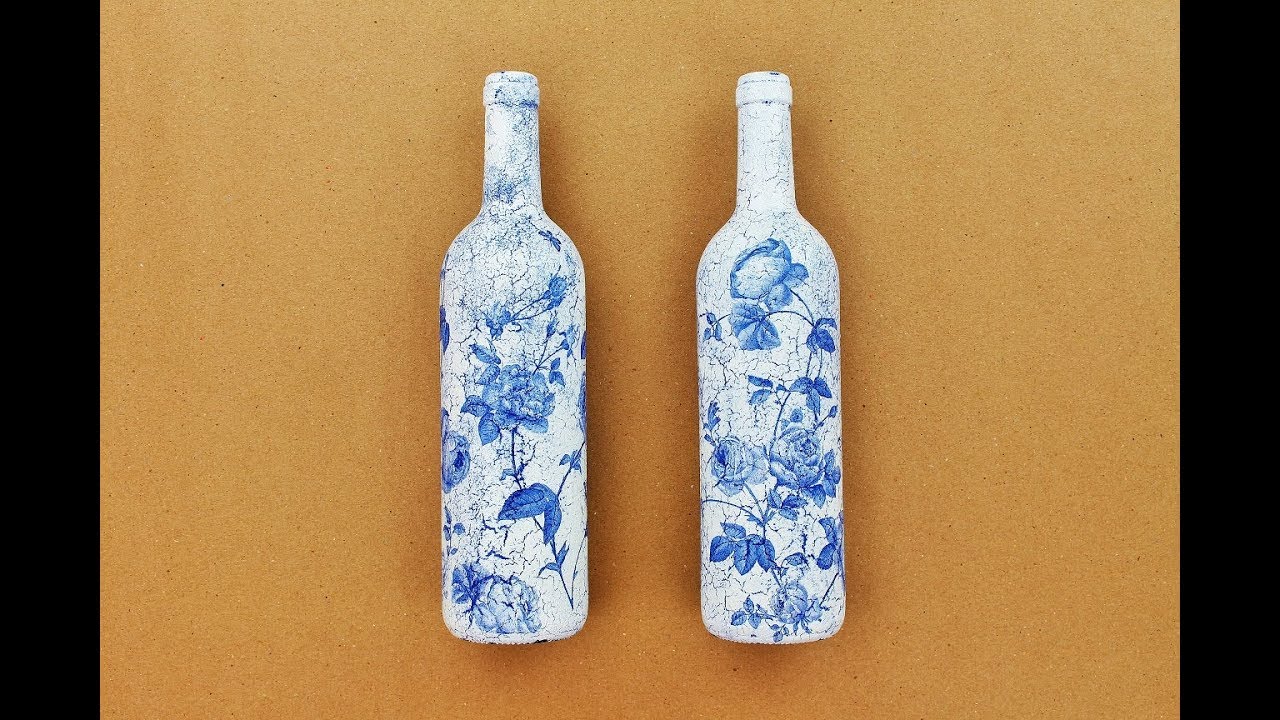
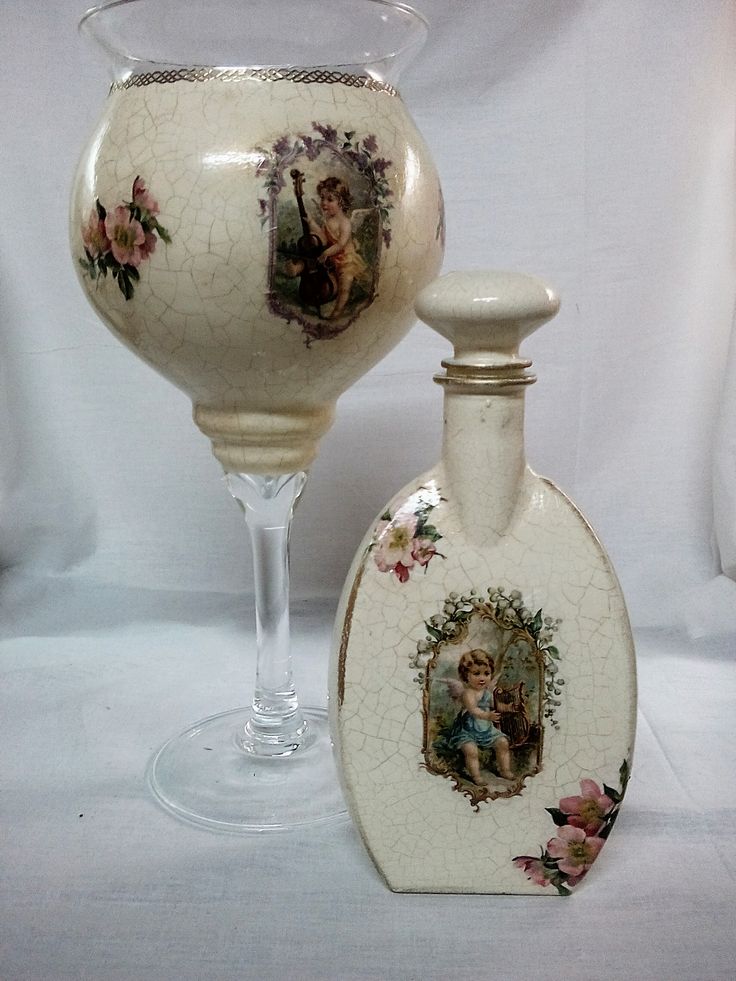
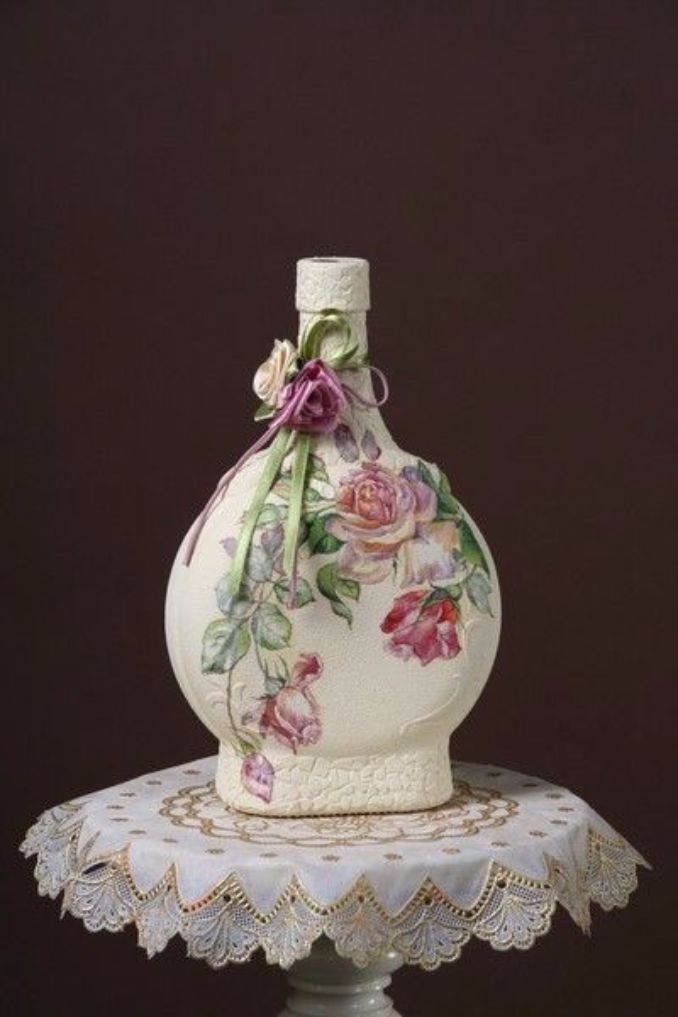
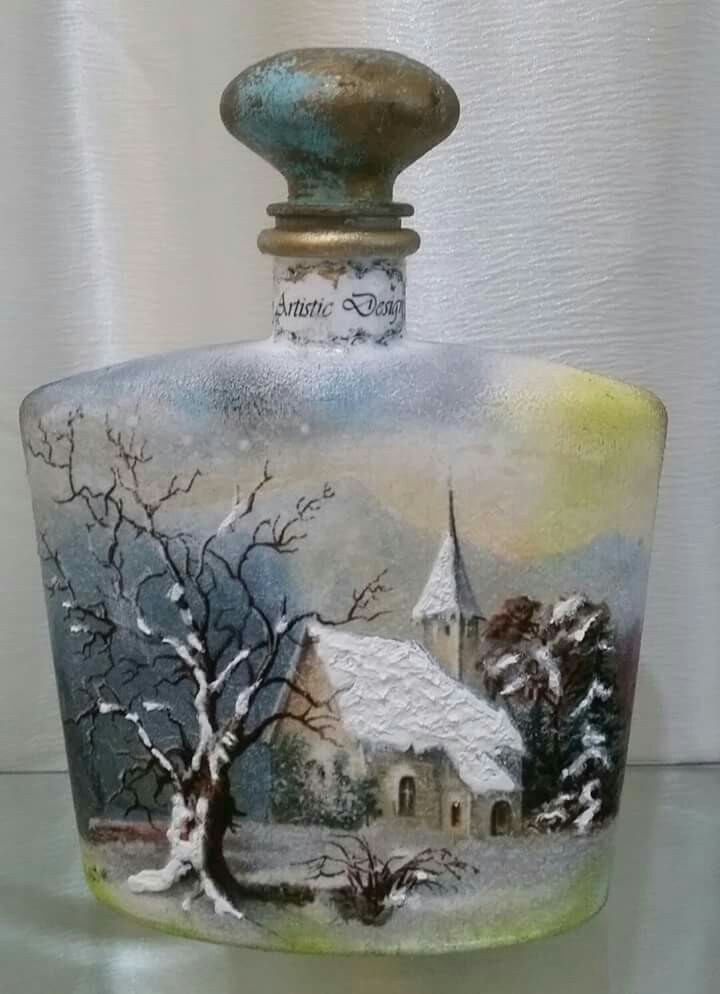
return to menu ↑Vintage masterpieces
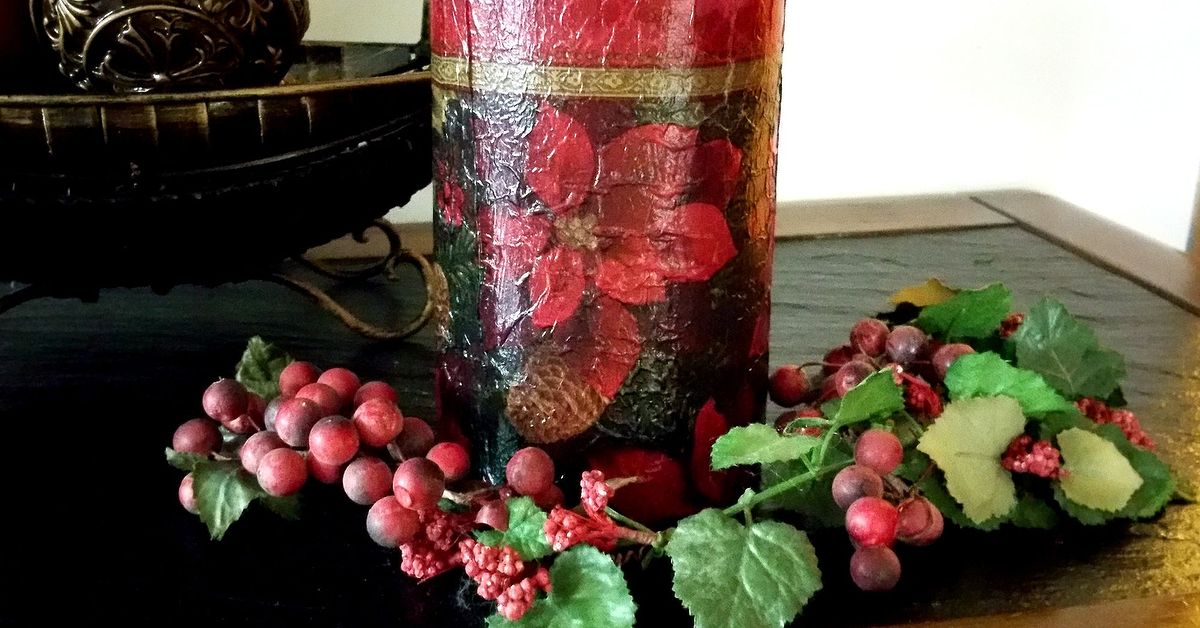
Instant effect of antiquity can be achieved with the help of professional varnishes
To age your creation you do not need to keep it in the attic for a hundred years. Instant effect of antiquity can be achieved with the help of professional varnishes.
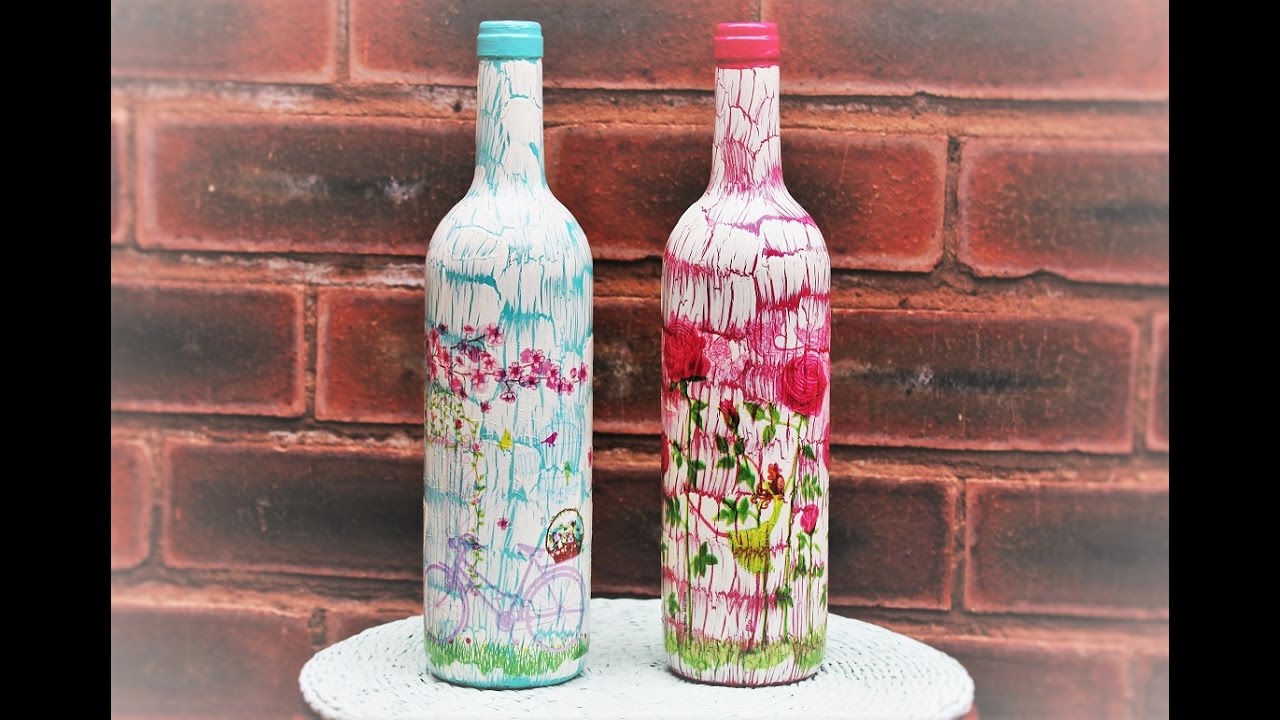
Craqural composition is applied between layers of acrylic paint and paper application. The secret of mastery is that it is applied to a wet layer of acrylic, as a result of which a cobweb of “antique” cracks is obtained.
The secret to the craquelone composition is that it is applied to a wet layer of acrylic
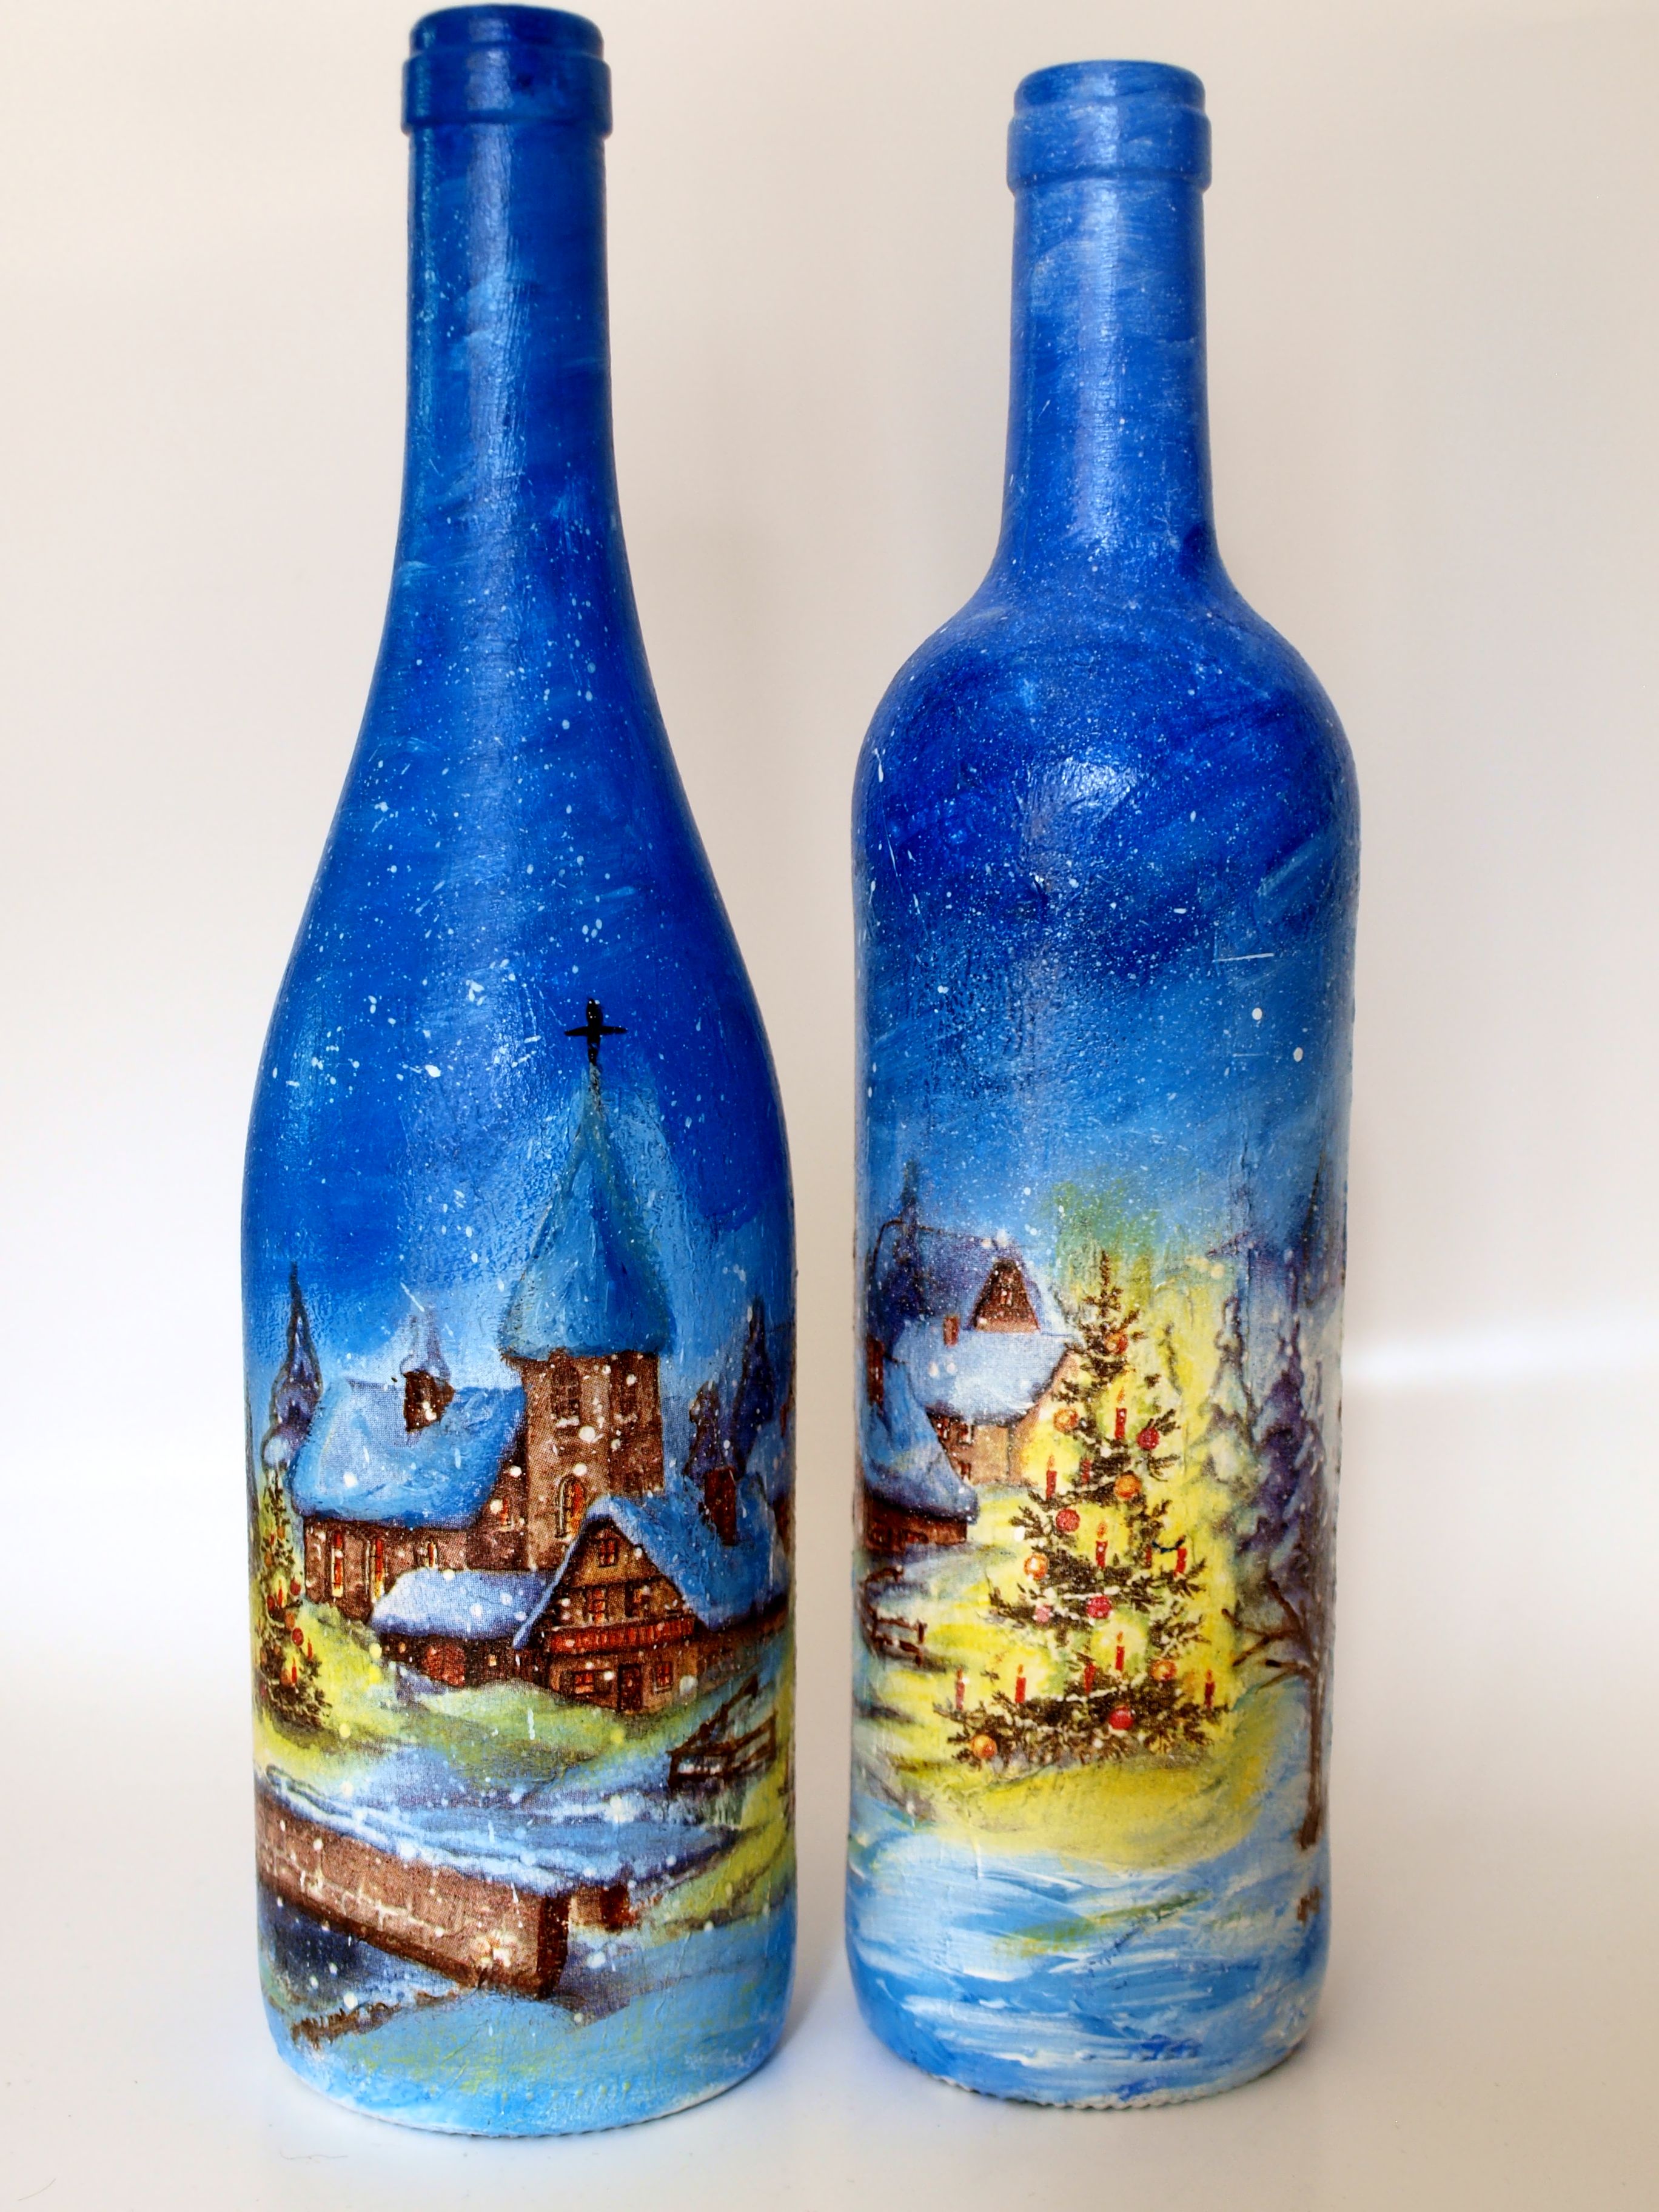
Romantic scenes of past years, pictures with winter landscapes in pastel colors or cute Christmas motifs are most suitable for vintage images using the craquelure.
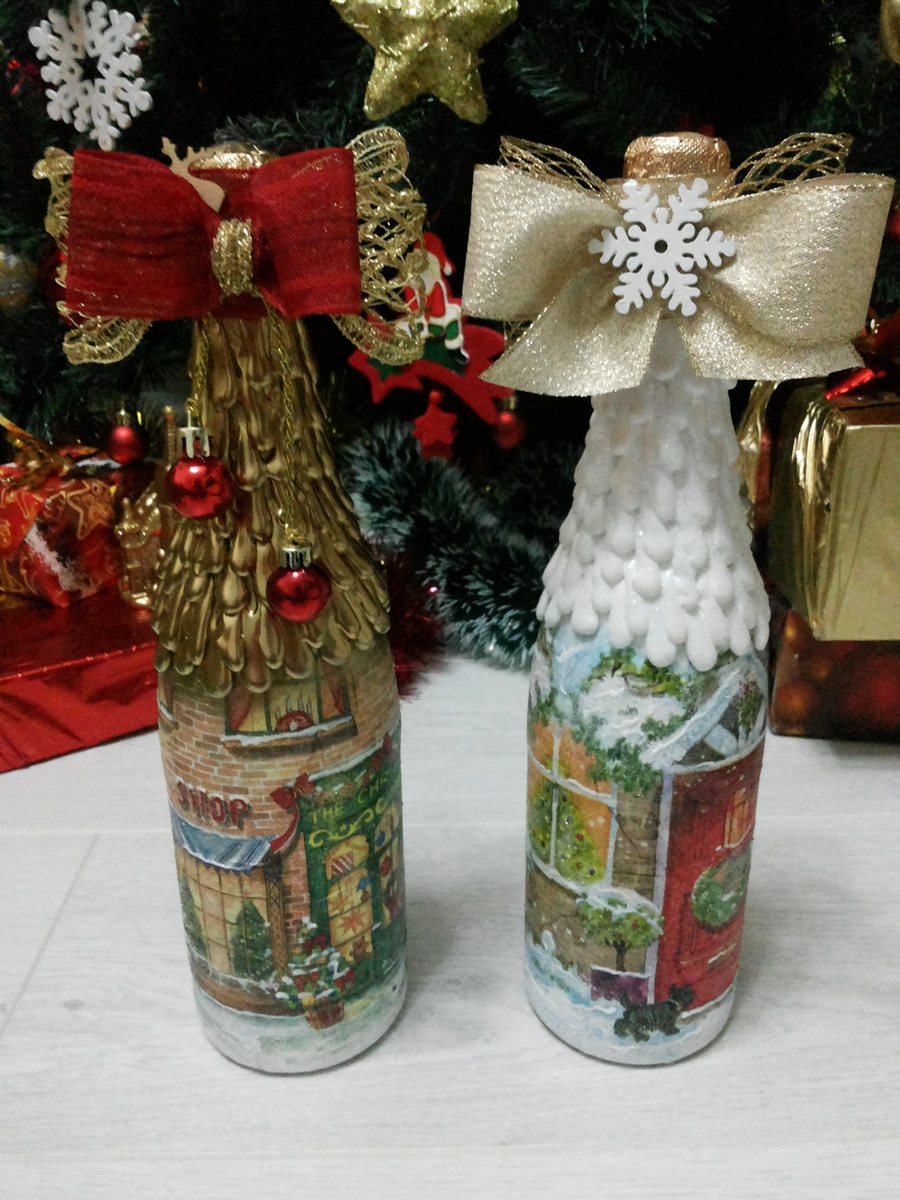
return to menu ↑Volumetric details
What just do not come up with lovers of decoupage. Have you heard about the creation of volumetric textures using toilet paper? It is impregnated with white glue and glued to the primed workpiece. How to place volume moments everyone decides for himself. I dispose of them randomly, most often in the neck area towards the bottom of the vessel.
Visually, the volumetric texture looks very rich.
Then everything is dried and painted in pastel colors, according to the master's idea. Visually, the volumetric texture looks very rich, and no one will ever guess that ordinary toilet paper is hidden under a layer of paint.
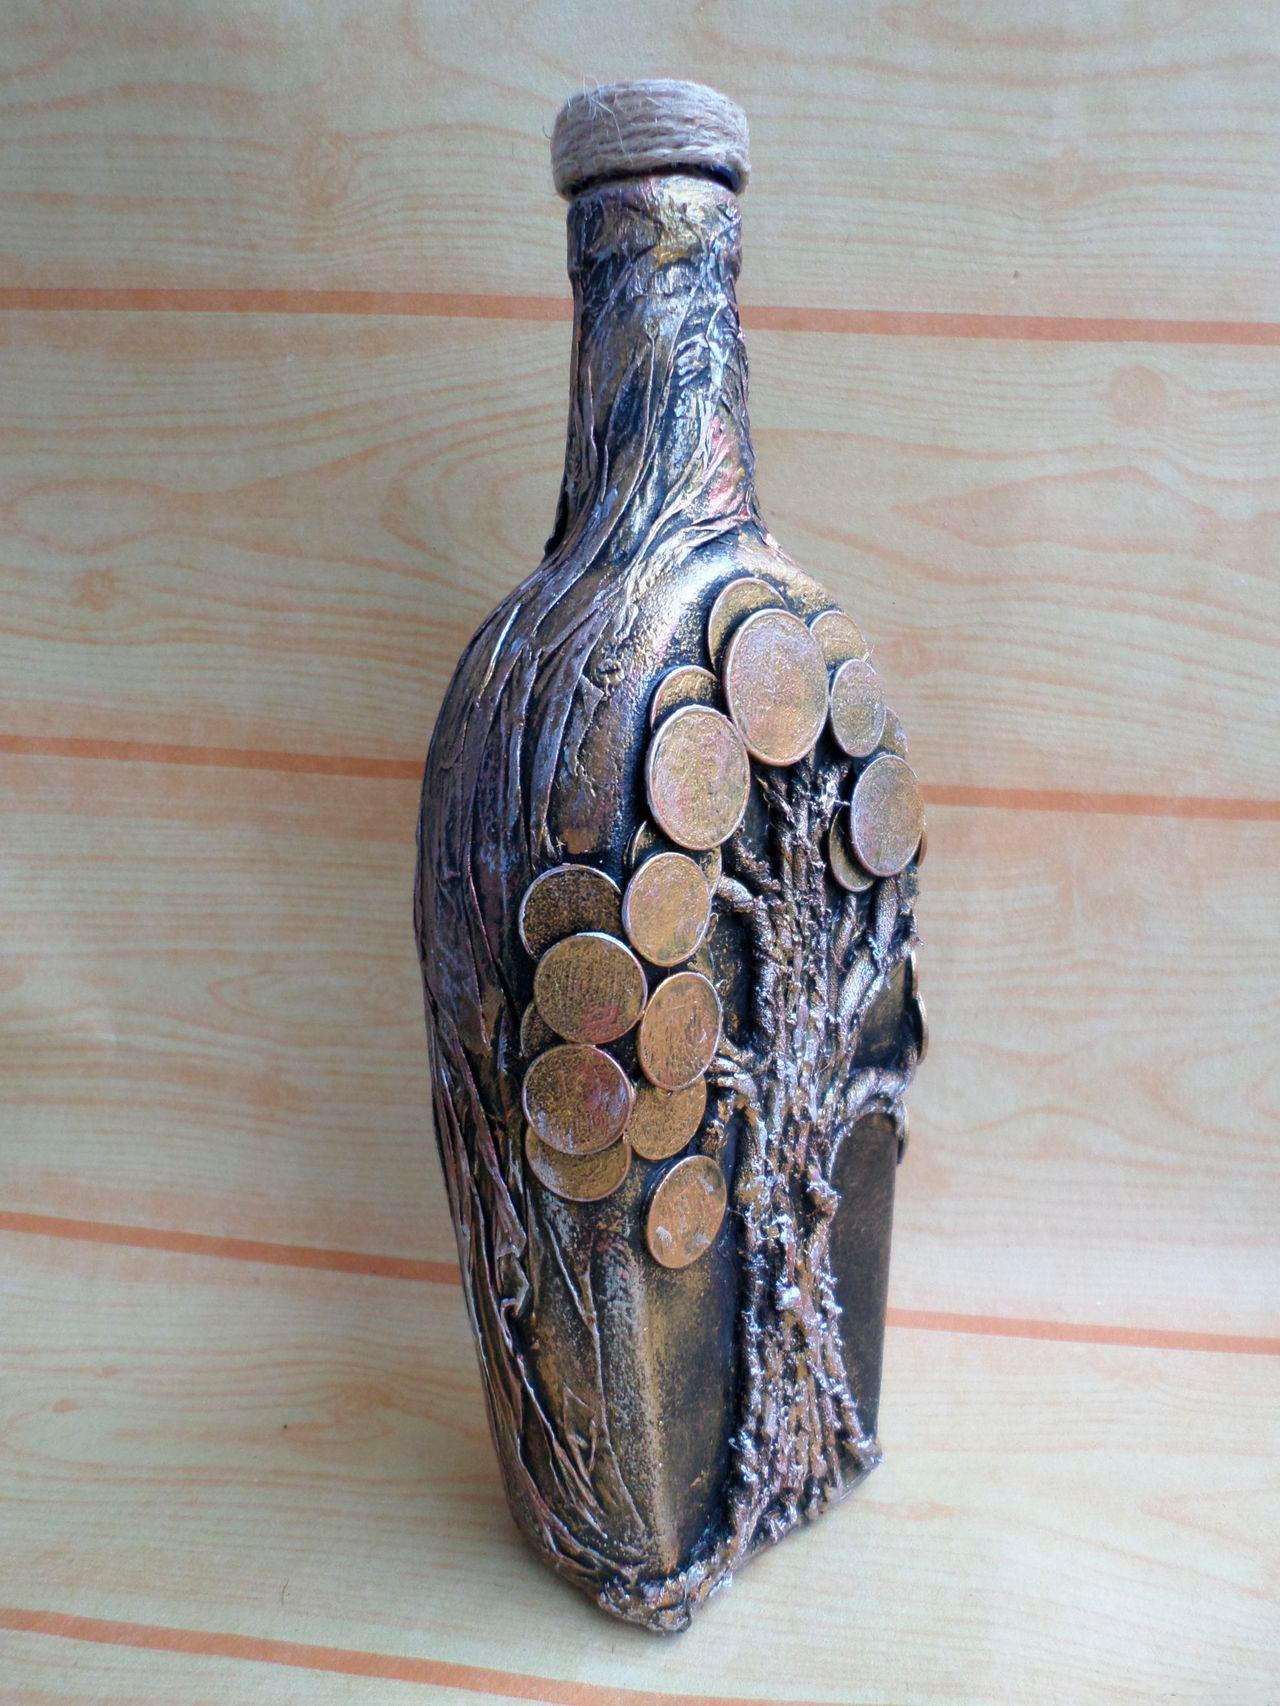
Bulk decoupage "money tree"
I hope that you have no doubt that making a New Year's bottle of decoupage is not a difficult and very interesting task. Created with love, with the hands of a master, it will be a great decoration of the table and a center of attention. Interesting creativity decoupage unites adults and children, it can be safely called a family hobby.
New Year's decoupage
We decorate the bottle quickly, but beautifully