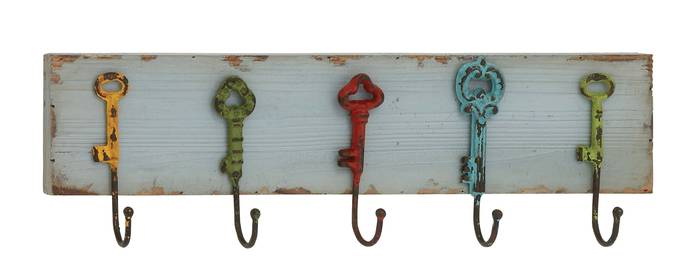
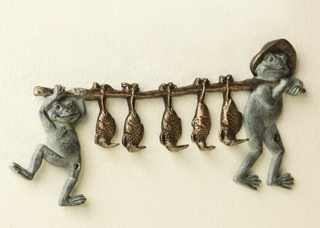
Wall key holder in the hallway: 140+ (Photo) The original options with their own hands
 The original options with their own hands")
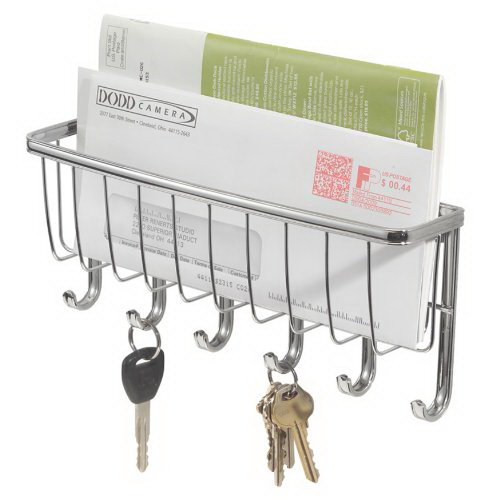
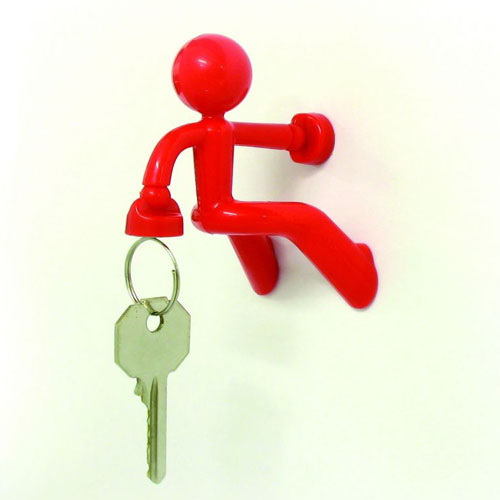
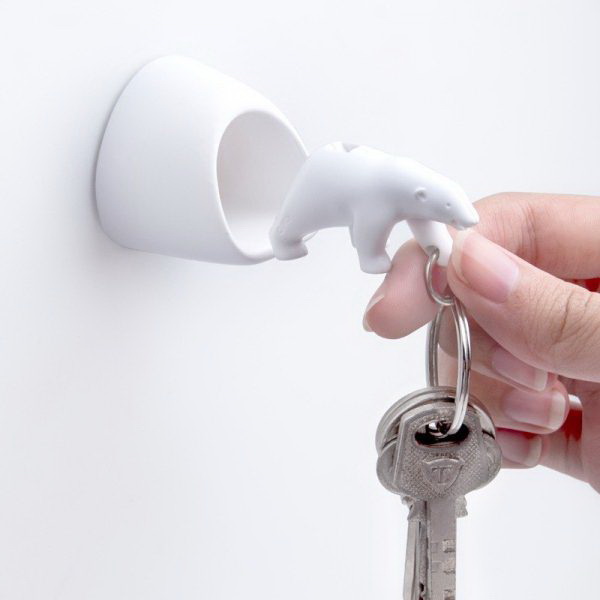
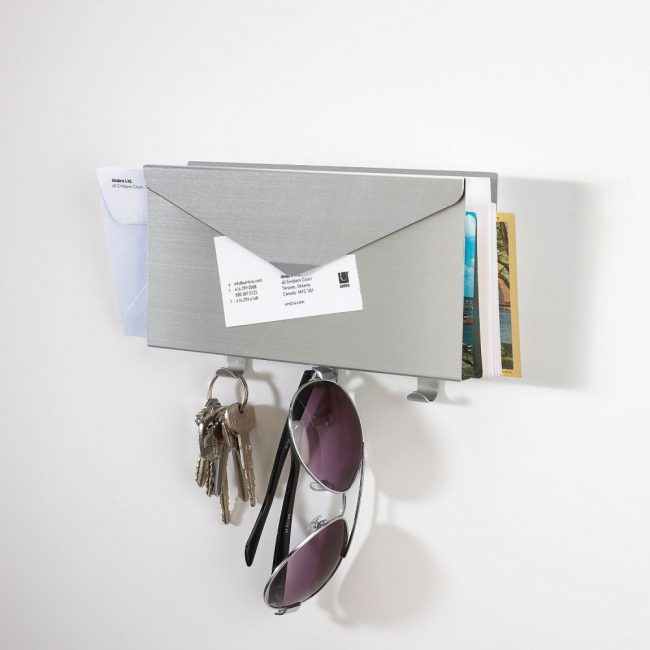
Wall key hanger in the hallway fit perfectly - plus you can not look for keys throughout the house. This is the main advantage of any keyframe: saving time. For a couple of weeks you will develop a habit in the evening, when you come home from work, hang a key on it, and in the morning, when you go to work, take it off. As a result, you no longer need to search the apartment in search of missing keys, and you are always aware of which of your relatives are at home - just look at the housekeeper and see if all the keys are in place.
Content:
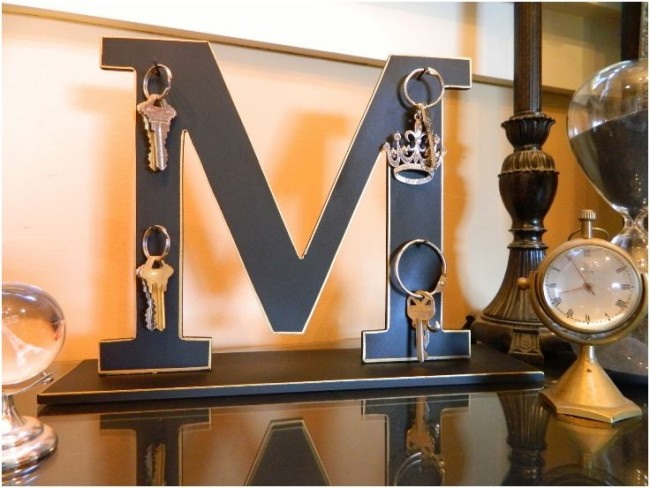
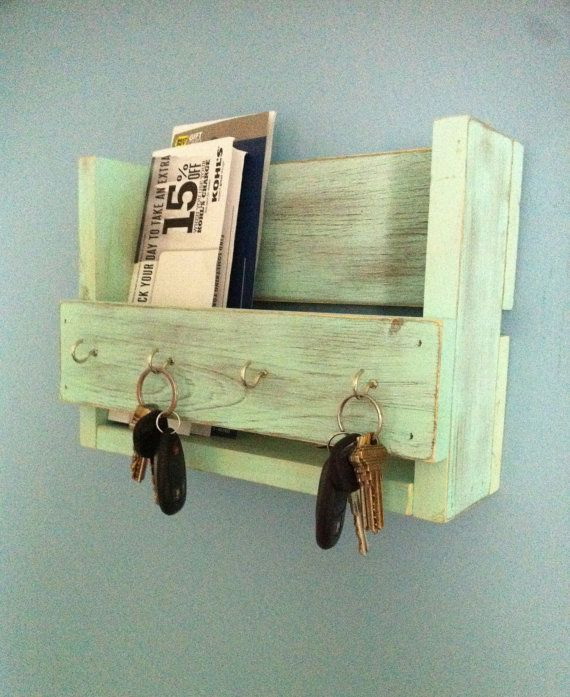
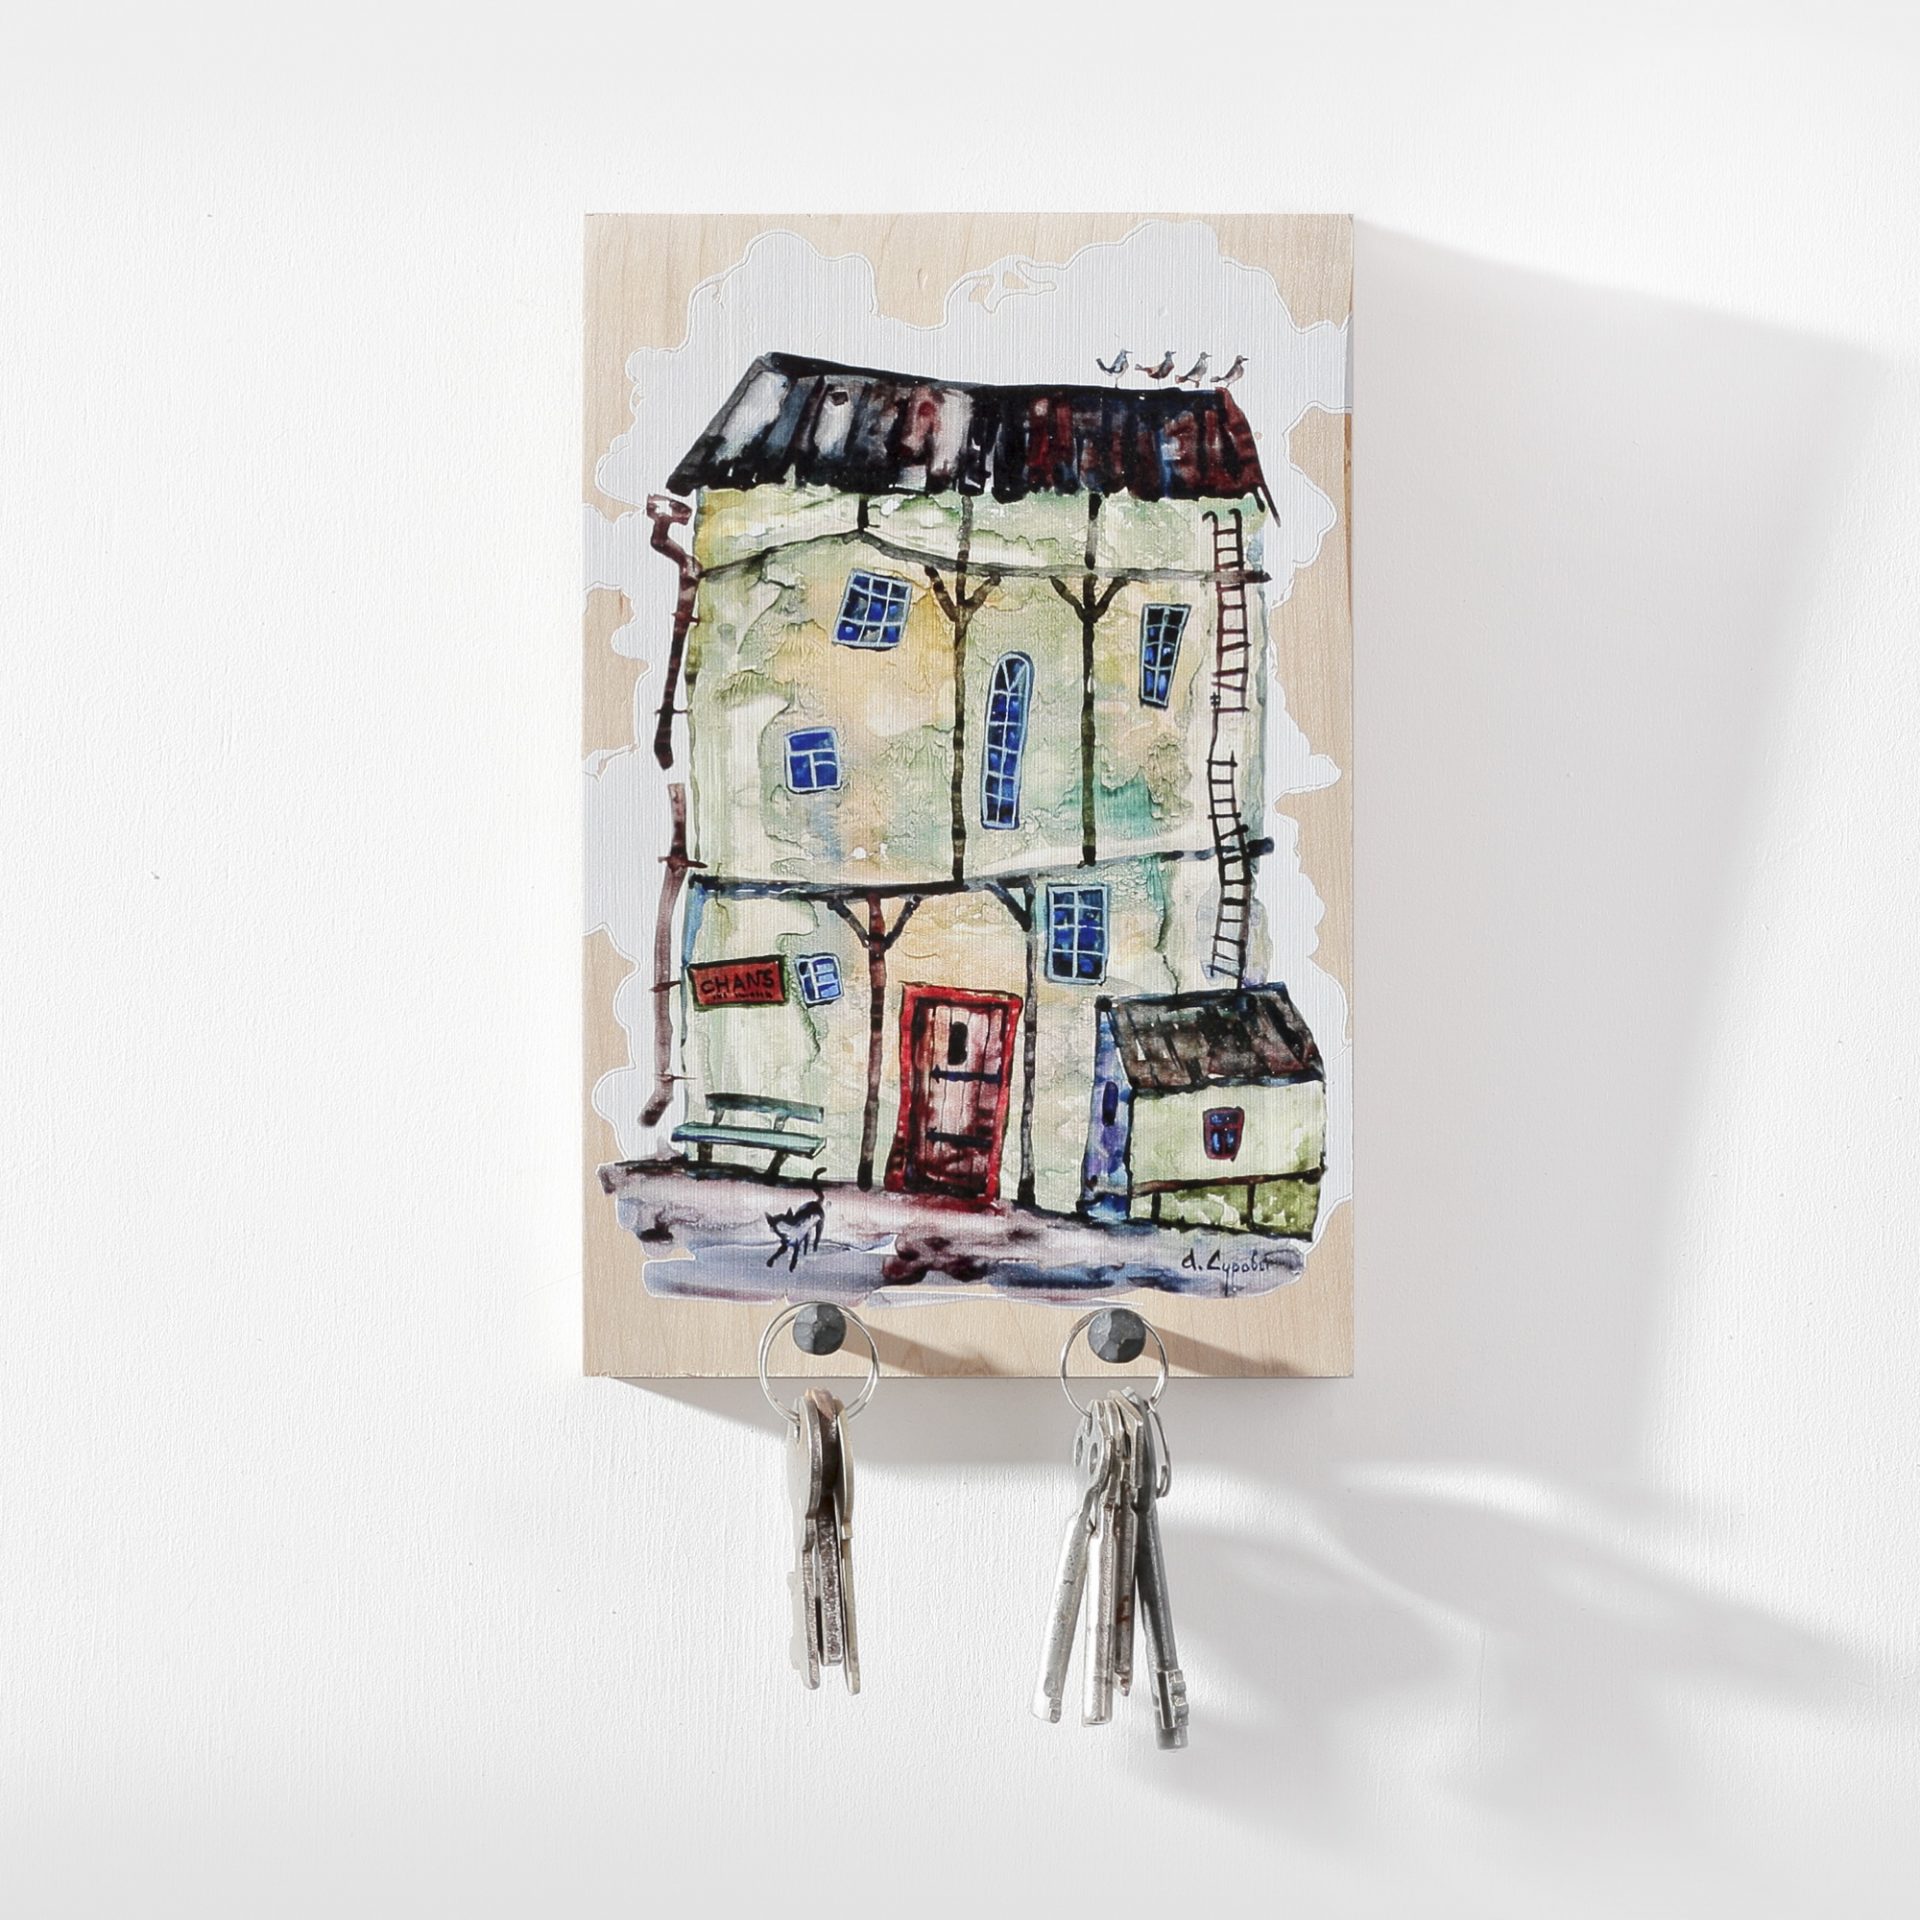
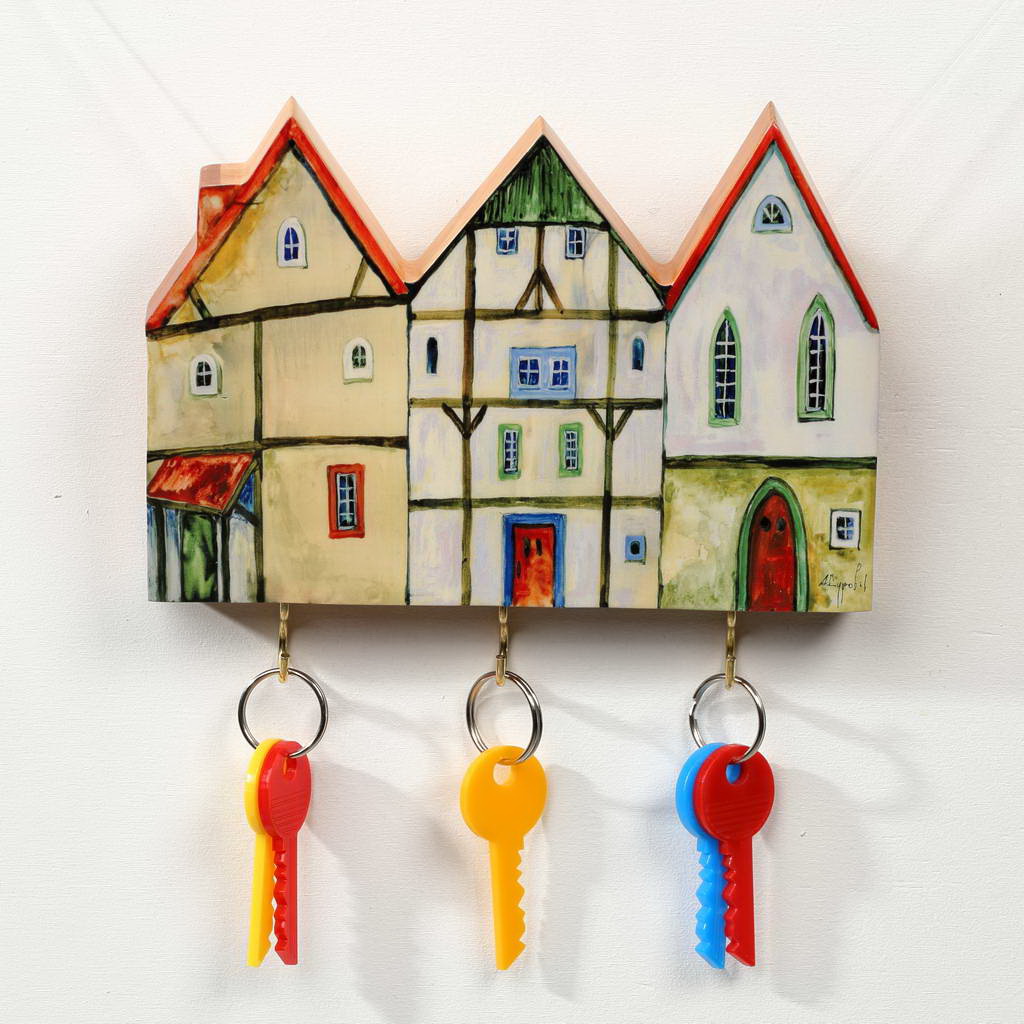
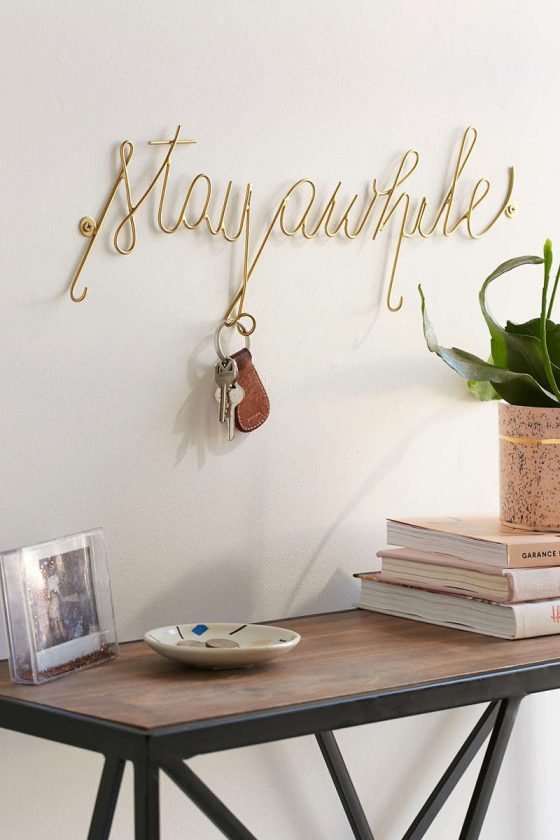
The practical side is not the only advantage. There is still aesthetics, because you can make a housekeeper in any style. Do you have an entrance hall, made in eco? Nothing fits into it better than a key from a tree branch. High tech? A small stylish metal key holder will suit him. Provence? Decoupage with flowers or birds. Classic? Wooden lacquer board strict form.
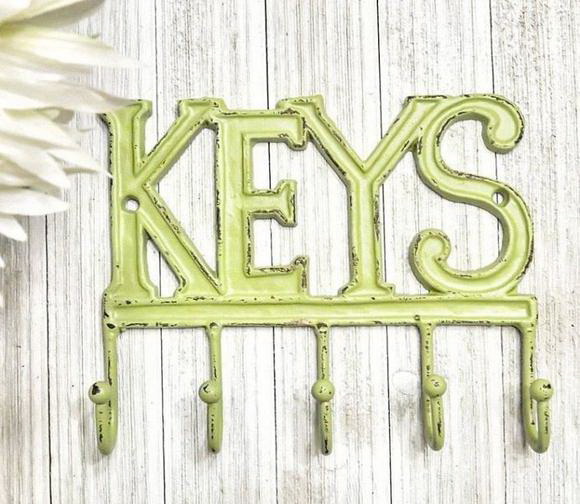
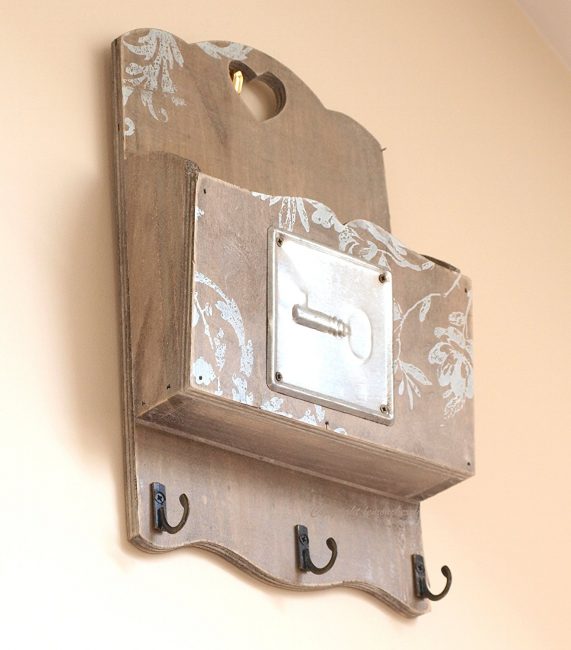
Wall key holder fits easily into any interior
In any store for the home you can find something that suits you personally. But there is another approach: to make a housekeeper with your own hands.
It has advantages:
- Originality. A hand-made thing will always be different from a similar one, but produced on a conveyor. The peculiarities of processing inherent in each master, interesting design decisions - even when making a housekeeper according to the instructions, you will know for sure that nobody has the same.
- Diversity. At home, even without experience, you can make more than a dozen different housekeepers. From a wooden saw, from a box, from a wire, from a branch, even from forks - there is always material, you just need a little patience to handle it carefully.
- Harmony. The purchased housekeeper may perfectly fit your hallway, but you must first find it. Made with your own hands is suitable, like your own - because you will work on it by inventing a design and knowing how it will fit.
- Interesting experience. Doing something with your own hands is not only useful - it’s still fun. If you have children, you can team up with them, turning the simple manufacture of a housekeeper into a real adventure. And if there are no children, you can simply enjoy the process.
Easy to do it yourself
Homemade key holders are different - from different materials, different designs. Before you get to work, you need to figure out what you need.
What are key cases?
There are two ways to classify key keepers.
The first is by design:
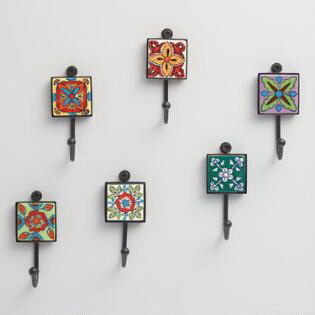
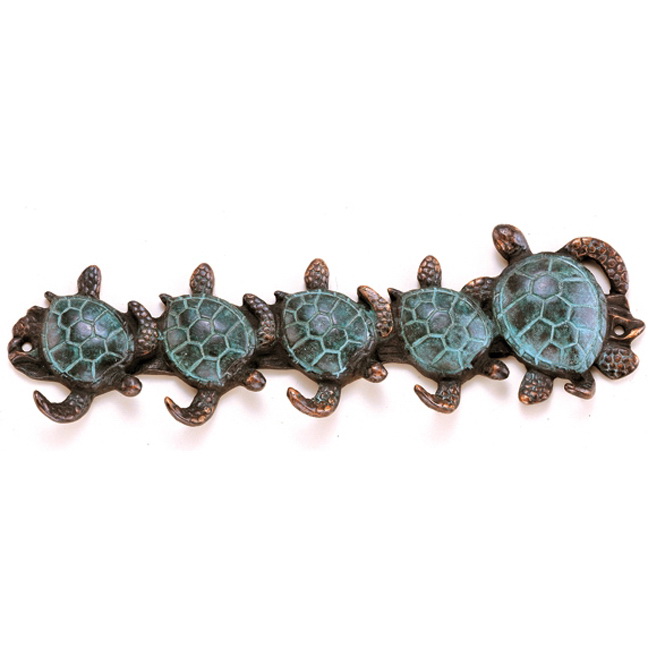
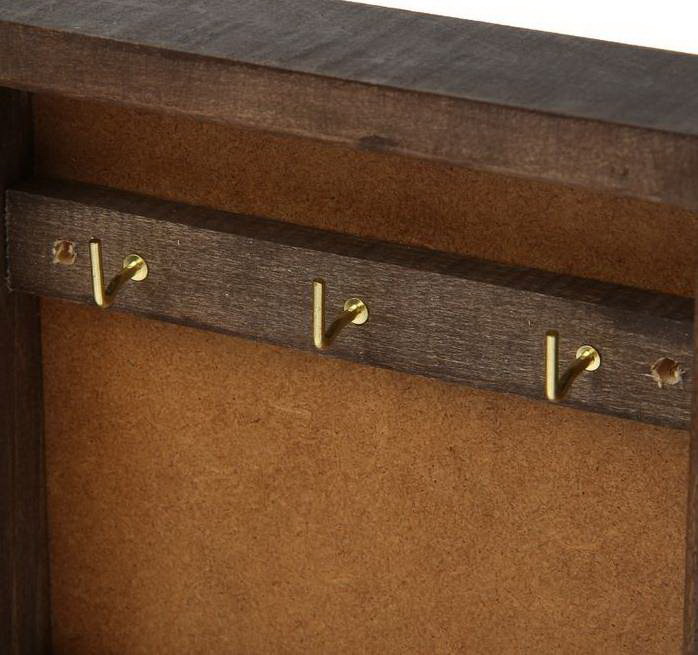
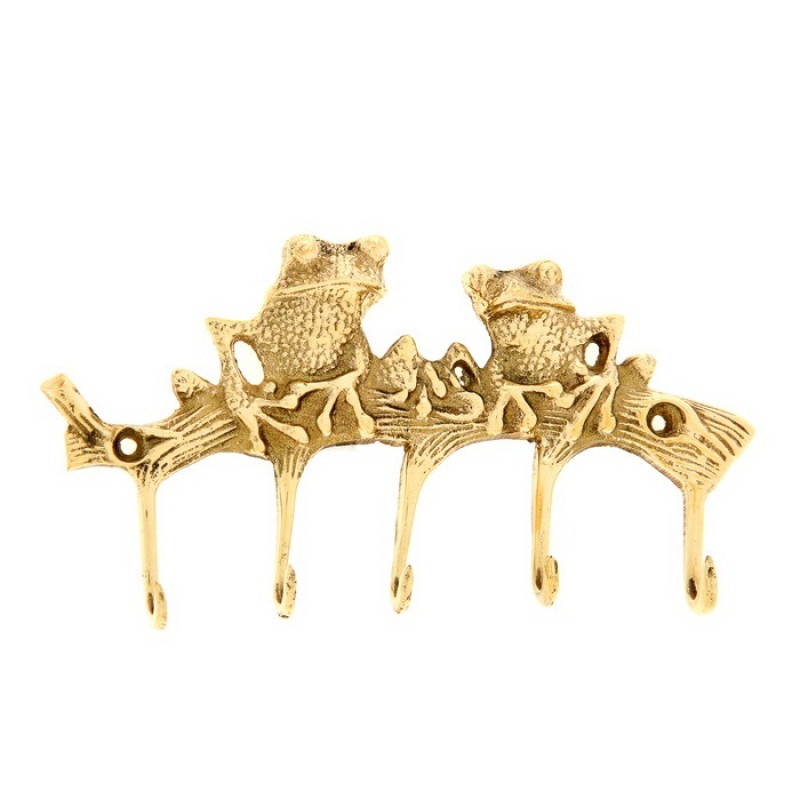
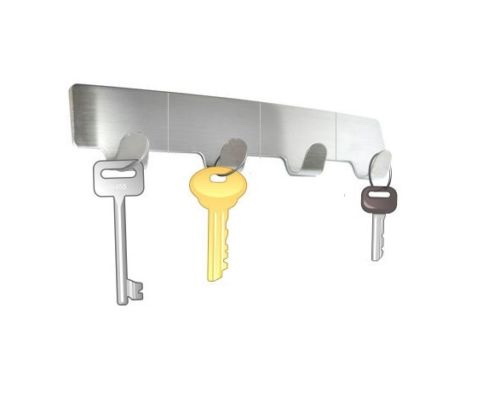
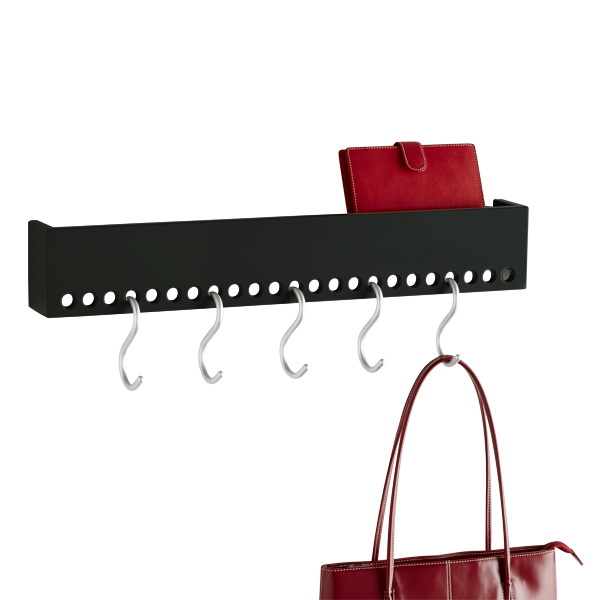
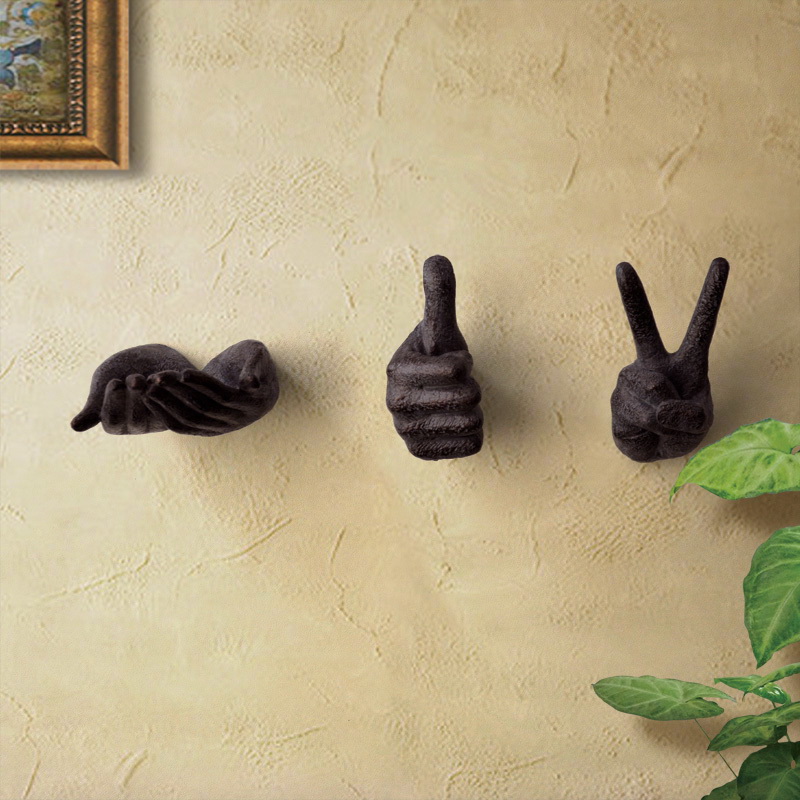
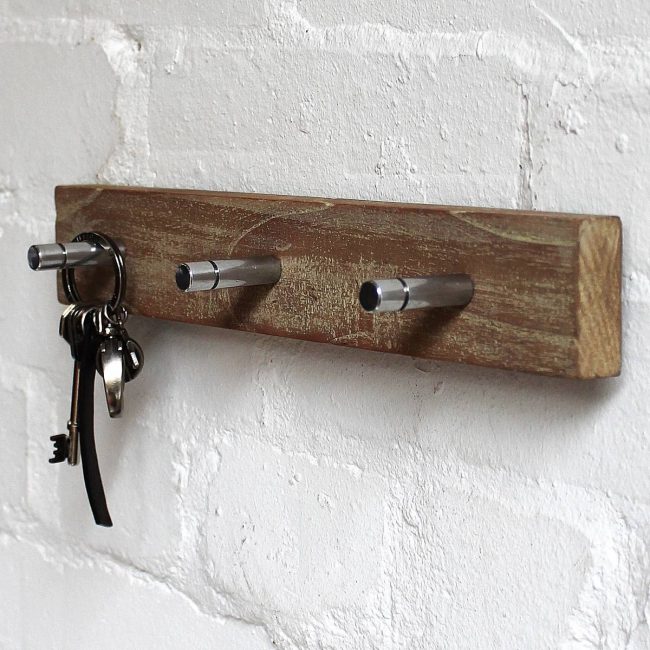
- Open. These are usually made by hand, as they are easier to perform.Represent any hooks on which you can hang the keys, hammered into anything. Board with nails? Open A branch with knots? Open Leather cut with pockets? Open
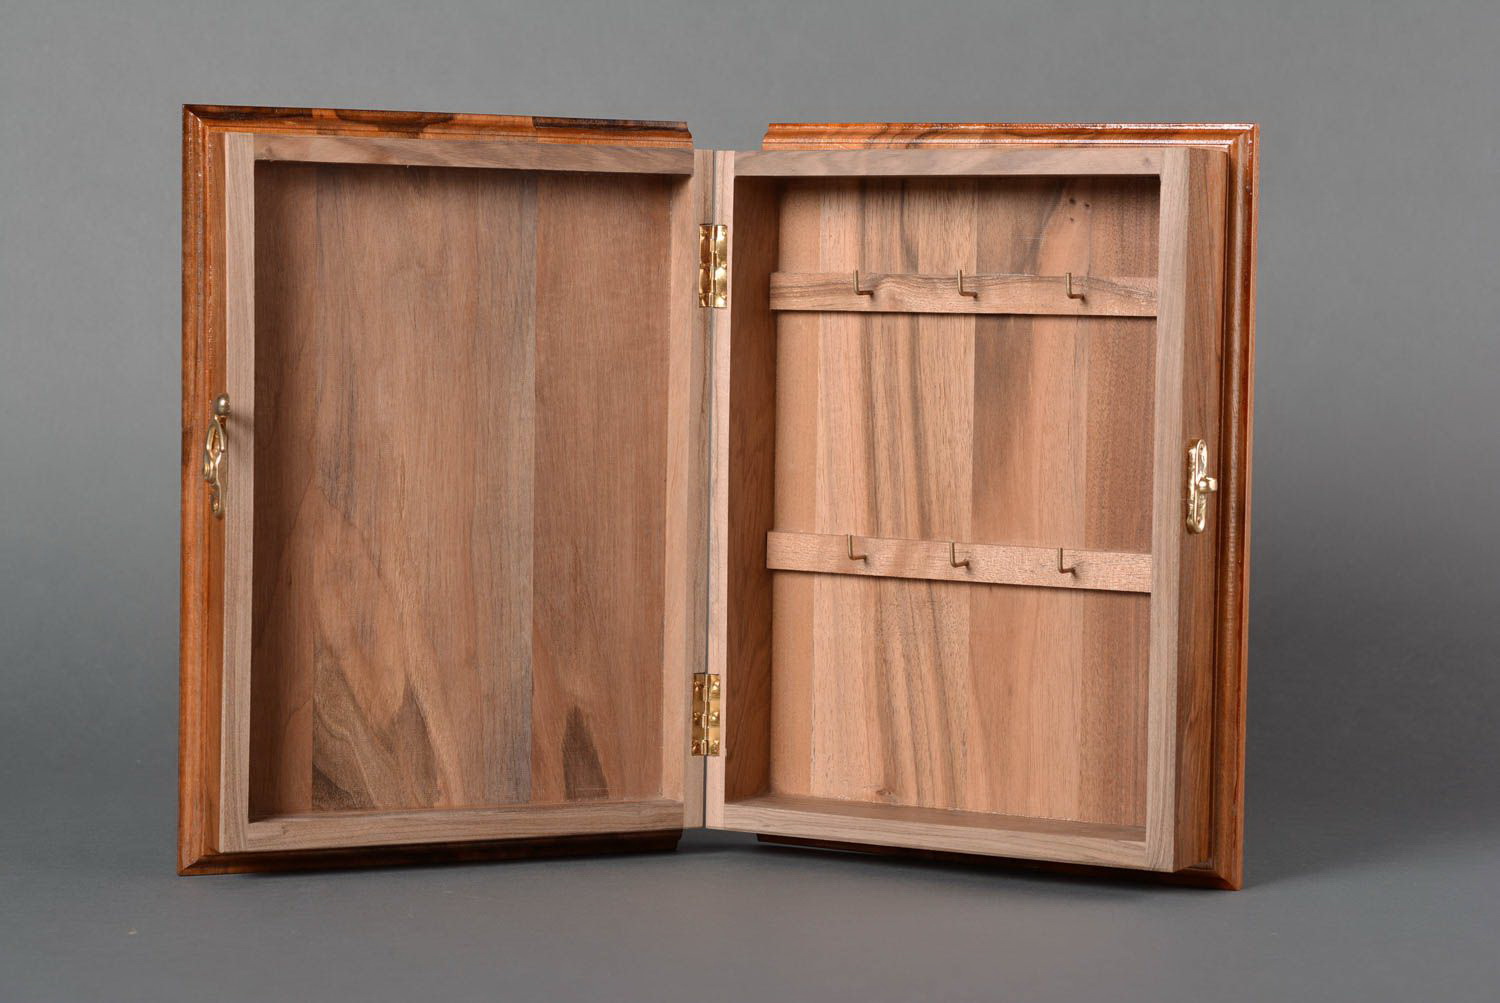
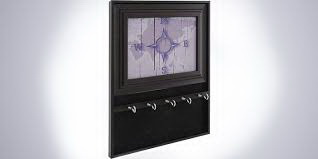
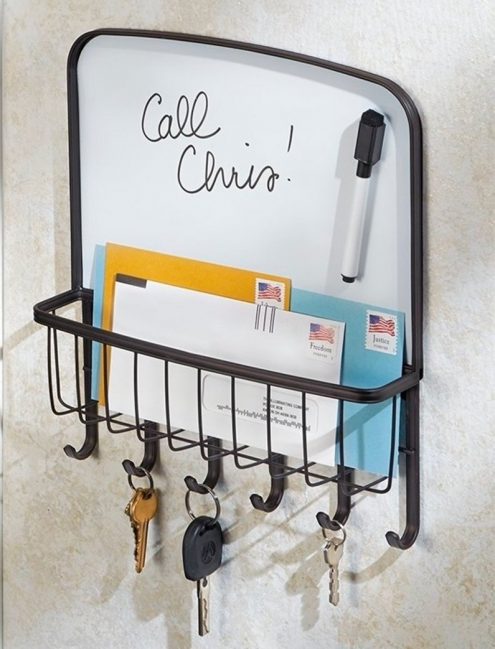
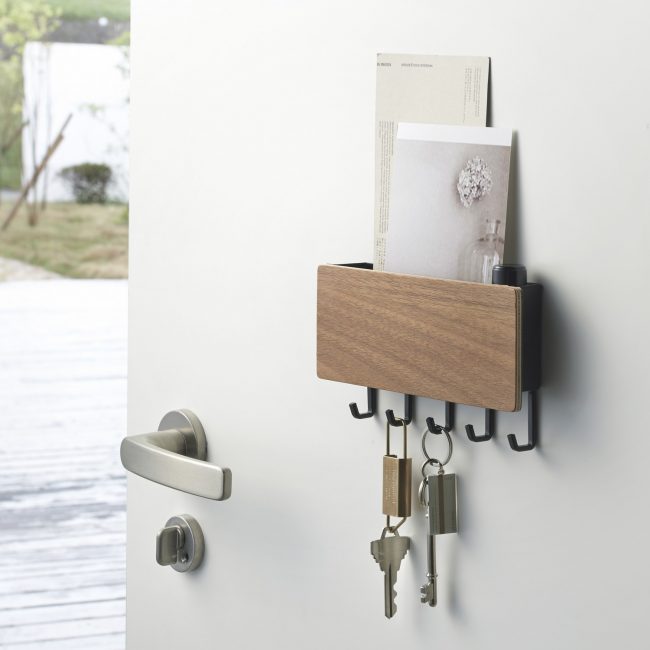
- Closed. Such make it harder - you need some carpentry skills. Represent lockerthat closes the door. The door will have to be hinged, otherwise it will quickly fall off. They allow you to hide what exactly is inside, protect the keys from other people's views. They can be embedded shelves for useful things, hang a mirror on the door and in a different way expand practical application.
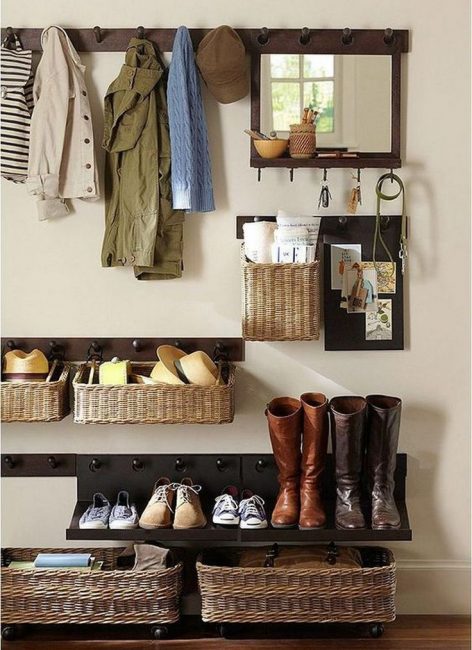
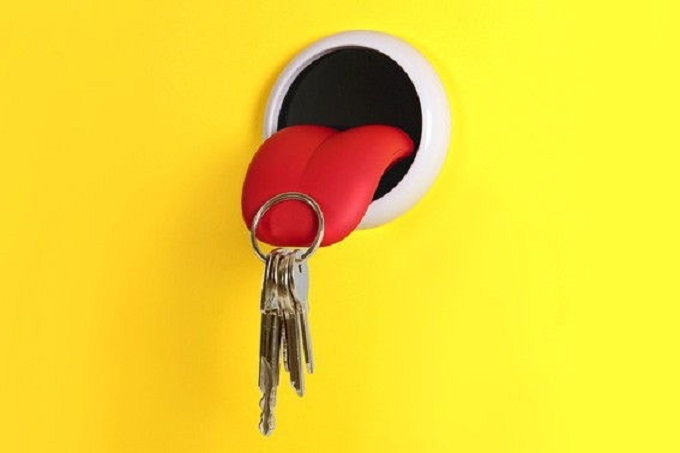
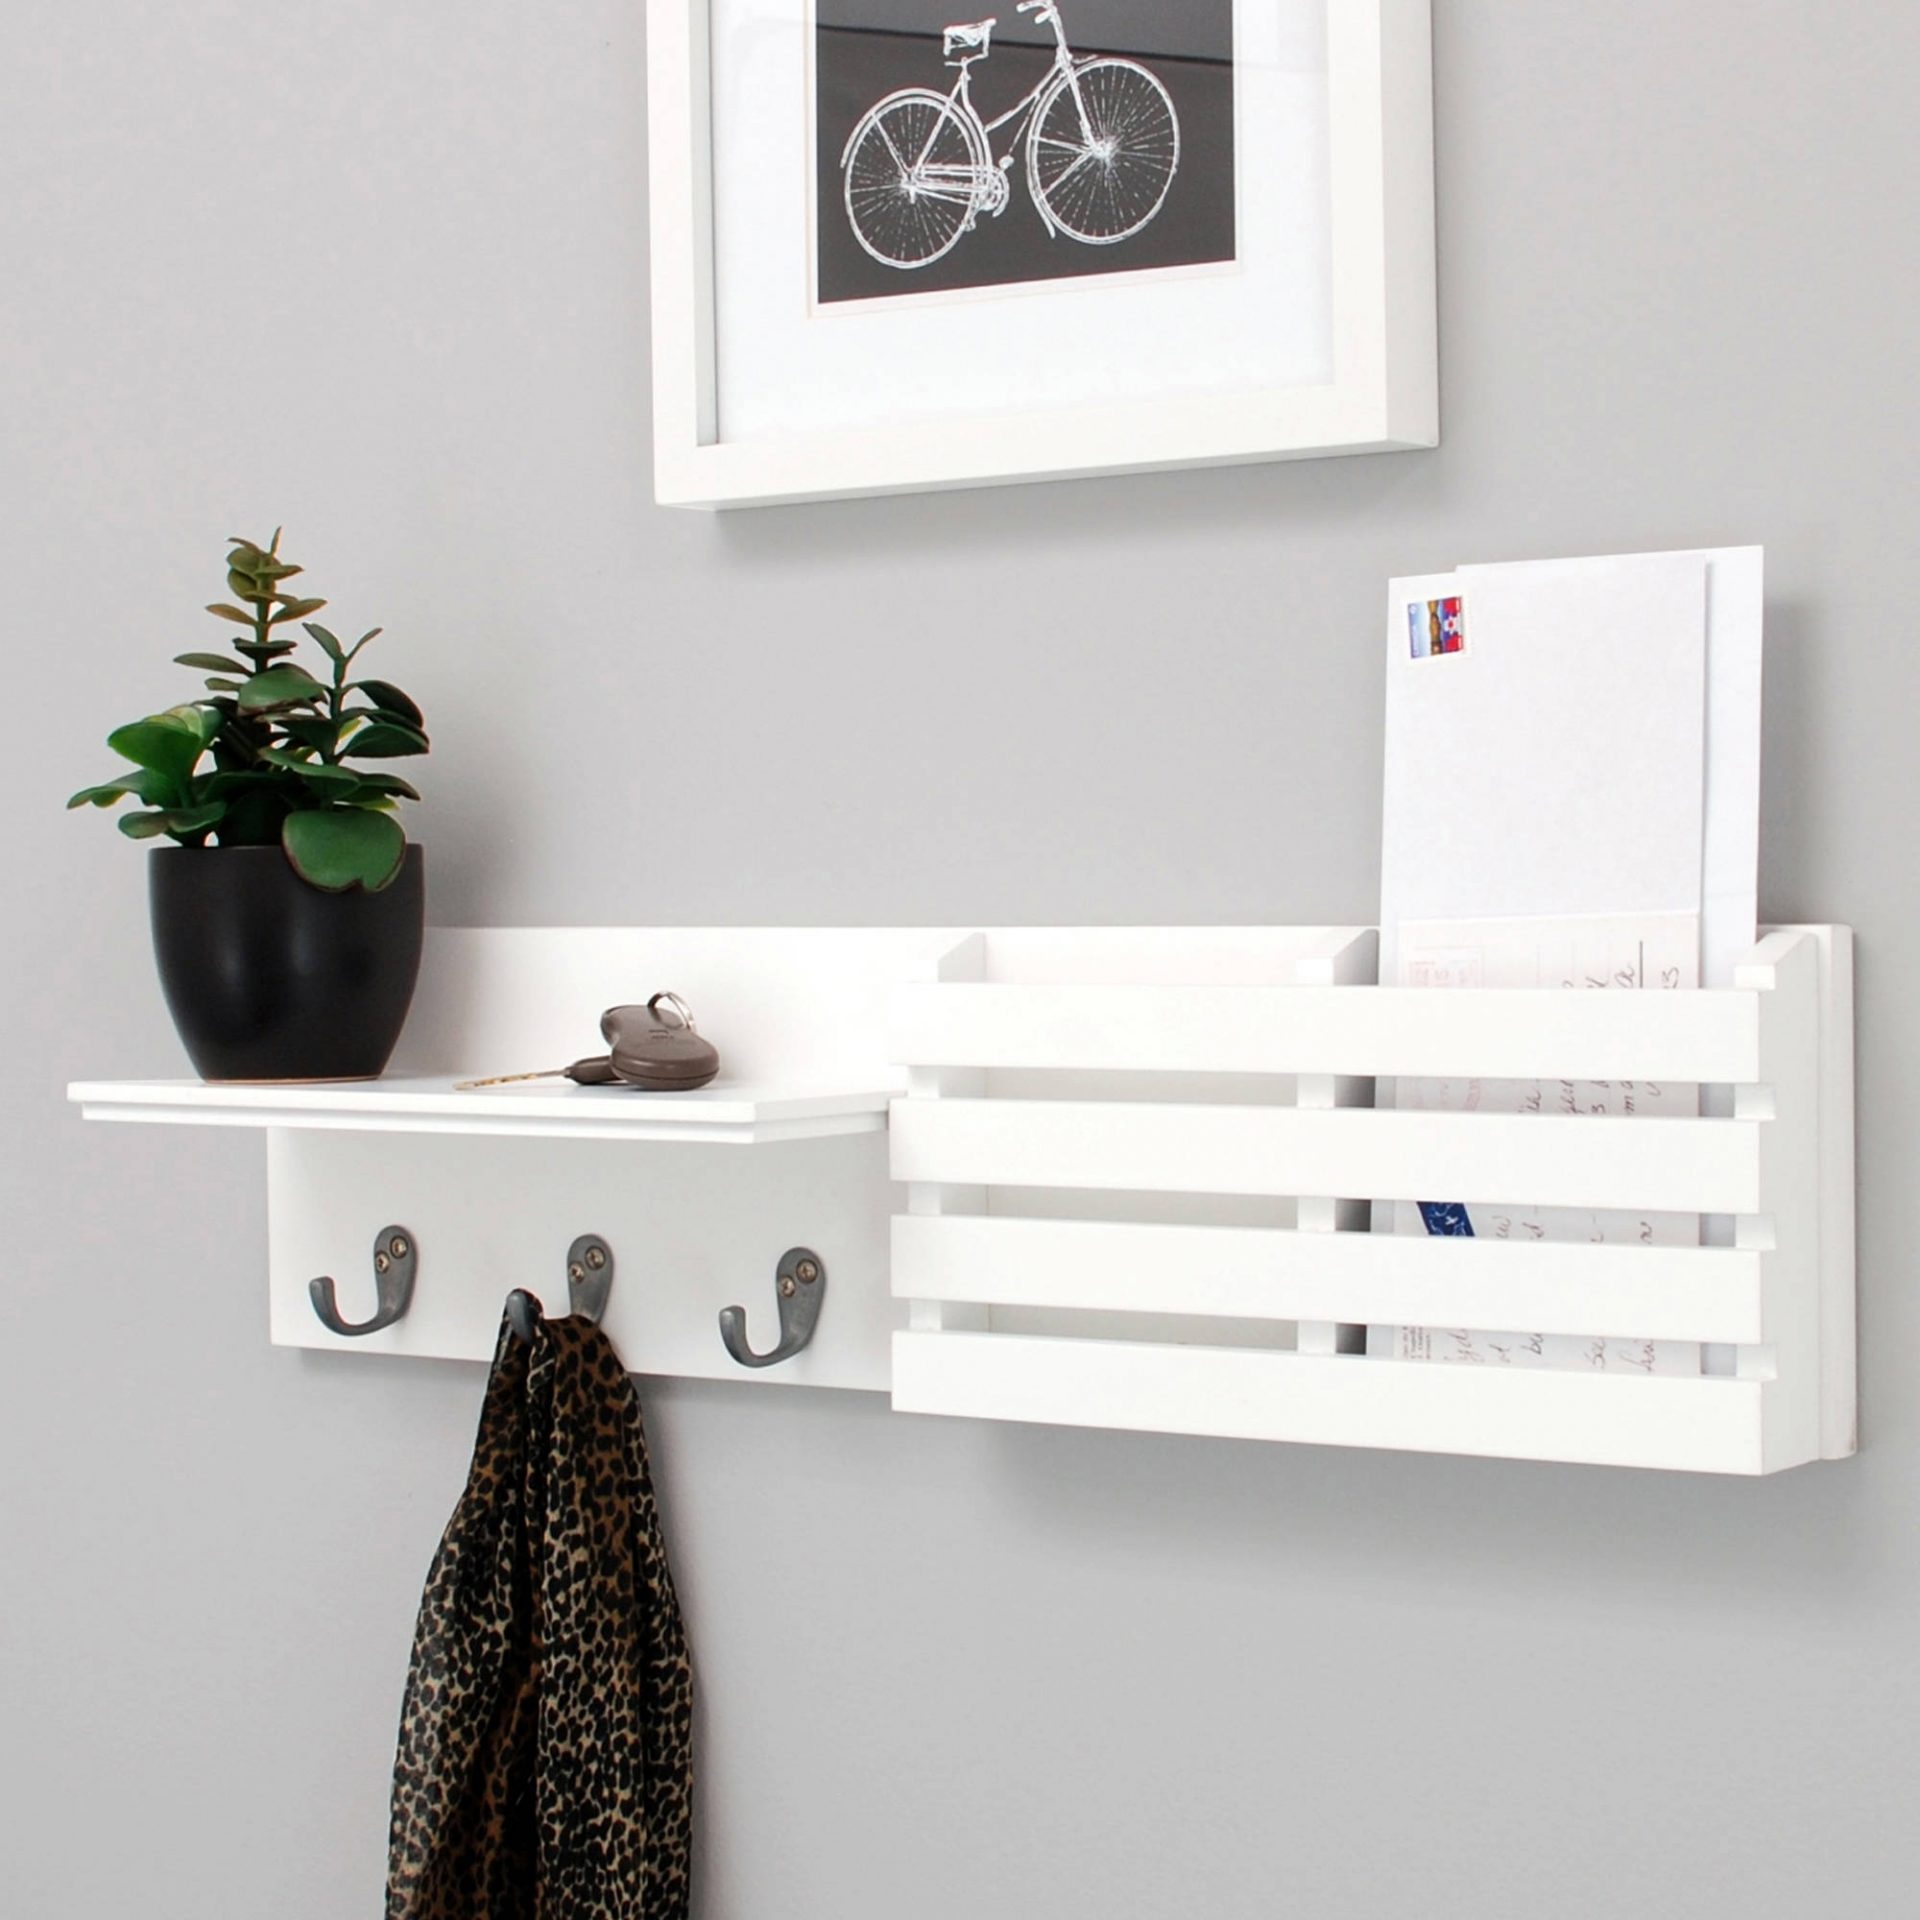
A convenient way to not lose your keys
The second method is based on the materials that were used.
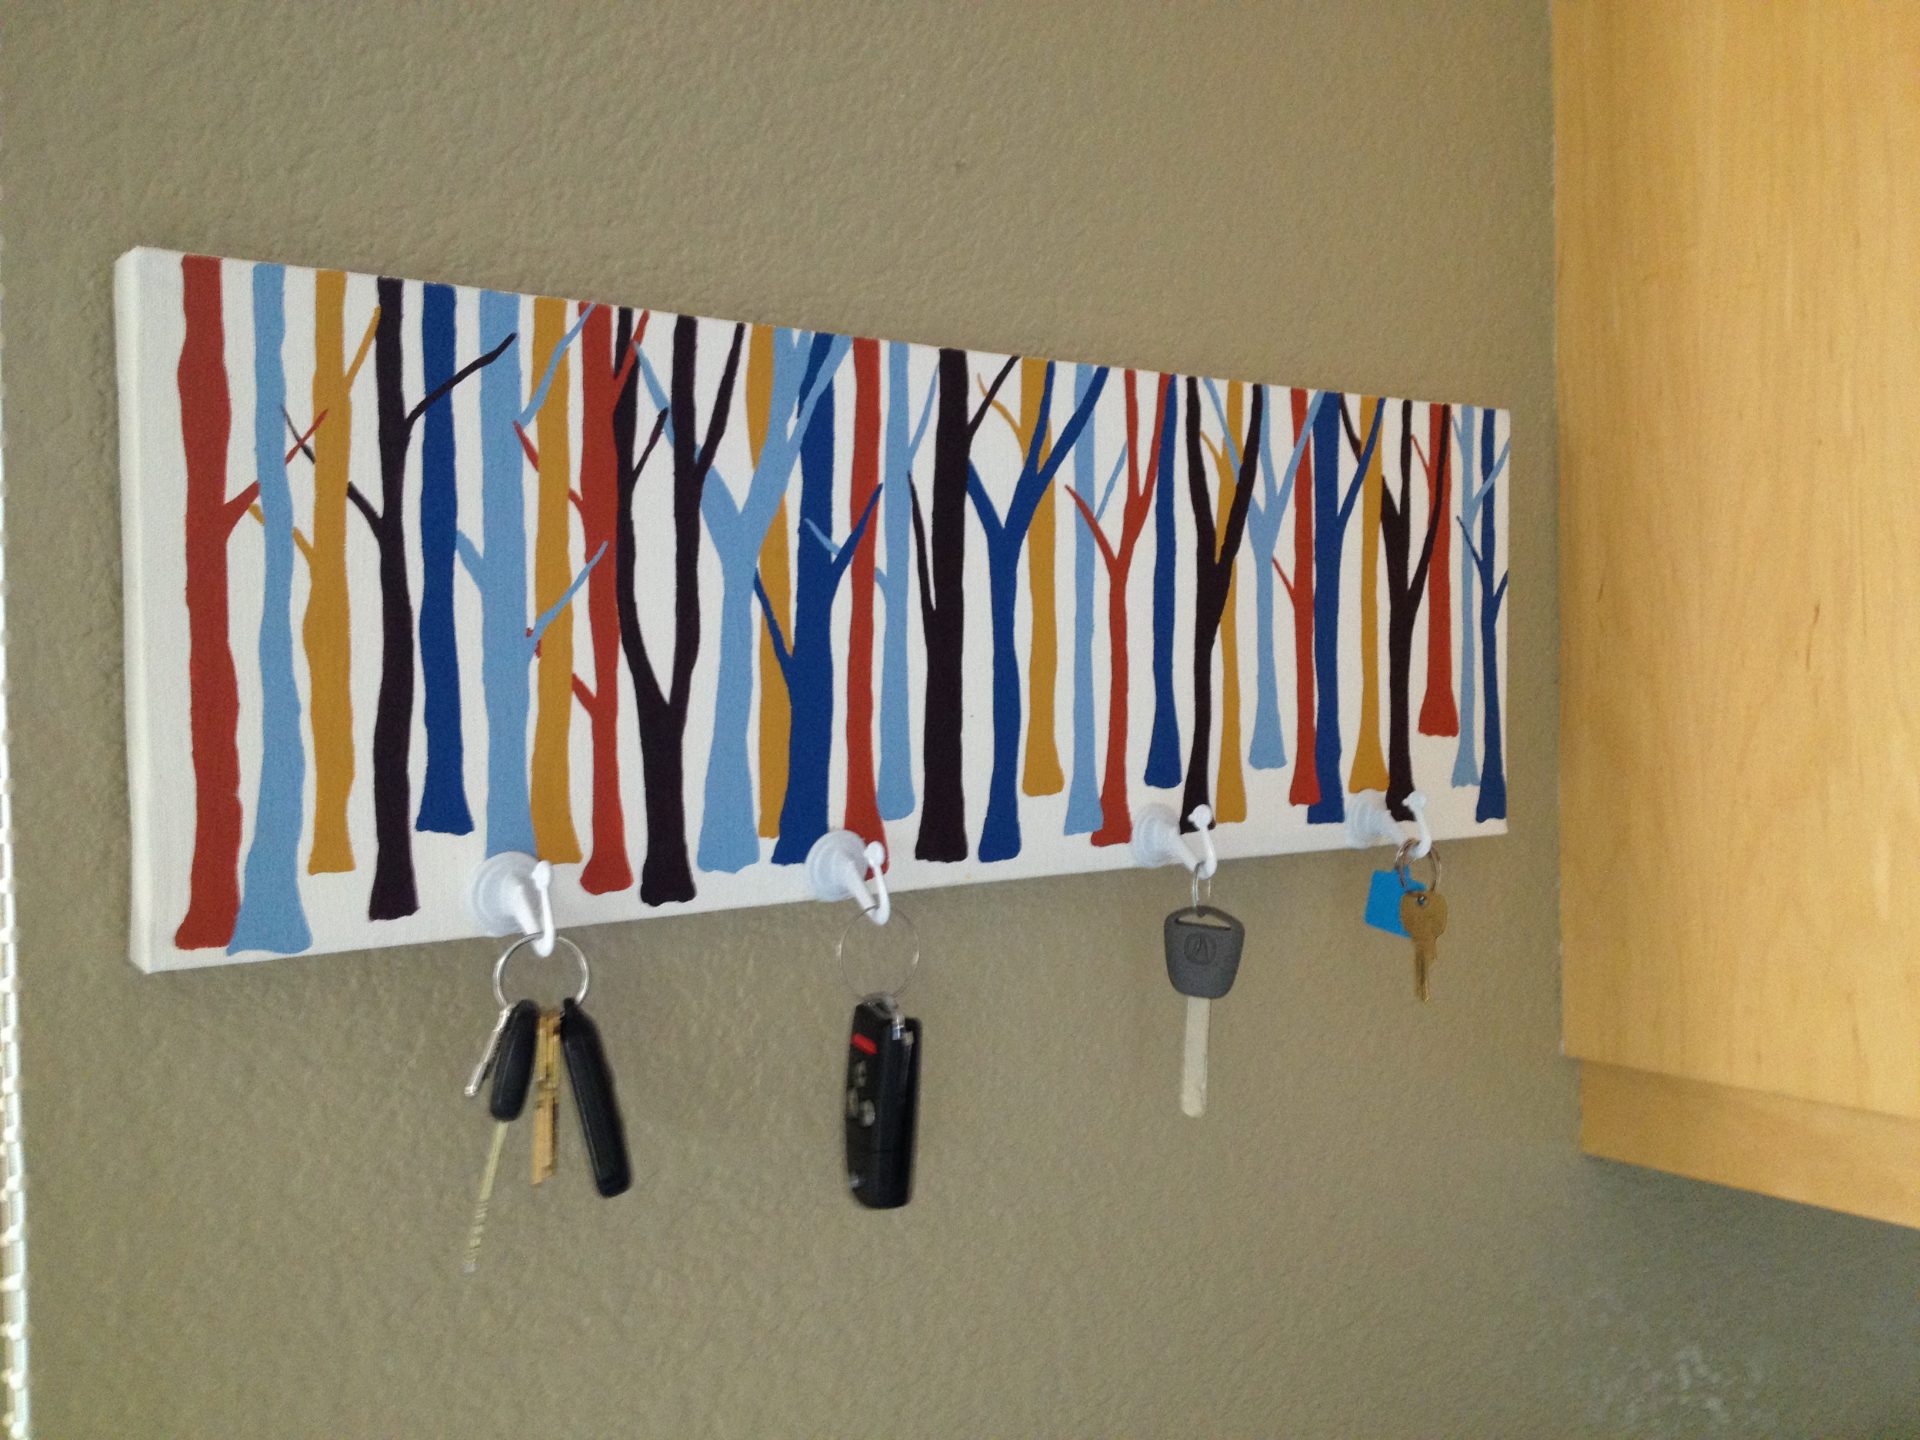
- Cardboard. Cheap and easy to handle, it has low strength. It is easy to work with him, well suited for the first key holder, made with a child. But quickly wear, plus does not look too solid.
- Plywood. Too cheap, but more difficult material to work with - there will not be enough scissors any more, a big knife or jigsaw is required. In addition, plywood will crack if applied too much force. And if it is done in violation of technology, it will be unpleasant to smell. Plywood is easy to decorate, it endures heat, humidity. Lit.
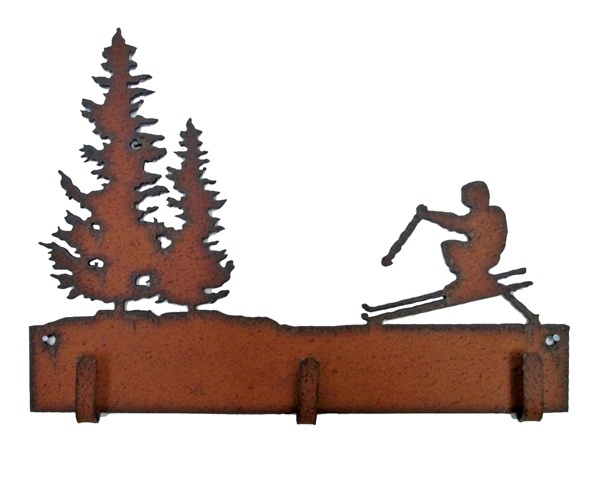
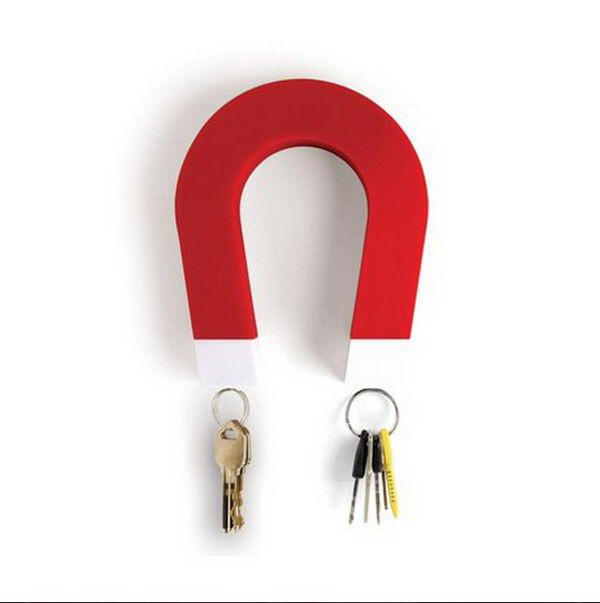
- Metal. It is not enough to work with real thick metal sheets of home equipment, but it is quite possible to make a housekeeper from thick wire or a thin layer of metal. Metal looks beautiful, can serve for decades, is not susceptible to mechanical stress, nor to temperature changes, nor to high humidity. But it is difficult to get it, hard to decorate.
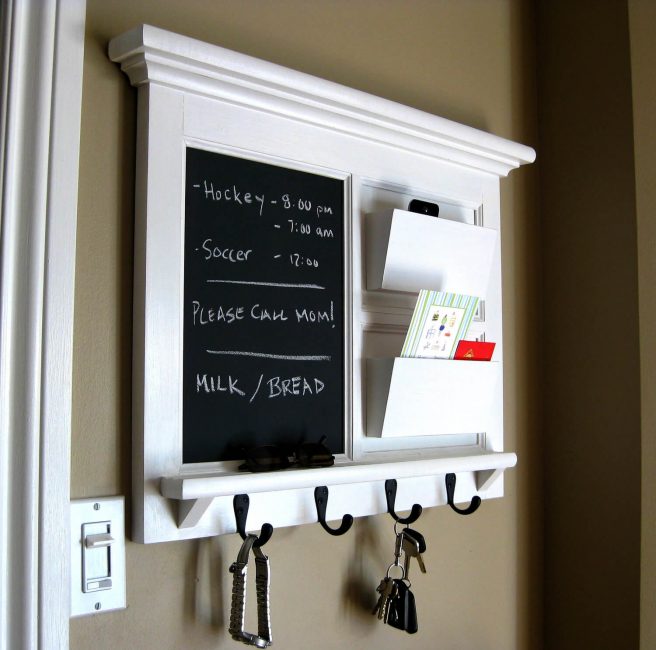
Multifunctional option
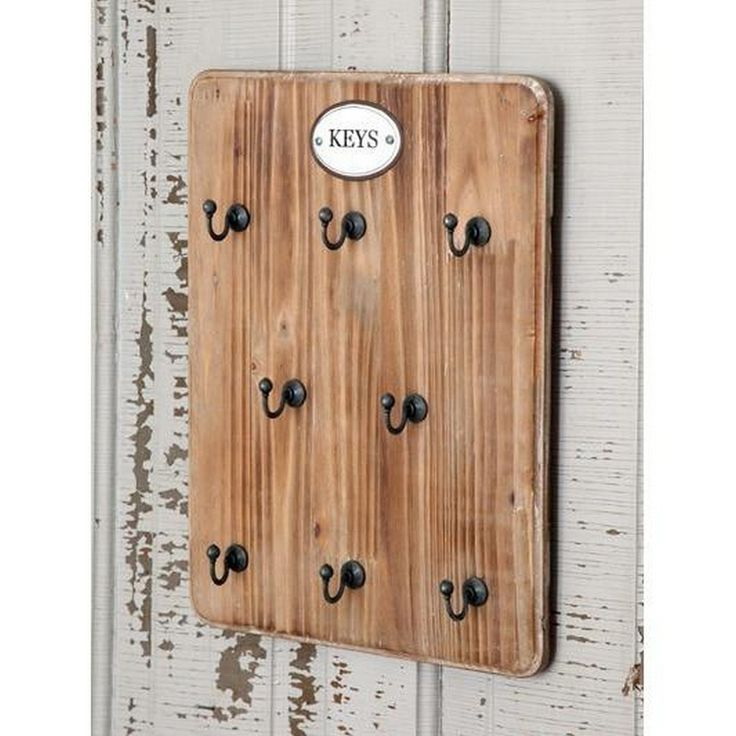
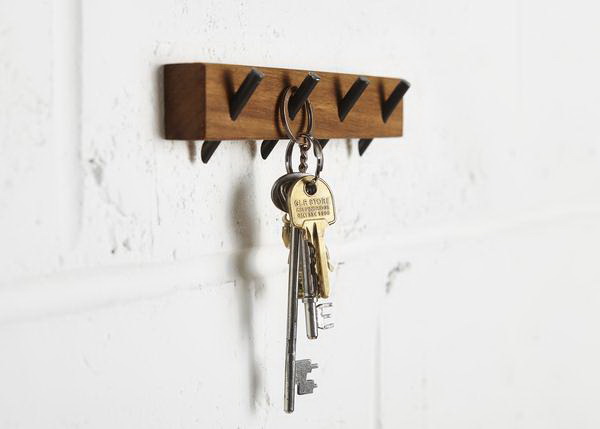
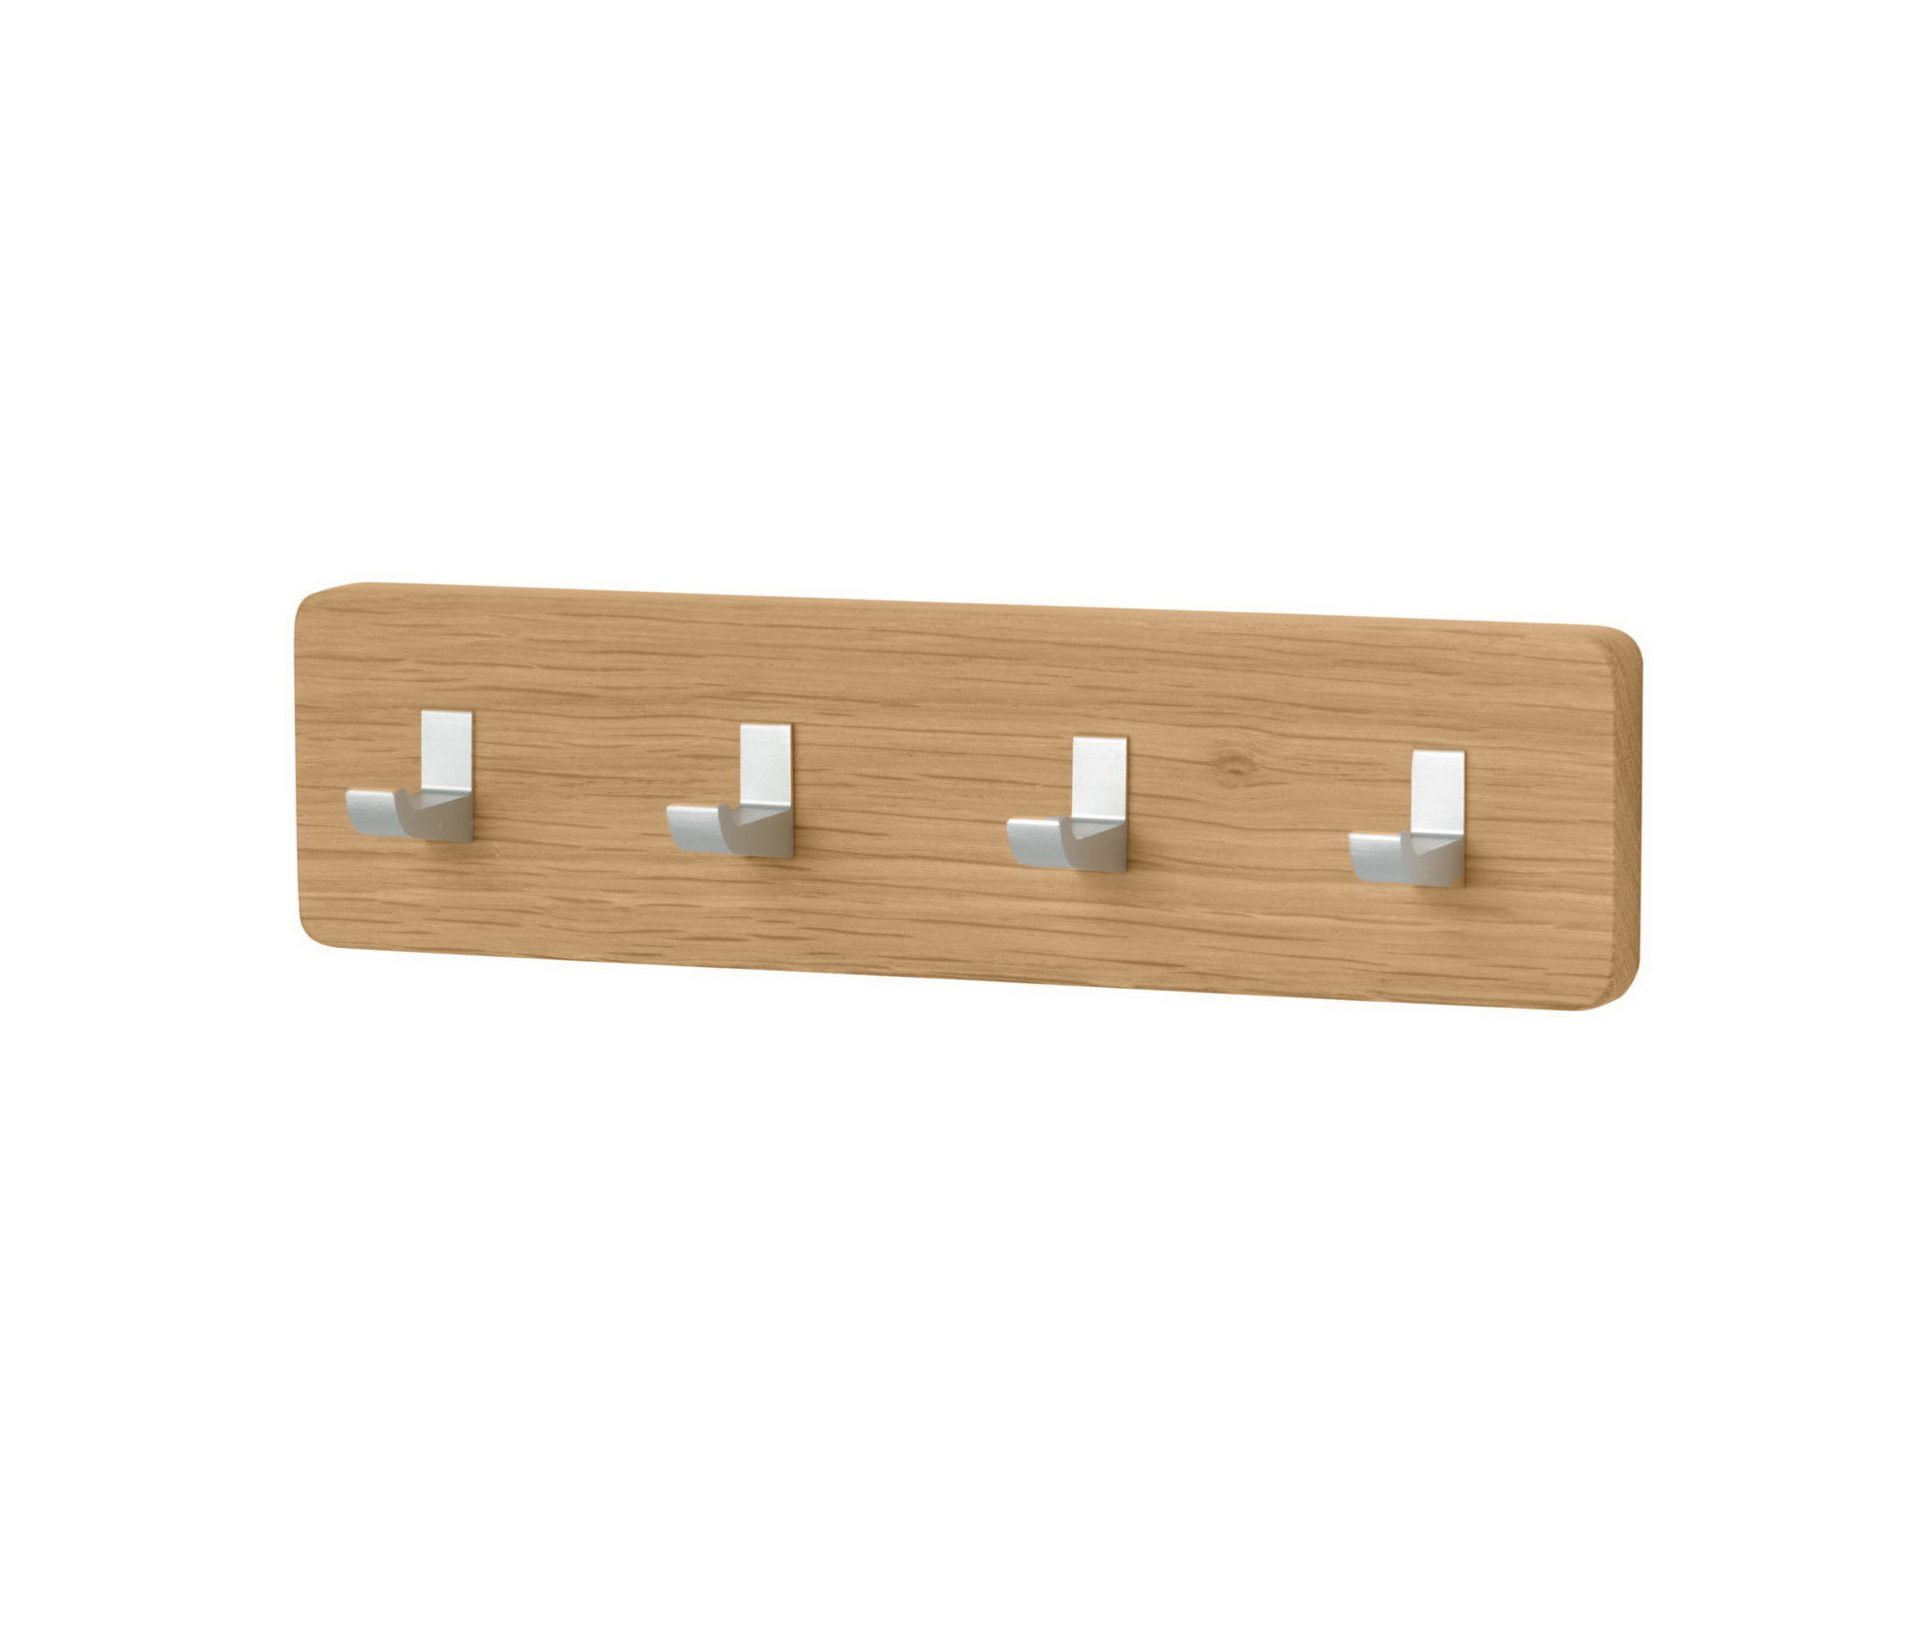
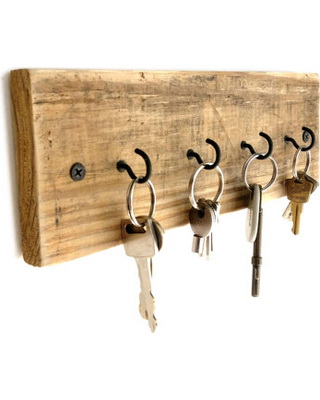
- Tree. Beautiful, malleable material, which can also last for decades, if you treat it with stain, varnish. Suitable for most of the interiors, plus searches can be carried out in nature - a branch can be picked up at a nearby park, for example. Lit, sensitive to moisture. May crack, may be infected with parasites.
- Leather. In due course it wears off, provides not too much space for imagination. But it is easily processed and will appeal to those who like to sew more than to cut with a jigsaw, to work with a knife or large scissors. Does not require additional processing. Lit.
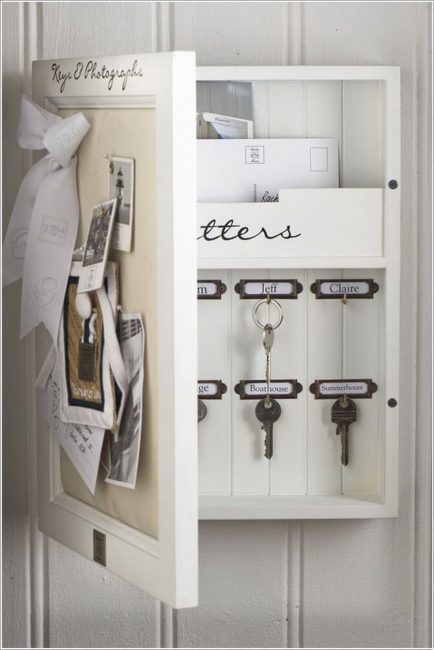
Model with a door
Corks from wine bottles can be considered a kind of tree - one can also make a beautiful housekeeper from them. But from paper it will not work - it will wear out too quickly. It will not come out of glass or stone either - it is difficult to find material, it is even harder to process.
How to do it yourself?
Before getting to work, it remains to remember the basic rules that guide all masters:
- In the process you should not interfere. Ask the family to give you a couple of quiet hours, close the door and do not get distracted.
- The place of work should be well lit. Doing something with your hands in the light of a dim light bulb is not only harmful to the eyes, but simply uncomfortable.
- Everything should be in place. This is important when working with sharp objects. Having finished cutting plywood or metal sheet, a jigsaw or knife should be placed in a prominent place where you will not lose it. Otherwise, you can get hurt.
 The original options with their own hands")
 The original options with their own hands")
 The original options with their own hands")
 The original options with their own hands")
 The original options with their own hands")
- The work must have a sketch. This rule can only be neglected with those housekeepers where there is nothing to mark - for example, if you make a housekeeper from a branch with natural knots. But if your design is somewhat more complicated, you have to be aware of how it should look like in the end.
- Measurements must be accurate. This is especially important if you have some material, which means that it is a pity to spoil it. Work on the line, measure for fidelity twice. Do not do "by eye".
Pedantry is the main condition of any work. If you glue - then gently smooth and wait until dry. If you drill - it is slow, smooth. If to process an emery paper - that is soft, gradually.
In a hurry to make a good housekeeper will not work. But in a measured pace, trying to do everything qualitatively - it will turn out.
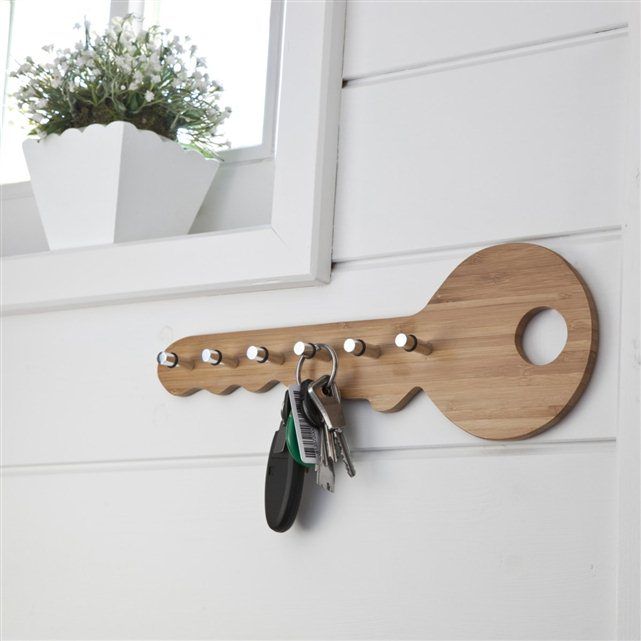
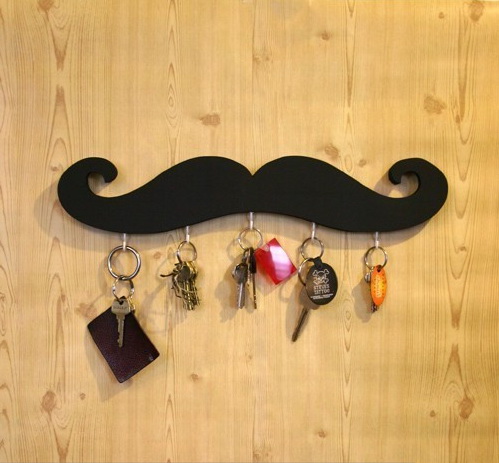
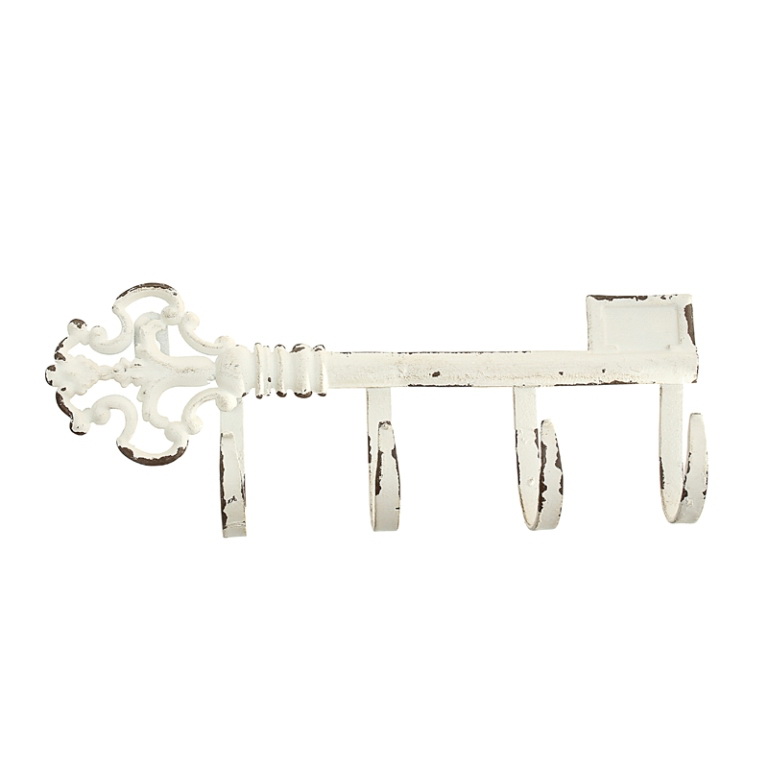
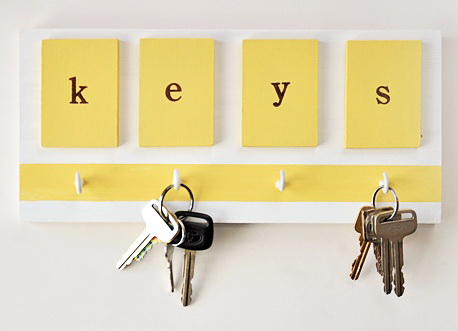
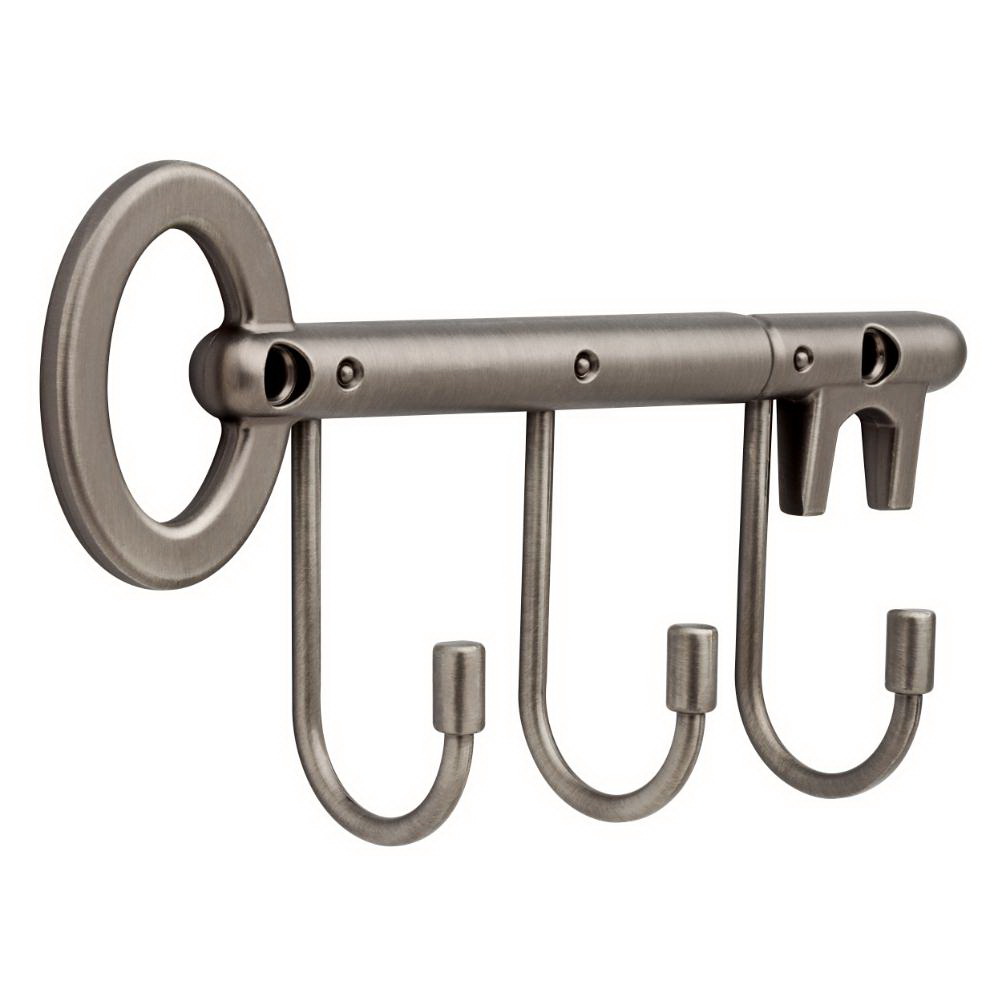
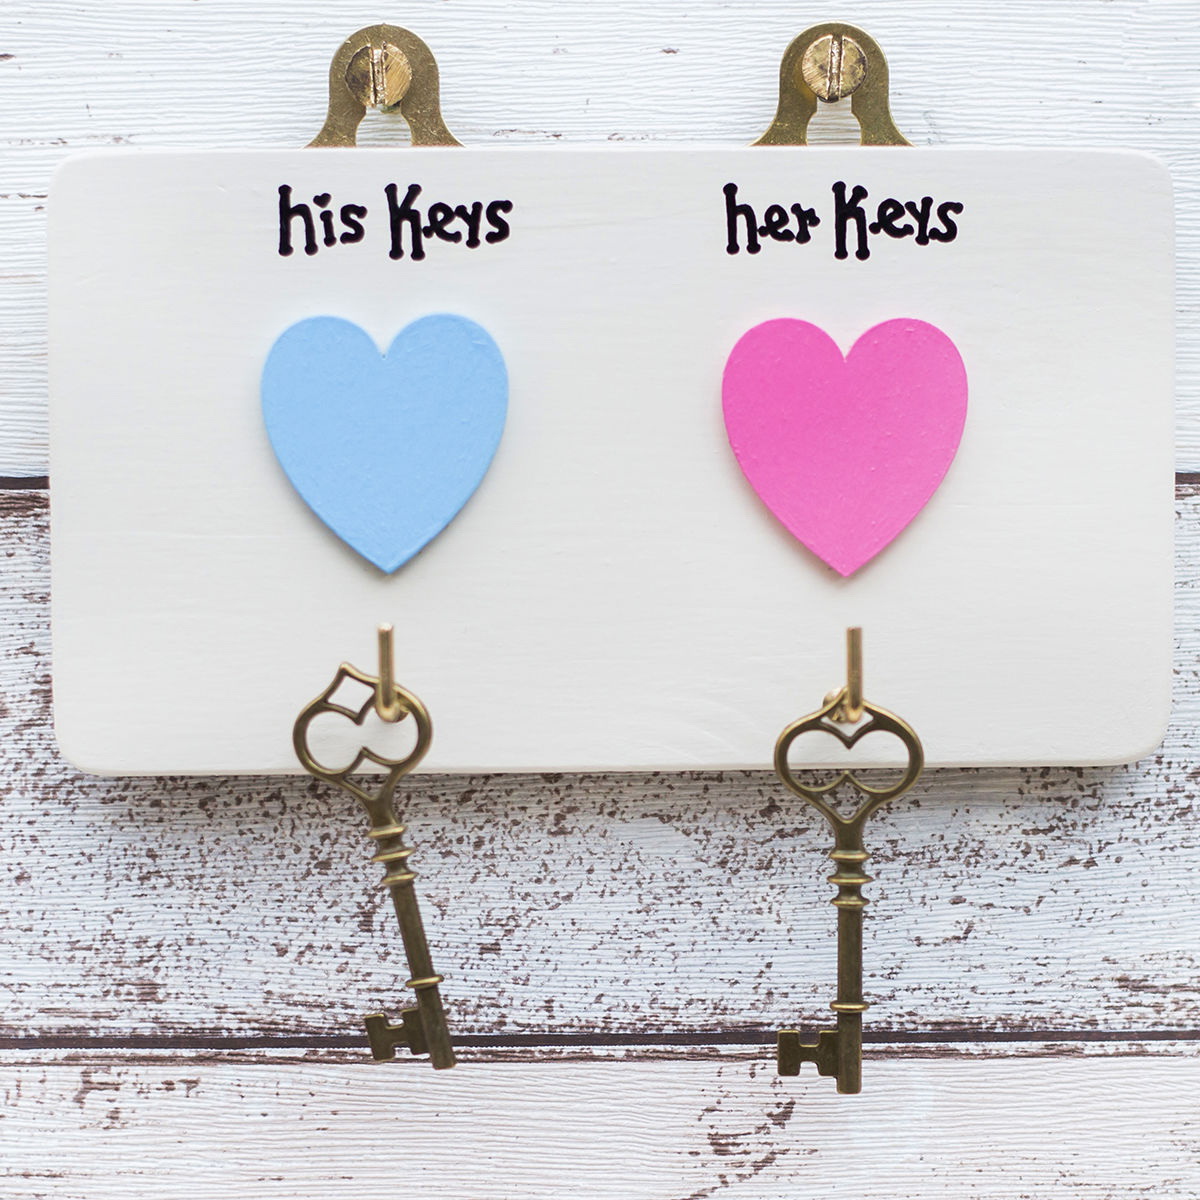
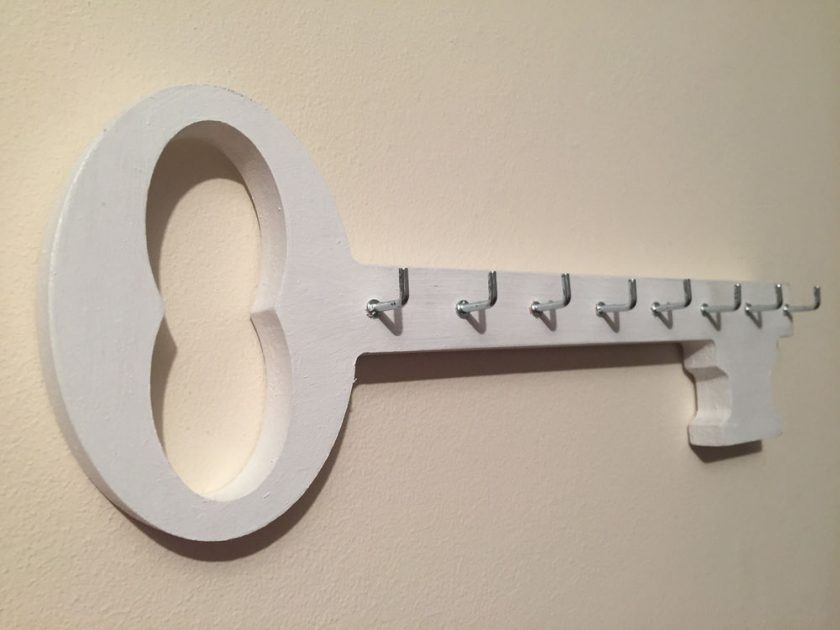
In the form of a key
The simplest: key holder made of cardboard
Cardboard is the simplest material from which you can only make a housekeeper. You will need:
- sheets of thick cardboard - the usual gray color, can be found in the house, and you can buy a set;
- suitable drawing on photo paper - you can print it in any office supply store, and choose your taste by searching on the Internet;
- decorative screws with beautiful hats, awl;
- cut wire, brush, varnish, glue, sponge.
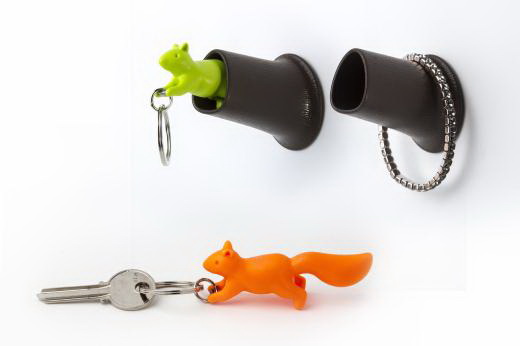
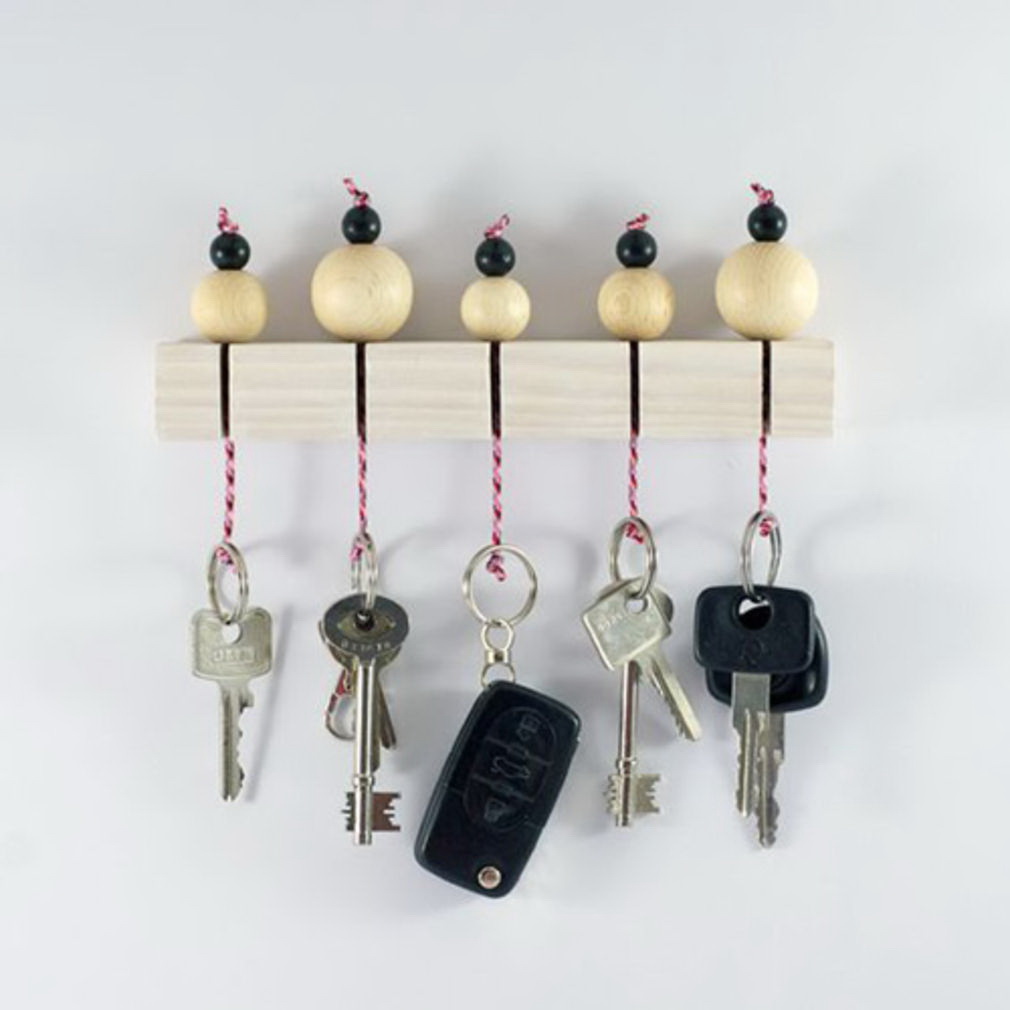
You can always keep on hand what is most often lost.
Instructions for performing work is simple:
- cut out the necessary shape from four sheets of cardboard - a circle, a square, a heart, everything depends on fantasy;
- pierce two holes in the upper part of one blank piece with an awl - for the loop;
- insert the wire into the holes, twist it so that it does not fall out;
- glue the rest of the workpiece to the side where the twisted wire is left;
- mark the holes for the screws on the front part and pierce them with an awl.
By this moment, the preparation of the key house itself is obtained. The rest, in fact, decoration:
- put the photo face down, wet the sponge, soak the top layer, and then roll it up, gently pressing;
- dry the photo, smear it with glue with a brush and stick it on the workpiece;
- lacquered all together to achieve greater strength;
- insert screws.
Can be placed on the front door
The result is the simplest key house. It is not very strong, it is afraid of moisture, it can tear if it is pulled hard, but it is easy to make, the materials cost almost nothing and the result looks decent. Especially if you like bright lacquered drawings, and in the hallway you have a simple repair, without designer frills.
Perfect eco-style: we make from a branch
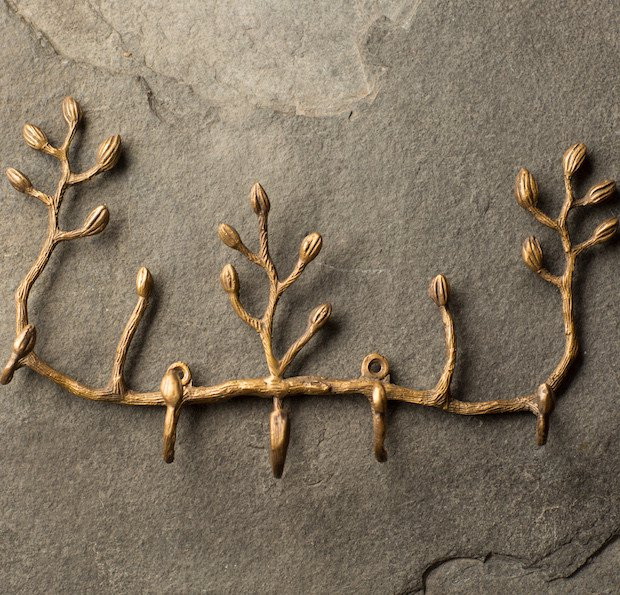
The branch as a key holder is fresh, original and perfectly fit into the eco-style. You can find it in the near park (you may have to spend a few days), and it’s easy to arrange. Will need:
- dry branch - a wet tree will quickly begin to rot, will lose appearance;
- wood stain, jigsaw, drill, sandpaper, hooks (you can buy special in the store, you can use thick nails).
 The original options with their own hands")
 The original options with their own hands")
 The original options with their own hands")
 The original options with their own hands")
 The original options with their own hands")
The main advantage of such a key house is its uniqueness. Two identical branches simply do not exist.
The instruction is simple:
- cut off the branches from the branch, give it a smooth and smooth look;
- remove the bark with sandpaper - either completely or only damaged parts;
- make a drill holes for suspensions and keys (if there are no knots suitable for them on a branch);
- cover the result with a stain - it will make the tree darker, brighter, and in addition, help remove bacteria from it - and leave to dry for an hour;
- to cover the dried branch with varnish - without bark, simple, with the bark first diluted with water one-to-one, and after drying clean;
- Insert the hooks and, if desired, walk along the branch with a dry brush with acrylic paint, which will give it the desired shade.
Serves as wall decoration
If you wish, you can place a varnished drawing over the branch, which will complement it. You can hang beads, feathers and decorative keys on bright threads. You can cut something on wood - from a few letters for a simple picture.
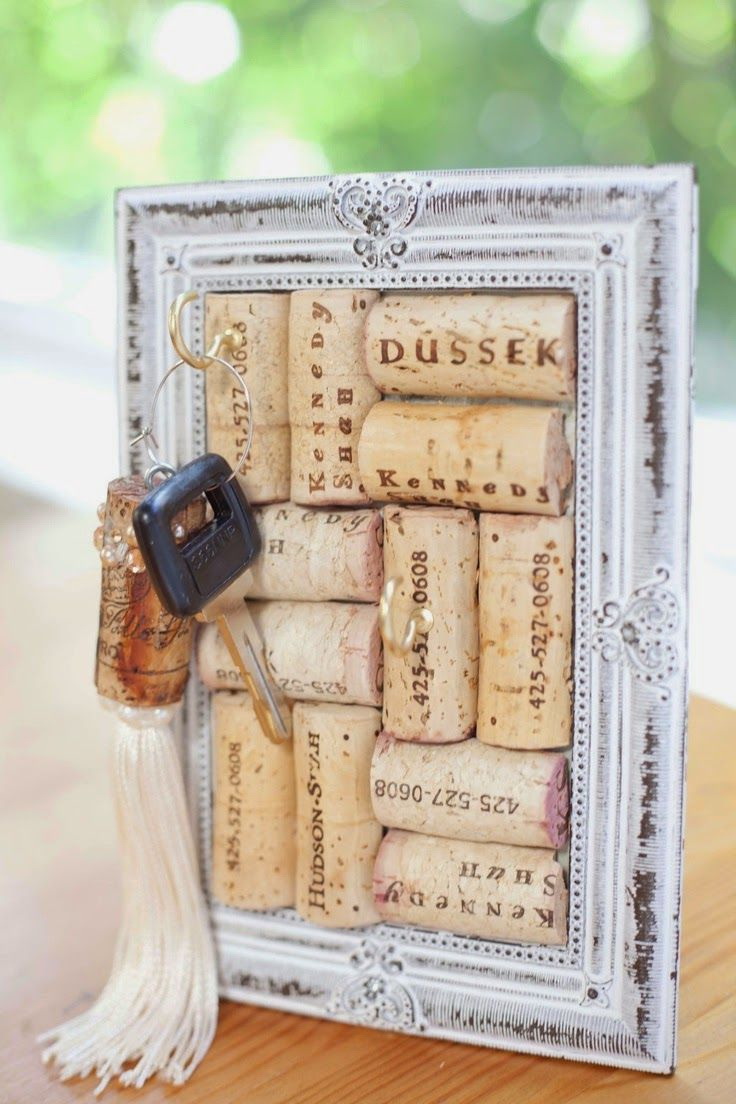
For connoisseurs of spirits from traffic jams
The key of the cork is good to do with children, because most of all this process is like trying to assemble a mosaic without a picture that shows the final result.

Option of traffic jams
You will need:
- photo frame - you can glue it yourself, or you can buy it;
- about twenty corks from wine bottles;
- PVA glue - not a pencil, but in a jar;
- nails with beautiful hats or hooks.
Further requires only skill:
- take the cork, put glue on the side and the ends, insert it inside the photo frame so that it fits to the frame from the inside;
- take the next cork, smear with glue, attach to the first.
This key house can be done with the help of magnets.
The process is close to meditation: you need to fold the corks so that they perfectly fill the space of the frame. The resulting result should be left to dry overnight, and then varnish and insert key hooks into the soft cork tree.
A simpler option that is more suitable for an eco-style is to find a thin wand and hang corks on it on bright threads. Drive a hook into each cork and hang the key on it.
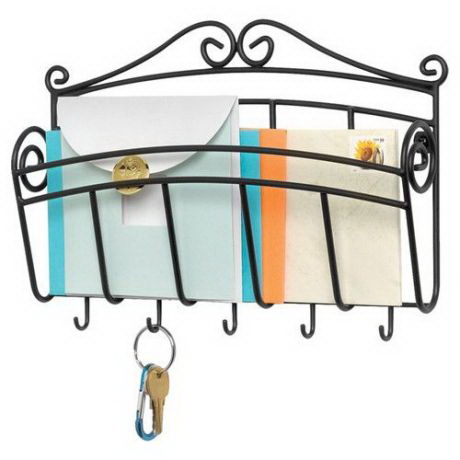
Can also be used for bags and letters.
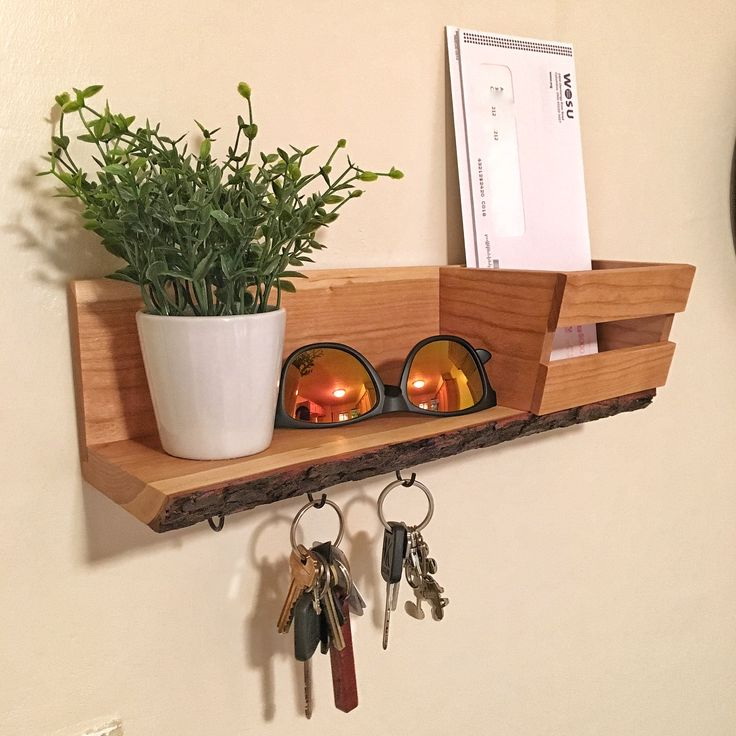
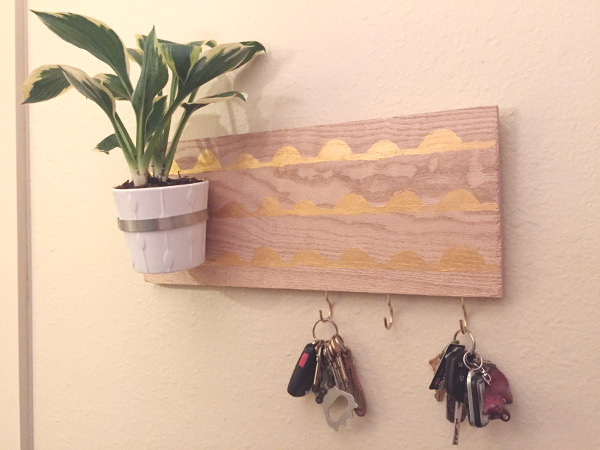
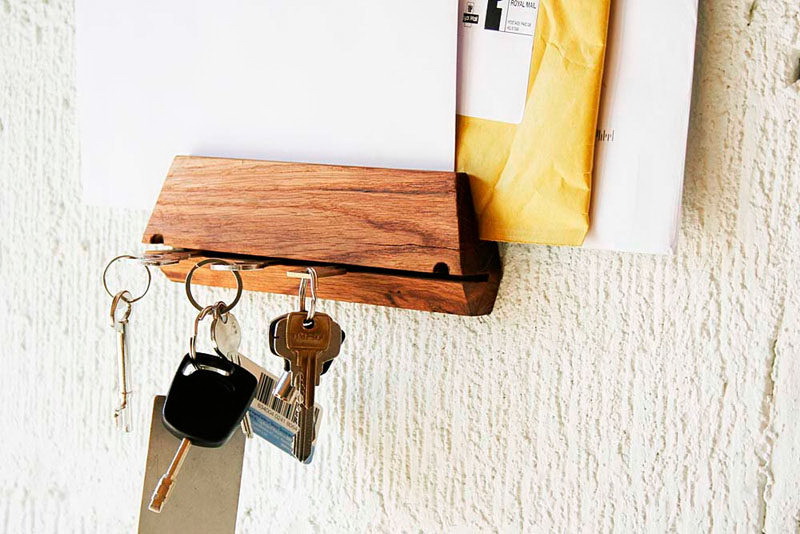
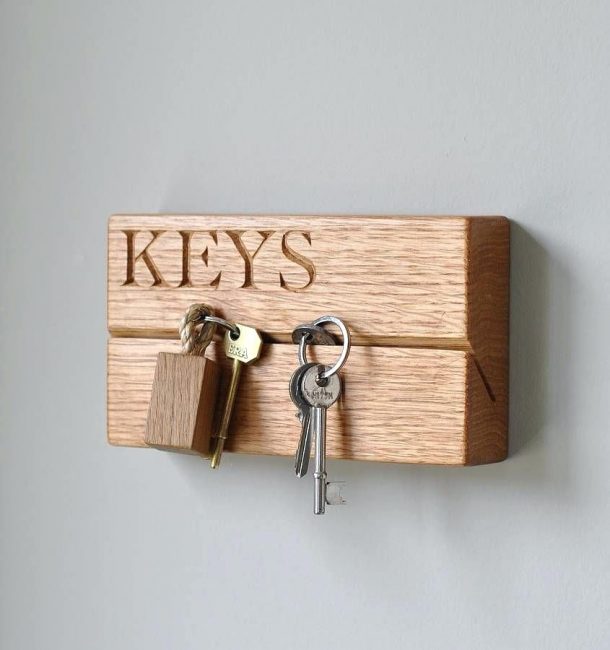
Classic beauty: woody saw cut
Despite the spectacular results, the process of making such a key holder is no more difficult than working with a tree branch. The only problem you may encounter is the difficulty of finding a pine saw cutter while you are living in the city. But you can either find a fallen branch of the tree and saw off a piece of it, or turn to country relatives.
You will need:
- round saw cut down of a tree - a circle two or three centimeters thick, sawn off from the end of the log, and best of all, that it was pine;
- stain, sandpaper of different grain, varnish;
- wide brush, hooks, drill, screwdriver;
- printing of the image which is previously unrolled mirror.

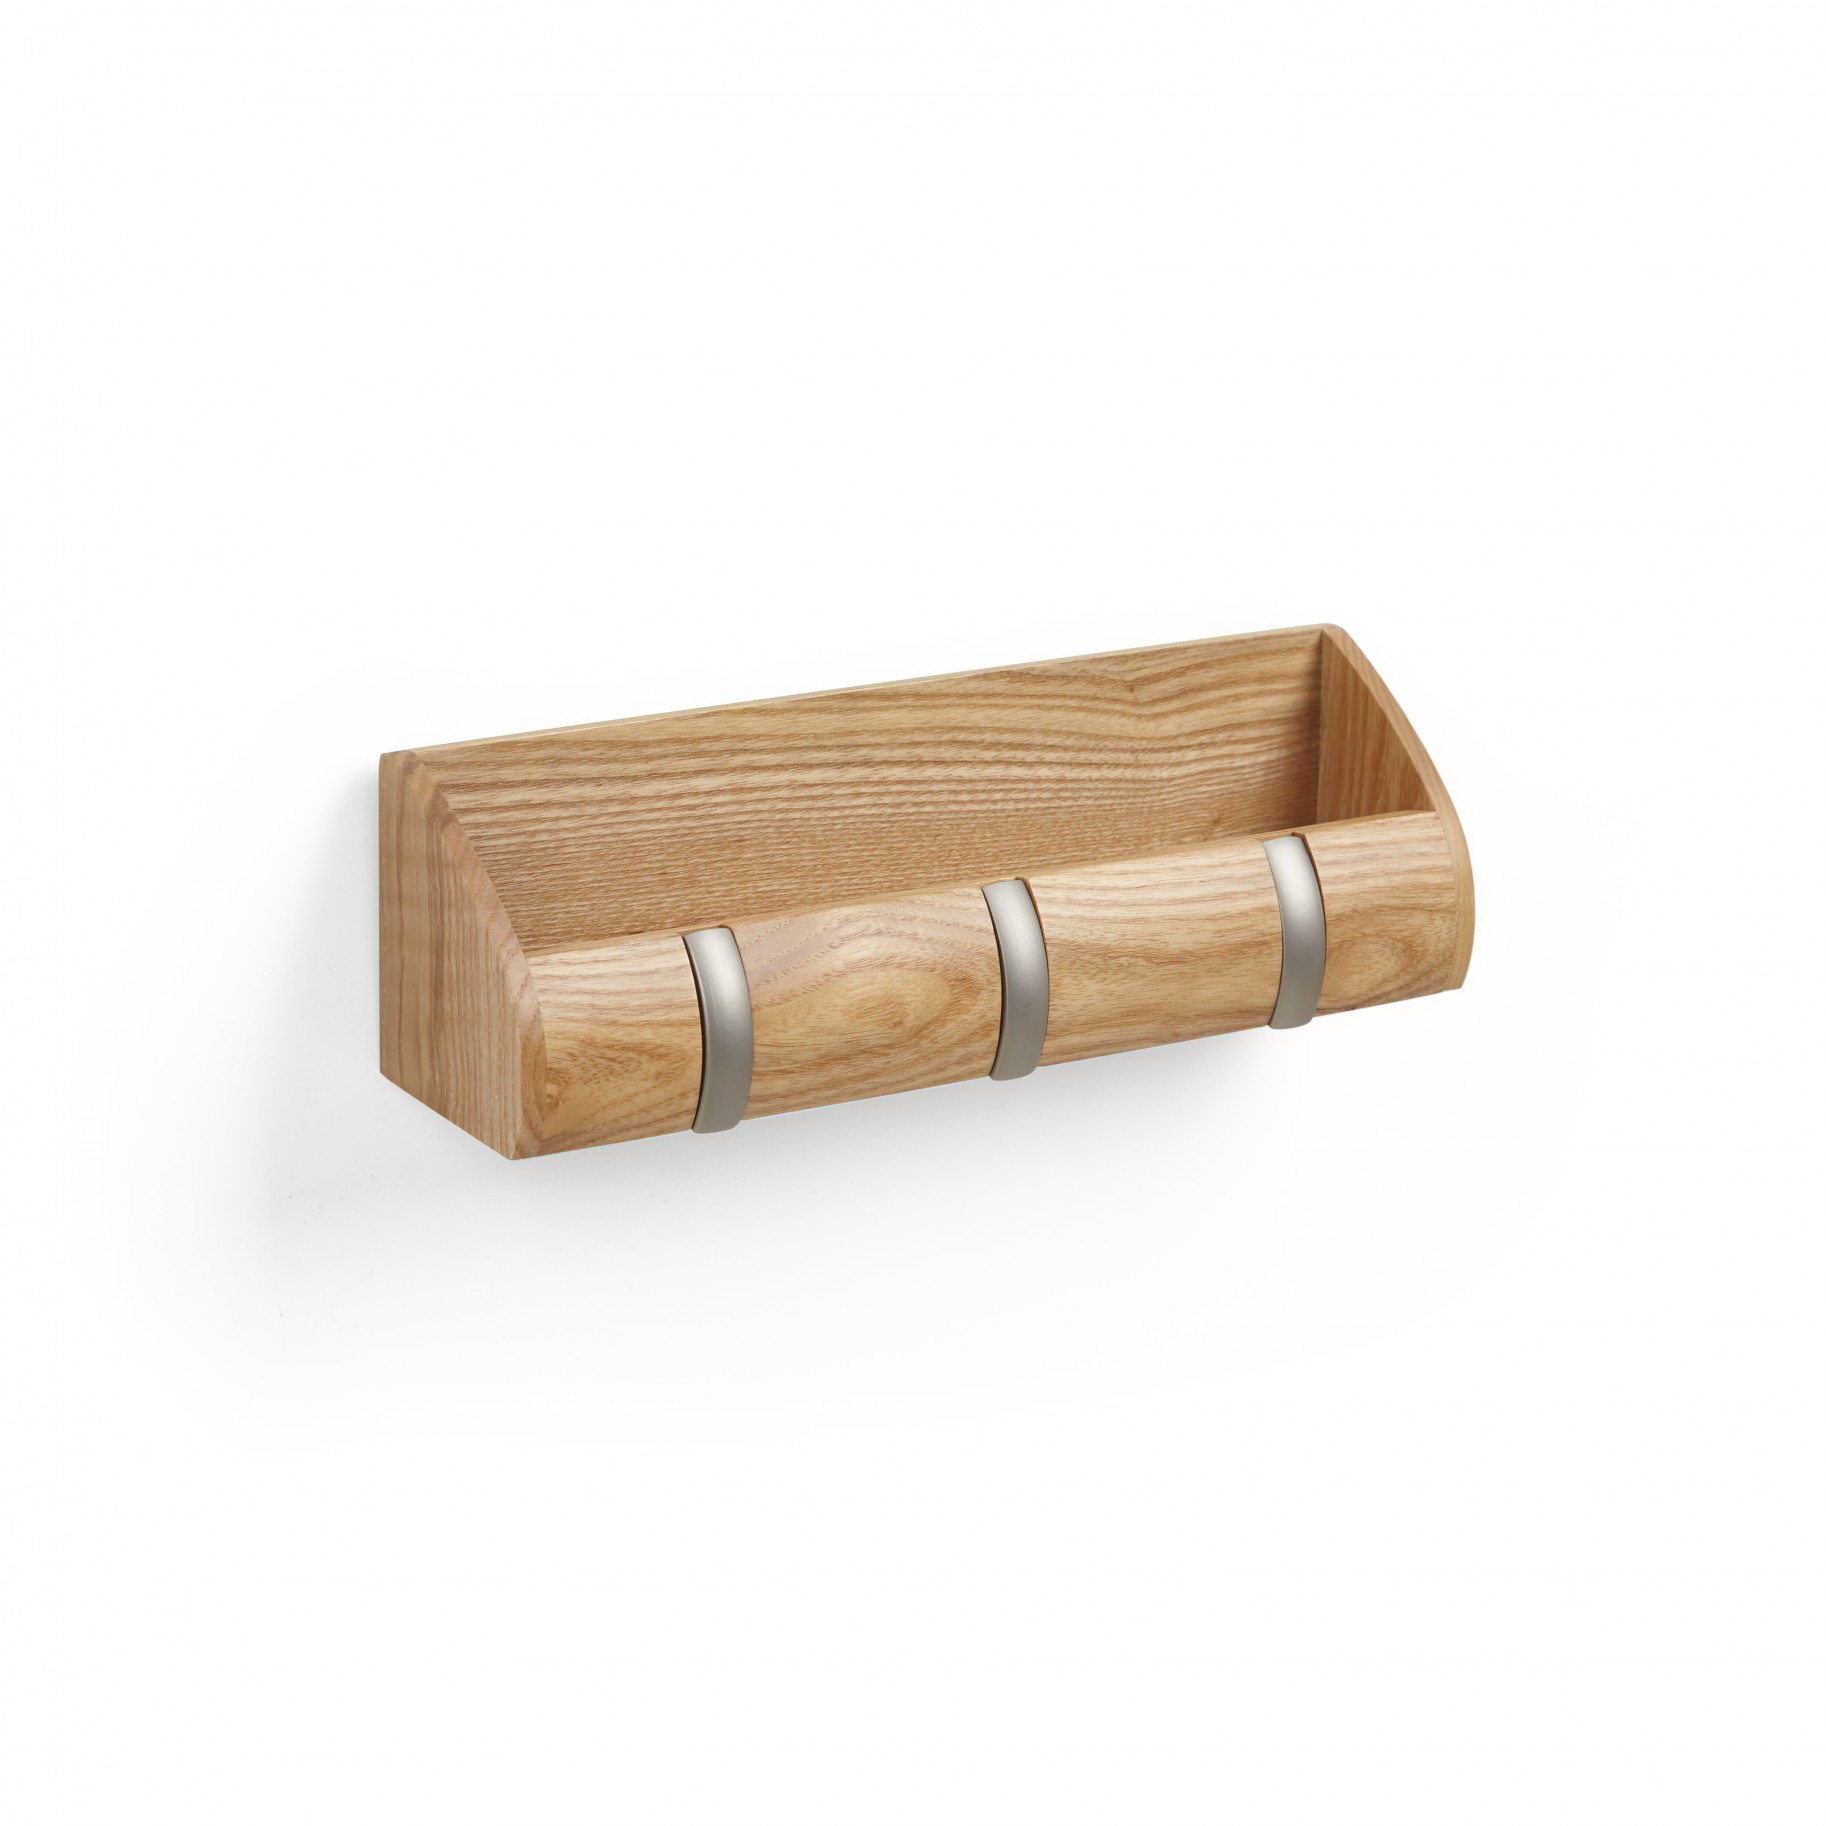
This shelf will fit perfectly in the hallway
All this is combined simply:
- sandpaper - first, medium grain, then fine, and only along the fibers, otherwise ugly scratches are formed;
- moisten with water so that the wood is slightly swollen, leave to dry;
- cover with wood stain (preferably water, because it hardens longer and all errors can be corrected in the process) three times to get a beautiful bright color;
- varnish the prepared printout, then cover the front side of the back with it, press the printout to it, smooth it gently so that there are no bubbles;
- after the printout is dry (it will take two or three hours), wet it with warm water, slowly remove it until the drawing is done - brush off any white residue;
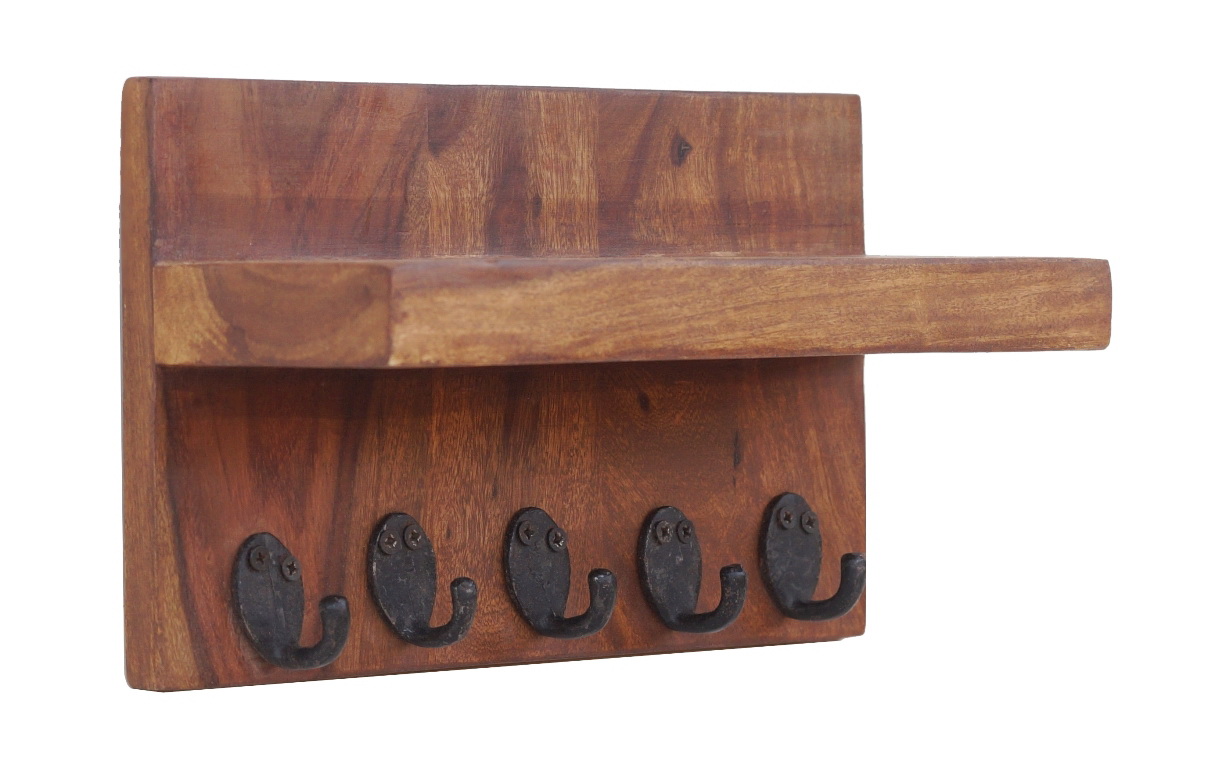
- on the back of the housekeeper with a drill, drill holes for the hook on which it will hang, and on the front side - holes for hooks on which the keys will hang.
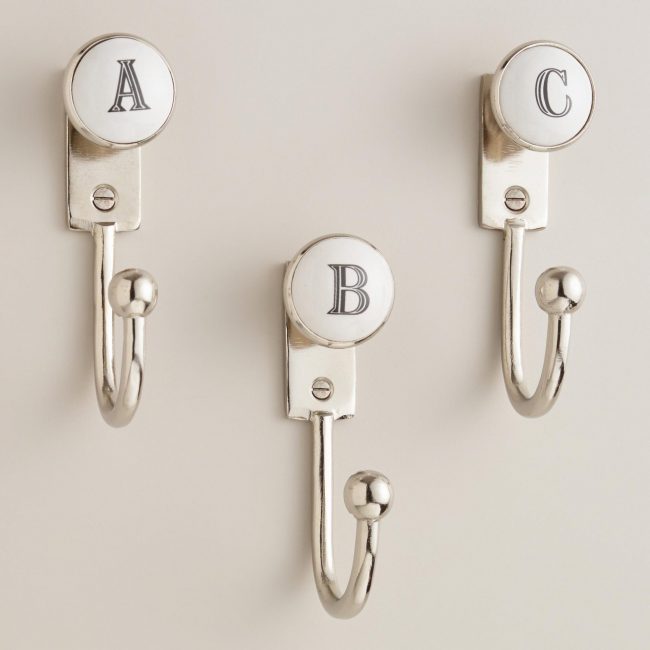
Small hooks, decorated with letters
A drawing can be any, the main thing is that it should be black and white - it will be possible to convey colors with a varnish, but they will not be as bright as on the original. You can do without it at all, then the noble texture of the treated wood will decorate the entrance hall.
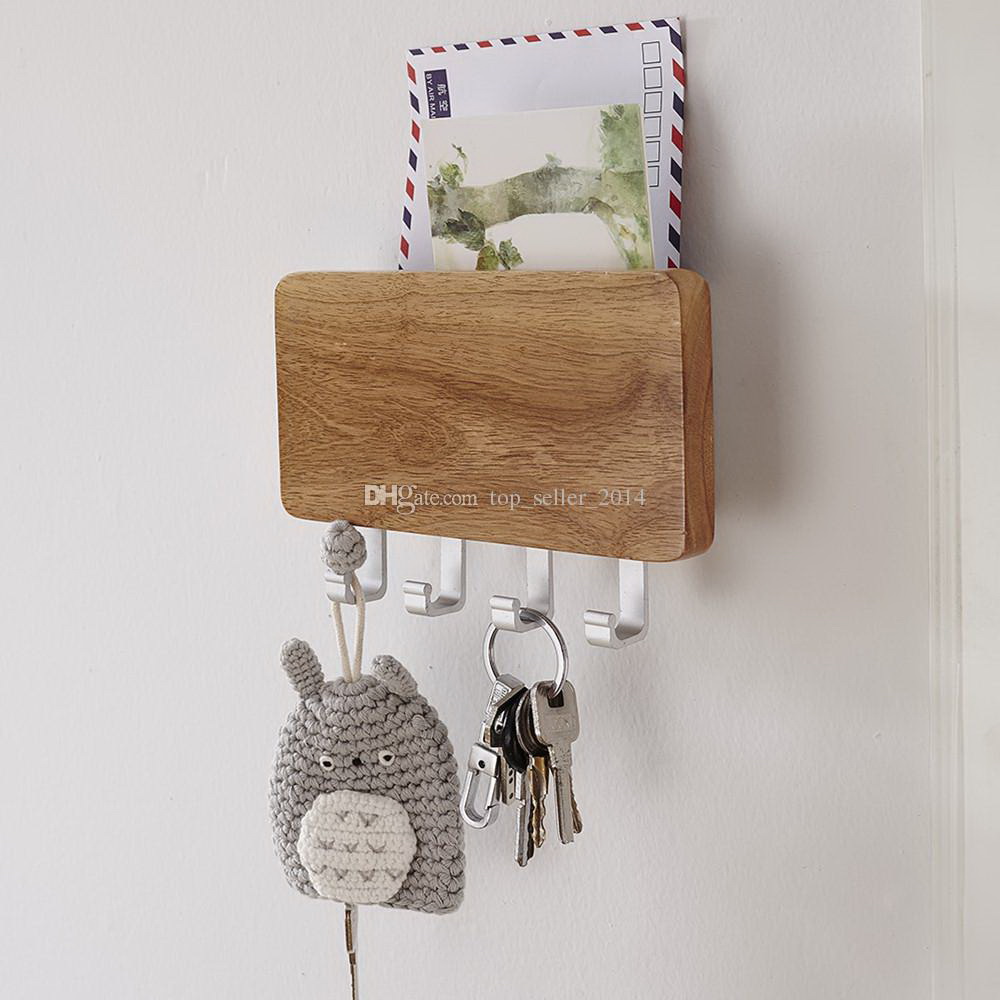
Suitable for outerwear, keys and various small things
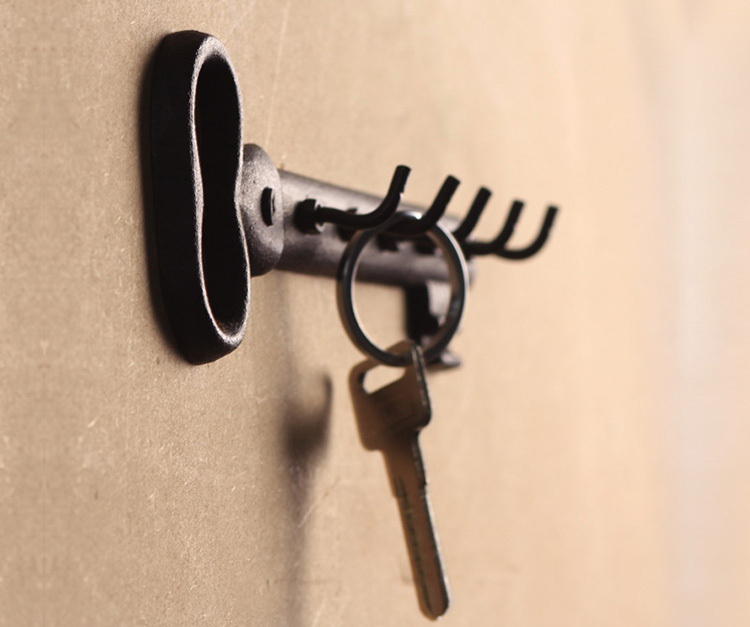
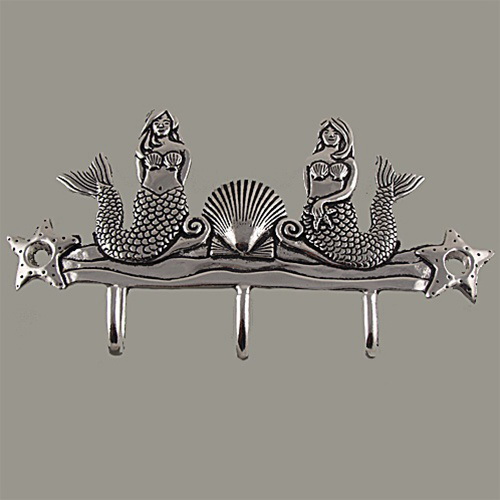
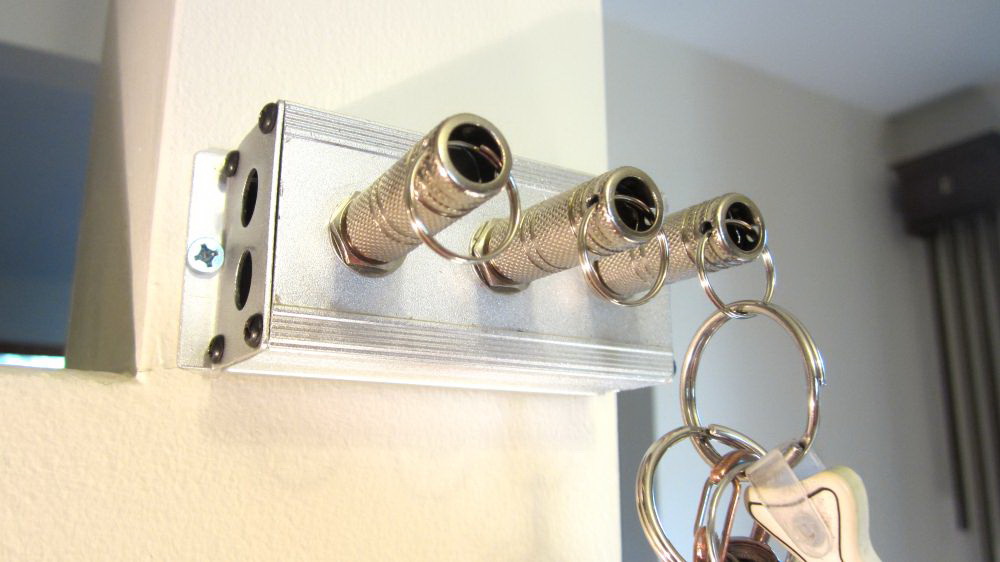
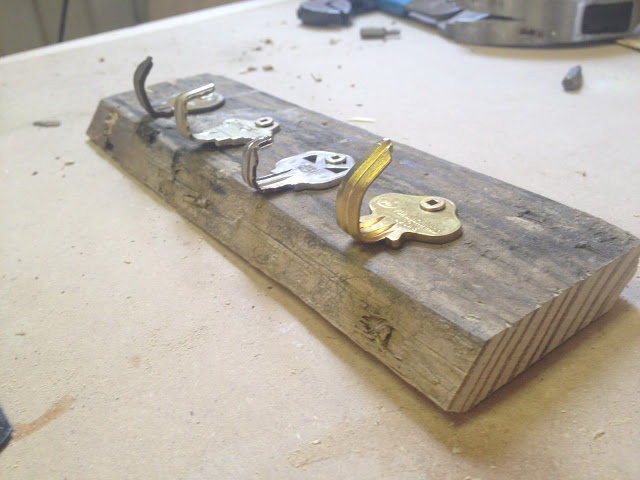
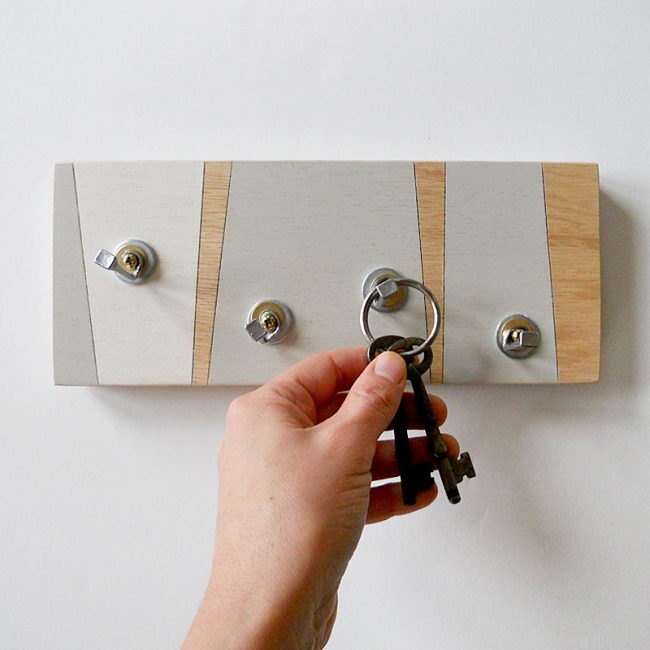
Quality for decades - from metal
Working with metal is difficult, especially if you have never done it before. But if you start with a conventional wire key hanger, it will become clear that perseverance will overcome any difficulties. You will need:
- thick wire - a few millimeters in diameter;
- sharp scissors are best for metal, but ordinary wire cutters will come off;
- pliers, hammer.
The manufacturing process is simple:
- to find an interesting outline drawing on the Internet - for a start, something simple, like an intricate spiral, a square, a circle, a stylized cat;
- try to repeat the drawing with the help of a wire - bend it by holding one end in pliers, and fixing the other with your free hand;
- sharp corners can be obtained by crushing them with a hammer head, smooth lines are enough to curl with pliers;
- when the figure is ready, it is necessary to attach hooks from the same wire to its lower part, and to fix a thin wire behind it, on which the whole structure can be hung.
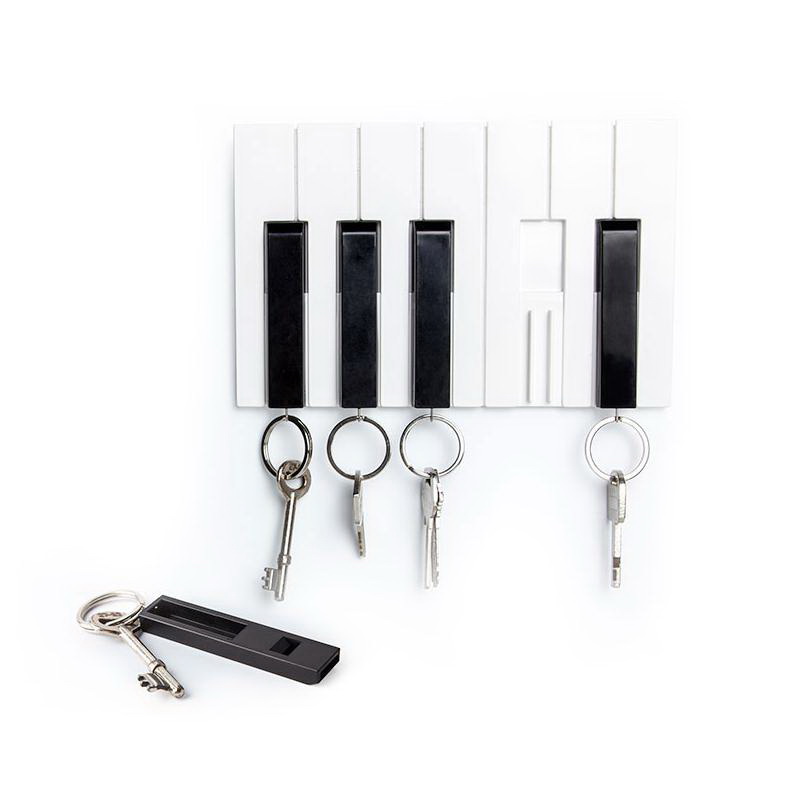
Easy do it yourself
An interesting variation of this same idea is the use of a hanger. It does not need to bend with pliers and hammer. It is enough to hang the hooks on its lower part, and to decorate the main part with anything from the gears of the old watches to the banal colors of colored paper.
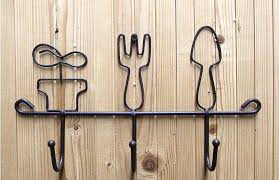
A more complicated way to make a metal housekeeper is to use a thin metal sheet, which can either be found in the remnants after the repair, or buy it in a store selling hobby goods.
You will need:
- thin metal sheet;
- sharp scissors, nail, drawing, sketch, hand drill, hooks;
- a tool that makes the metal airtight and protects against rust.
Simple and tasteful
The drawing can not be any - only one that can be cut from metal. The best fit silhouettes - animals, fish, plants, castles. Any simple enough forms. You can show imagination and come up with an abstract figure.
Beforemore will remain:
- cut from a sheet with a pattern of silhouette;
- Attach a silhouette to a metal sheet, cut around the tip of the nail;
- carefully cut along the contour, making sure that there are no ugly jags;
- hammer sharp edges into the process;
- drill to drill holes under the hooks;
- cover the resulting base with a sealant, let it dry;
- Insert the hooks into the holes, fasten the mount from behind
Non-standard lettering option
Better if the metal sheet is black, it will make it more stylish. You can, however, use brilliant, polished versions, but they tend to fade over time, losing all their chic look.
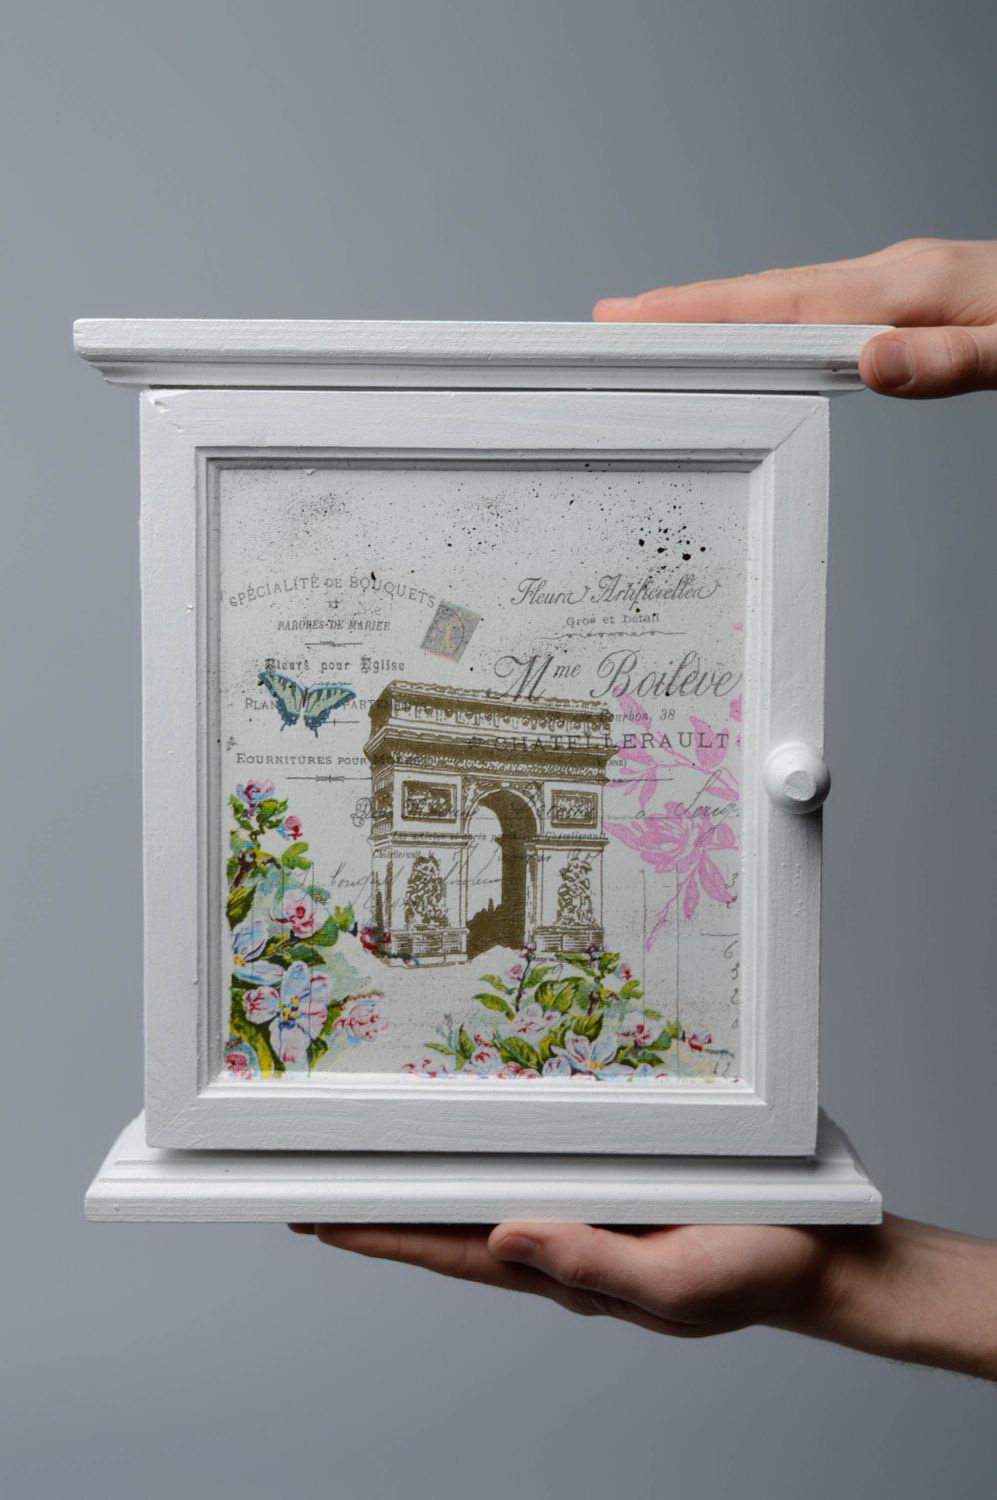
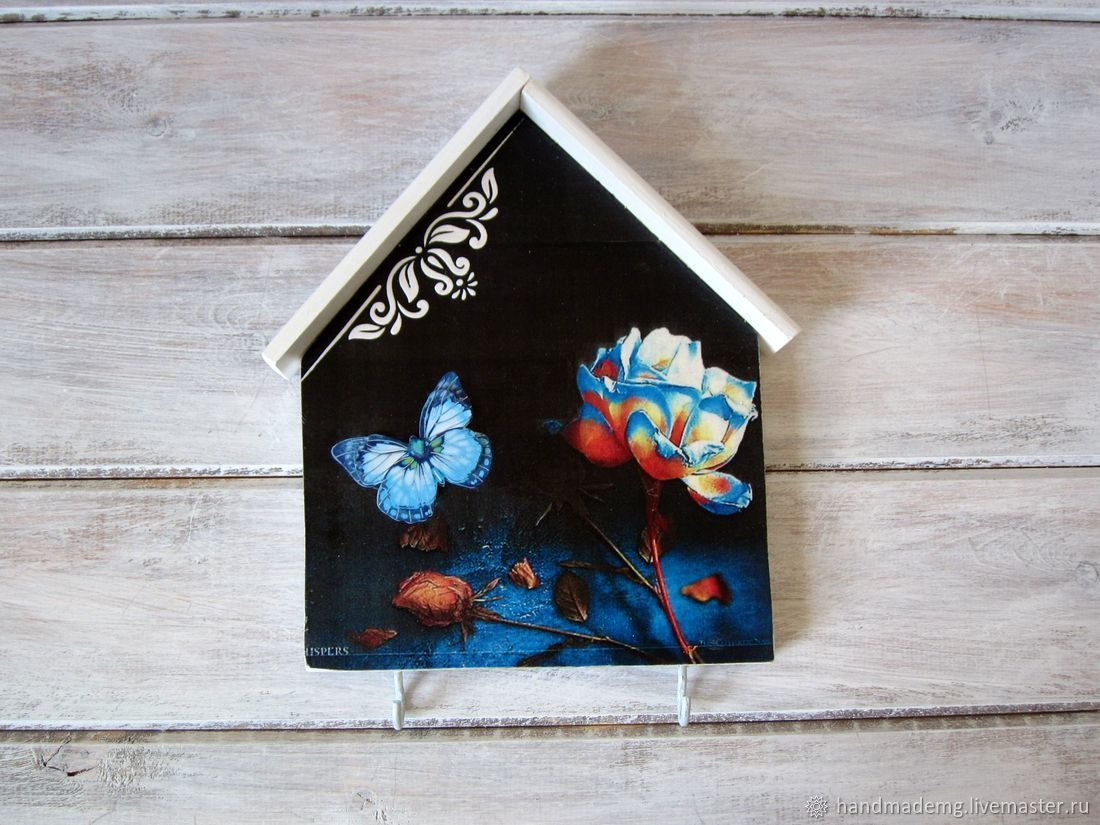
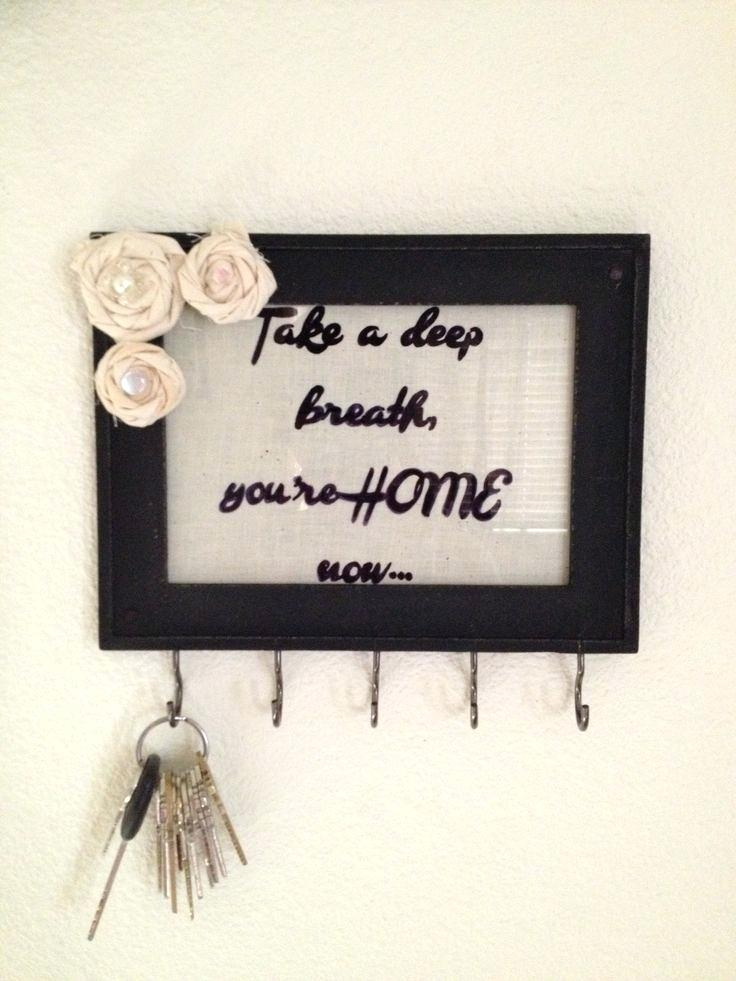
Decoupage technique - we make out of the frame
If you like simple pictures with flowers, birds, animals or landscapes, you will also like this way. It will take:
- a frame from an old picture or photo - you can even glue it yourself;
- a piece of plywood - always of good quality;
- acrylic paints, varnish and primer, plus a wide brush;
- sandpaper, drawing for decoupage, file, clerical PVA;
- hooks, drill, jigsaw.
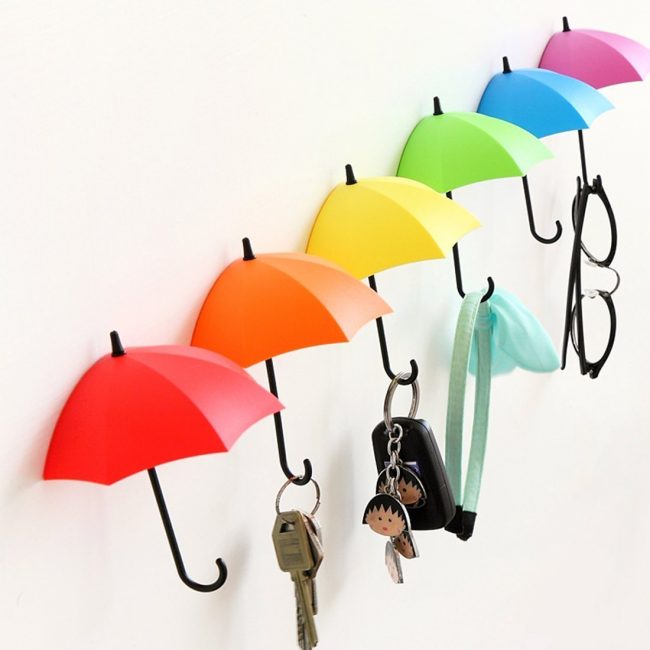
Bright umbrellas will cheer you up
Technique of the key-hold more difficult than the previous ones. We'll have to not only glue, drill, use sandpaper, but also cut out with a jigsaw.
The sequence looks like this:
- measure the dimensions of the frame, cut the plywood with a jigsaw so that it coincides with them and can be inserted inside - you need to act carefully, otherwise it will crack;
- drill holes in the plywood through which the screws will enter, which will fasten it in a frame, cover it with acrylic primer and leave it for several hours;
- sand the plywood first with medium grain with sandpaper, then fine;
- put a picture for decoupage on the file face down, wet the inside out with water;
- lubricate the plywood with glue, attach the file, how to smooth it out so that there are no bubbles left, carefully remove it;
- dilute the acrylic paint, cover it with a frame to match the color to the picture;
- insert the hooks into the holes drilled in plywood, attach it to the frame;
- to gloss over the result.
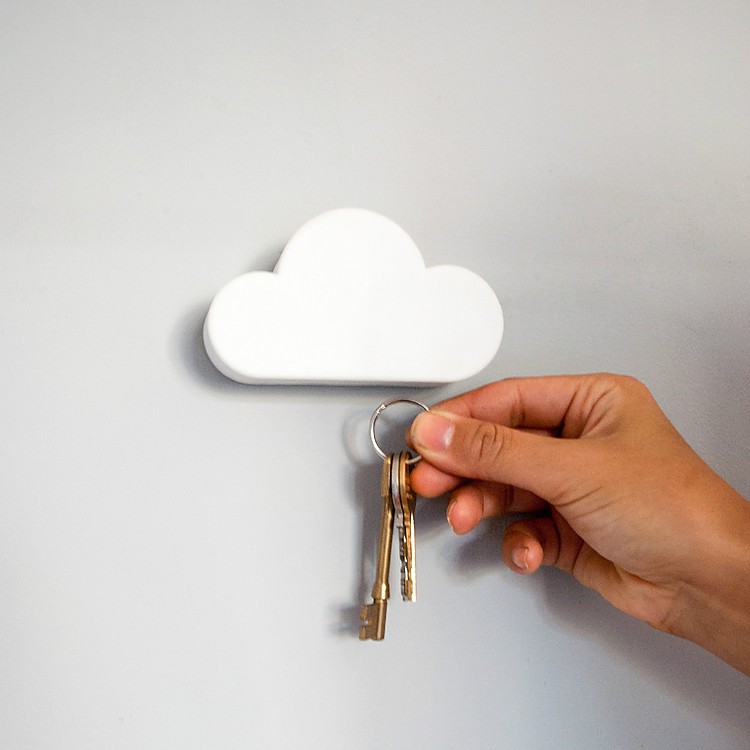
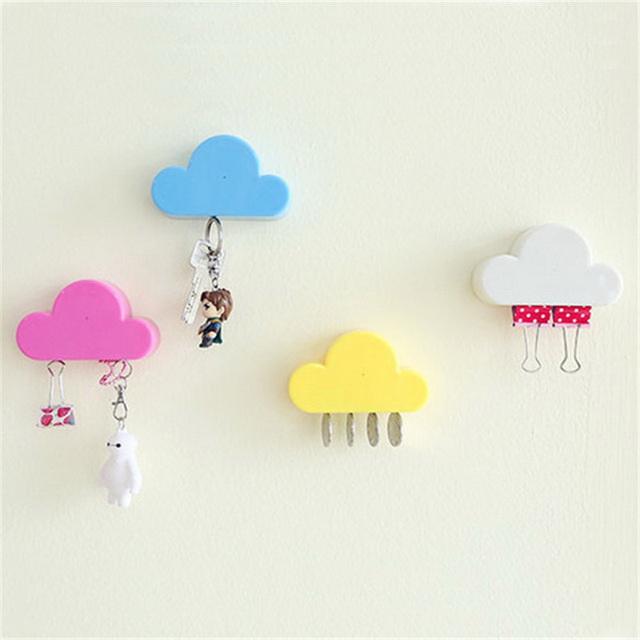
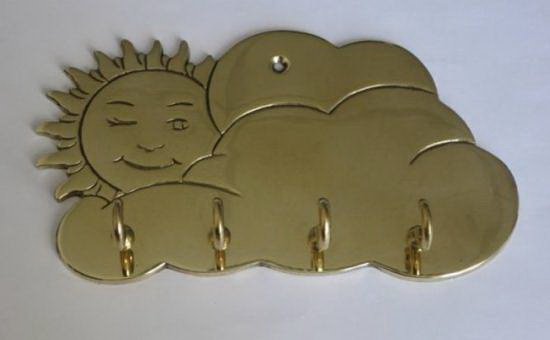
In the form of a cloud
Instead of plywood, you can use thick paper or fabric with embroidery. You can even leave the frame empty, securing the hooks directly on it - it will also be beautiful in its own way.
Artistic cutting out of plywood
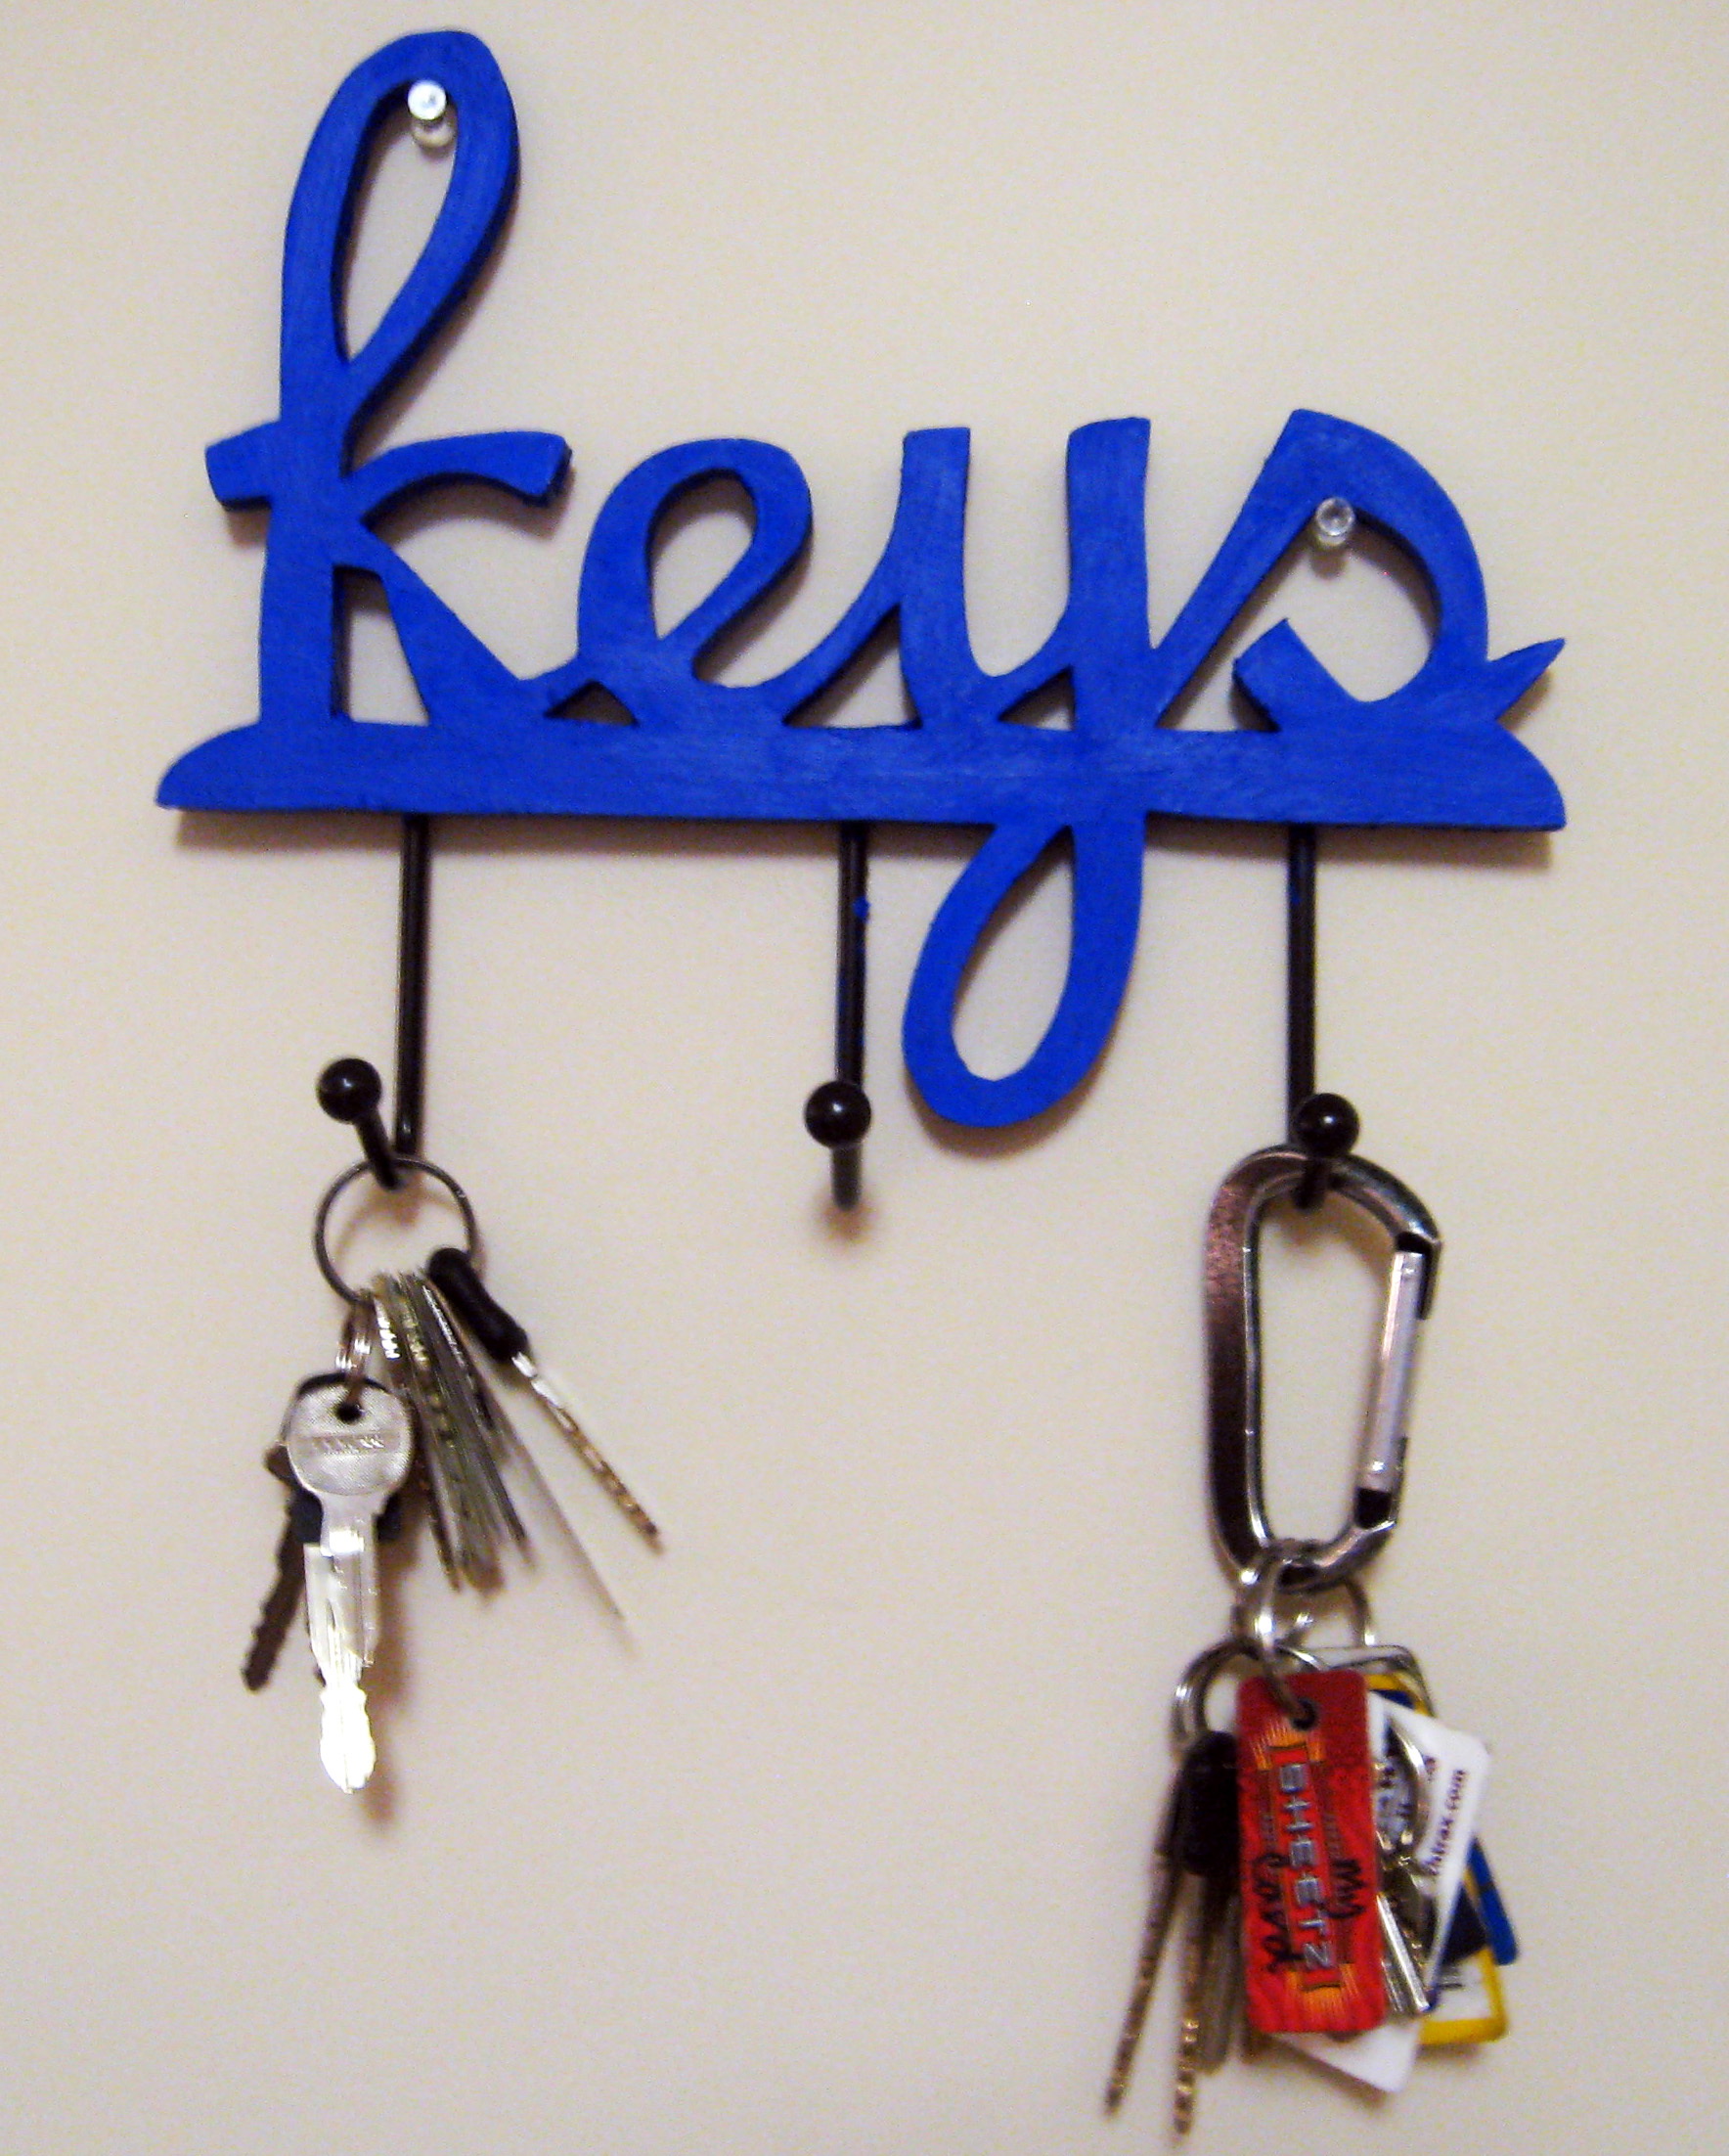
The most difficult of the open key keepers, perhaps, this. Plywood, which could have remained after the repair, in the form of a shelf from unnecessary furniture or a back wall from something, the material is cheap but naughty. If you work with it carelessly, it can crack, after which it will look not as beautiful as we would like.
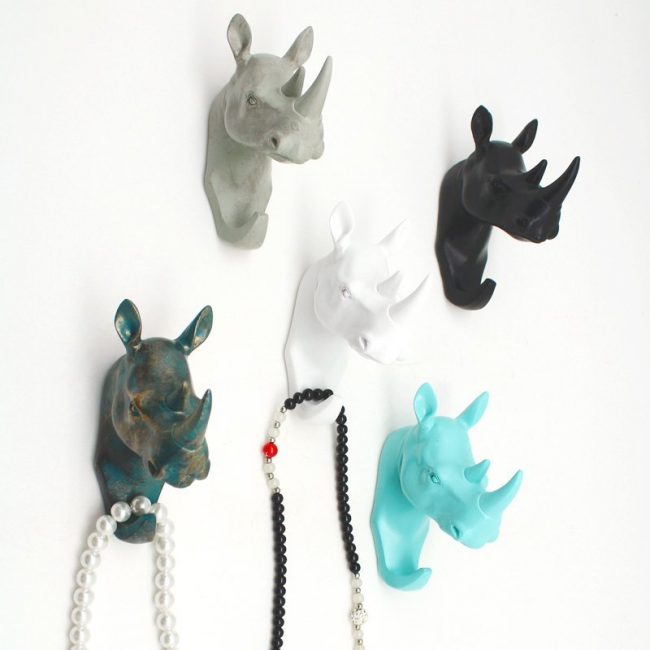
Unusual Rhino Hooks
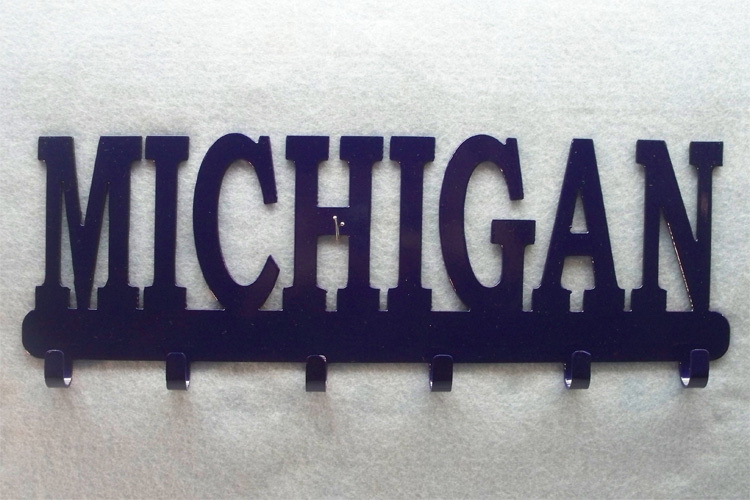
But it can be given any shape, cut out of it any silhouette or word.
You will need:
- jigsaw, drill, spatula, putty for wood, varnish;
- key hooks, directly a piece of plywood.
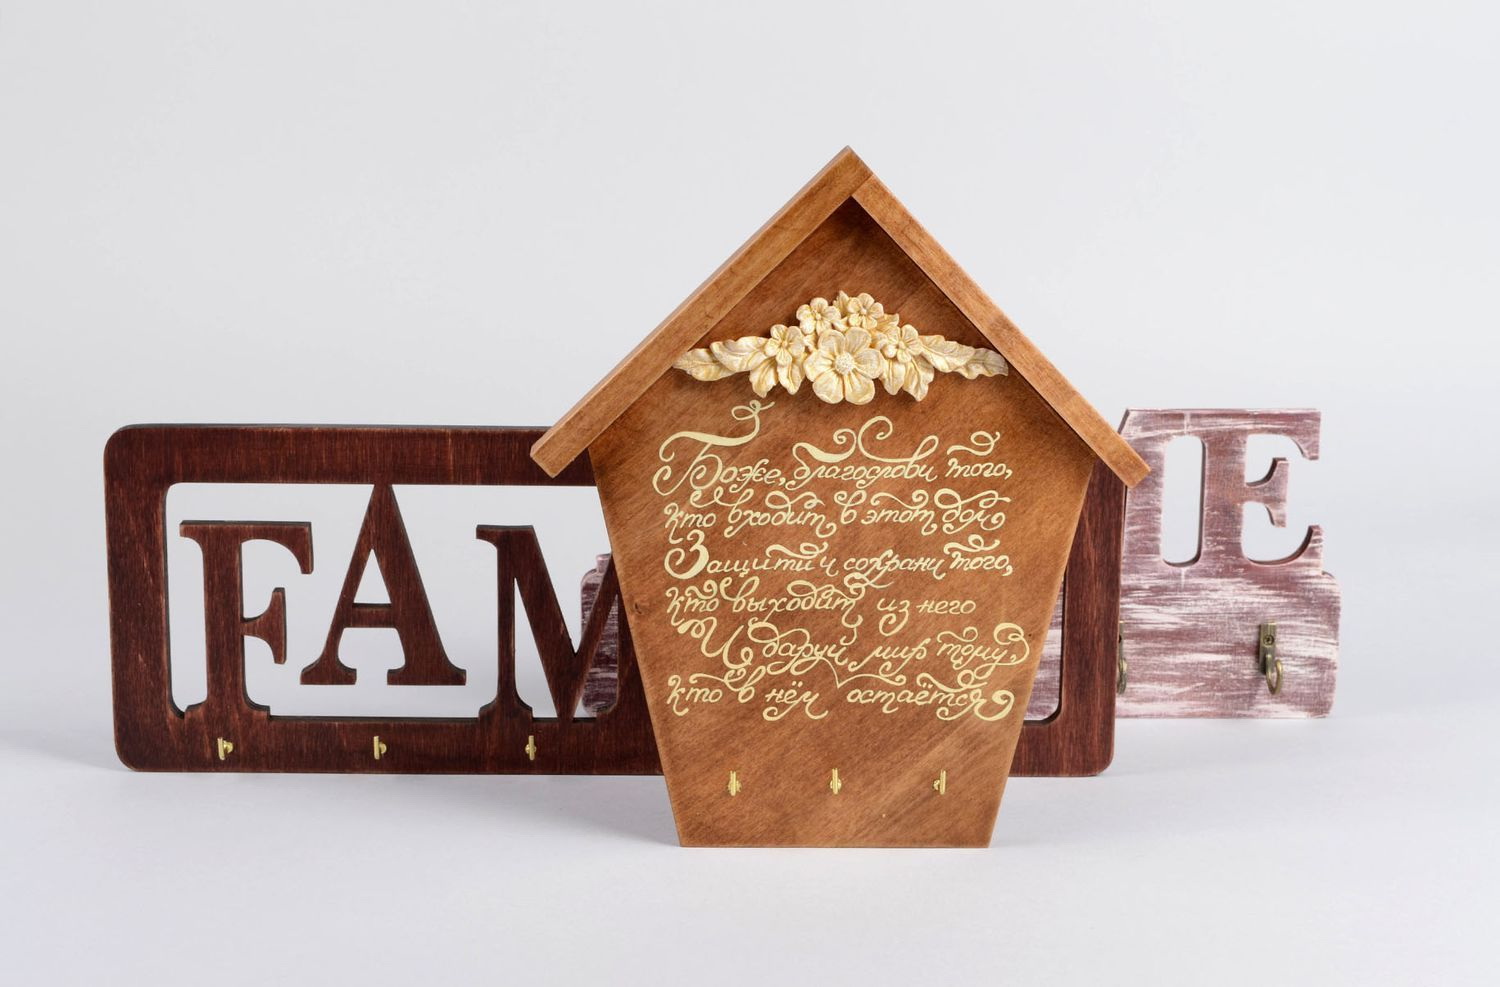
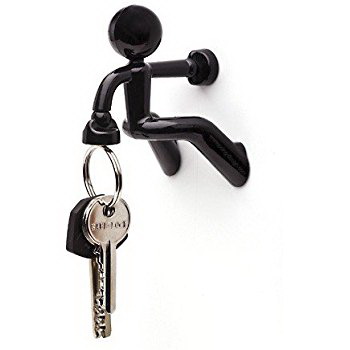
Such an idea can often be found: a housekeeper in the shape of a house, sawn separately elements in the form of human figures. Each key is attached. When a person wants to take it, he takes out the figure and goes with it in his pocket. From the remaining voids you can easily understand who is at home and who is not.
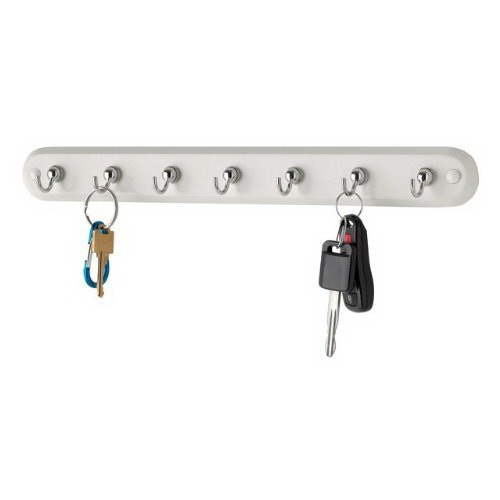
Conventional hooks - economical option
The technology, however, is the same:
- take plywood, fasten well, so that it does not slip;
- start to cut out, carefully removing a thin layer of plywood - the jigsaw movements should be directed in one direction, intensified from beginning to end;
- drill holes for hooks;
- sanding the edges with sandpaper, if there are cracks - seal them with a putty;
- varnish the product, let it dry;
- Insert the hooks into the holes.
To make the housekeeper brighter, you can paint it in any color with acrylic paint before varnishing. You can put a picture on it, you can cut out a simple pattern with a jigsaw. The main thing is that the result should look harmonious, fit to the main interior.
Instead of hooks, special holes
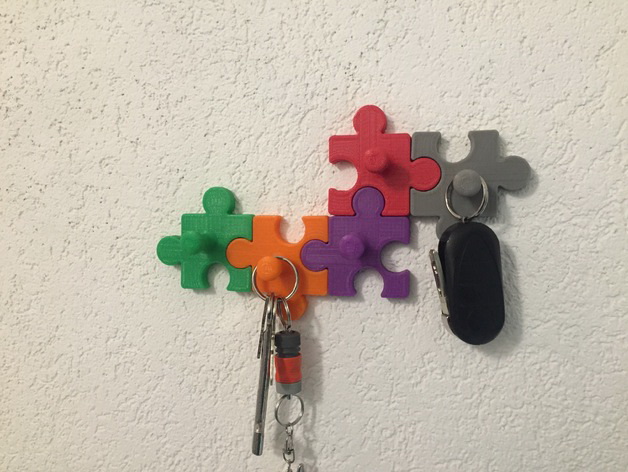
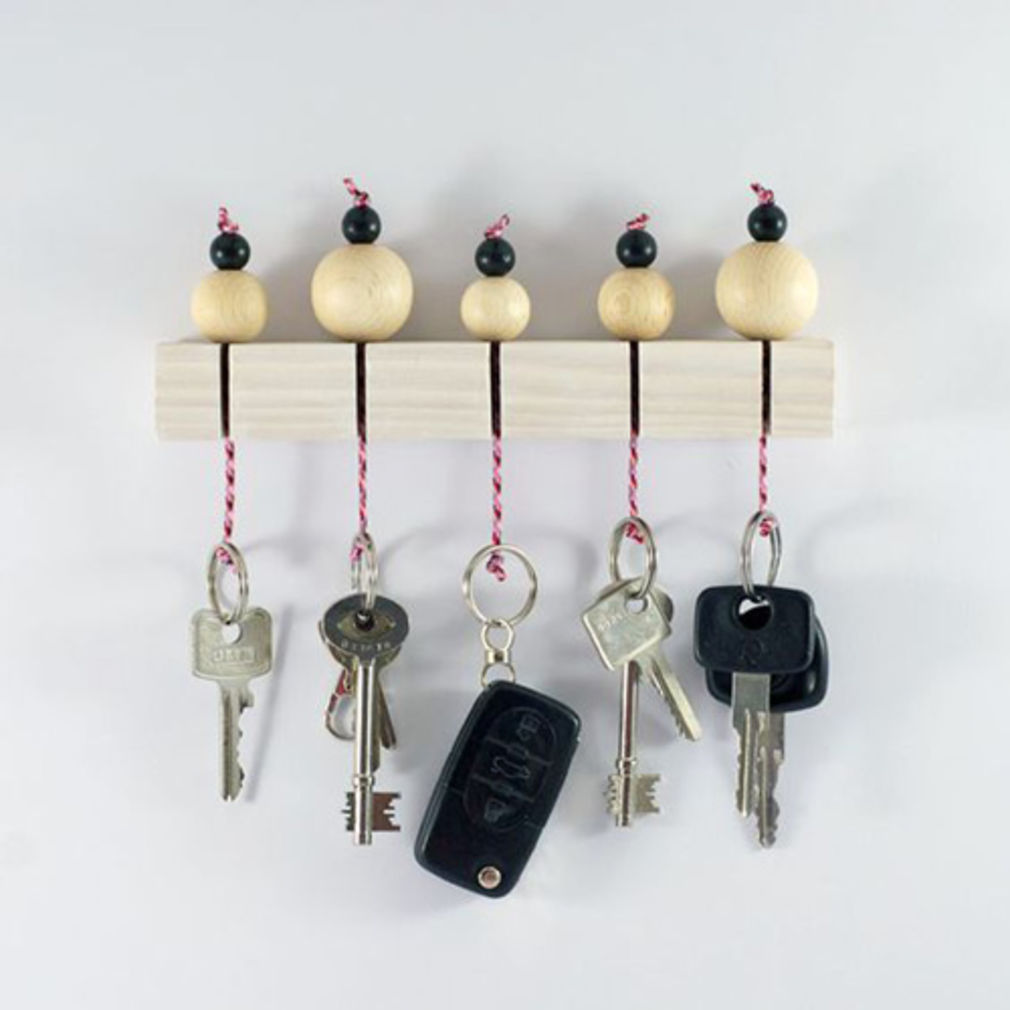
Graceful simplicity: simple models
The cardboard key holder is simple, the construction from the branch is also not complex, but there are more simple ones:

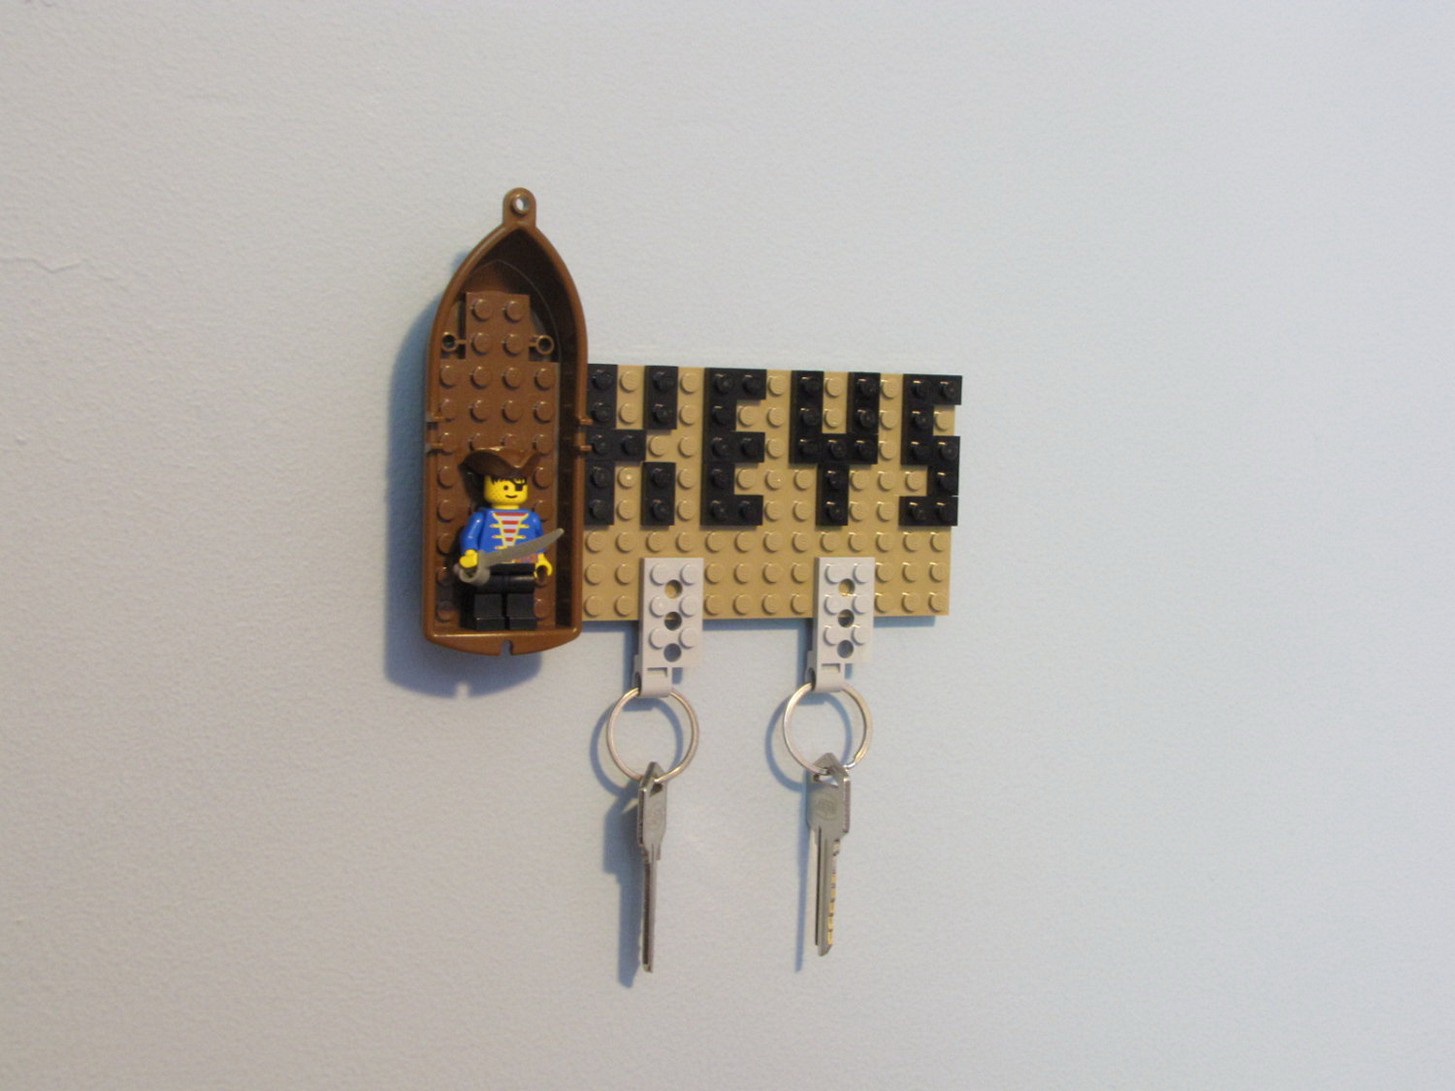
Lego is a creative and interesting way to diversify the interior.
On this product, you can write a reminder
In addition to the form, it is also important to correctly position the housekeeper. It should be about the height of your chest so that it is comfortable to get it..
If there are children in the house, it is necessary either to substitute a chair for them or to hang the construction below.
It should be placed so as not to interfere with anything, while being close enough to the door so that the person, standing shod on a rug, can easily reach it. Do not add anything under the housekeeper, do not overload the hallway with accessories.
And then your creation will attract attention, looking profitably, effectively.
 The original options with their own hands")
 The original options with their own hands")
 The original options with their own hands")
 The original options with their own hands")
 The original options with their own hands")
 The original options with their own hands")
 The original options with their own hands")
 The original options with their own hands")
In any case, the key keeper will look good on the wall in your hallway and will save you from having to look for keys each time.
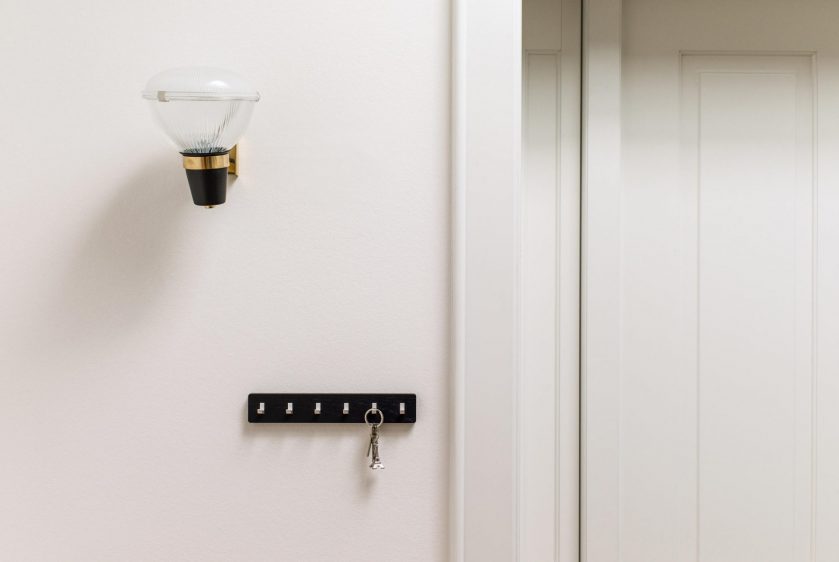
Key holder on the wall
Do it yourself