Fireworks of ideas: How can you make a long and beautiful Garland of paper for the New Year? 100+ Easy Phased DIY Photos

In this article, you will learn how to make several different types of paper garlands yourself.
Content:
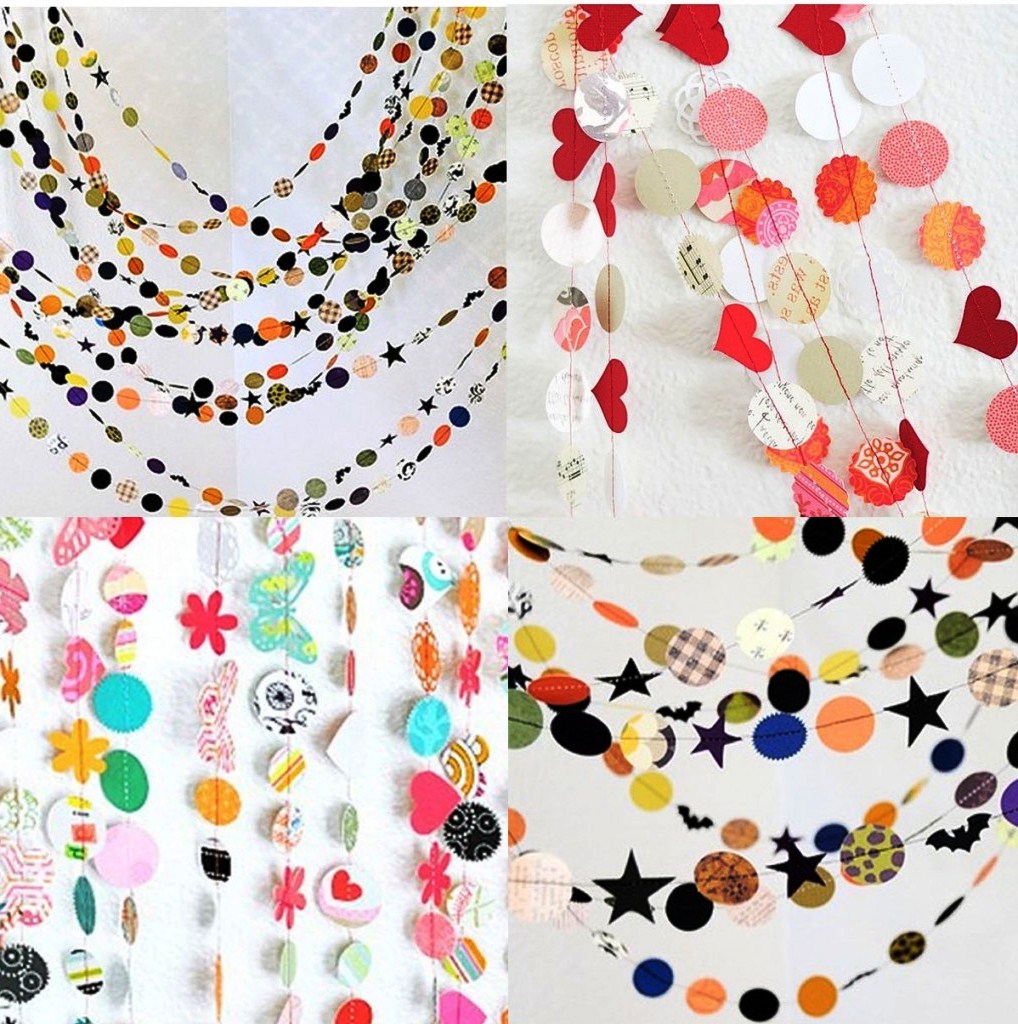
So this month we are working with paper. Making a garland can be quite fun and easy. Perhaps the easiest tool in the arsenal of artisans, paper is full of opportunities and goals. You can turn it into anything. I use it for Christmas home decor, this year the priority was round with stitches stitched. You can use them as decorations for a party, event or just rooms.
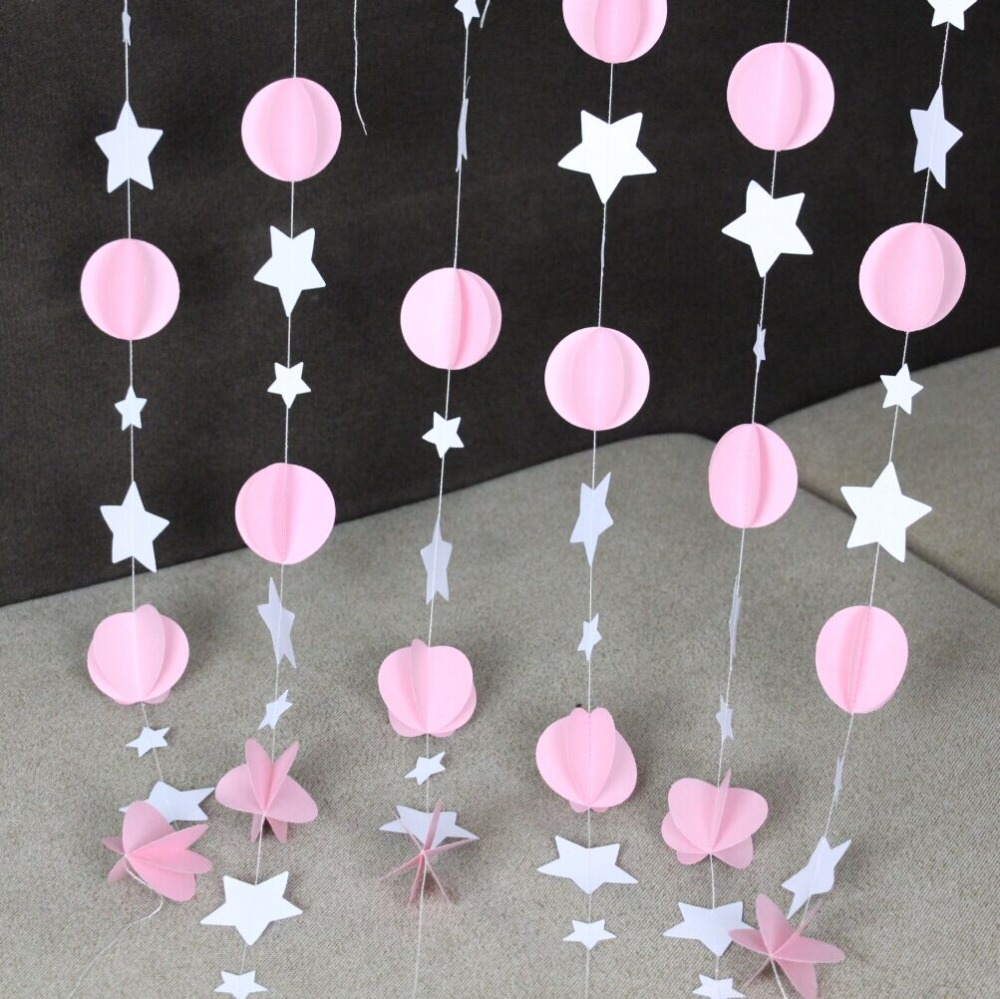
Making a garland
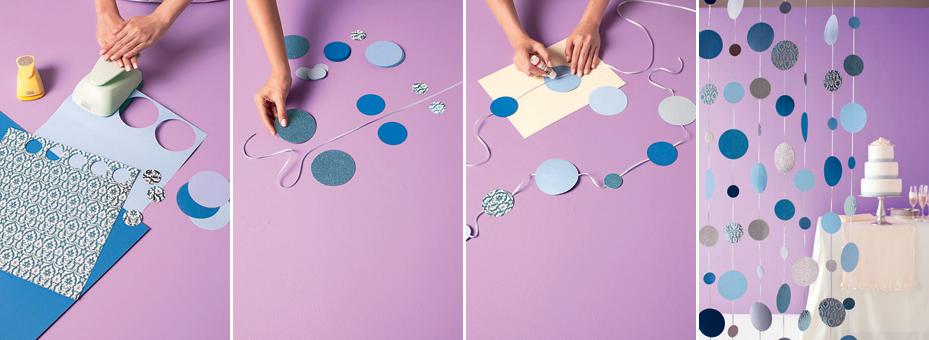
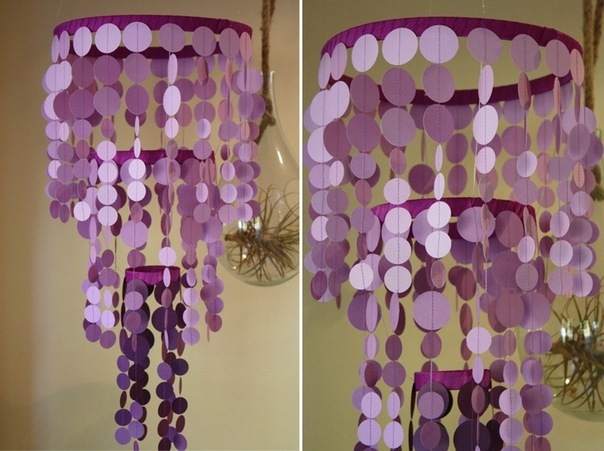
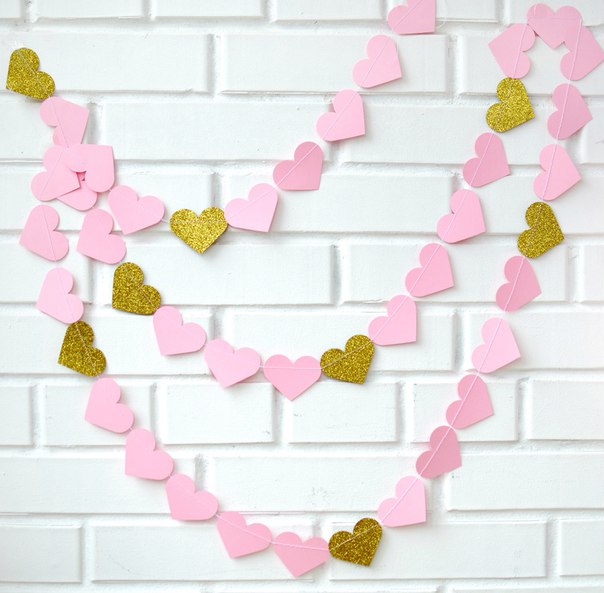
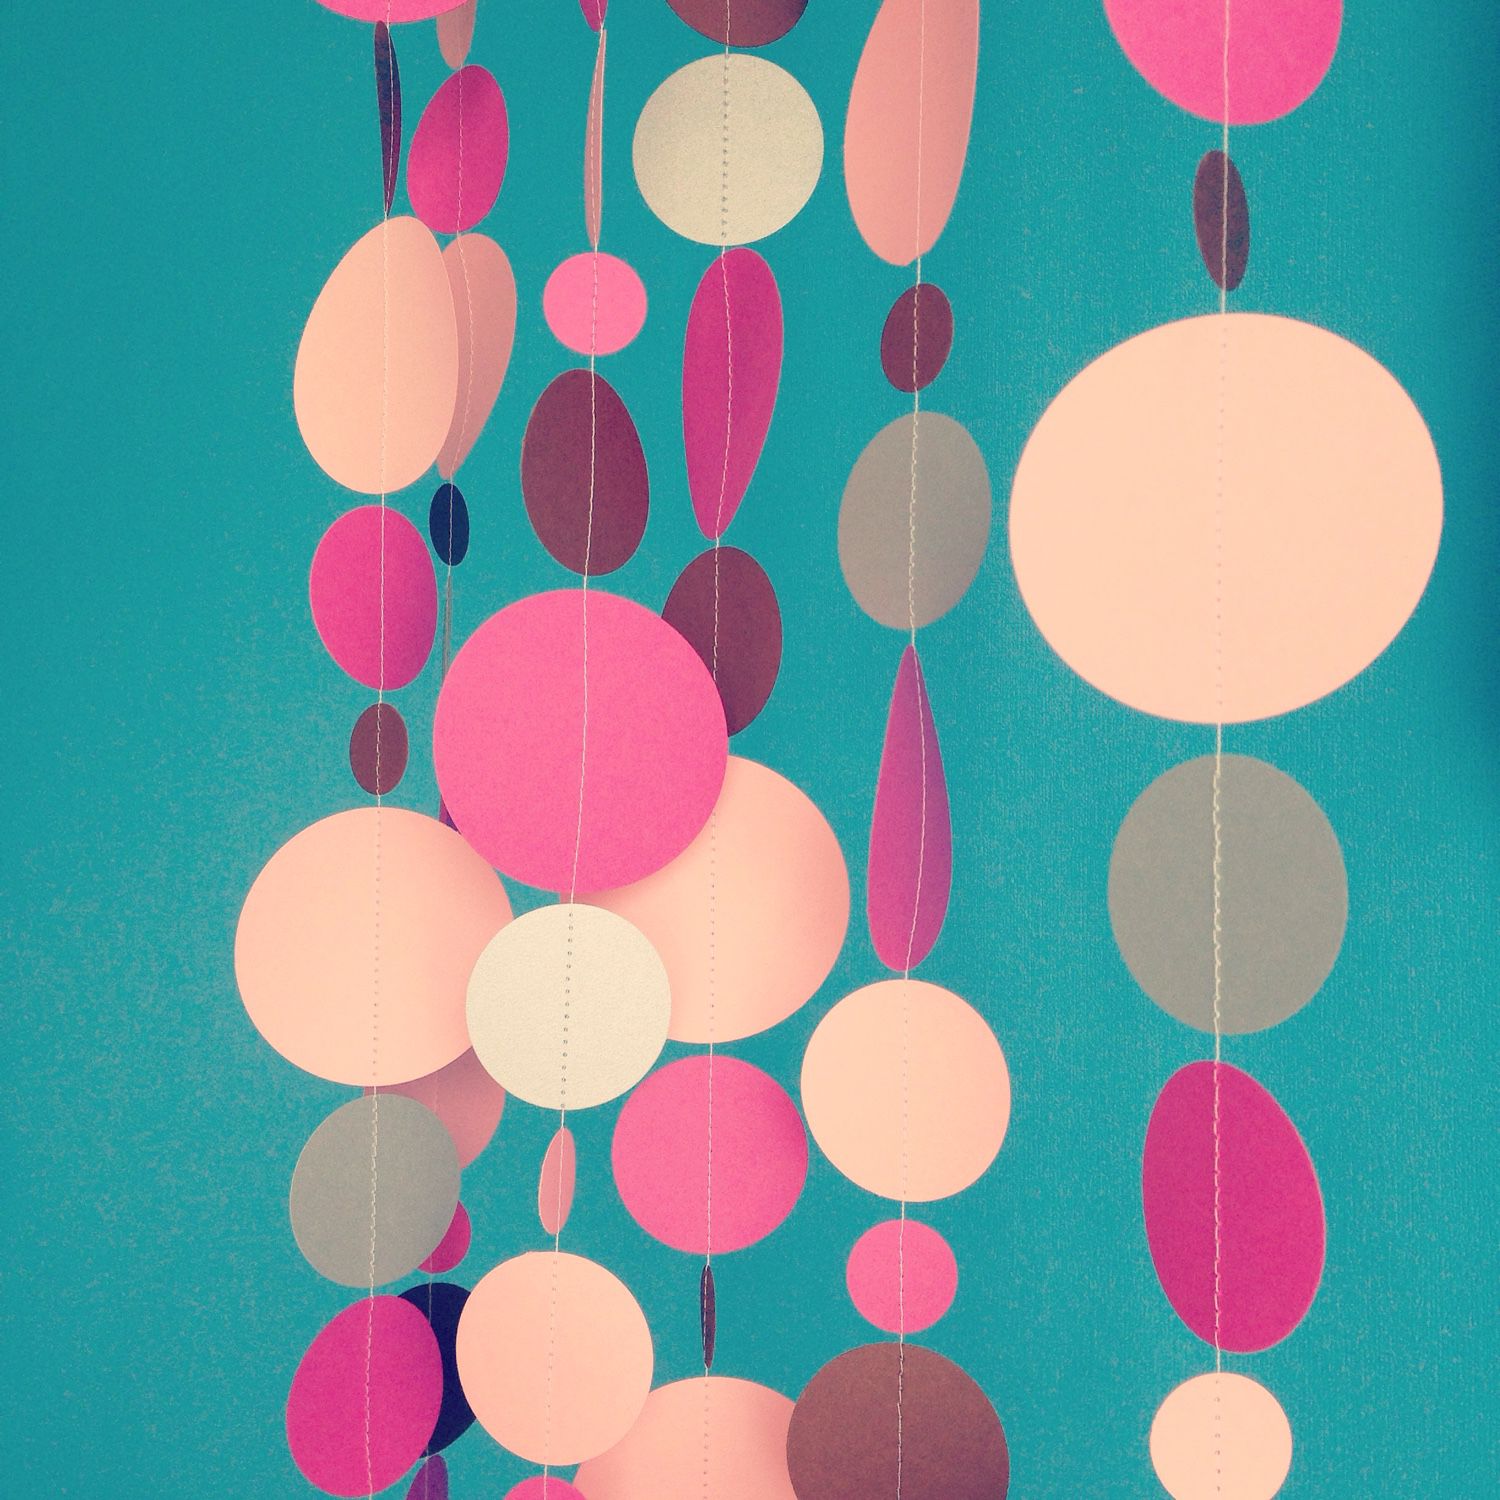
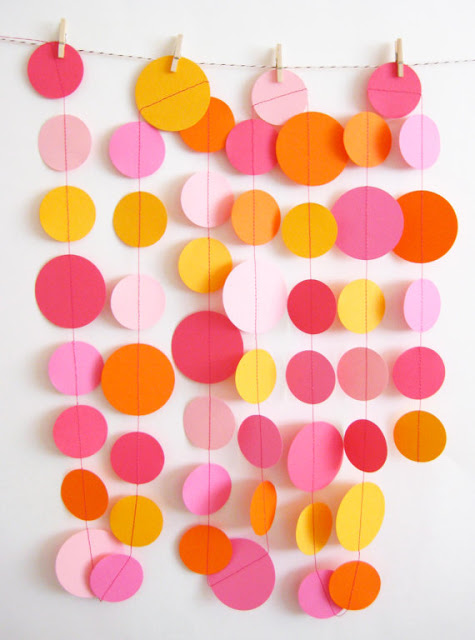
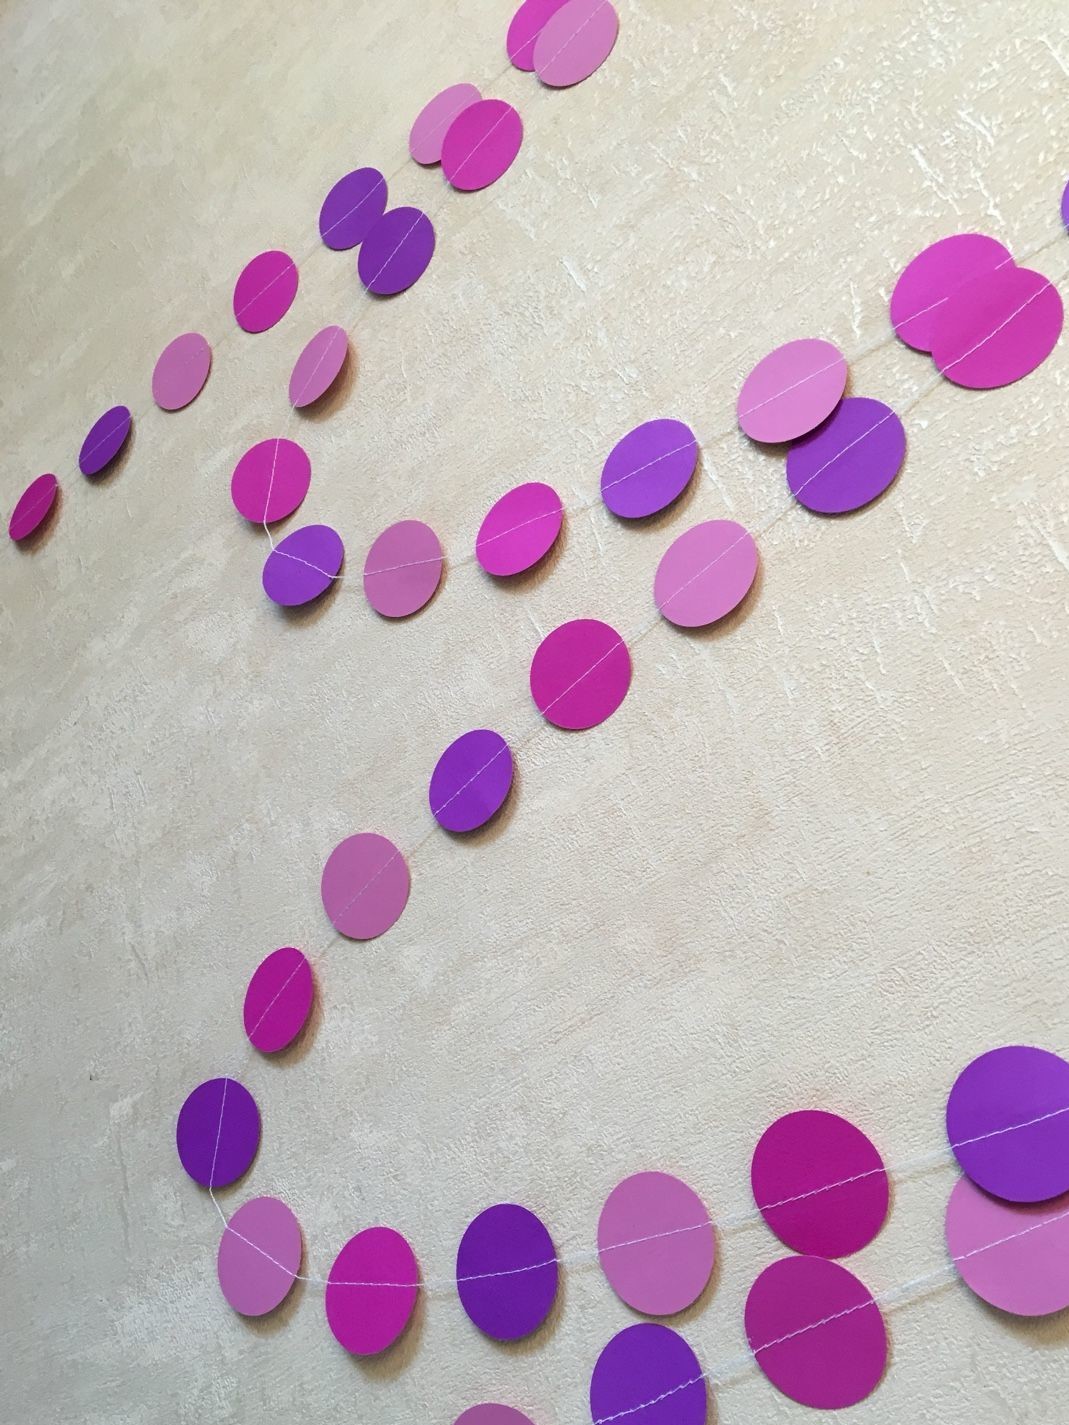
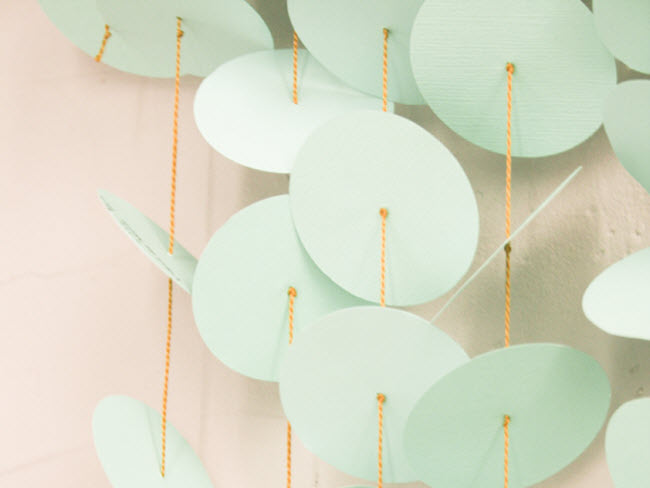
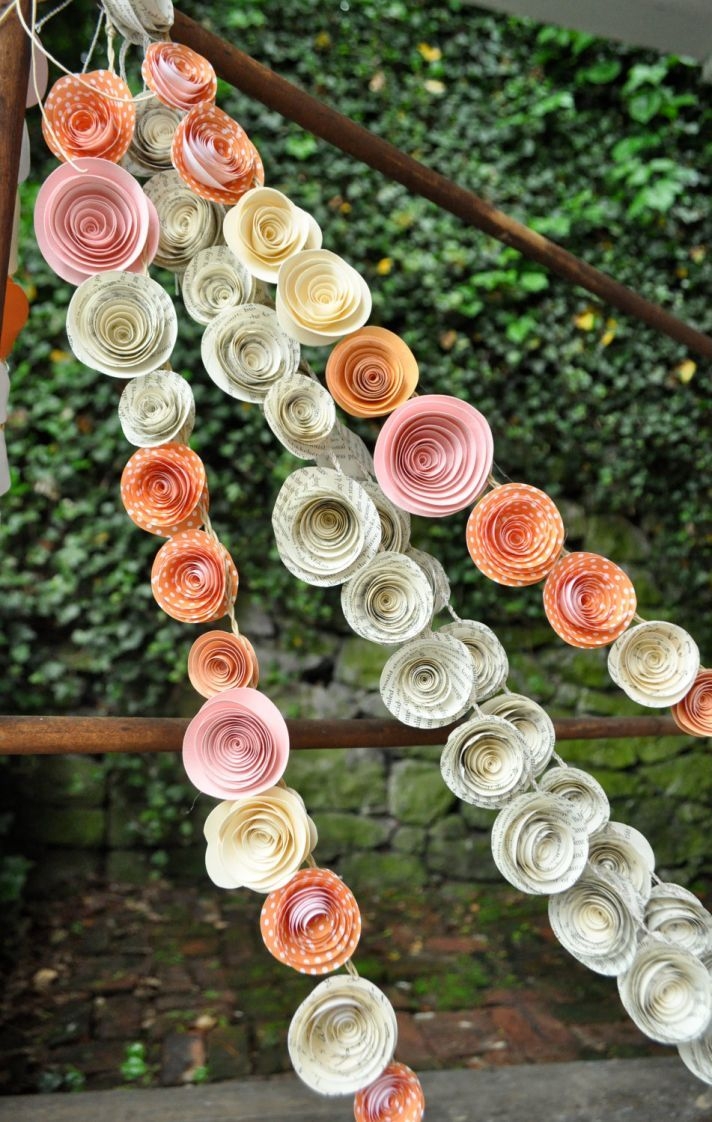
First of all, prepare for the work a lot and a lot of paper circles. I cut my circles with the help of pancha for scrapbooking (in our opinion, punch). But you can find more fancy gadgets for this purpose, of which there are quite a few on the network. I chose a few shades of pink to create a romantic look. I also added a few golden medallions that contrast interestingly and make the jewelry a boring one.
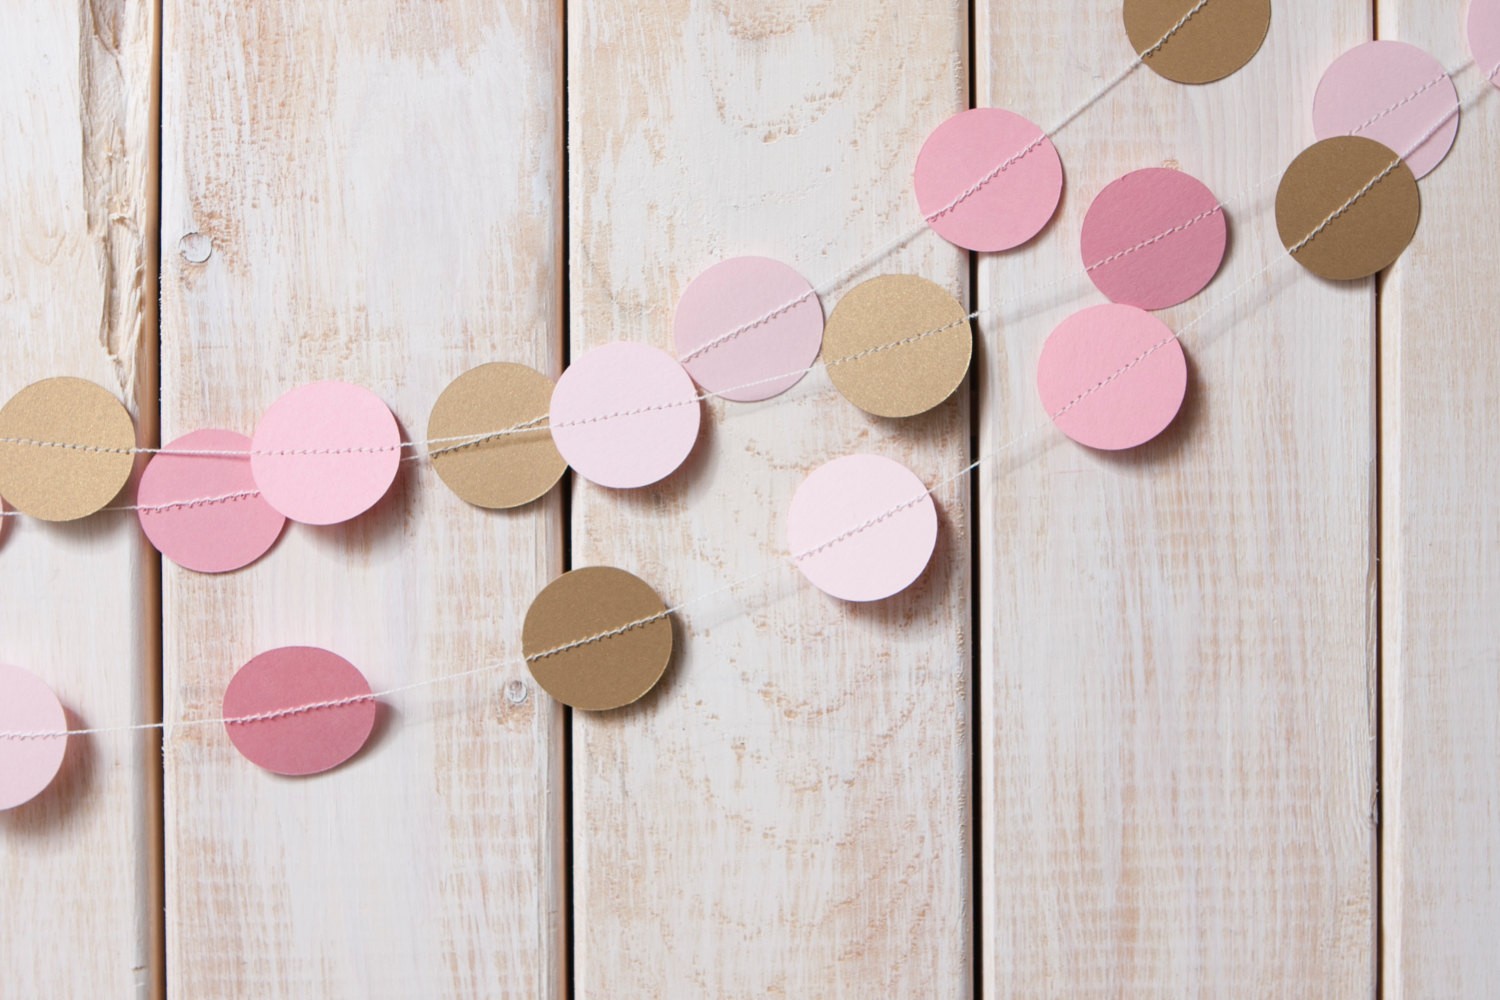
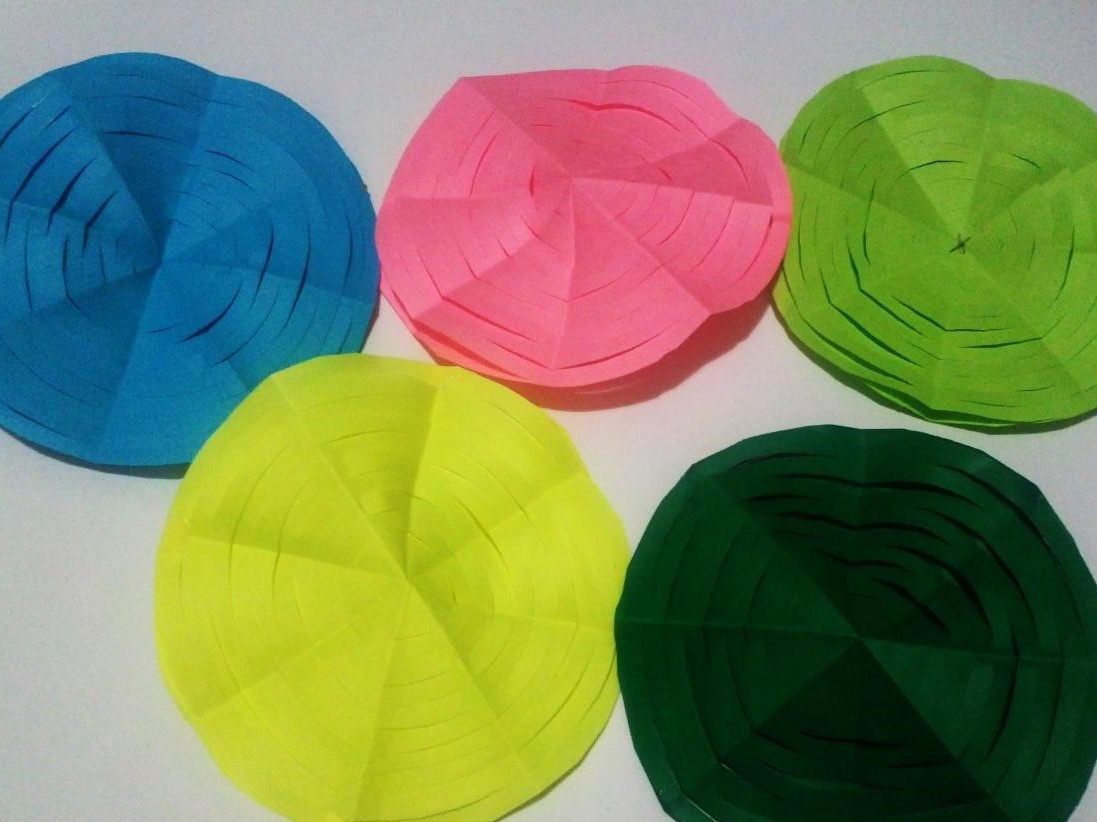
Tender from circles
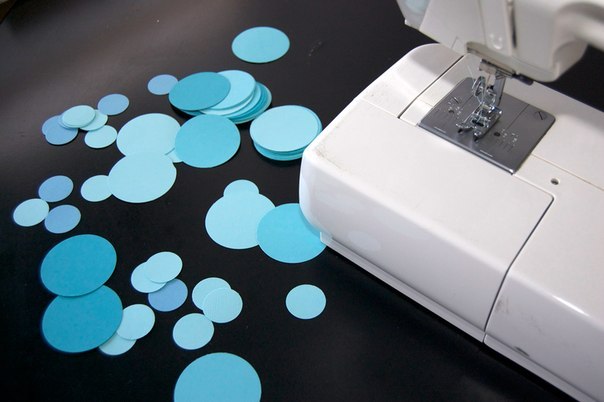
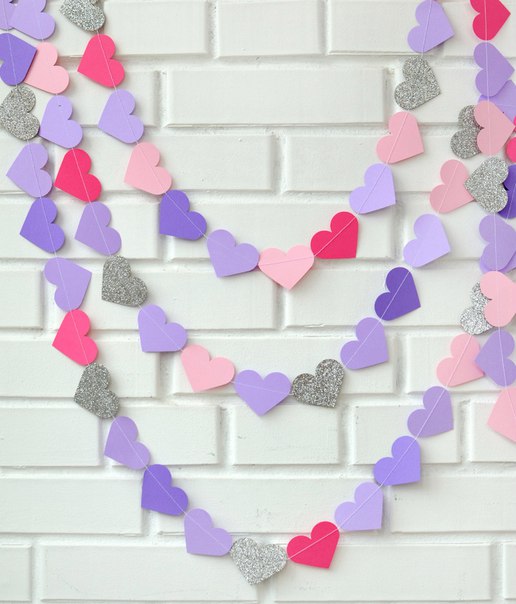
At first I put all my circles in a row in a row in the order in which they were seen, and my goal was to get an ombre effect. Then she set about sewing.

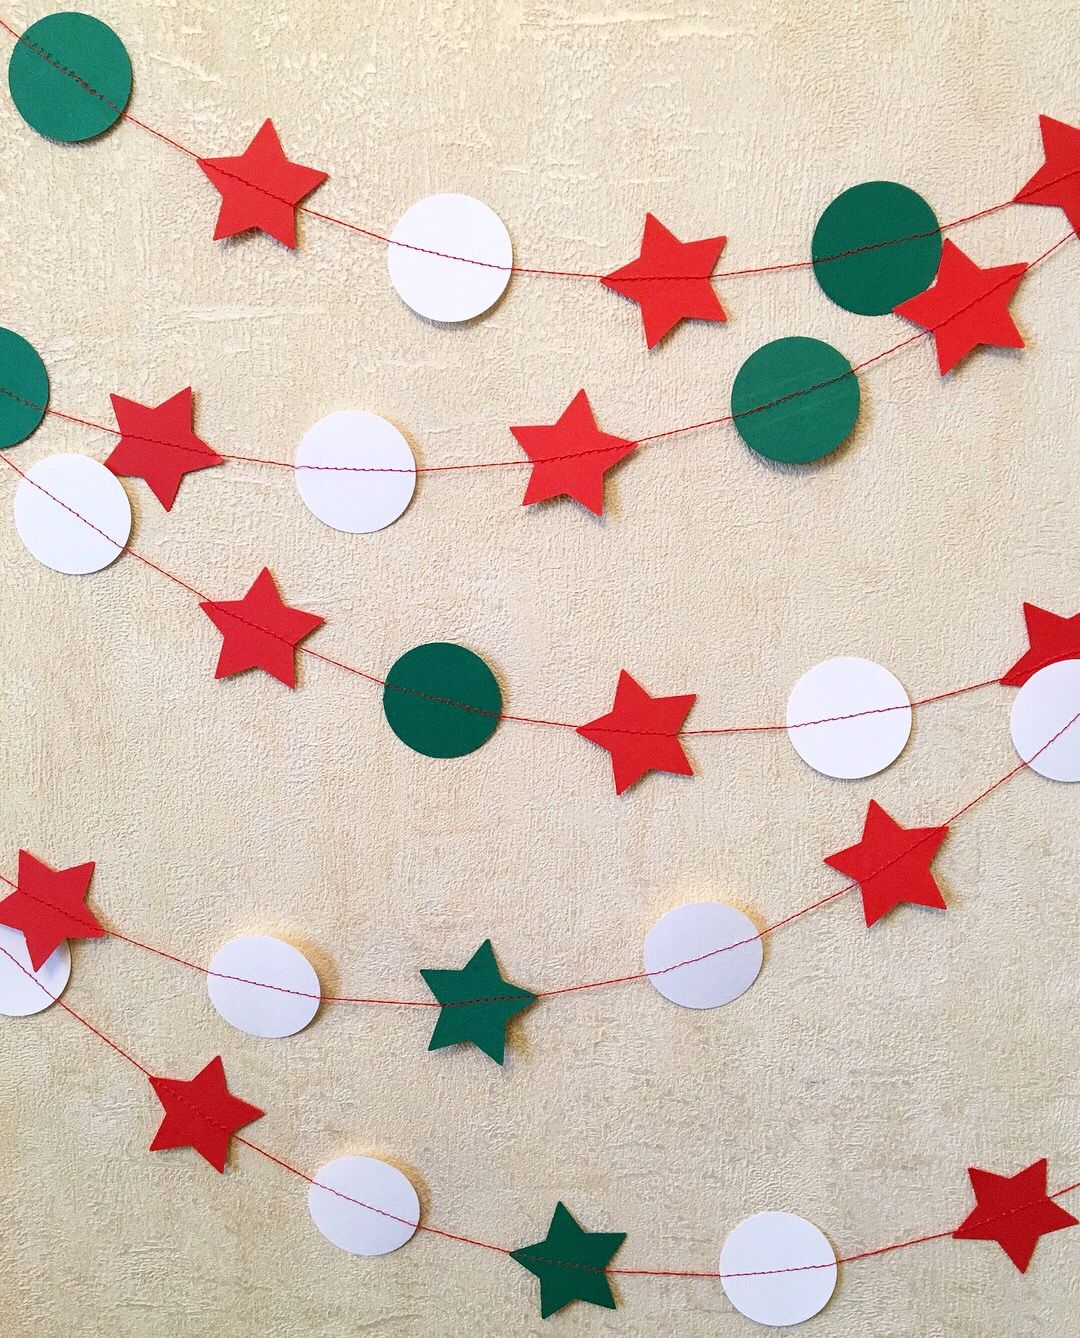
The color of the circles can be chosen for the holiday style.
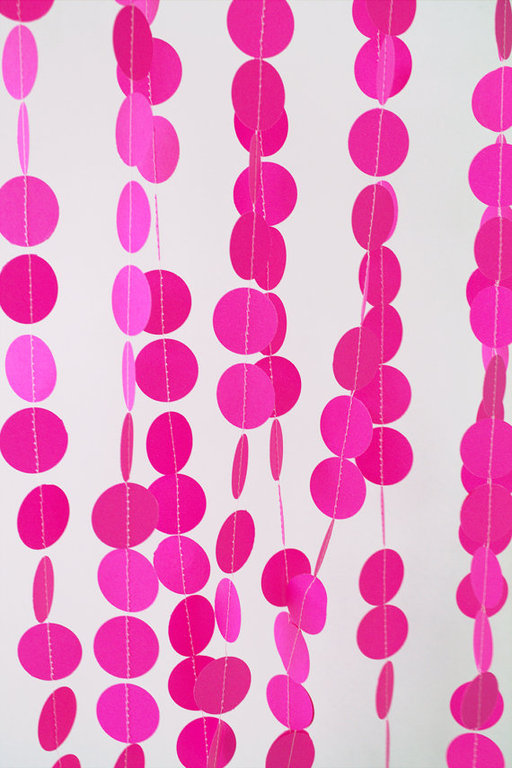
Sew along the center of your first circle, then take the next circle by placing it in front of the presser foot and sew right after the first one. Keep moving until you have a chain of circles of the desired length. I used a small stitch on a sewing machine.

Observe safety precautions.
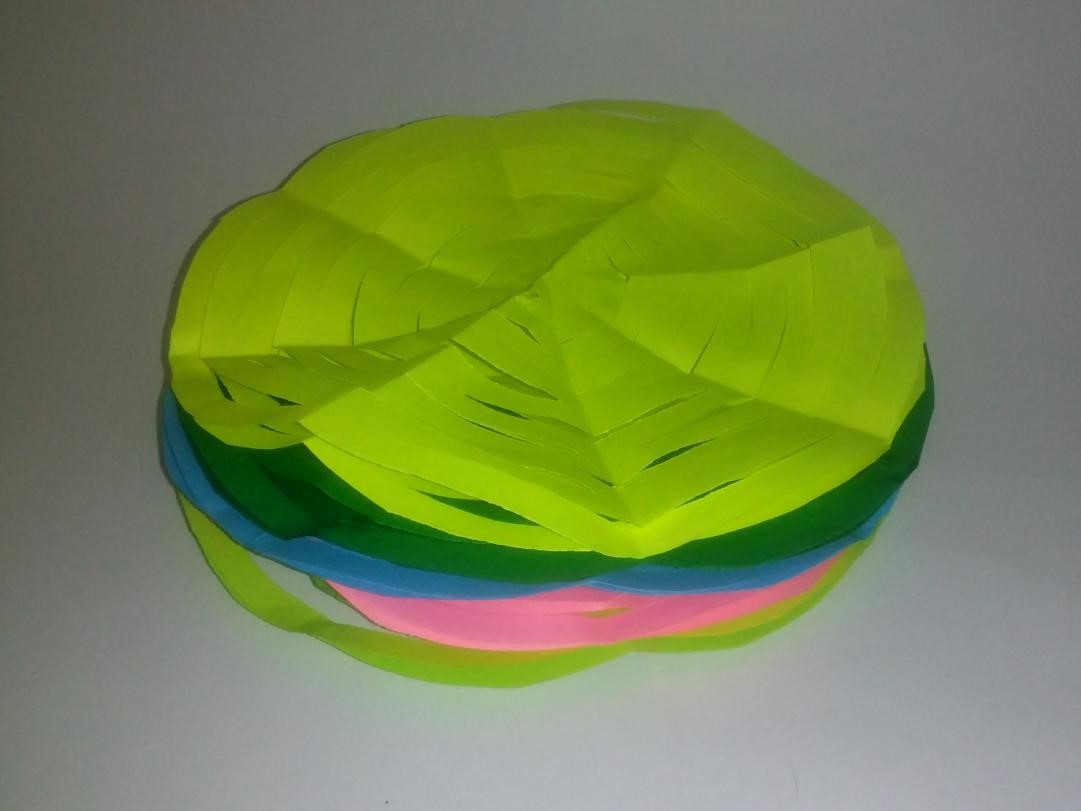
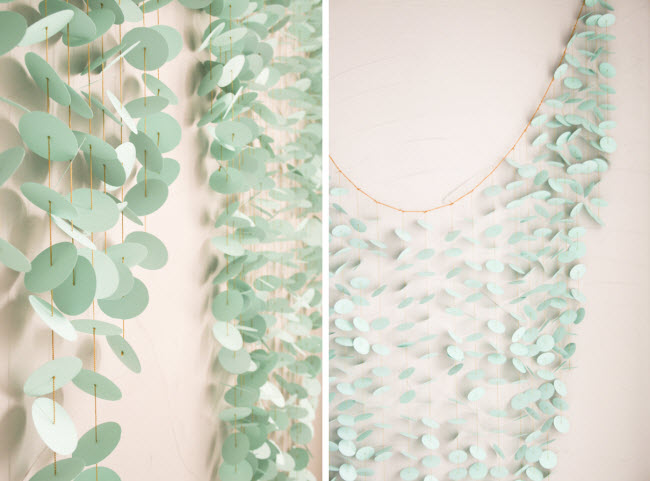
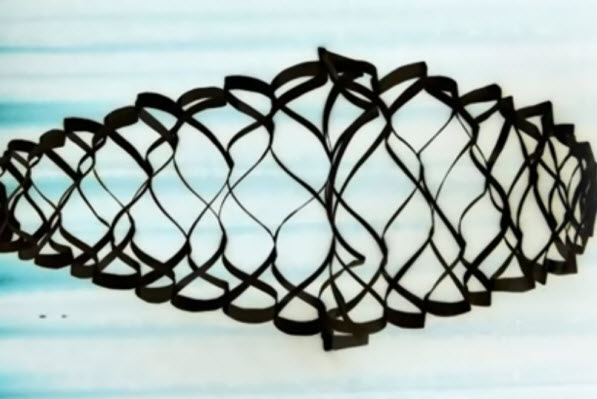
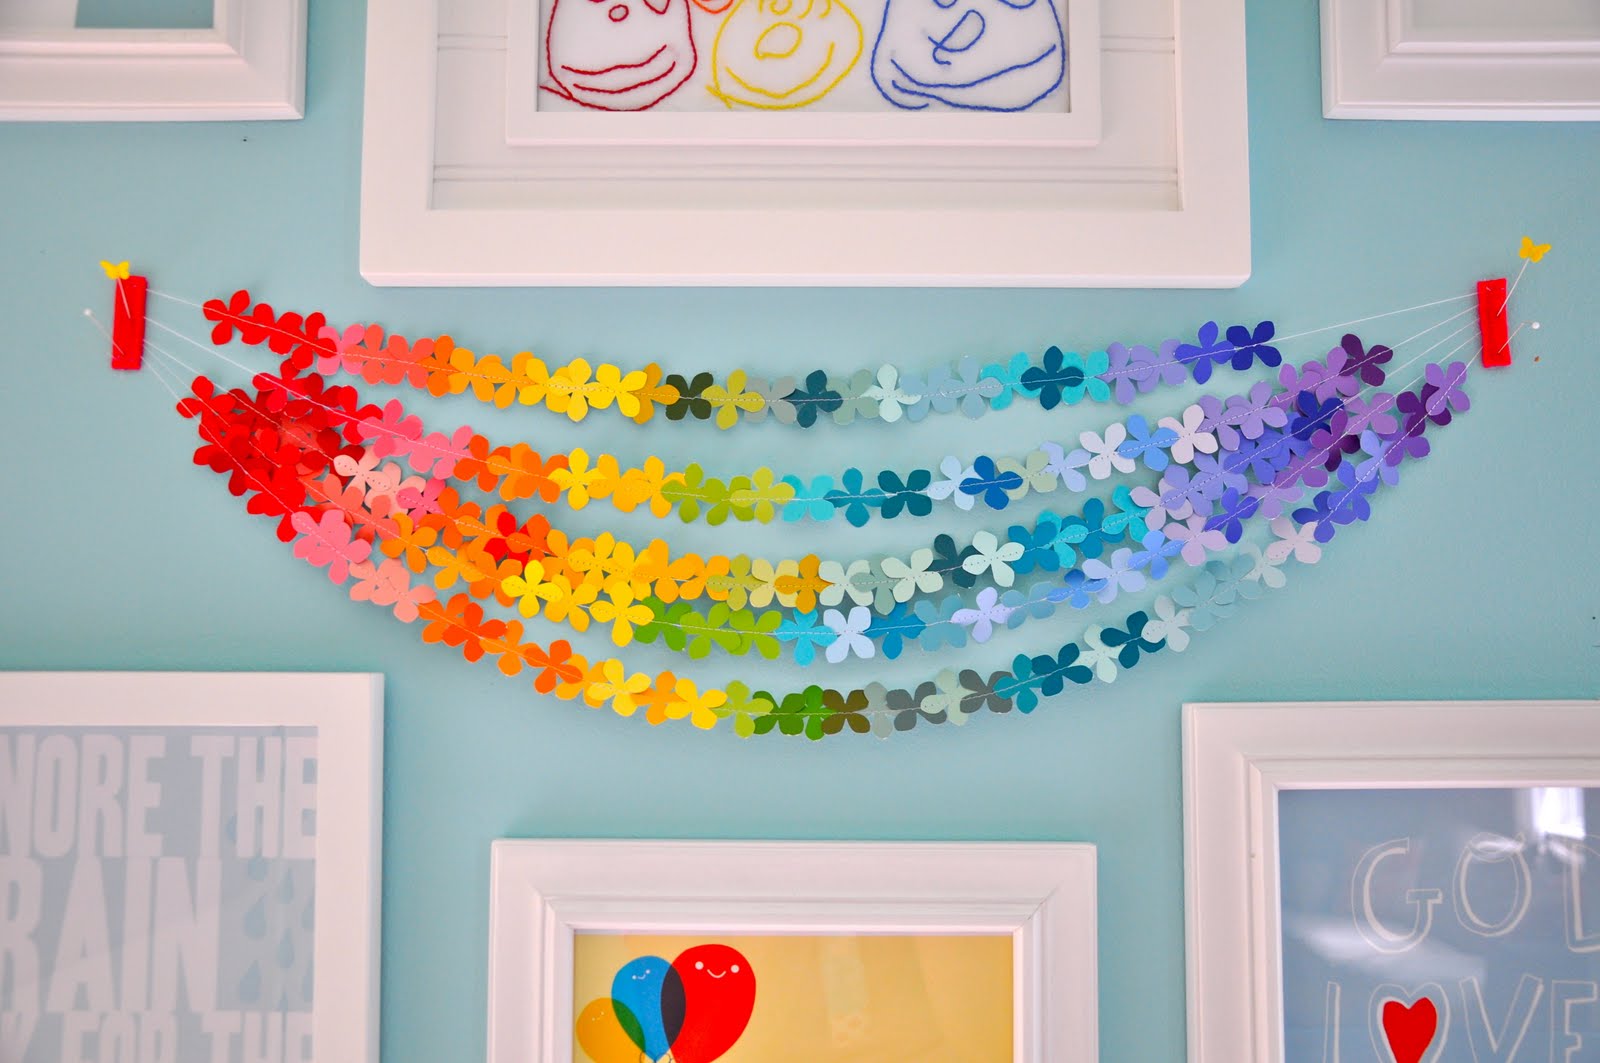
Make as many lines for the round garland as you need. For making my window It took about 15 sheets of two-sided thick colored paper measuring 20x30 cm. I installed the finished product on an ordinary double-sided adhesive tape, adding a couple of threads of decorative light bulbs for a festive mood that kept on the nail, and placed the battery packs right there - at the top of the window sill, also using double sided tape.
Finished interesting work for decoration
Consumables
- double-sided thick paper of several colors;
- metallic color paper;
- ponch with a diameter of 5 cm;
- a thread
- sewing machine
- double sided tape;
- decorative light bulbs.
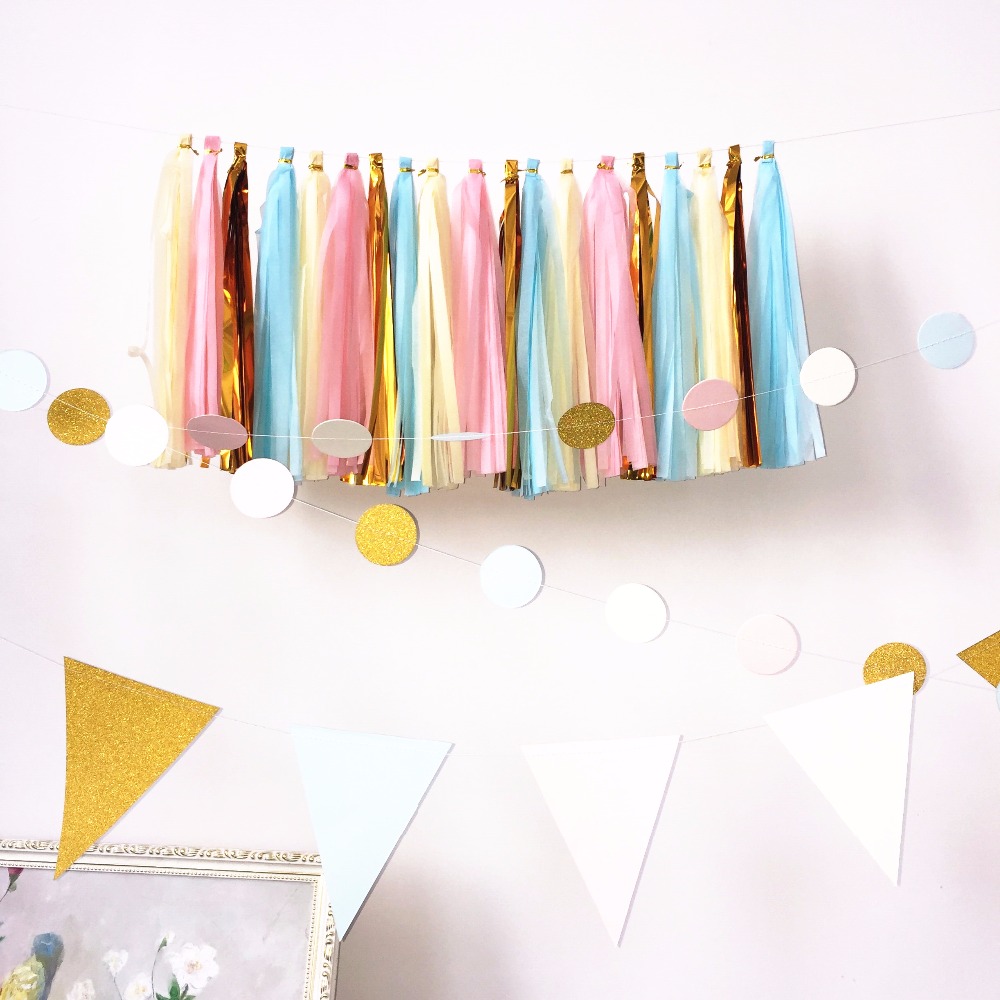
As soon as you hang it all up, you just have to enjoy it, since the paper itself is initially festive. Place it near other holiday decorations such as Christmas tree, and you get a festive flavor.
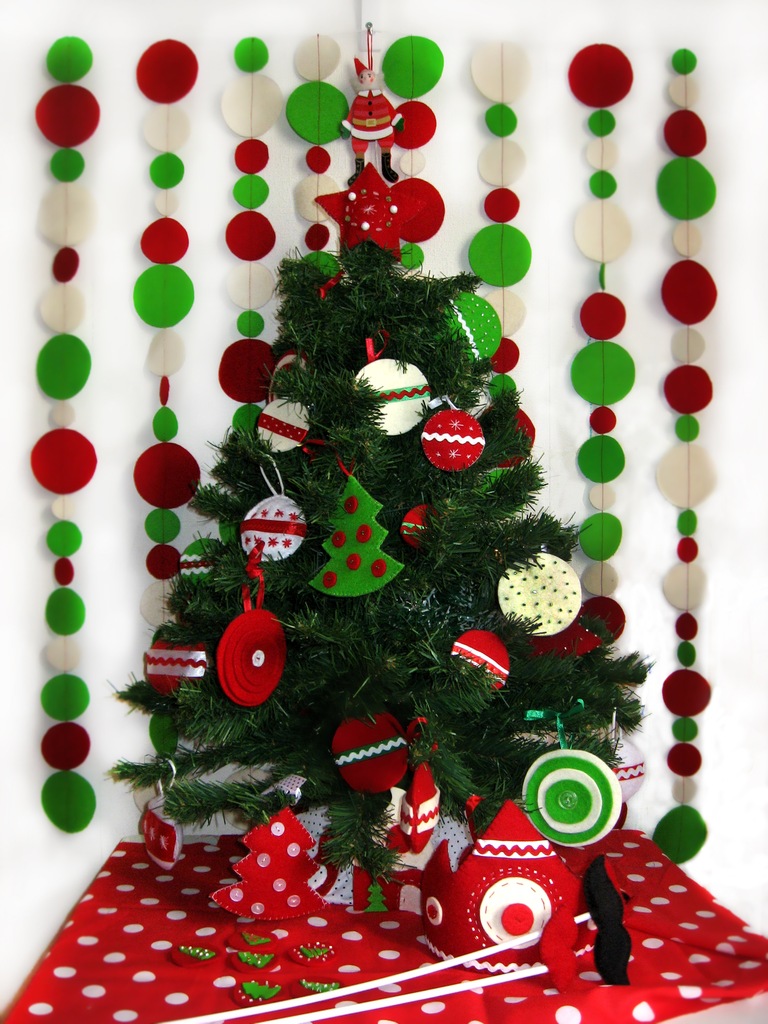
The perfect combination next to the New Year's beauty
Garland you need for occasional parties birthday. If you have children, they will appreciate this approach and will be grateful to you.
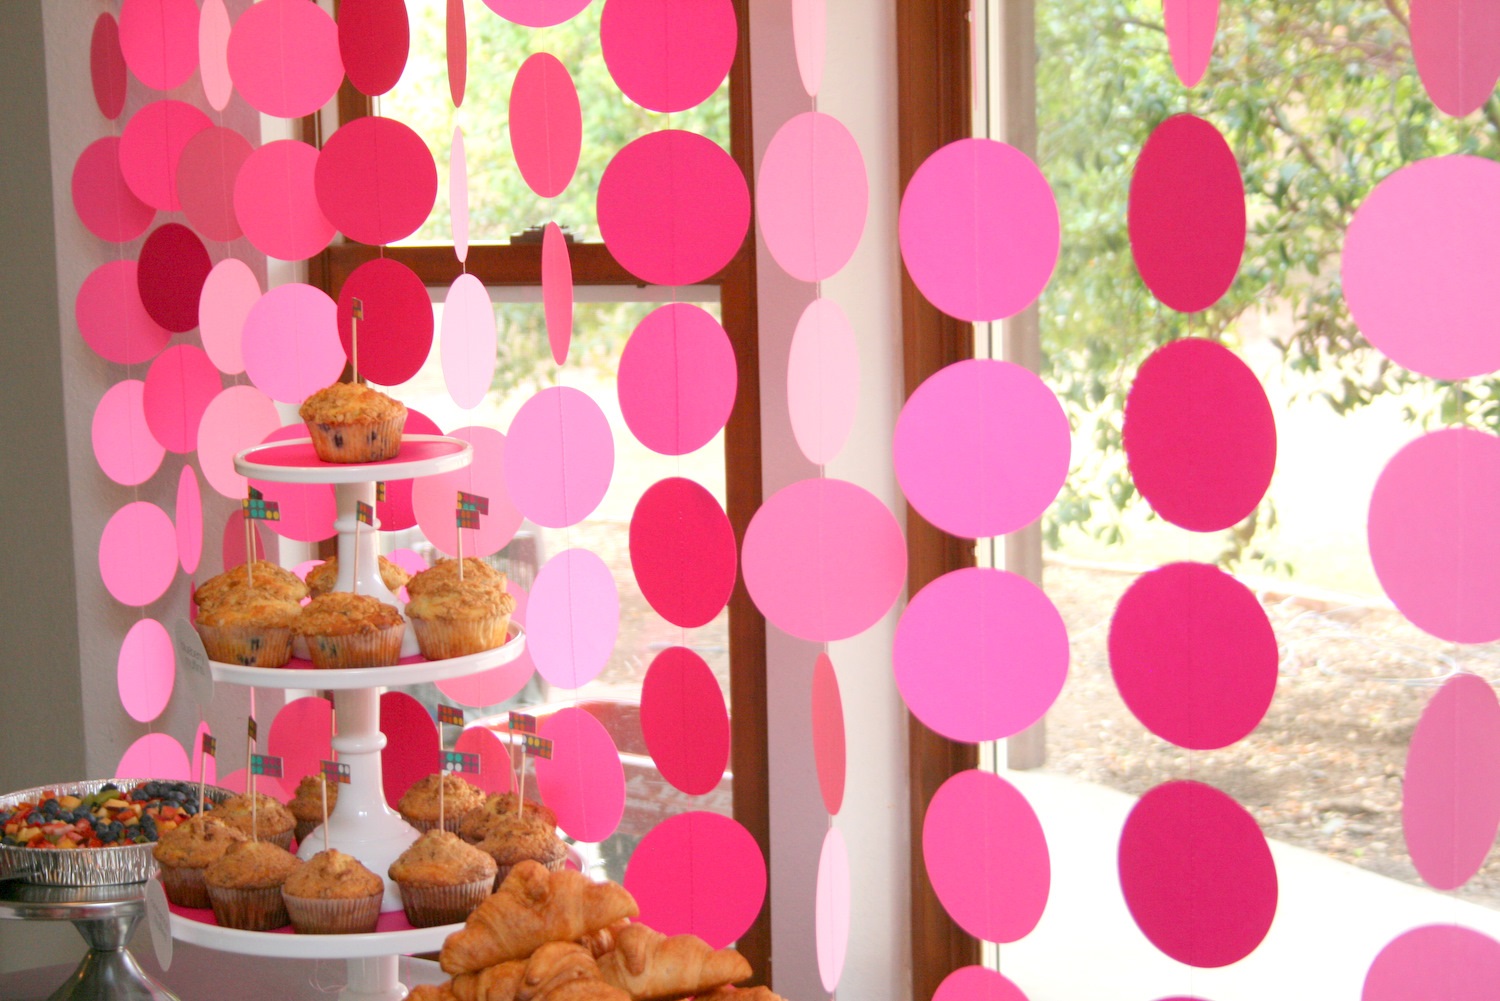
Useful for any holiday
Light elements add a special atmosphere that is inherent in the winter holidays.I love everything brilliant, glowing and flickering, especially during the holidays.
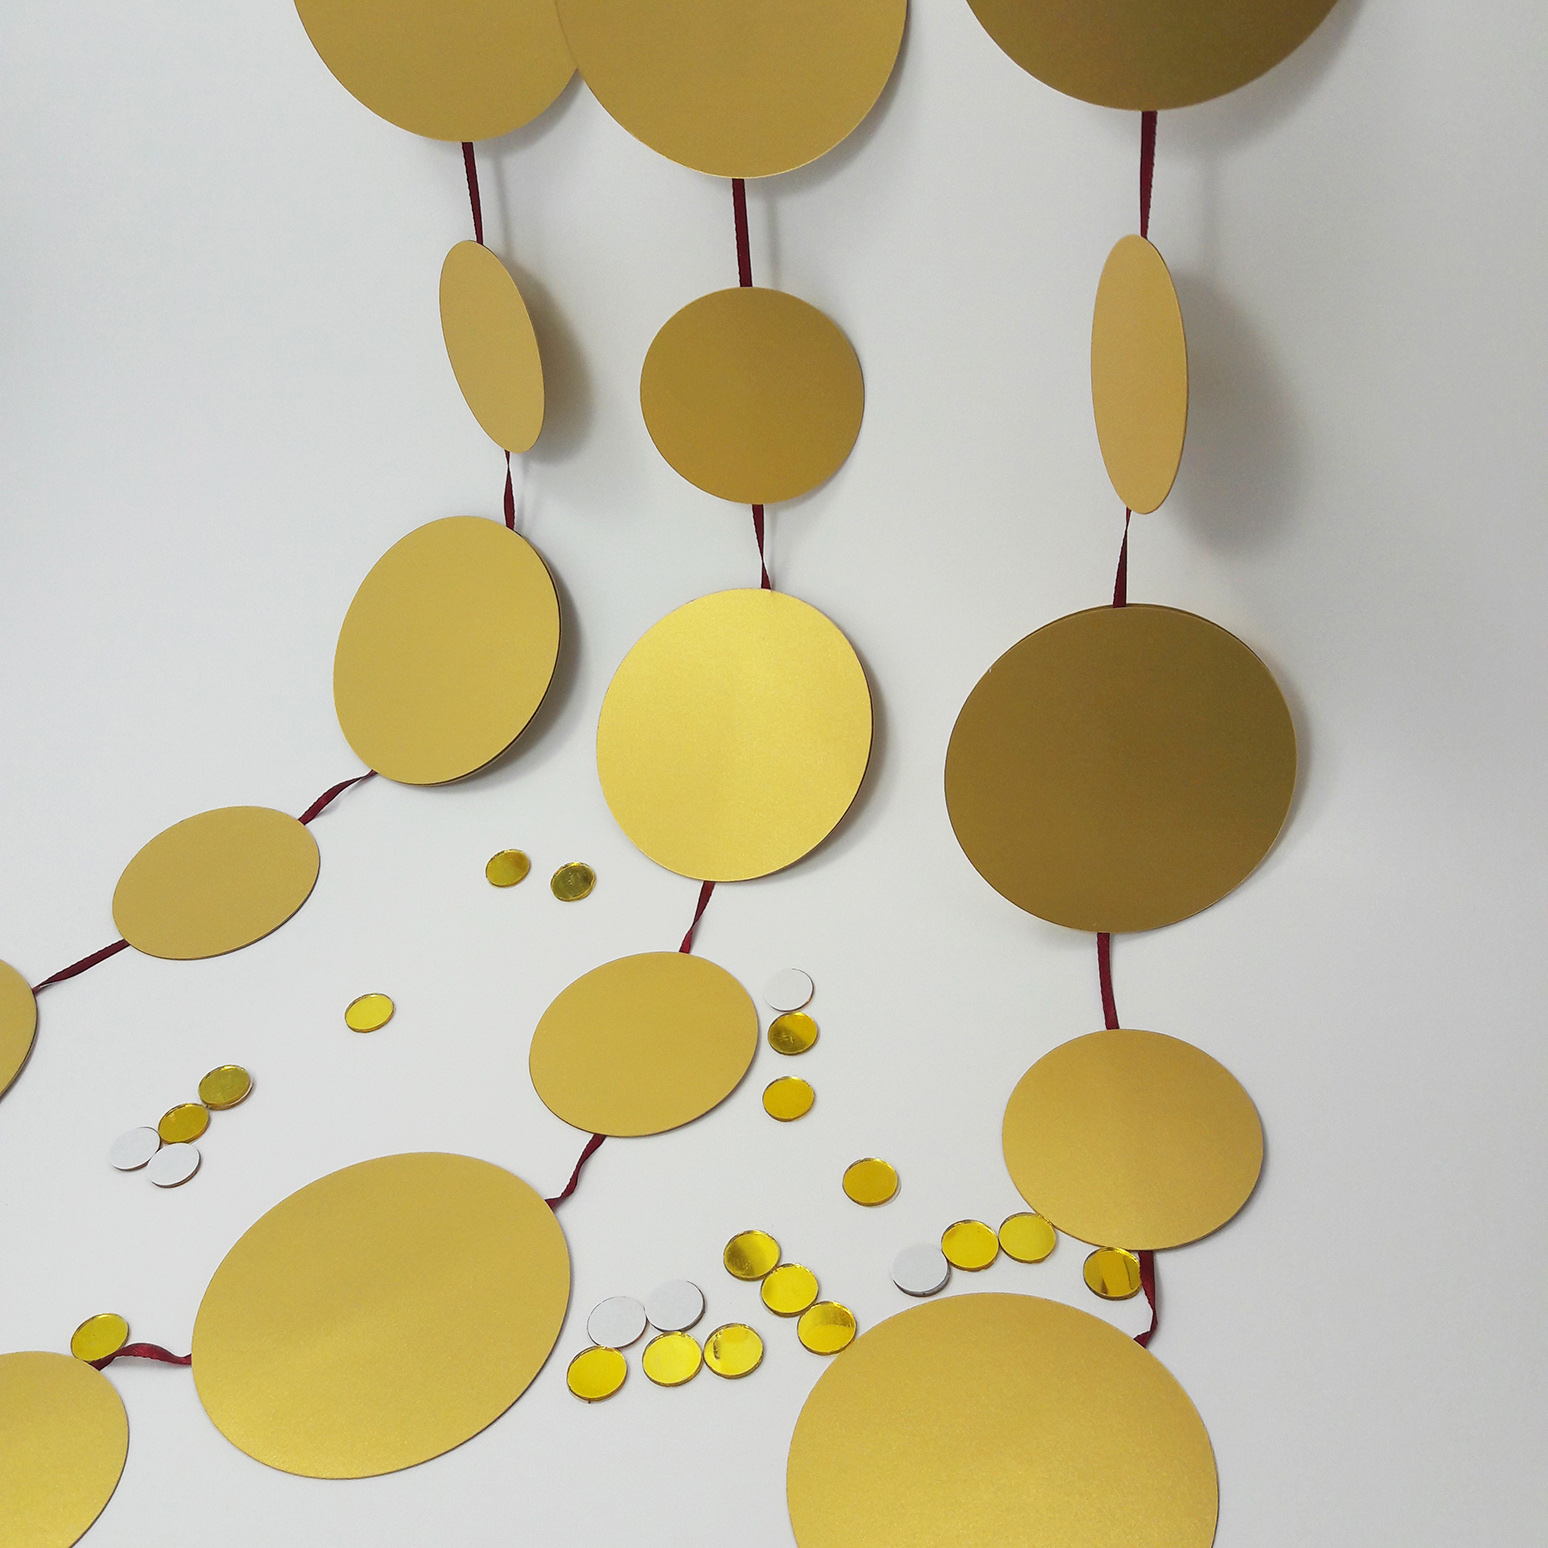
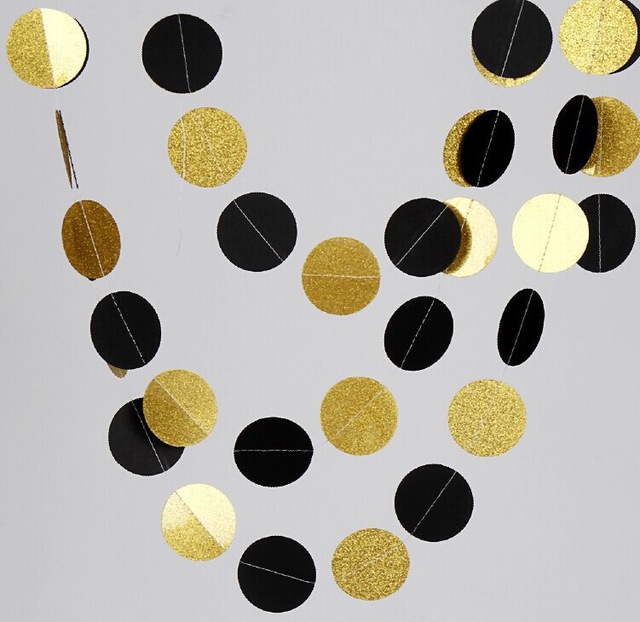
Golden color for glitter lovers
Someone may find it boring to have a round version, or you may not have all the tools at hand. Therefore, I have prepared for you some more ways to decorate your house using paper garlands. So let's get started.
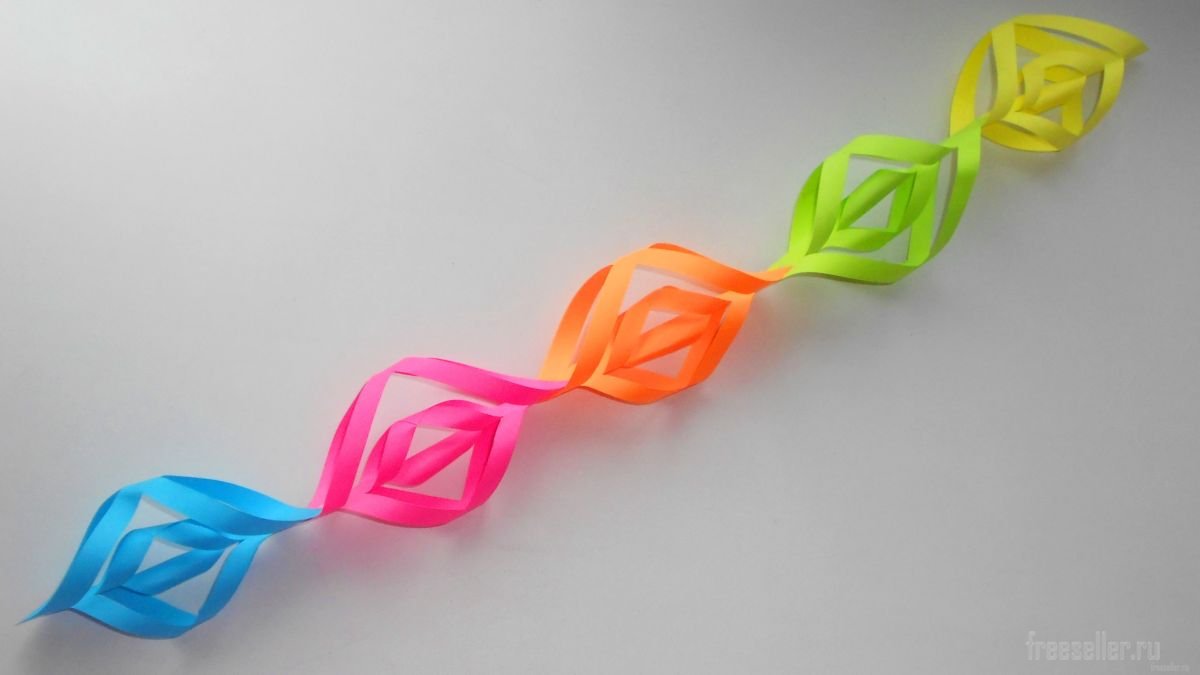
return to menu ↑Method 1
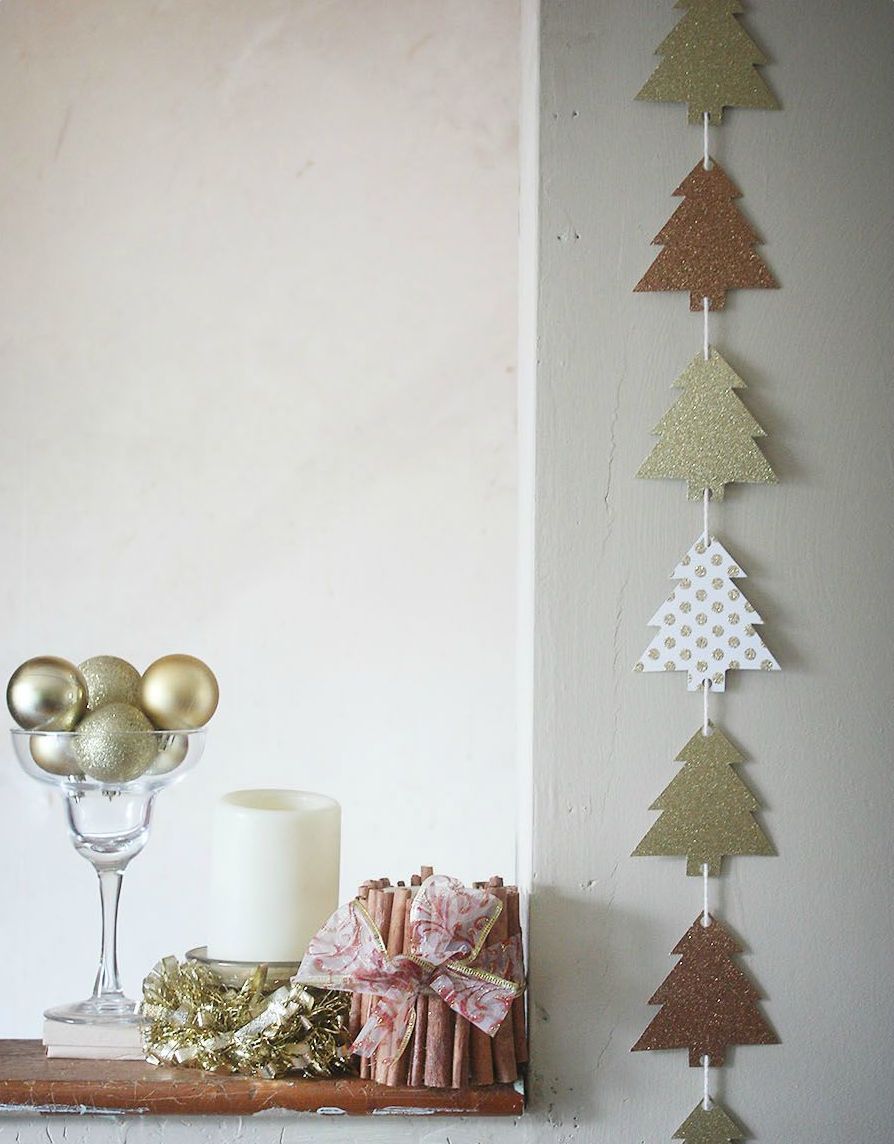
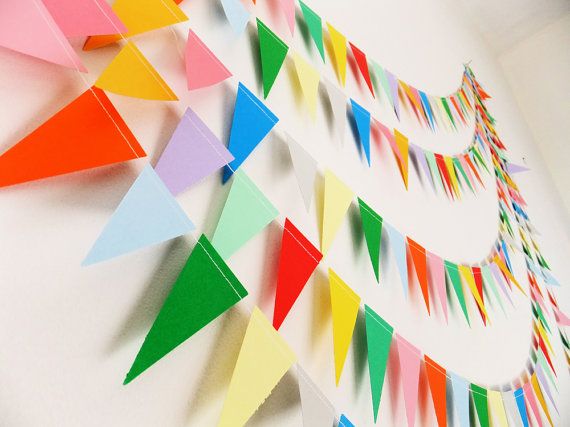
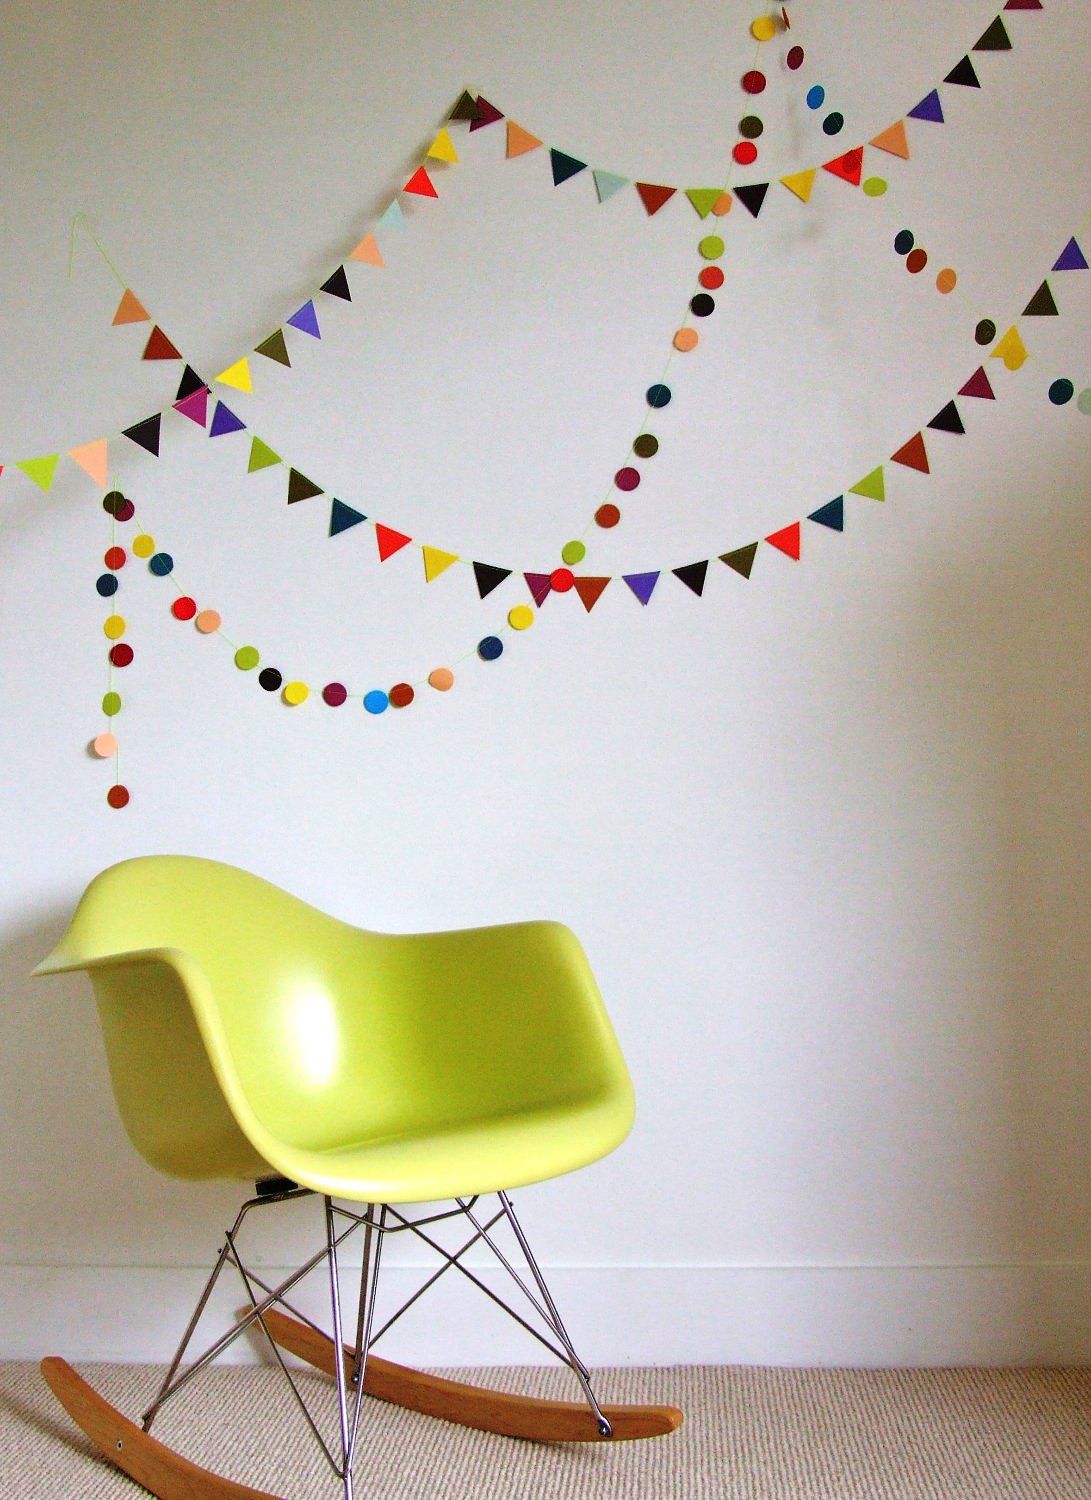
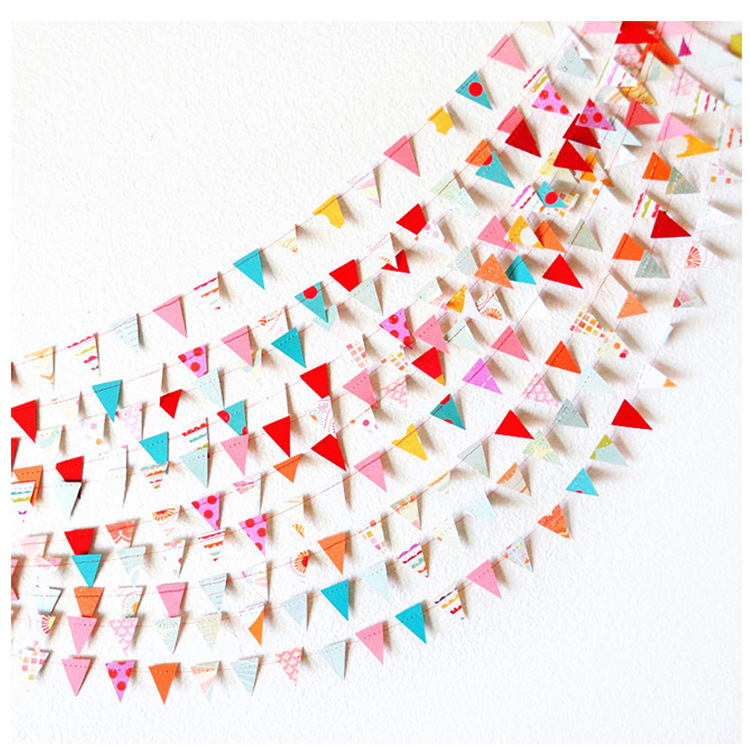
return to menu ↑Geometric
Take color paper. You will need about 12 sheets of 15/15 cm. Perfect for this two-sided for origami.
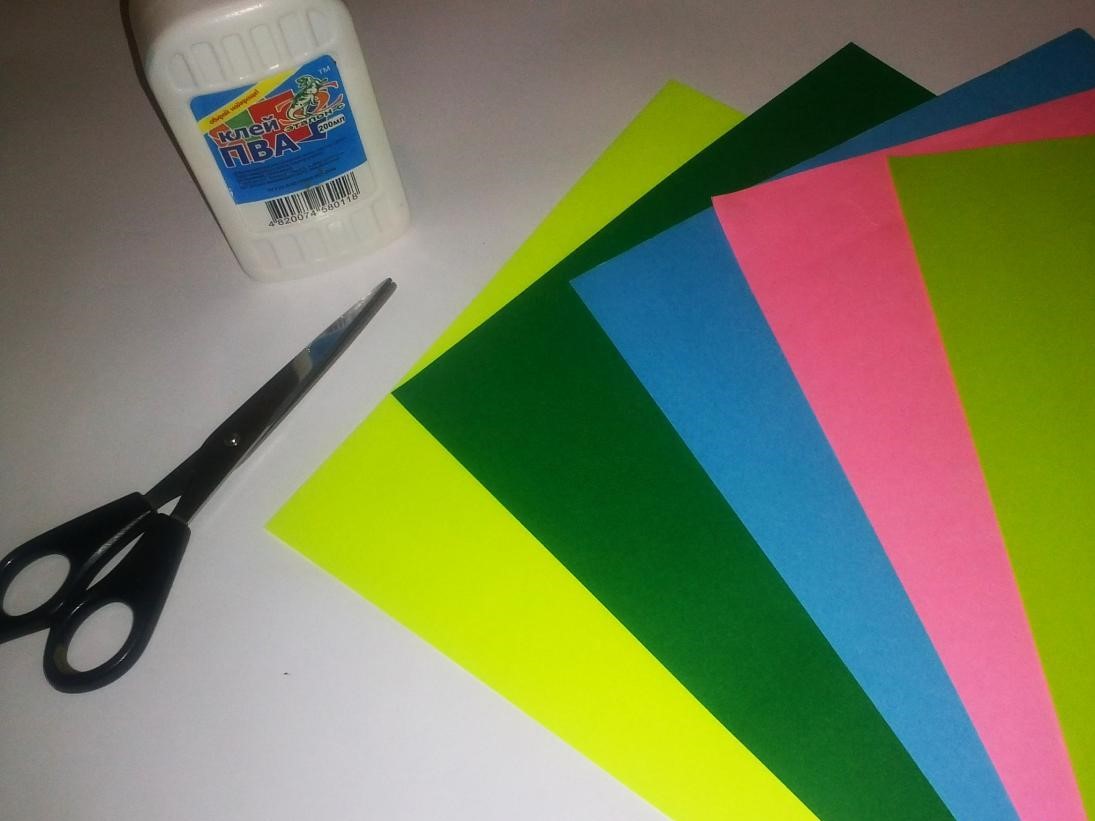
Thick colored paper
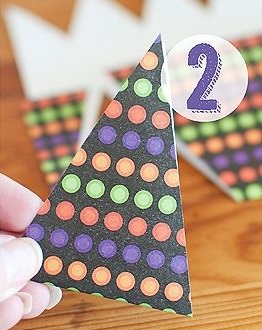
Fold each sheet in a triangle. Start by folding the sheet in half. Then fold the triangle in half to make an even smaller triangle.
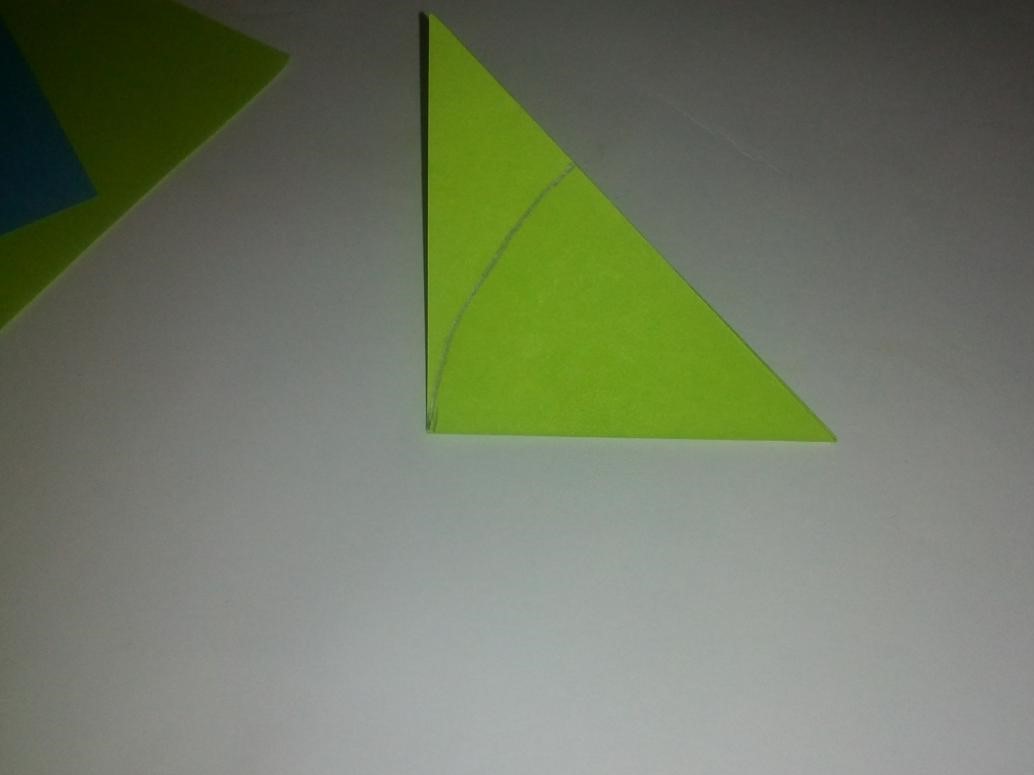
Fold several times
Consider making small cuts around the edges to make your garland more interesting. Do not make any cuts along the folded edges.
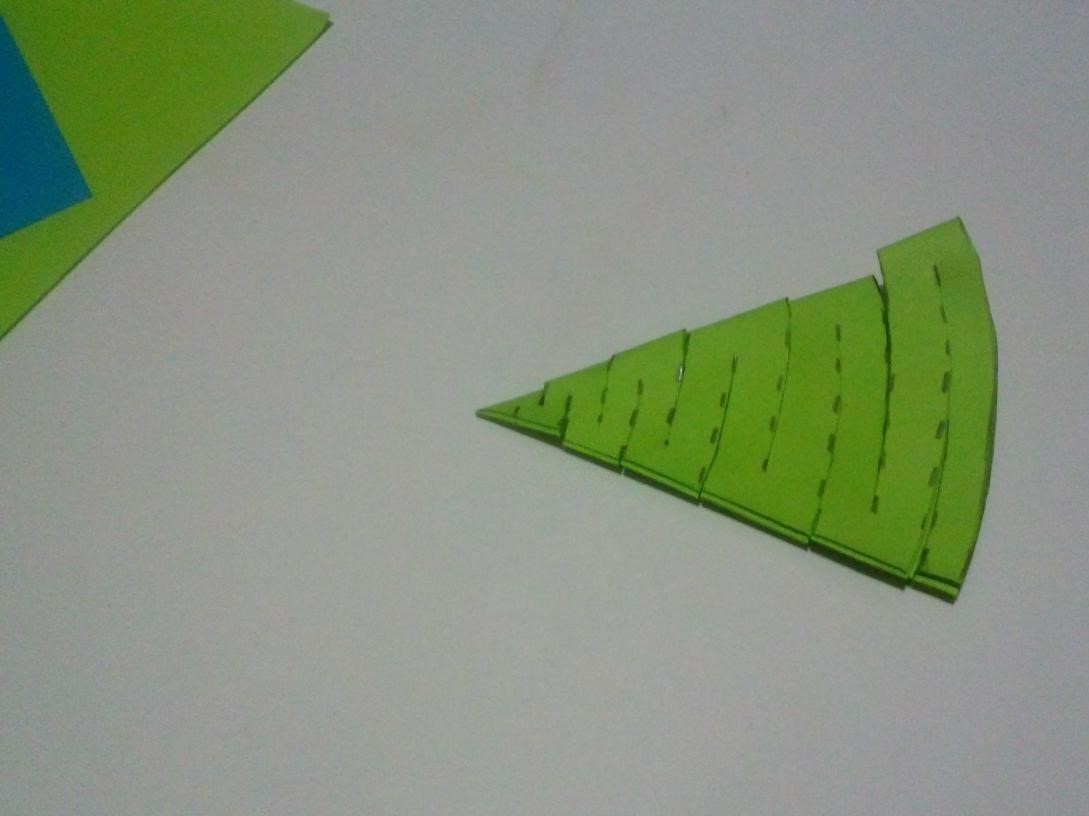
We do not cut to the end
Fasten two triangles together in the middle with a stapler. Do the same for the remaining triangles so that you get six bonded triangular shapes.
Cut the right amount
Fasten two triangular shapes together at the corners. Take two triangles and superimpose 1/2 inch (1.27 cm) dots. Sew the corners down.
Bind all the circles together
Seal the forms so that they hold. If you do not want the clips to be visible, you can sew only the inner layers and leave the upper layers free.
We stretch the garland
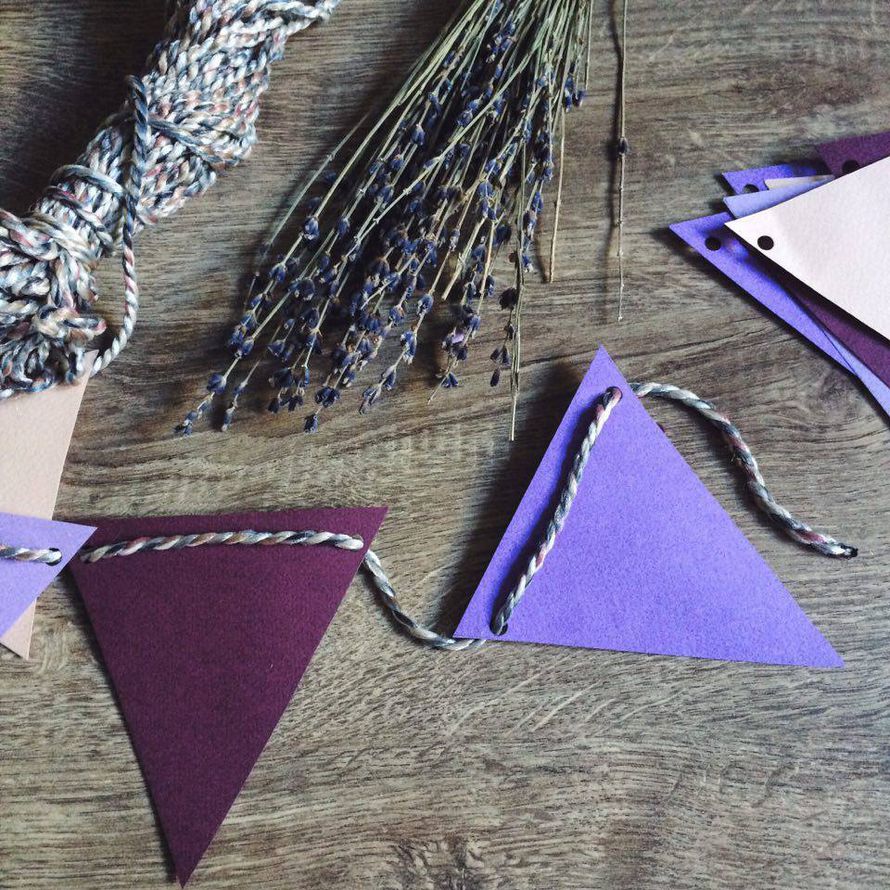
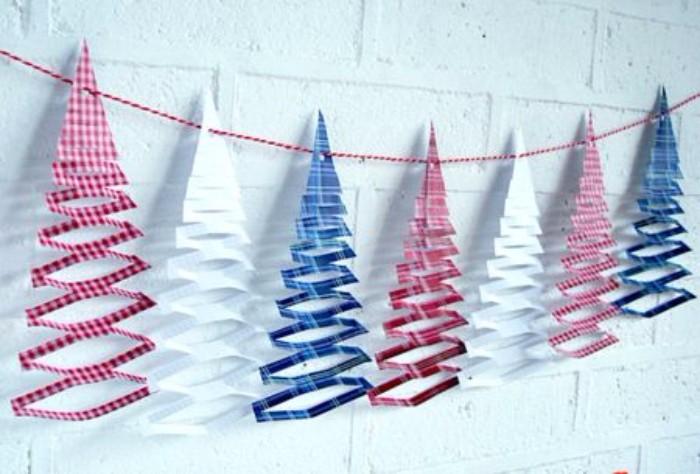
To make a garland of individual triangles, connect the parts with each other by the edges.
Paper garland ready
When finished, fasten the garland on the wall with the buttons.
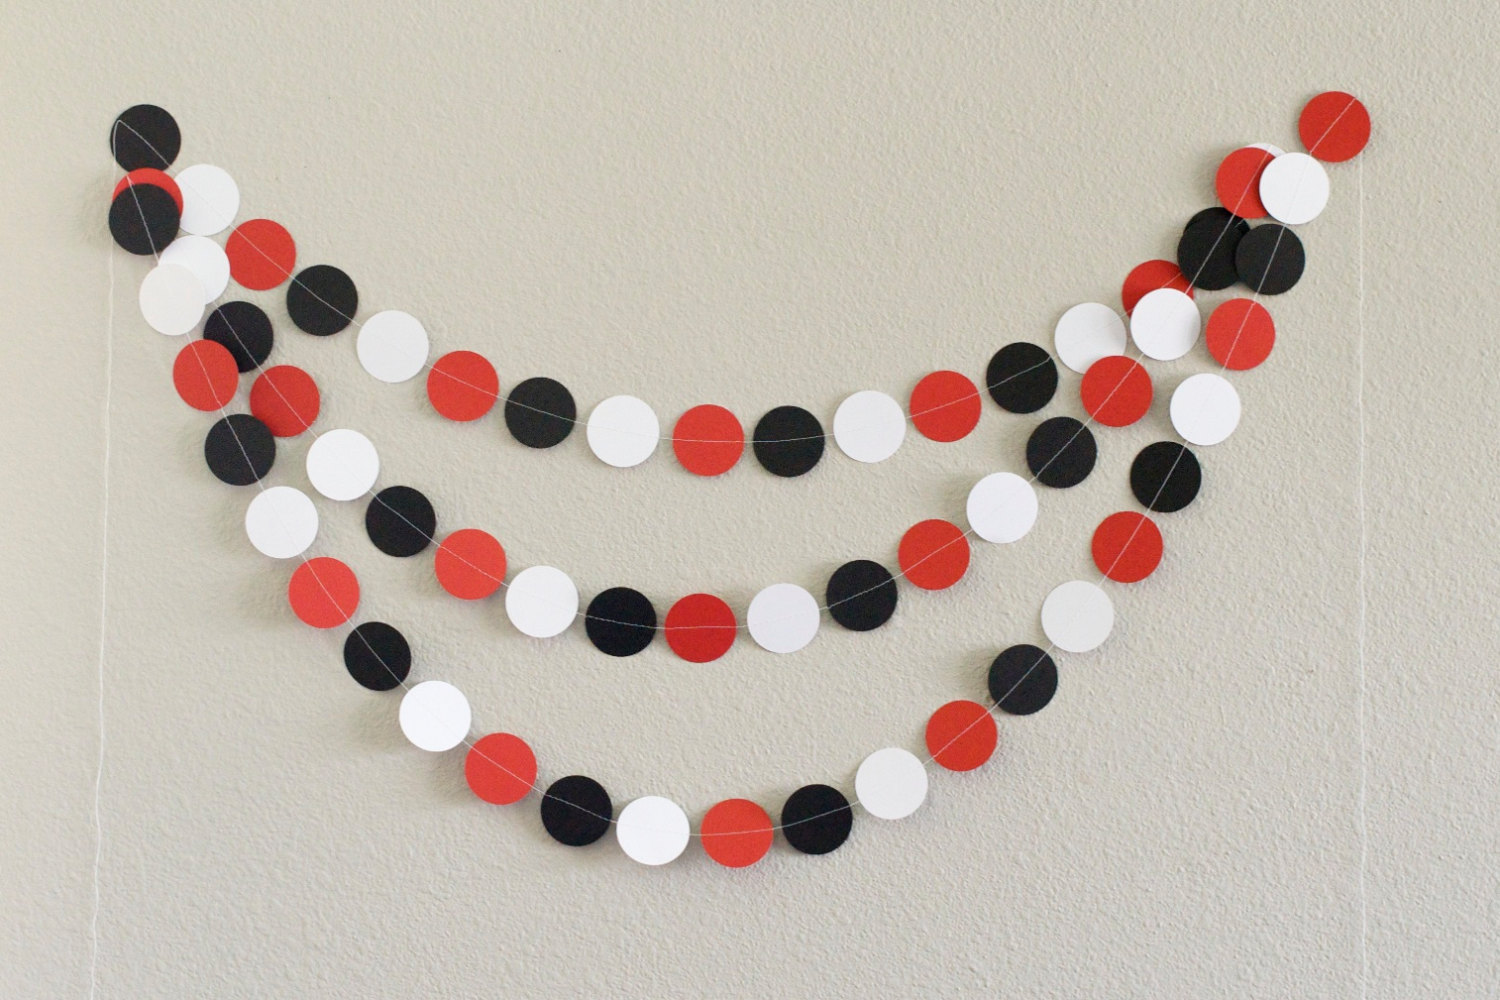
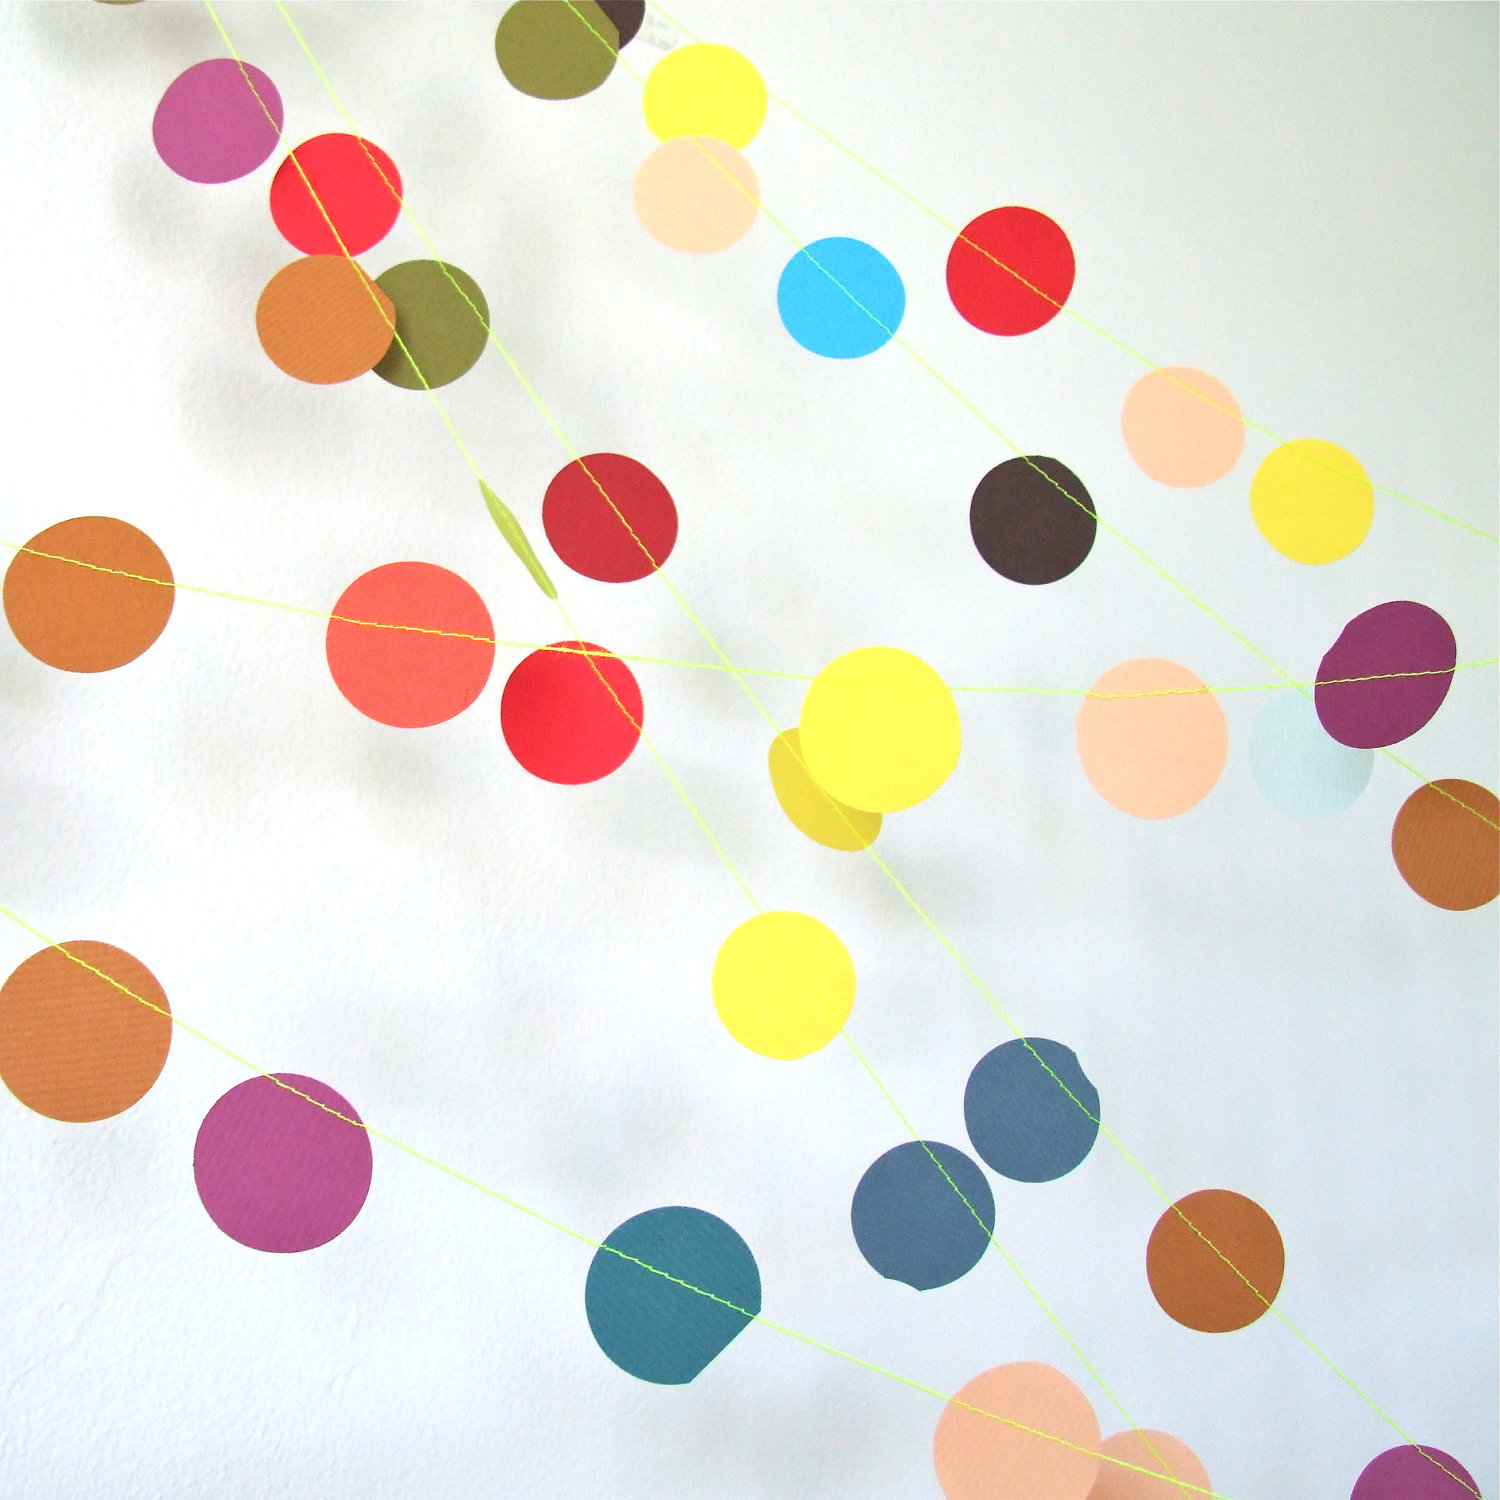
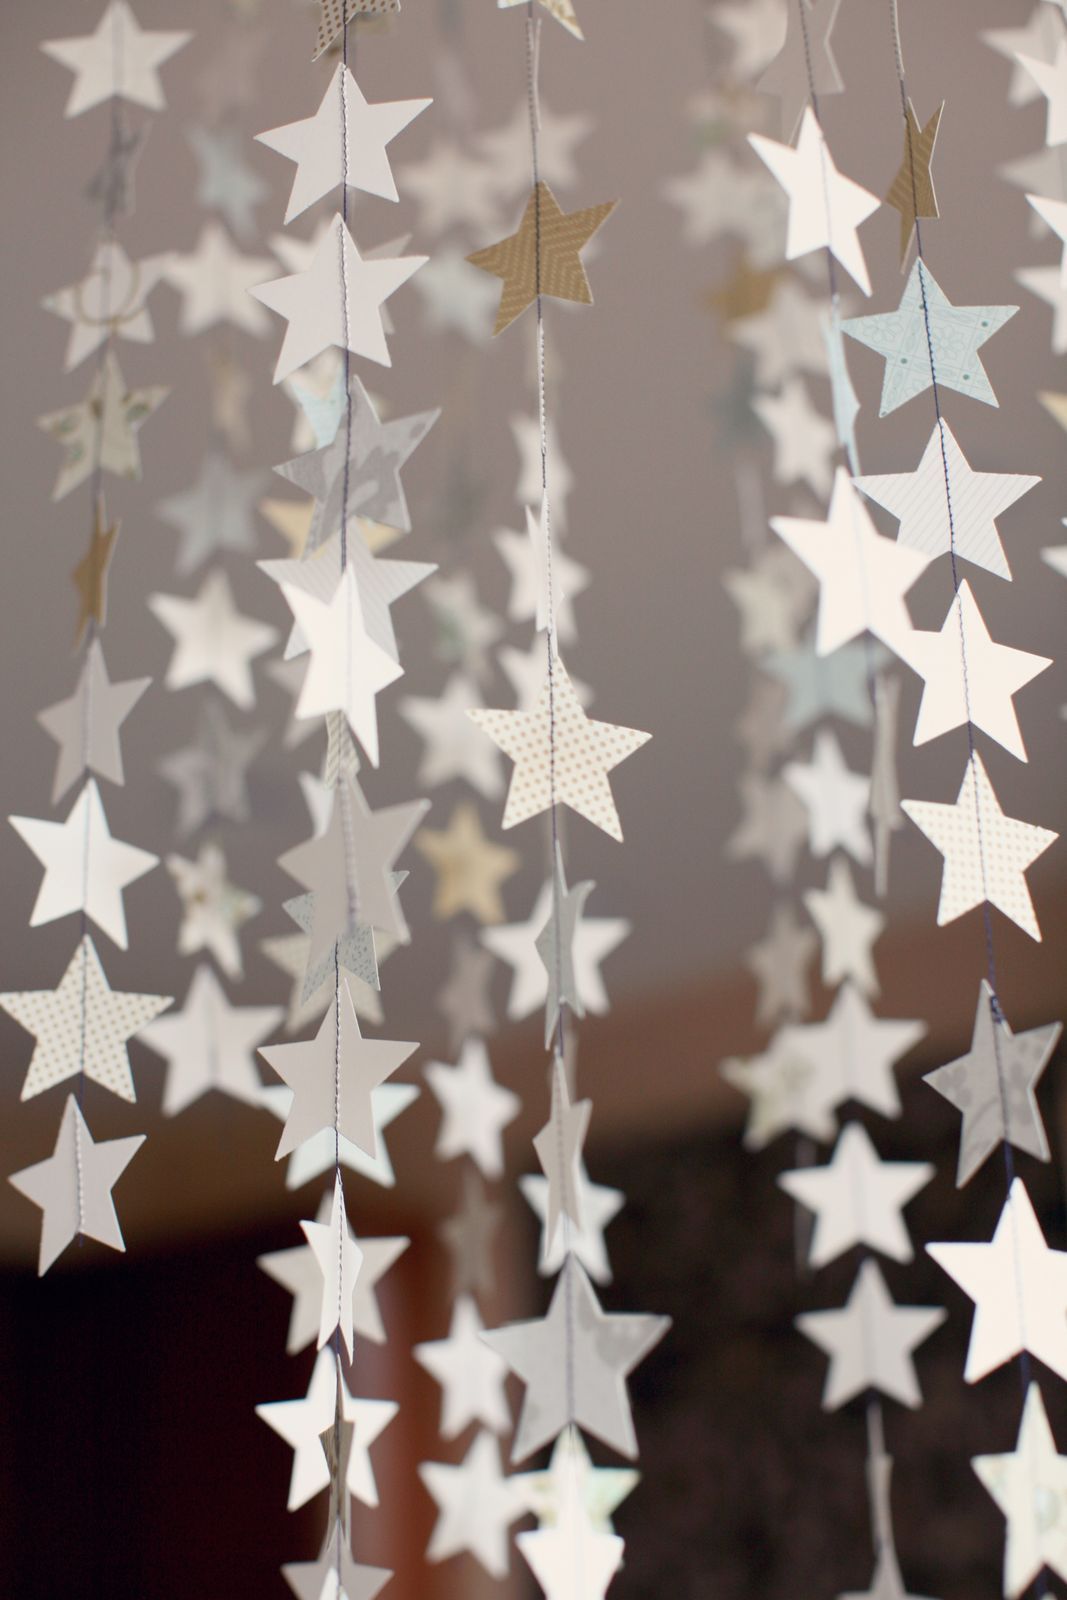
return to menu ↑Method 2
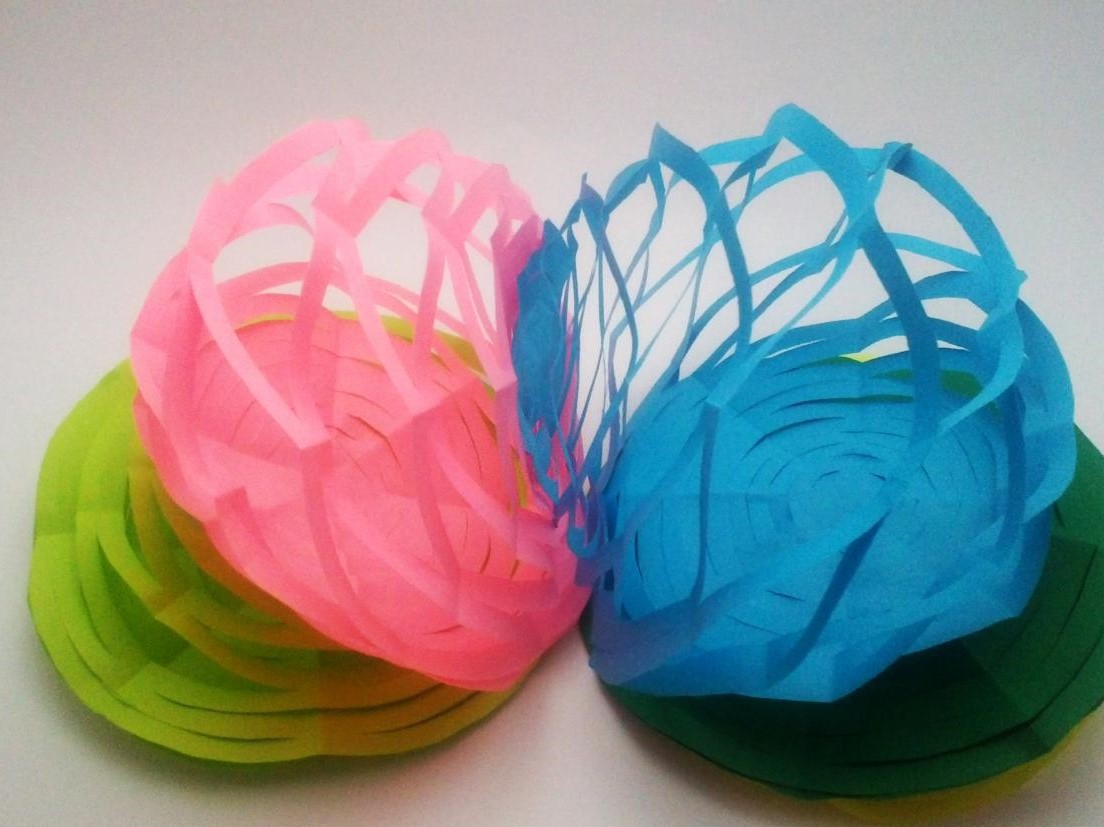
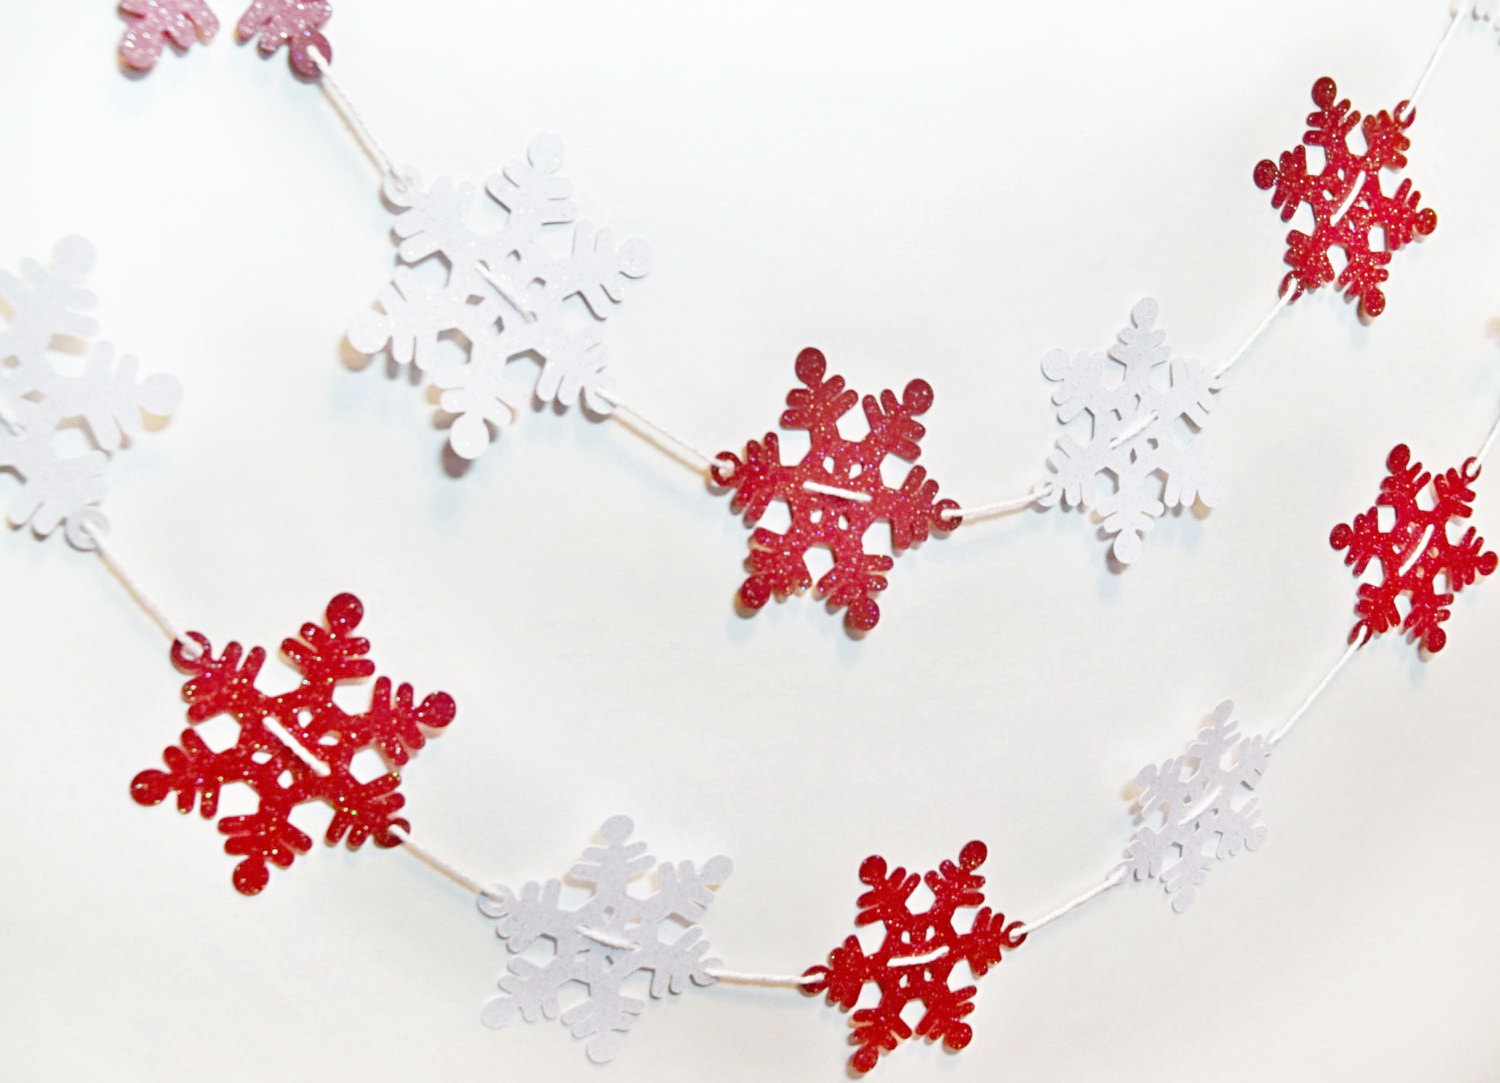
And again a round garland (they are so funny). This time it is a way that does not imply the presence of a sewing machine. The figured hole punch for scrapbooking works the same way as ordinary punches, except that the first one comes in different shapes and sizes. It can cut circles, hearts, squares, stars, and even snowflakes. You can buy a figured punch for scrapbooking in any store for stationery or art goods. You can also find it on the Internet.

Garland in the style of scrapbooking
If you do not have a figure punch, you can use an ordinary compass. It's a little longer, but your persistence, I'm sure, will overcome the routine.
Walkthrough
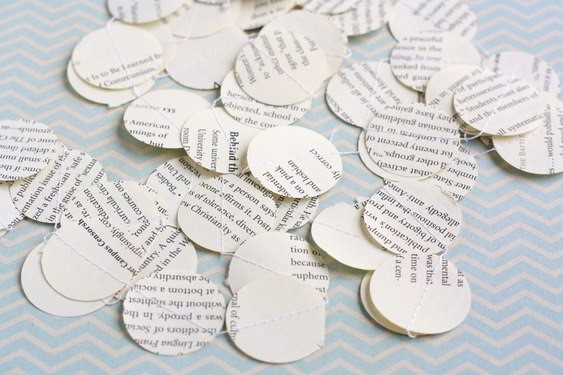
- Take color paper. The best option would be to choose a special for scrapbooking or cardboard. Paper for crafts or origami is also suitable, but in this case the finished garland will not be durable.
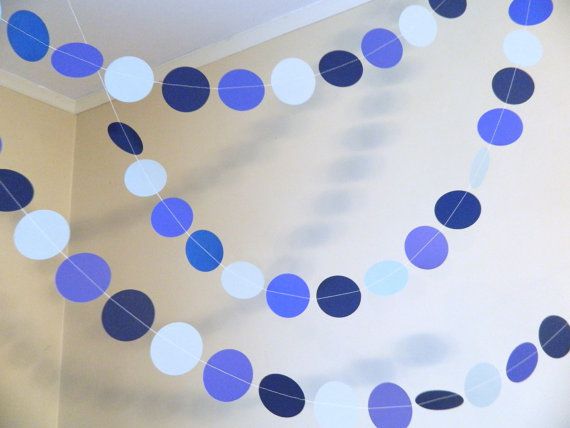
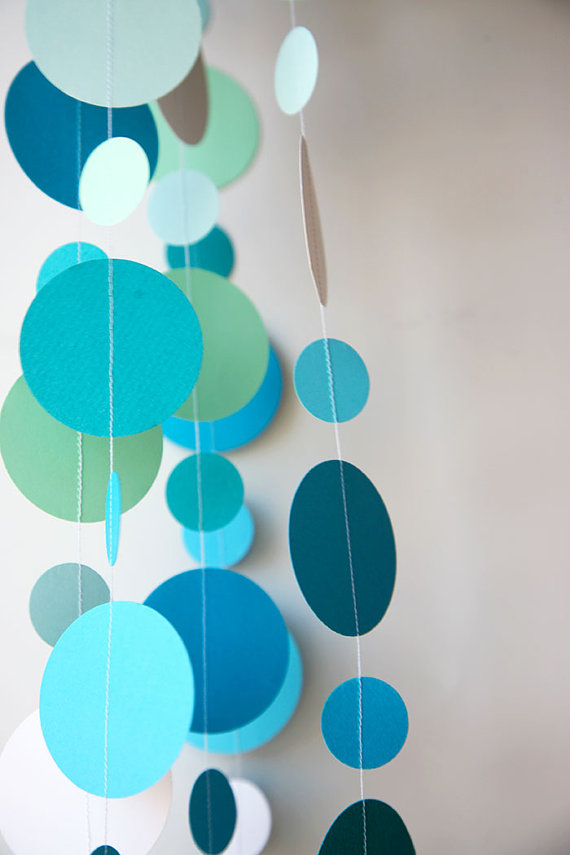
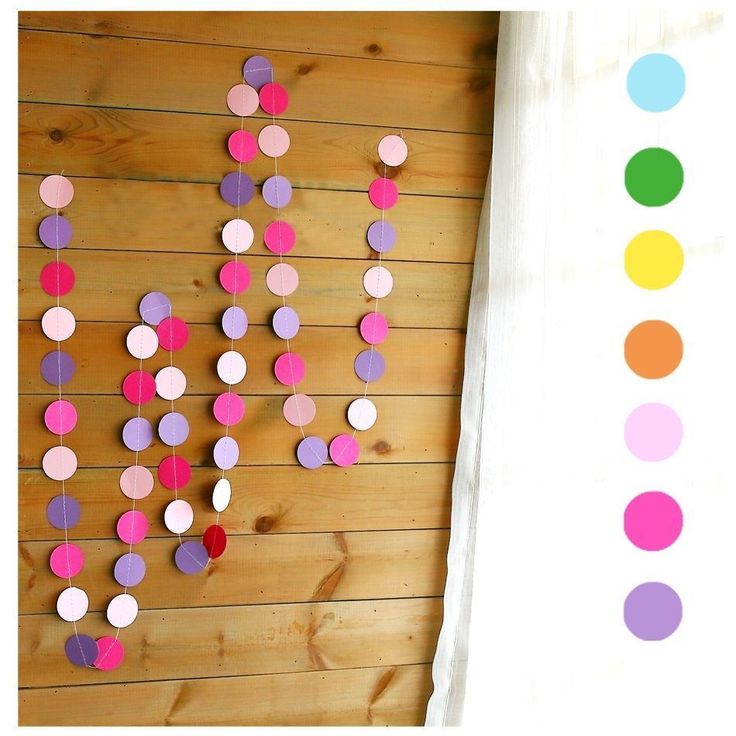
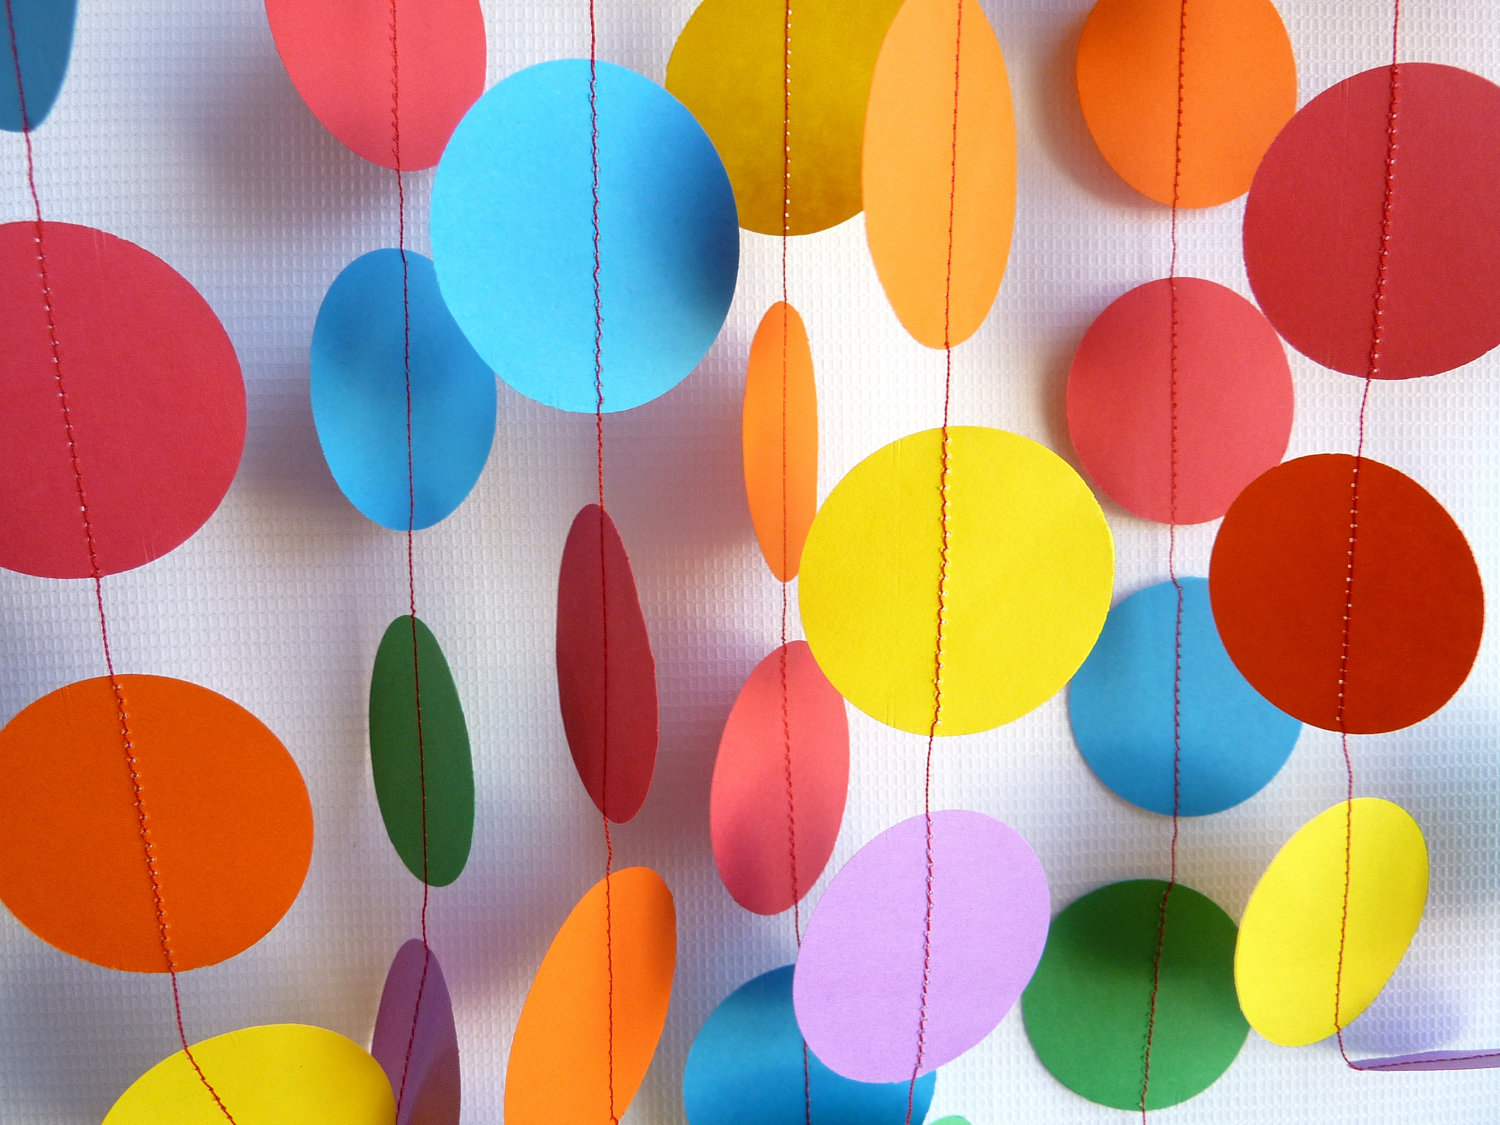
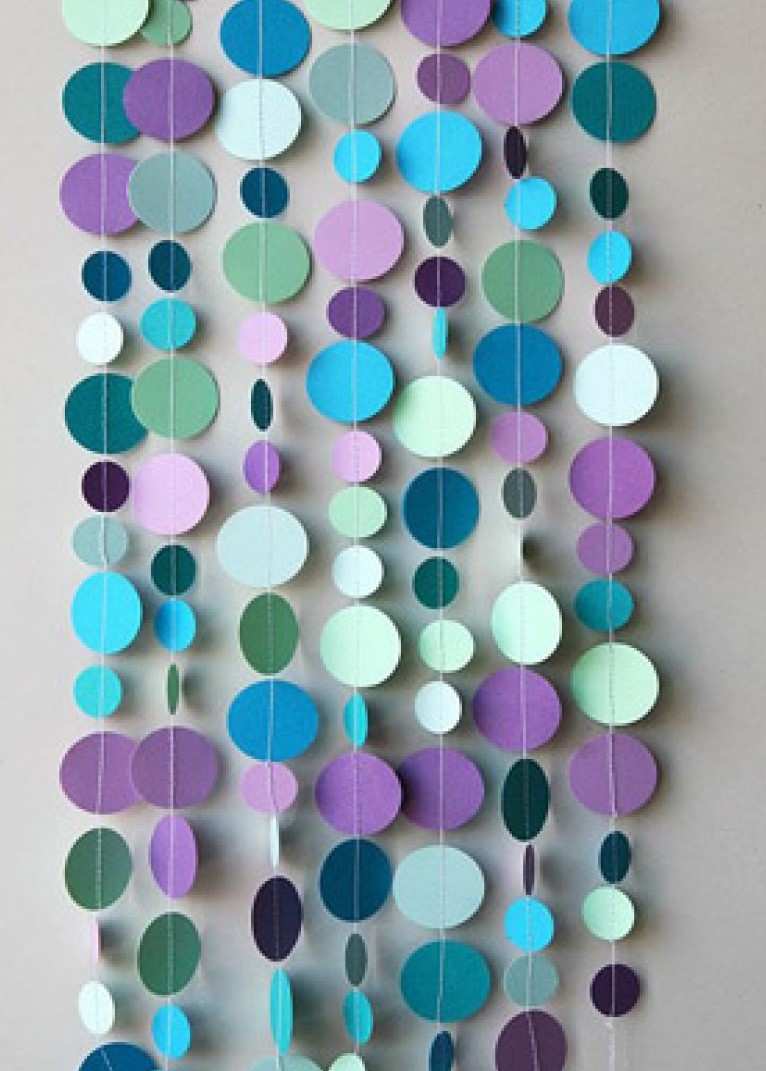
- Try using two to three different colors or shades. For example, try blue, blue, and navy.
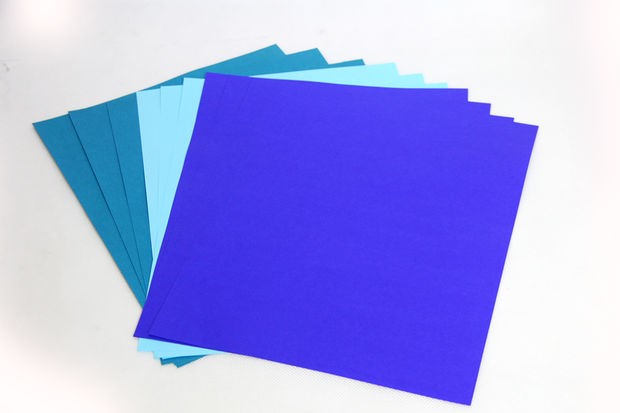
Choose different colors or shades
- Make circles of different colors using the available method.
- If you make a garland for the nursery, use patterned and bright colors. For example, half of your figures may be bright blue, and the other half of your figures may be white with bright green peas or stripes.
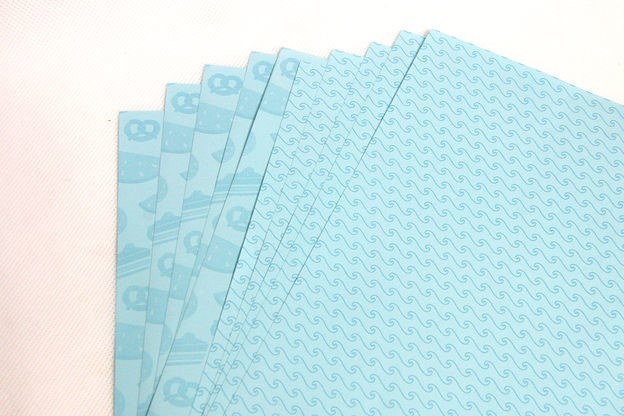
Paper with a finished pattern
- You can use one punch and thus get the shape of the same size.
Circles with the same diameter
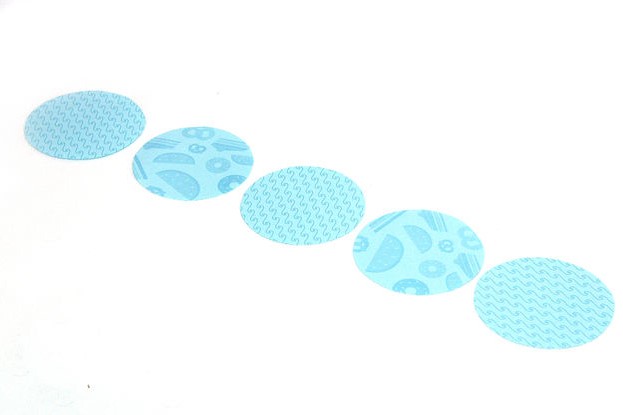
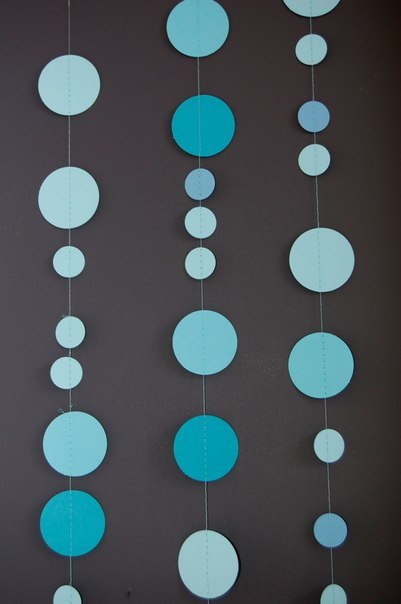
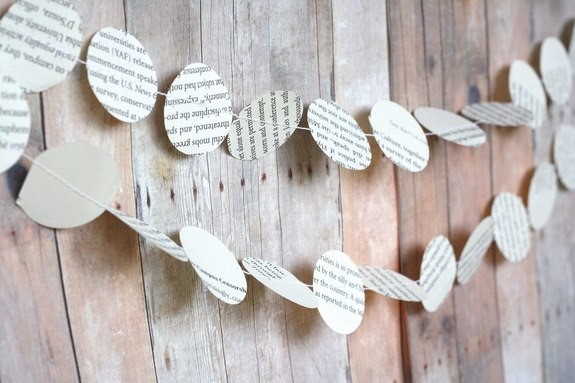
- Or go my way - I made two round shapes in different sizes. One is 5 cm and the other is 8.8 cm in diameter. This trick gave my garland some diversity.
Circles of two different diameters
If you can't find a punch, draw circles with a compass!
- Cut out your shapes. If your paper is thin enough, you can cut two or three sheets at a time. Cardboard, however, must be punched or cut one sheet at a time. If you try to pierce too much at one time, you will get fuzzy edges on the figures and you may damage the blade.
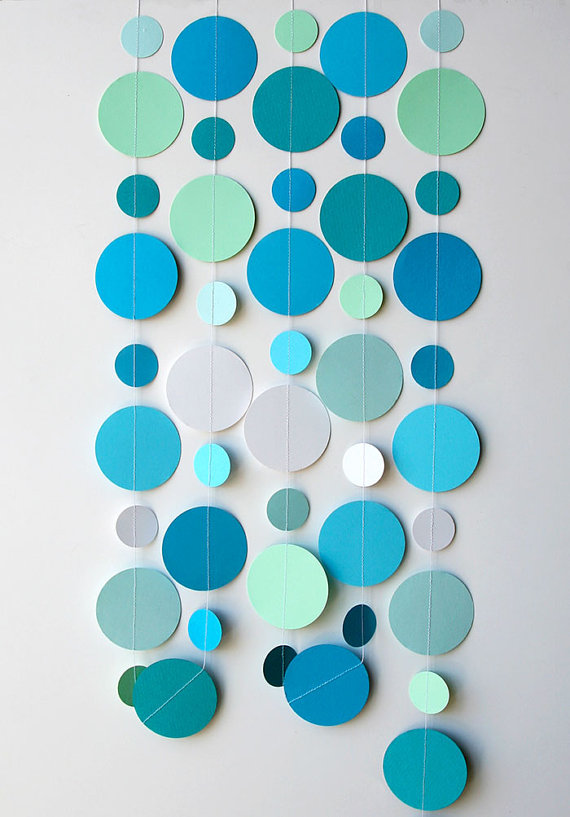
- Align the figures in a straight line. If different sizes are used, try alternating them. You can alternate them randomly or in a specific pattern.
A variety of circles
- Draw a line of glue in the middle.Make sure that it continuously goes through all forms.
- Apply ribbon over glue. Make sure that the ribbon has a tail 30-50 cm long at the end. So you can hang your garland.
We strictly observe every step.
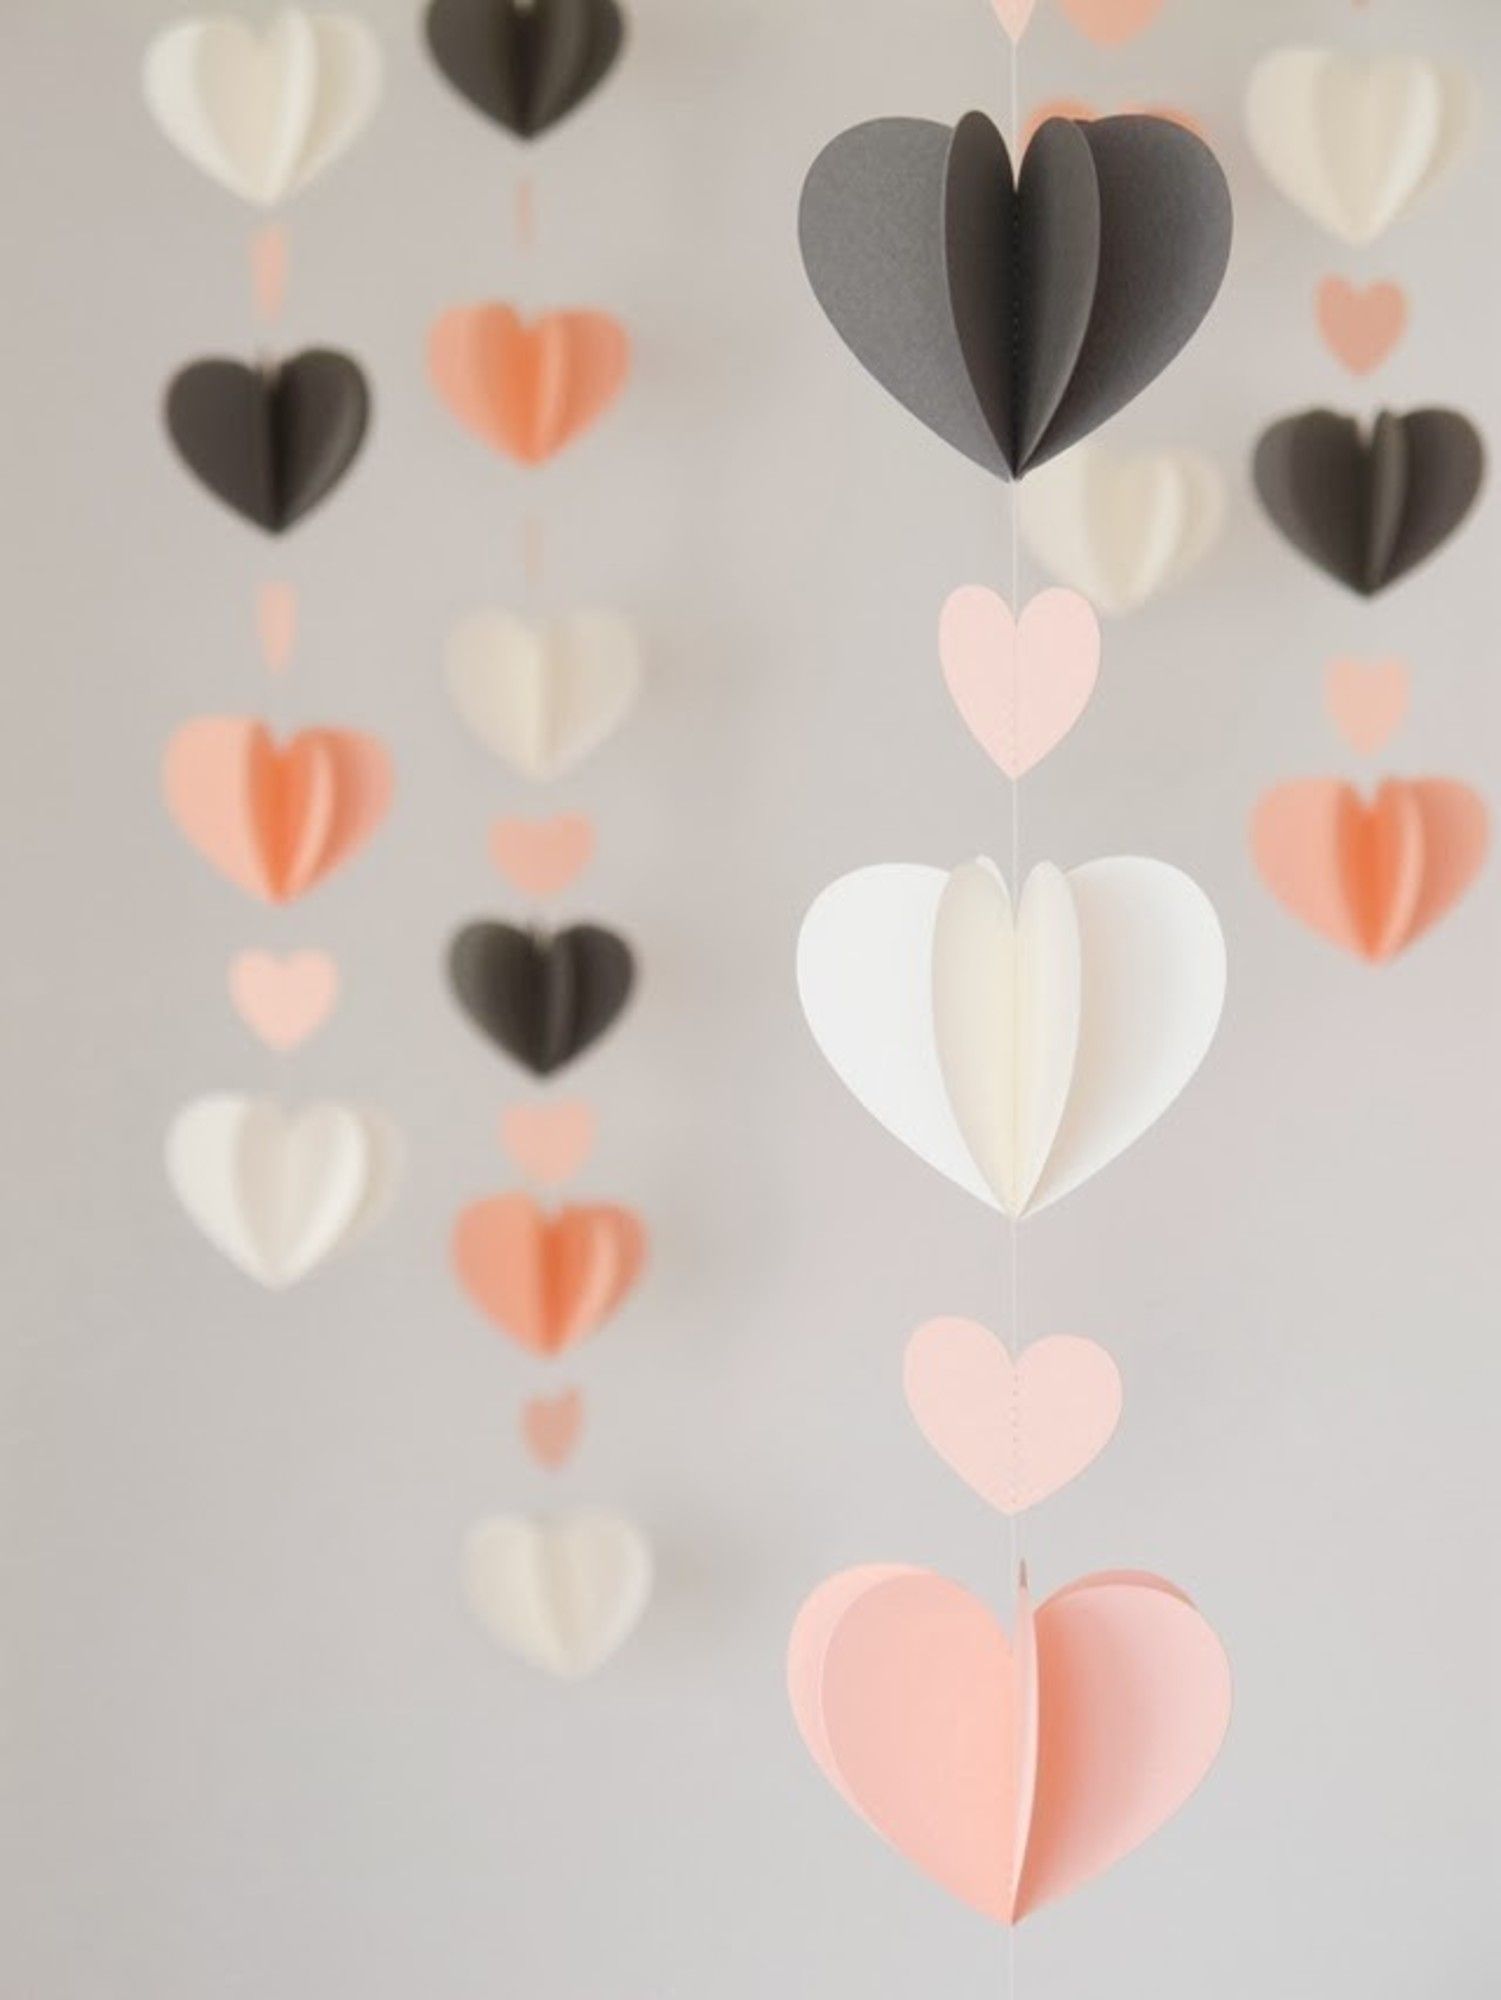
- Lay similar circles with glue over the figure with a braid, making each sandwich shape with a string in the middle. Now our garland becomes similar to the truth, acquiring the features of a two-sided construction.
- Repeat the process with the other forms. They can be both at a distance from each other, and close to each other. Make sure that you have about 30-50 cm of loose rope at the end of the garland, otherwise you will not be able to hang it later.
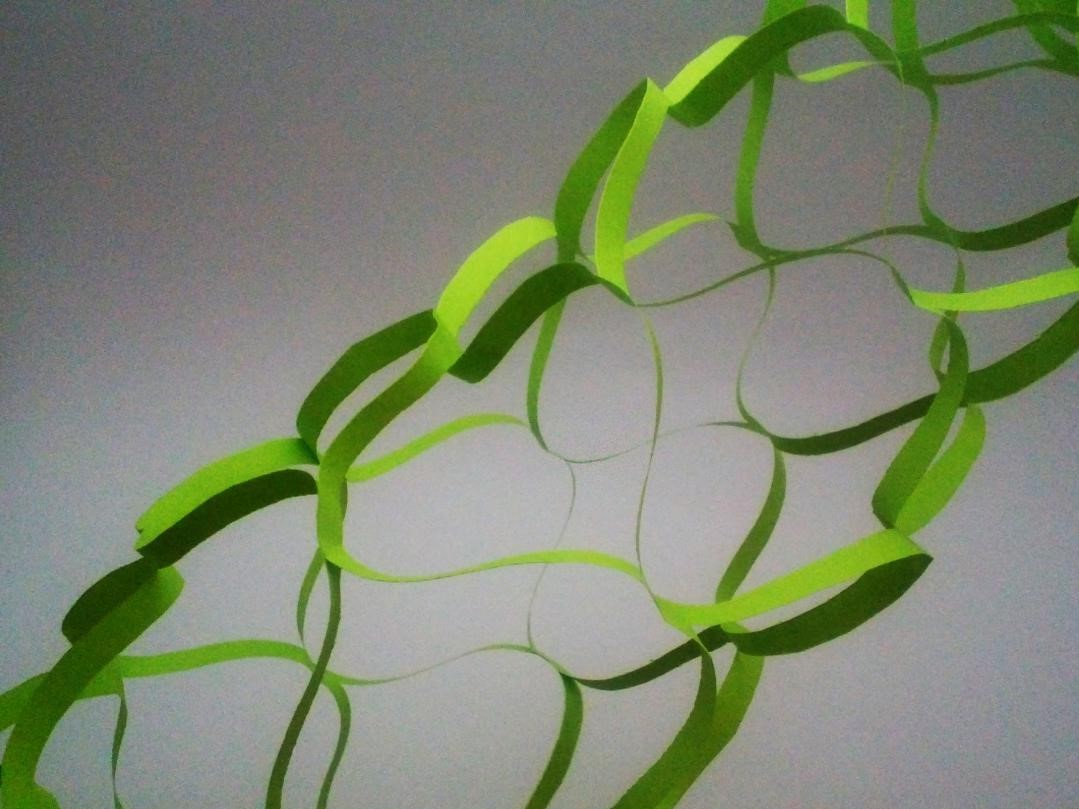
Gets the finished decoration
Allow the glue to dry before hanging the garland. Depending on how much glue you used, it may take from two hours to a day.
return to menu ↑Method 3
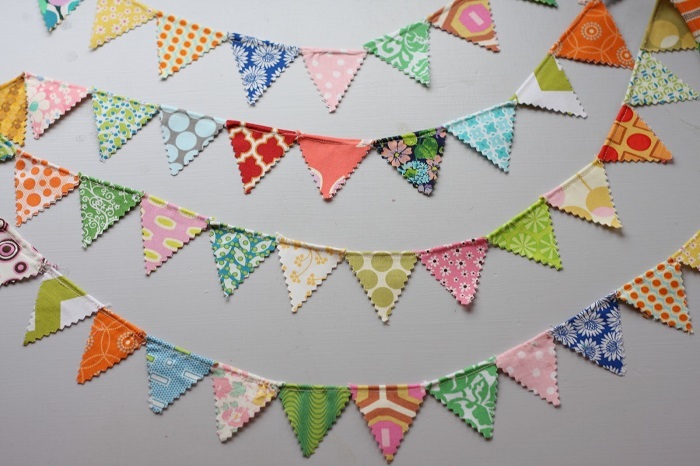
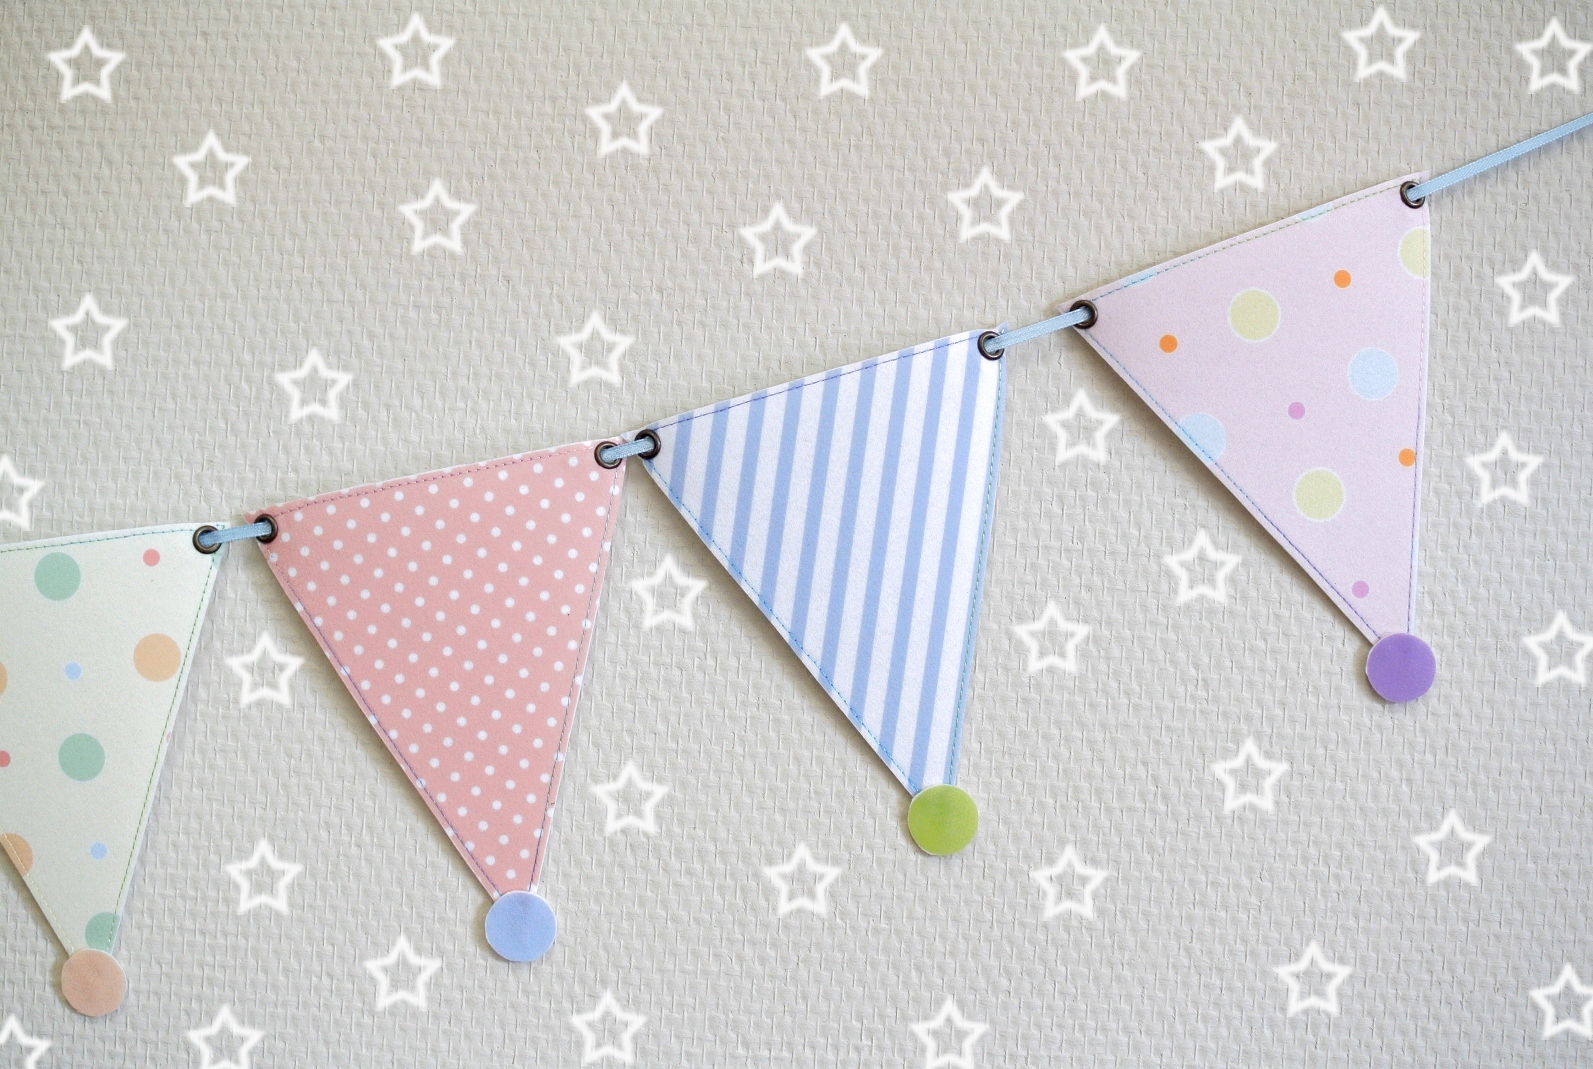
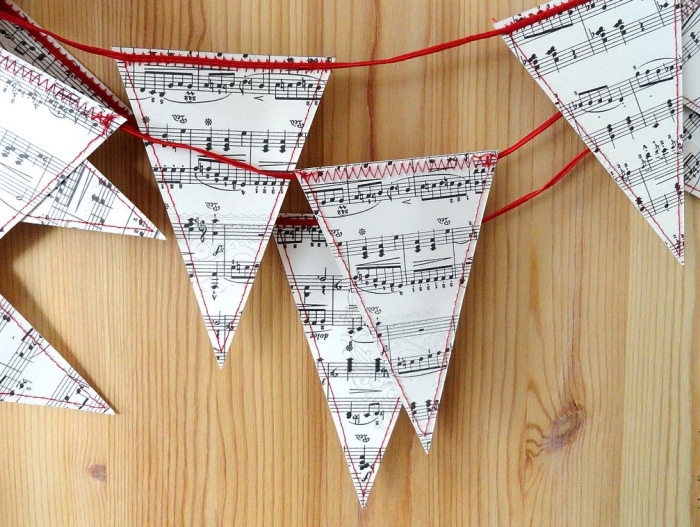
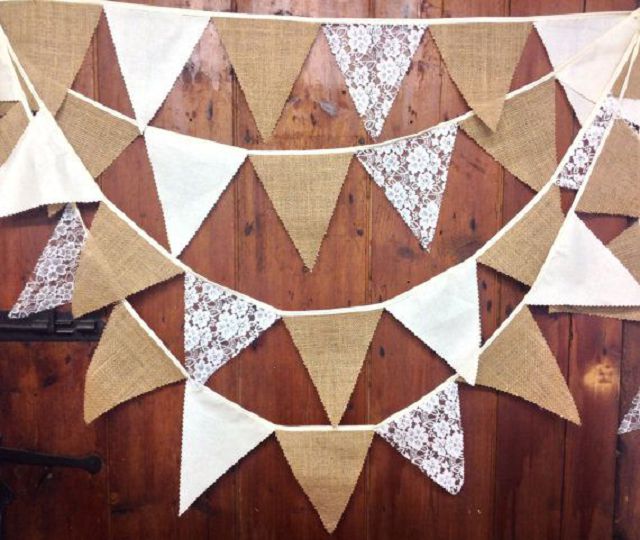
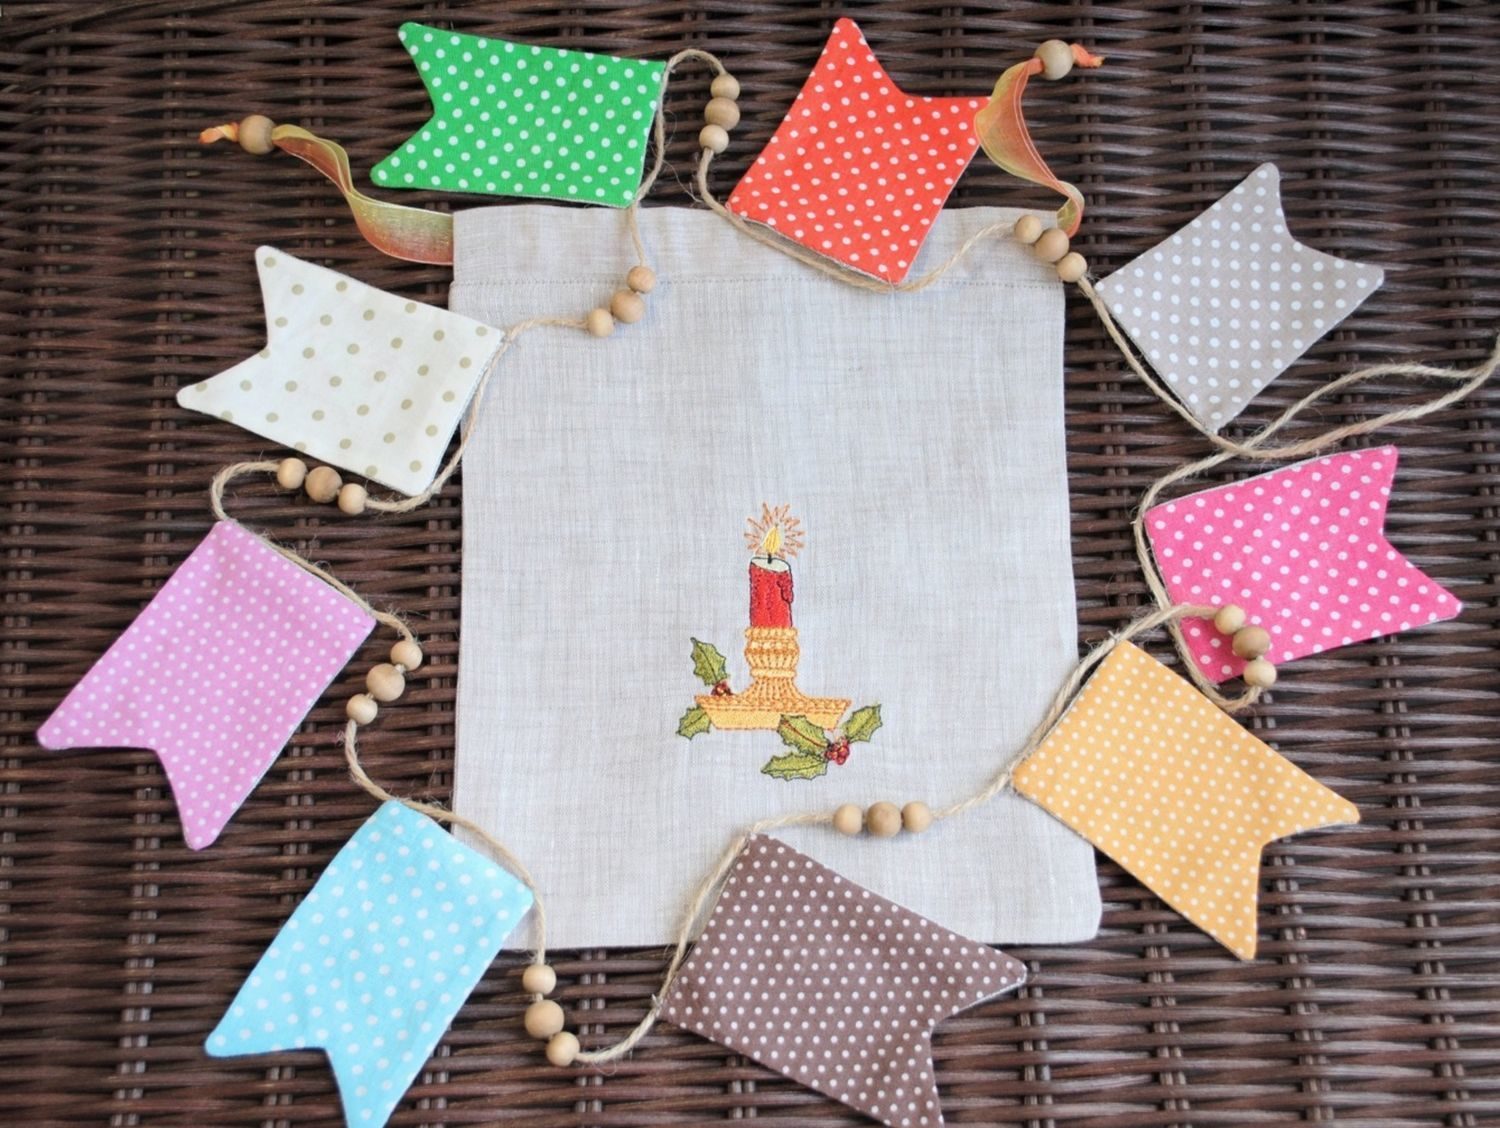
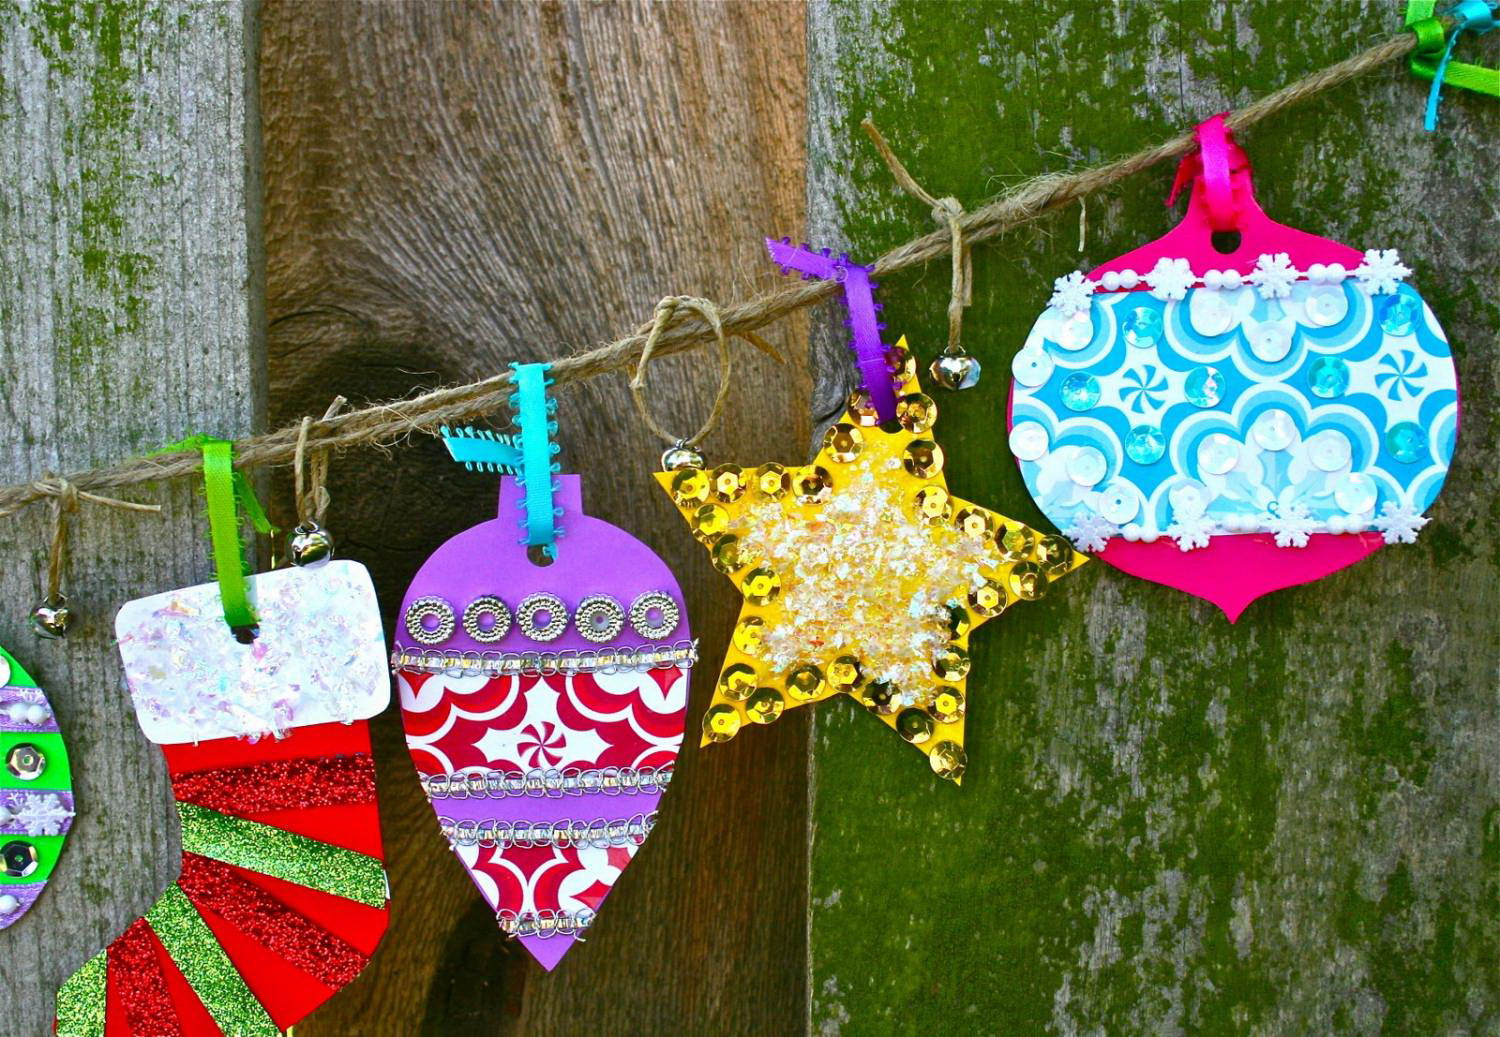
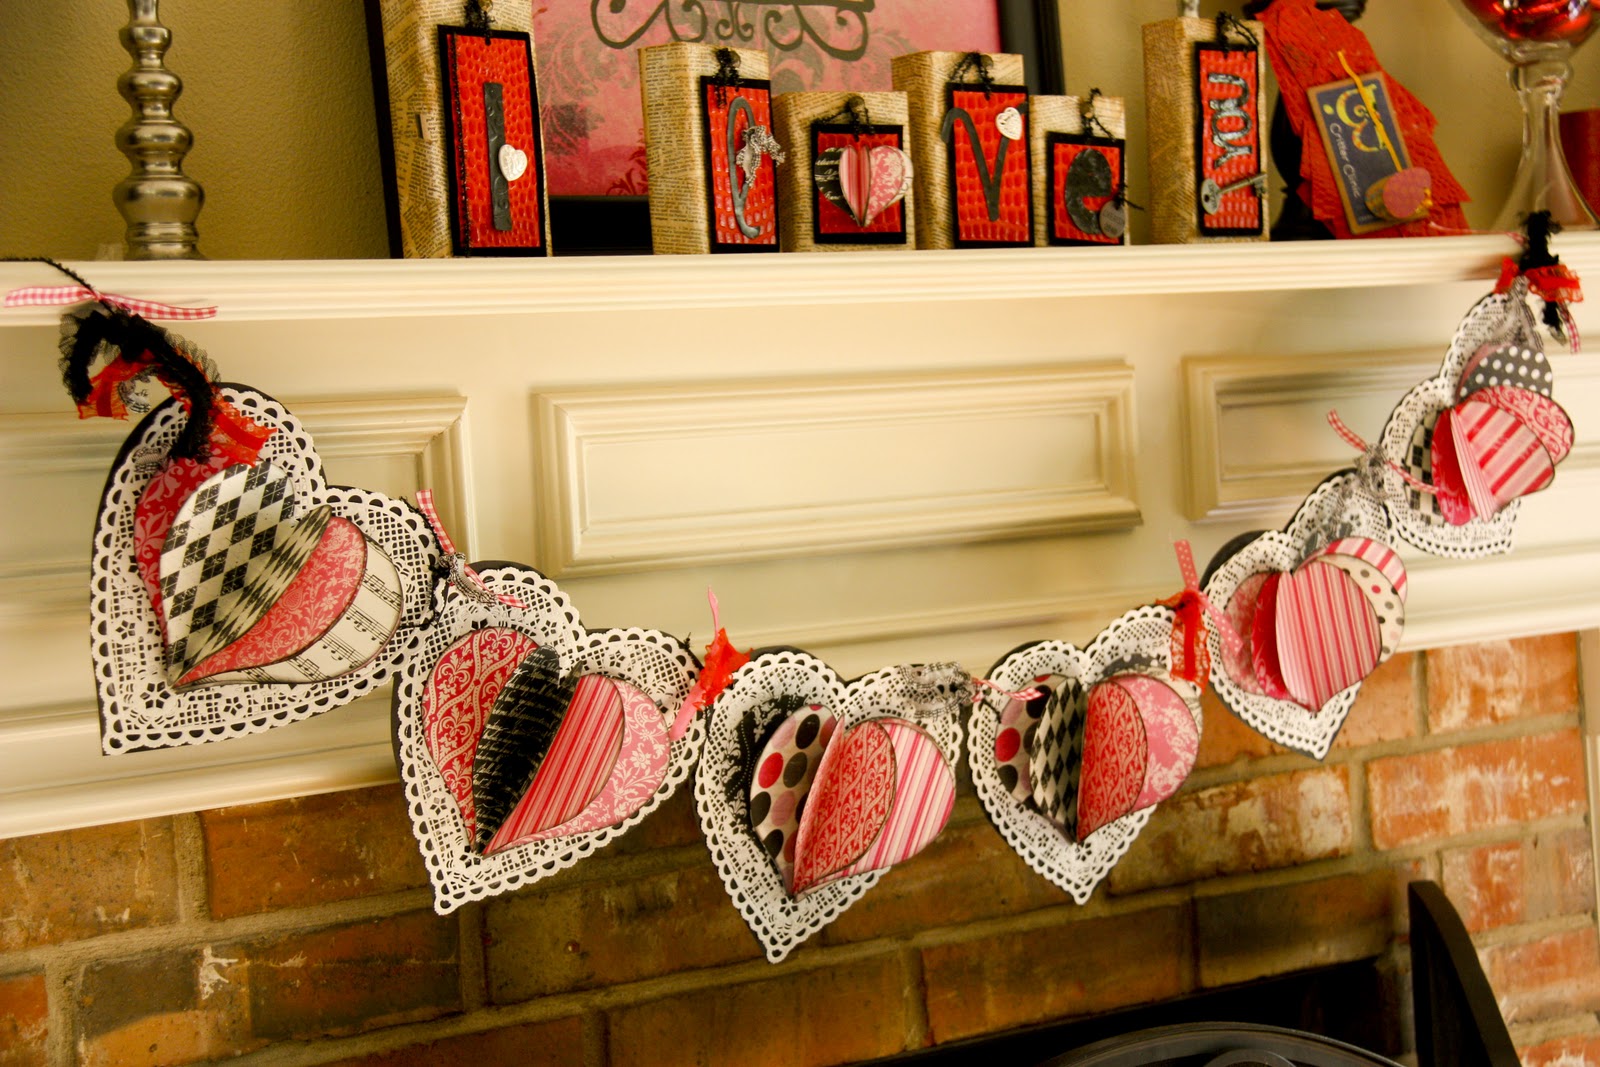
return to menu ↑How to make a garland flags
Step 1
Prepare paper for scrapbooking 20/30 cm. You can use any color or pattern that you want. To make the checkboxes more interesting, consider using multiple colors, shades, or patterns. For example:
- If the garland is intended for a child's room, use pink-blue and white paper with pink / blue peas.
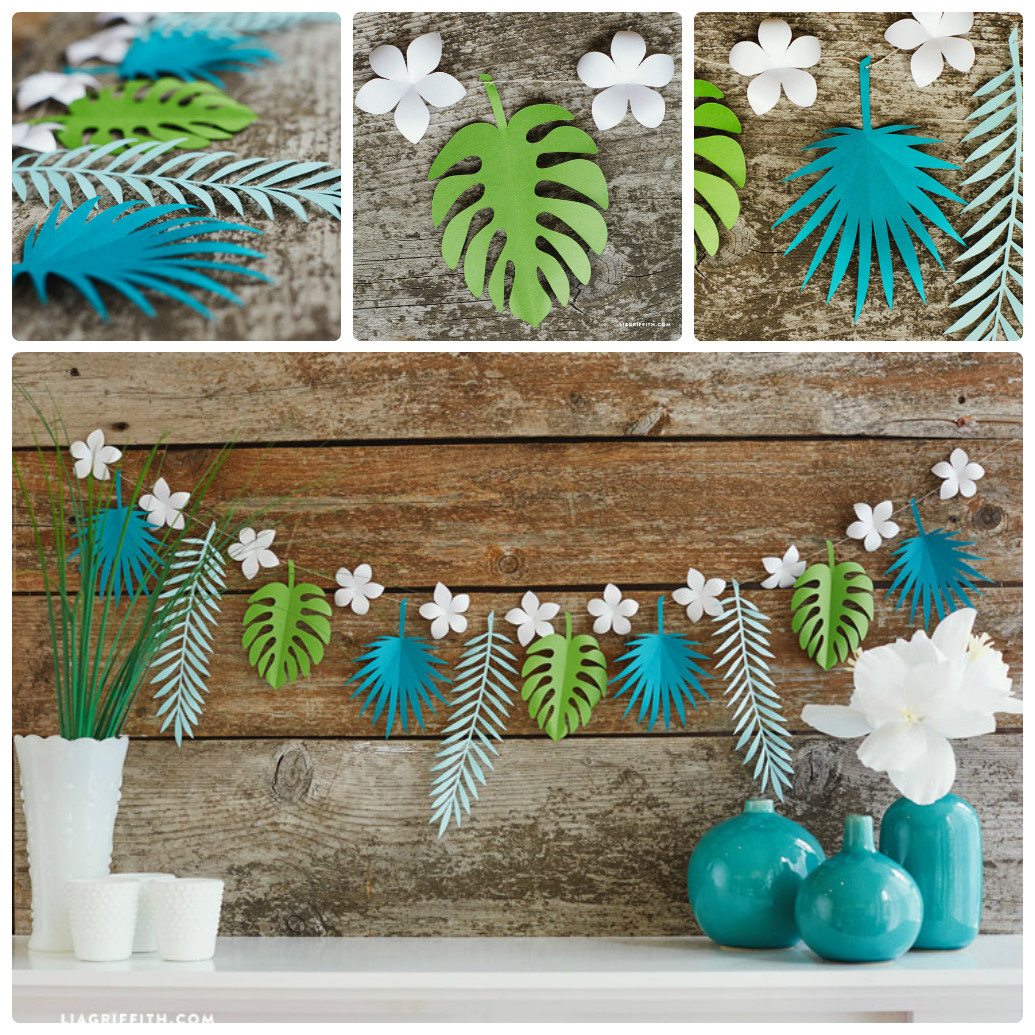
- If the garland is designed for an ocean-themed party, consider using blue and blue color schemes.
Step 2
Fold in half, lengthwise. If the paper shows a pattern or it is one-sided, make sure that the pattern is on the outside of the fold. The empty / white part should be inside.

Fold the paper in half
Step 3
Cut in half in the middle along the fold line. You should have two copies of a folded sheet of the same size as it.
We get a triangle
Step 4
Cut a triangle out of each sheet. To do this, roll the rectangle with the colored side up two times at a right angle. Then cut the corner to get a diamond on the turn. The middle of the triangle at the same time should fall on the angle of two folds:
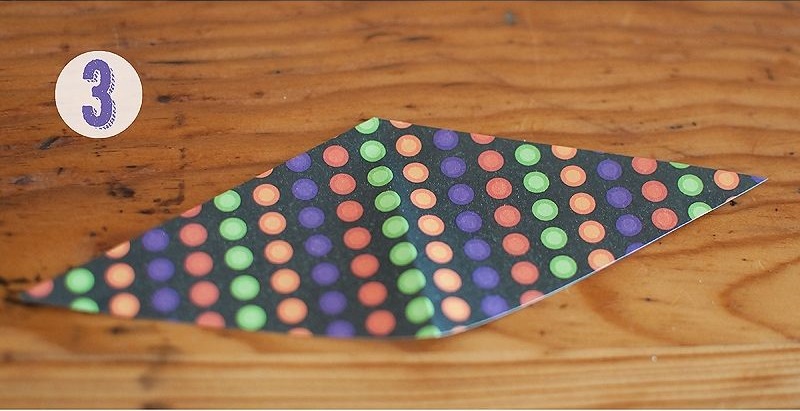
On the turn you get a rhombus
Step 5
Measure out the string on which the flags will hang; in addition to the place for the garland, it must have a supply of at least 30 cm at each end for the ties, so that you can easily hang the finished product where it is needed.
Step 6
Open one triangle and cover it with glue around the edges and in the center. You can also add glue in the middle of the triangle.
Step 7
Place the rope along the fold and close the triangle. Stroke the box with the edge of the palm to smooth it and seal it.
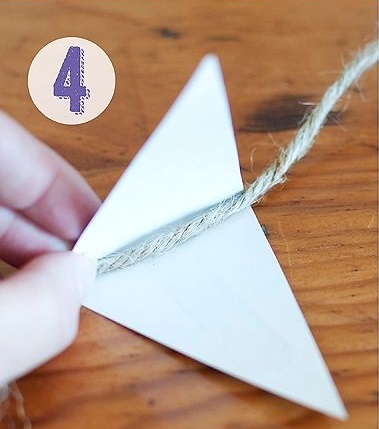
Glue the rope bending over the diamond
Step 8
Repeat the gluing process for the remaining triangles. You can arrange them as close as possible to each other or at a distance from each other. However, do not forget to leave at least a few centimeters of space between the triangles, so that the garland looks beautiful in limbo.
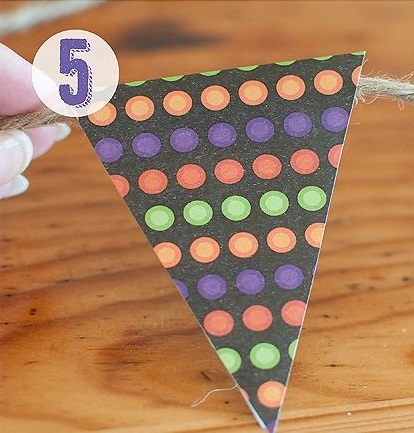
Repeat with each diamond.
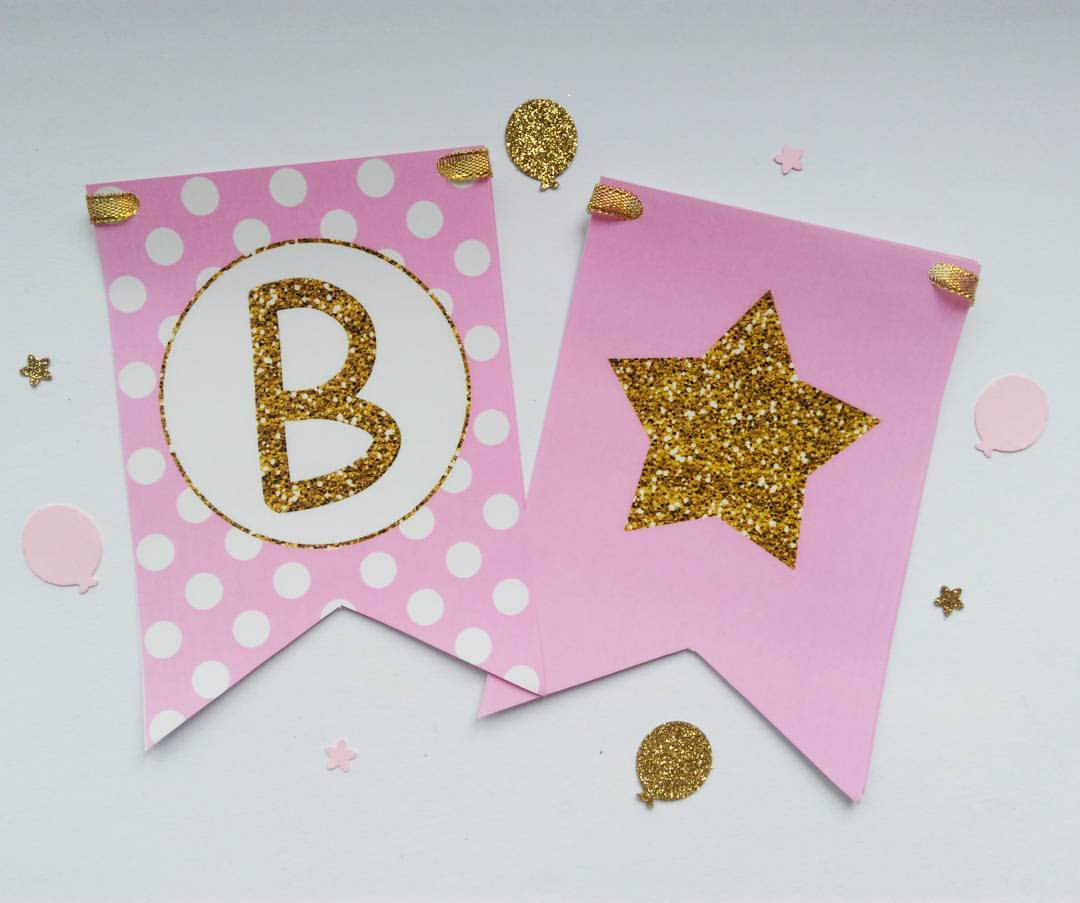
Step 9
Consider an option to leave a message on your banner by placing a letter on each triangle. You can cut out colorful letters and paste them on one side of each flag. You can also draw letters using stencils or acrylic paints.
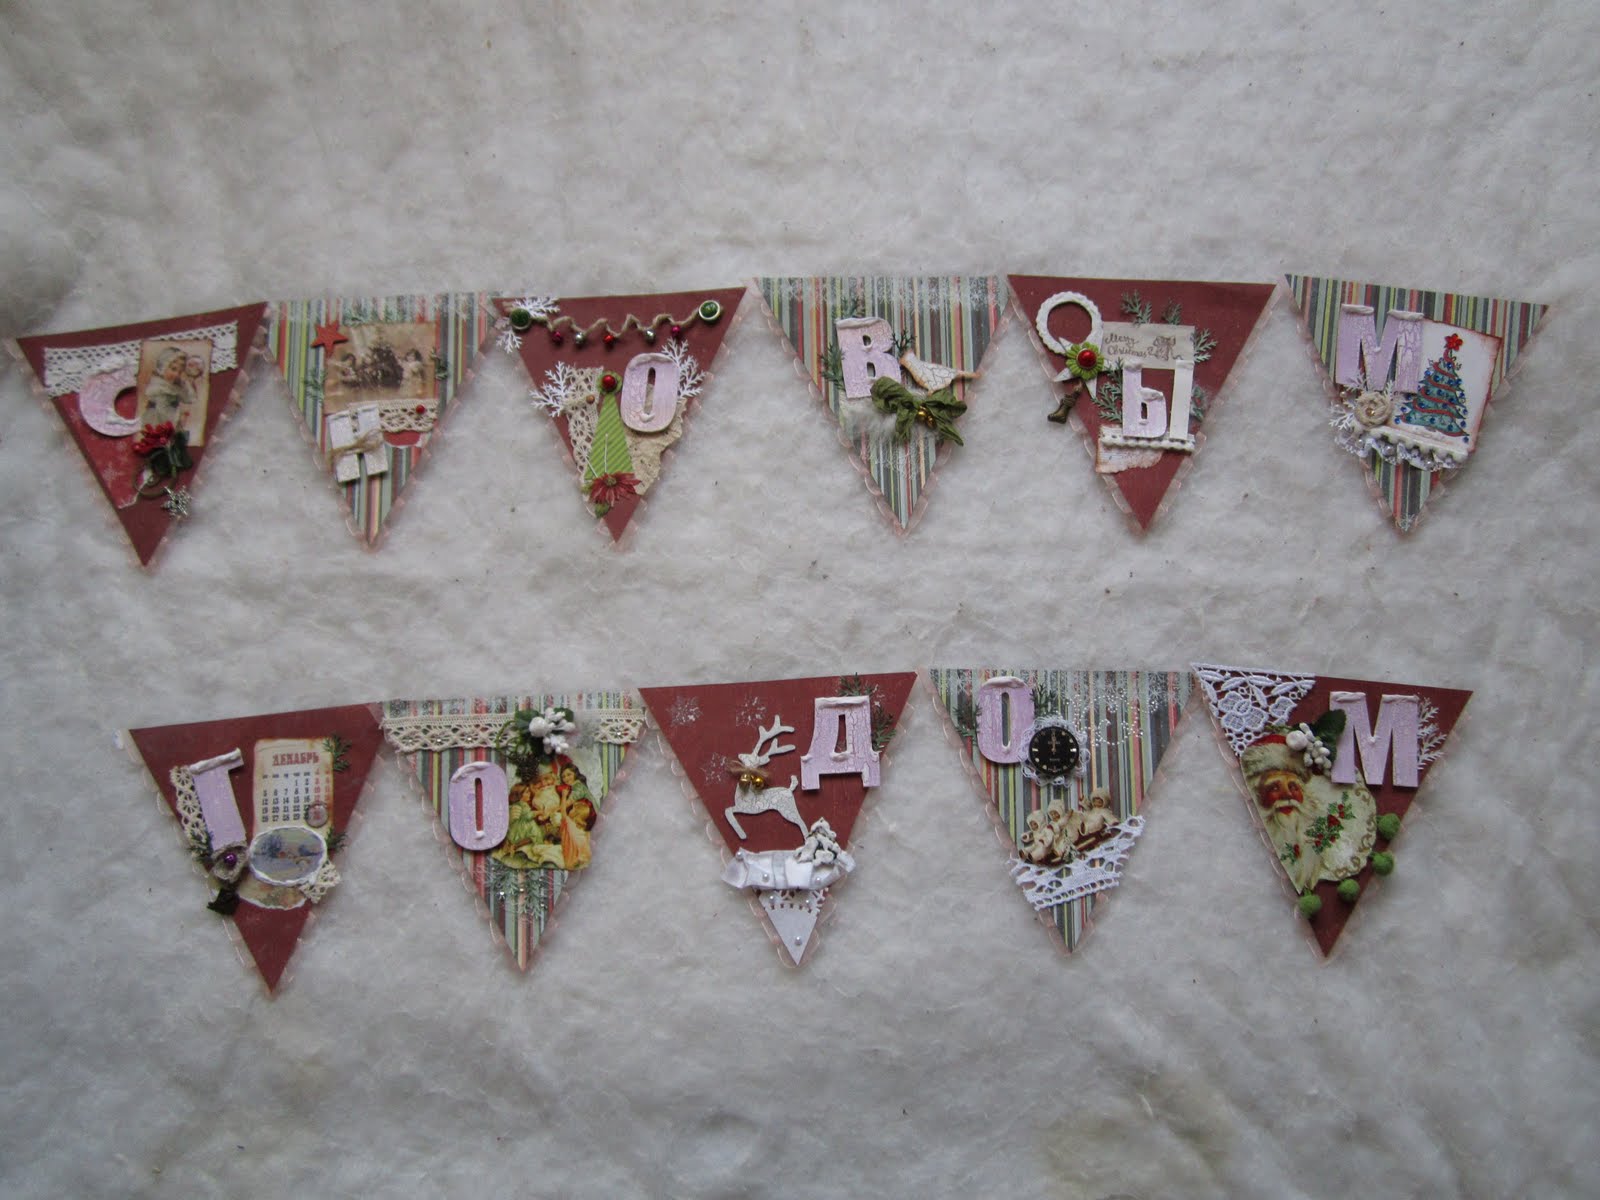
Cut out the letters and decorate each box.
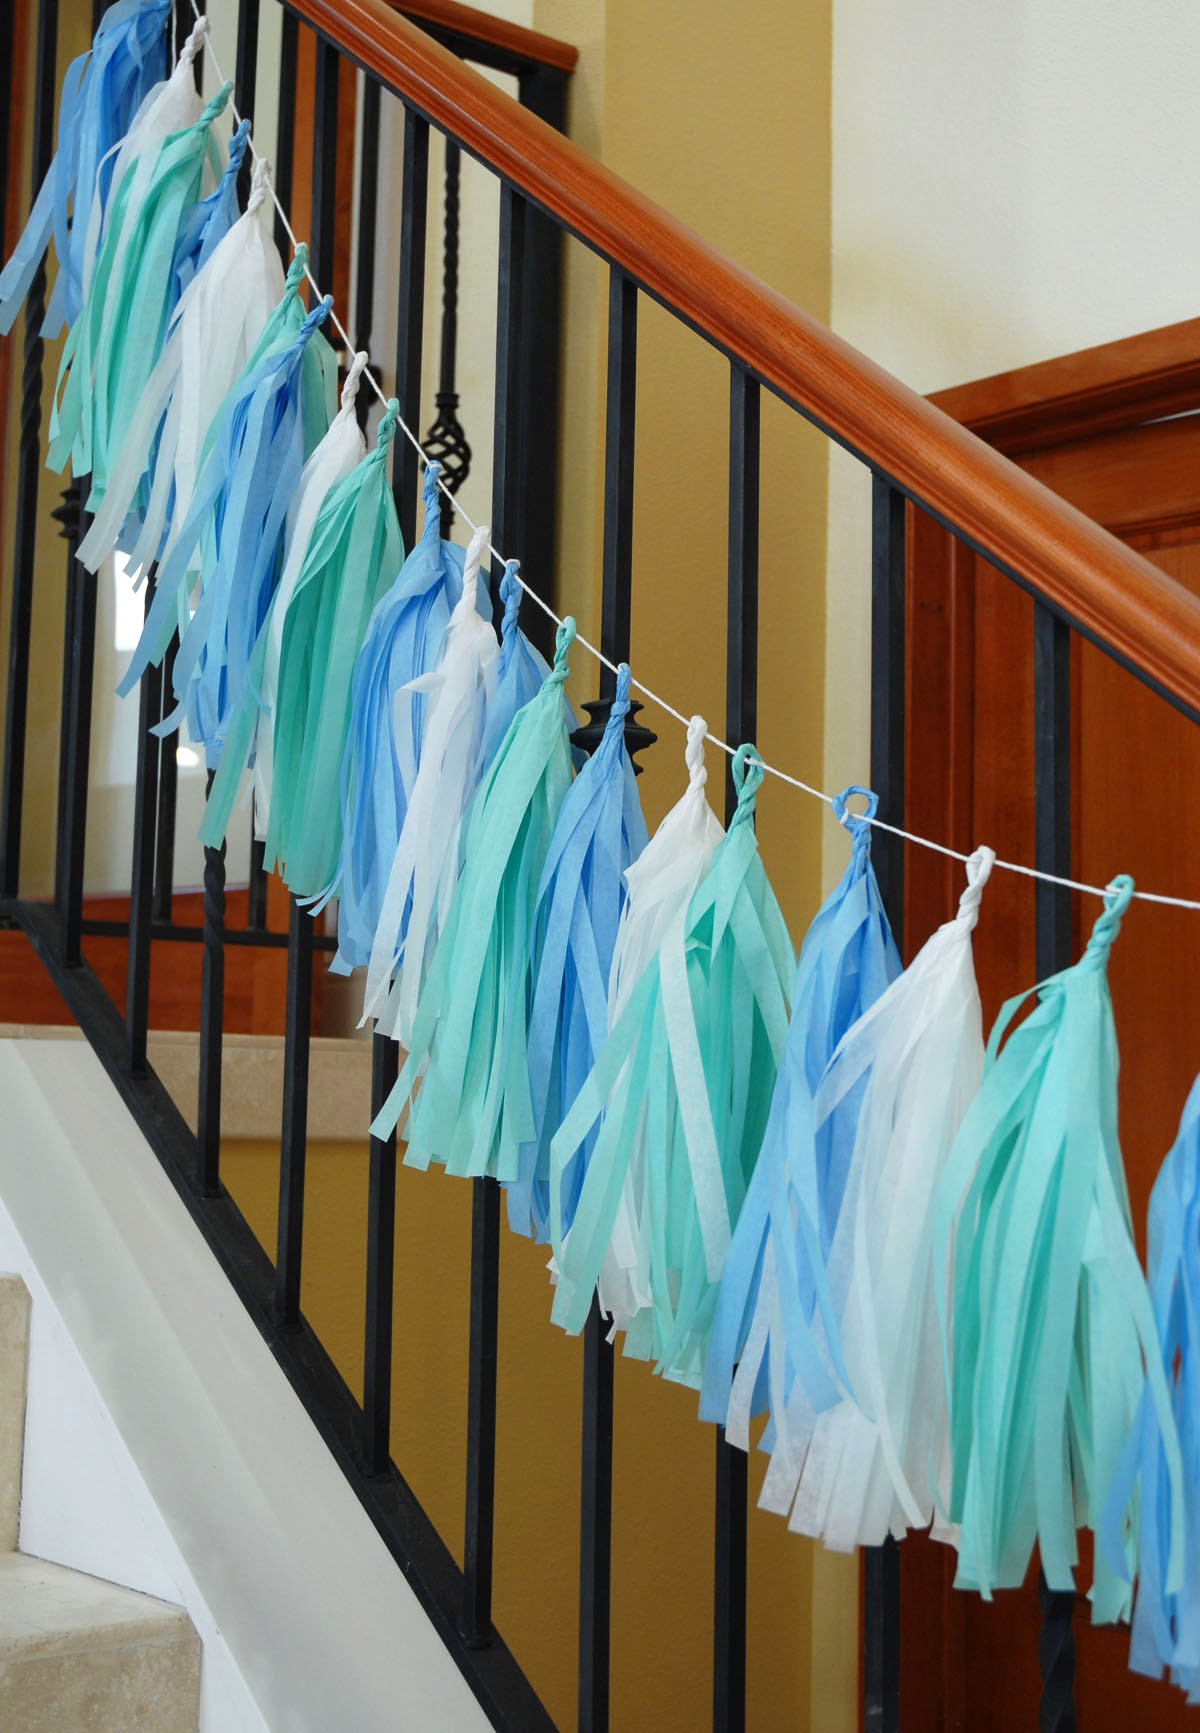
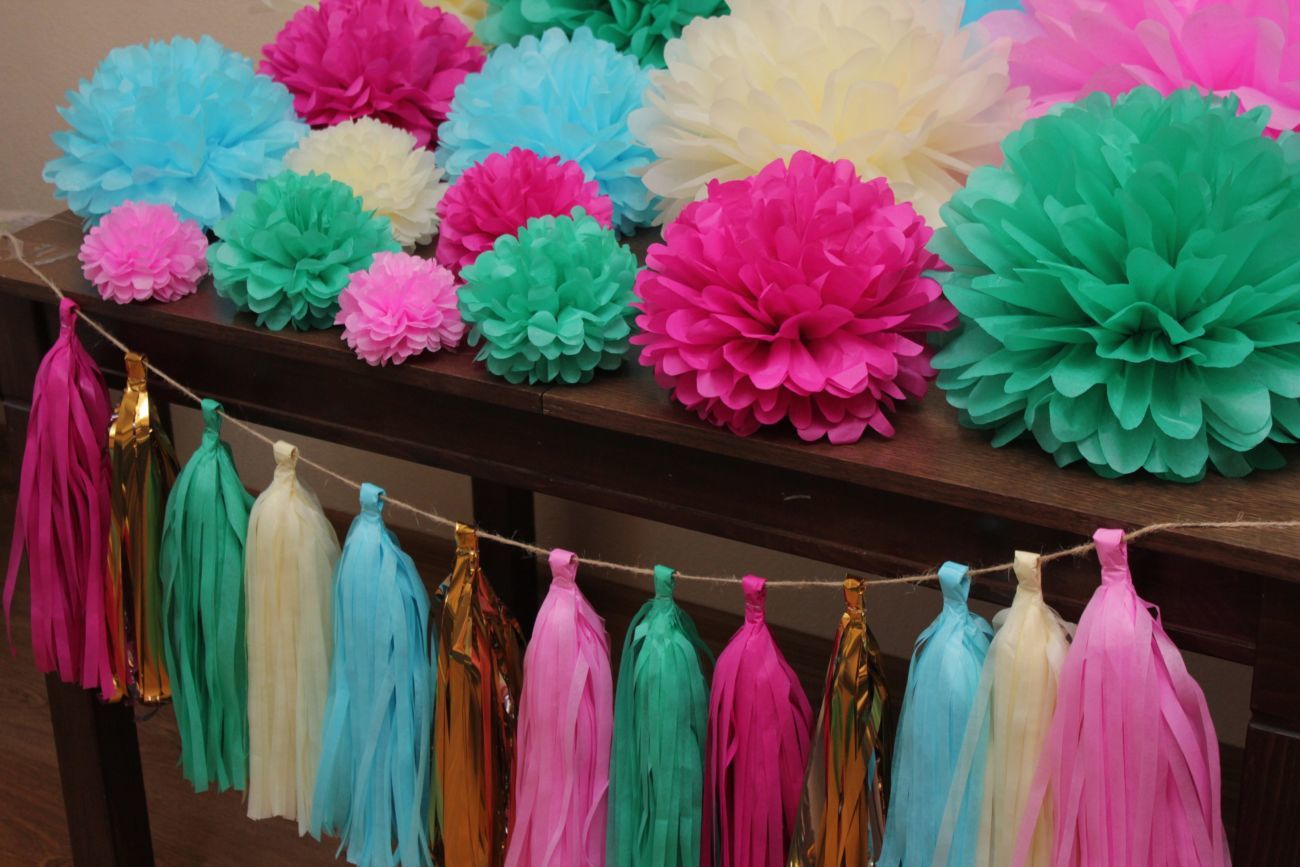
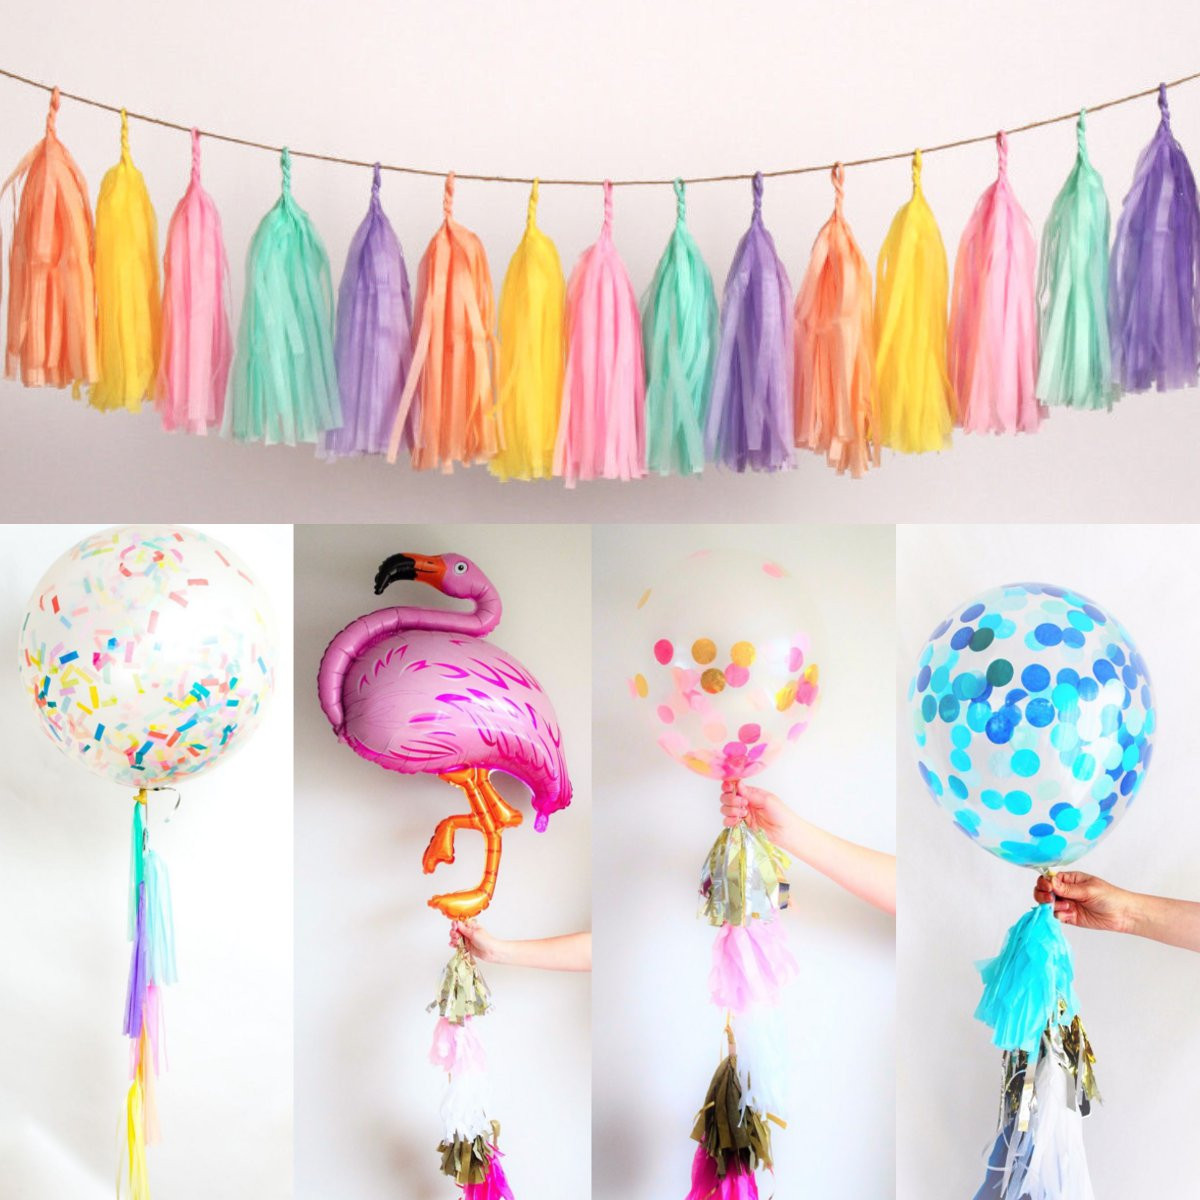
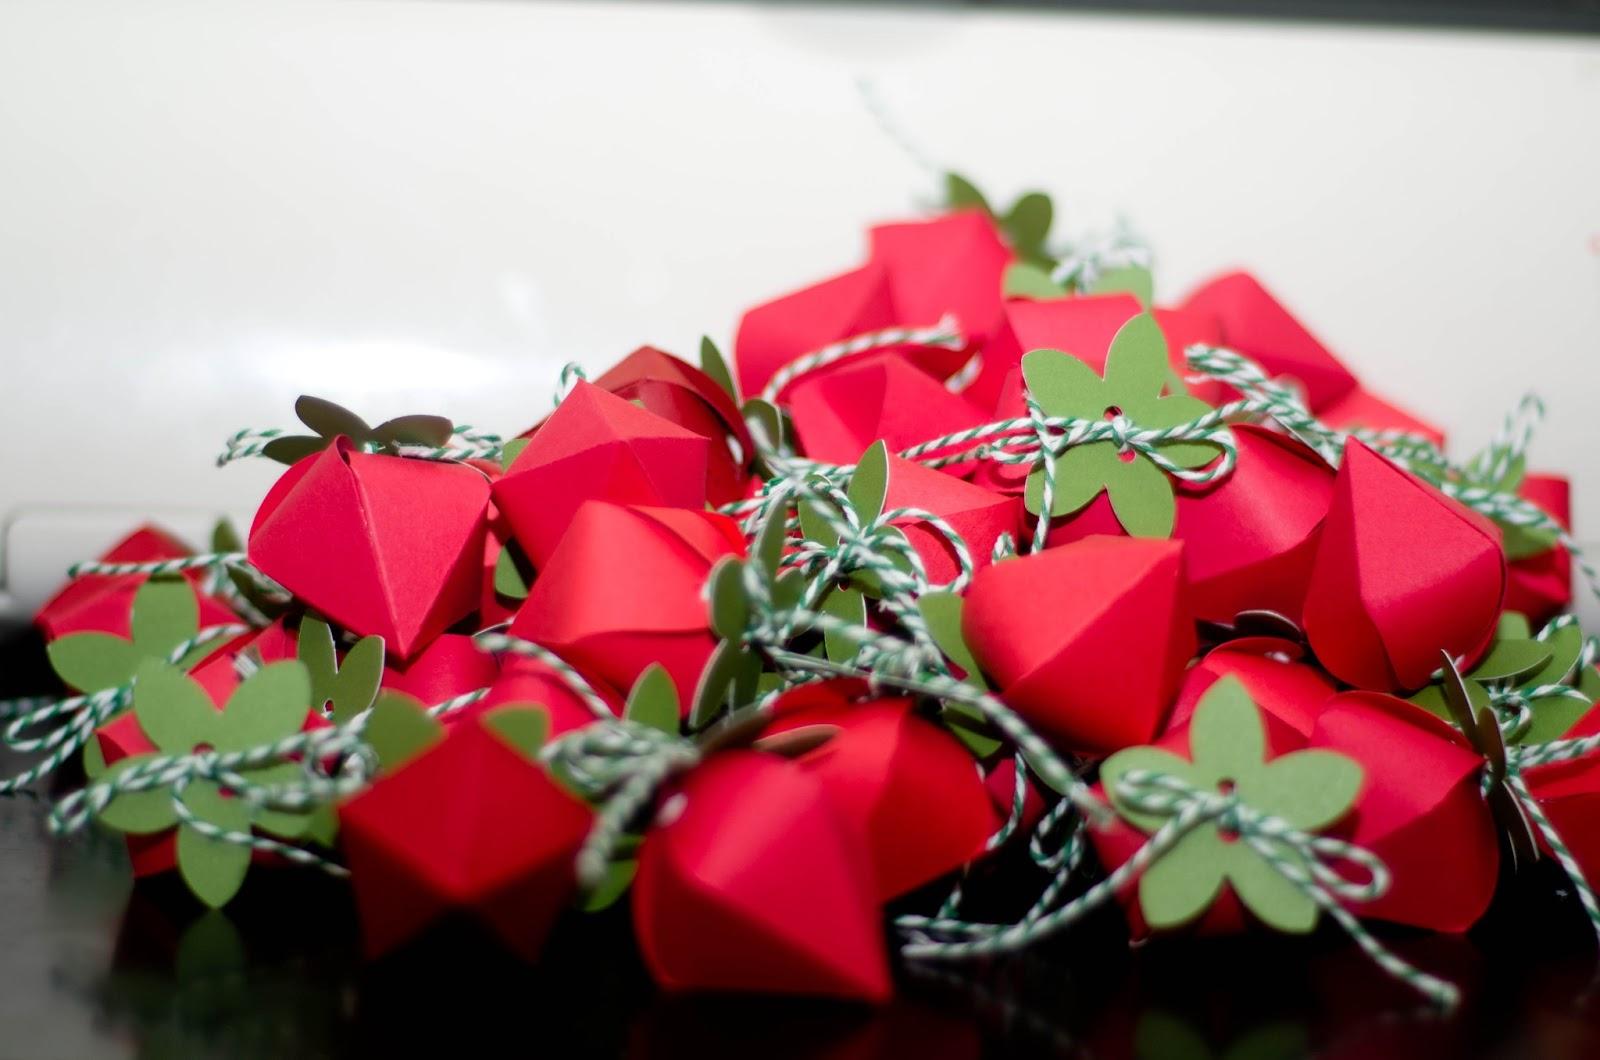
Garland with tassels
Step 1
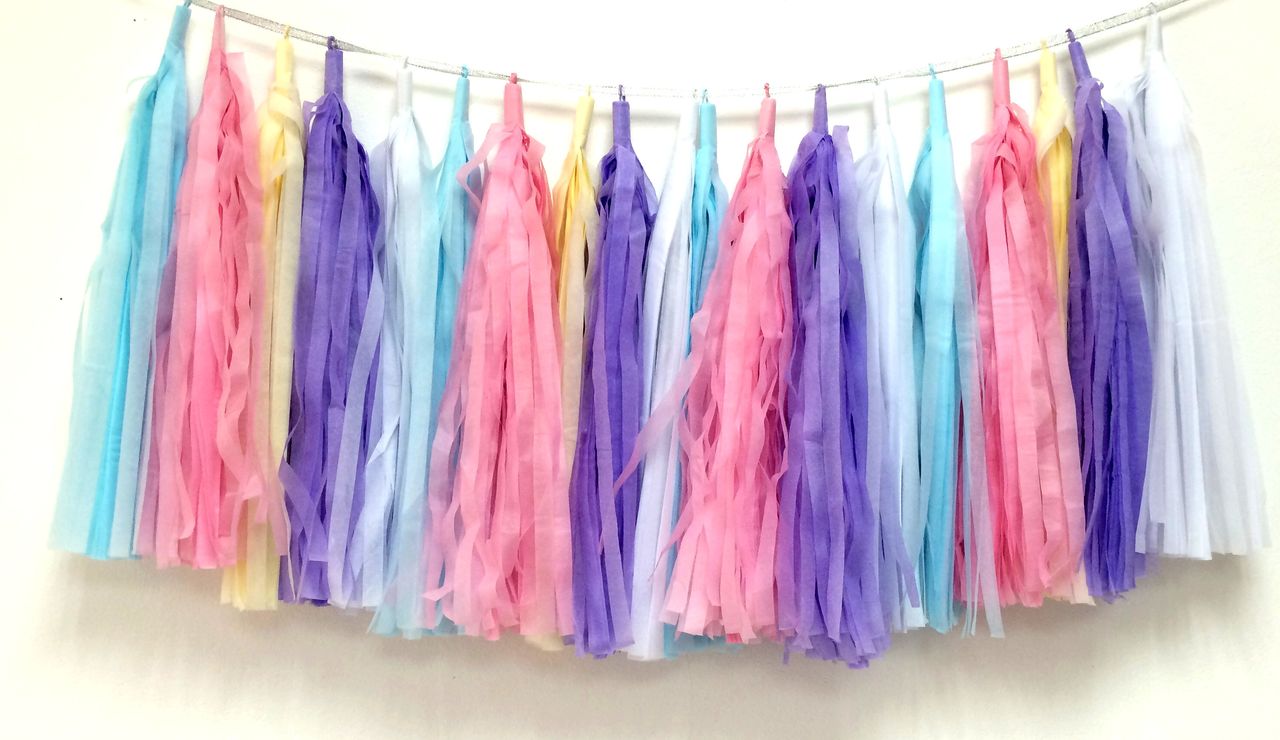
You will need crepe paper of 45 cm in length and about 15 cm in width. You can use one or different colors. Here each color will be enough to make several brushes:
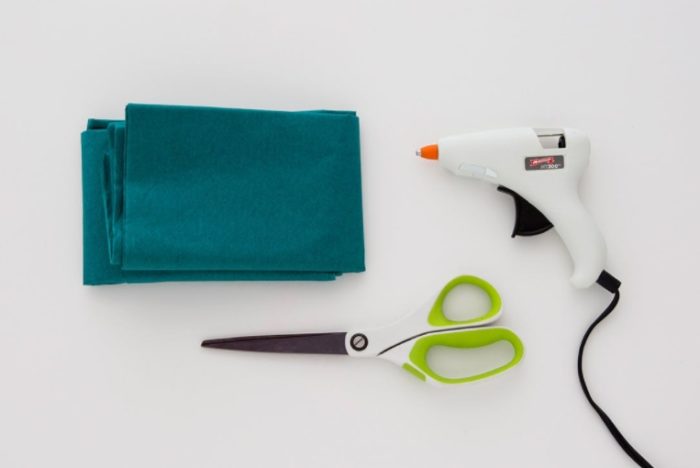
Garland materials
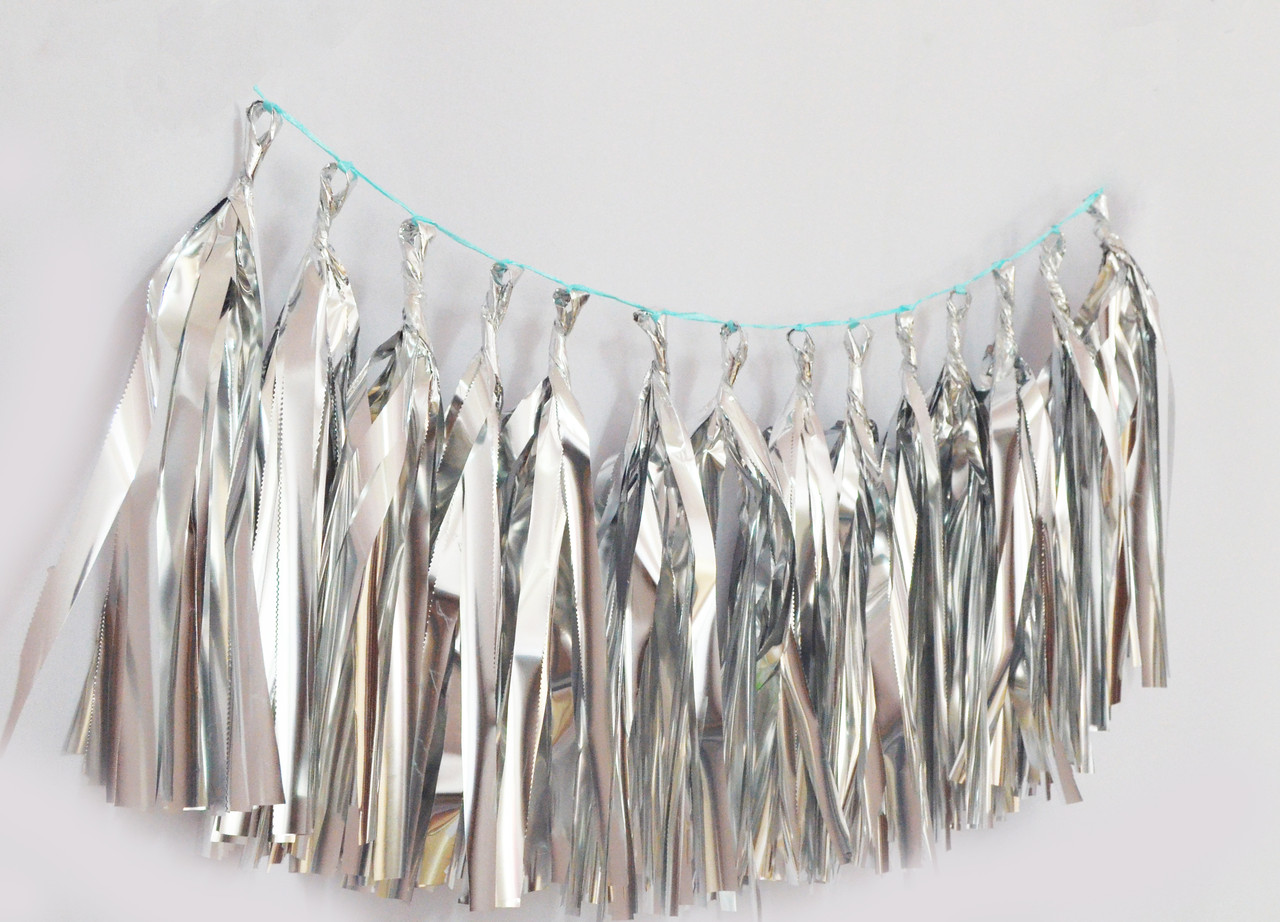
You will also need scissors and a ribbon.
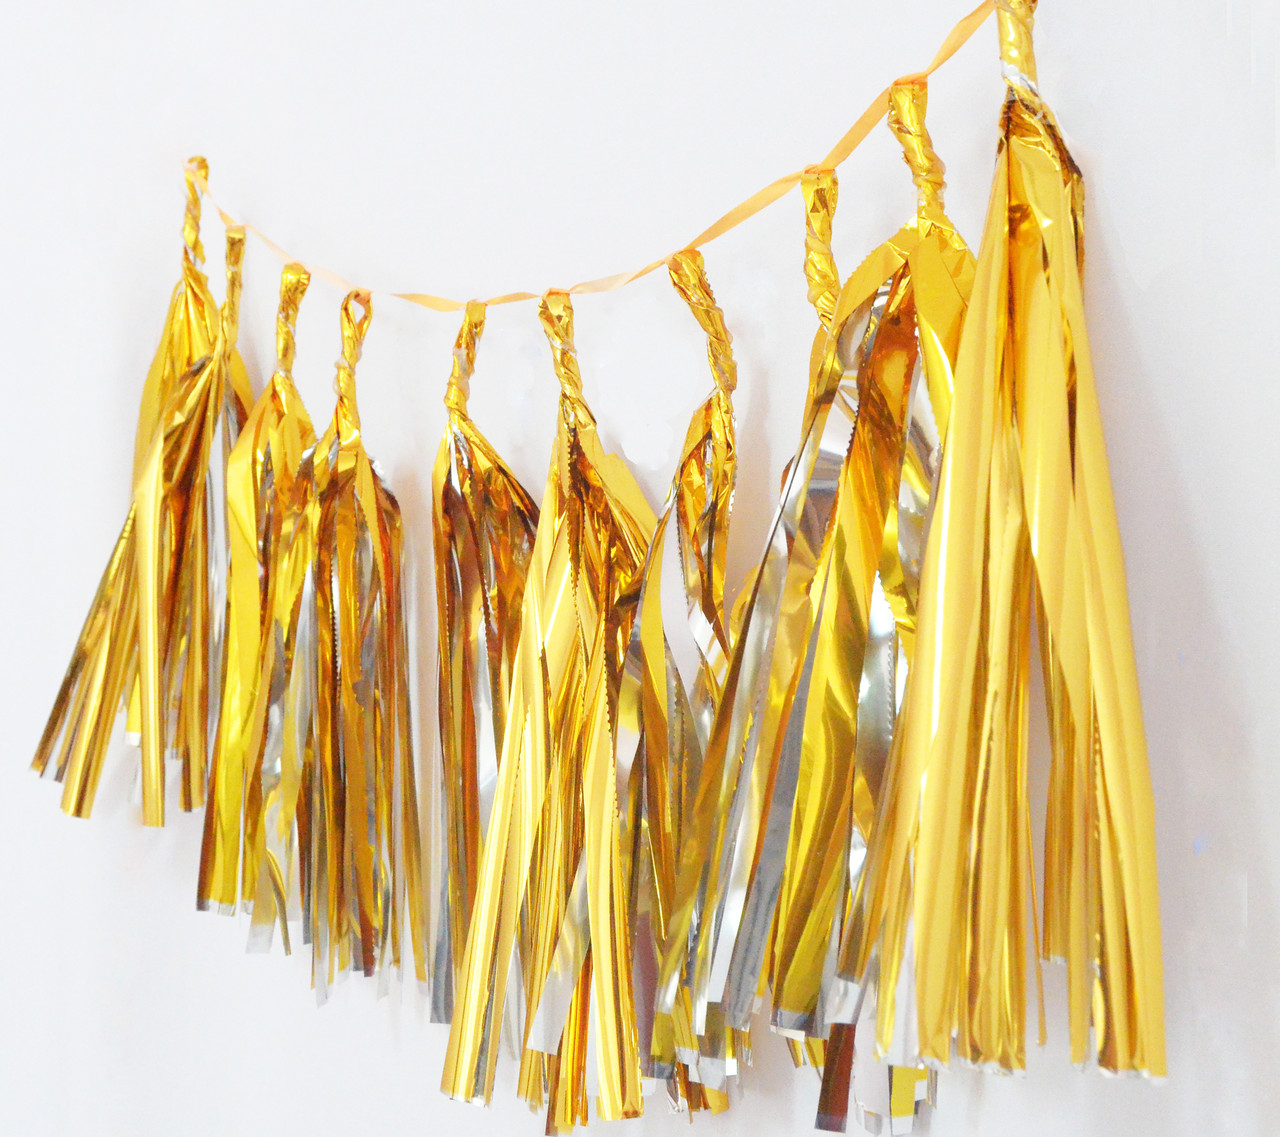
To get an extra visual effect, I used foil as an option for a silver-colored brush.
Step 2
Fold the sheet in half lengthwise. Now she is ready to start cutting it into strips. For convenience, fold the sheet to a floor width one or more times so that the scissors simultaneously capture several layers.

Fold in half and make an incision to the middle of the sheet
Step 3
Cut lengthwise into strips 1 cm wide, stopping about 5 cm from the top fold. Try to keep the same distance between the strips.
Step 4
Expand your streamer, keeping the edges flush. You should have a fringe on both sides.
Step 5
Roll the center piece into the tube, starting at one end in the middle between the fringe. Roll the center without a cut tight to facilitate further manipulations.
Step 6
Twist the central part into a tight bundle, twisting only the part without cuts. Leave the brushes not twisted.
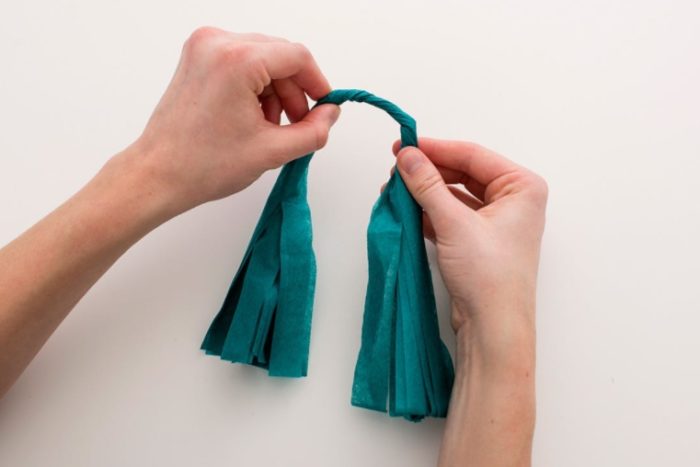
Twist the pompon as shown in the photo.
Step 7
Place the twisted part on top of a finger or pencil, forming a loop shape, so that later you can pass the rope through it.
Step 8
You can fasten the loop with thin adhesive tape by wrapping the two sides of the rope around the loop. Try to keep the tape as close to a pen or pencil as possible. Do not allow the tape to get on the site with a fringe.
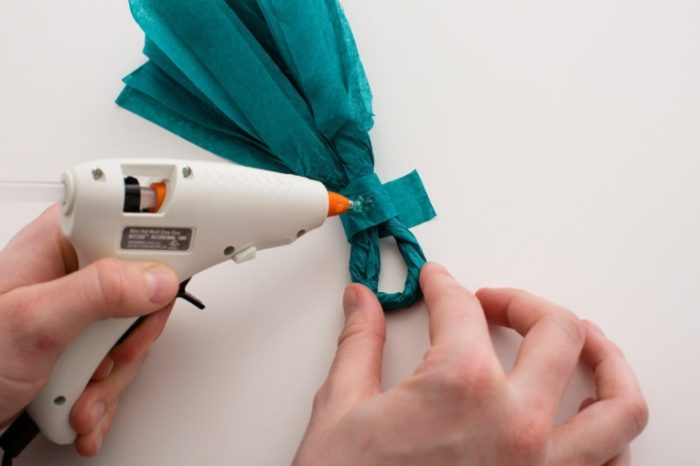
Fix the brush with an additional strip of paper and glue
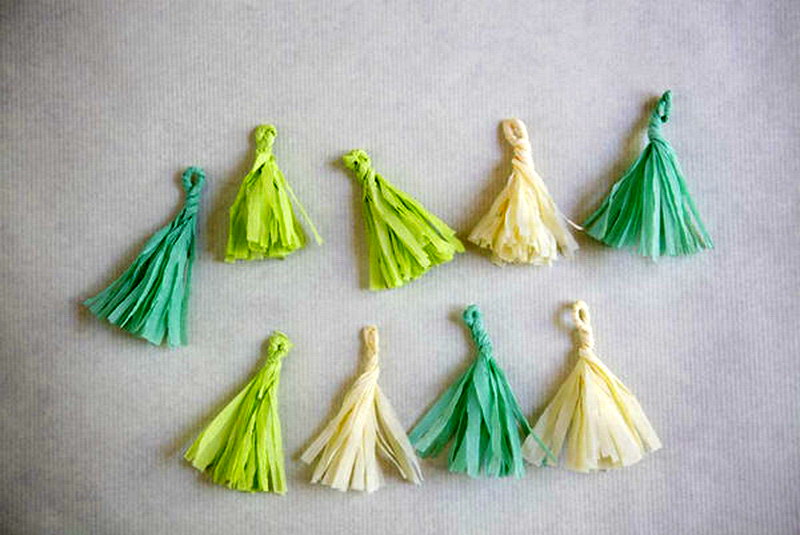
Step 9
Slide the brush with your finger or pencil. Now you can stick a rope through your tassel. If your brush slides too tightly around the string, you can simply snap it to the top of the loop.
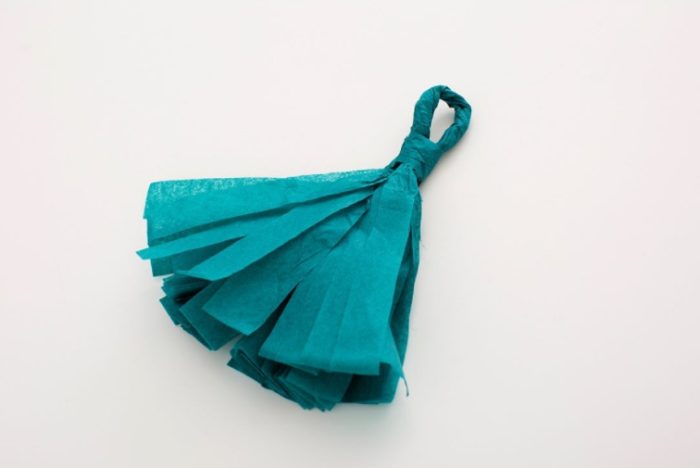
Ready loop Now tassels can be strung on a rope
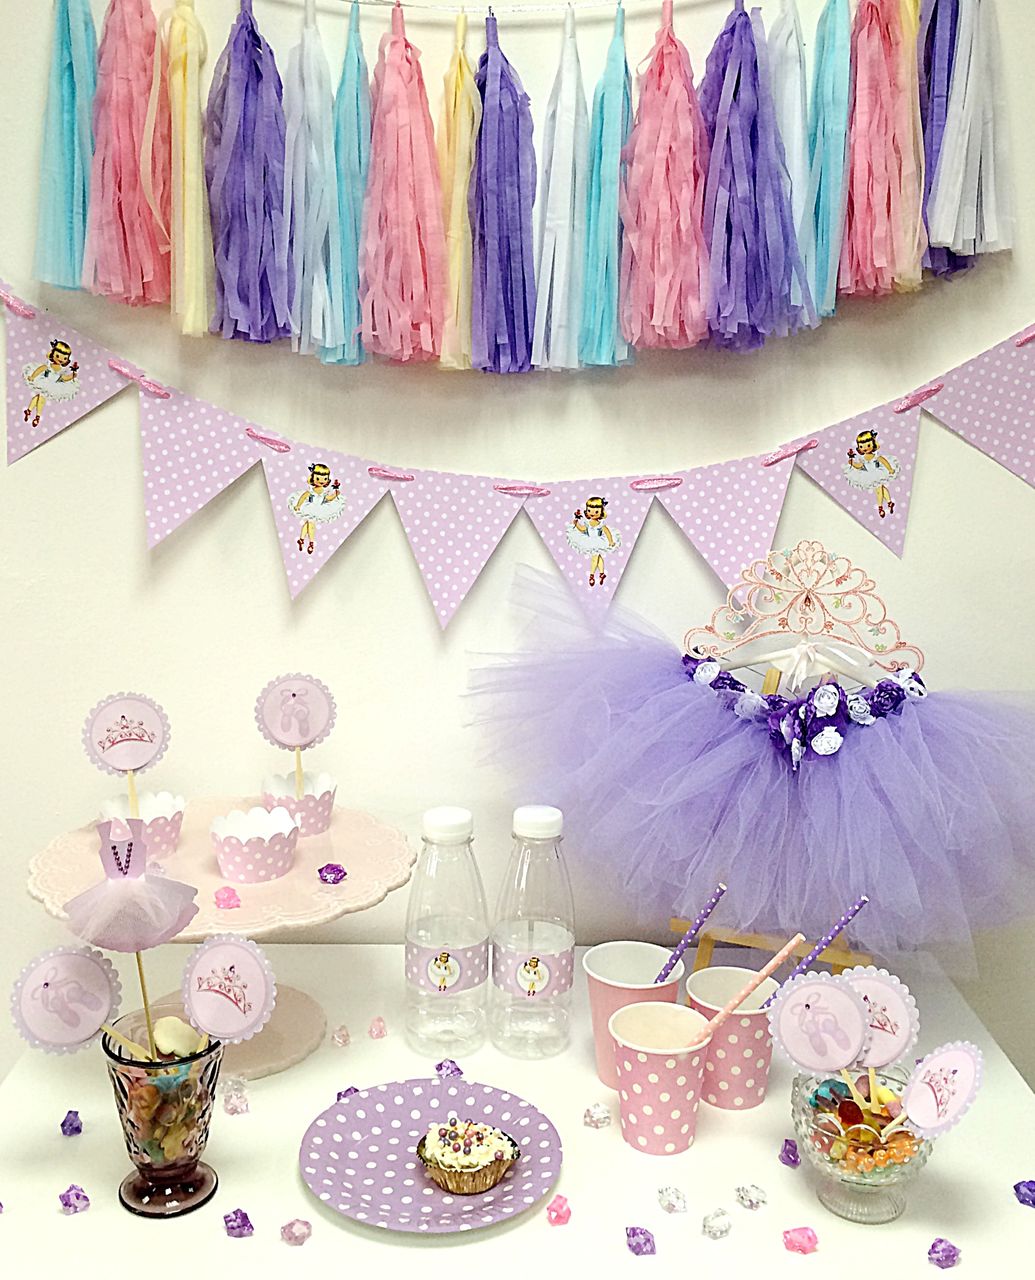
Make as many brushes as you can. You can make them the same color or alternating versions. If you want, you can even use metallic paper to add shine.
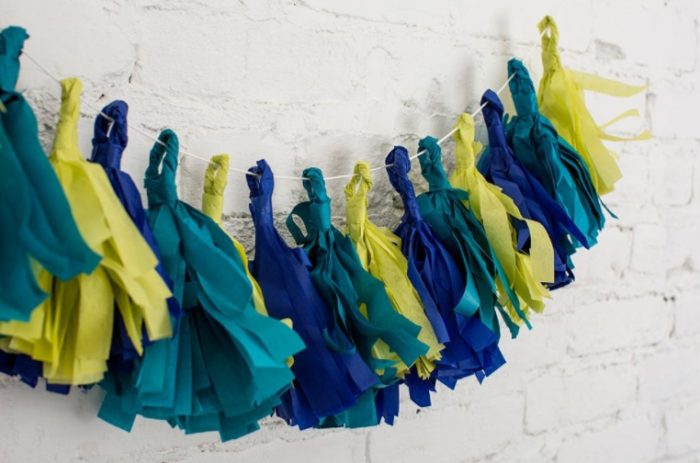
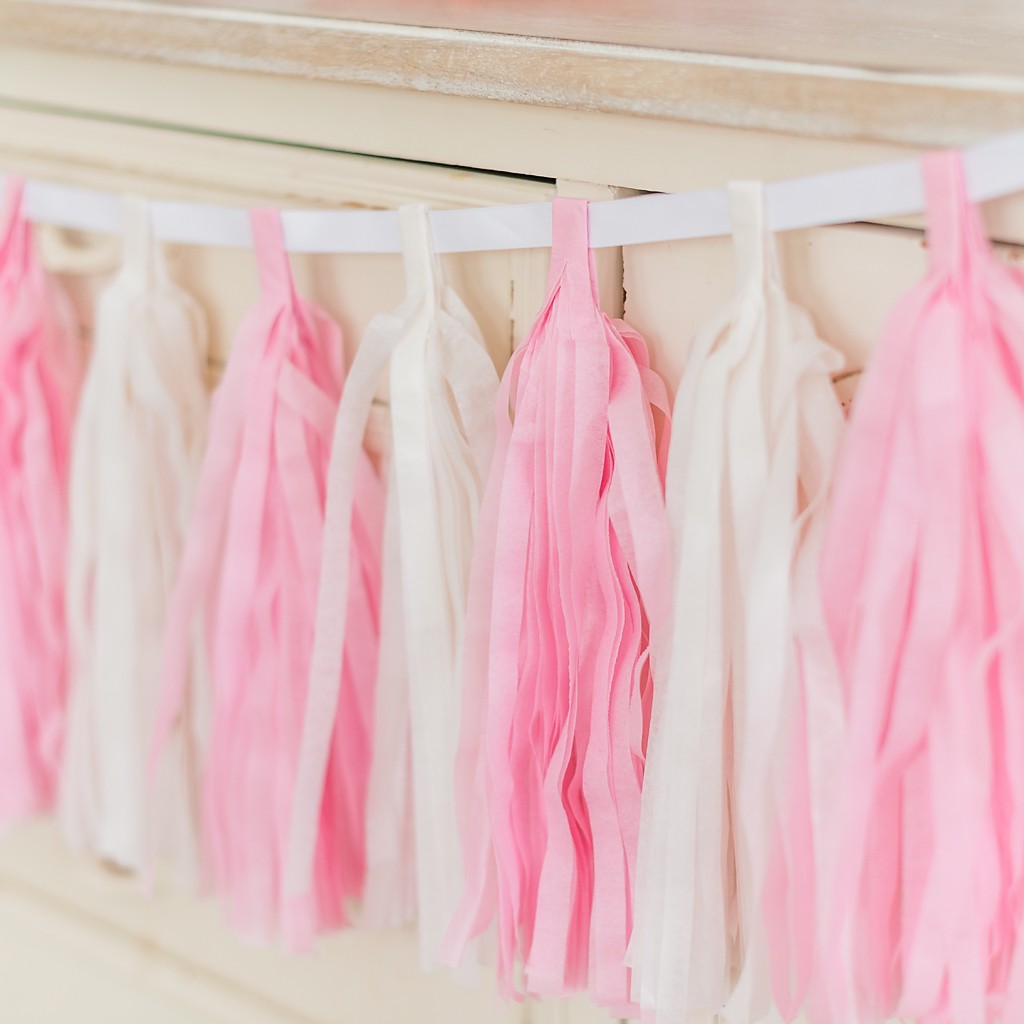
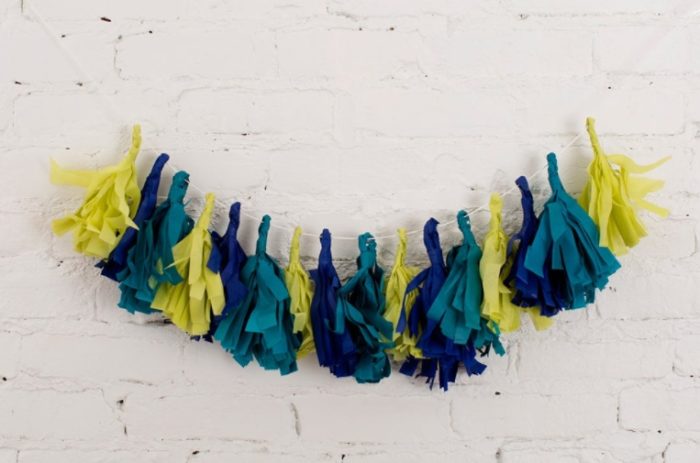
Ready garland
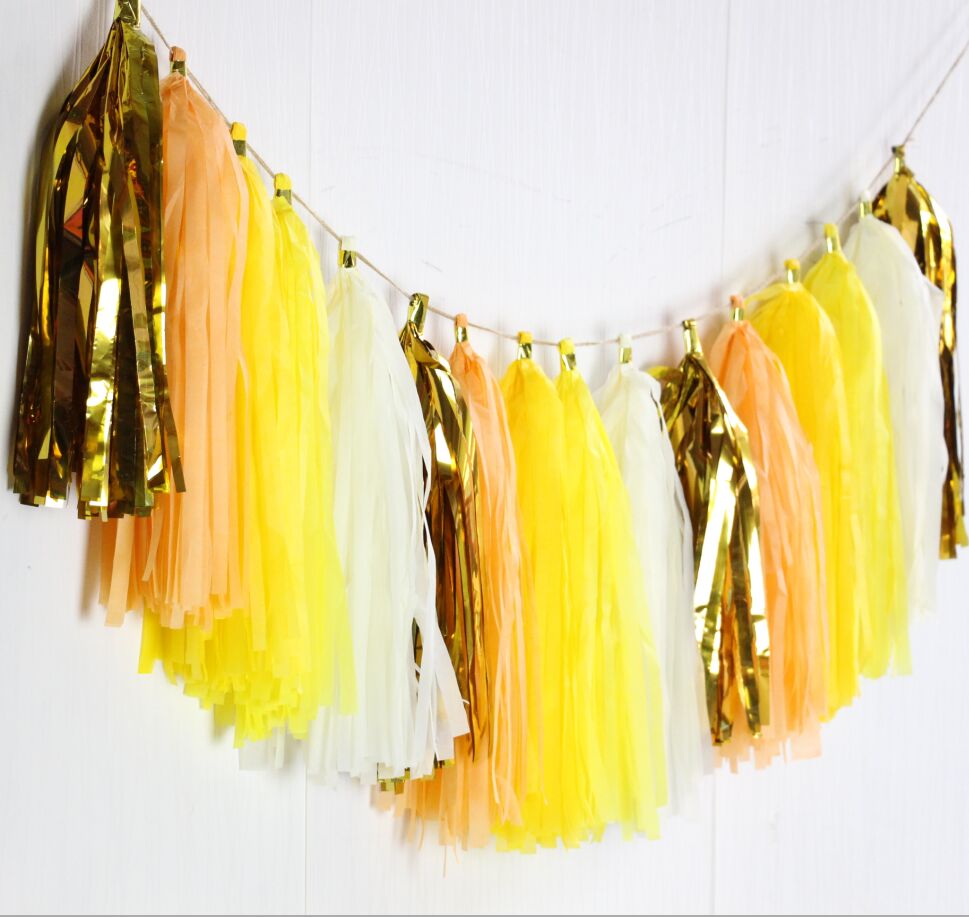
If you are not creped, you can use regular color for crafts, for printers, etc. However, remember that in this case the garland will have a slightly different look, since the ends of the denser material behave a little differently.
Garland do it yourself
Easy and quick


")