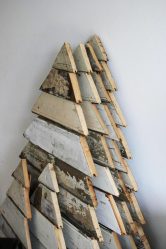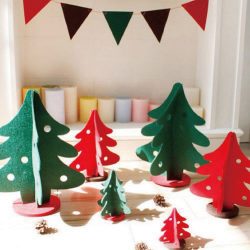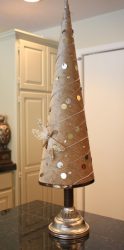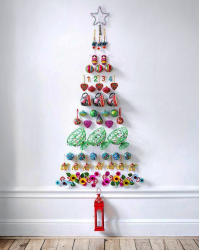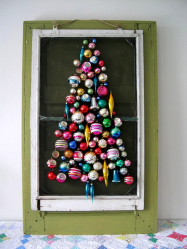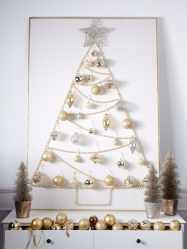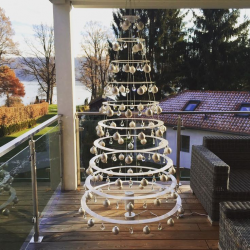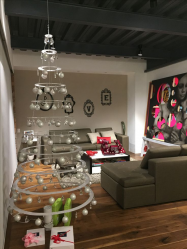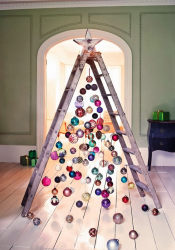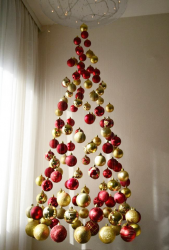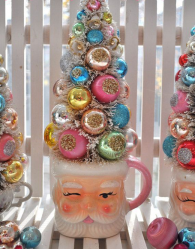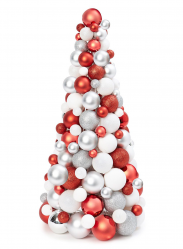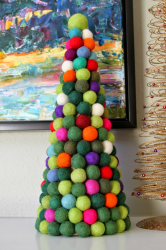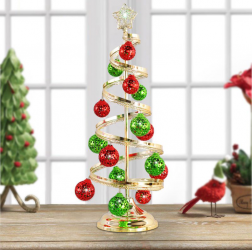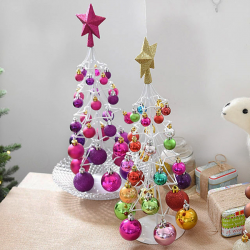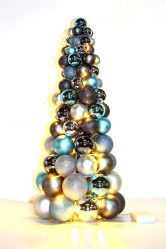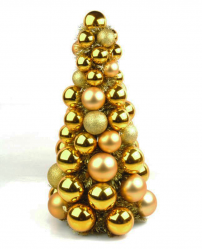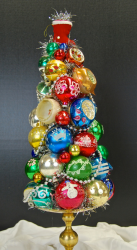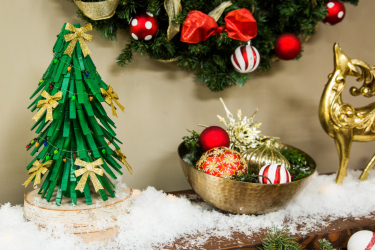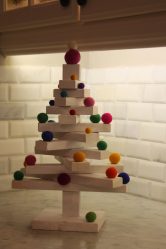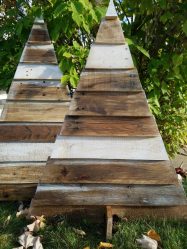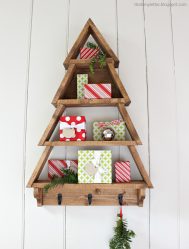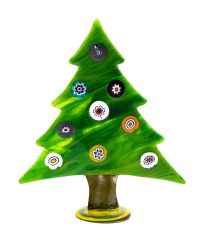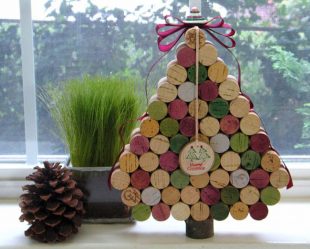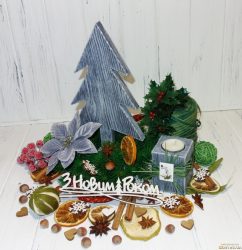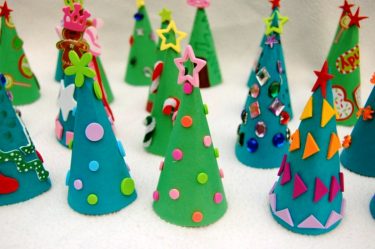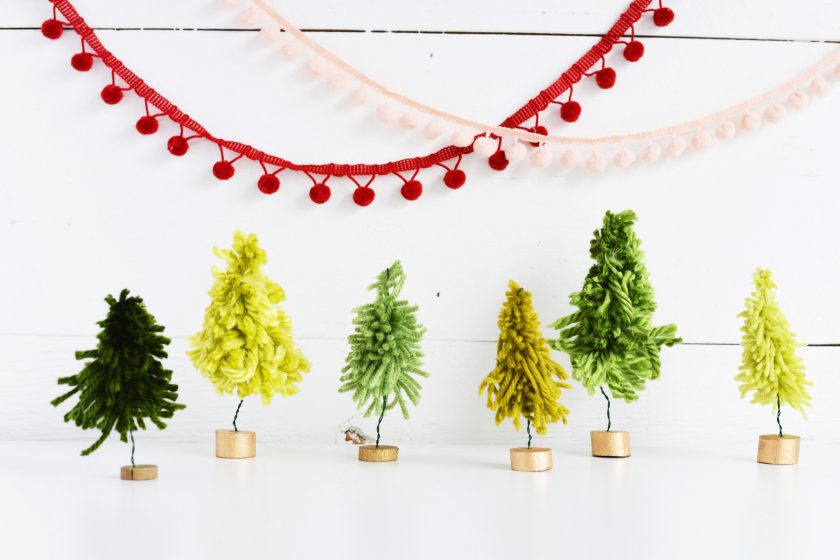
Decorating the Christmas tree for the New Year will be an excellent gift option for loved ones or decorate your own room. Try to make a toy with your own hands.
Content:
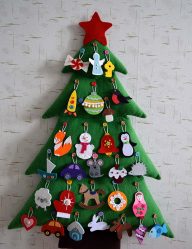
Christmas tree toy made of felt
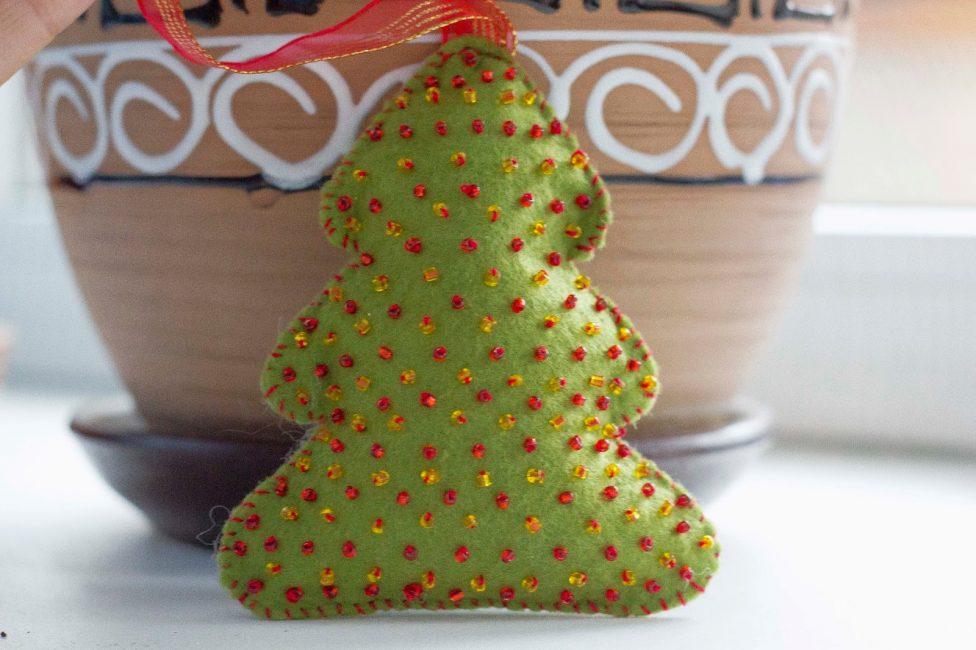
For self-production of toys in the form of a tree of felt, we need the available materials, tools. Such accessories can be found in everyone's house. The finished product will perfectly decorate the New Year tree.
To make a Christmas toy, take the following materials:
- green felt - 1 sheet A4 size;
- sewing threads - the choice of color will depend on your desire: if you take contrasting, for example, yellow threads, the products will look more elegant;
- synthetic winterizer or cotton wool - a small lump;
- beads - choose beads of different colors, shades, this will help the craft to start playing with iridescent colors;
- sequins - a brilliant decor is necessary to create an imitation of Christmas balls on the product, take about 5-6 sequins;
- white cardboard - A4 sheet for the piece;
- green waxed cord - 15 cm.
Necessary materials:
- scissors;
- simple pencil;
- thin sewing needle.
Also pre-armed with a crochet - it will help fill the product with cotton wool. Having prepared all the necessary materials and tools, you can start making festive crafts.
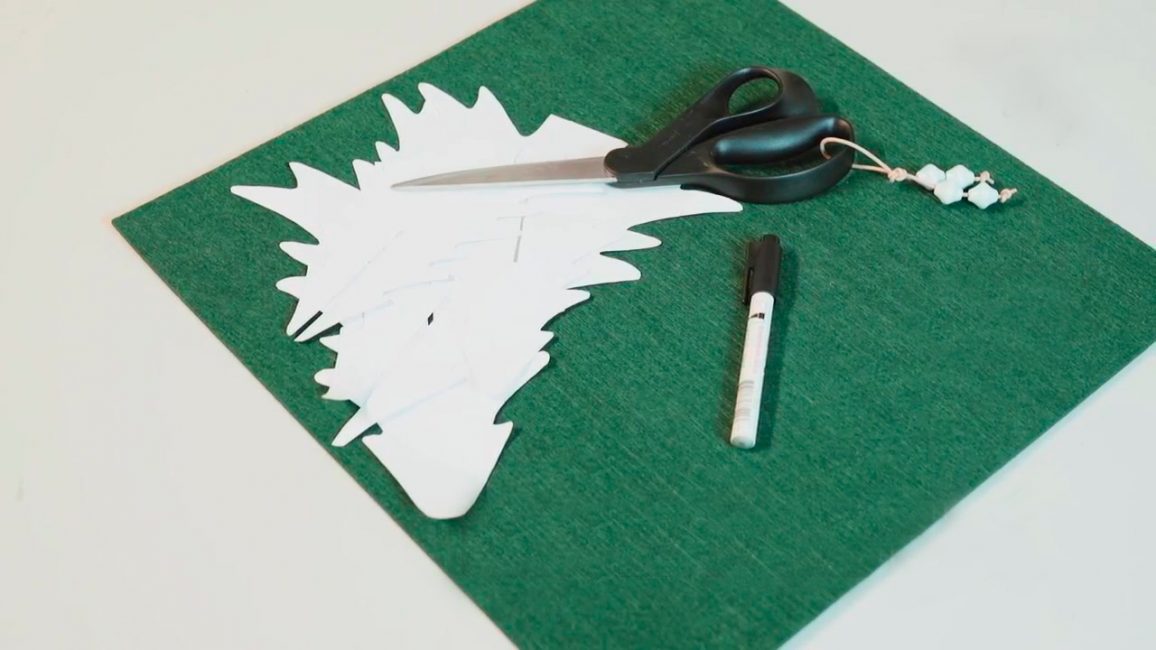
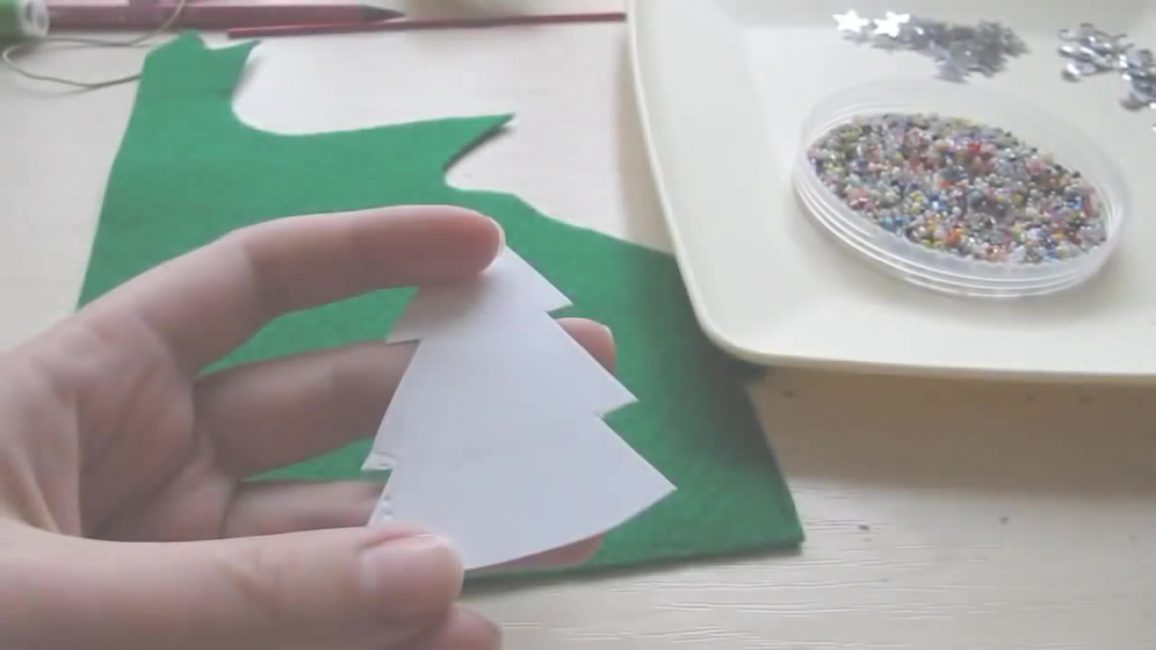
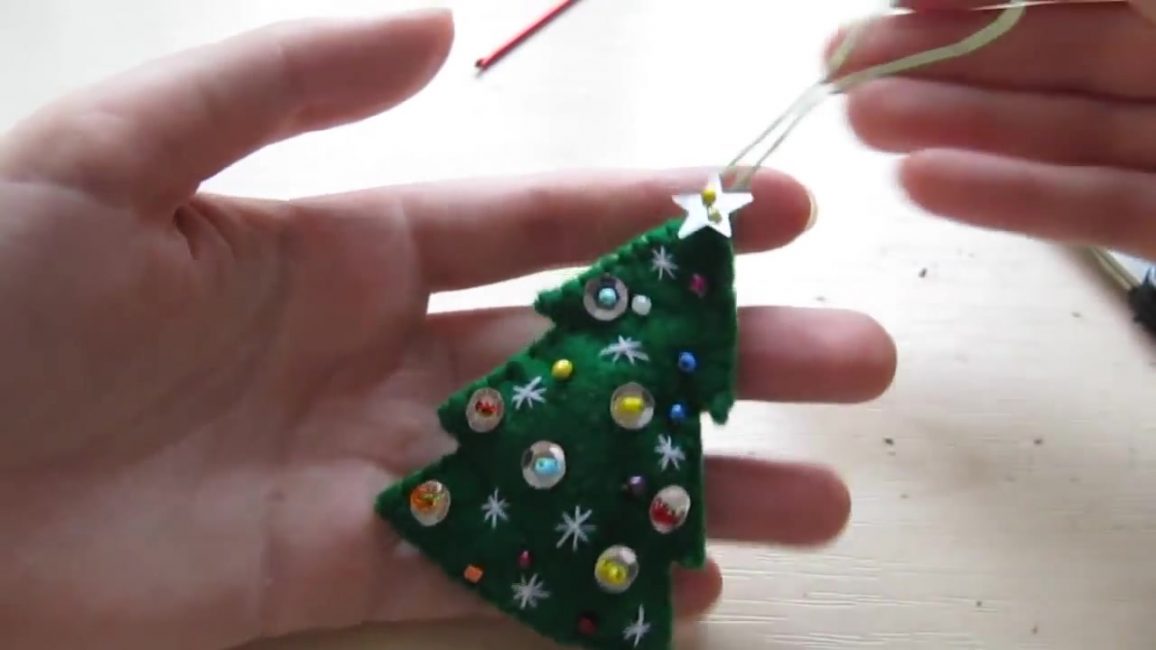
The first thing to do is to draw a piece on cardboard and cut it. The finished piece is transferred to the felt in the amount of two copies - this will be the front and back side of the product. Armed with threads, beads, sequins, to proceed to the decor.
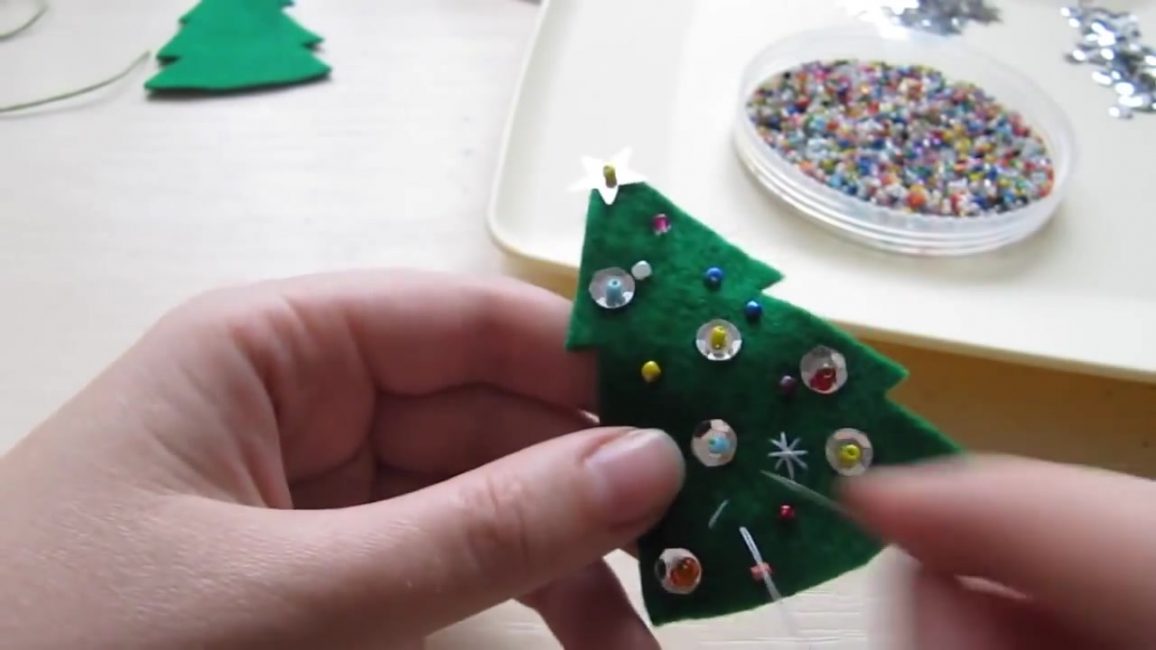
We take the front part, in a chaotic order sew sequins: we put the decor on the felt, then we string the beads and sew. So we continue until the blank space is filled with decor. We sew a star-shaped sequin to the top.
If desired, you can optionally embroidery snowflakes with light threads; Next, proceed to stitching blanks, starting from the top. At the end, leave a small hole for cotton, put it inside with a hook. We insert a waxed cord, we finally fix it with a thread - our felt toy is ready!
return to menu ↑We make from yarn and cardboard
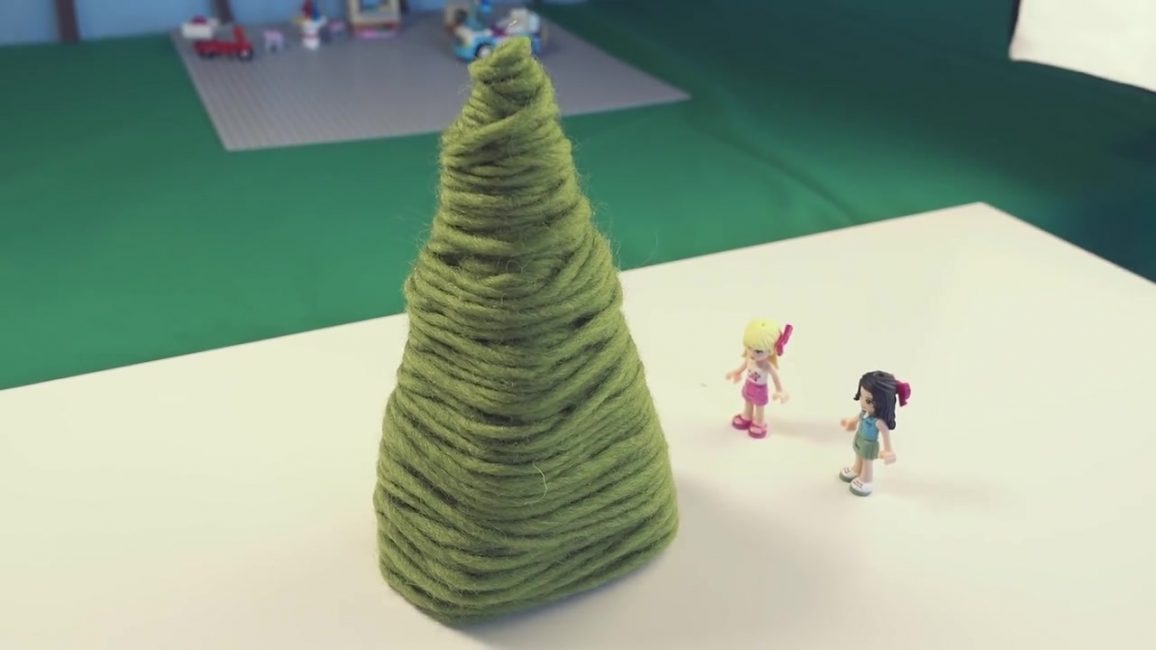
A hand-made article made with the help of yarn and cardboard looks no less impressive. This beauty will be a great gift to friends, it can also be made in kindergarten for a child. To make a toy you do not need to additionally visit the needle shop - all the materials will be in the house.
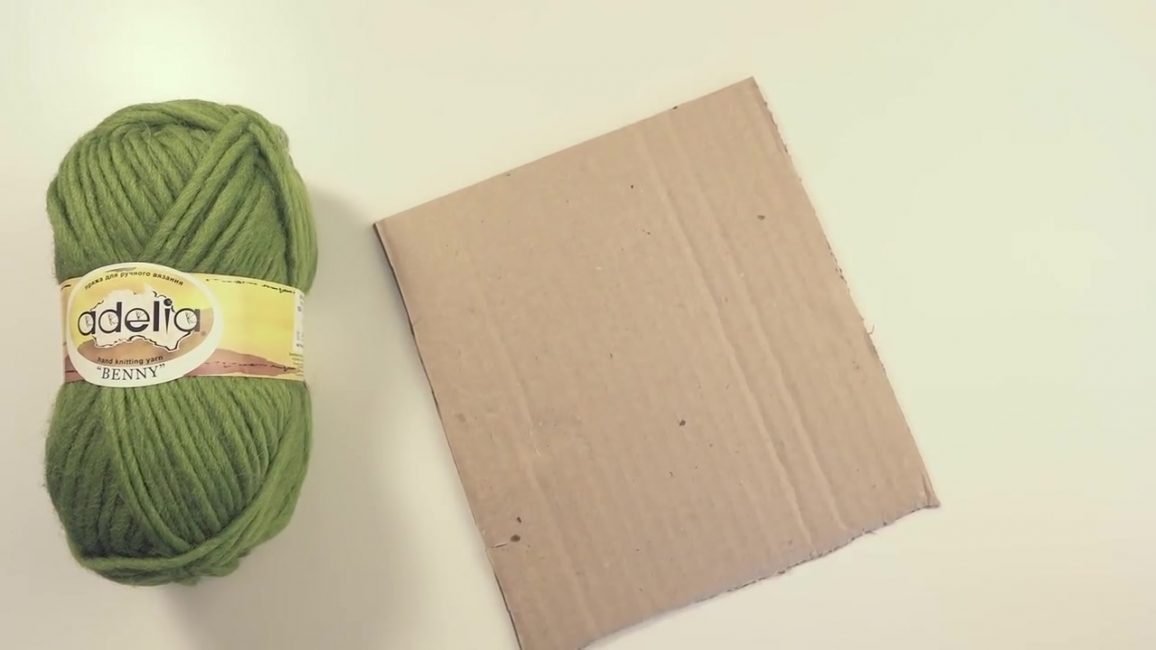
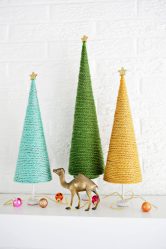
For the easiest crafts you will need knitting threads of green, thick corrugated cardboard and scissors. The color of the threads can be any, but I advise you to use the green shade to make the craft as realistic as possible.. You will also need a pencil, a ruler.
Manufacturing process
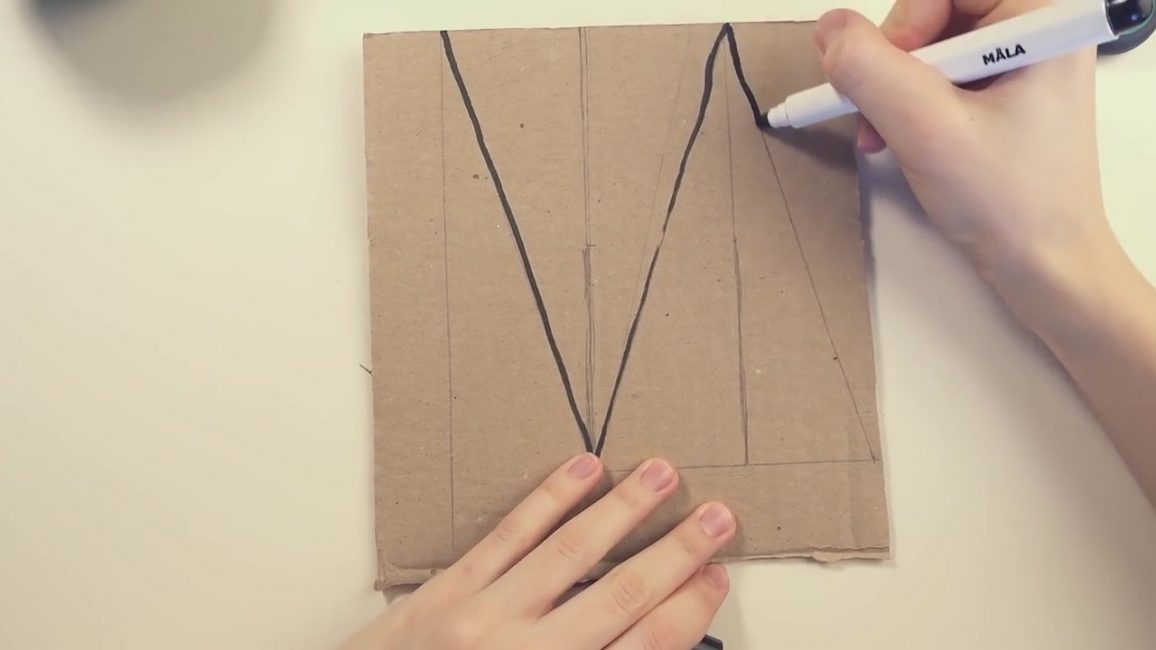
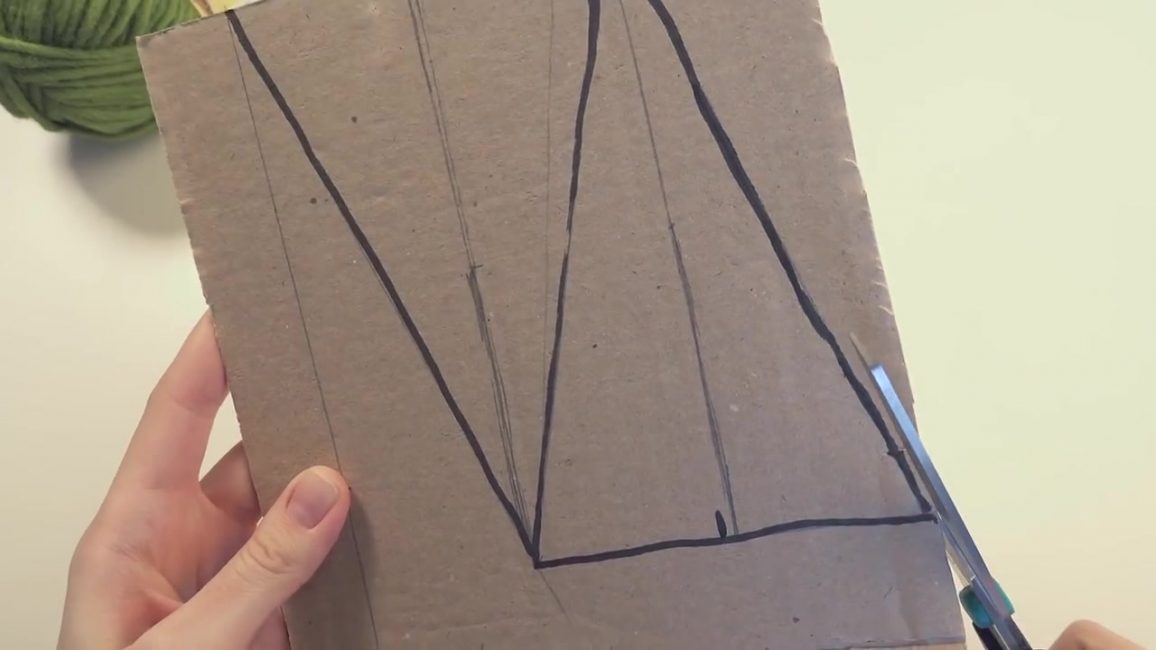
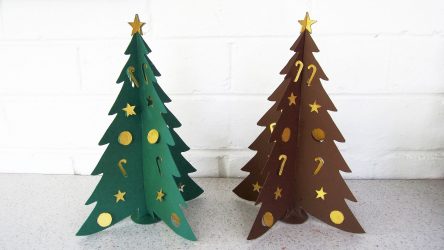
- On a thick cardboard draw the workpiece. The size will depend on your preferences. I recommend making the height of the product about 20 cm. The blank is an isosceles triangle, drawn with a ruler in two copies.
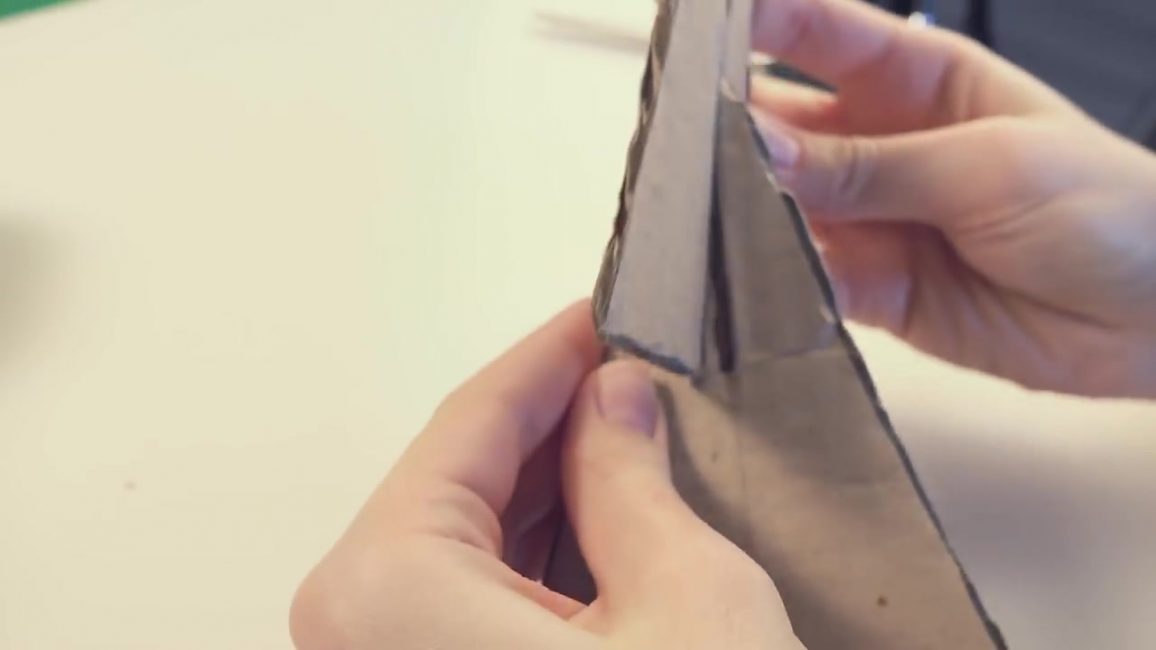
- In the middle of each blank it is necessary to draw a straight line exactly to the middle of the product. Cut two triangles - they should be identical. In the center of each billet with scissors, cut the intended strip exactly to the middle: one billet should be cut from the bottom, the other - from the top.
- Connect the workpieces by inserting one part into another. Check the product for stability by placing it on a flat surface. If it does not stand exactly - it is necessary to carefully trim the bottom.
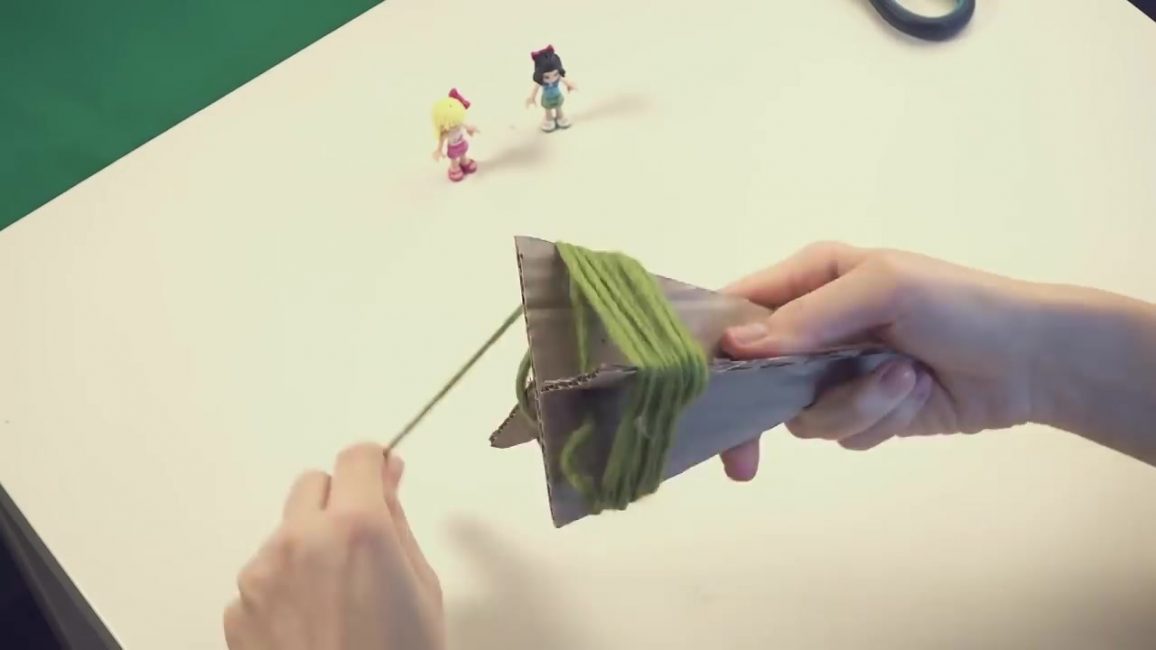
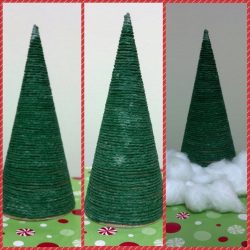
- Next, take the thread of your favorite color and wrap the blank in a circle, starting from the bottom. For reliability, you can use PVA glue, securing the beginning and end of the thread. A little time and the simplest tree is ready.
To decorate the New Year's handicraft, turn on the fantasy: I used ready-made beads that are sold in a shop in the New Year's decor department. You can fasten them with the help of thread, needles, starting to wrap a spruce from above.
return to menu ↑Ecostyle Toy
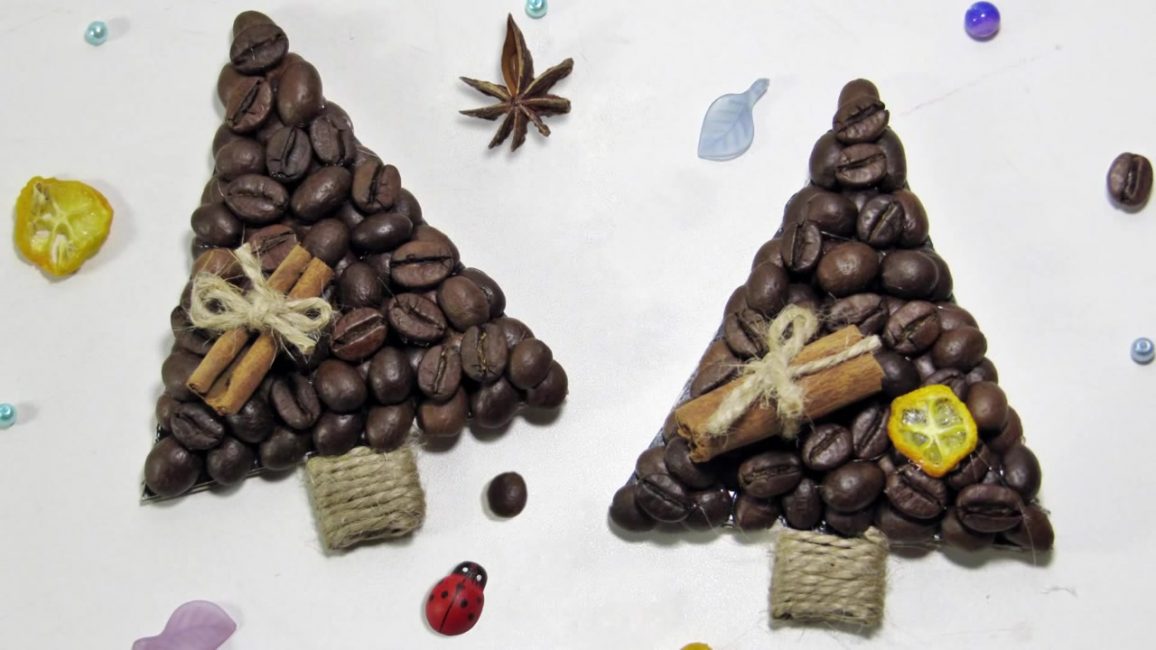
Ecostyle is becoming popular - in this direction you can make souvenir crafts. I really liked this idea, so I decided to make such a souvenir too. If you put a magnet on the back side, it will be a good New Year gift, and if you attach a thread to the top, you can hang the toy on a New Year tree.
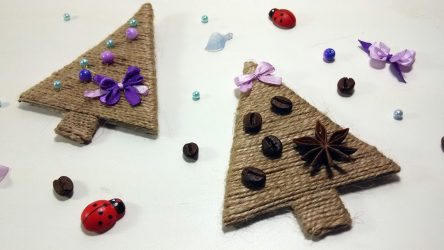
The work will require a thick corrugated cardboard, preferably dark in color, coffee beans, 30 cm of twine, decor - I had cinnamon sticks, dried lemon and star anisean, giving a unique flavor to the hack. From the materials needed glue, scissors, pencil.
The manufacturing procedure is simple, and the result is beautiful and stylish. The choice of this direction involves the use of natural ingredients. The table provides step by step recommendations for manufacturing.
We draw preparation
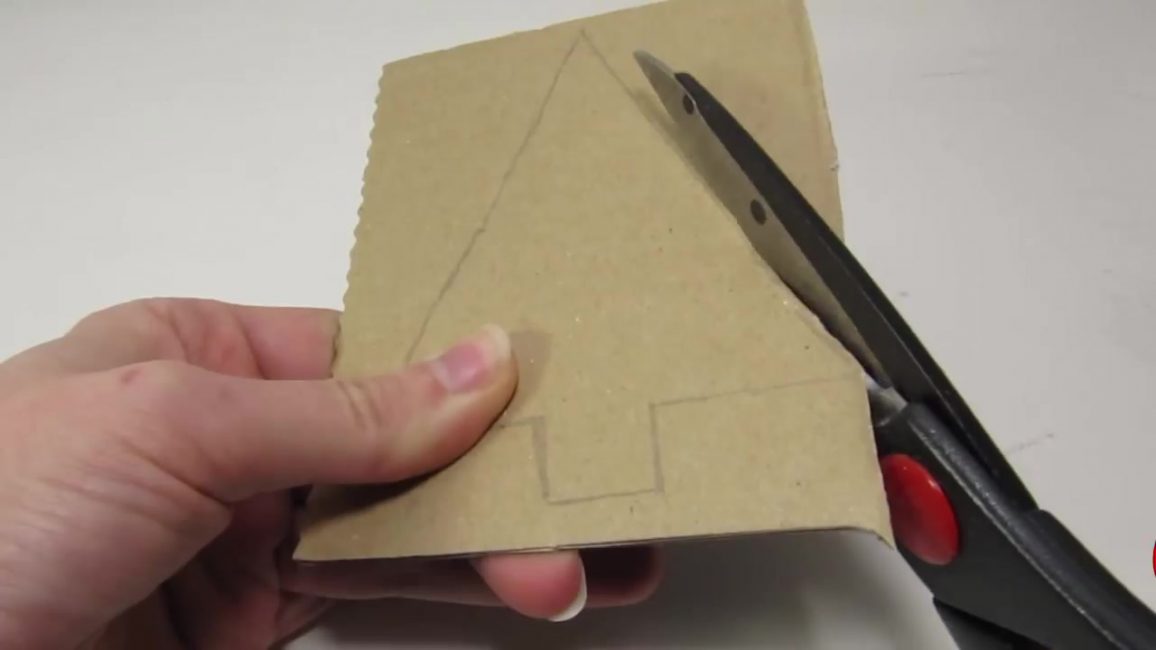
On a thick cardboard, draw a tree that you like. I advise you to draw a regular triangle with a characteristic square leg at the bottom - it will be easier to work. The blank must be cut.
We make out a leg
With the help of twine and hot melt it is necessary to arrange the spruce leg. The end of the twine impose on the workpiece, fixing glue. The rest of the neatly wrapped around the legs. The end is also secured with glue on the back of the product.
Glue the grain
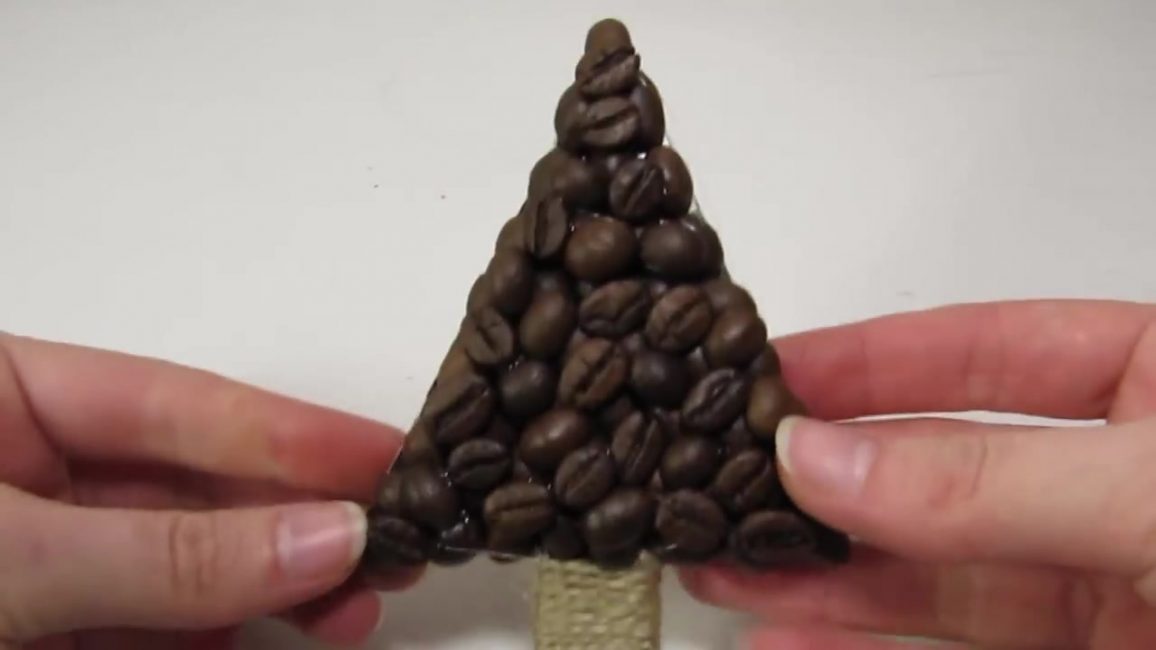
On a dark basis, we begin to fix coffee beans. I recommend to glue the first layer of grains with the smooth side up - this way you can completely close the gaps of the workpiece. Glue the second row with grains in reverse position.
Decoration crafts
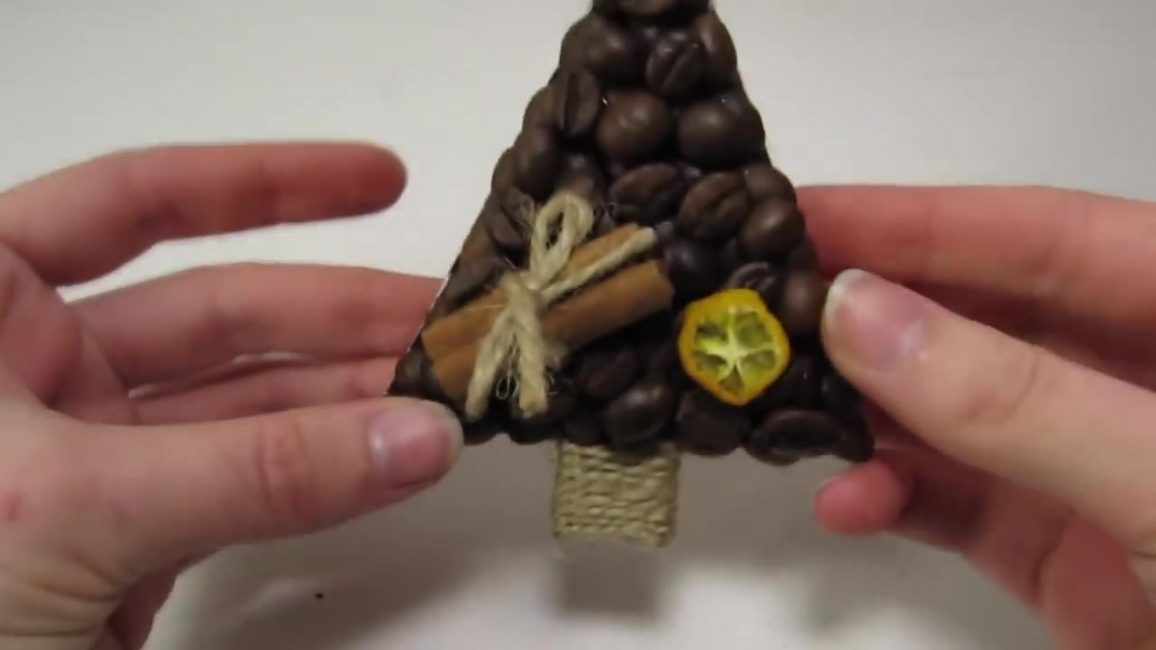
Cinnamon stick is wrapped with twine in the center several times. Tie a small bow, glue on the Christmas tree. We also act with star aniseen and dried lemon.
Elegant crafts in eco style ready. To use it as a Christmas toy, before gluing the grains, fix a string of twine on the top - then the product can be easily used on a real Christmas tree.
return to menu ↑Of tinsel and balls
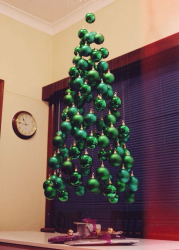
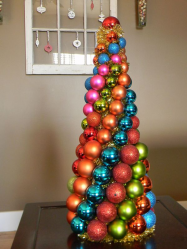
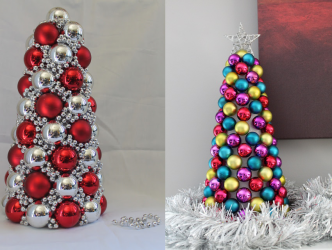
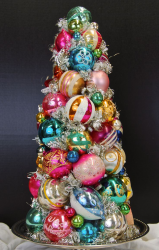
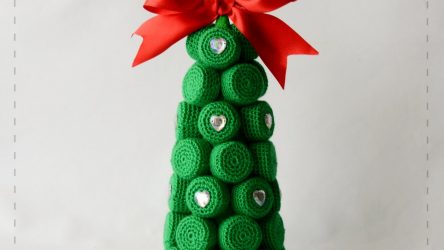
If the products listed were small in size, then a Christmas tree made of tinsel and balls would become a full-fledged option for home decor or decoration of the desktop at work. The craft turns airy, bright, reminiscent of the approaching holidays.
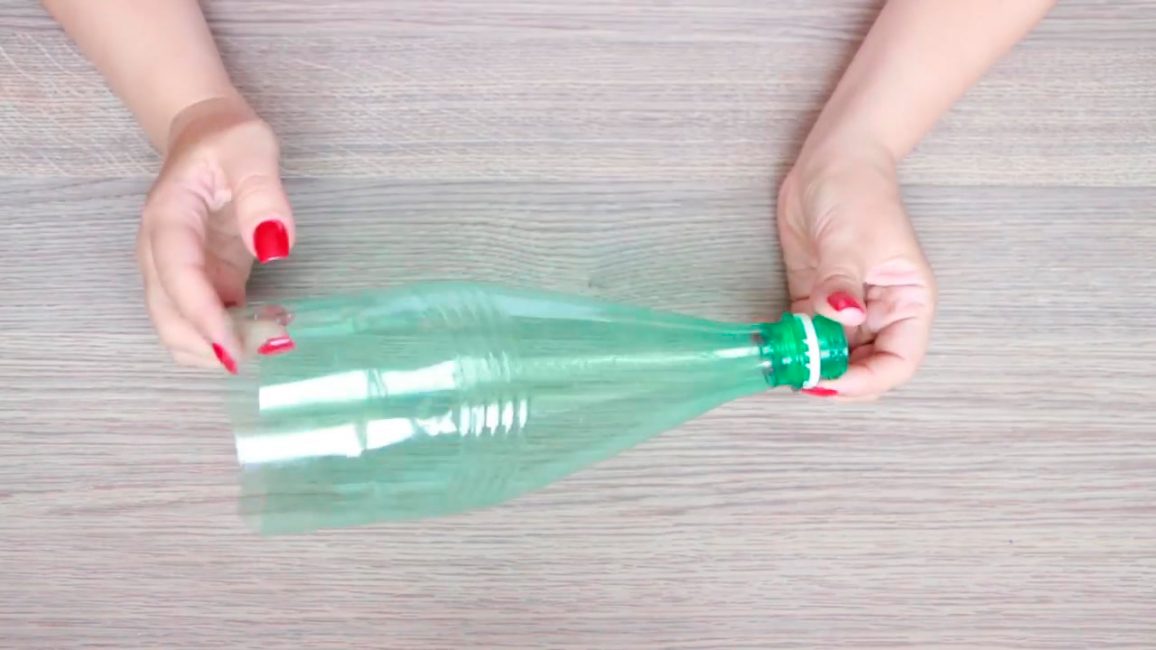
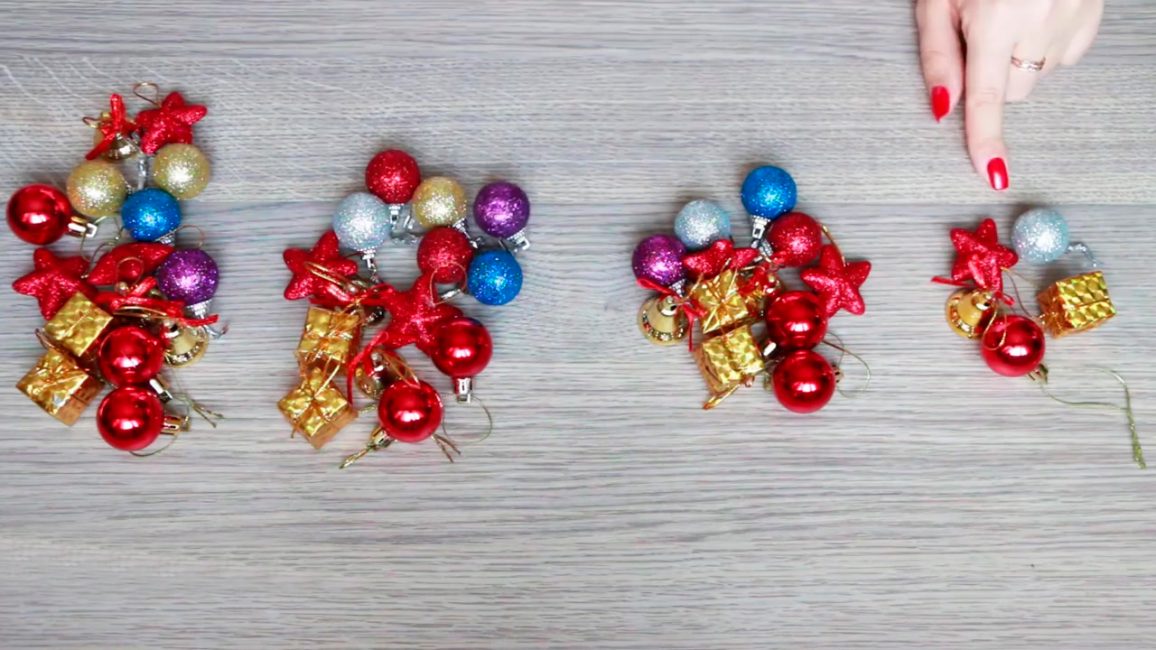
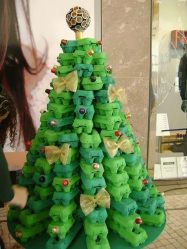
To make crafts with your own hands you will need a plastic bottle of 1.5 liters, Christmas toys of small diameter in the amount of 25 pieces, green tinsel, green yarn, a stapler, decorative container for “planting” spruce. Also needed acrylic paint, packing bows, serpentine, hot glue. In addition, you need a wooden stick, ribbon, alabaster.
Getting Started
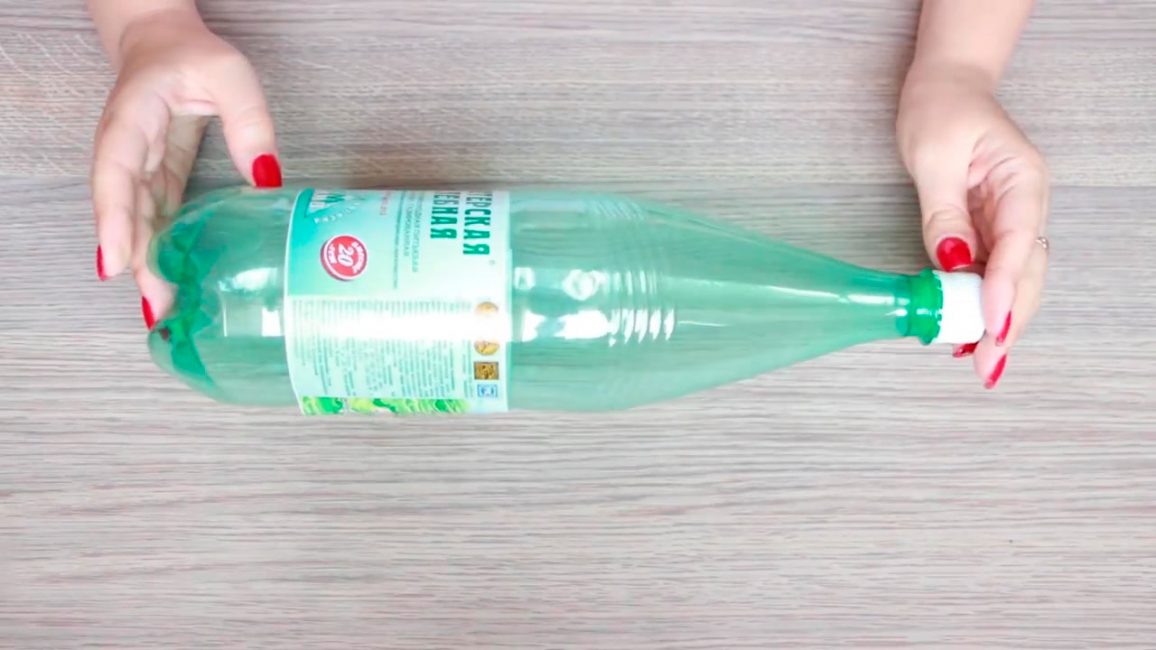
We make the workpiece for the frame. We cut the bottom of the plastic bottle, leaving only the cone-shaped part. This part should be stably placed on the table. If the workpiece is uneven - cut it.
We divide the prepared toys into 5 parts, that is, there should be 5 groups of toys, in each of which there are 5 products. We take the green yarn, cut off 5 small pieces of about 30 cm, we string each group of toys on them separately.
Take each bundle of jewelry one by one and tie a string around the bottle. It is worth starting from the top, where the bottleneck is located. This method is necessary to tie all 5 groups of toys, evenly distributing them on the frame.
Next, create a Christmas tree needles. Take the green tinsel, starting from the top, we wind the frame. Toys at the same time it is necessary to pull out from under the tinsel. Secure the lower end of the tinsel with a stapler to the base of the bottle.
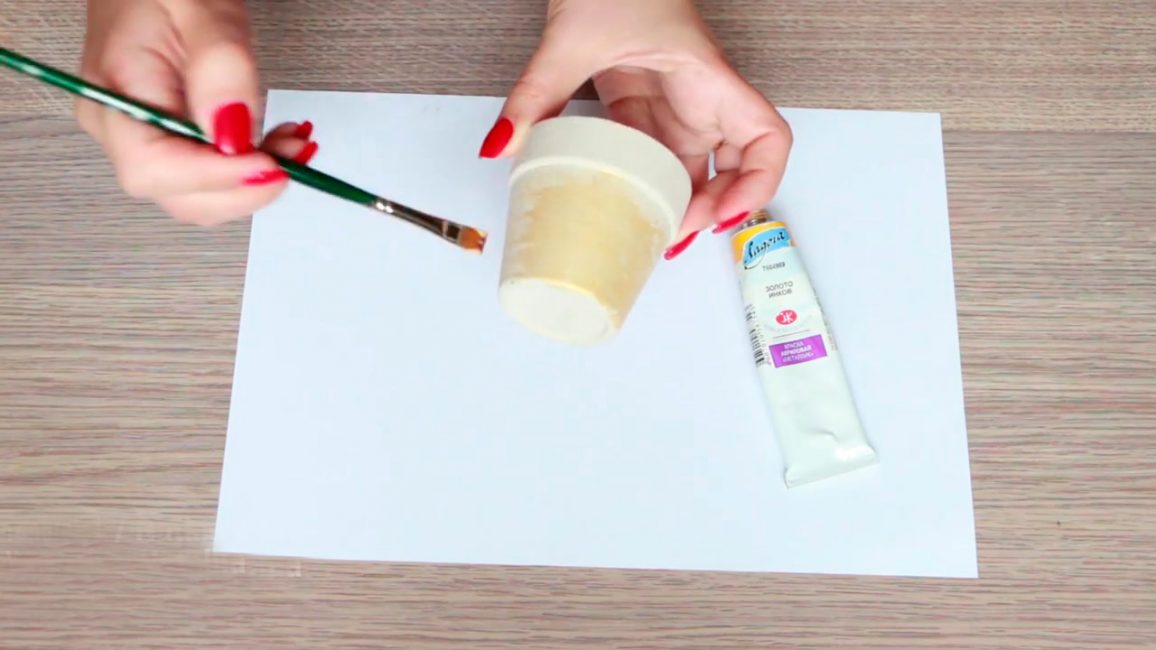
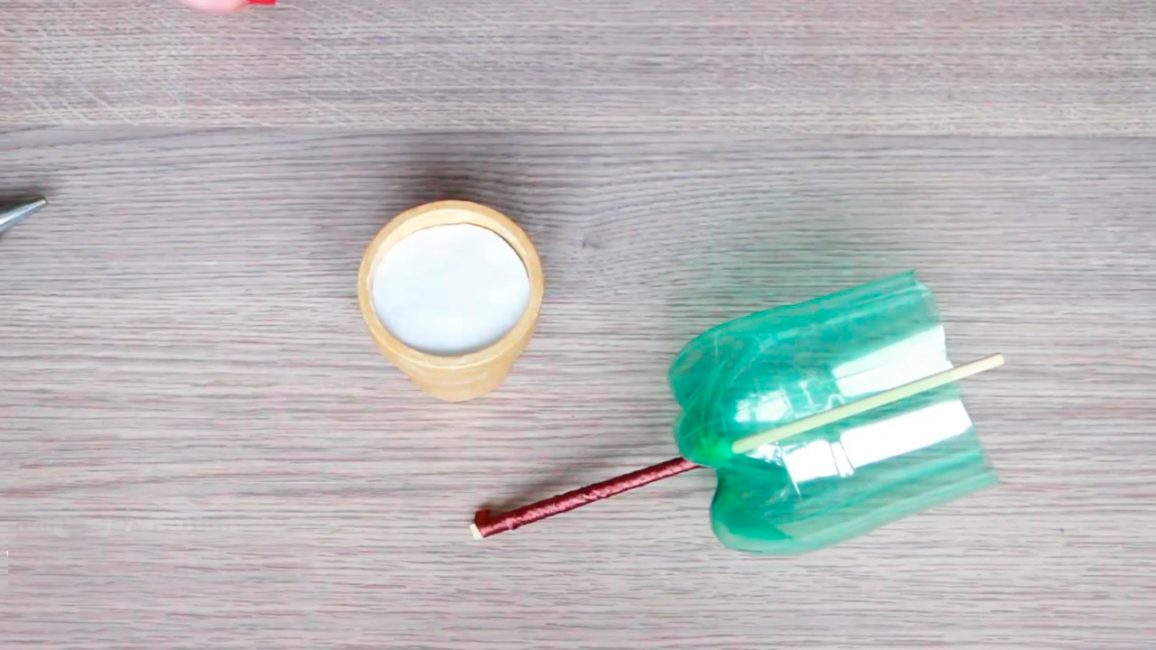
We take a decorative pot and add festivity to it, painting it with a favorite color with acrylics. While the pot dries, we make the trunk of the spruce — we cut the rest of the bottle vertically almost to the base. Make holes, insert the stick there to the middle and fix with hot glue.
We decorate half of the wand with ribbon. In the pot, pour alabaster diluted with water, set the stick with the incised bottle. We are waiting for the plaster to grab and harden.
Getting to the assembly of the product. We put the finished spruce on the billet with a pot. At the final stage we decorate crafts with serpentines and packing bows.
The fir-tree firmly keeps on the basis, it looks bright and stylish, it will be a good gift for native people.
return to menu ↑Paper options
Before the New Year events in kindergartens, caregivers often ask children to make crafts with their parents. A good option for such creativity will be paper types of toys - they are simple to make, look elegant.
There are several options for paper products that will appeal to adults and children. Making your own hands does not take much time, but will bring a lot of pleasure.
return to menu ↑Christmas tree accordion
Materials:
- a sheet of colored green A4 paper;
- 10 x 10 cm square red paper;
- glue;
- scissors;
- ruler;
- pencil.
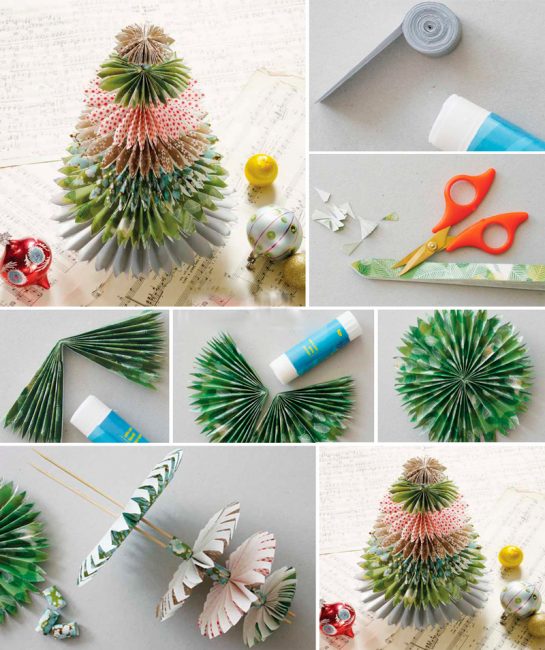
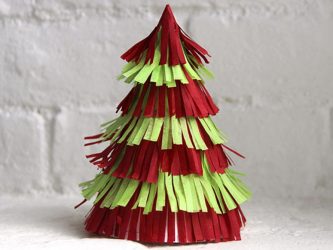
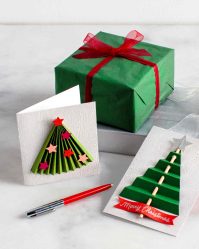
Make a square of colored green paper and fold it into a triangle. On the long side of the figure we draw a strip, retreating 1 cm. We draw even perpendicular lines from the first strip at a distance of 1 cm from each other. We cut each line, unfold the blank and glue the volume strips to the middle, fix a red paper star at the top.
return to menu ↑From one sheet of paper
Materials:
- square green paper;
- scissors;
- ruler;
- pencil.
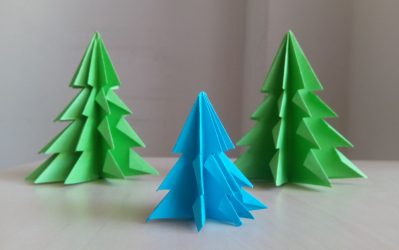
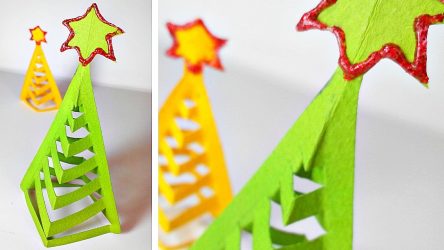
The paper should be folded diagonally 3 times, after which draw the strips and cut them before reaching the center of the blank. The cuts need to alternate: 1 time to make an incision on the left, the second on the right, and so on. Open the folded paper and straighten the tree in the folds.
return to menu ↑Bulk paper
Materials:
- 3 sheets of colored paper;
- 1 sheet of thick white paper;
- shaped hole punch;
- glue.
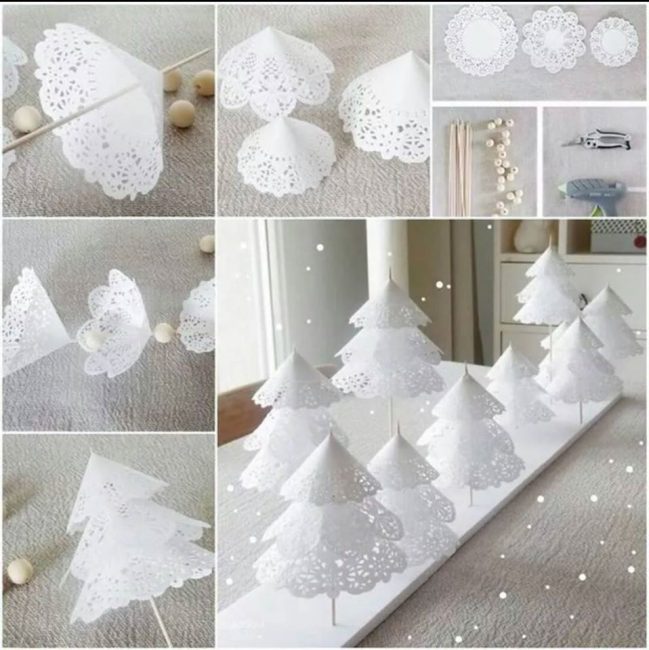
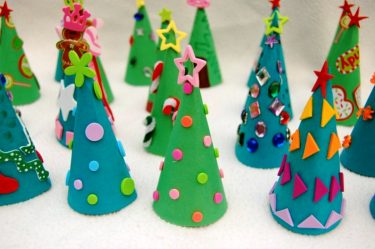
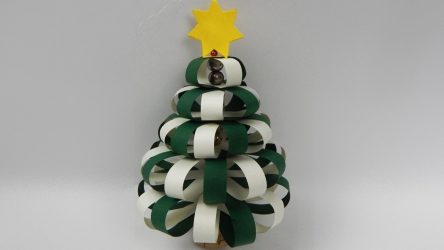
From the white sheet make a cone, glue it along the seam. Puncher cut pieces of colored sheets. We dip the blanks in adhesives and make out.
The manufacturing process differs entertaining work, and materials will be in the nearest store. Due to the simplicity of the procedure, the child will cope with the manufacture of his hands.
return to menu ↑How to make a cloth?
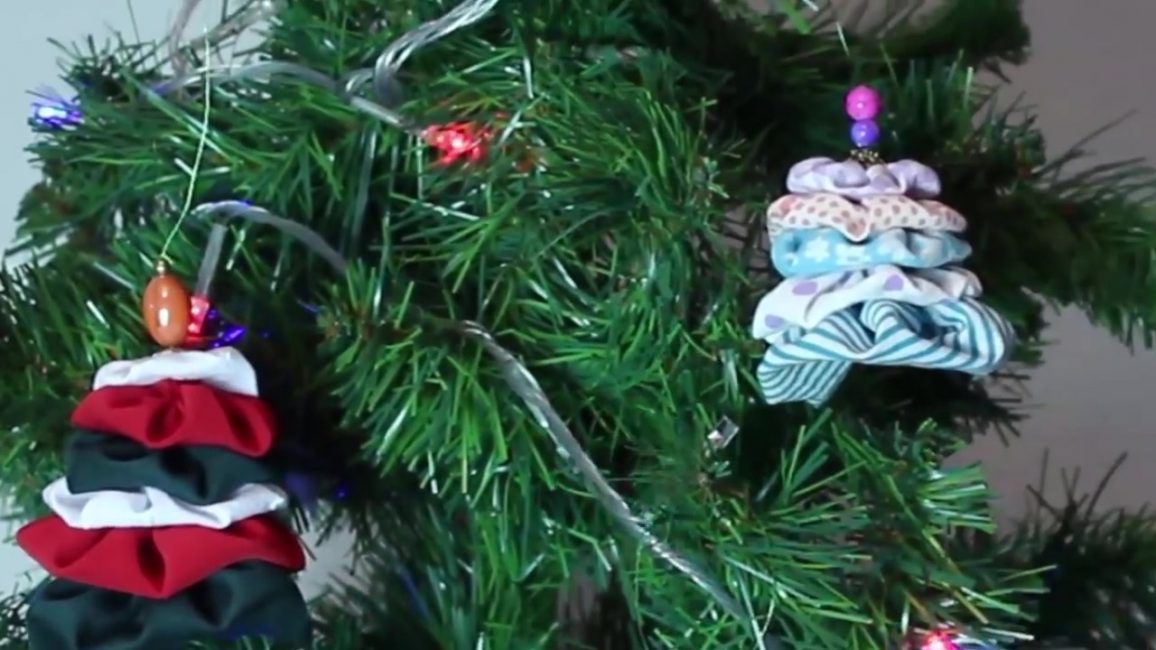
A charming fabric item is a harmonious toy for the New Year tree. To make it your own hands, you need 3 colors of fabric patches. Take the material that you like the most, I took a calico of different shades with patterns, in the end it turned out a toy in a modern manner.
You also need a compass, wire, beads, a needle with thread and scissors. Getting to the mastery:
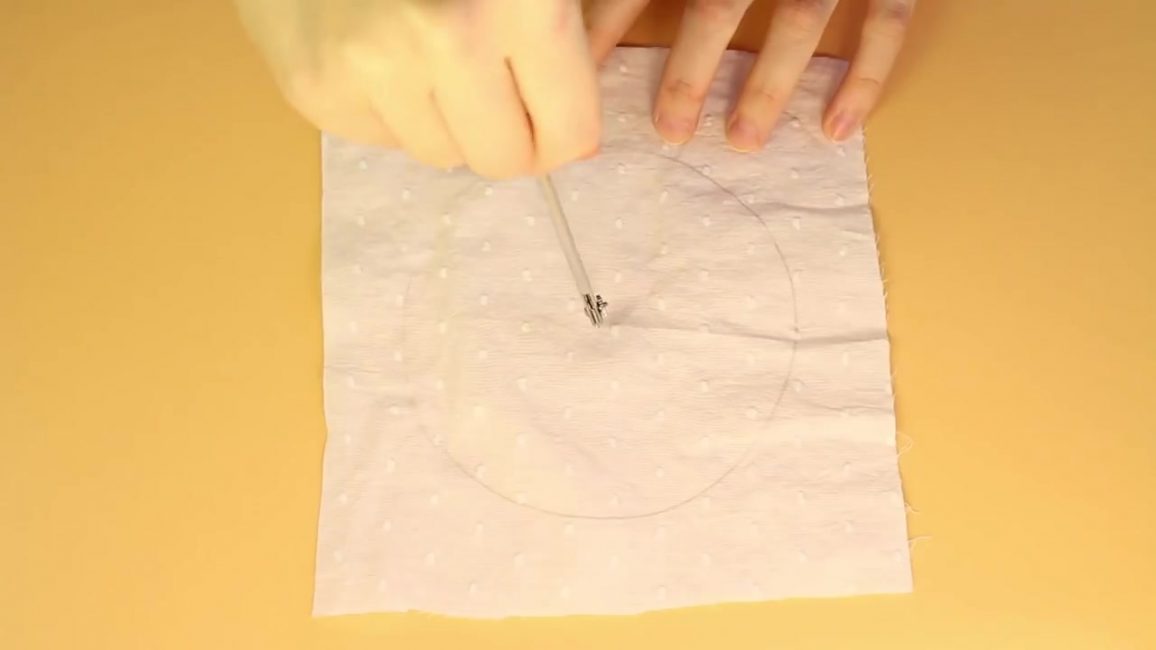
Using a compass, draw on the flaps of 5 circles of different diameters. Cut the circumference with scissors.
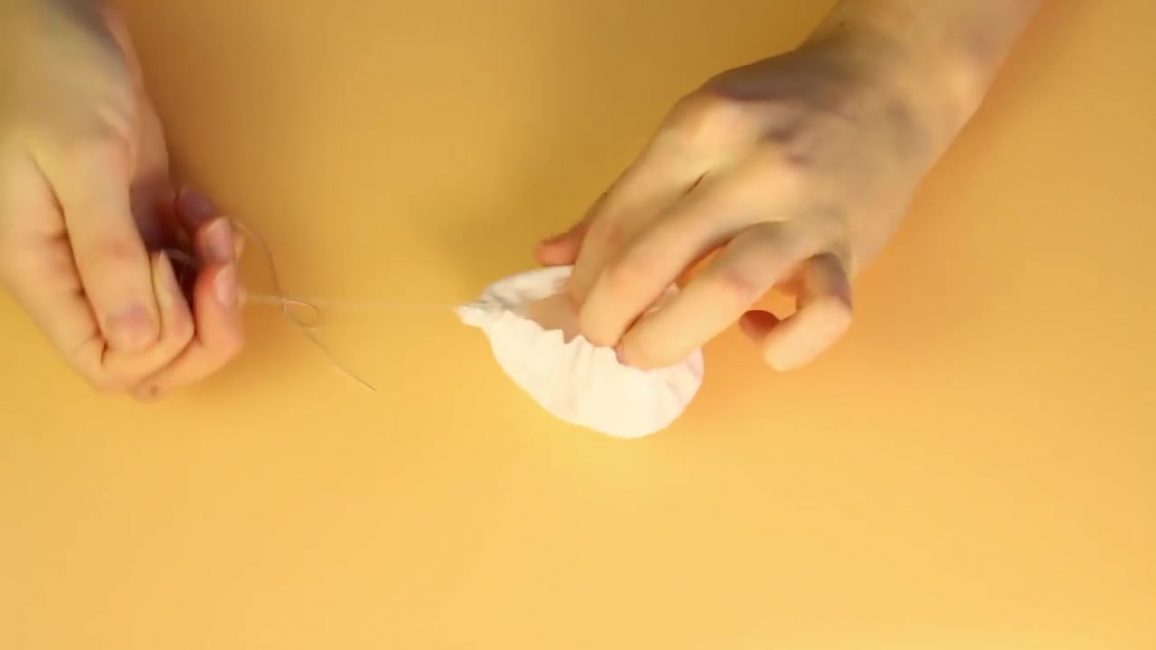
We take a thread with a needle, we begin to sort out the blanks along the edge. Thread the needle at the border of the circle and make regular sweeping stitches. Reaching the start of sewing, pull off the workpiece. You must have a peculiar bag.
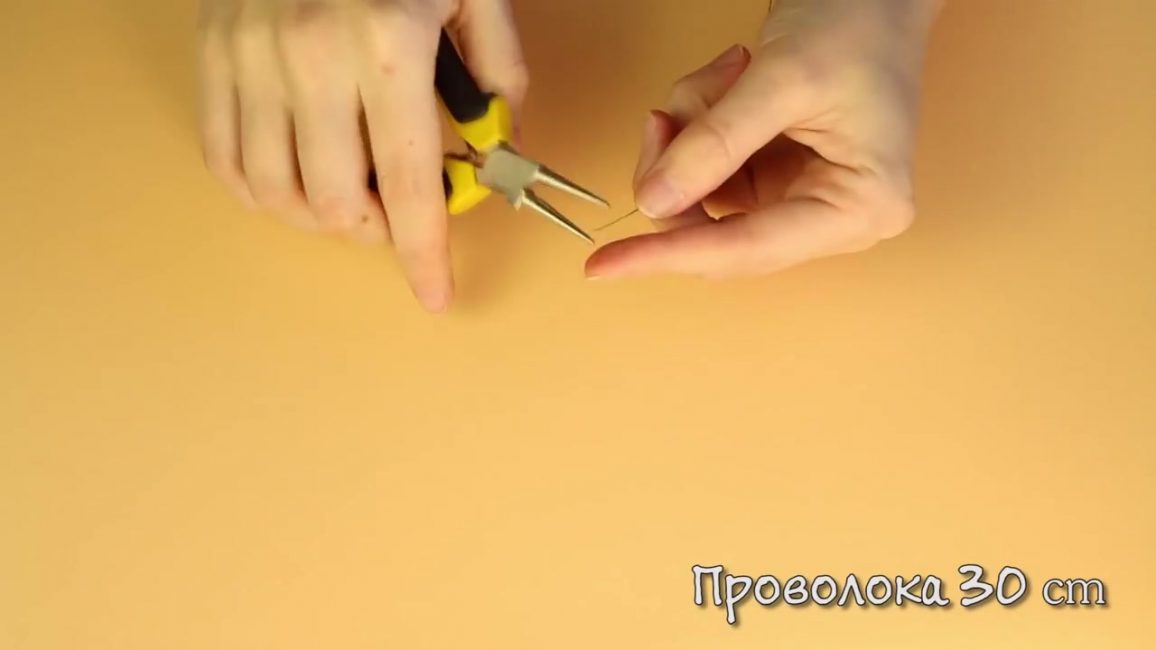
Now take the wire, we will need 30 cm. At the tip of the wire, twist the ring so that the blanks do not slip out.
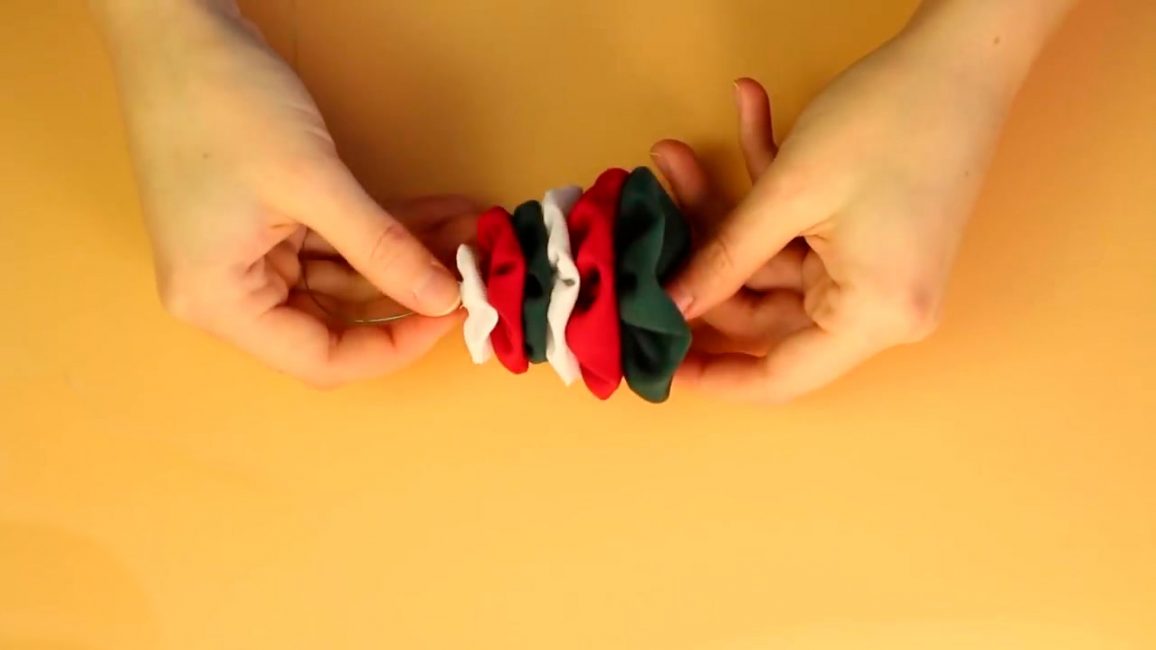
Begin to string the workpiece as the circumference decreases. It is desirable that the color of each row alternated. At the end, put a few beads on the wire, thread the wire back and cut it, making a loop.
Finished crafts perfectly fit into the New Year's interior, and will also become a beautiful Christmas-tree toy. If you make several of these toys, you can create a full-fledged New Year tree with handmade crafts.
Crafts for the New Year can be made from a large number of materials. Any tools available in the house, will be useful in the work. The resulting crafts can give friends, friends - they will be pleased. It is also easy to decorate the interior of the apartment with products, creating a New Year mood for the family.
Making a Christmas tree
Christmas tree workshop
