How to make candles with your own hands at home? Interesting workshops (155+ Photos)
")
Learn how to make candles with your own hands at no great expense and have fun.
Content:
In medieval times, candle trading was vital to kingdoms and villages.
Interest today is more common among women, but the making of this device is a courageous skill that can be traced for many years. Especially in medieval times, their trade was vital for kingdoms and villages because light was a necessity.

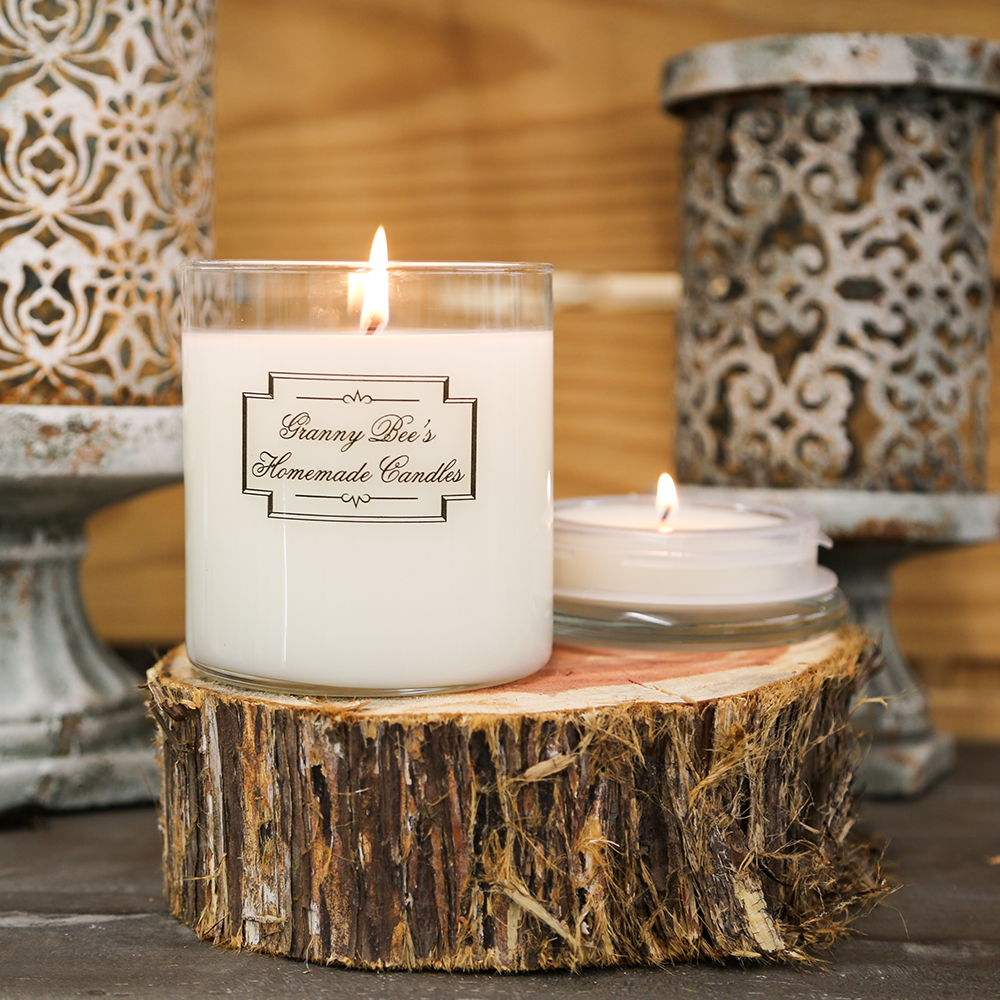
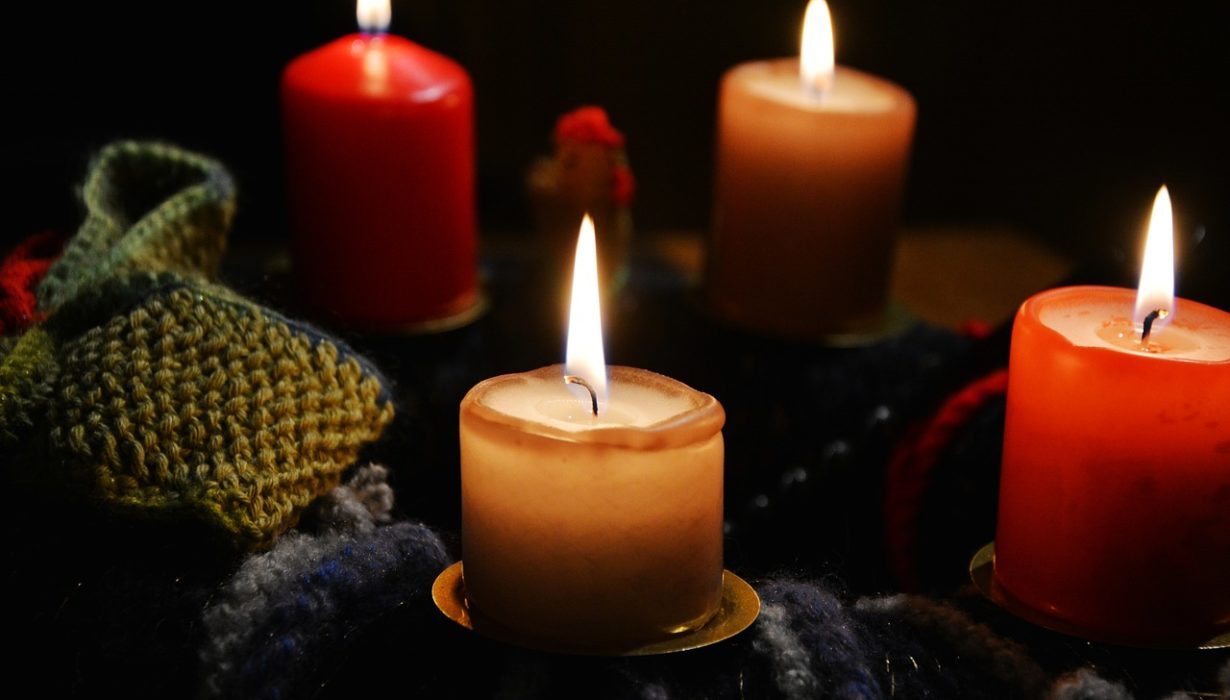
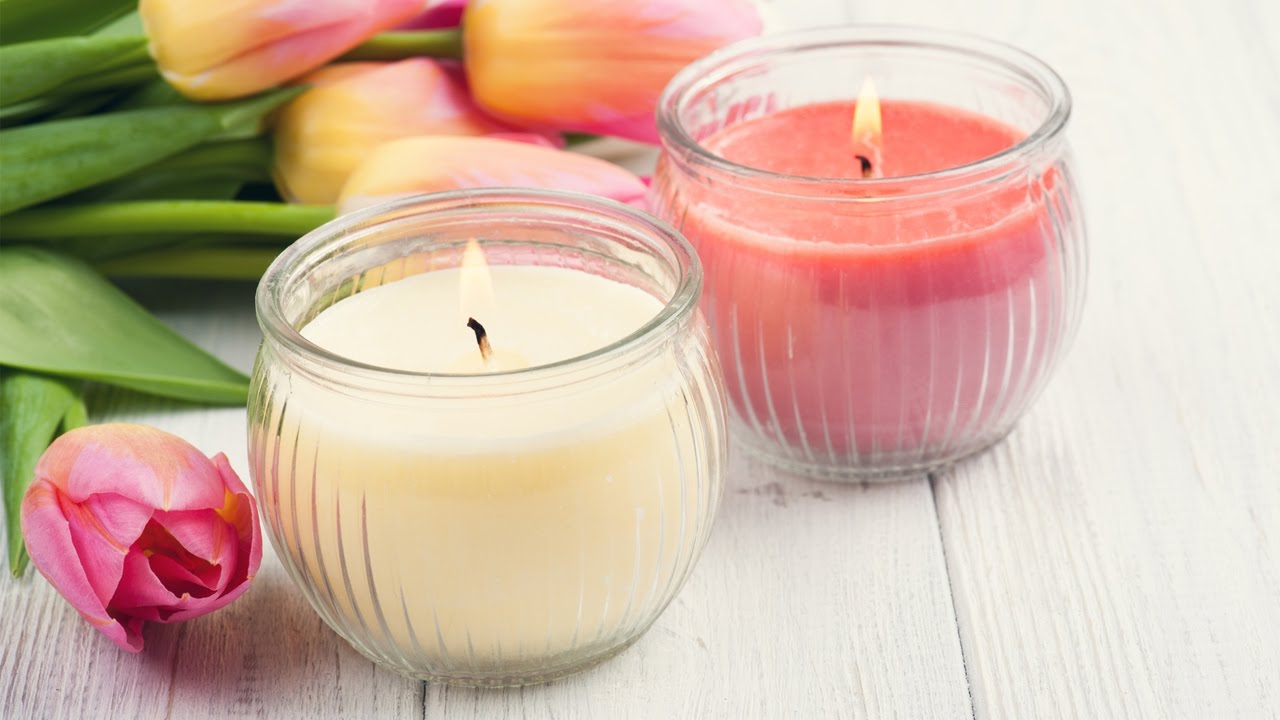
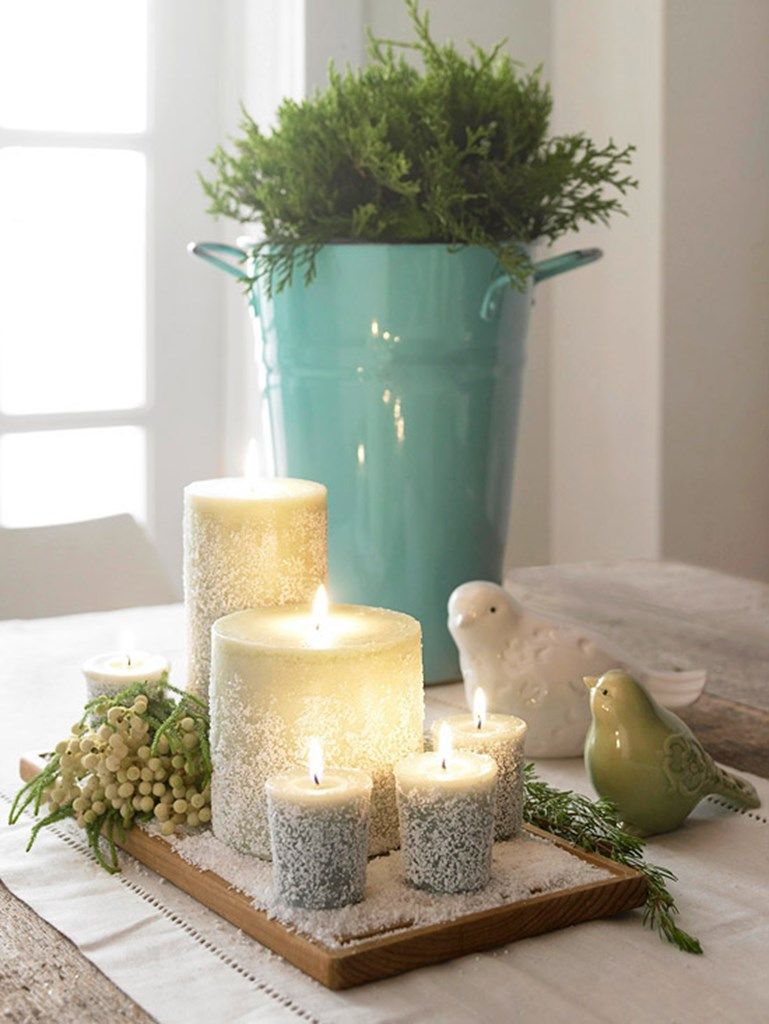
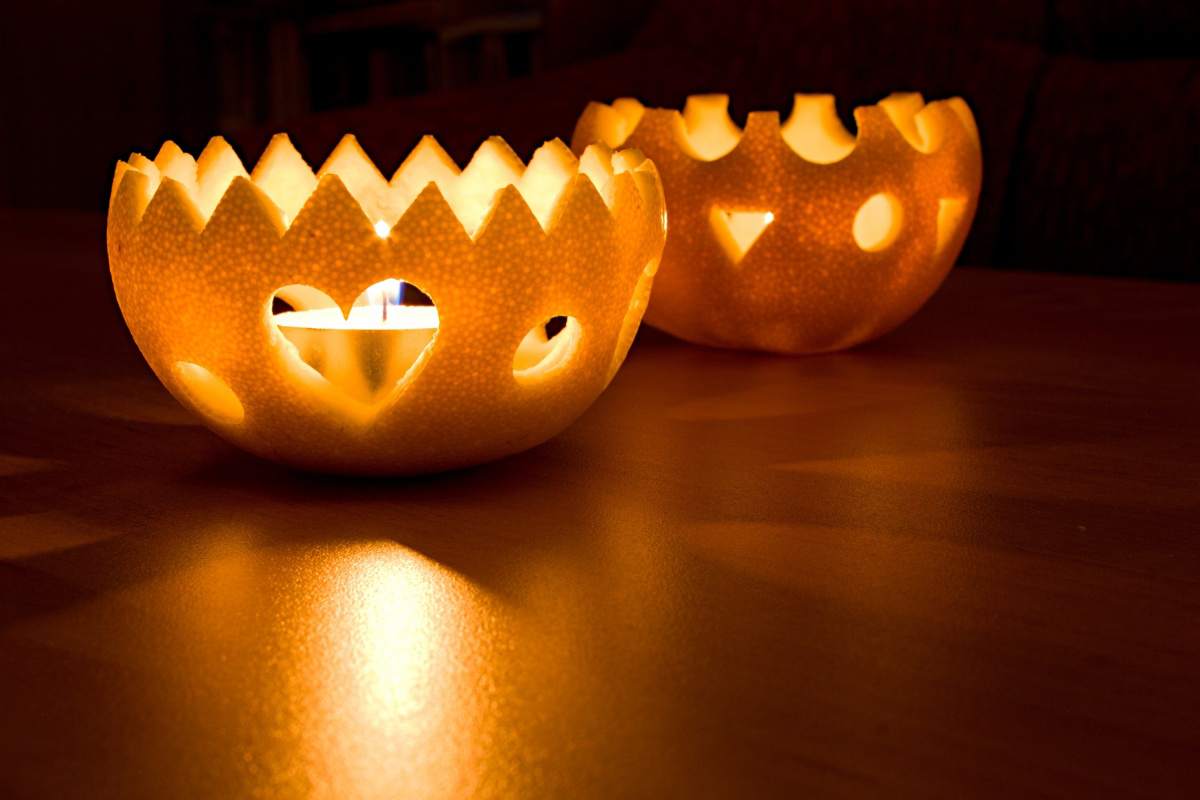
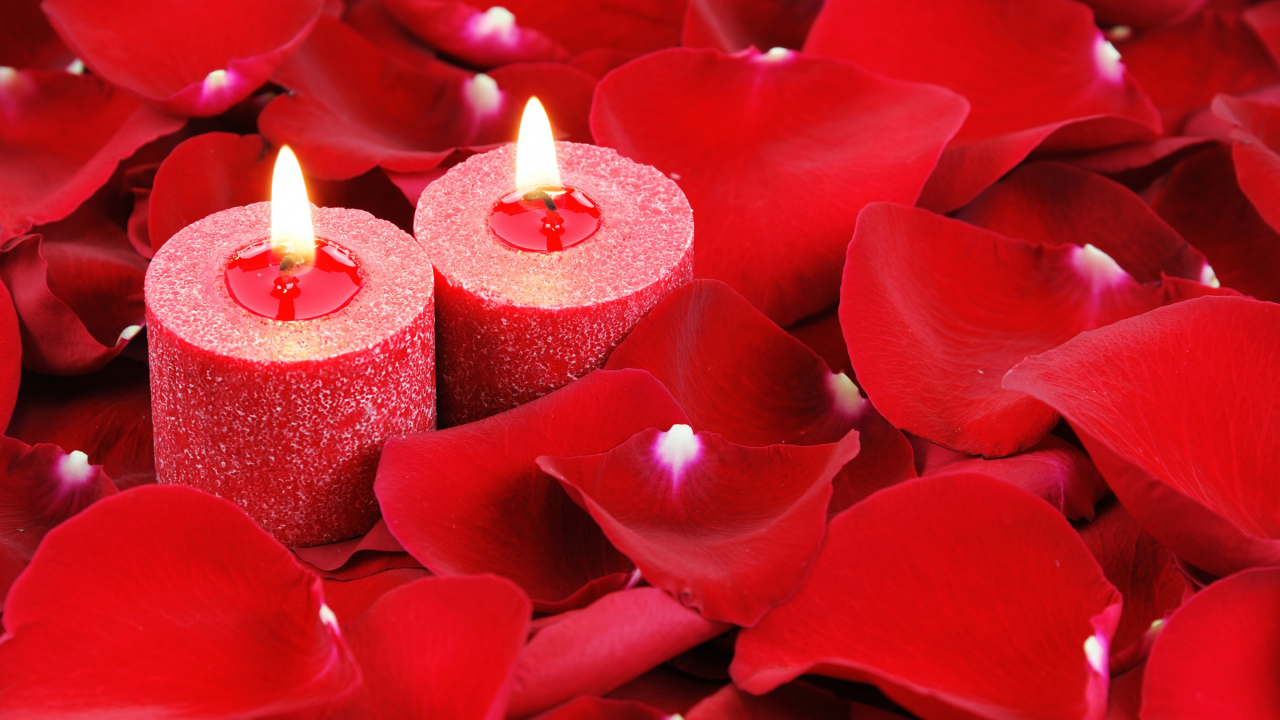
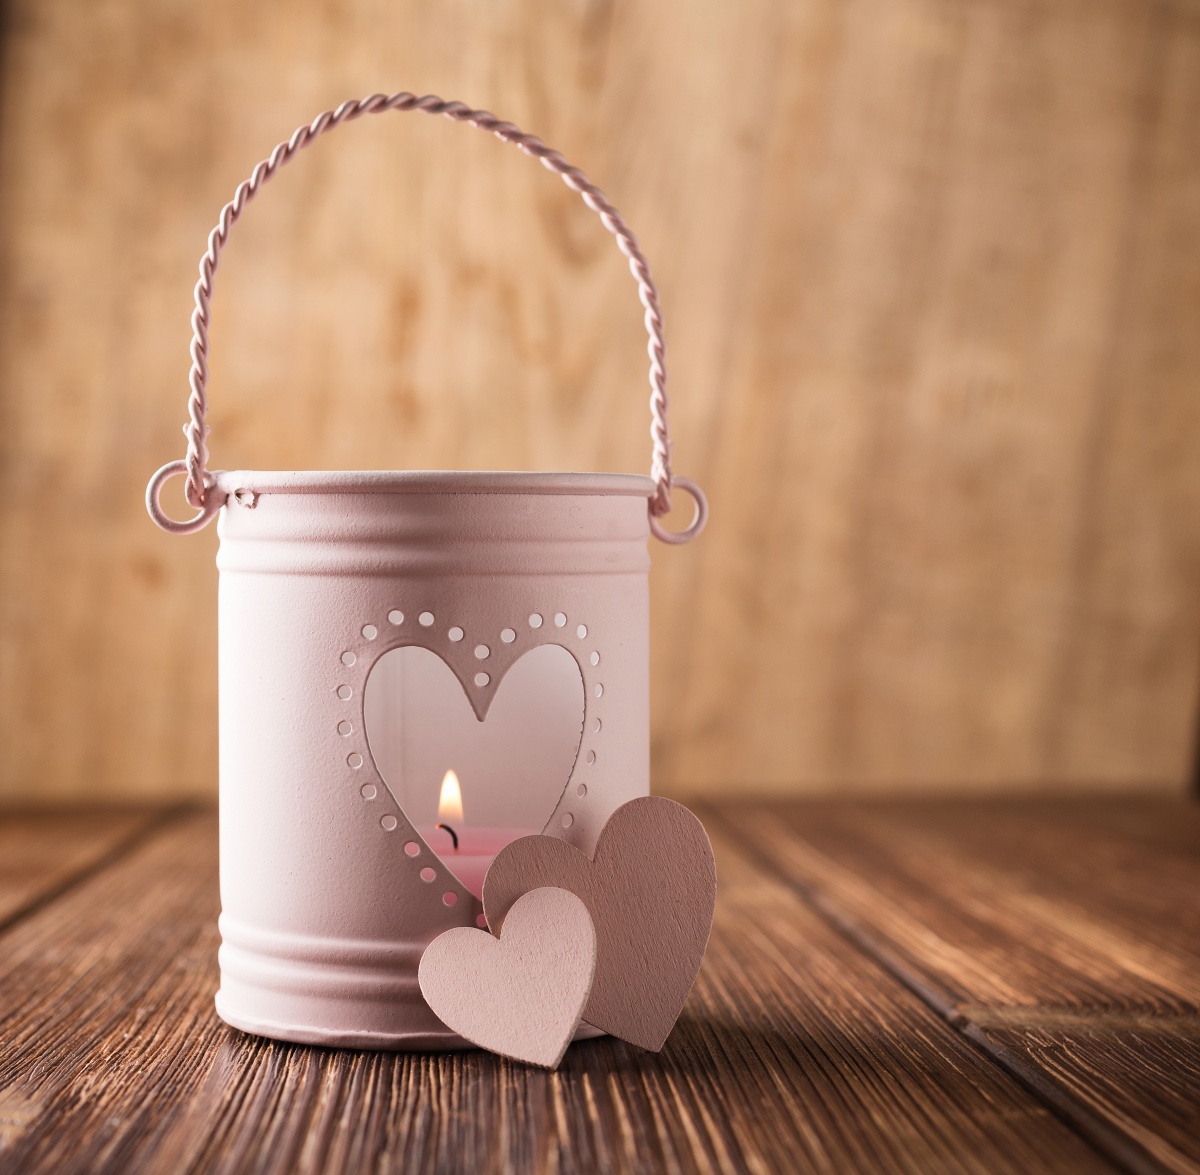
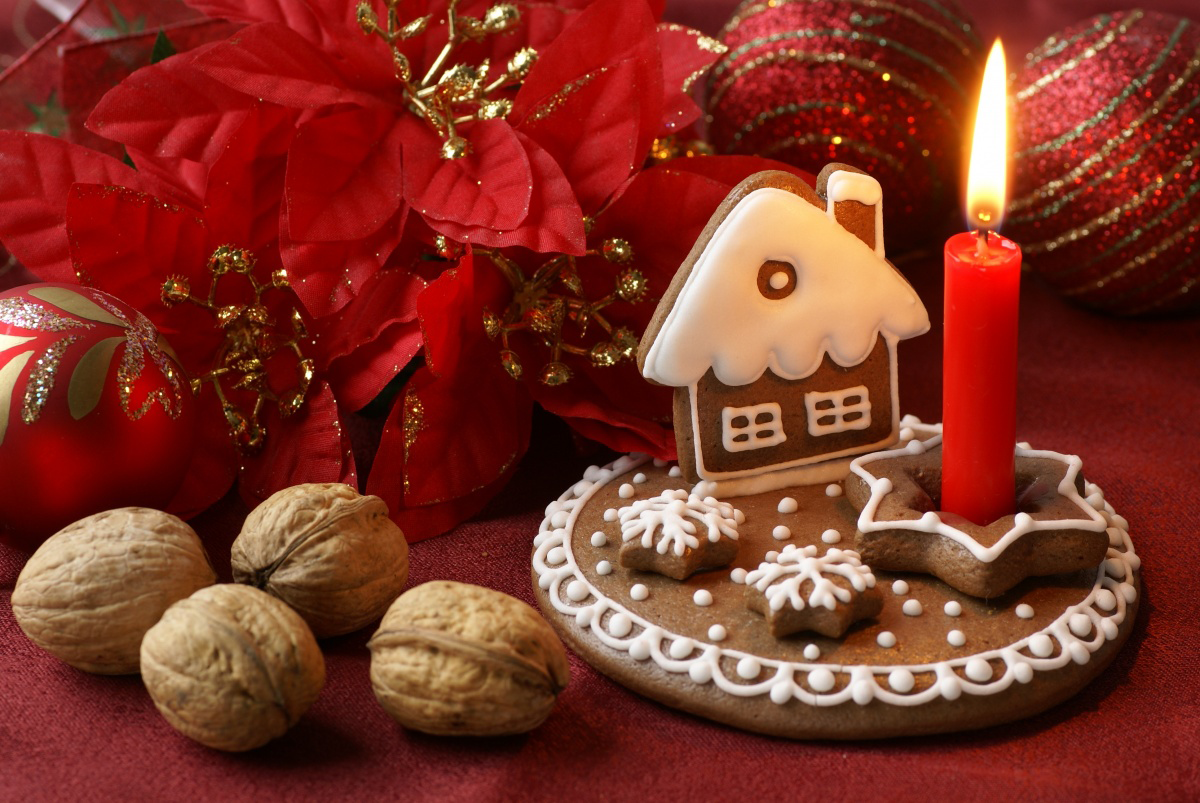
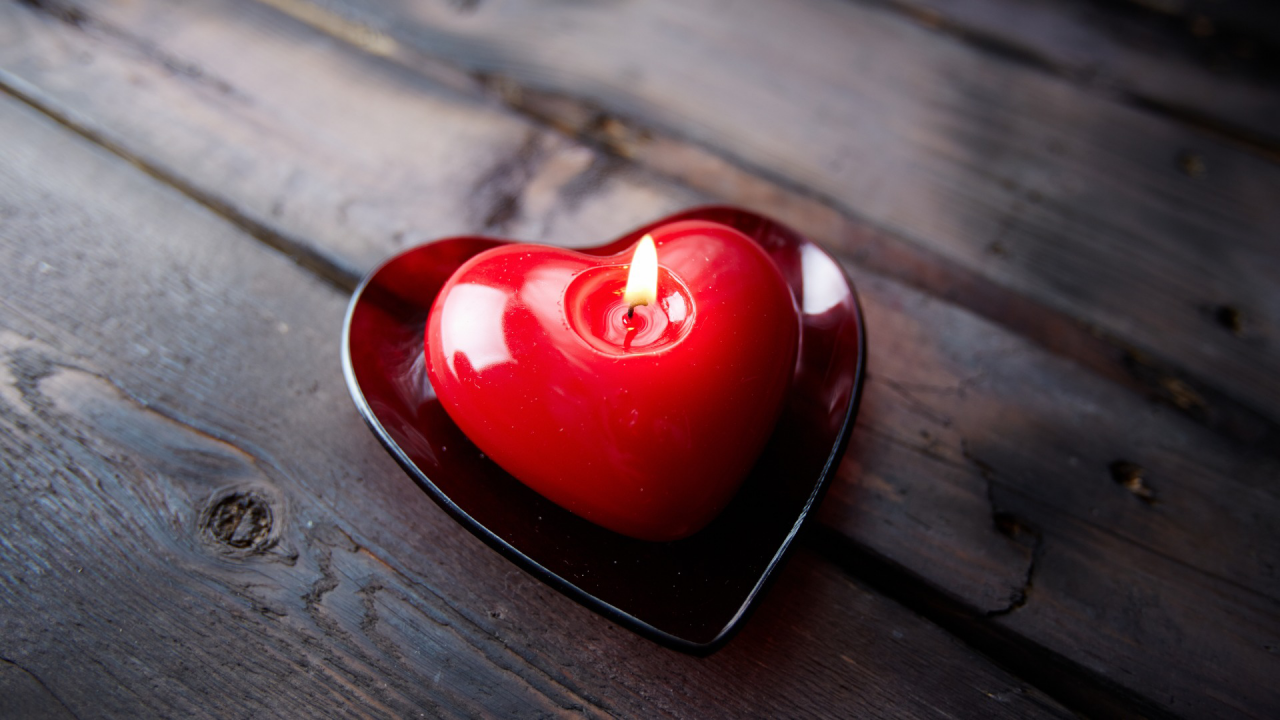
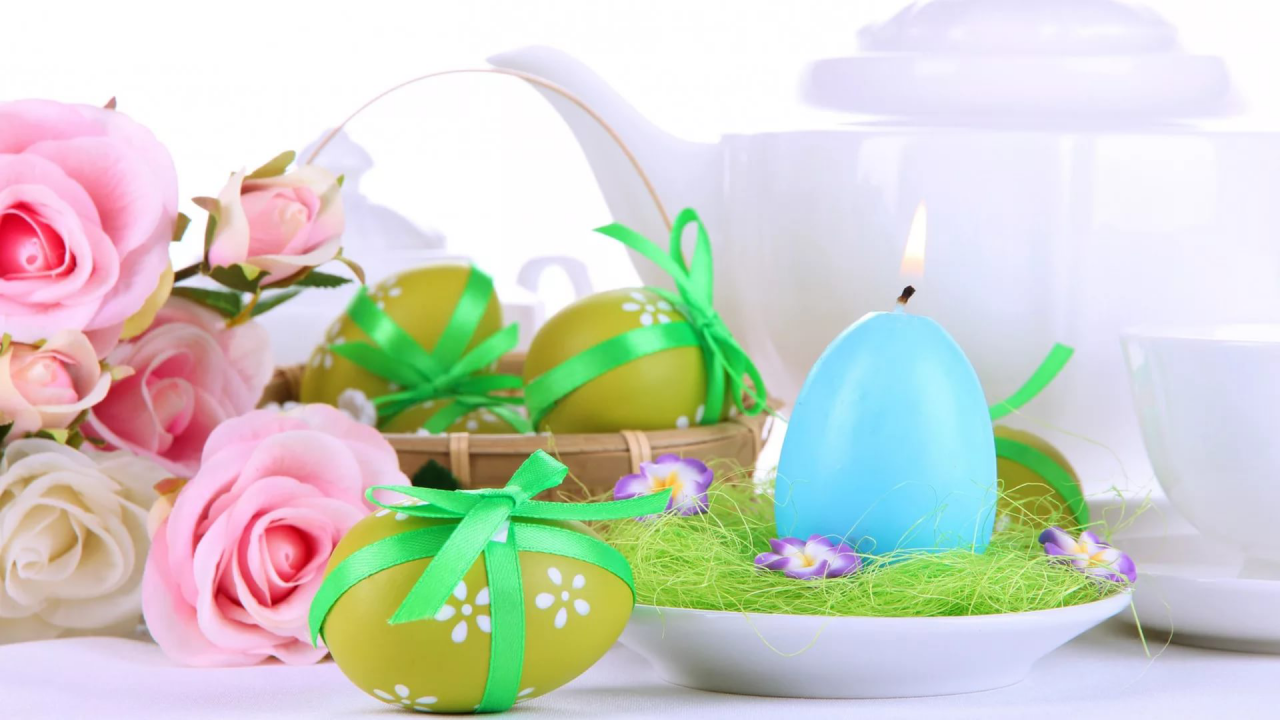
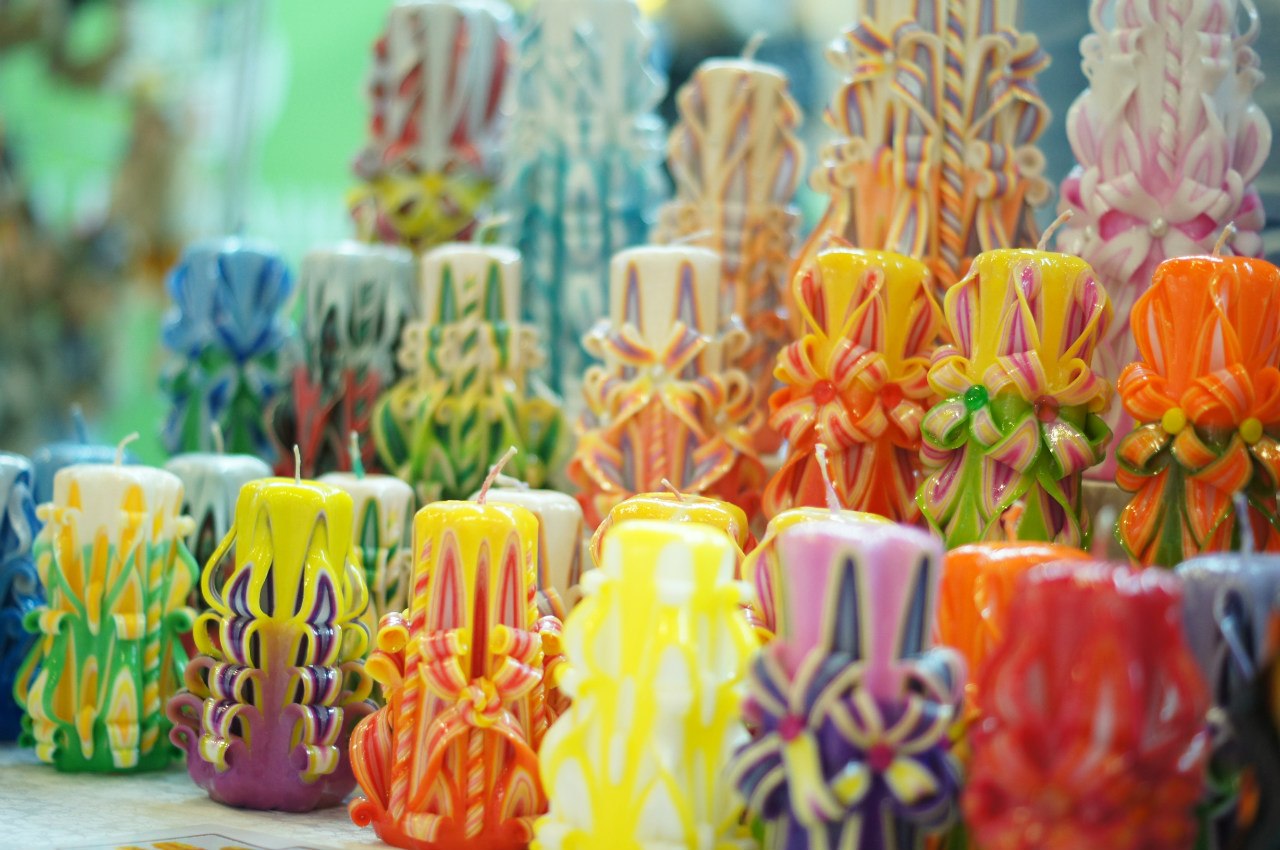
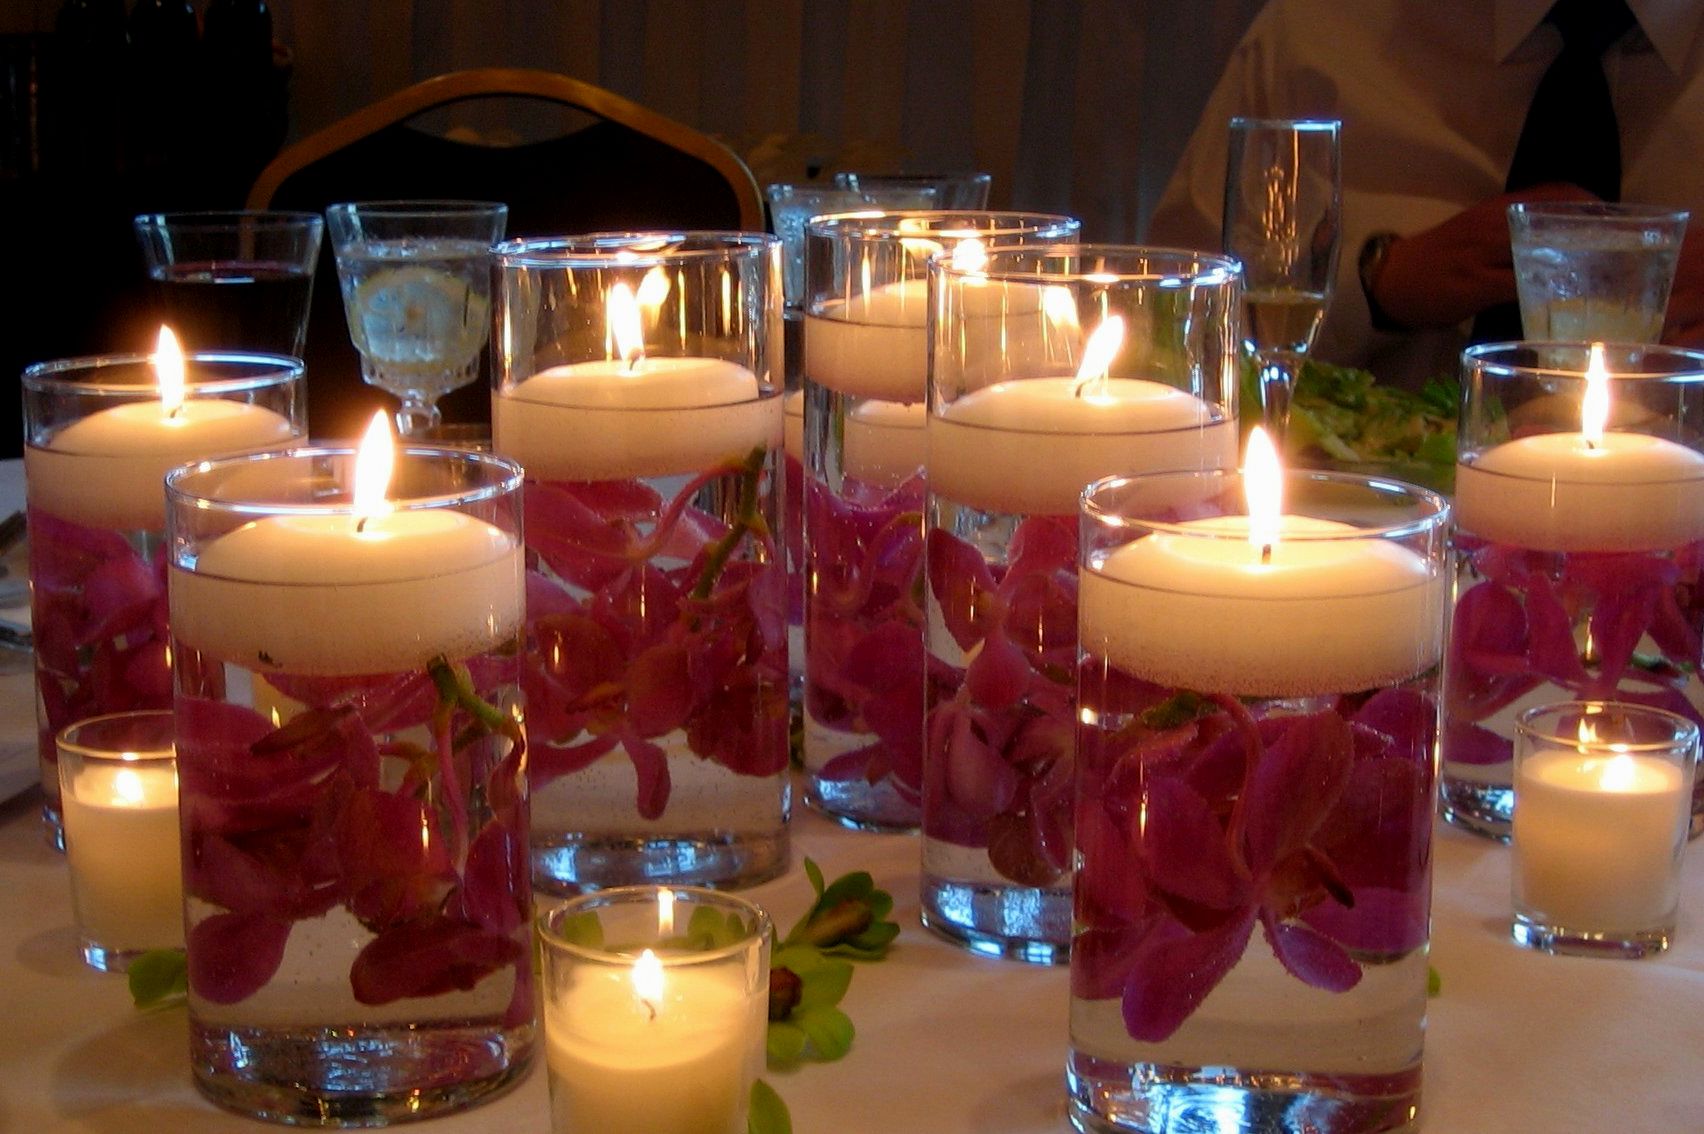
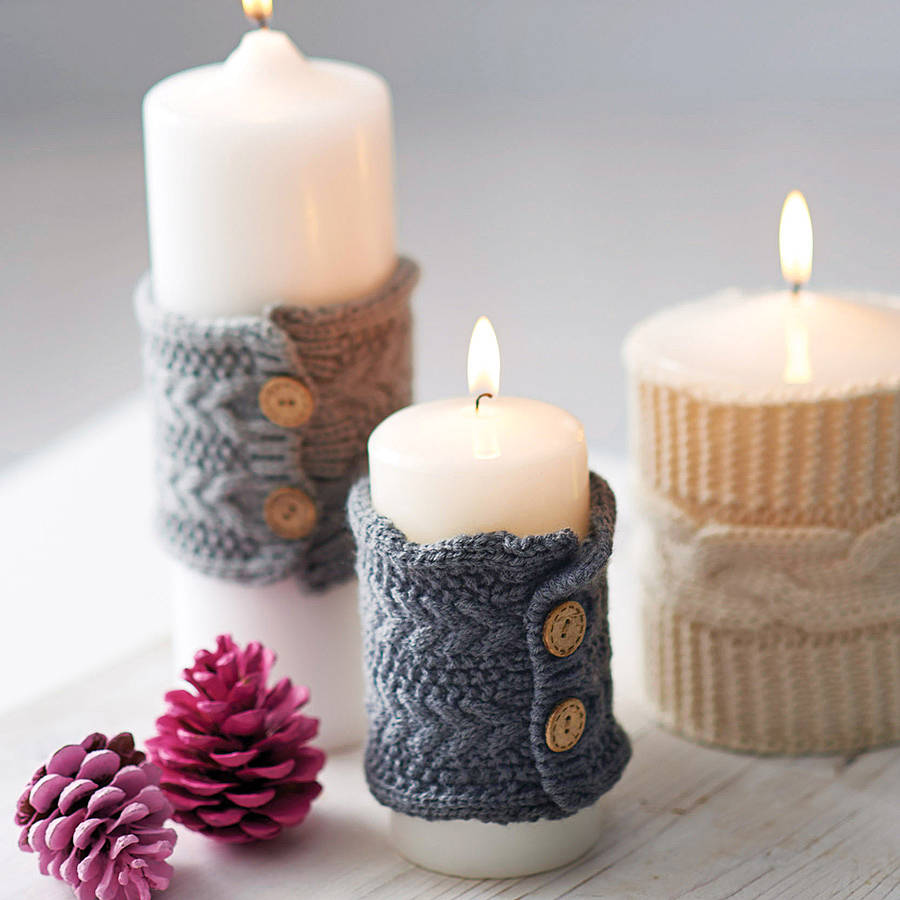
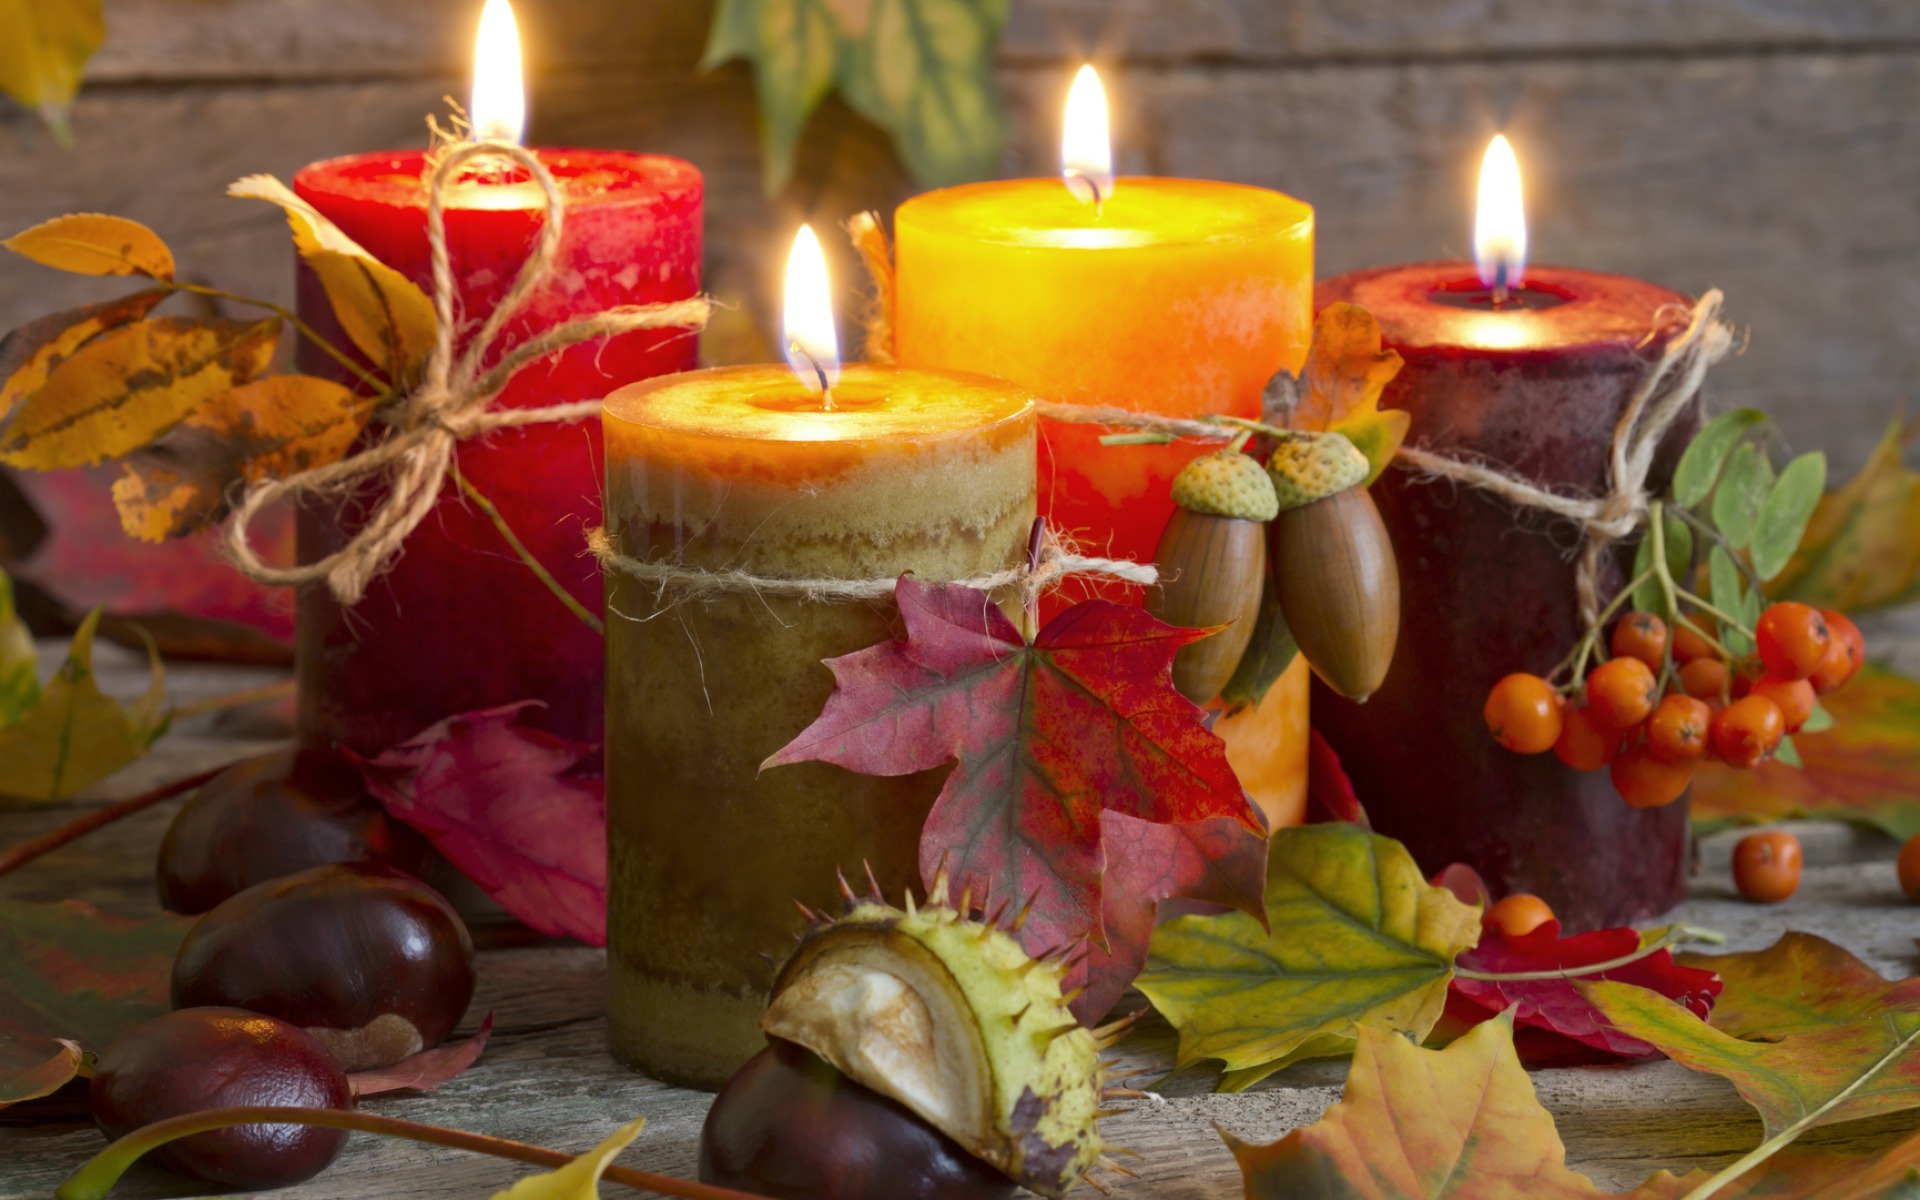
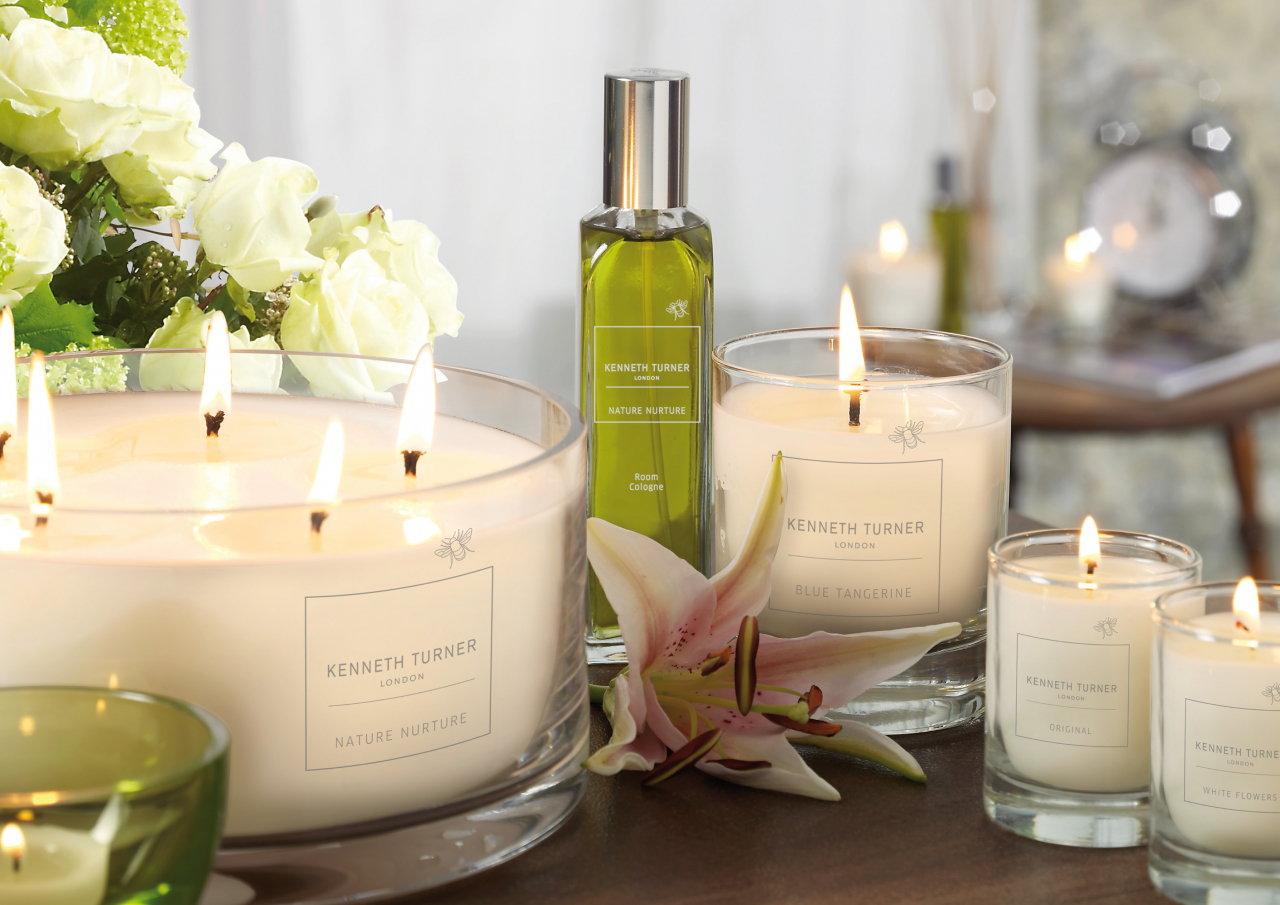
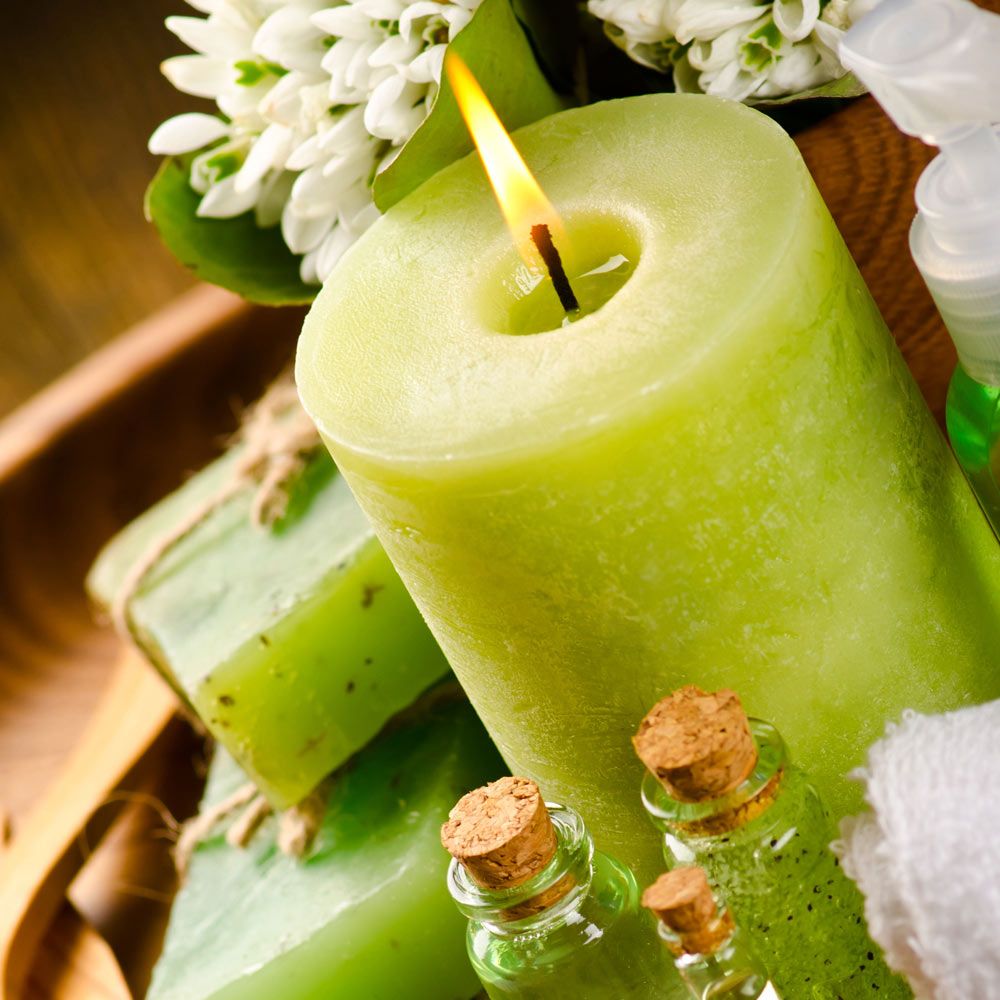
Can add to any room an atmosphere of comfort, coziness, romance
Today, when candles do not carry practical value, they can add to any room an atmosphere of comfort, coziness, romance. They have a very meditative relaxing effect, and may push you to think. Their main drawback is the relatively high cost. What do you need to do yourself?
Materials: what is required for manufacturing
To create the necessary wax, wick, aromatic oils, form, accessories
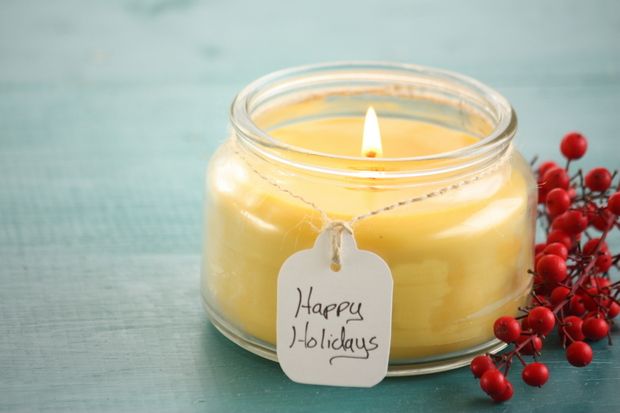
The process will not take you more than two hours, but the products will complement your home or work interior, will be a good gift for loved ones.
return to menu ↑Wax
This is the heart of the candle, of which there are three basic types.
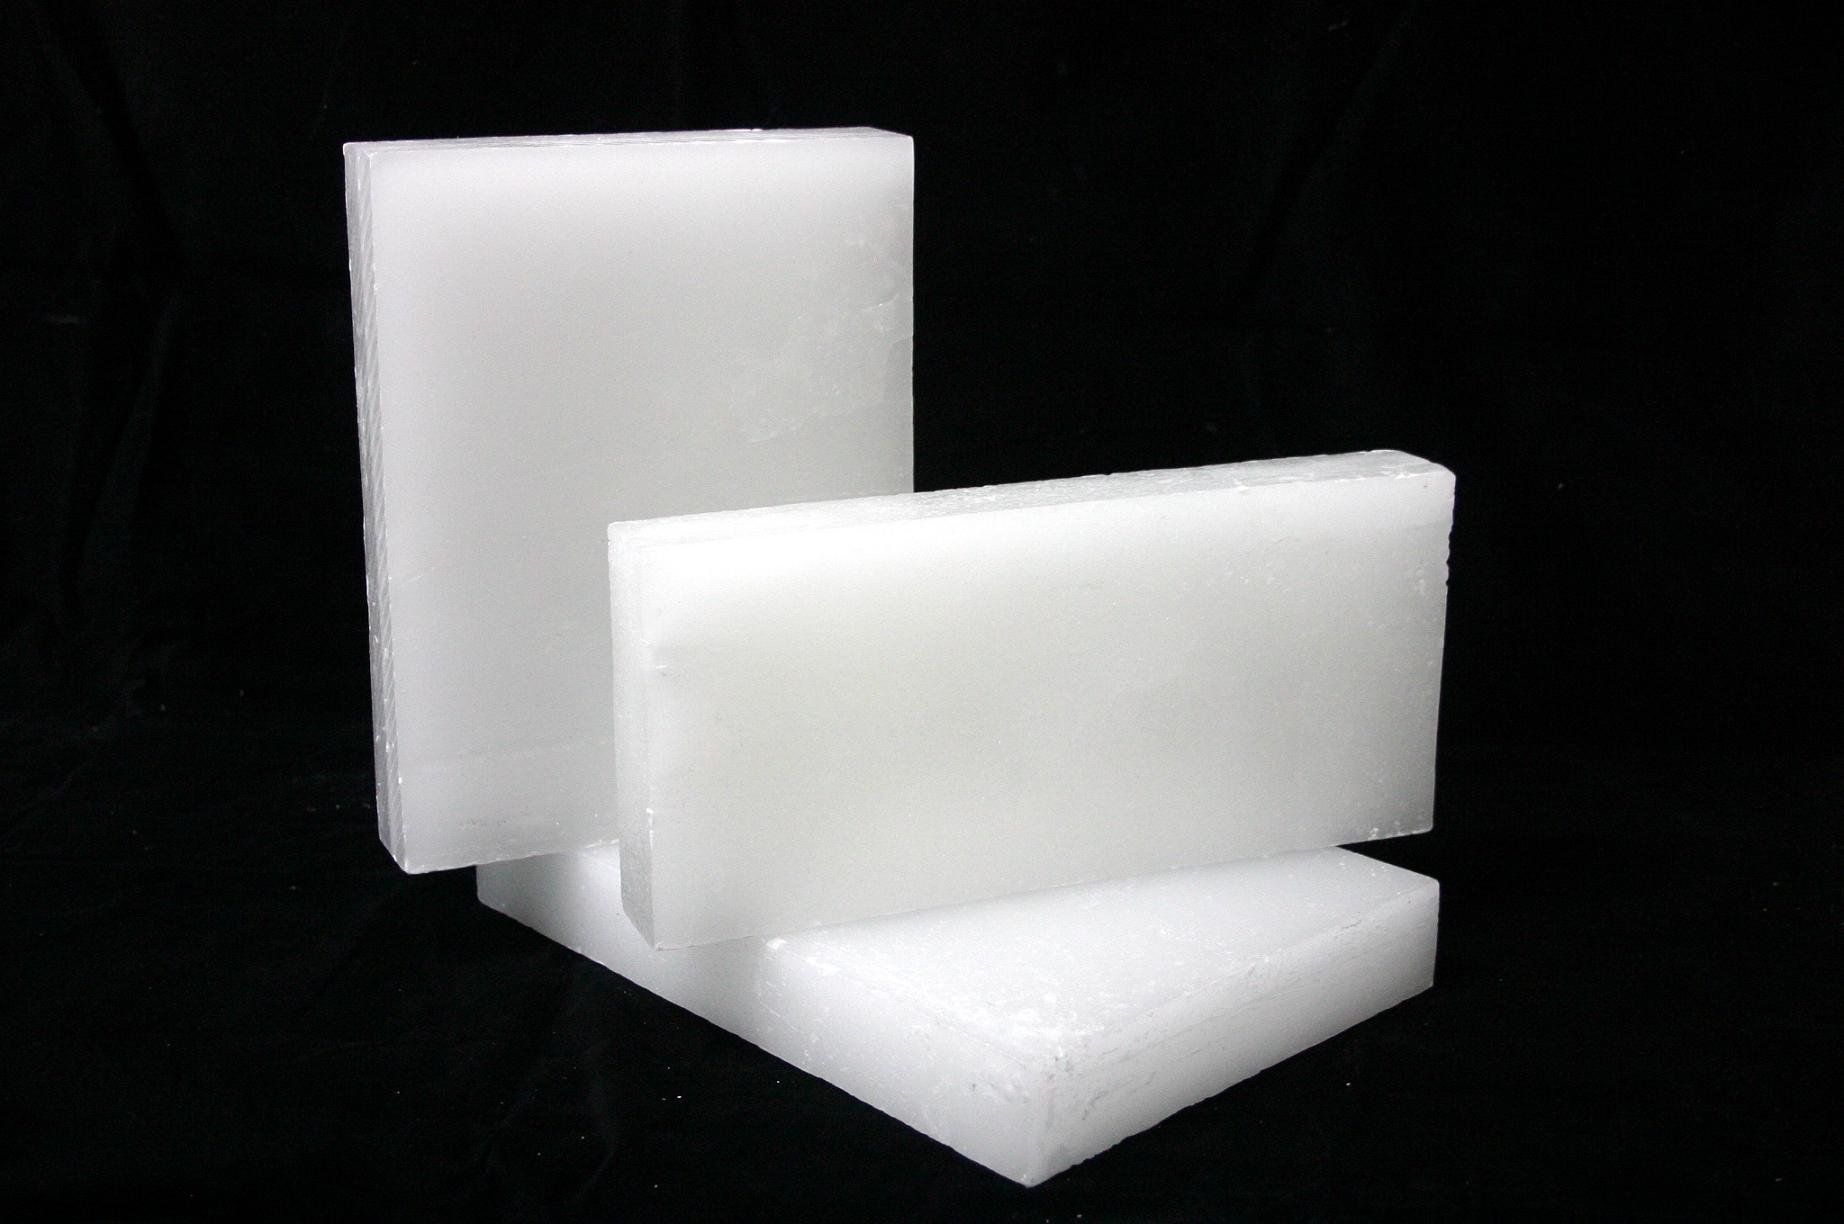
Paraffin. Traditional, used for hundreds of years to make light. Now he continues to be the most common among all species. It is cheap, you can easily add color and smell to it. The main problem of paraffin remains its potentially toxic nature. Paraffin is a by-product of oil, which automatically gives it a poor response for most consumers. If natural products are your credo, it’s best to look for an alternative.
Paraffin is a by-product of oil, which automatically gives it a poor response for most consumers.
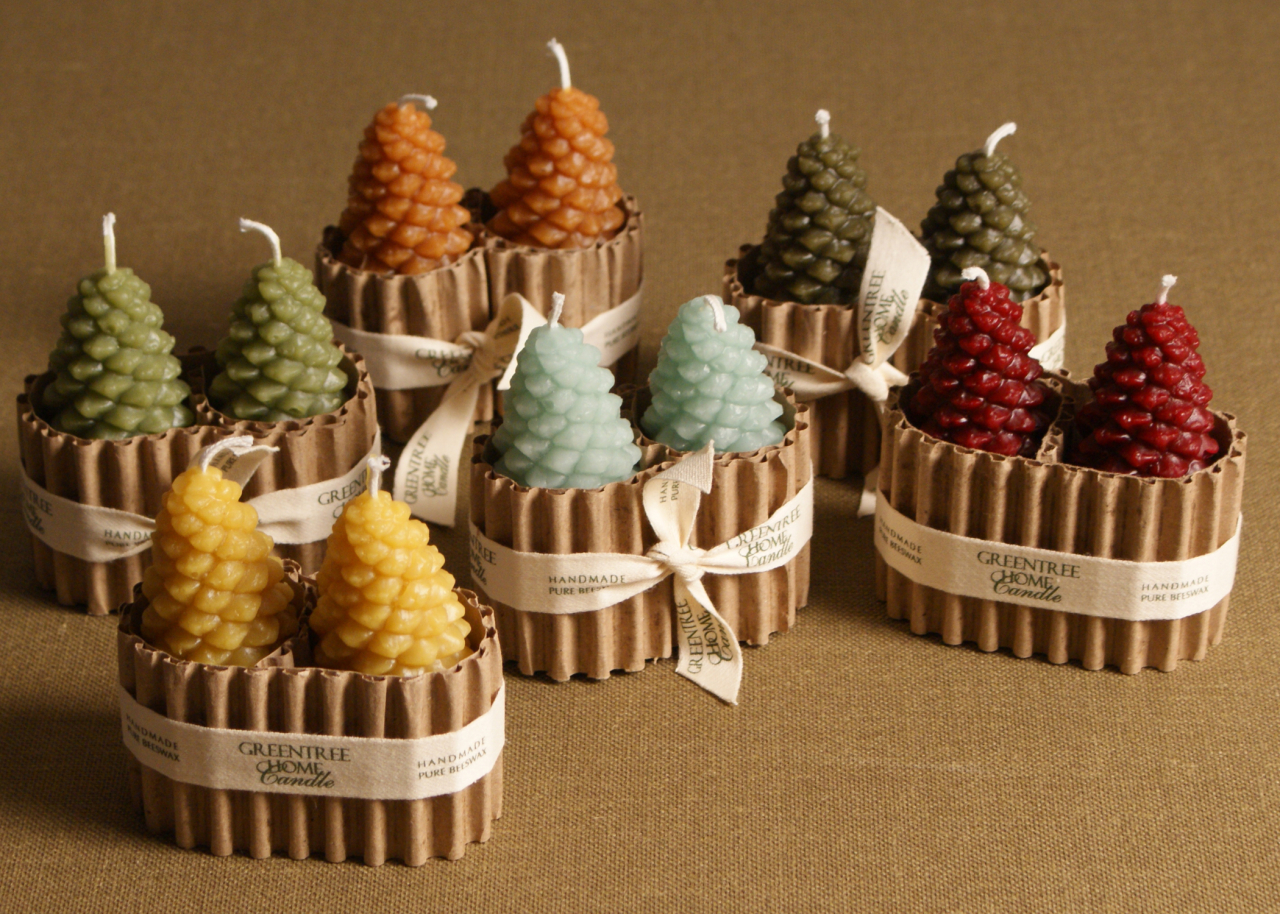
- Soy. New to the market, is becoming an increasingly popular main ingredient. Soy was created in the 90s, when the movement for natural products was actively gaining momentum. It is usually made from soybean oil, but sometimes it mixes with paraffin and other waxes (palm, bee, etc.) It also easily accepts colors and smells.
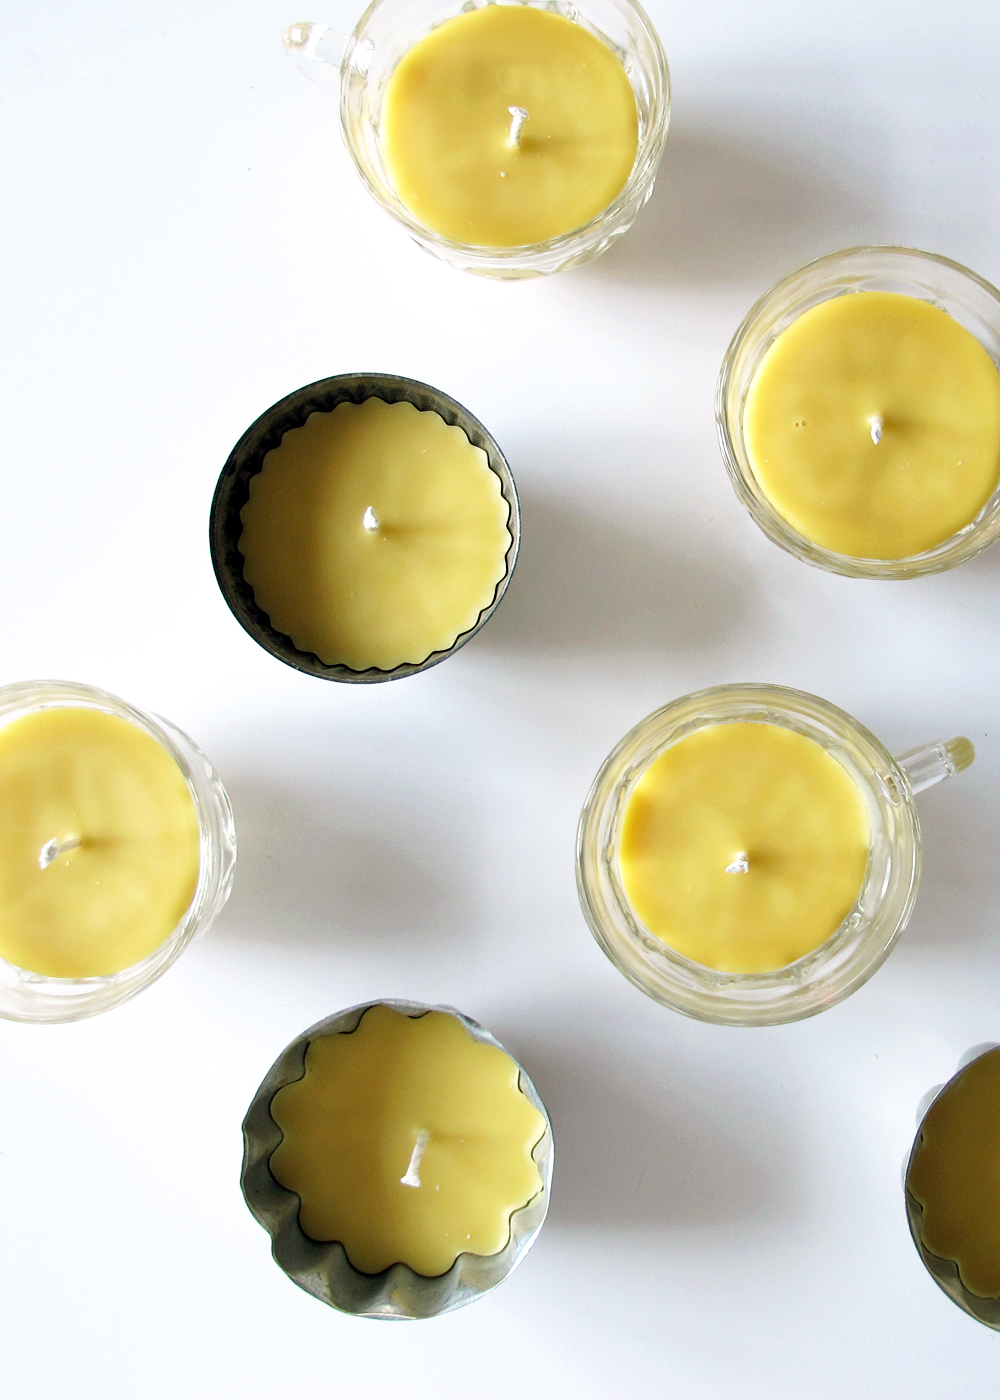
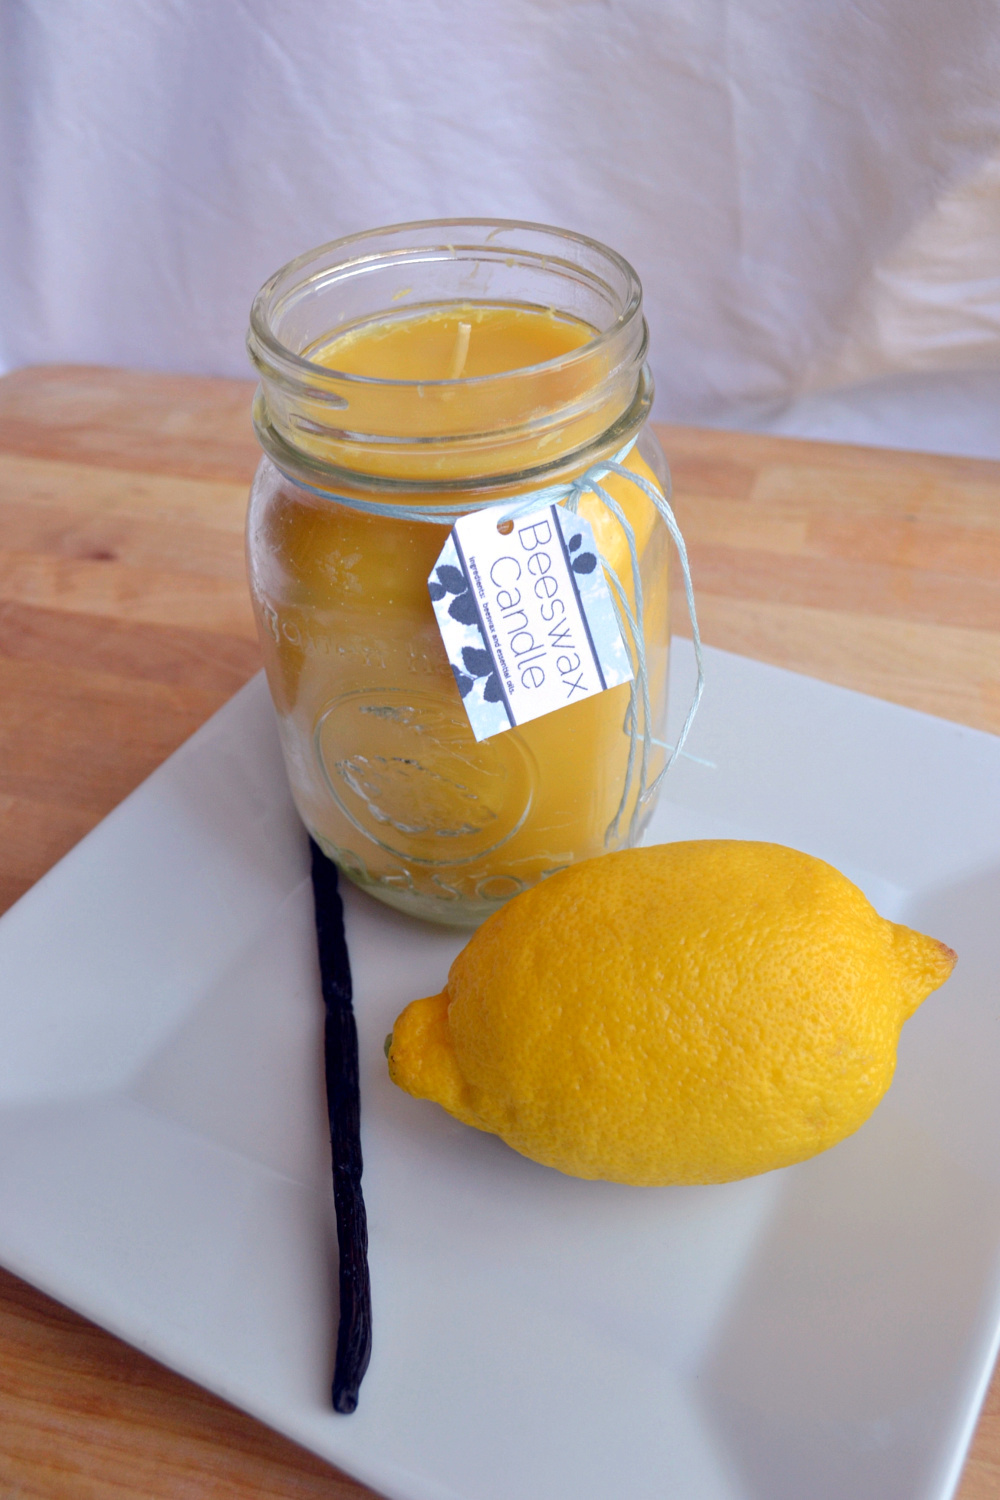
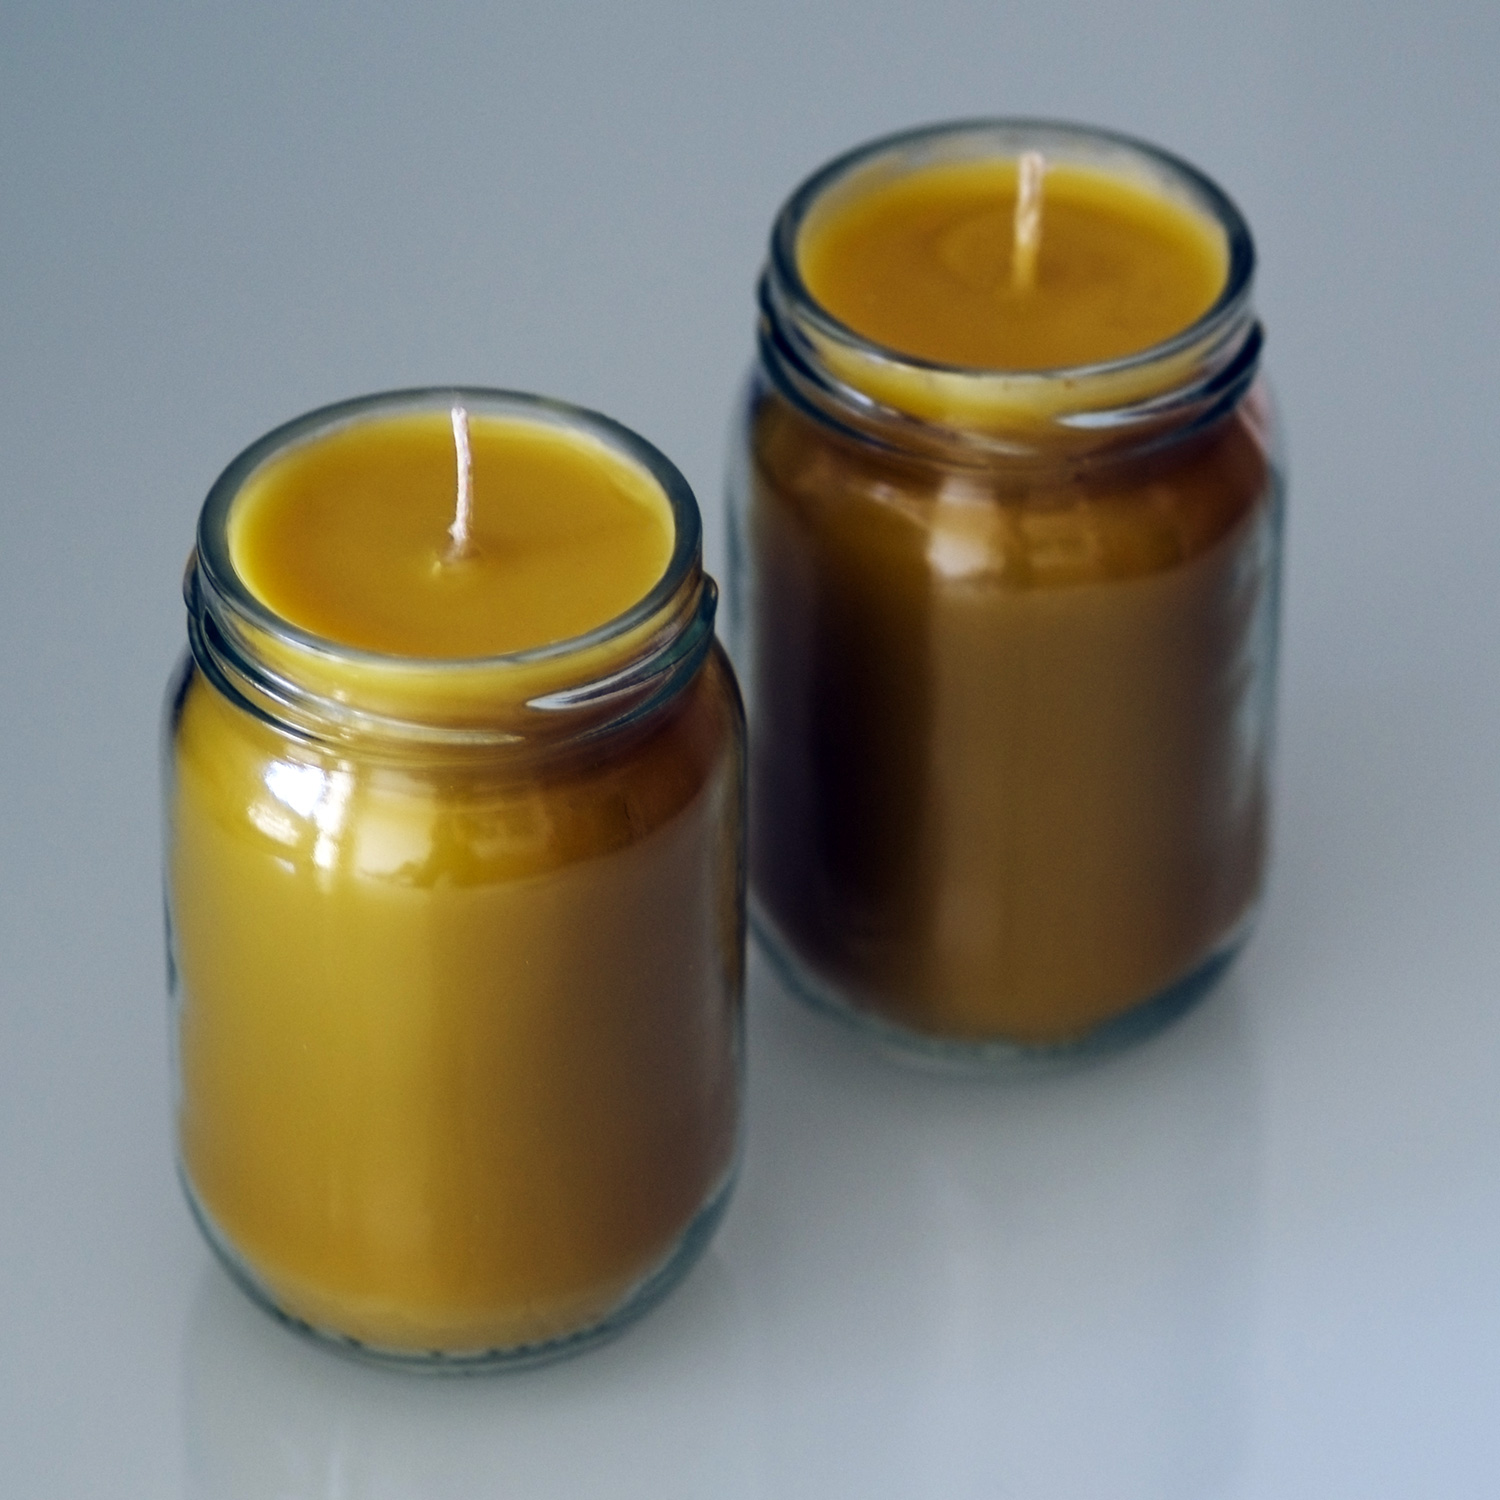
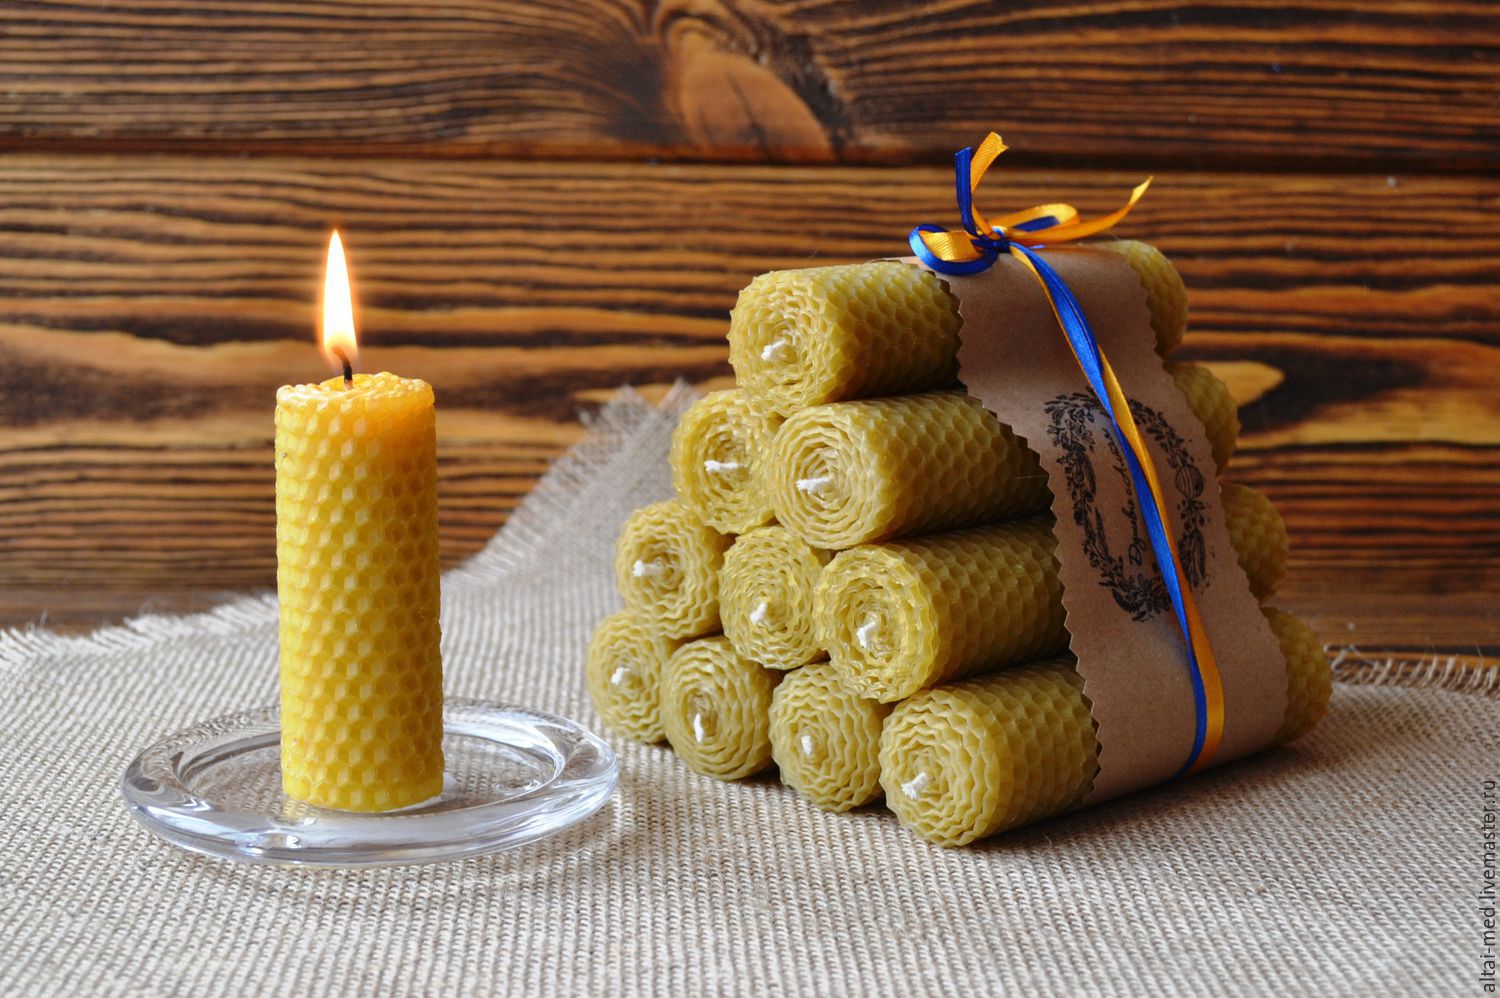
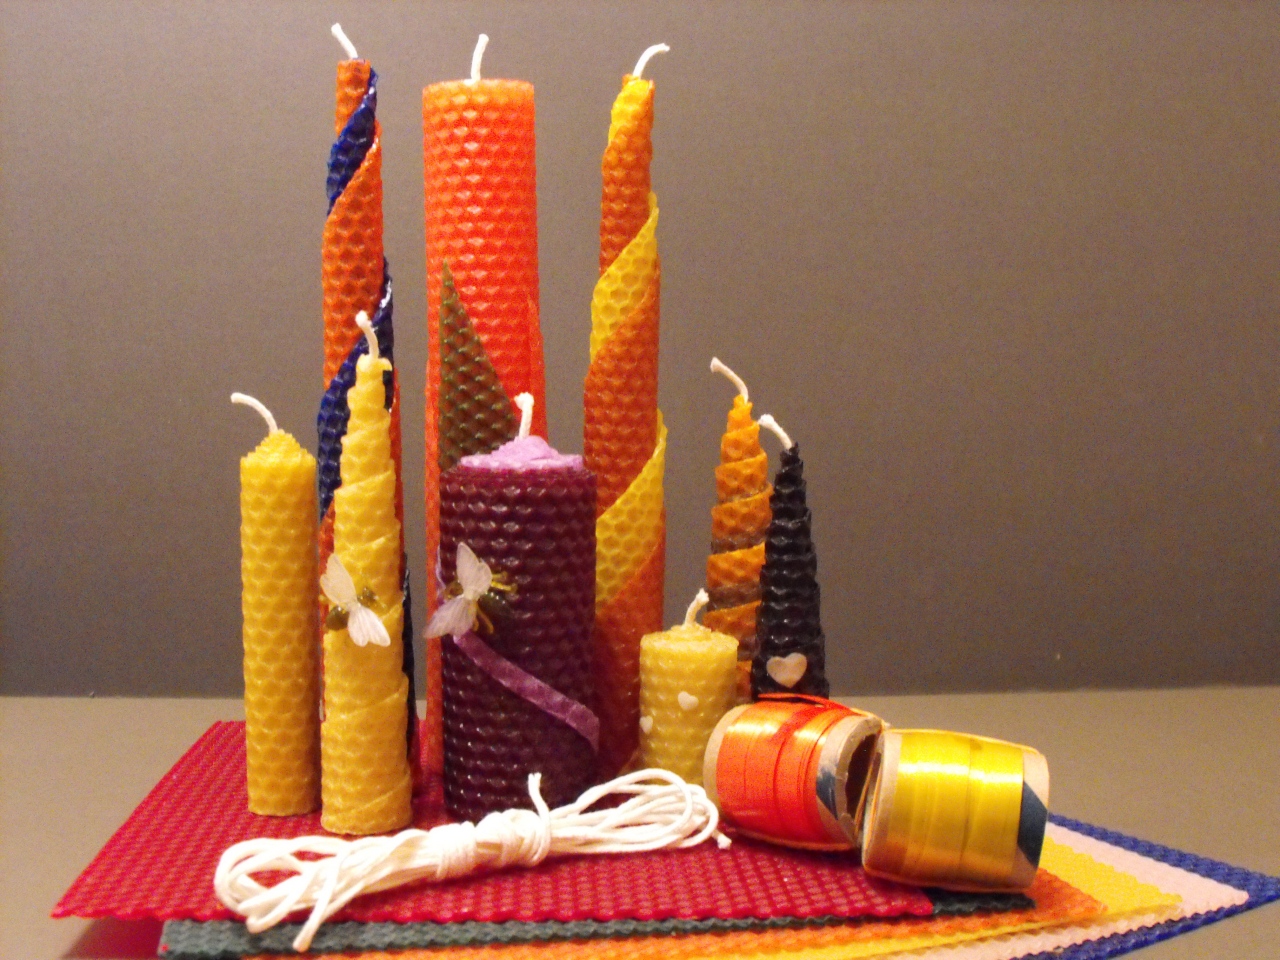
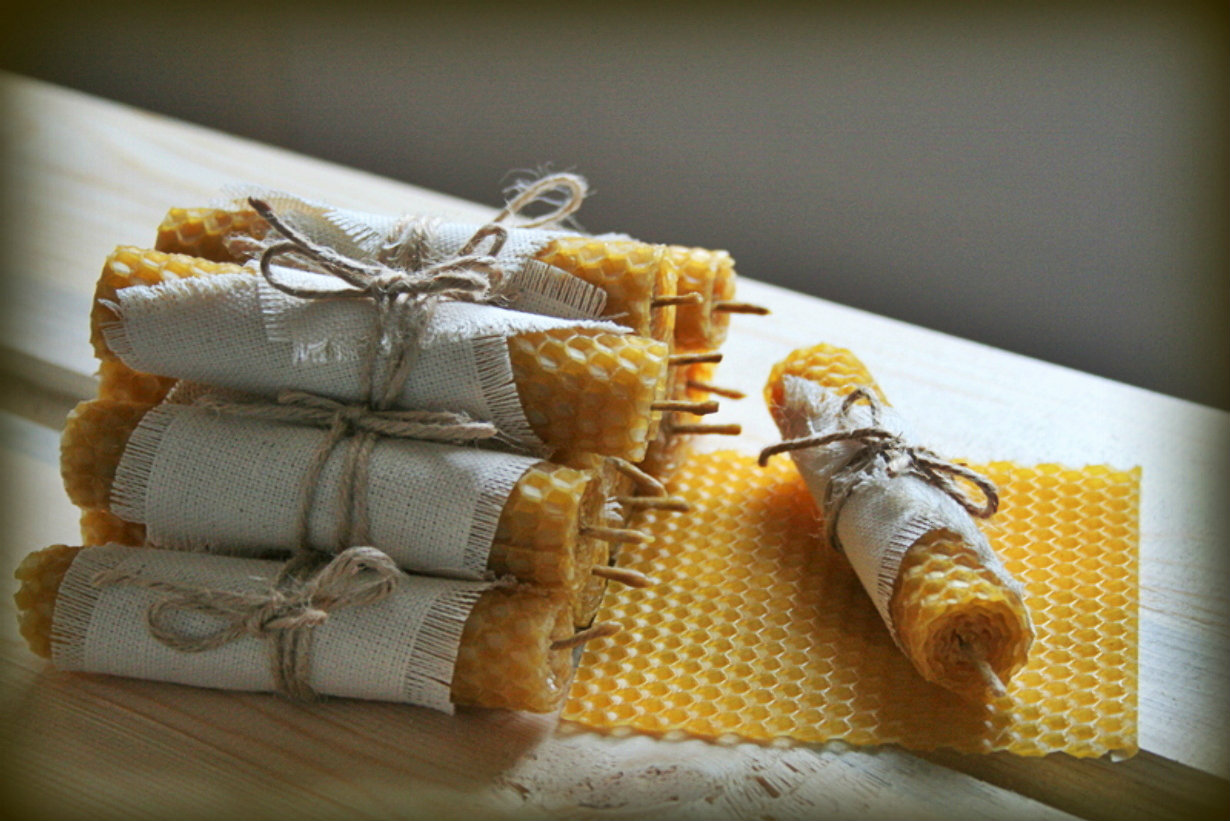
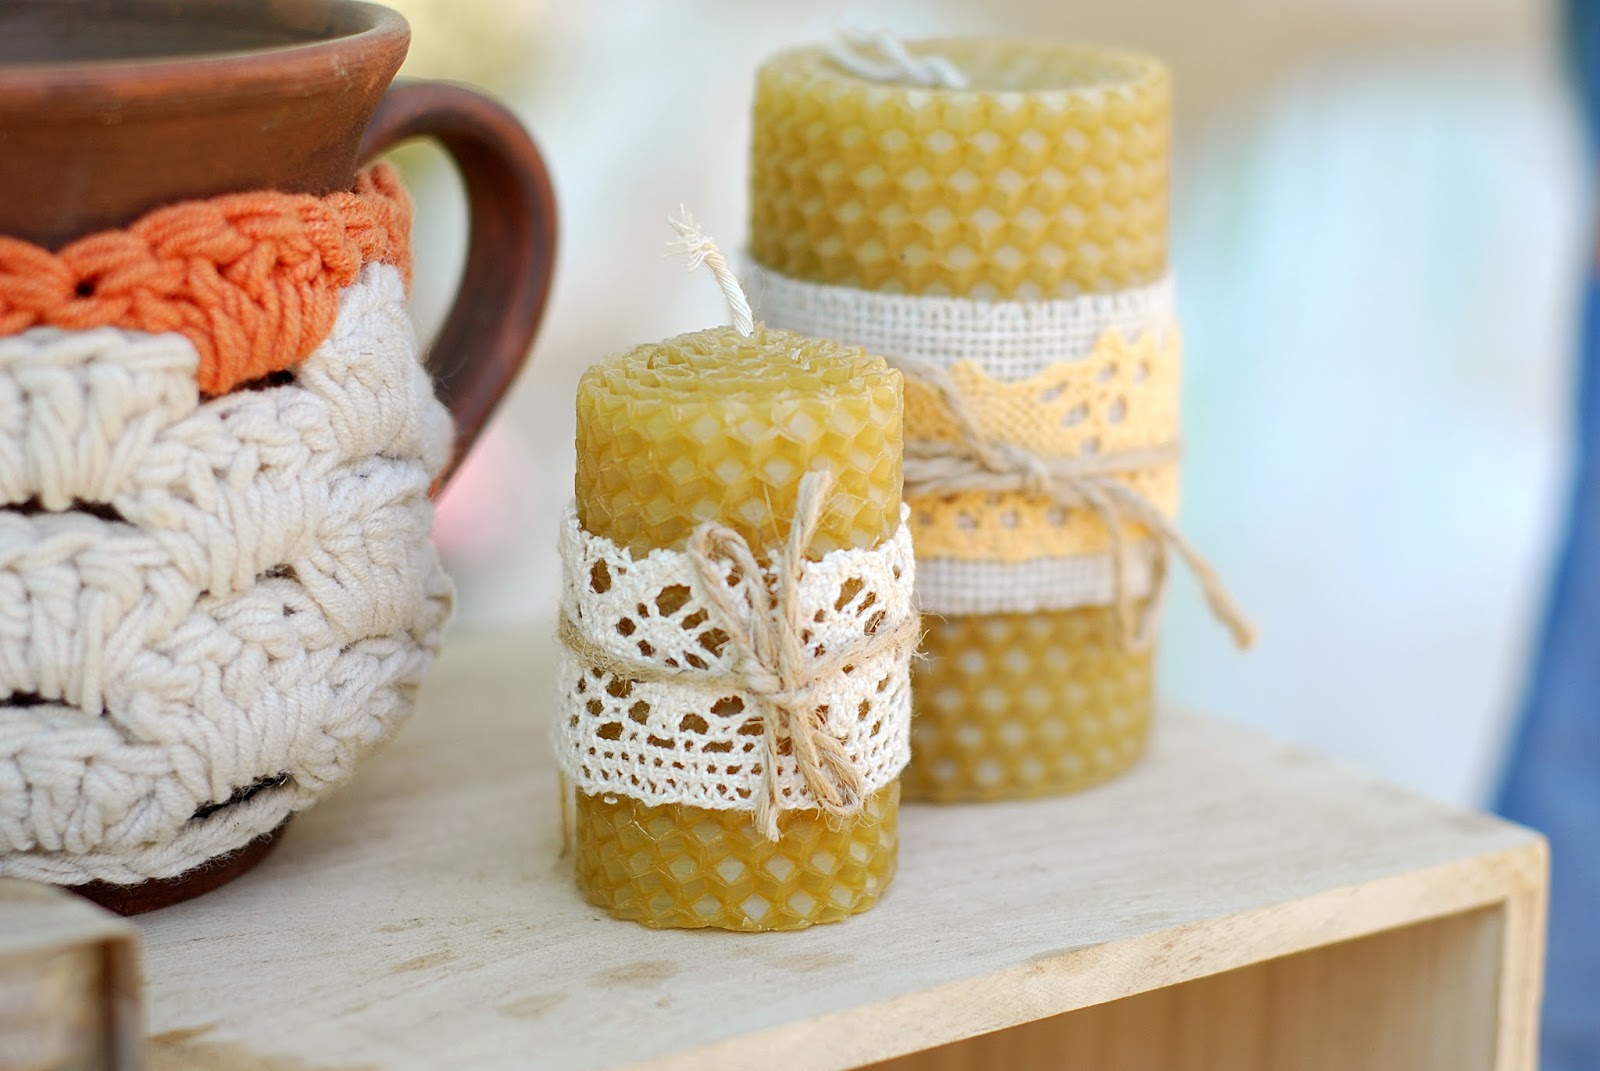
- Beeswax. The oldest ingredient to make; candles from beeswax were found in the great pyramids of Egypt. As the name suggests, it is produced by bees; it is a byproduct of the honey process. Because of this, it has a natural golden color and delicate sweet aroma. This is a completely natural product, but you cannot add other flavors to it. The natural smell will interrupt the rest of the flavors. Bee is also the most expensive option.
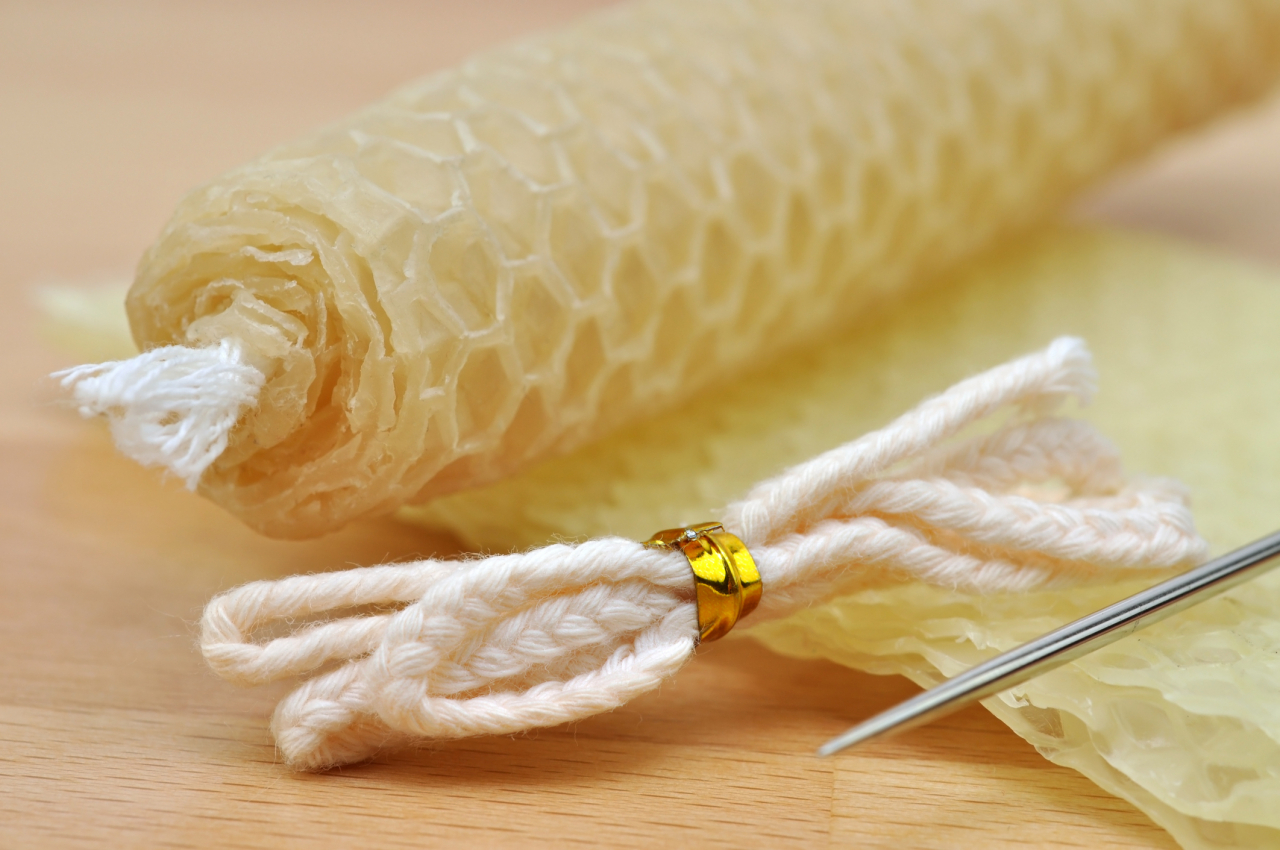
Beeswax candles have natural golden color and delicate sweet aroma
Most species that are sold in a store are sold in the form of pellets. This facilitates the work, since the granules melt faster. If you bought a block, use a sharp knife to cut it into small pieces.
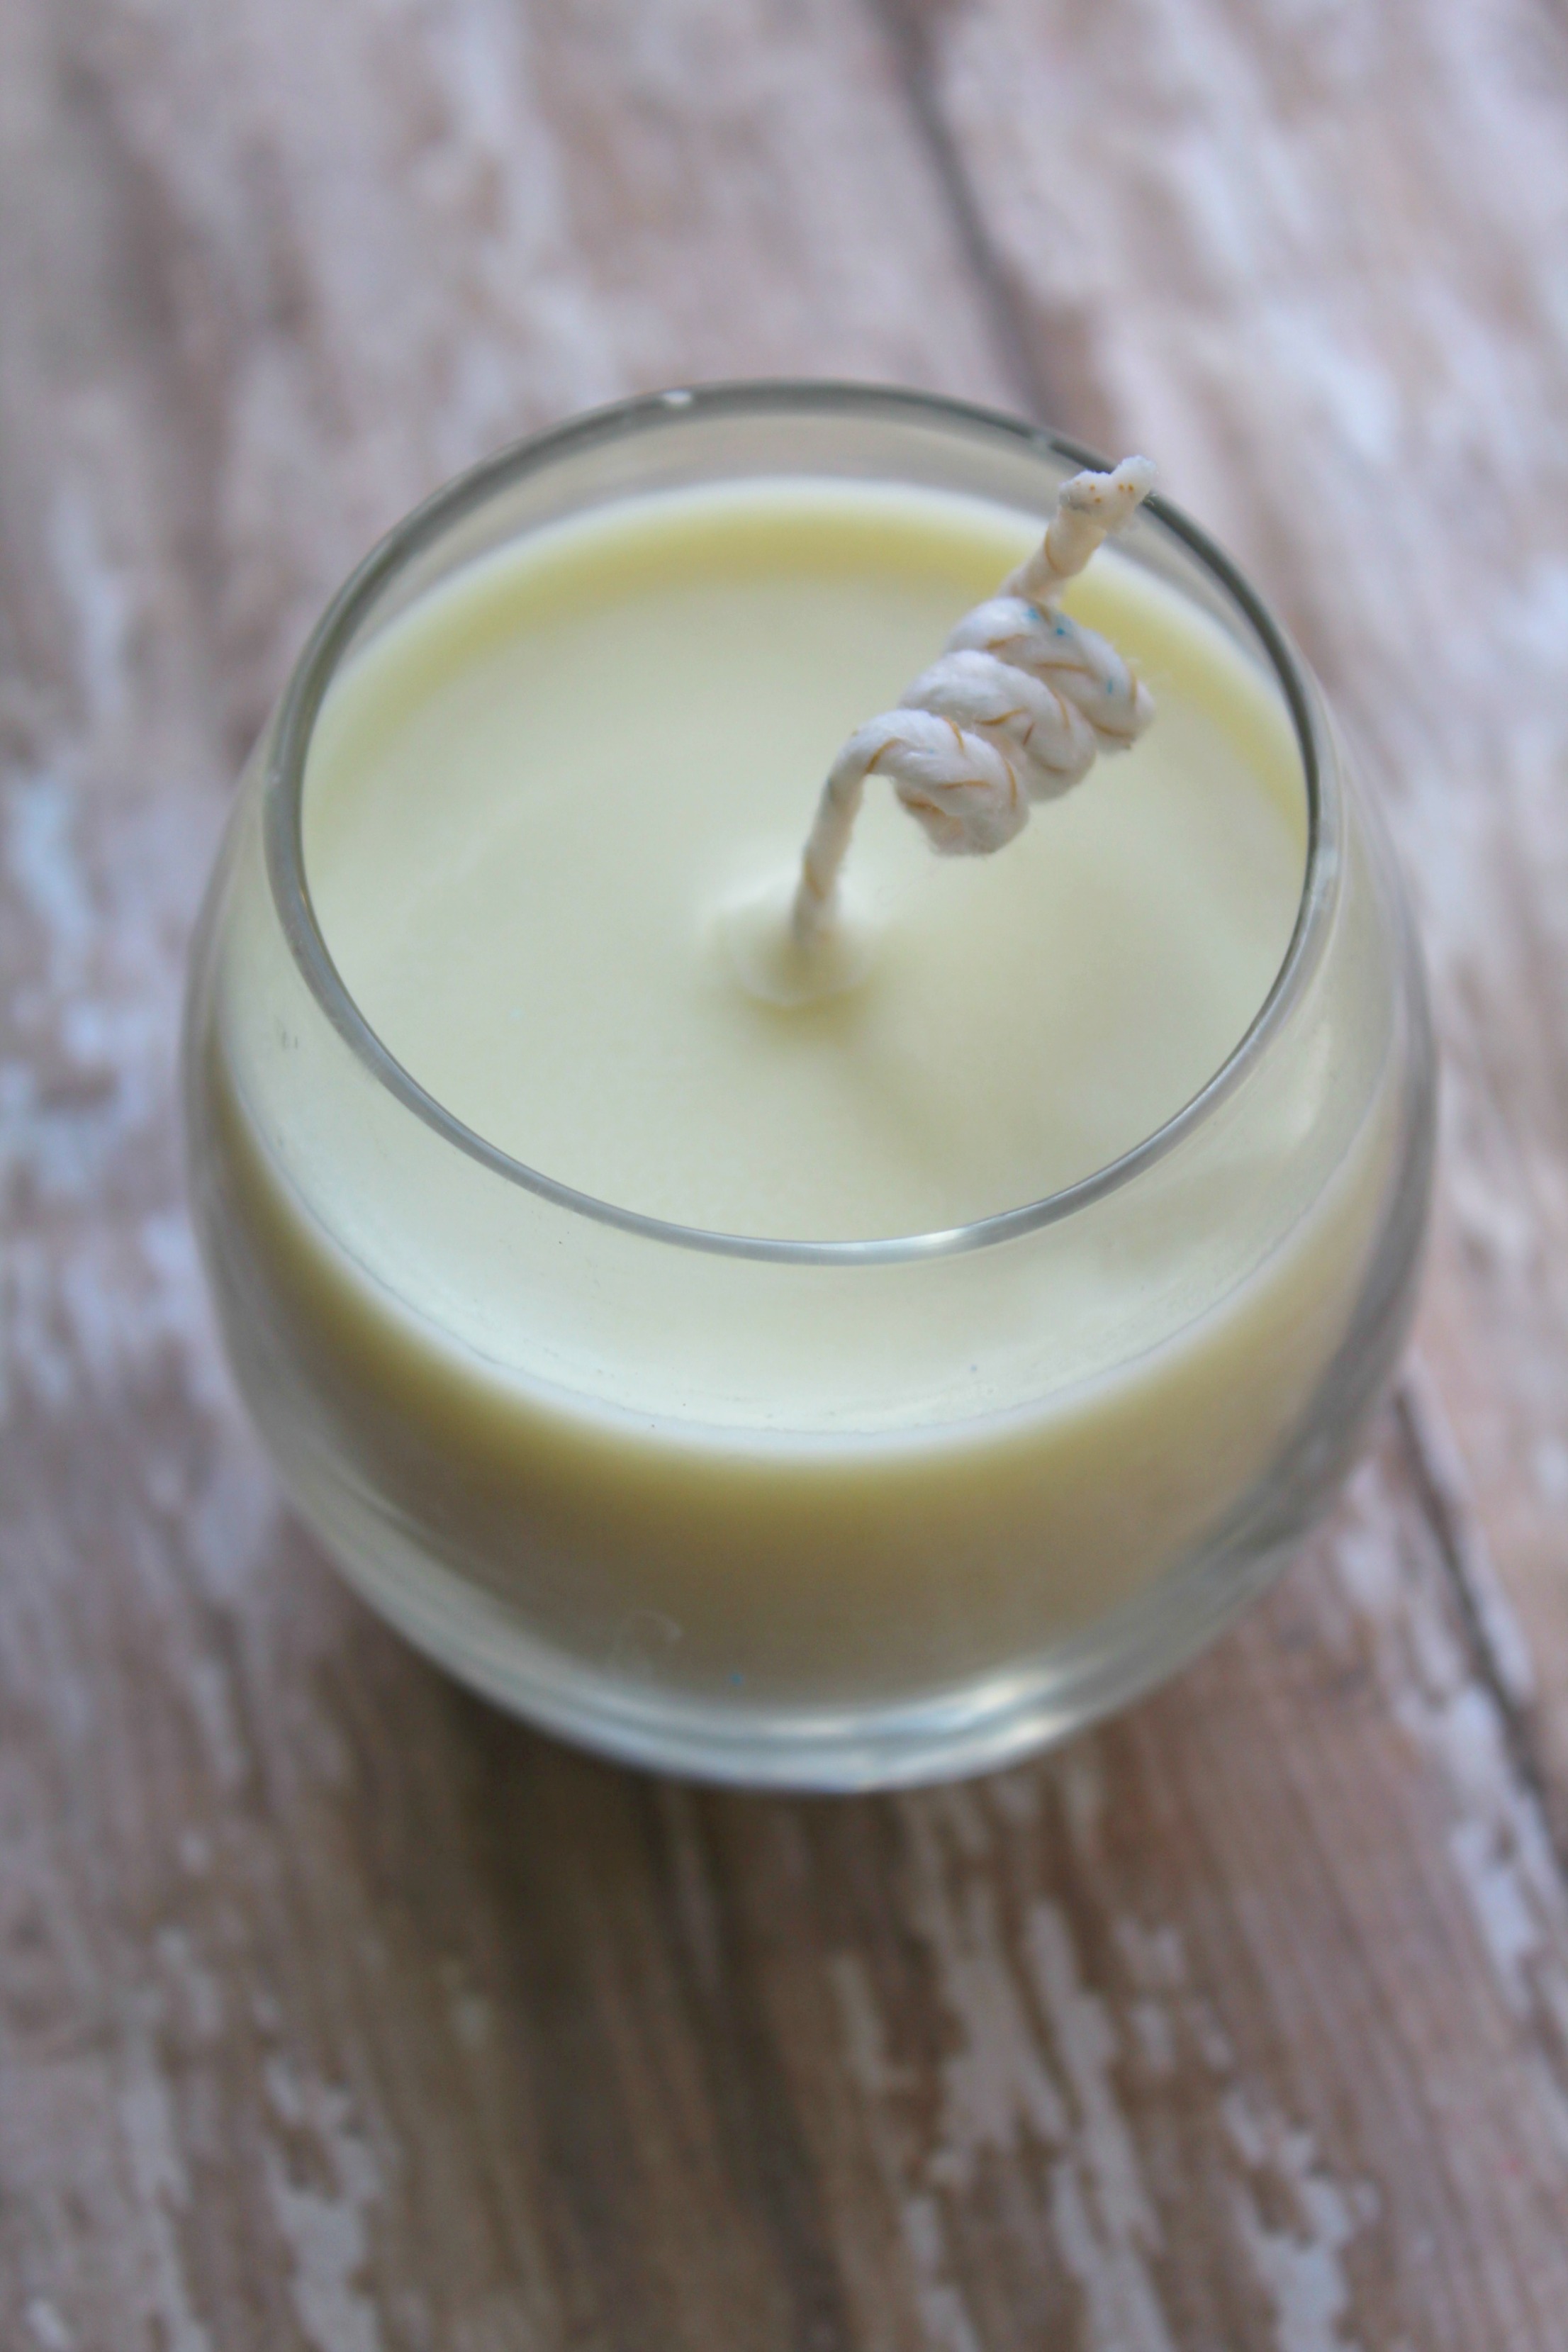
return to menu ↑Wick

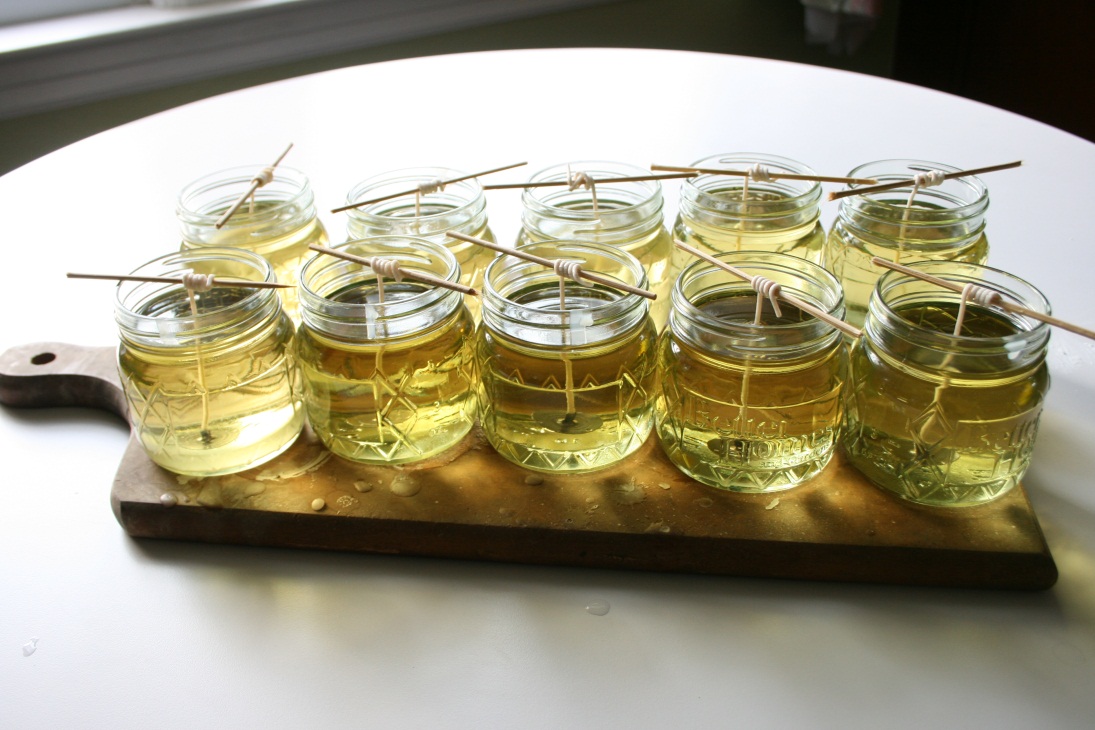
Container candles need a wide wick.
The wrong wick can ruin your homemade candle. The main problem is the size, or rather the width. For container, which will be discussed, you need a wide wick. The length of the wick is not important - you can cut it.
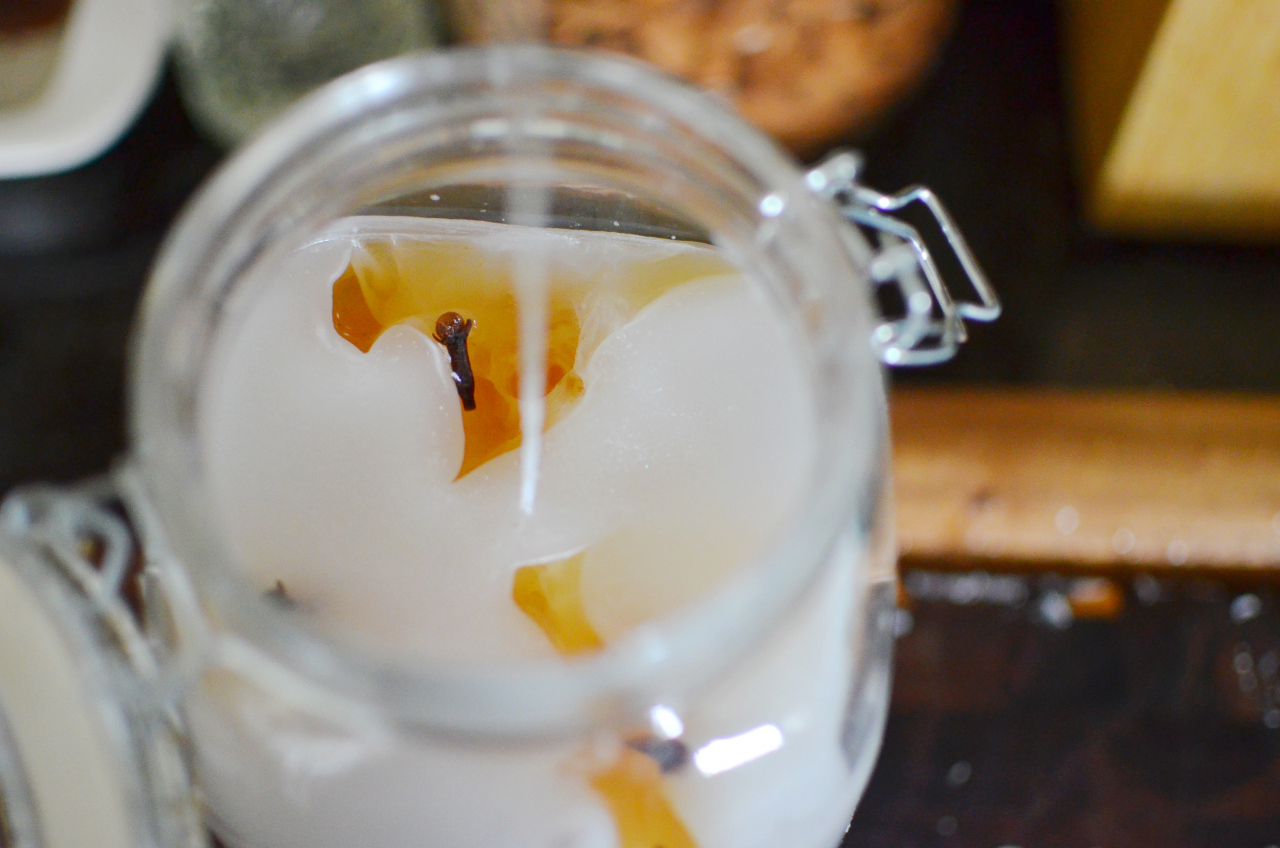
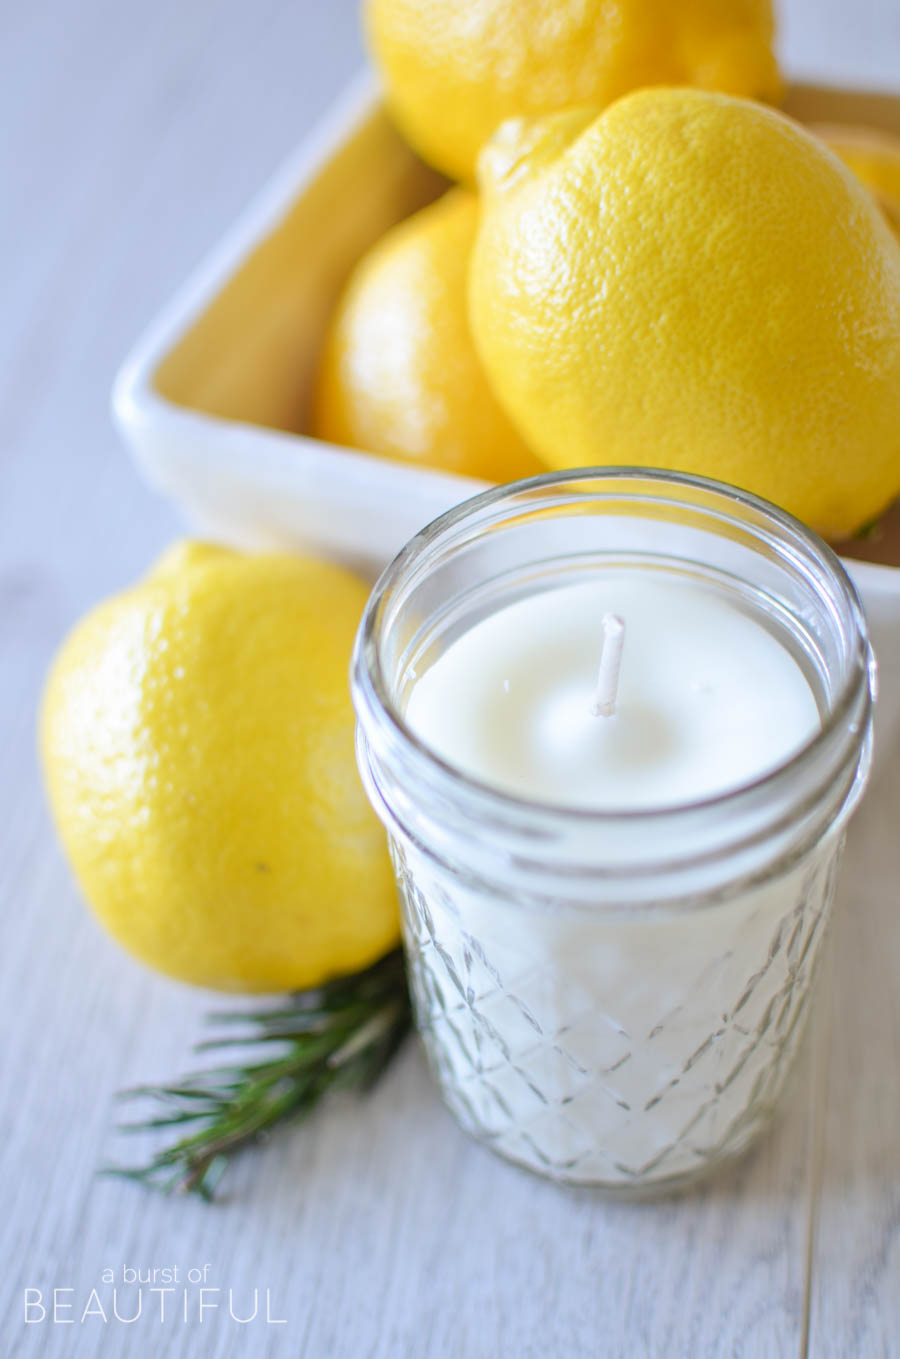
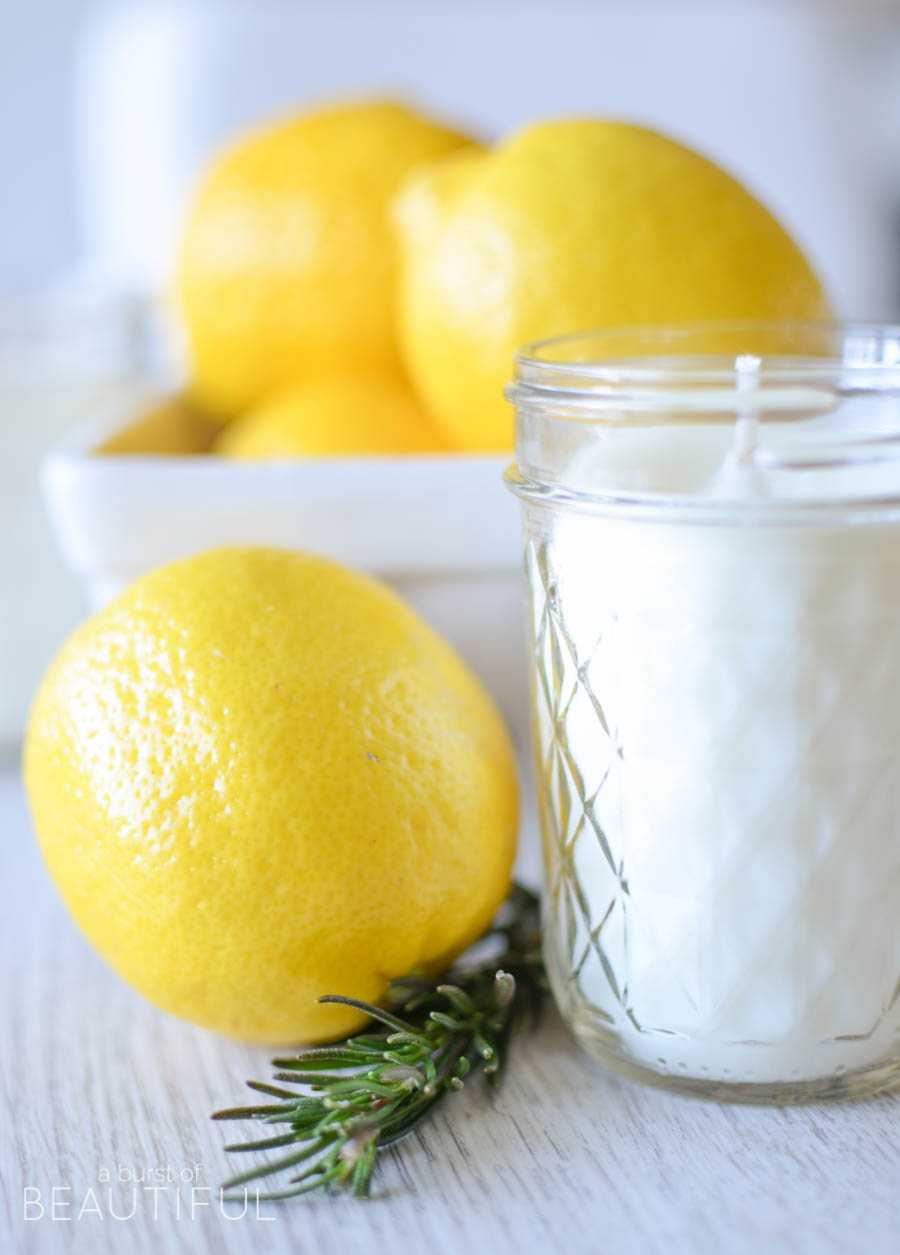
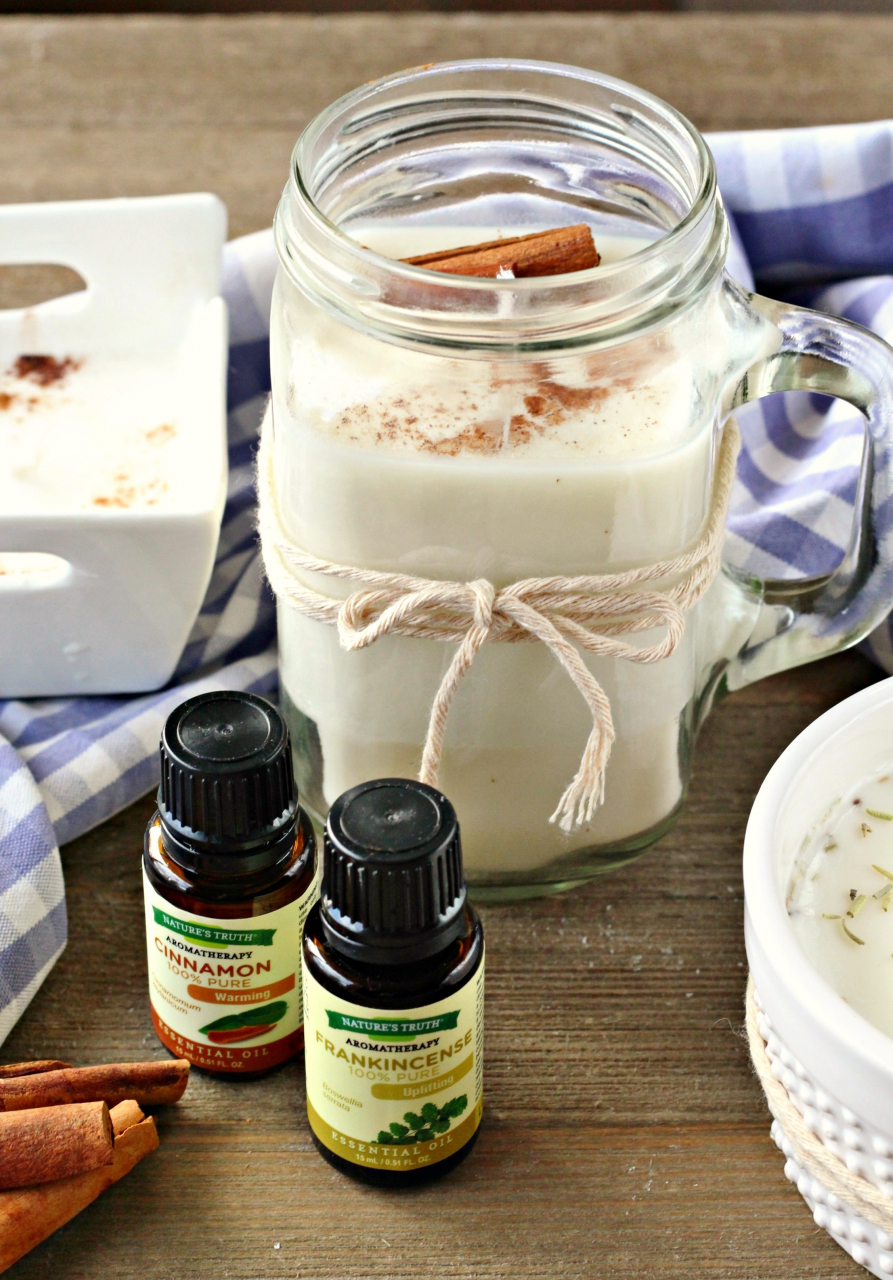
return to menu ↑Aromatic oils
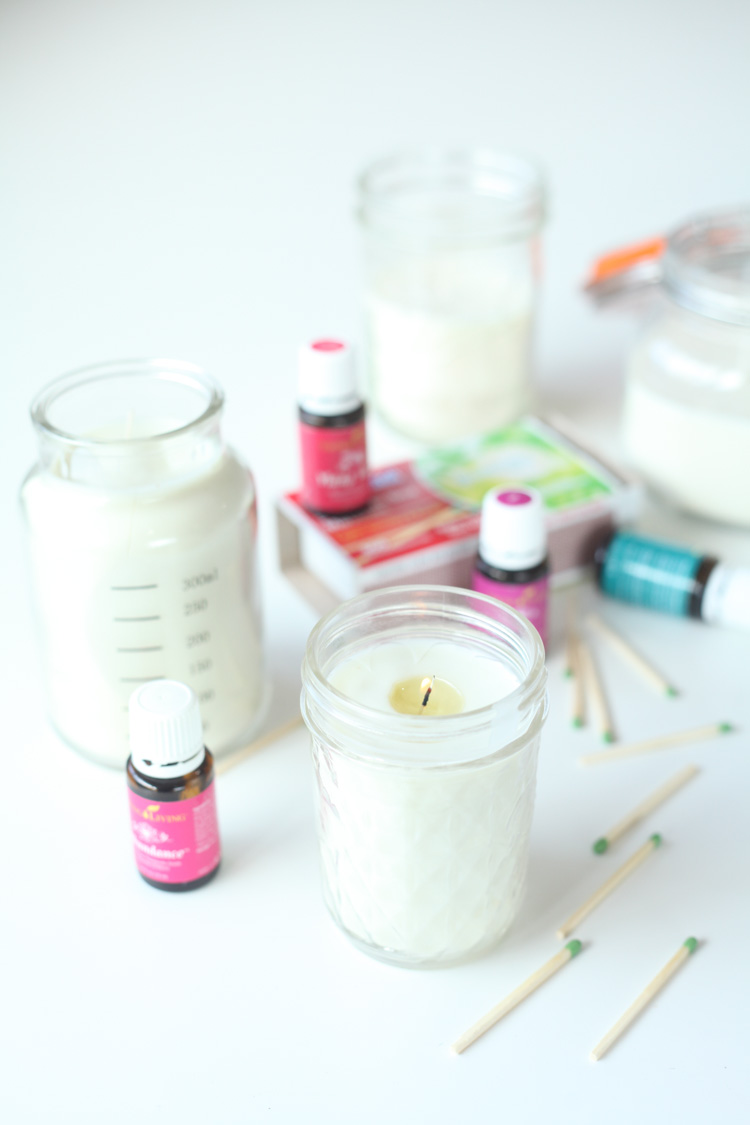
There are thousands of flavors that you can choose. Follow your tastes
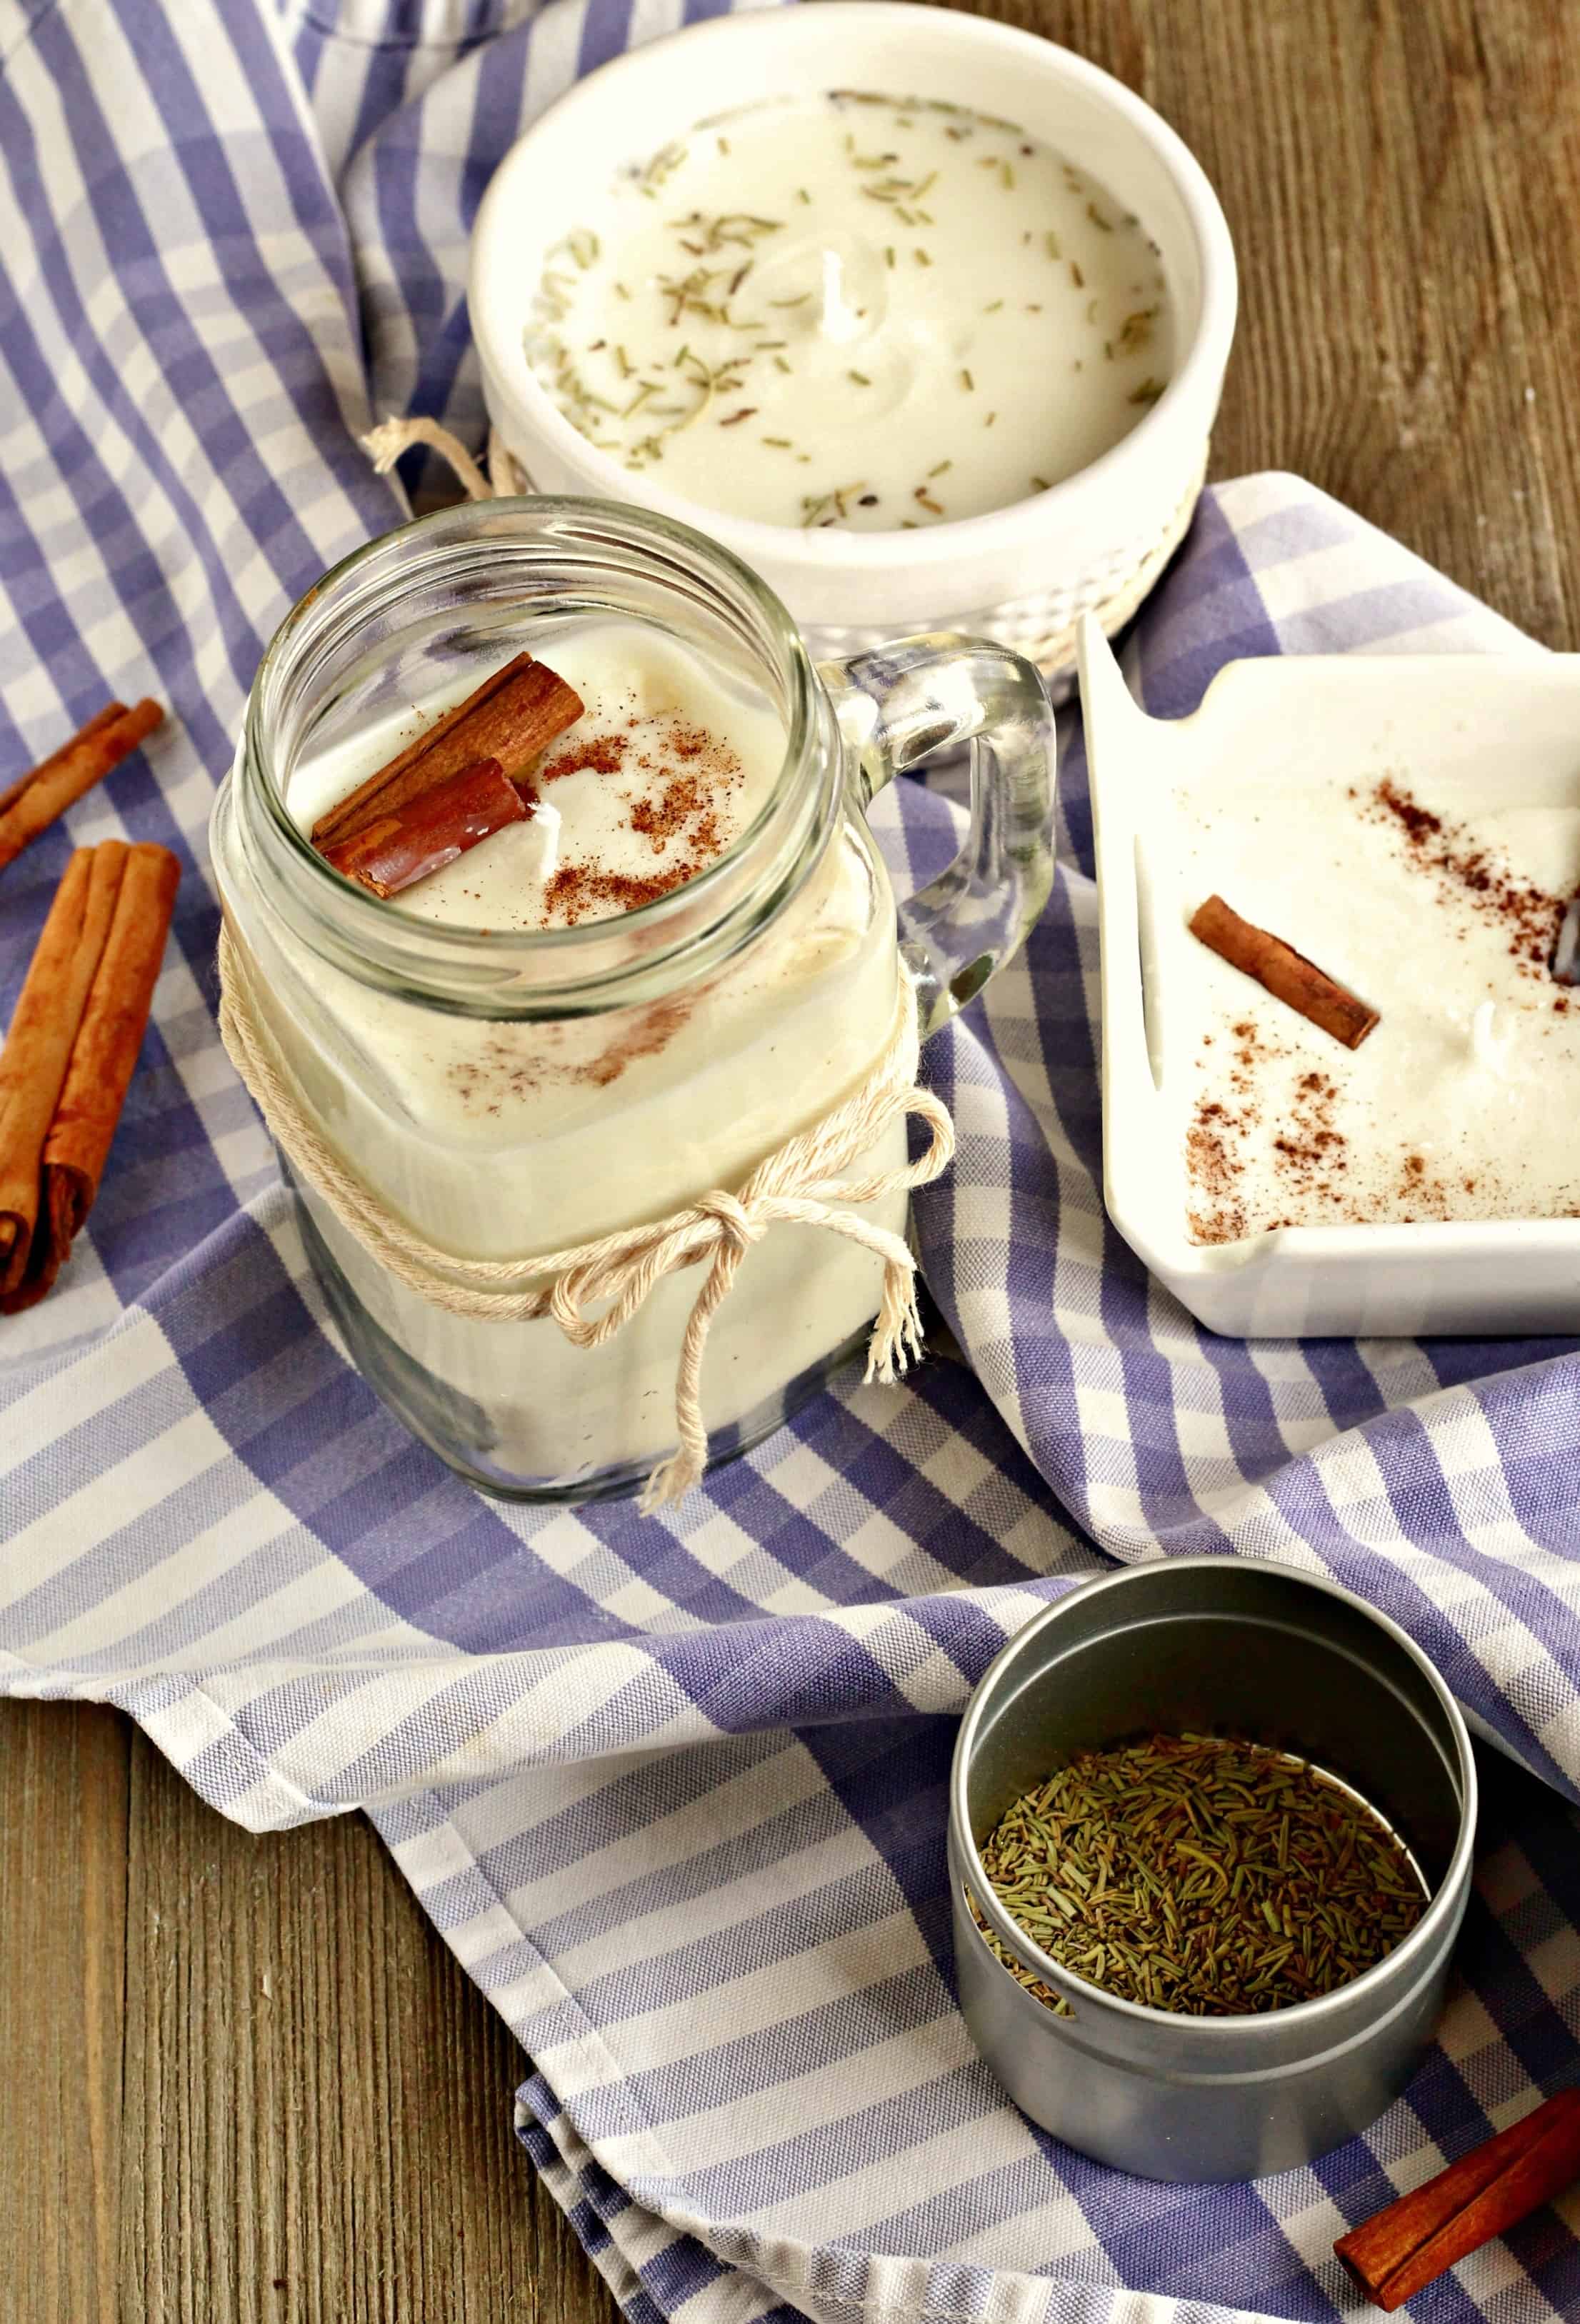
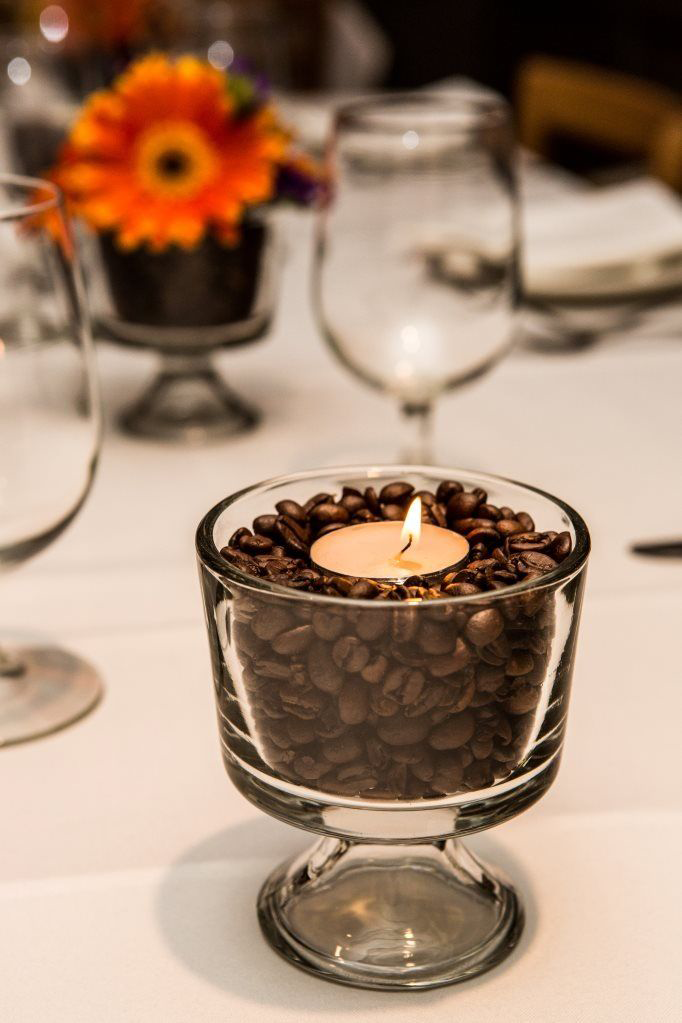
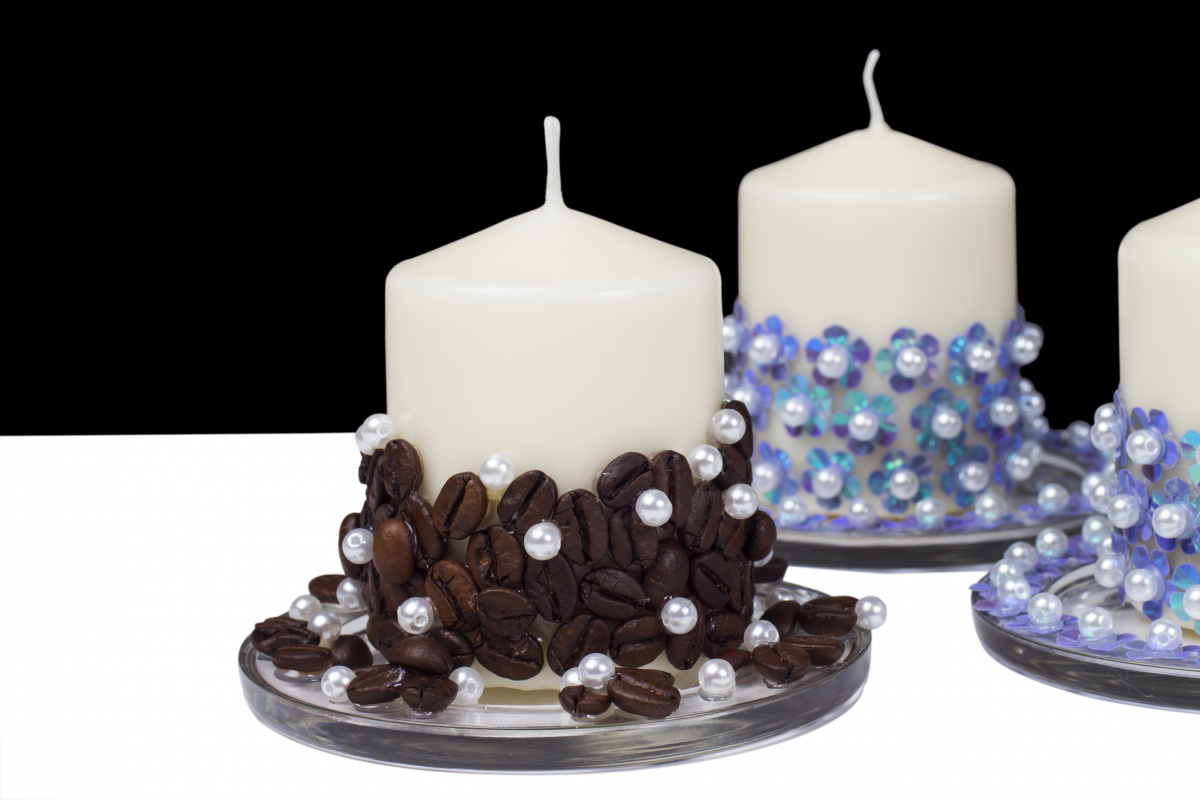
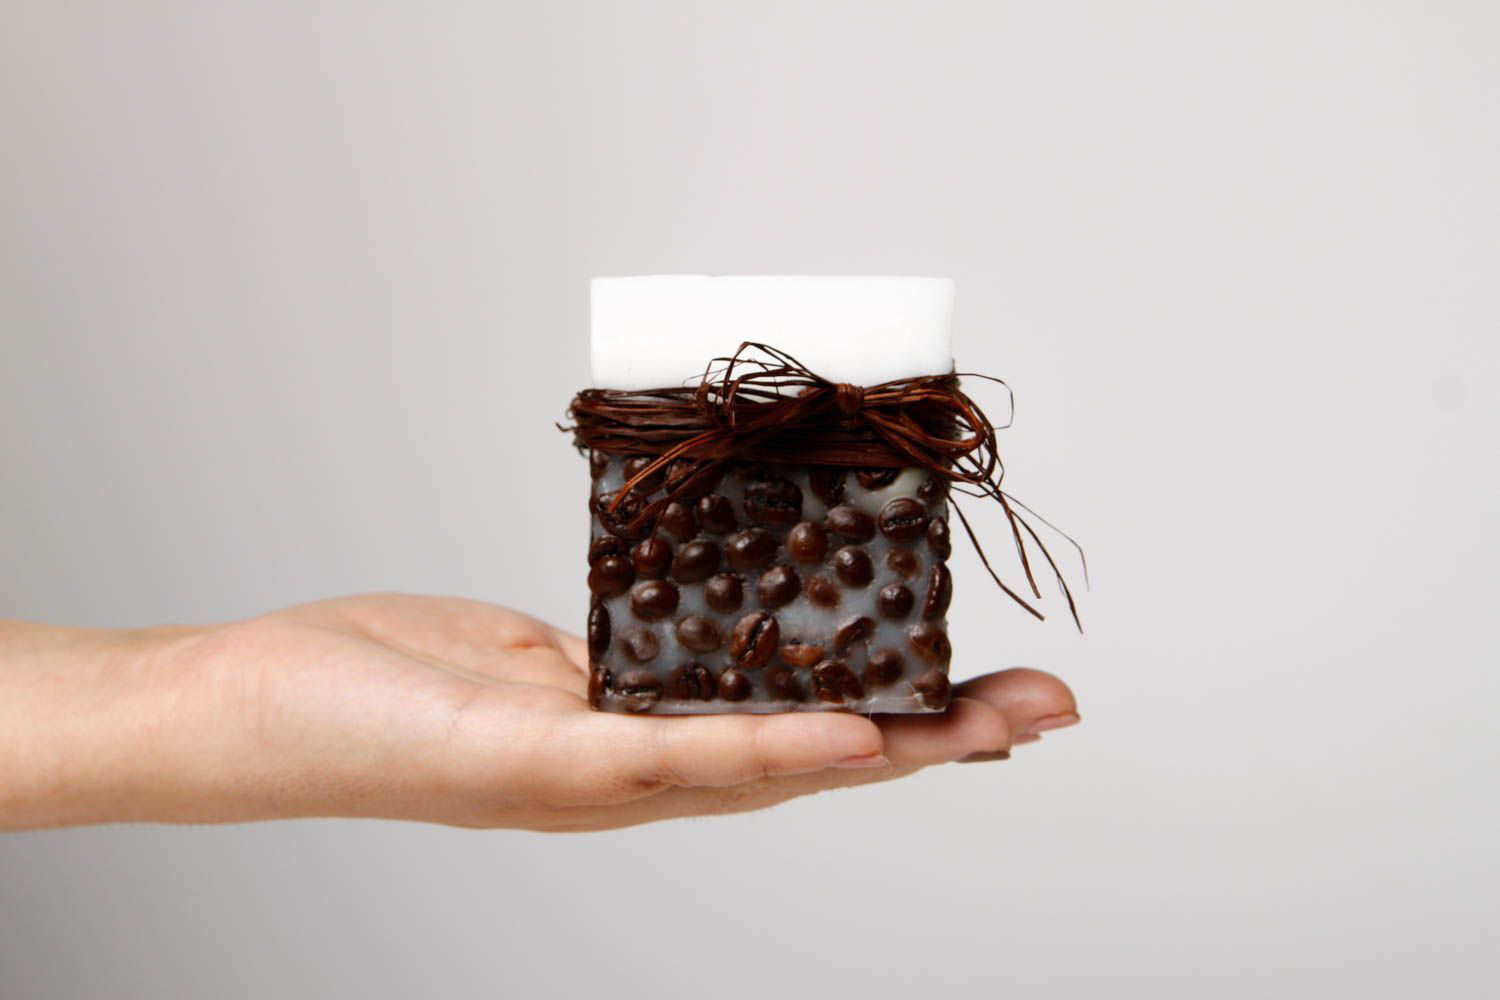
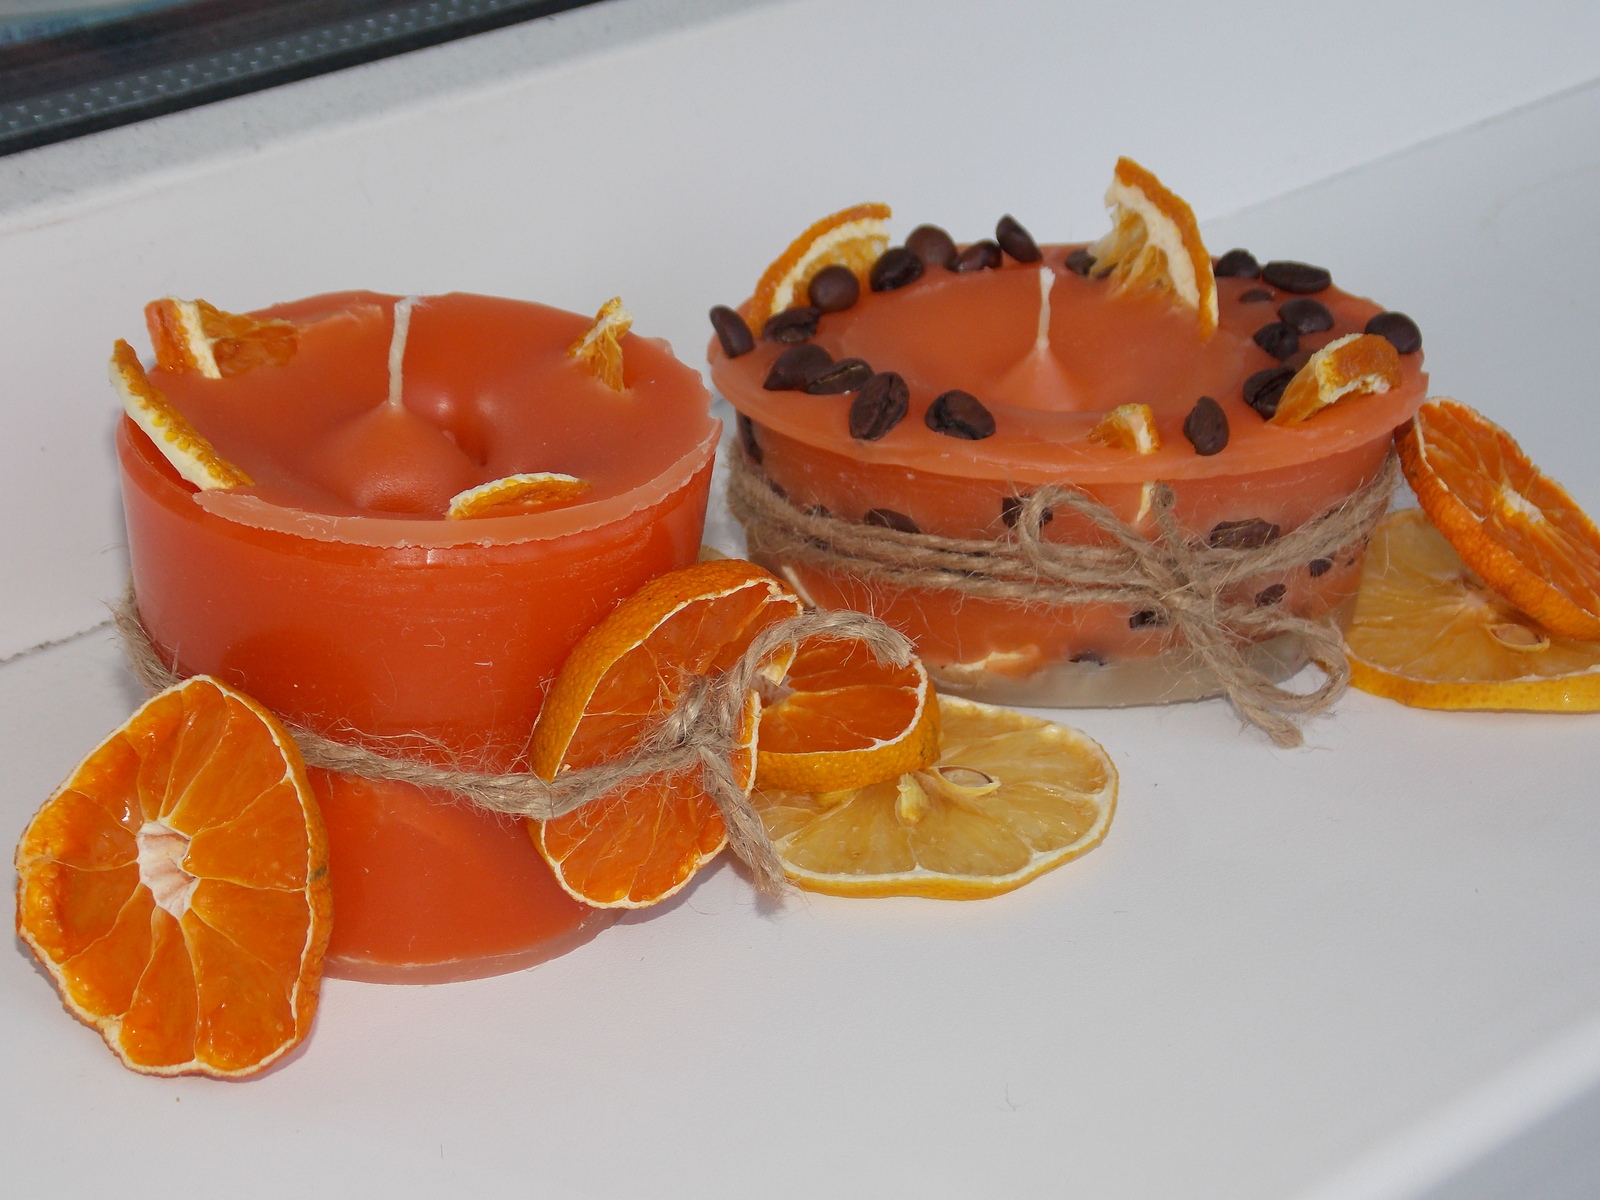
No smell you just burn wax. It looks beautiful, but does not create a subtle smell, for which candles are used. There are thousands of flavors that you can choose - just search on the Internet. You can use essential oils, but with them the final product will not be so good. It is better for men to choose from such “courageous” aromas as a mixture of cloves, amber and sandalwood, apple and maple bourbon, blue spruce, buttered rum, coffee, whiskey.
return to menu ↑Melting Cookware
Best of all with the task cope pan with a double bottom. Melting directly above the flame in a regular saucepan will be too strong, so use a steam bath.
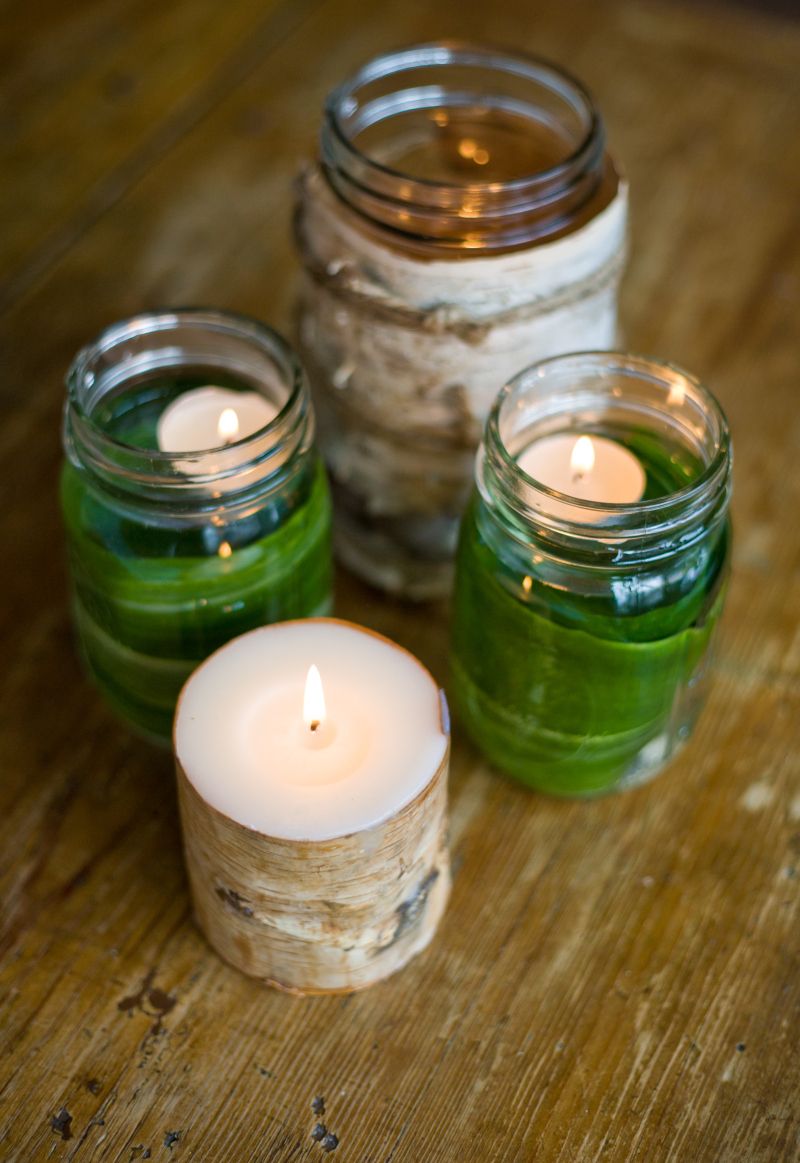
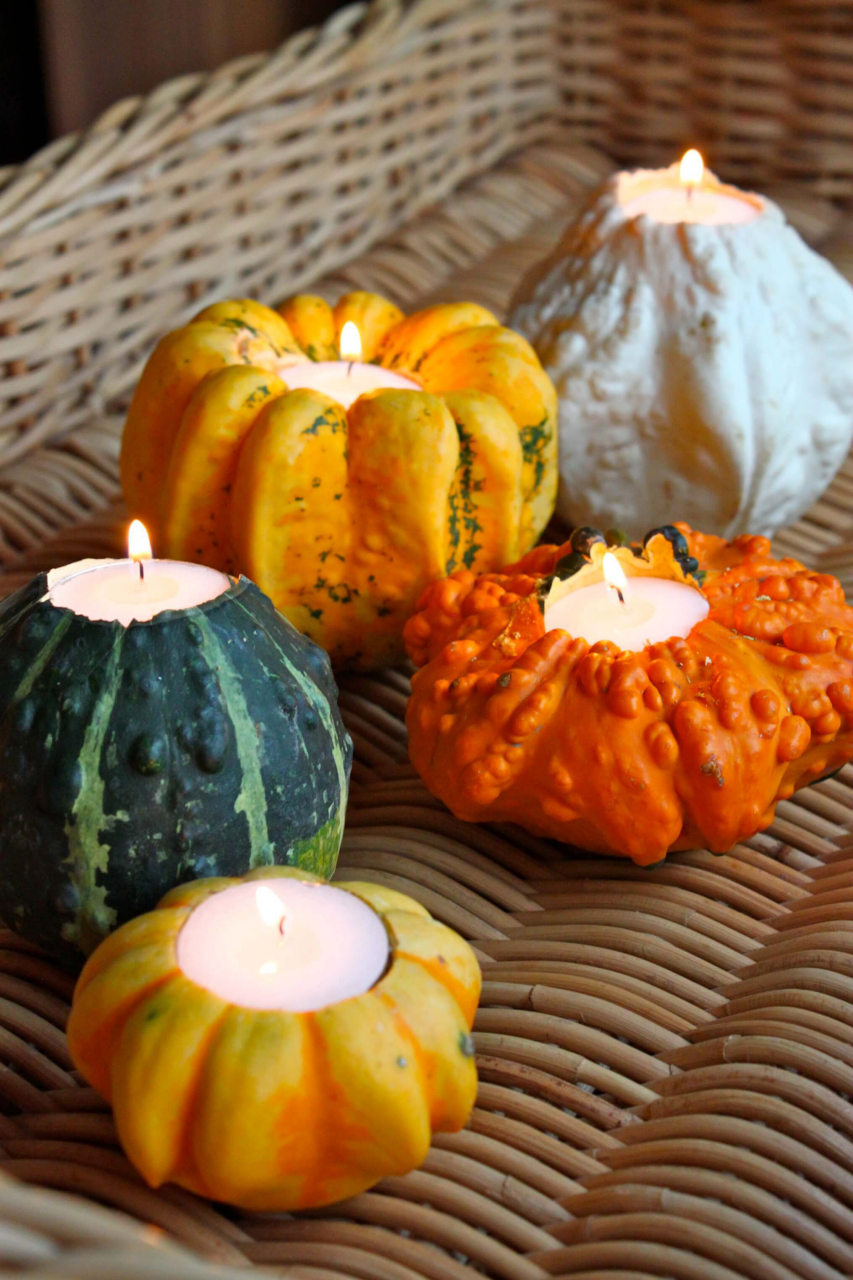
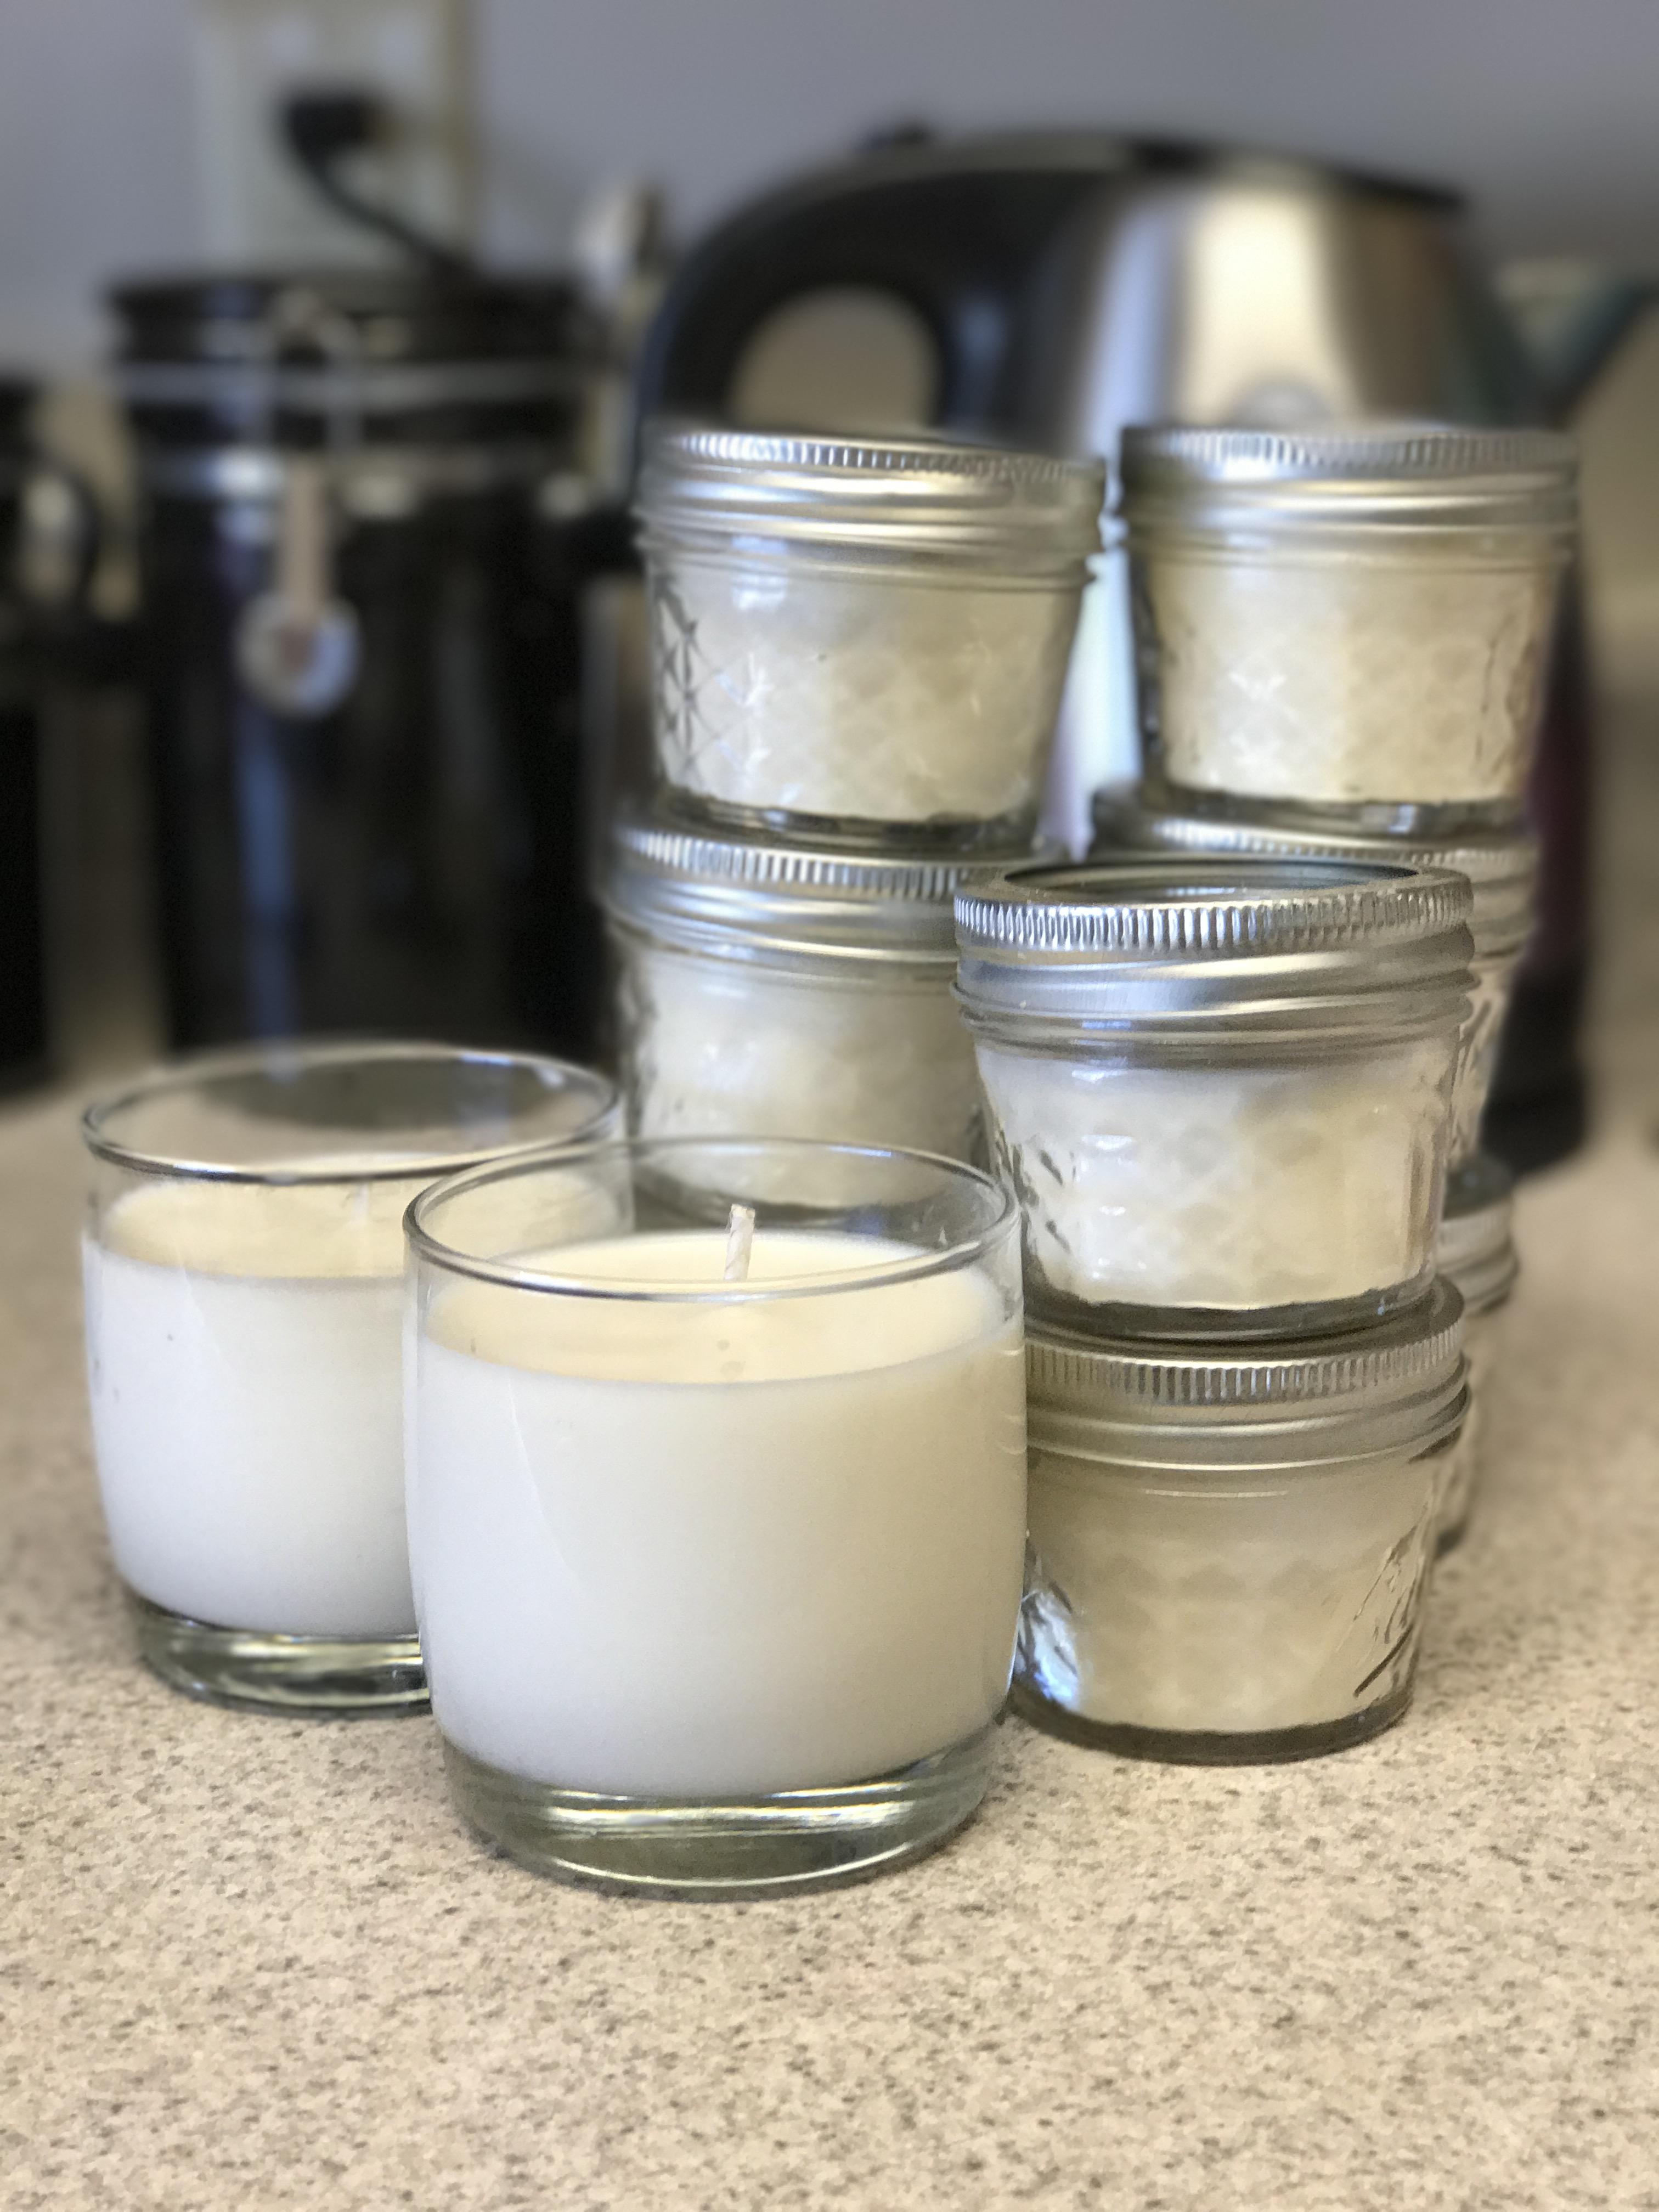
return to menu ↑The form
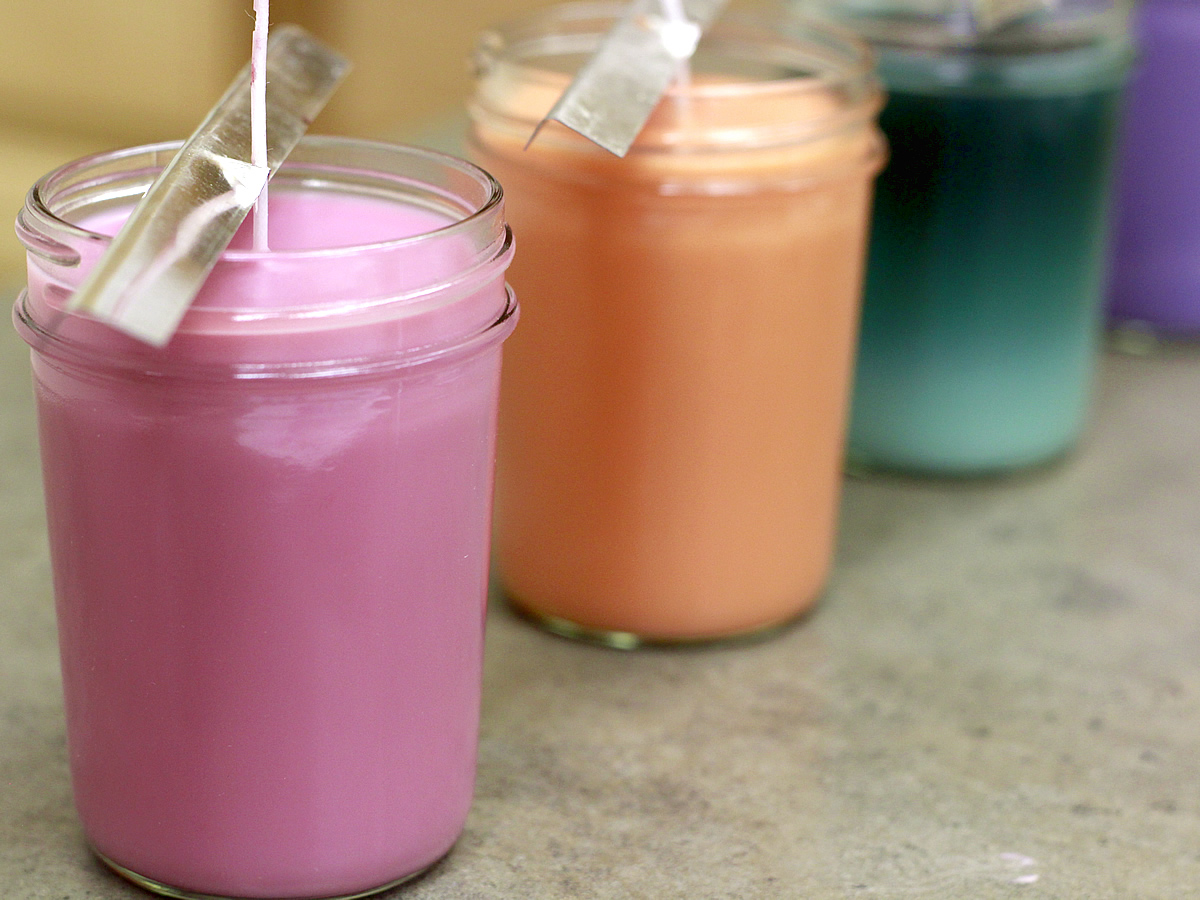
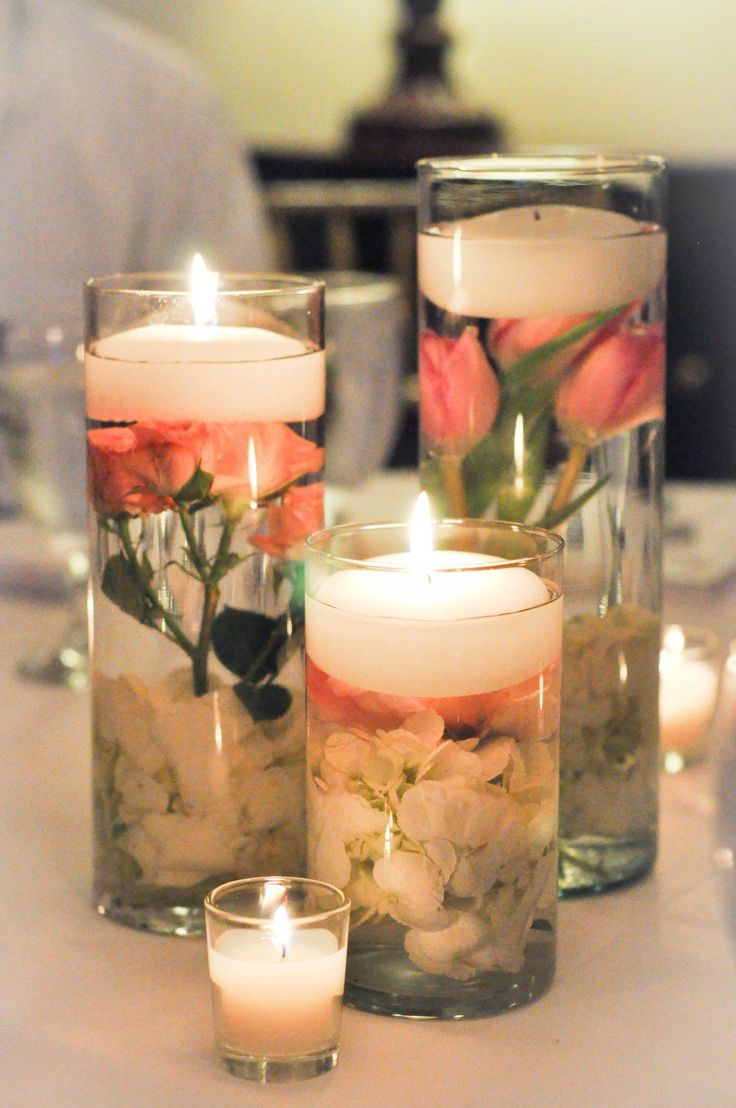
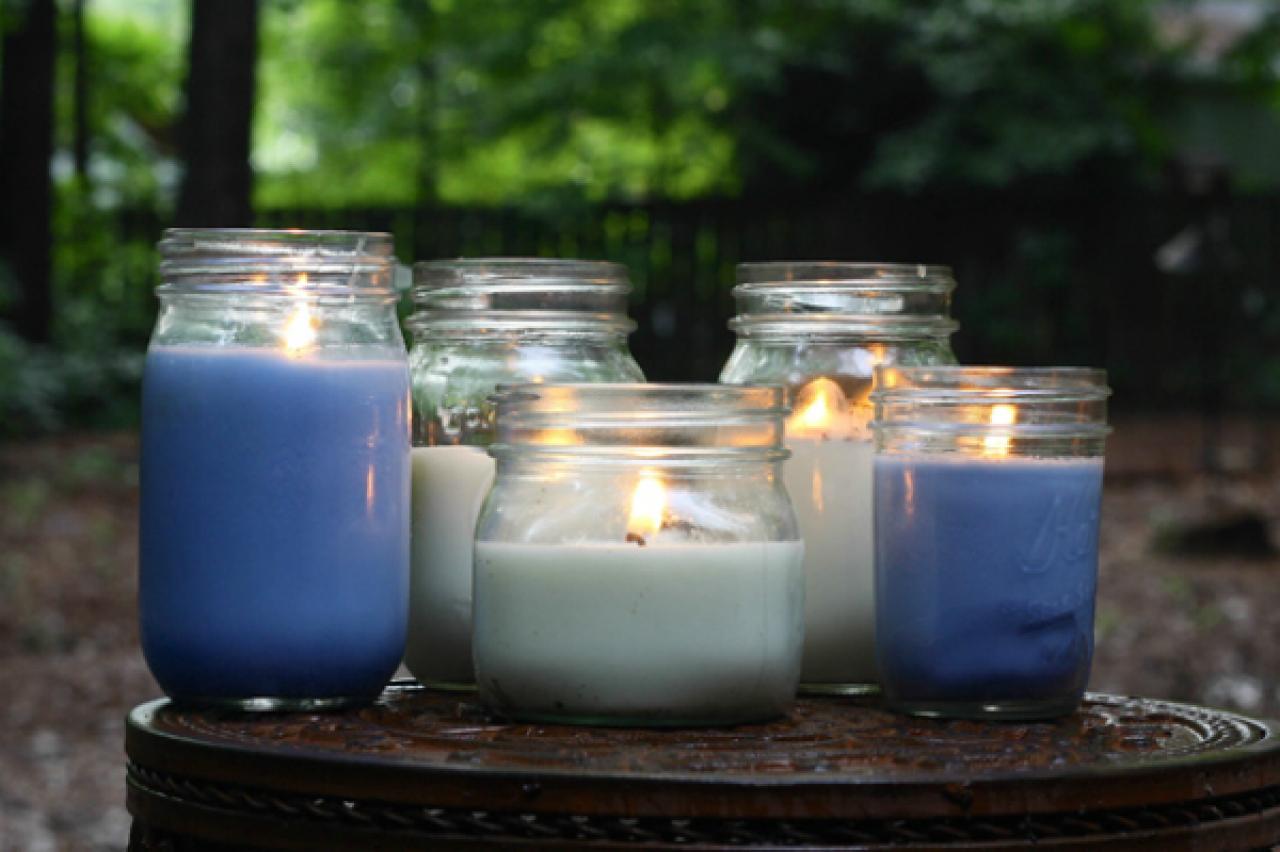
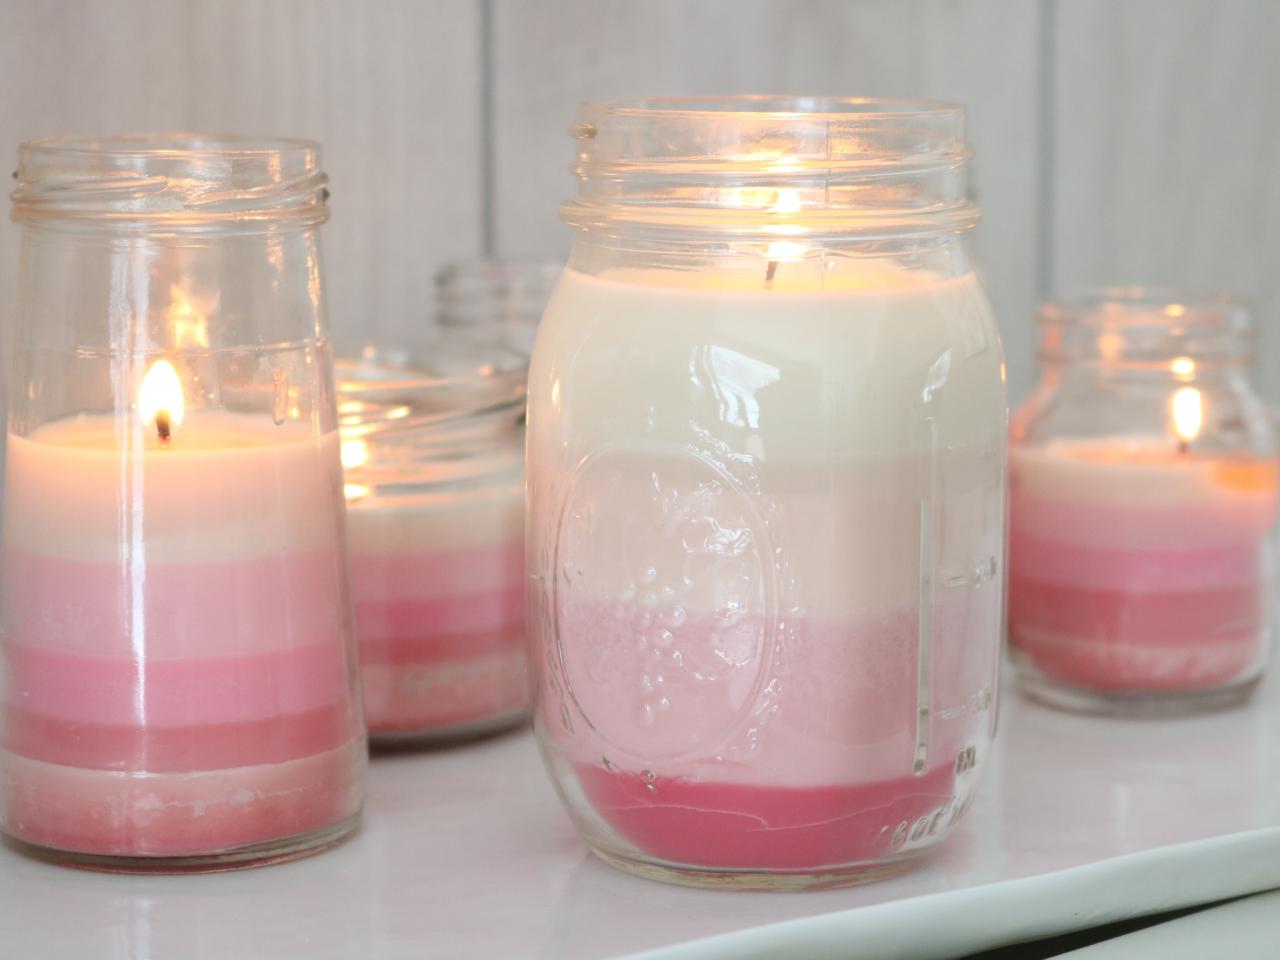
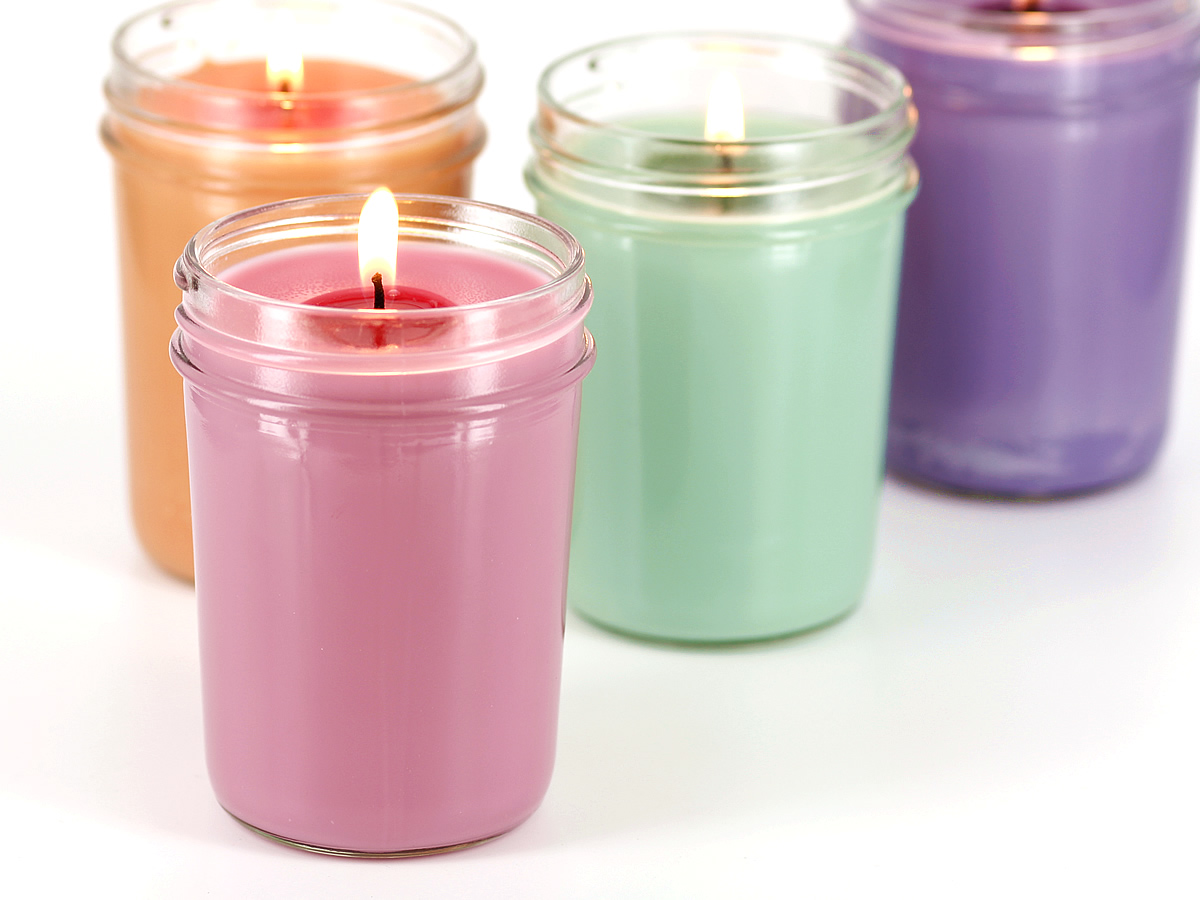
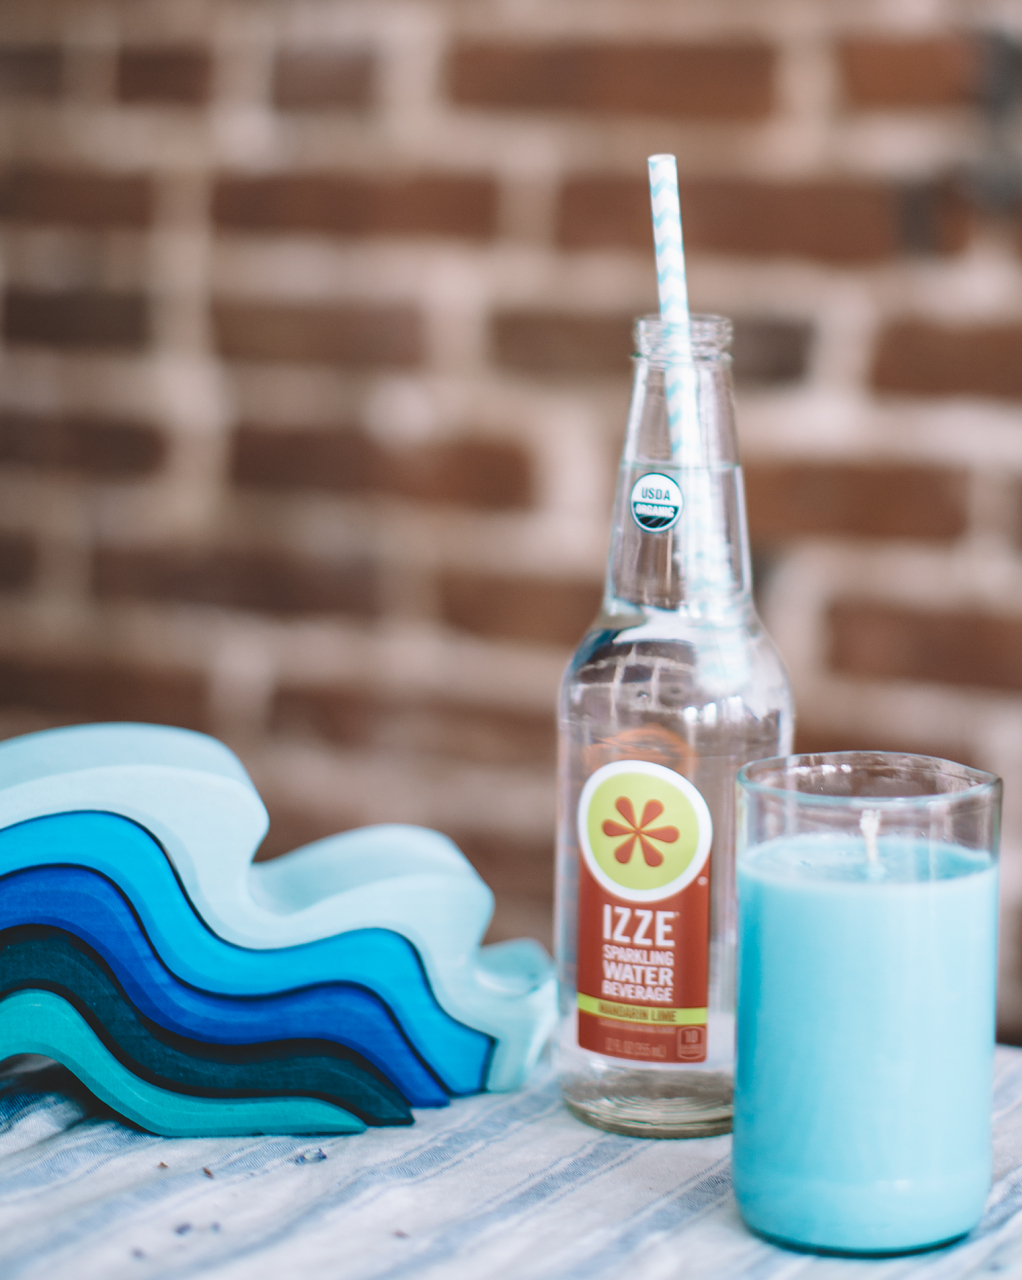
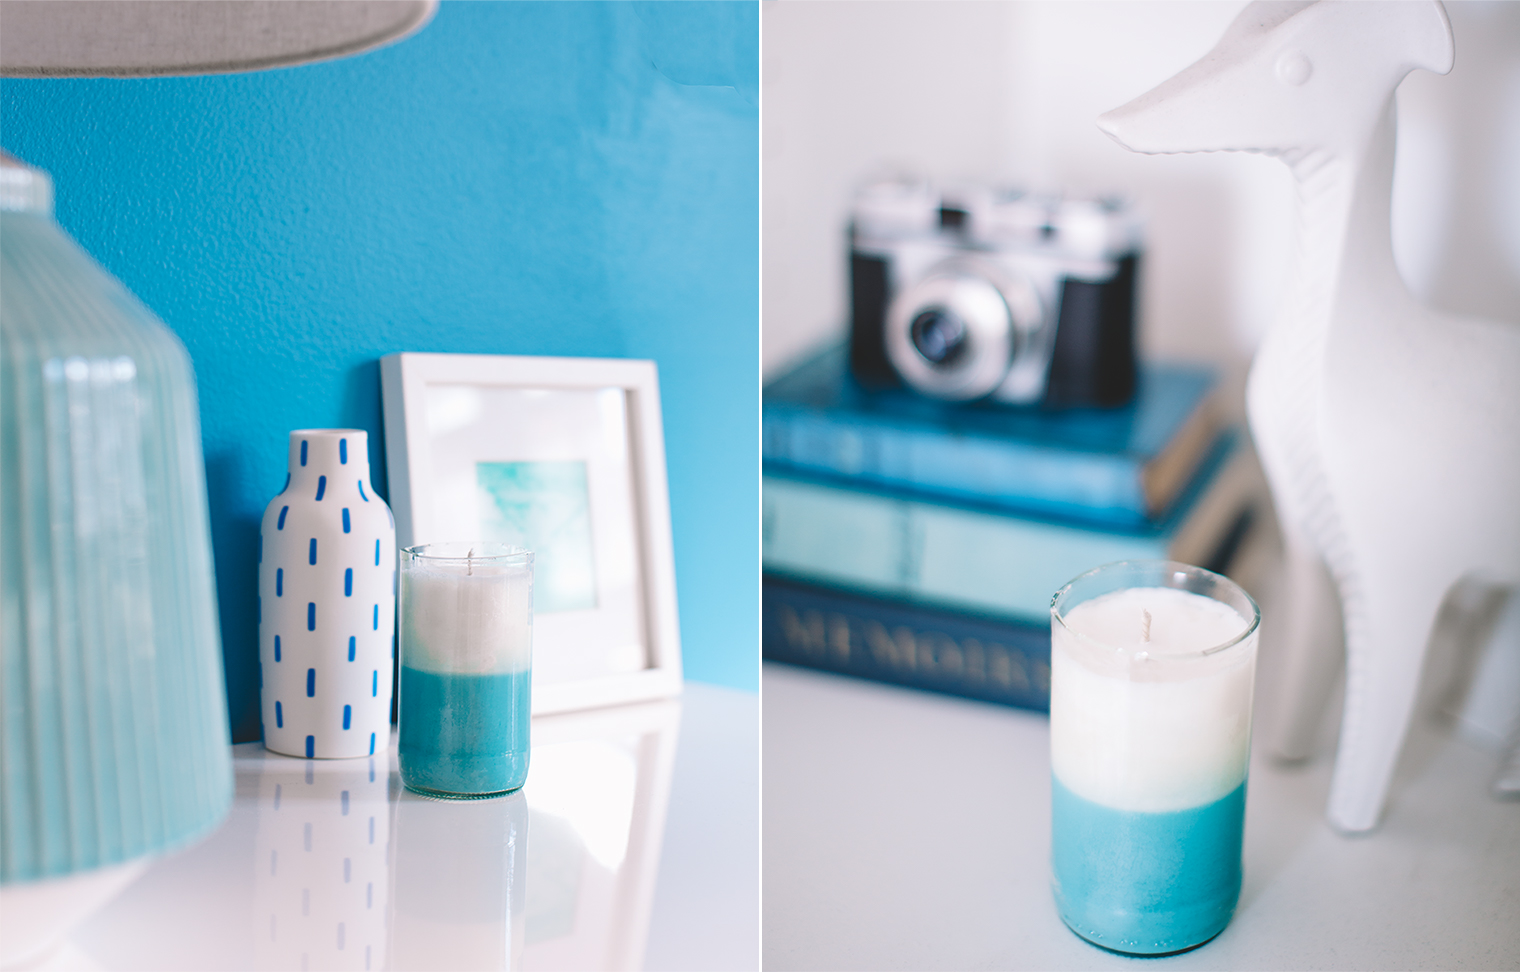
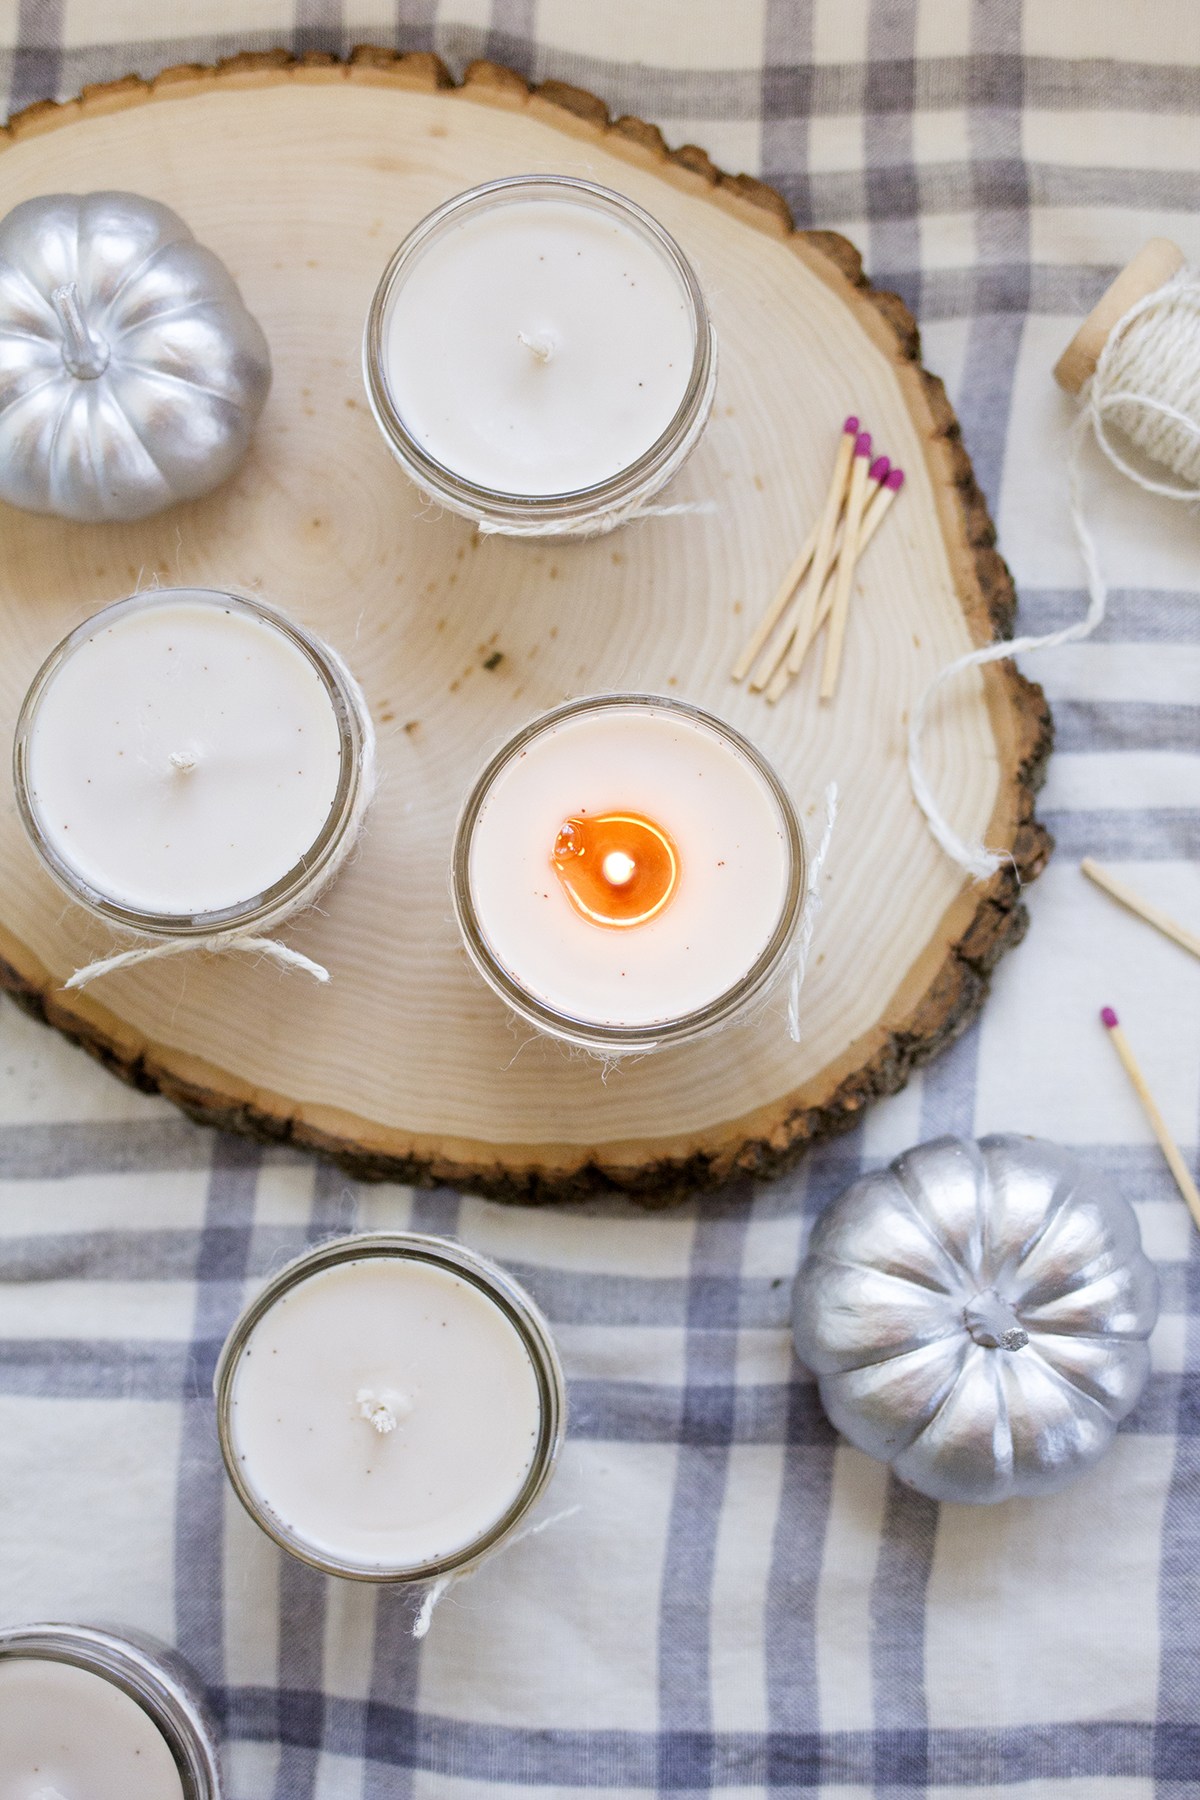
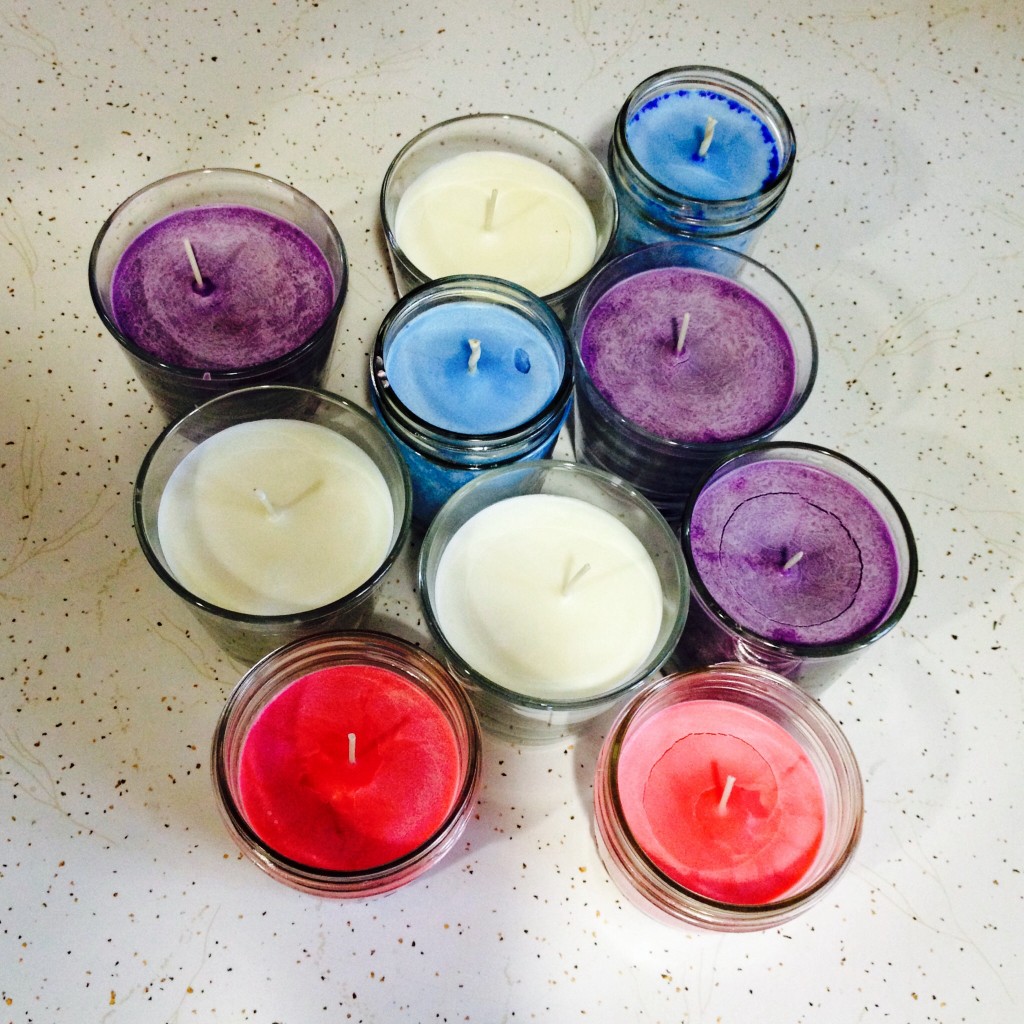
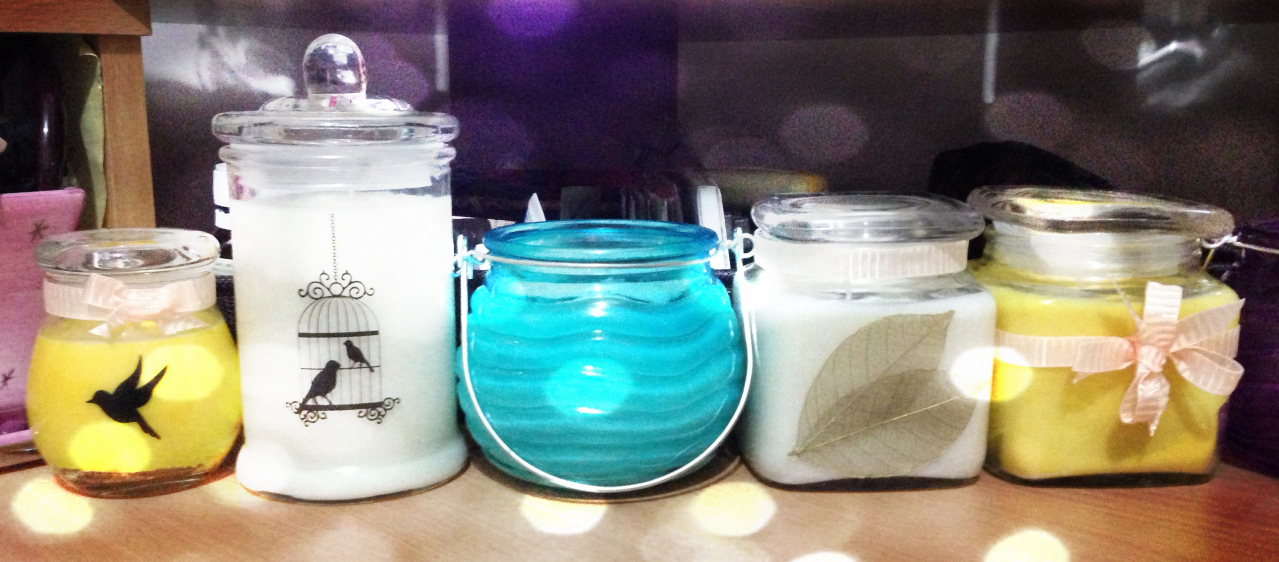
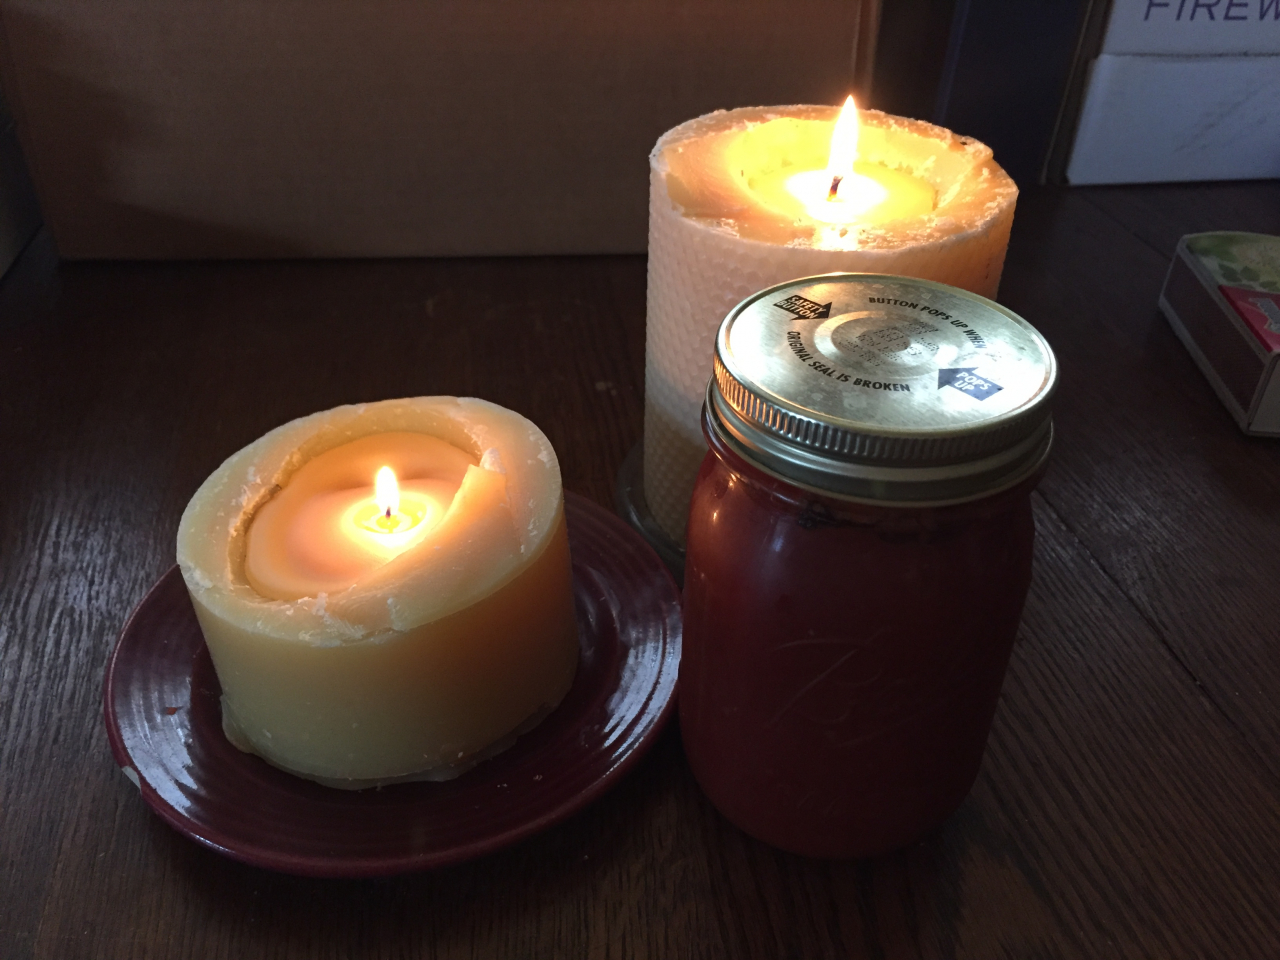
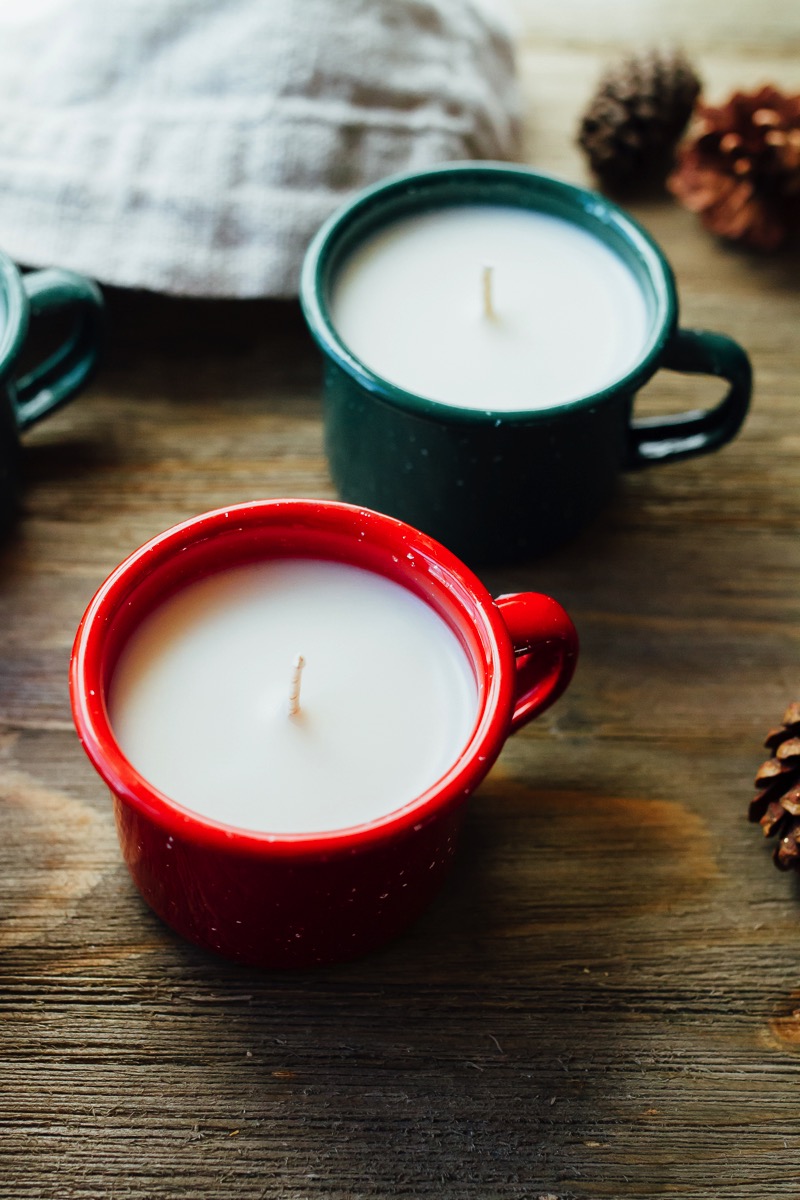
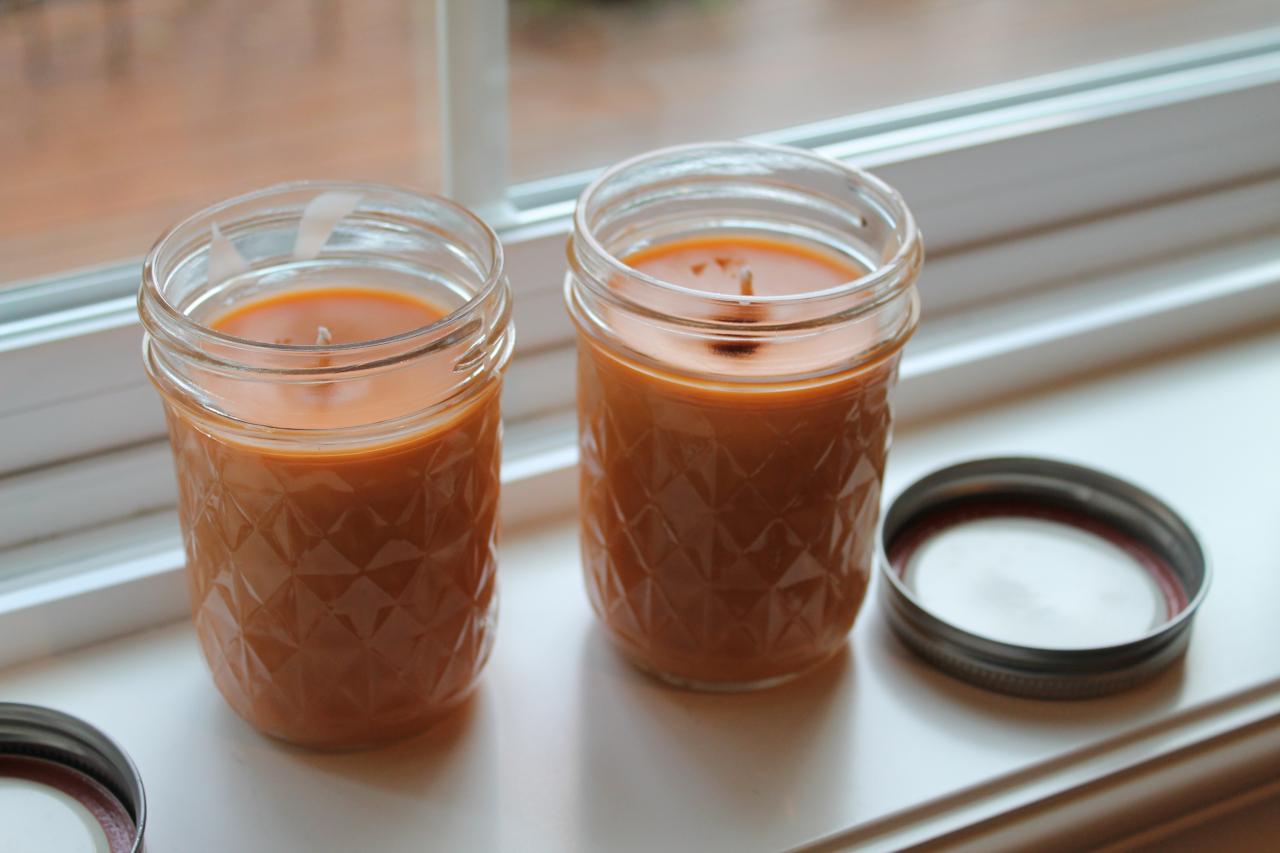
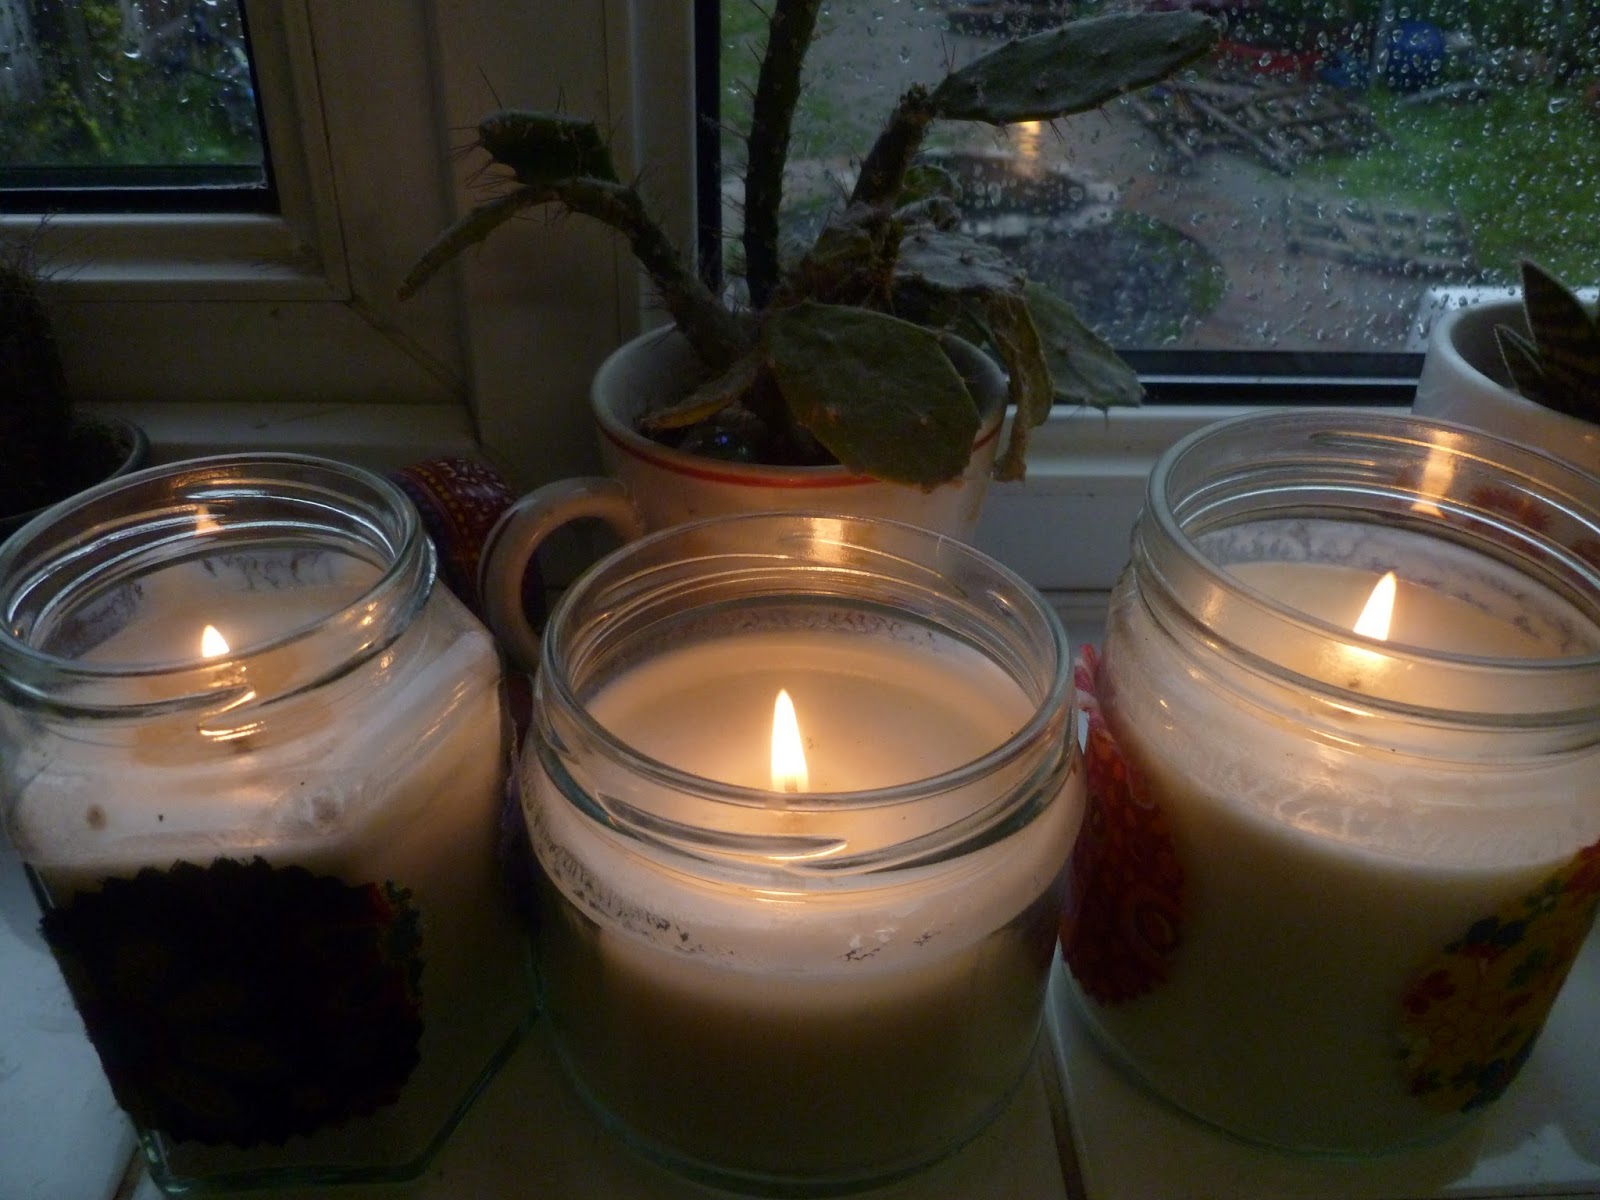
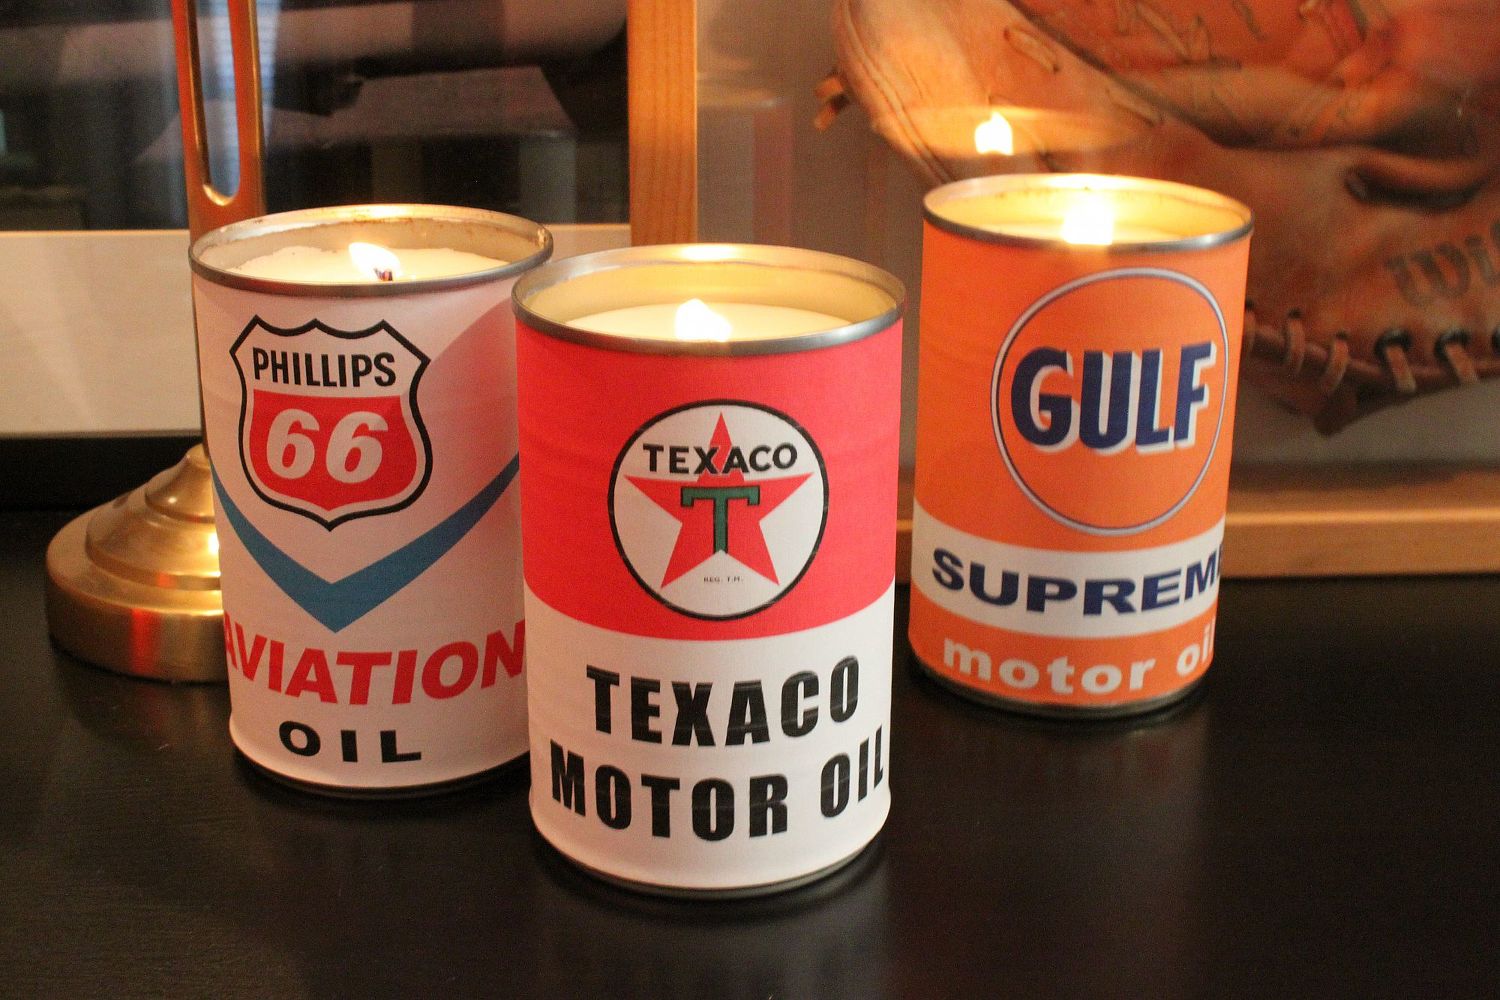
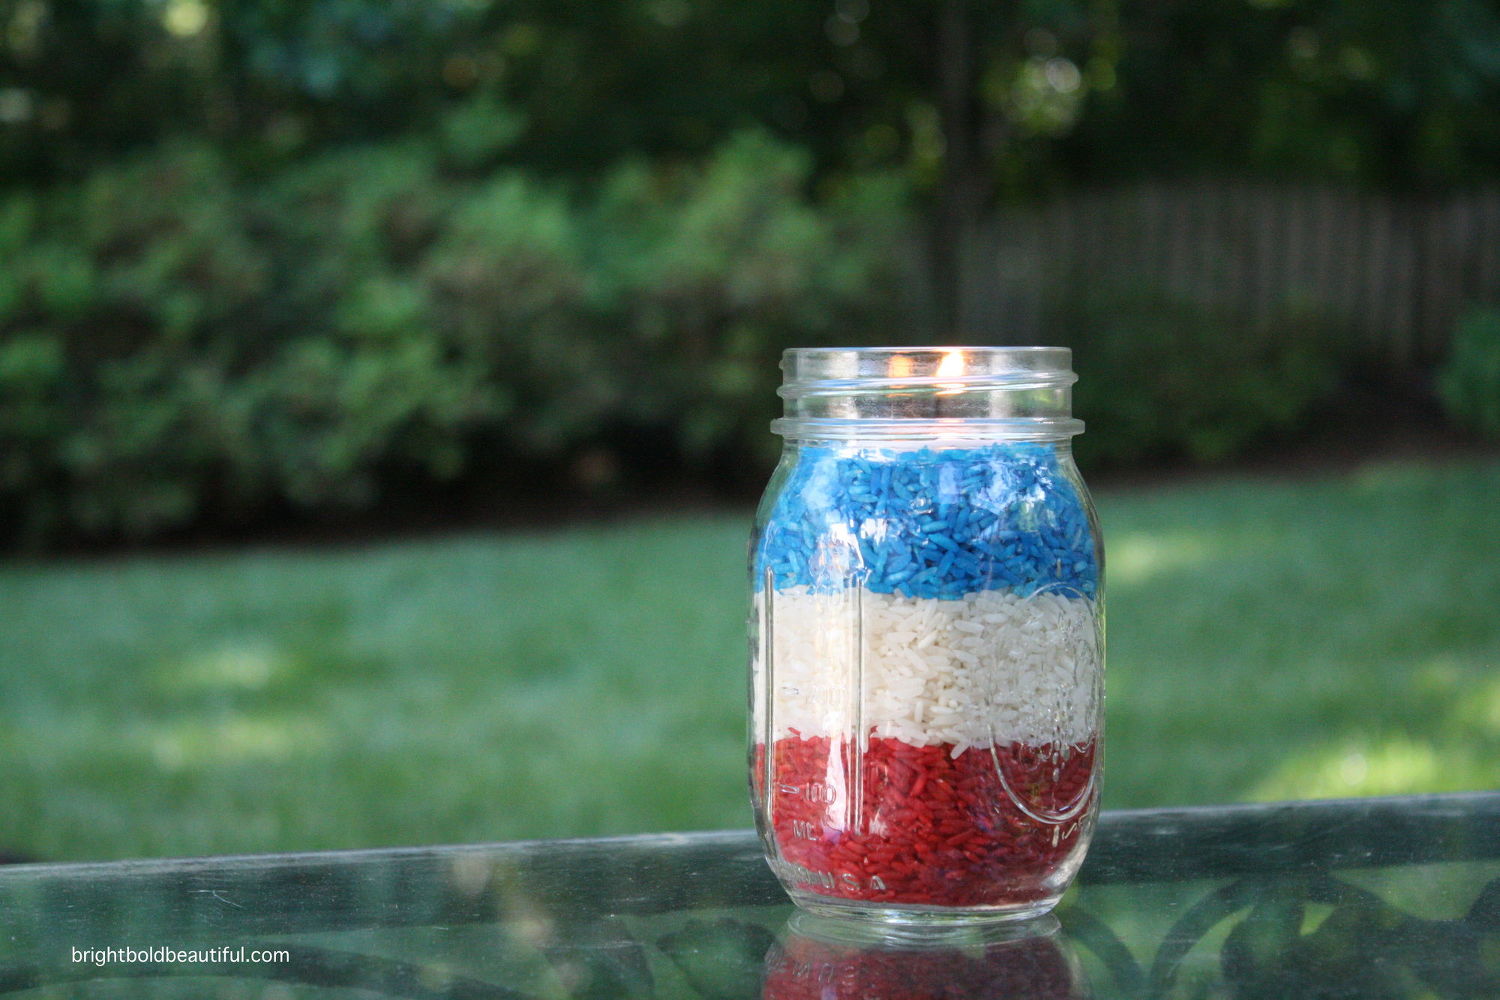
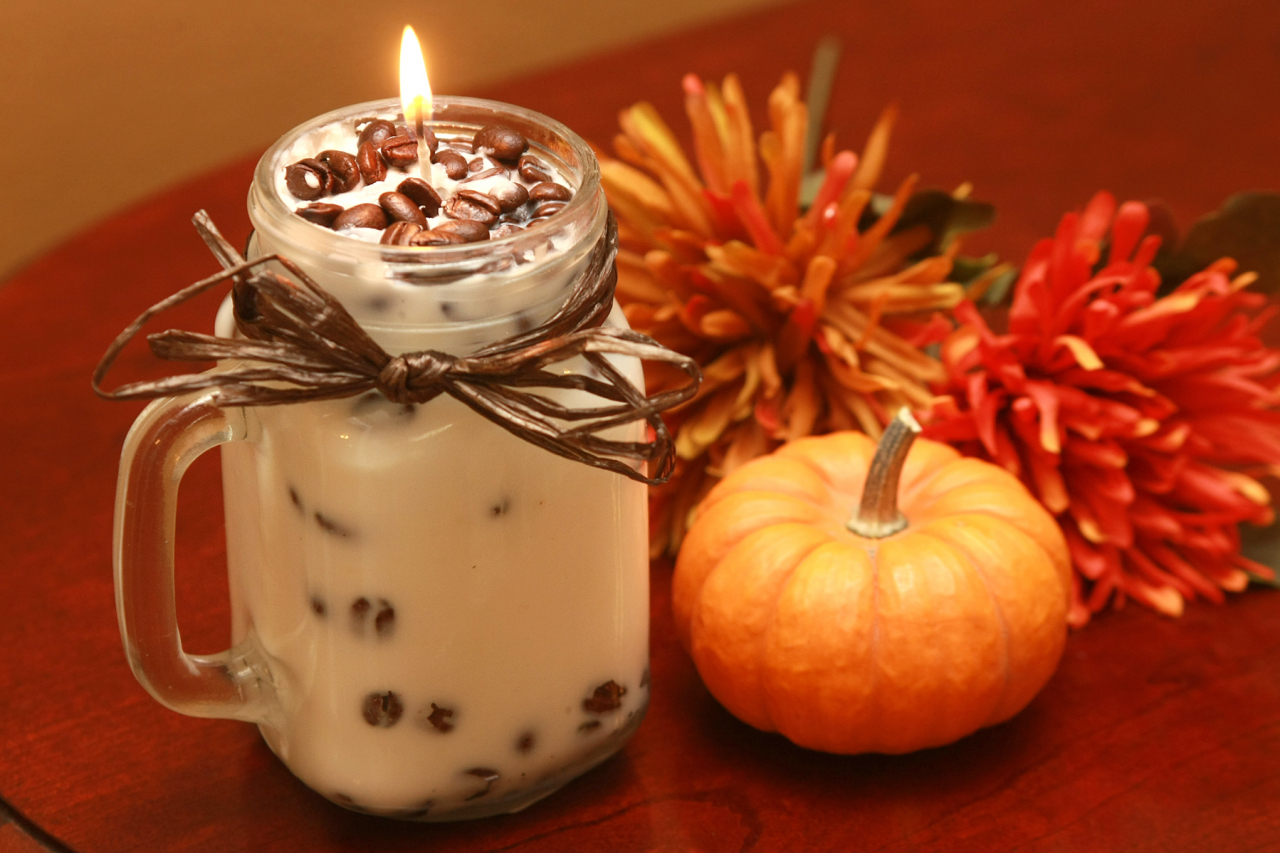
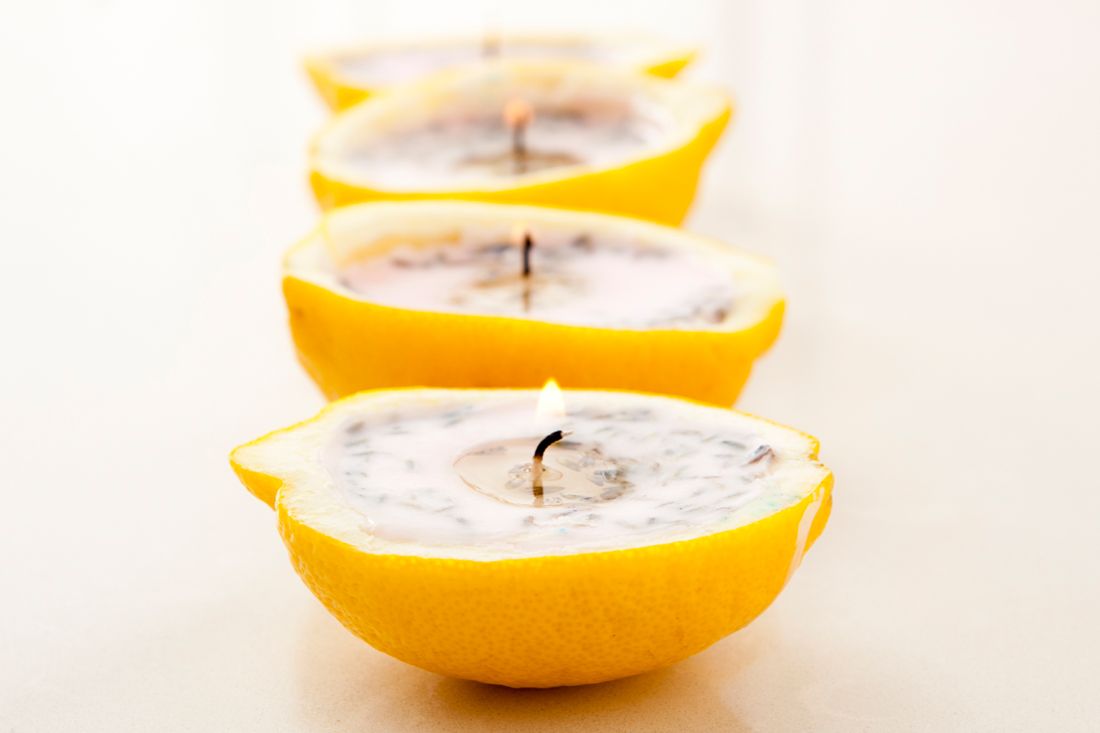
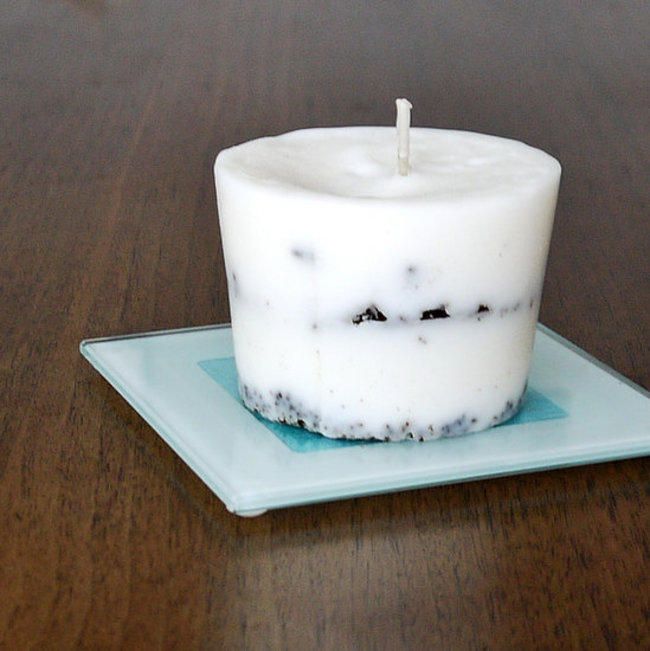
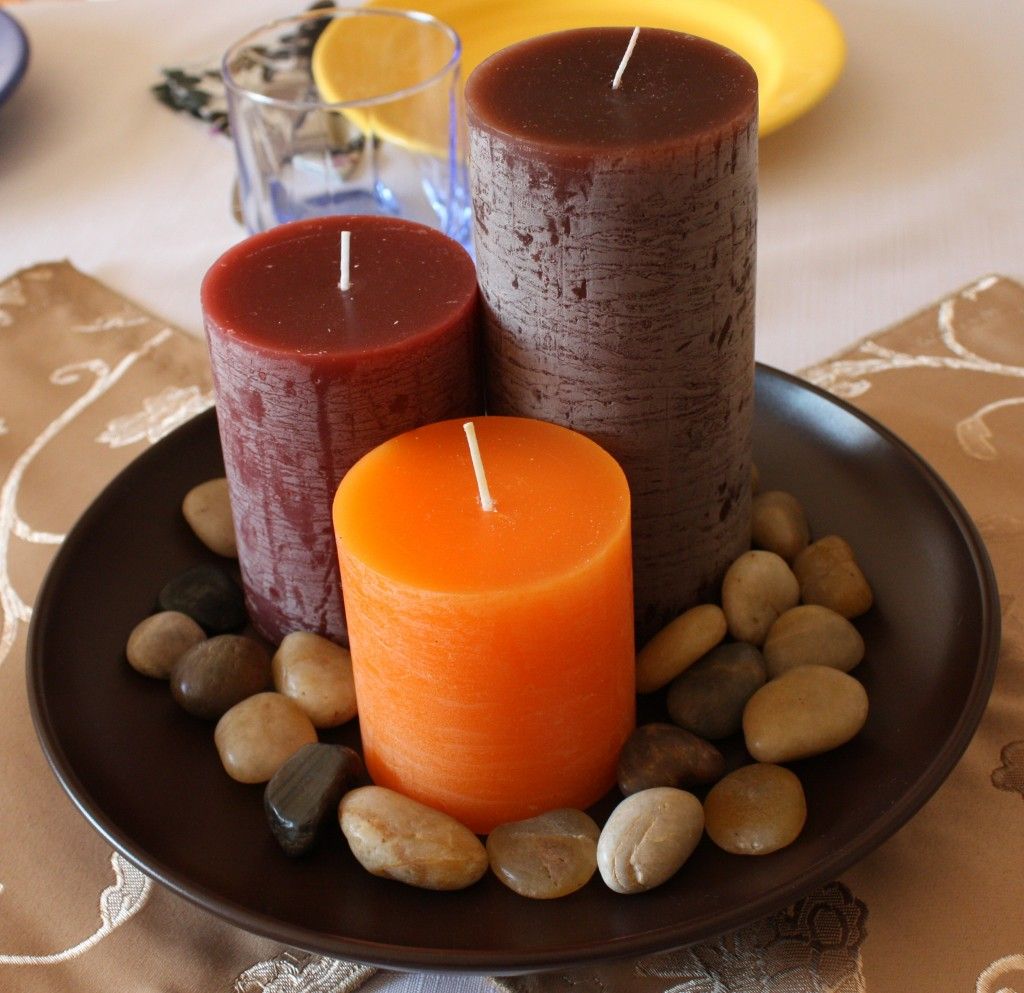
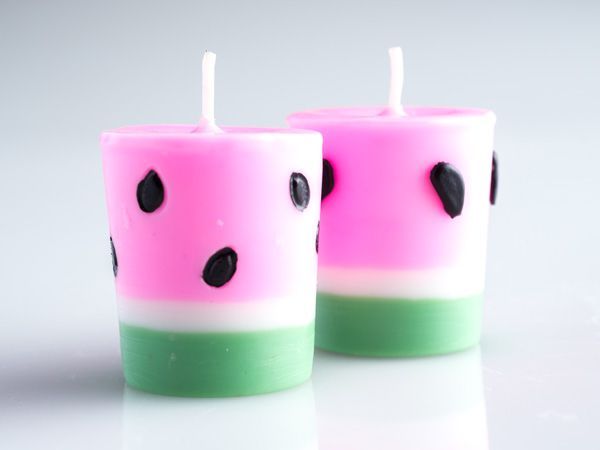
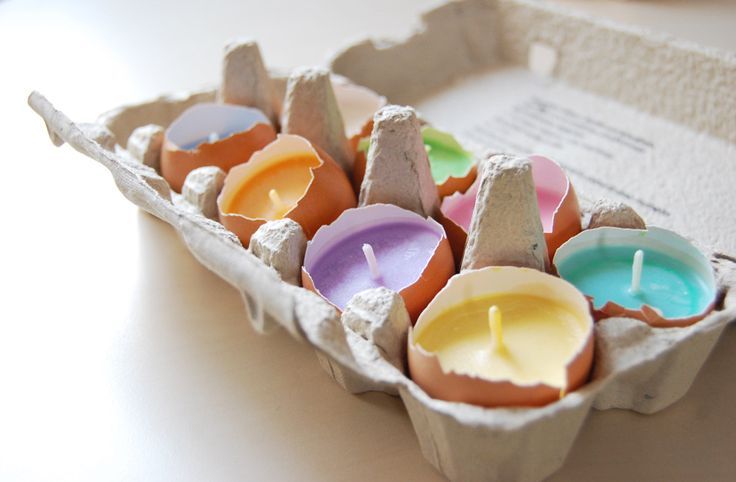
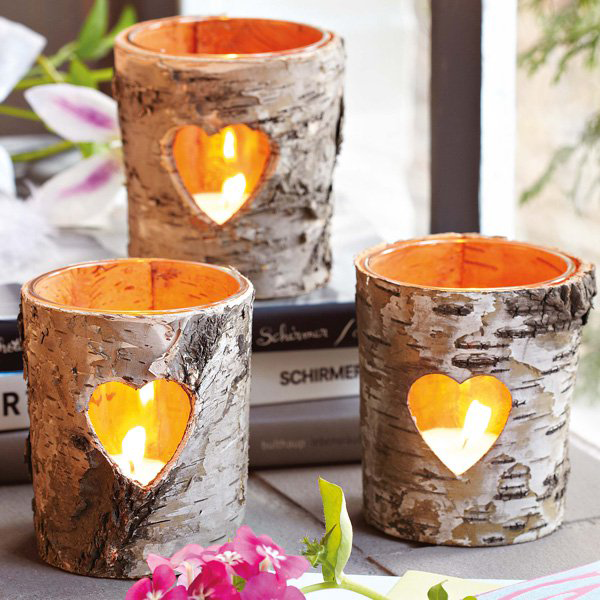
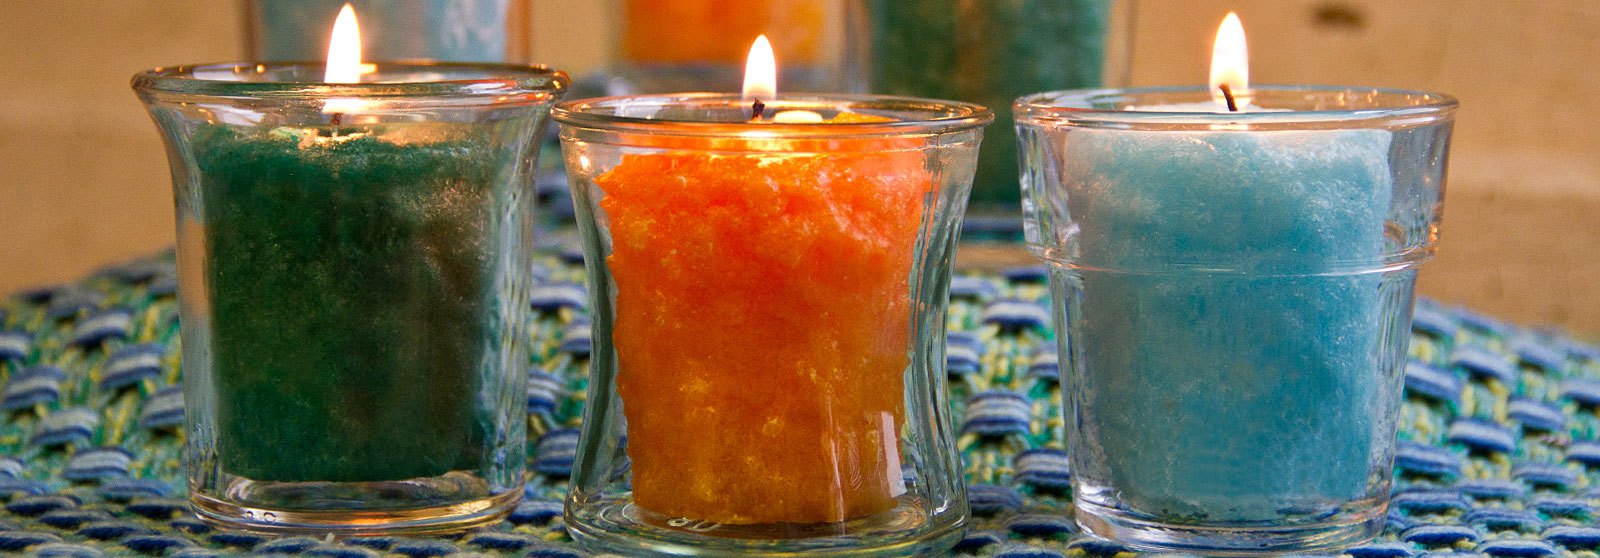
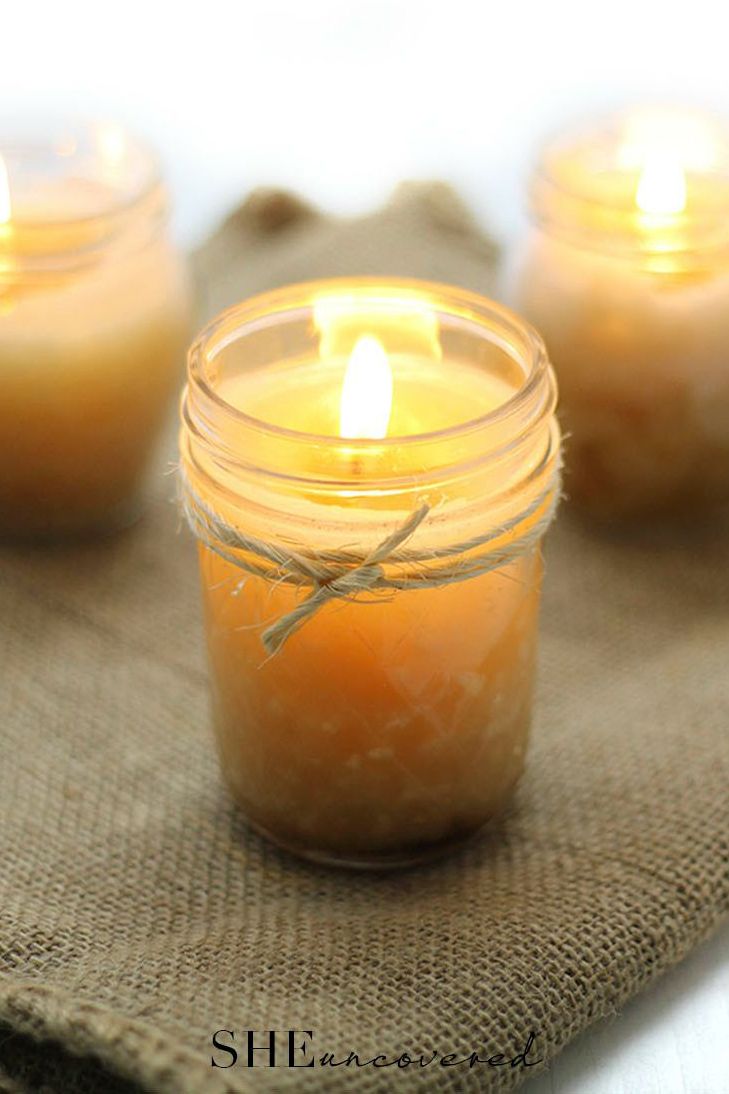
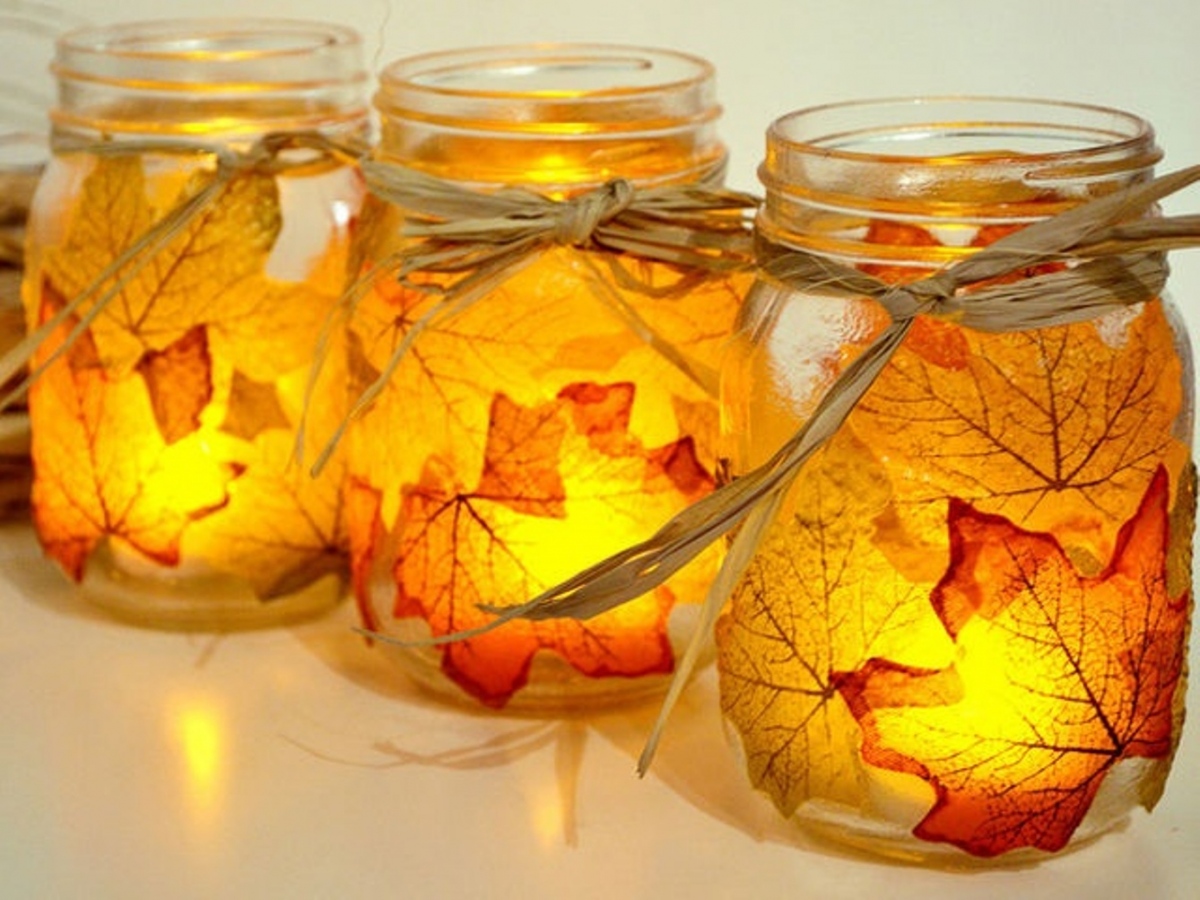
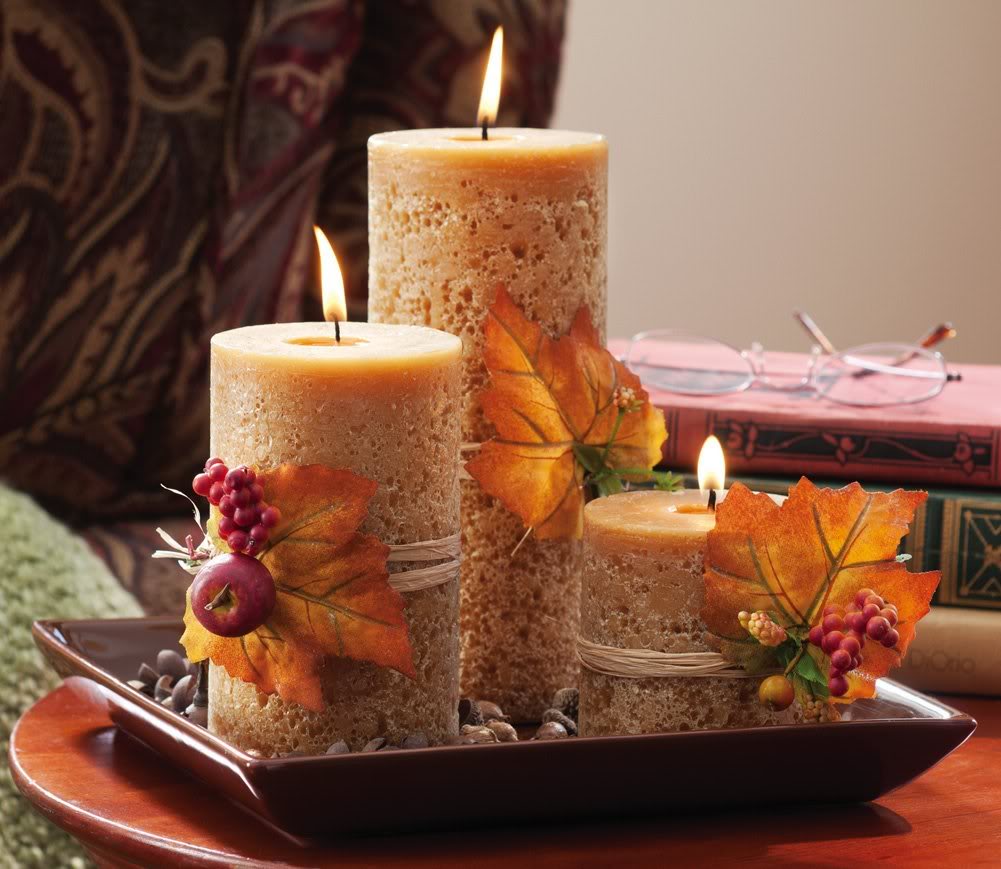
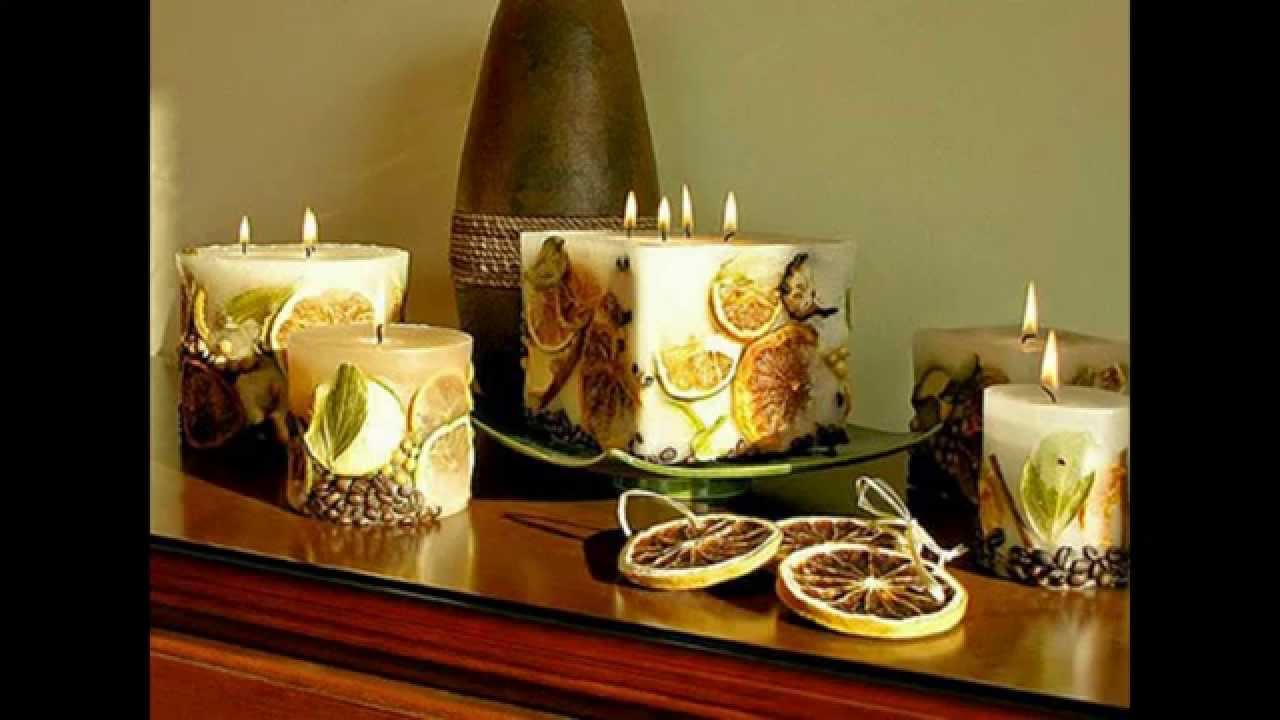
Candles in different colors in cans
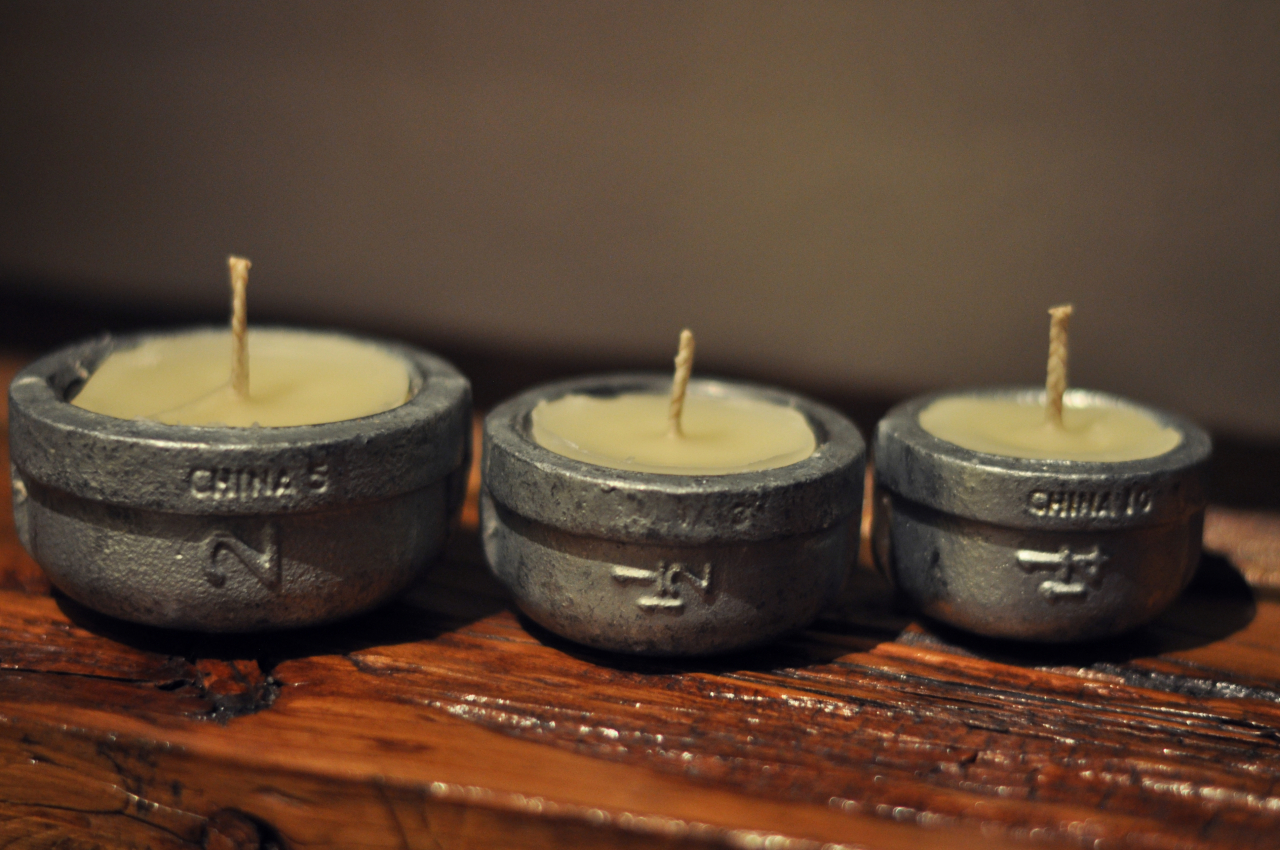
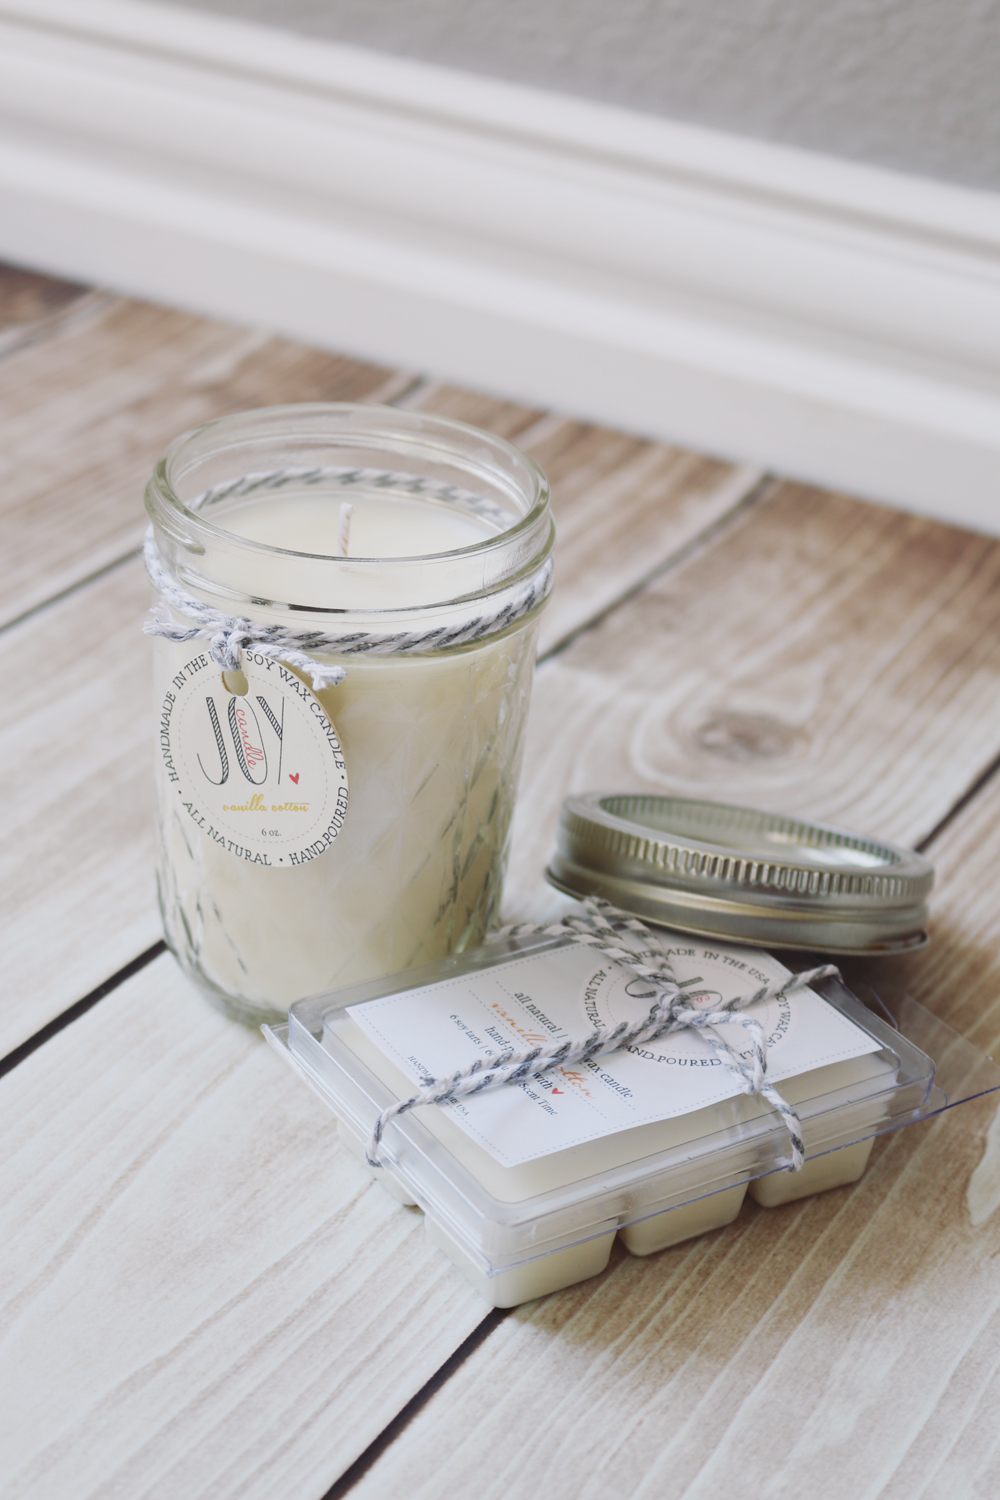
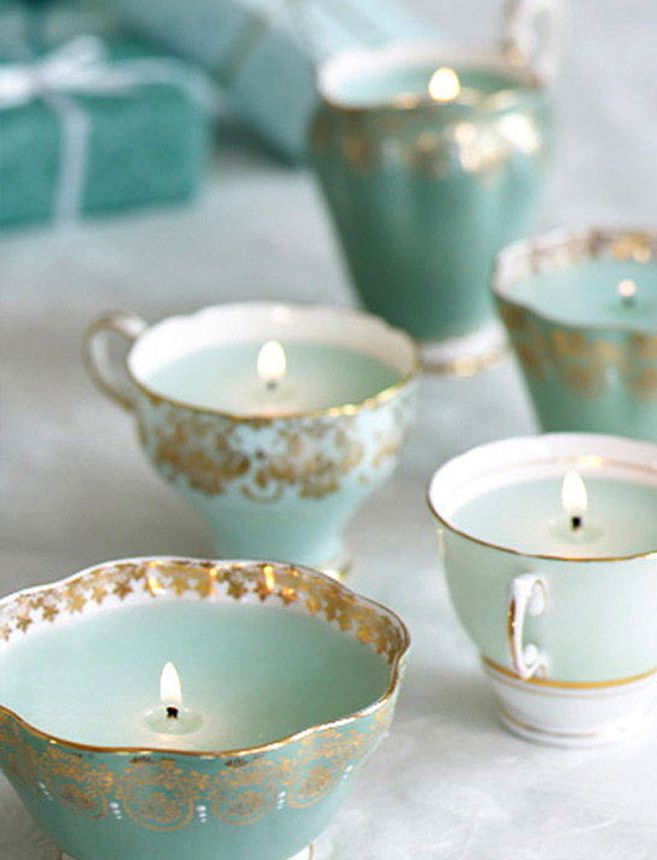
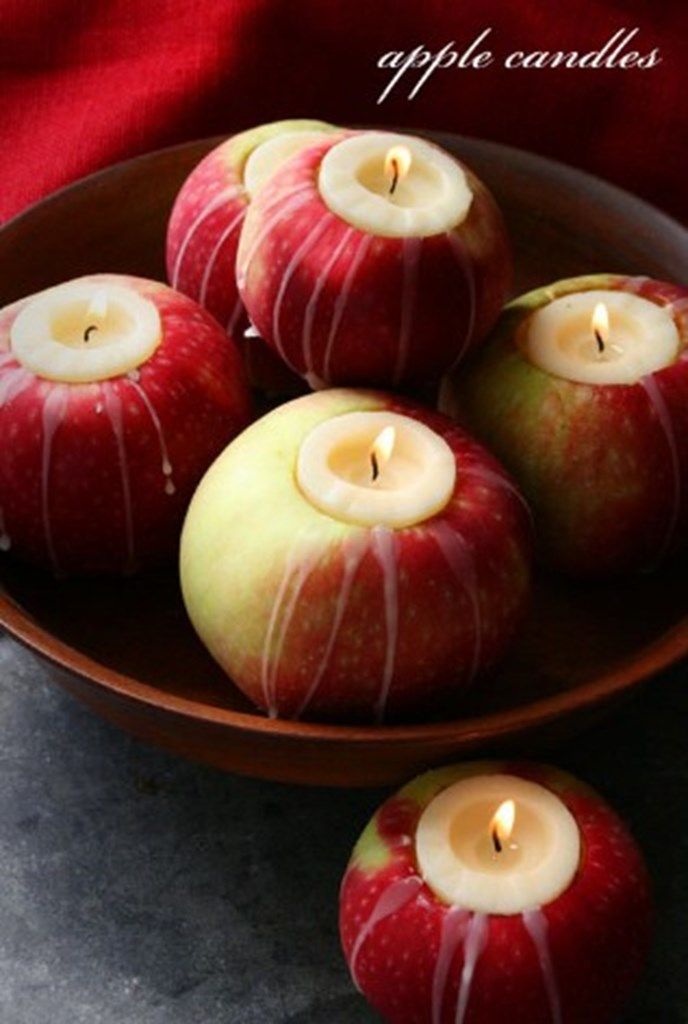
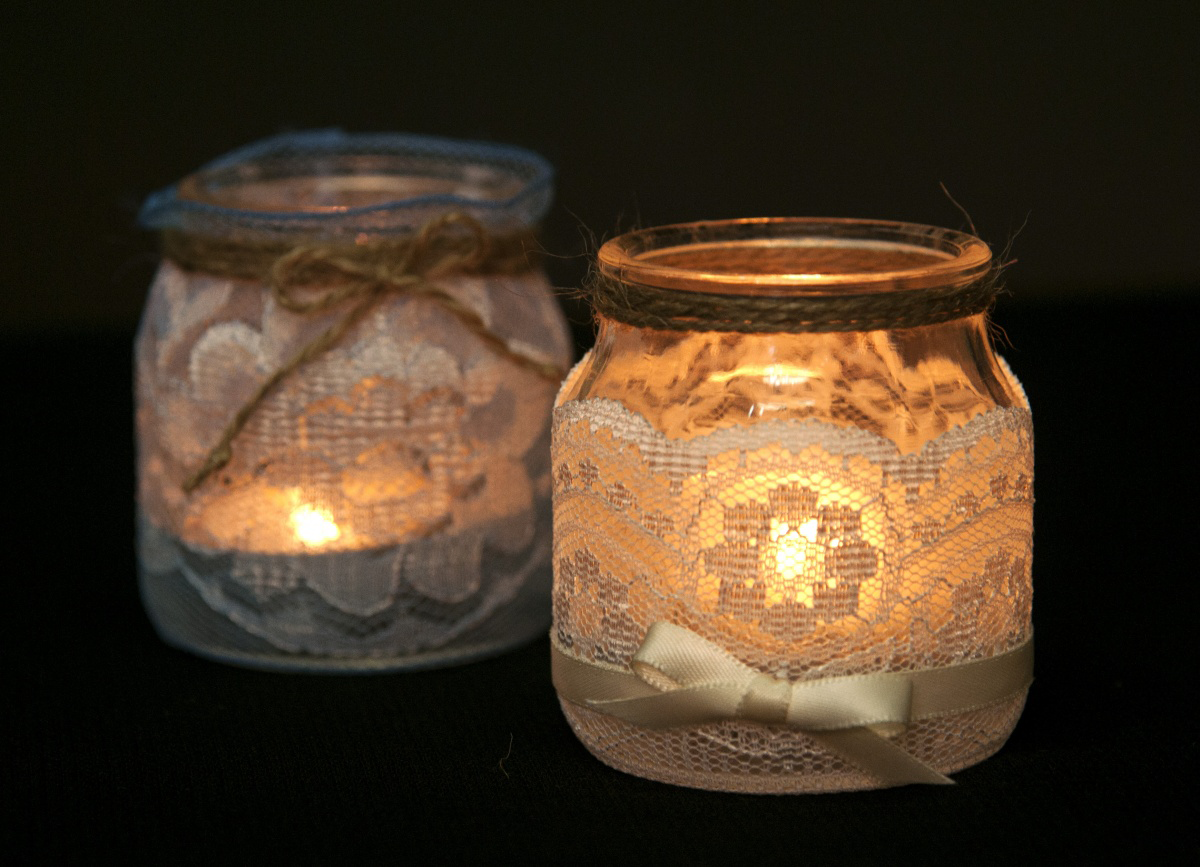
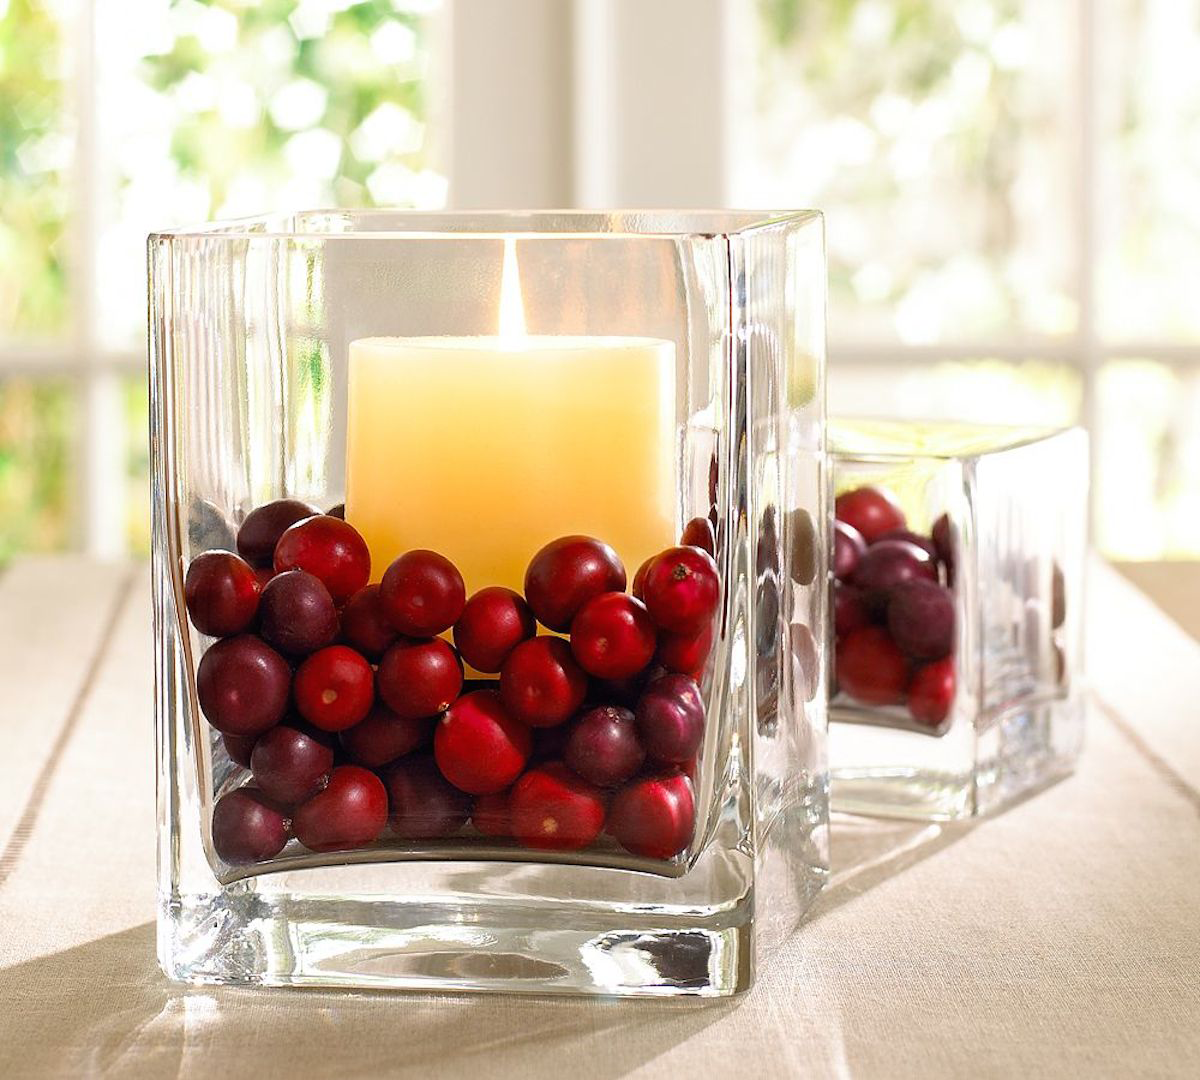
Coffee mugs, glassware, jars - everything that can withstand heat is used as a container. With a lid, they can be transported, sent, so that you can easily give to loved ones.
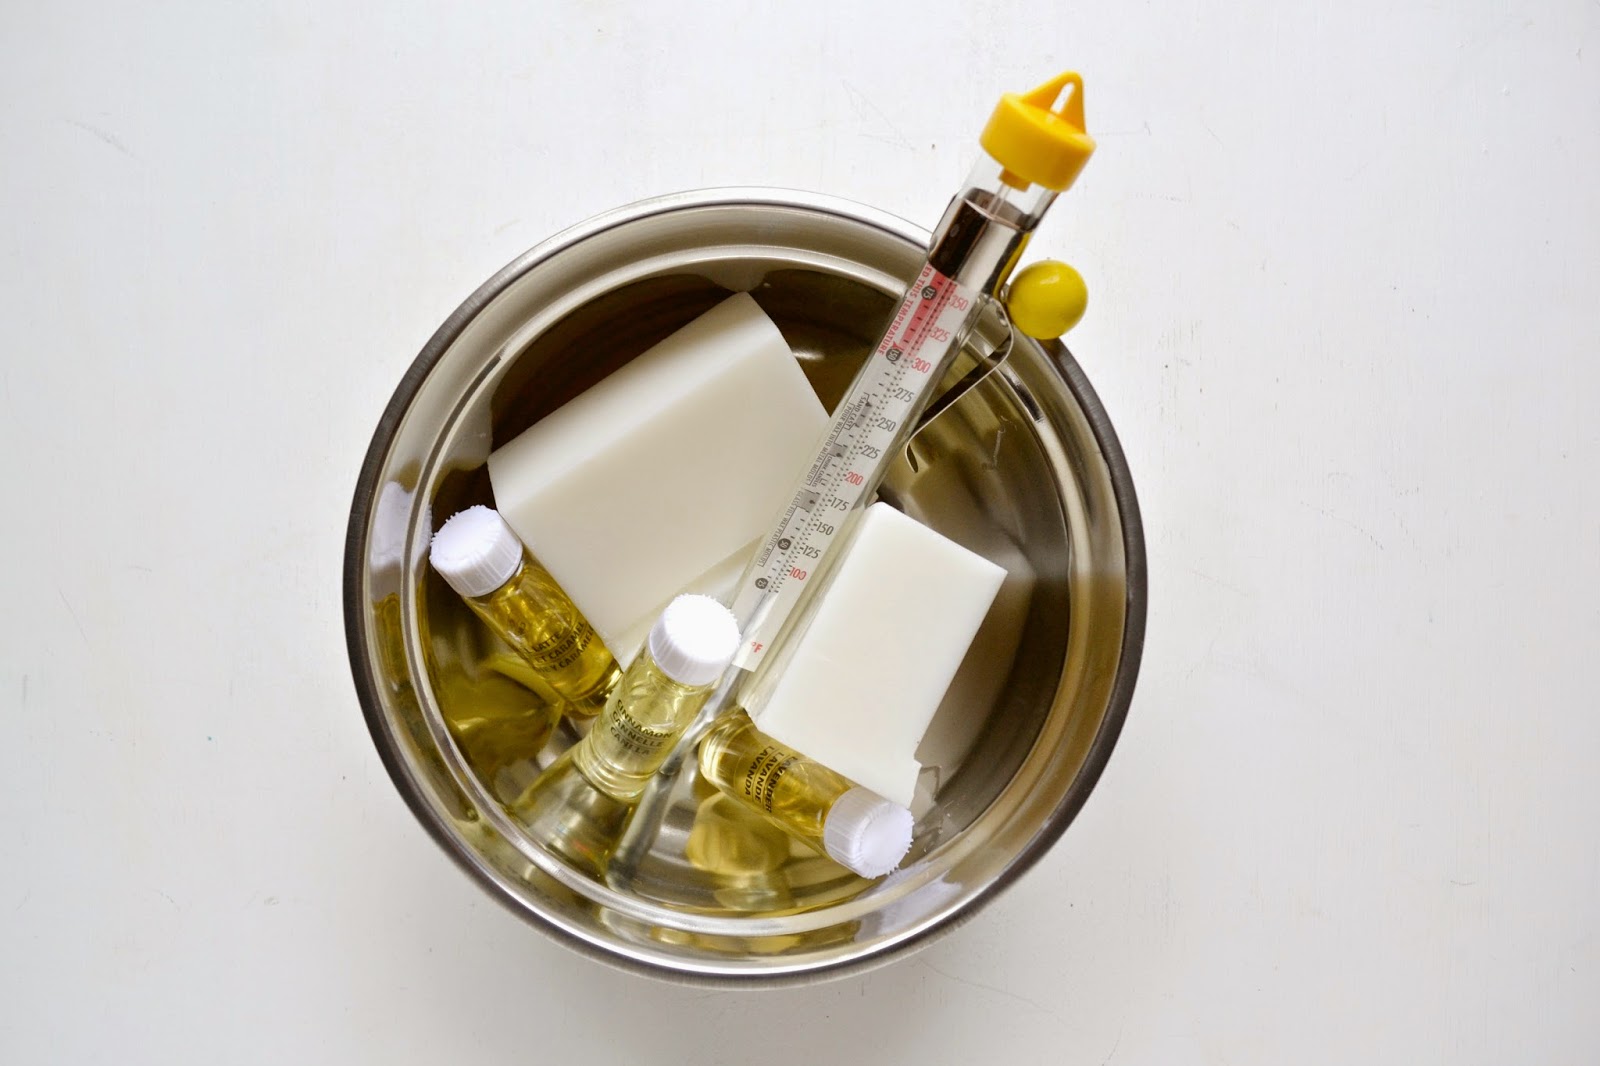
return to menu ↑Accessories: thermometer, spatula, old pen
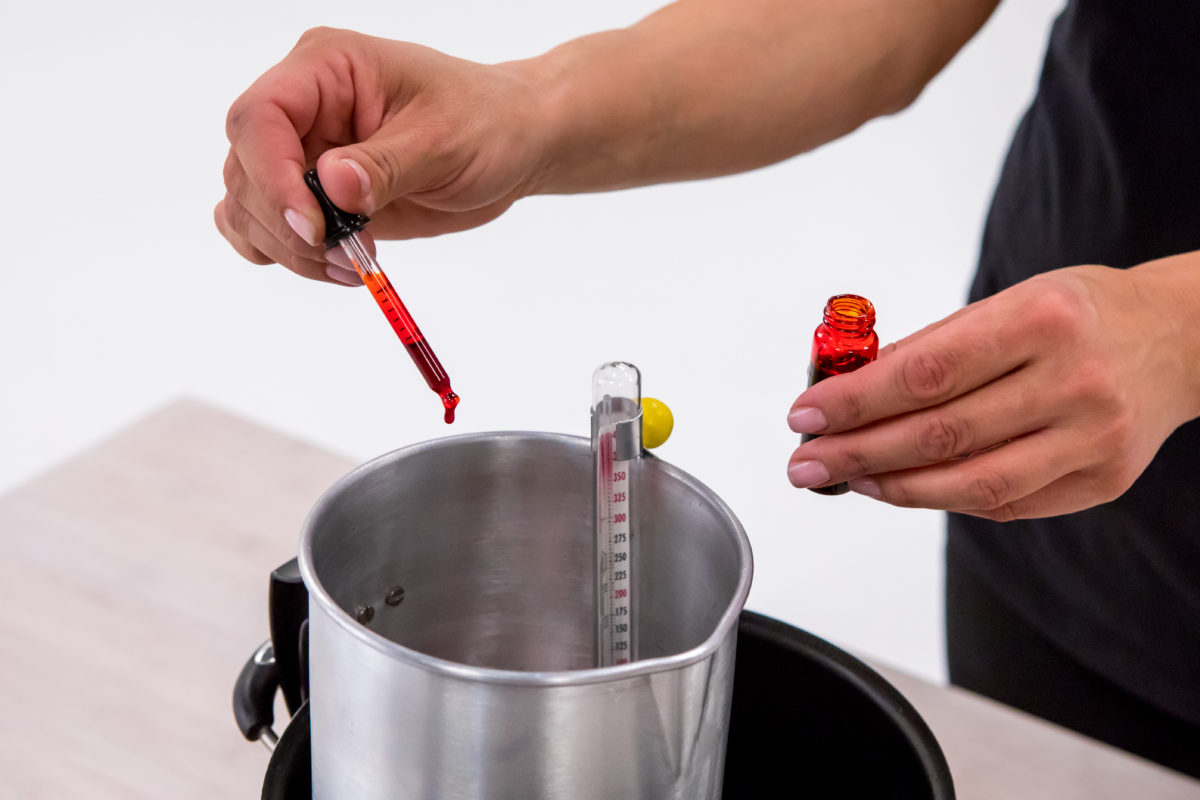
Take the temperature you need to know when to add oil
With a thermometer at hand, you can quickly measure the temperature. When you buy wax, especially the one used for manufacturing, there are indications on it at what temperature aromatic oil is added, when to pour it into a container, etc. Use a spatula or spoon to dilute it and dissolve large pieces. Later you will find out why old pens / pencils are good helpers for homemade candles.
return to menu ↑Workflow: how to do?
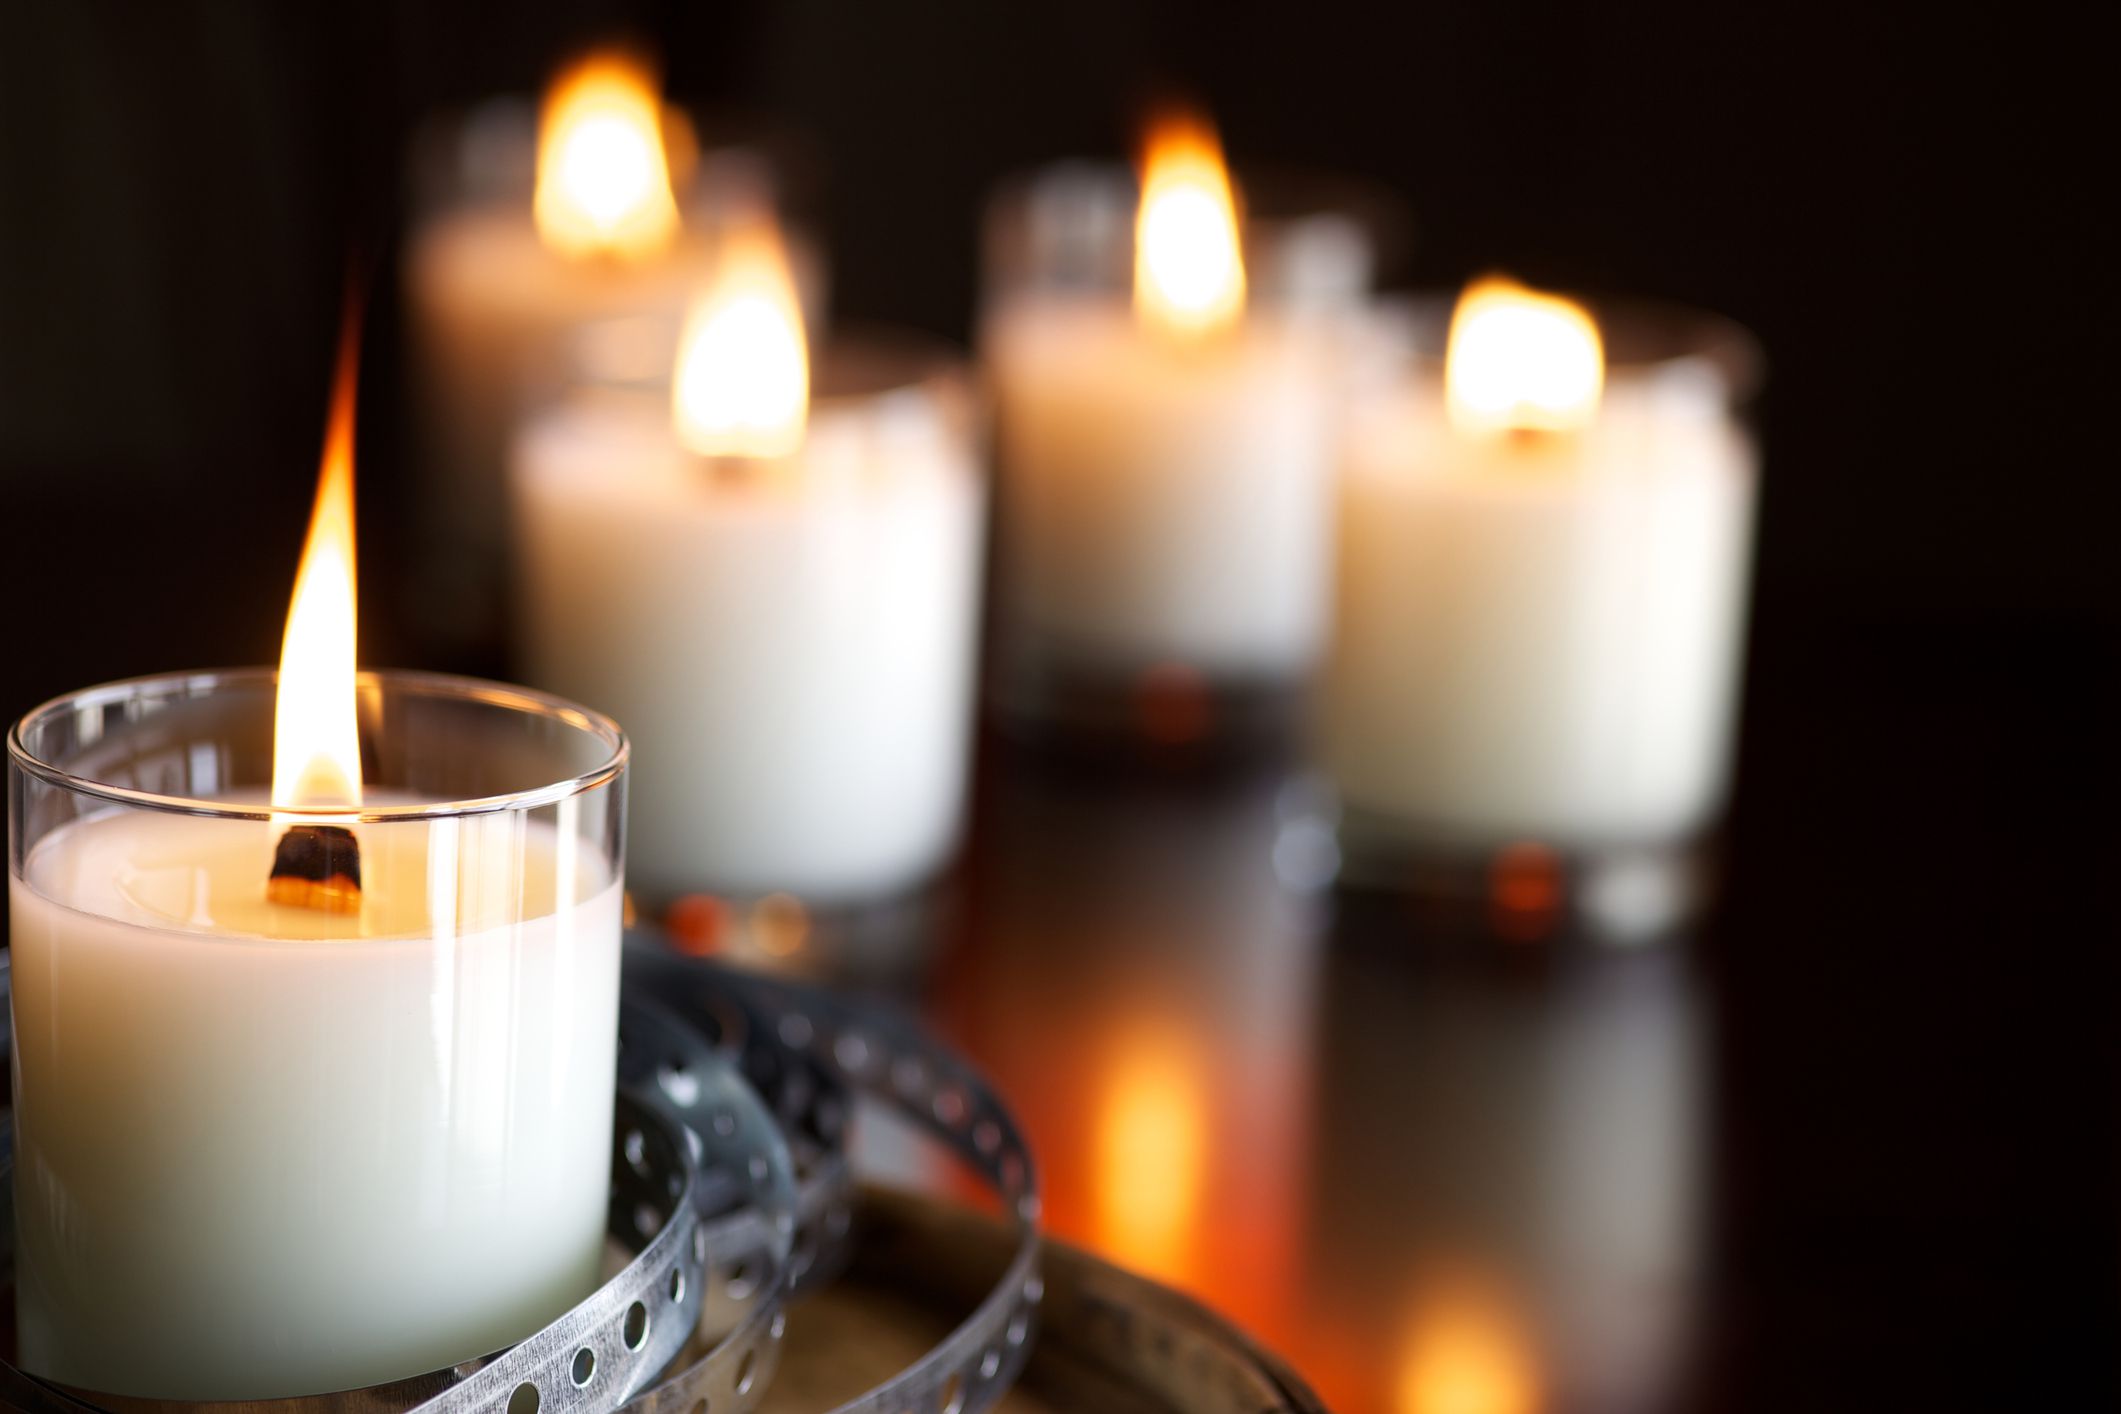
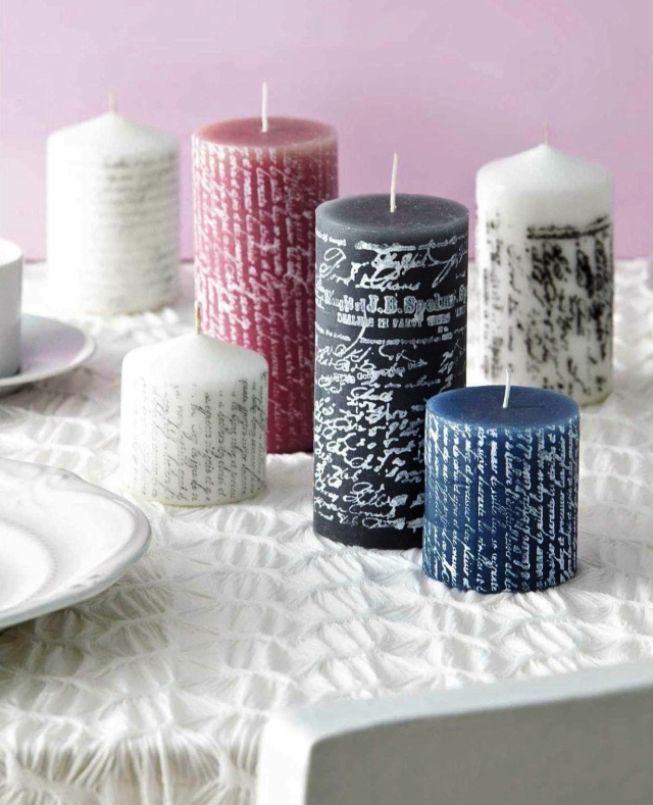
Cozy candles in a transparent form
-
Prepare the workspace
Working with wax is a pretty messy thing. It melts, drops can go anywhere, you won't even know about it until it dries. Lay a newspaper or paper towels around the work area. Use them to install a thermometer, spatula - be careful, they are likely to stick a little. Fortunately, the wax is not so difficult to clean, you can simply scrape it off with a fingernail. Prepare your shapes and wicks.
-
Melt the wax

Watch the temperature - the norm is between 70 - 75 degrees
Using a double-bottomed saucepan or water bath, melt the wax. Put about 200-300 grams, watch it melt, breaking into pieces with a spatula and stirring it. It melts about 10-15 minutes. Do not forget to monitor the temperature - you need to be between 70 - 75 degrees. If the temperature starts to rise, remove it from the fire.
-
Secure the wick
Dip the end of the wick in melted wax and then quickly attach it.
While it melts, attach the wick to the container. Rare wicks have a small sticker embedded on the bottom, but the main body does not have one. One option is super glue, but you can use the trick of old candles: dip the metal wick tongue into the melted wax, and then quickly attach it to the bottom of the container in the center. After a couple of minutes, when it hardens, the wick will fix at the bottom.
-
Add aromatic oils, mix
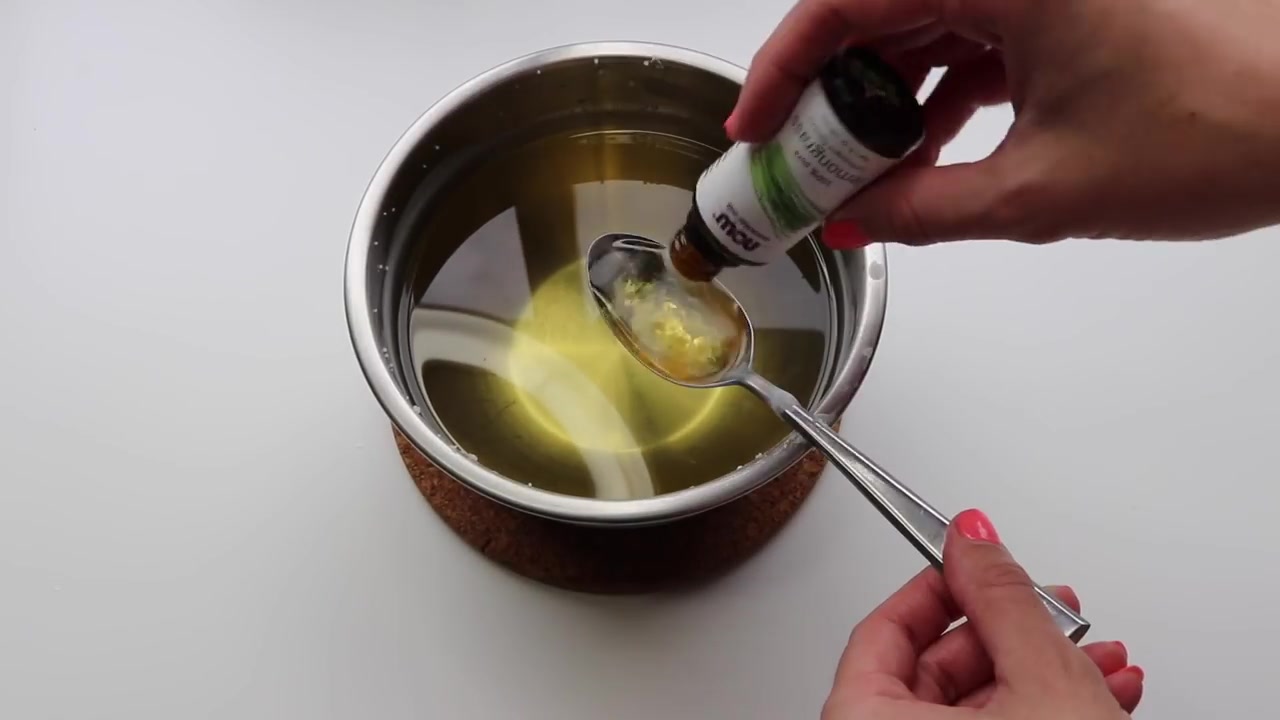
Follow the instructions on the package when adding the oil.
When completely melted, add the necessary aromatic oils. Each species is different and requires a different amount per kilogram, so follow the instructions on the package.Taking a block that is suitable for different purposes, remember the following proportion: 60 grams of oil per kilogram of wax. Pour it into the pan, stir for one minute to ensure even distribution.
-
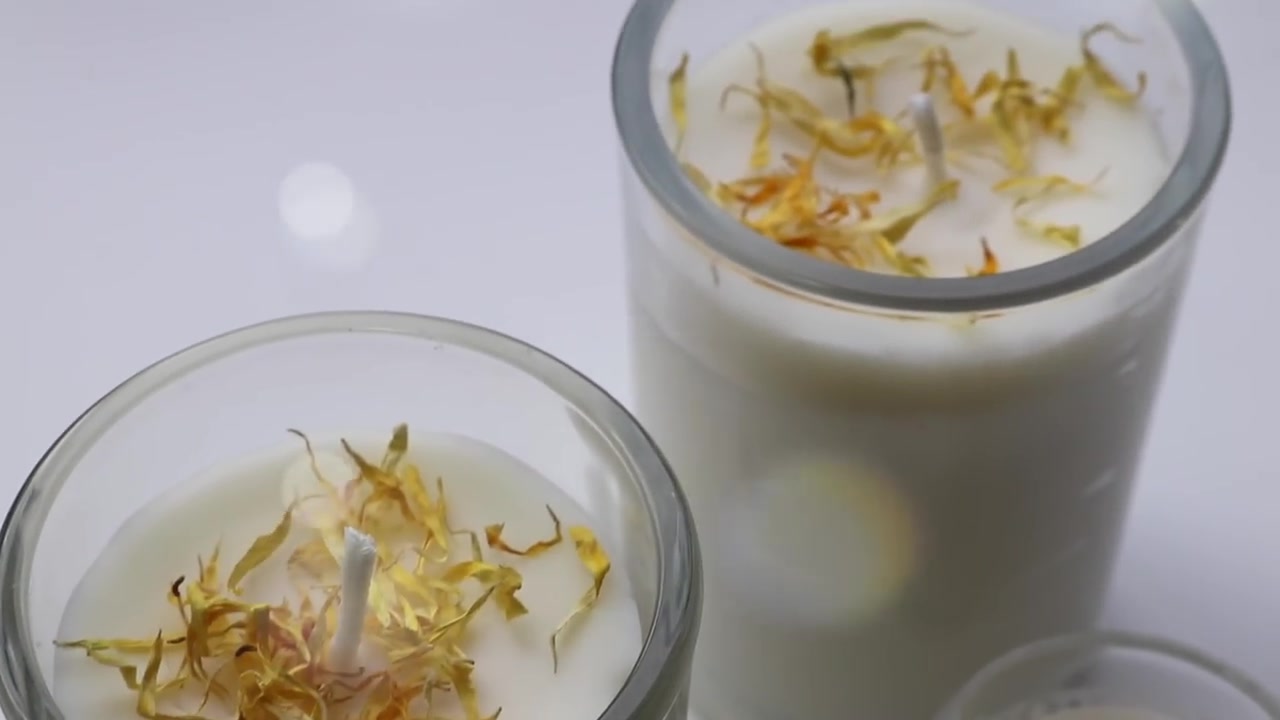
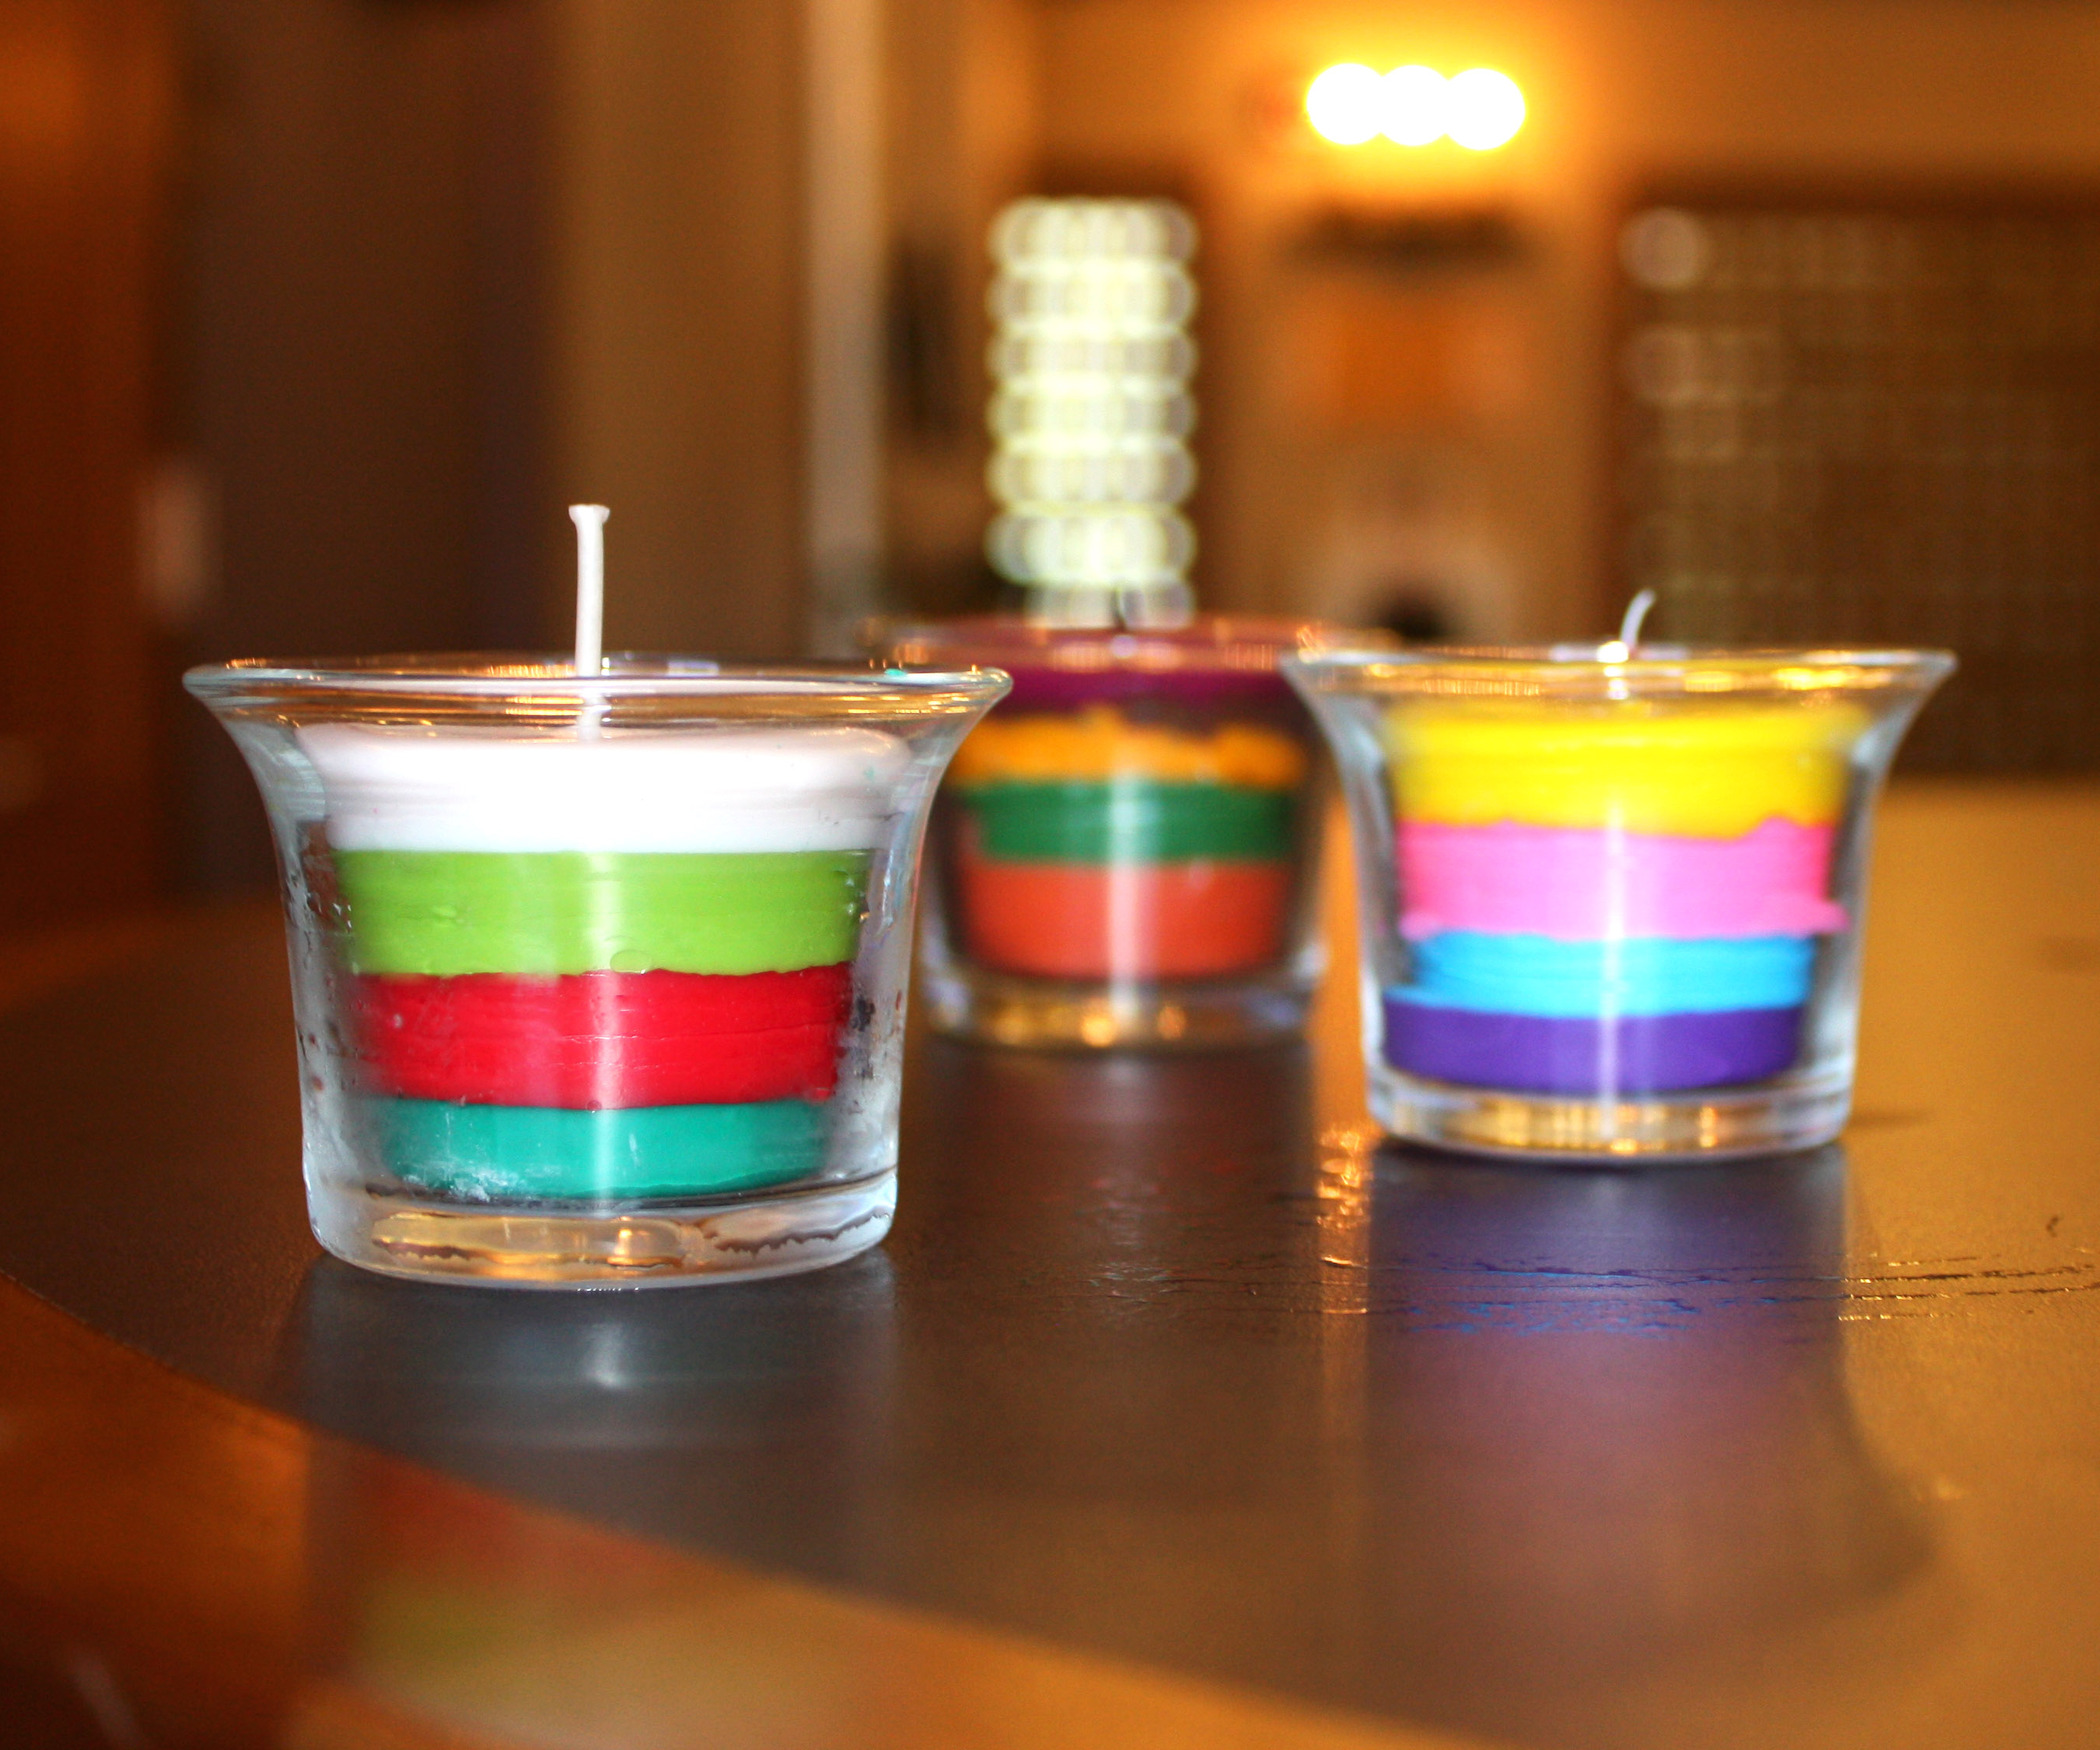
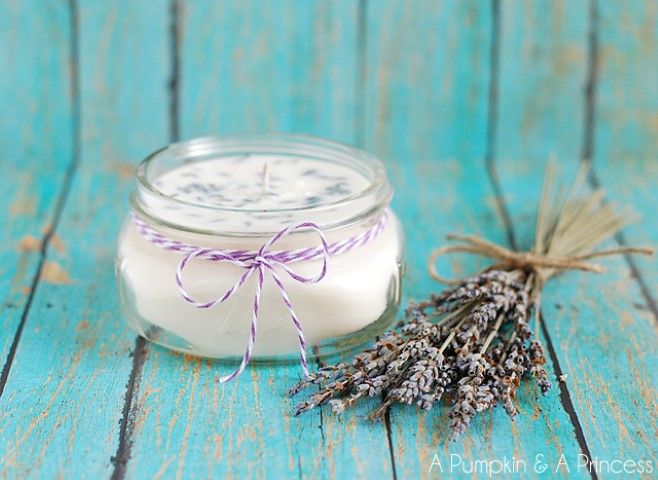
Add color if desired
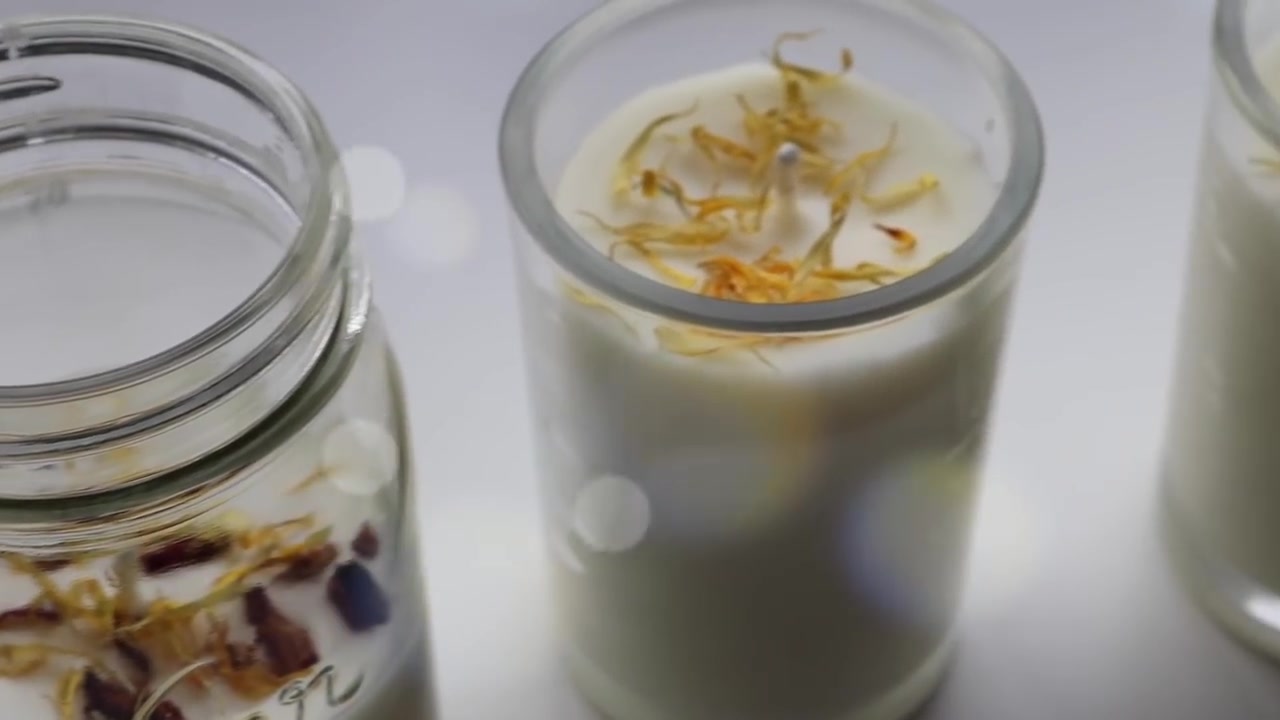
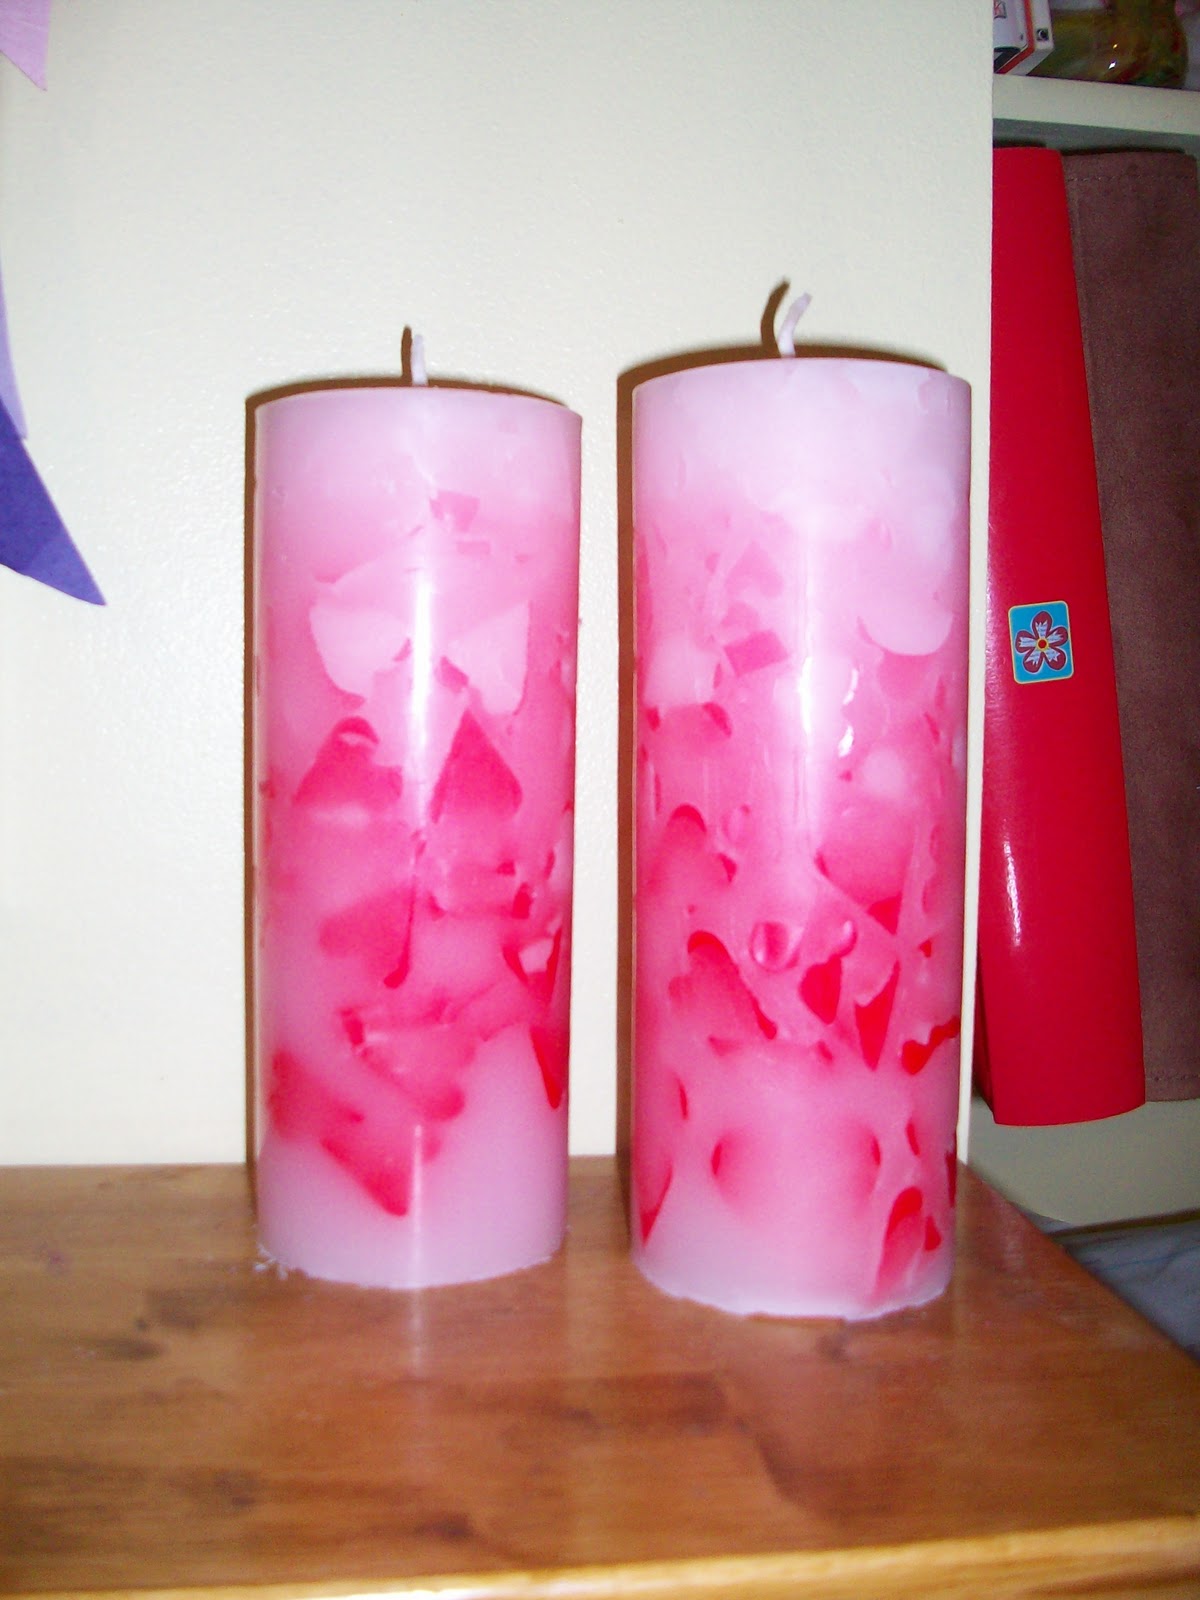
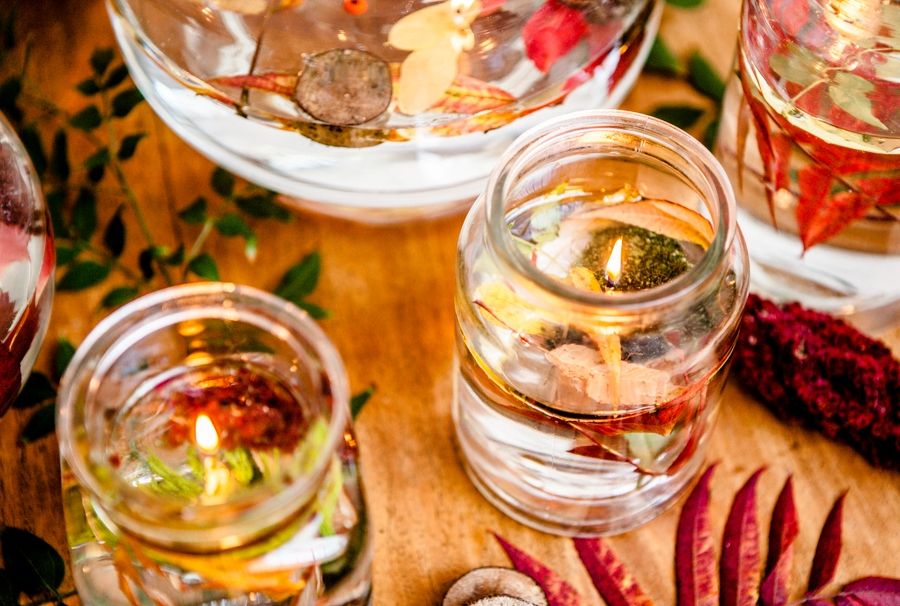
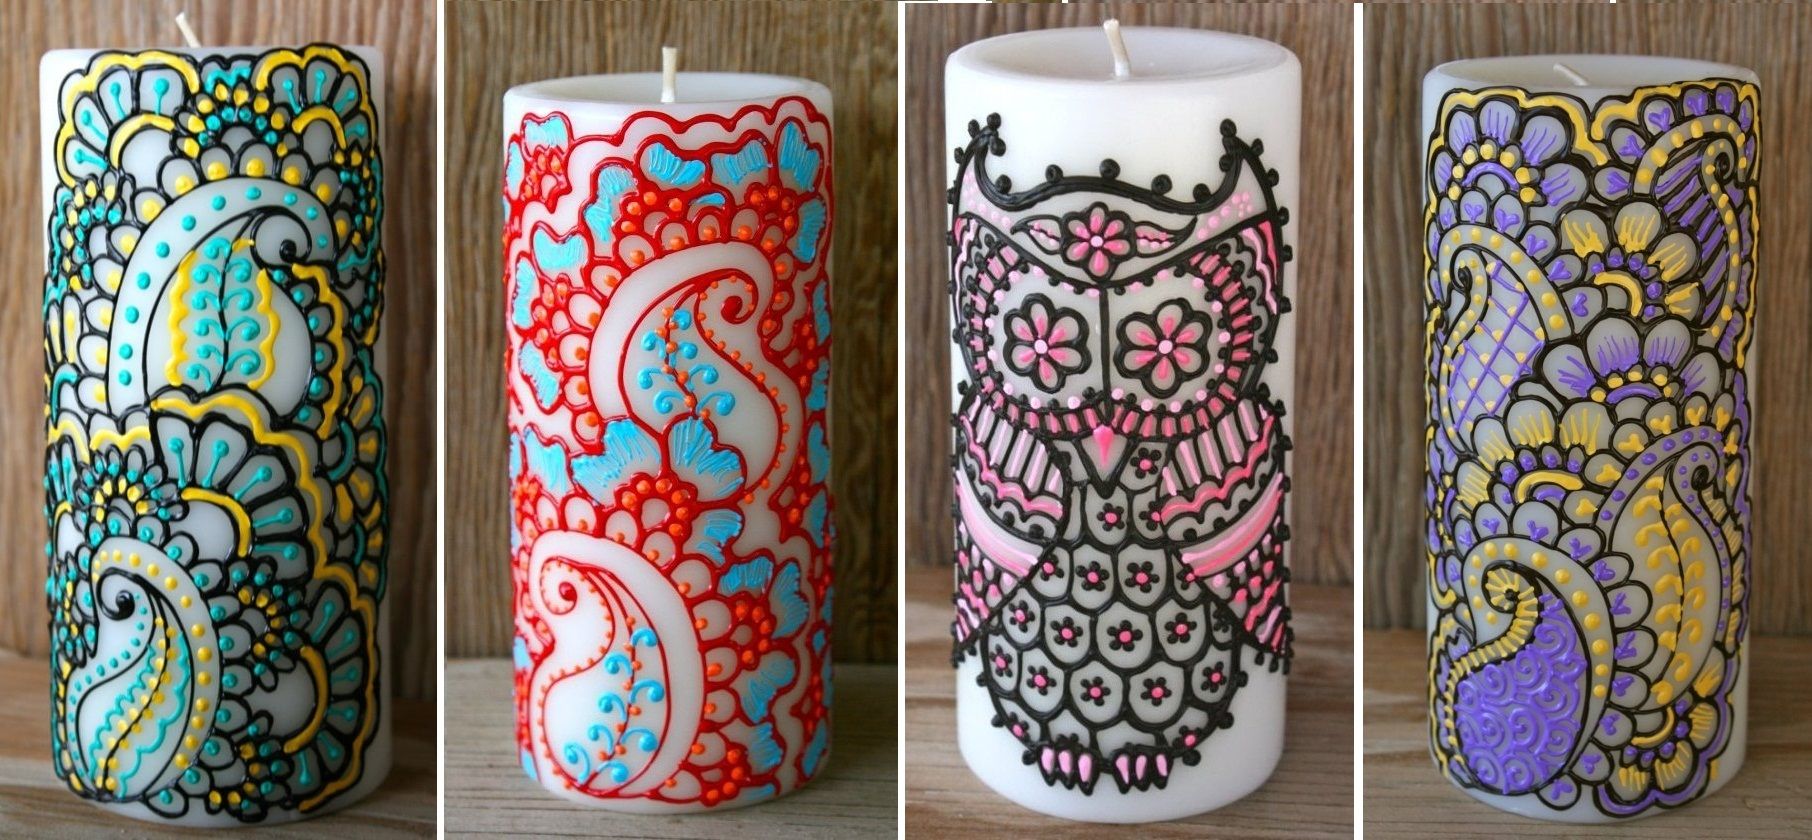
Instead of color, you can add dried leaves of flowers
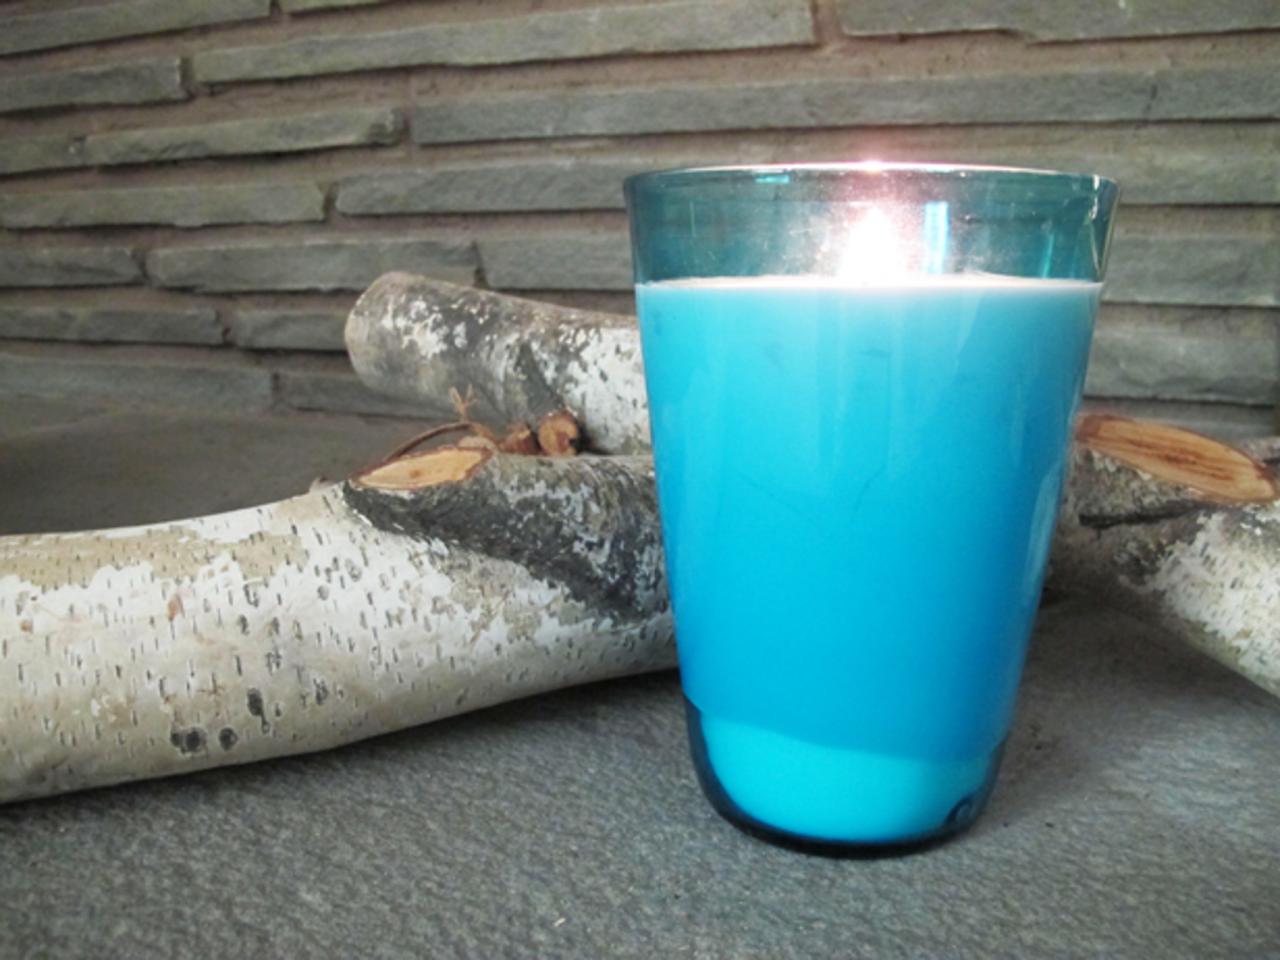
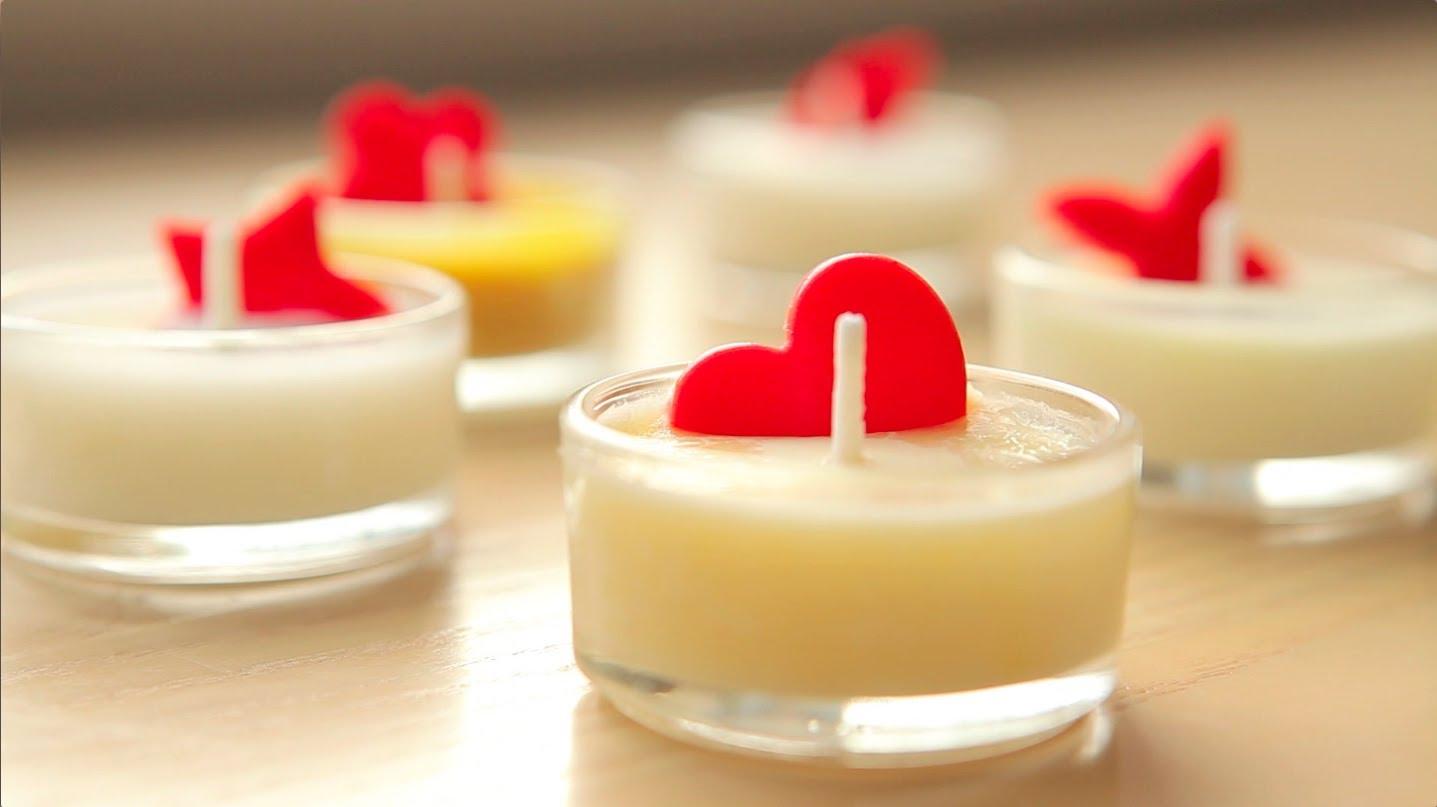
This is an optional step. Your candles will come out naturally milky white, but you can add a little color by using a non-toxic colored pencil or block. For example, you can add half a millimeter of red pencil per 500 grams of wax to get a soft pastel shade. Want a bright color? Use more pencil.
-
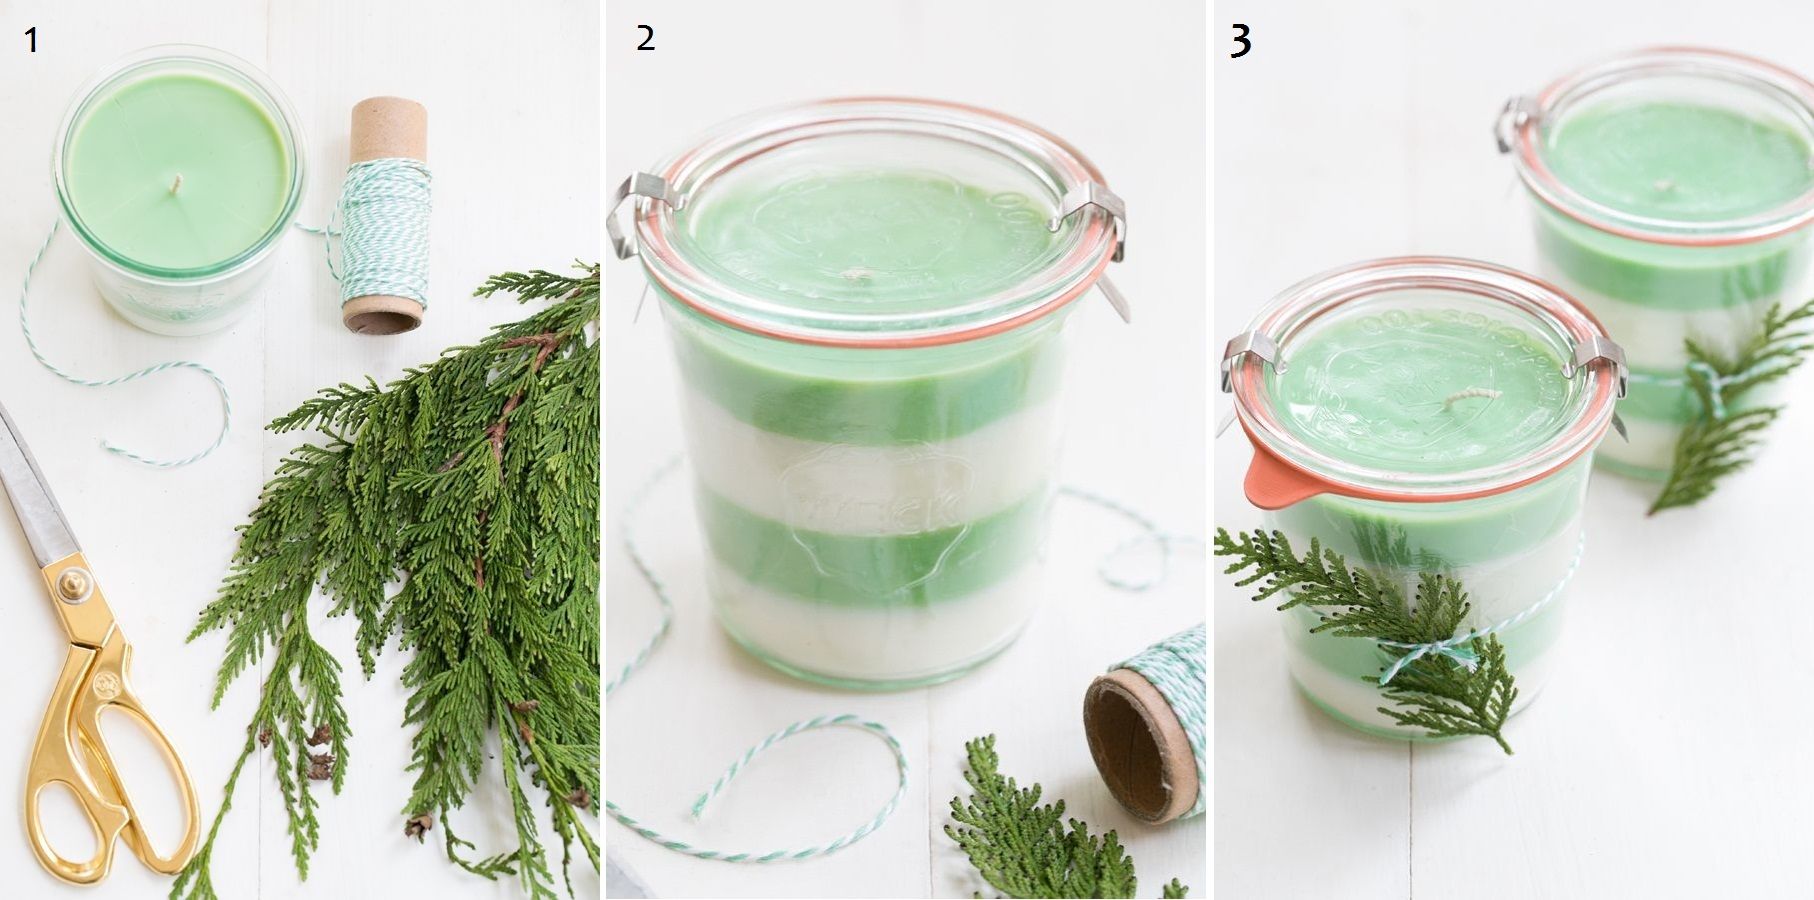
Allow the mixture to cool.
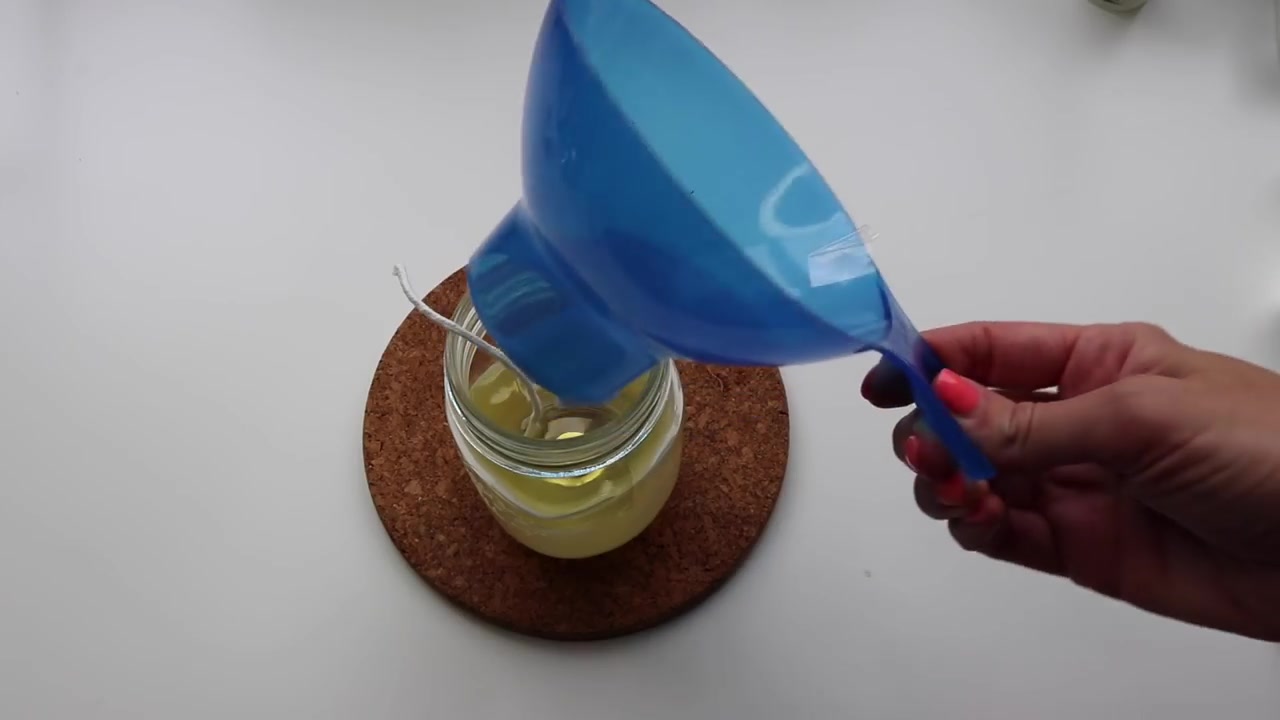
The optimal temperature for pouring wax is about 55-60 degrees
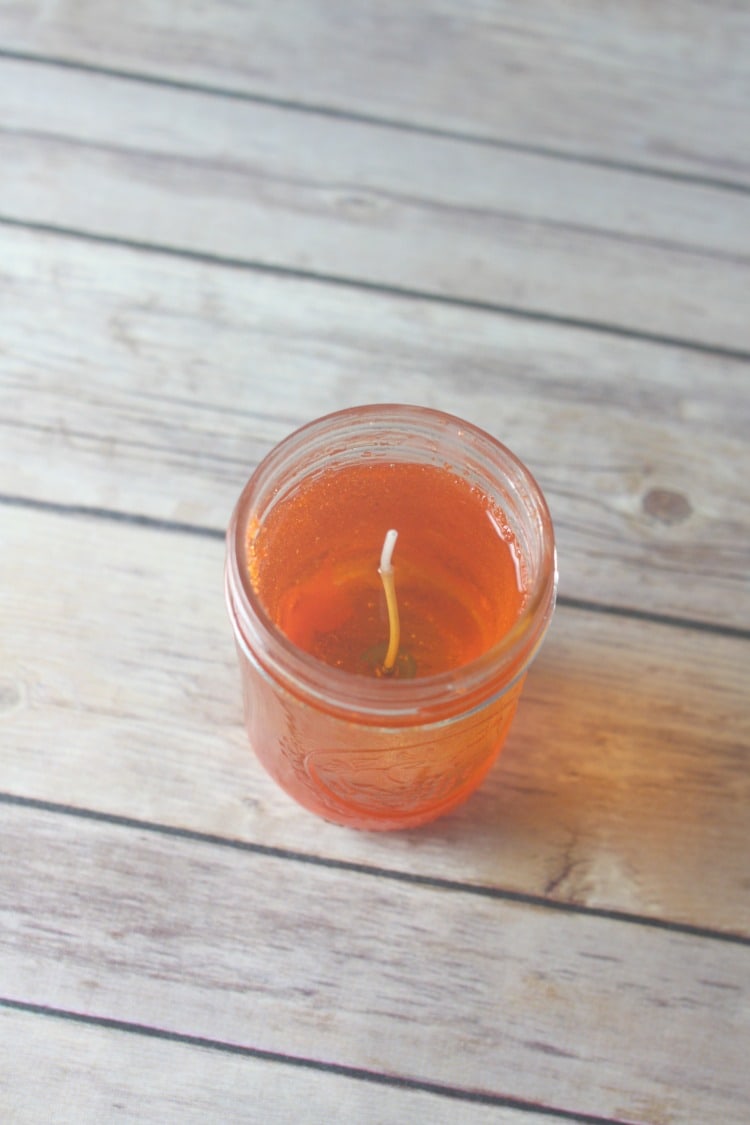
After adding the aroma oil, turn off the heat, let it cool for a couple of minutes. The optimal temperature for pouring into the container is about 55-60 degrees. It does not take long - just a few minutes, so pay attention to your thermometer. Once it is properly cooled, pour it into the container. Hold the wick so that it stays in the center, do not overtighten it. We advise you to leave a little in the pan - it will come in handy at the end.
-
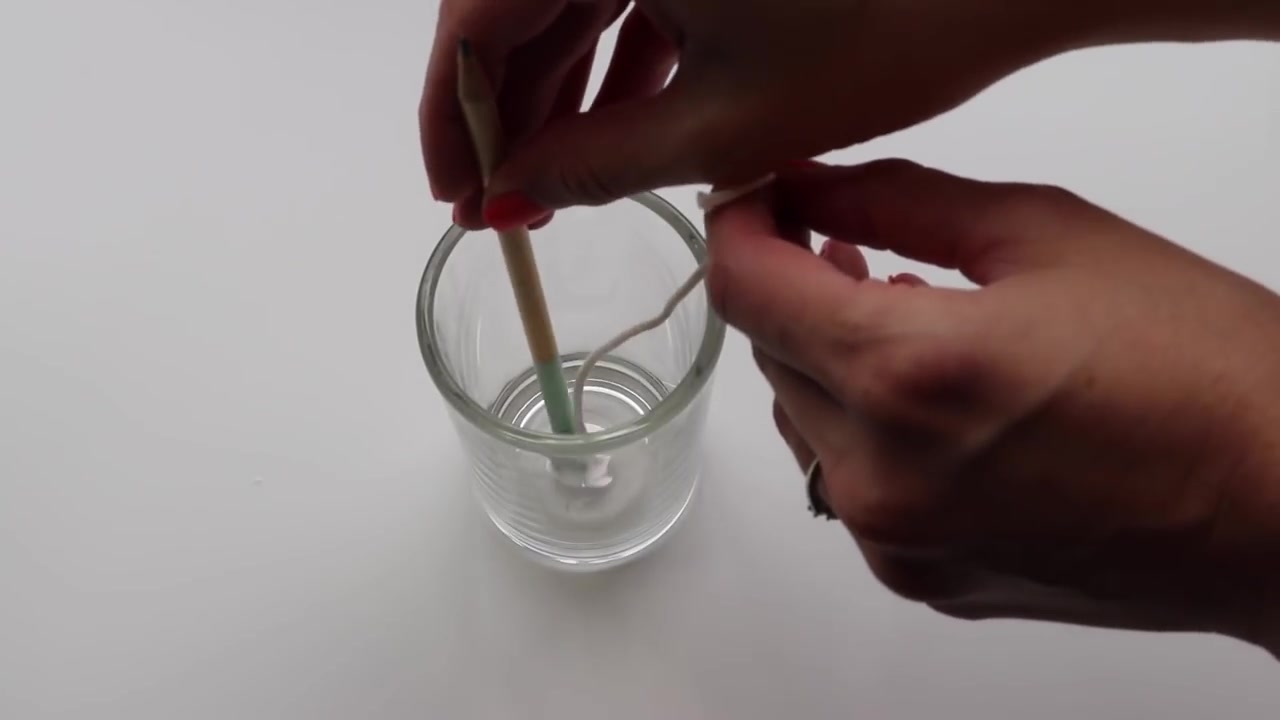
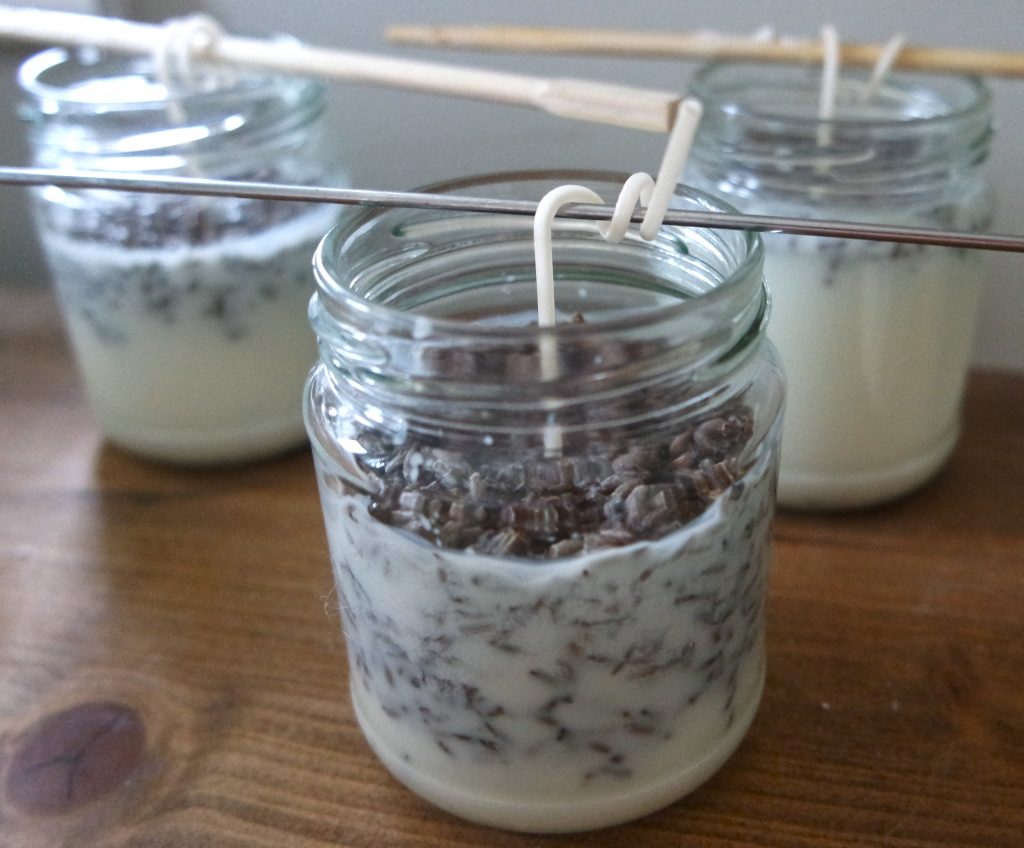
The secret of attaching the wick
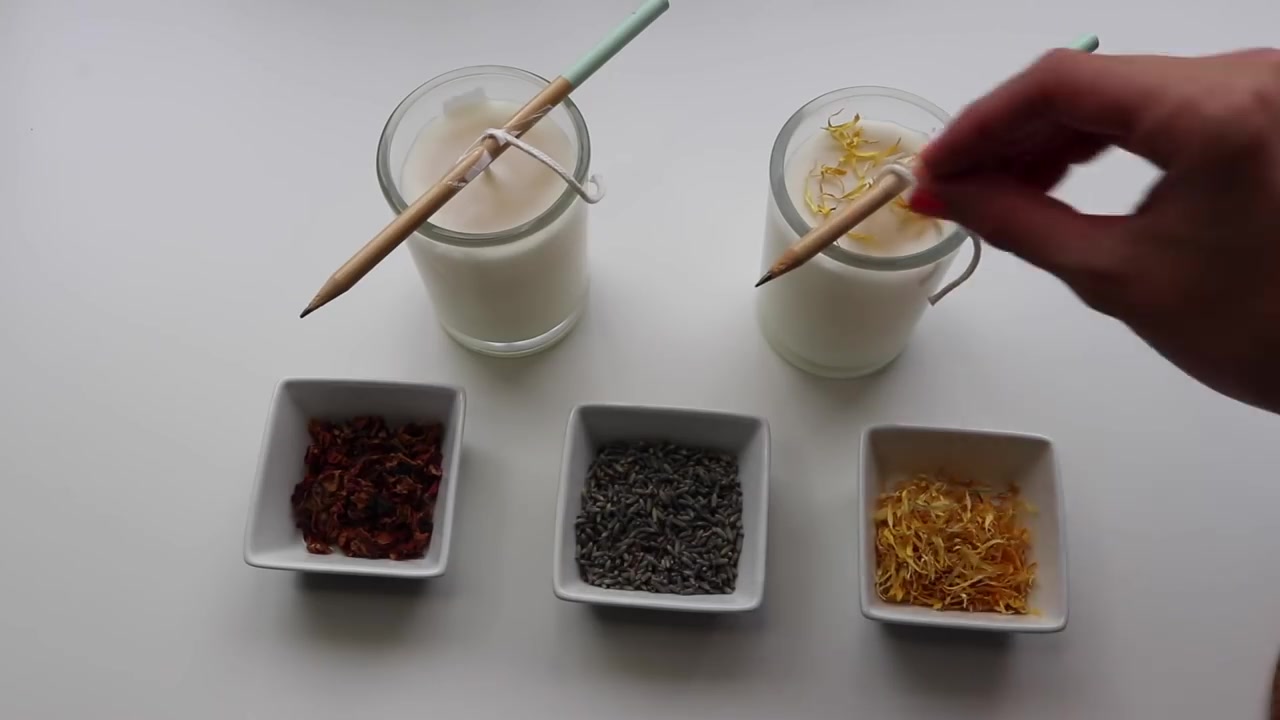
Put the handle on top of the form, tie a wick to it to secure it.
A wick attached to the bottom may first swing a little in the liquid wax. You definitely want it to remain even, to be in the center, while everything will freeze. Just put a pen on top of the form, tie a wick to it, leave it to freeze for several hours.
-
Trim wick
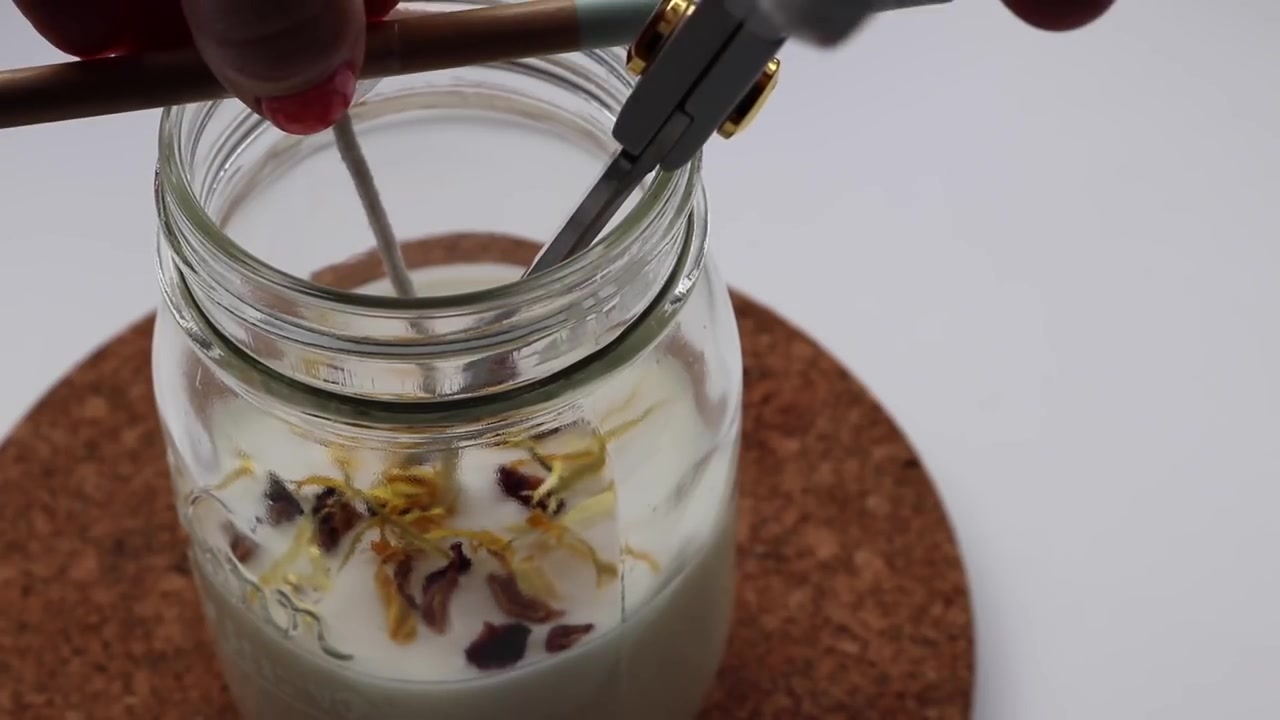
If the flame is more than 2.5 centimeters, cut the wick
You will probably have a few extra centimeters of wick sticking out. A wick that is too long will burn with a large bright flame. Light and check this: if the flame is more than 2.5 centimeters, cut the thread.
-
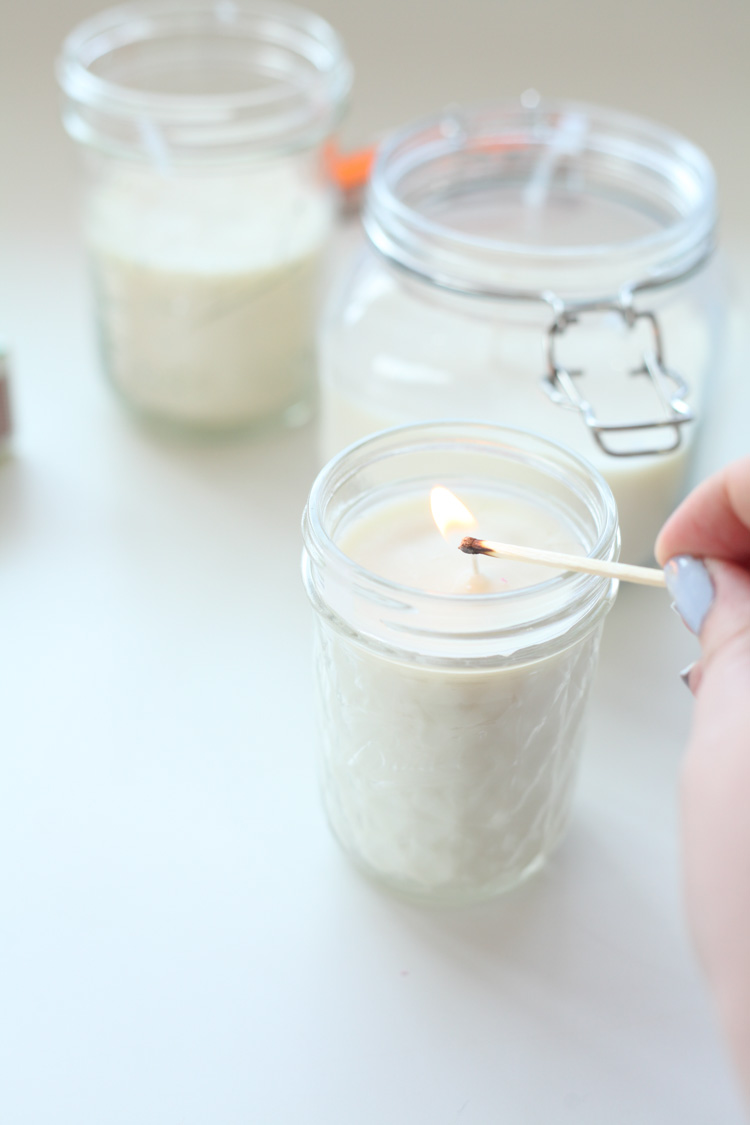
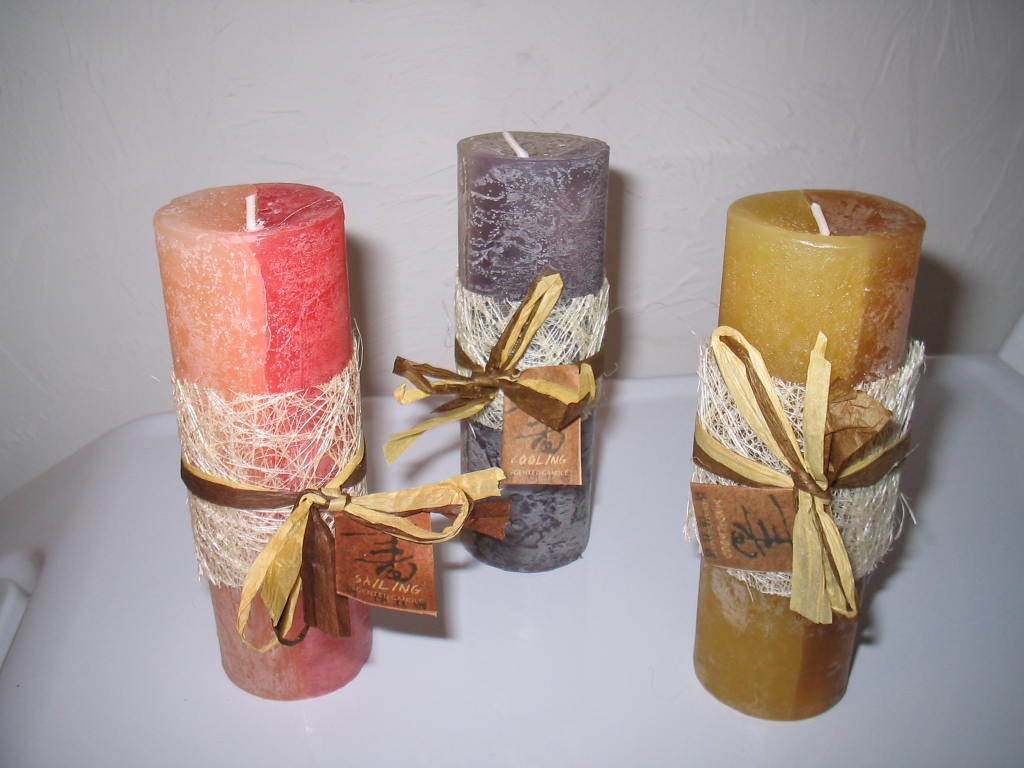
Enjoy own-made candles
How to make new from old?
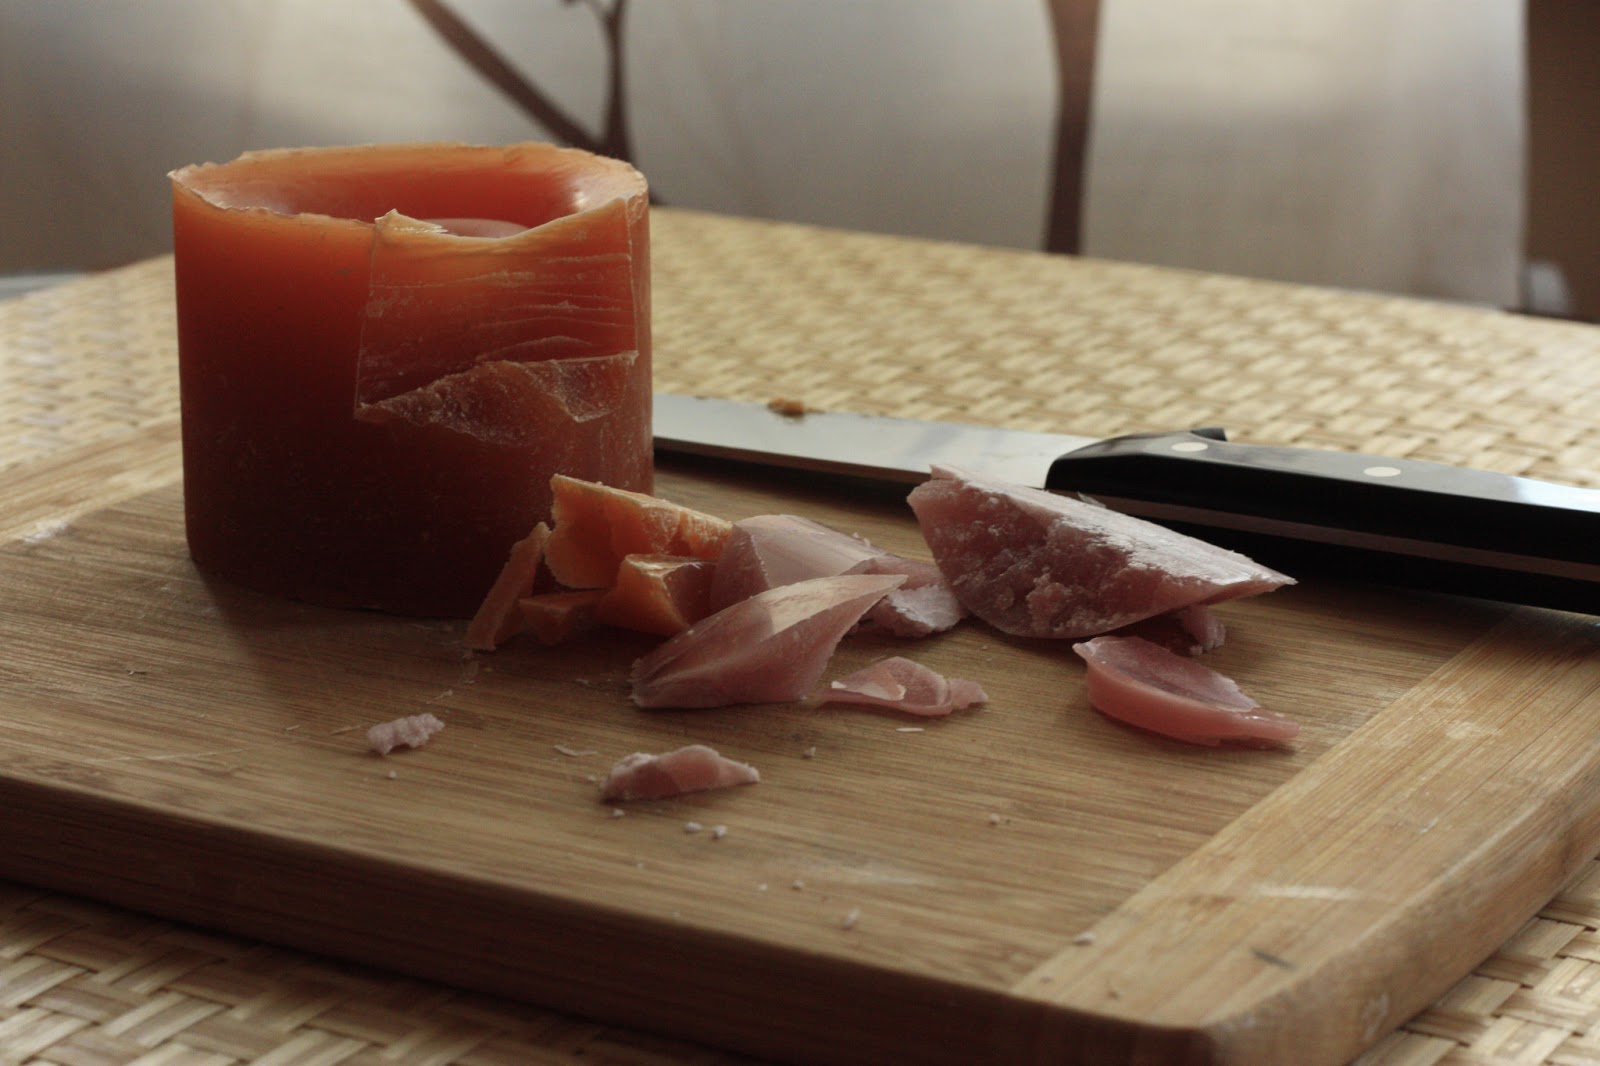
Prepare slice
If you have some unnecessary old candles at home that have lost their aesthetic appearance, there is a way out! You can easily melt down and make them beautiful. Just use our step by step instructions, and you will succeed.
- Cook old. You can use stray waste products, or buy the simplest and cheapest options in the economy store.
- Prepare an old saucepan in which you will melt. Cut the old into pieces, put on a small fire. Stir until they melt.
- Take the container, attach the base of the wick to the bottom.
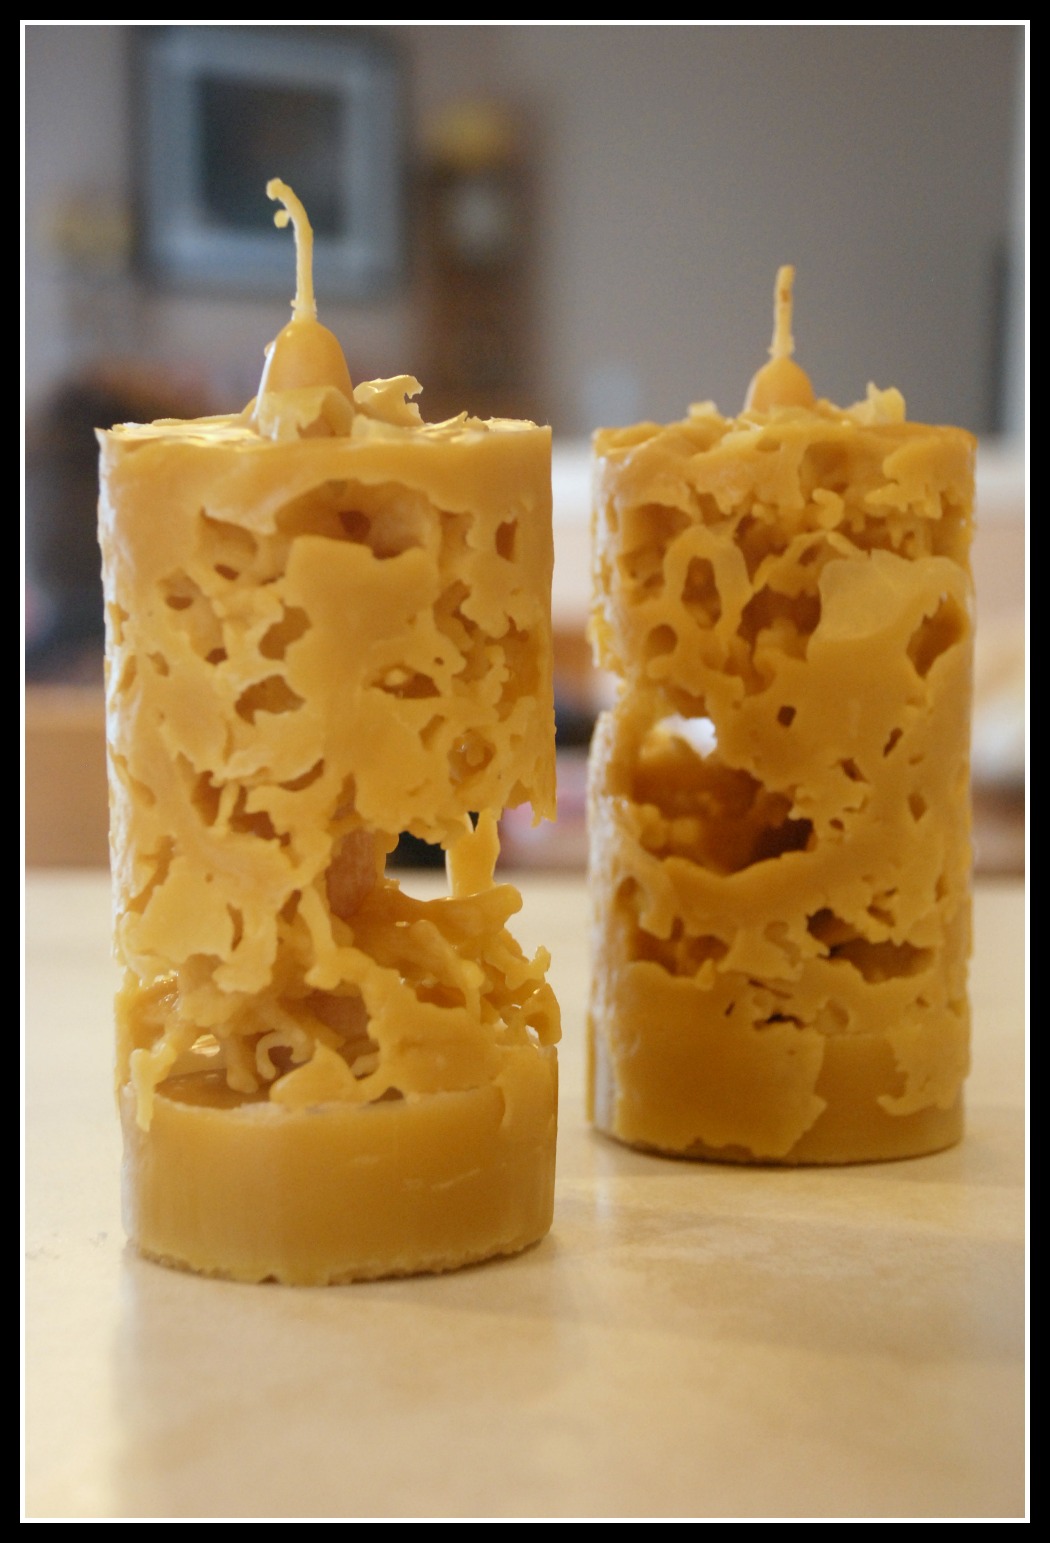
- Pour melted into the container, leaving a portion in the pan. The candle will harden for about five hours. Pour in the remaining ceresin to fill the cavities that have formed.
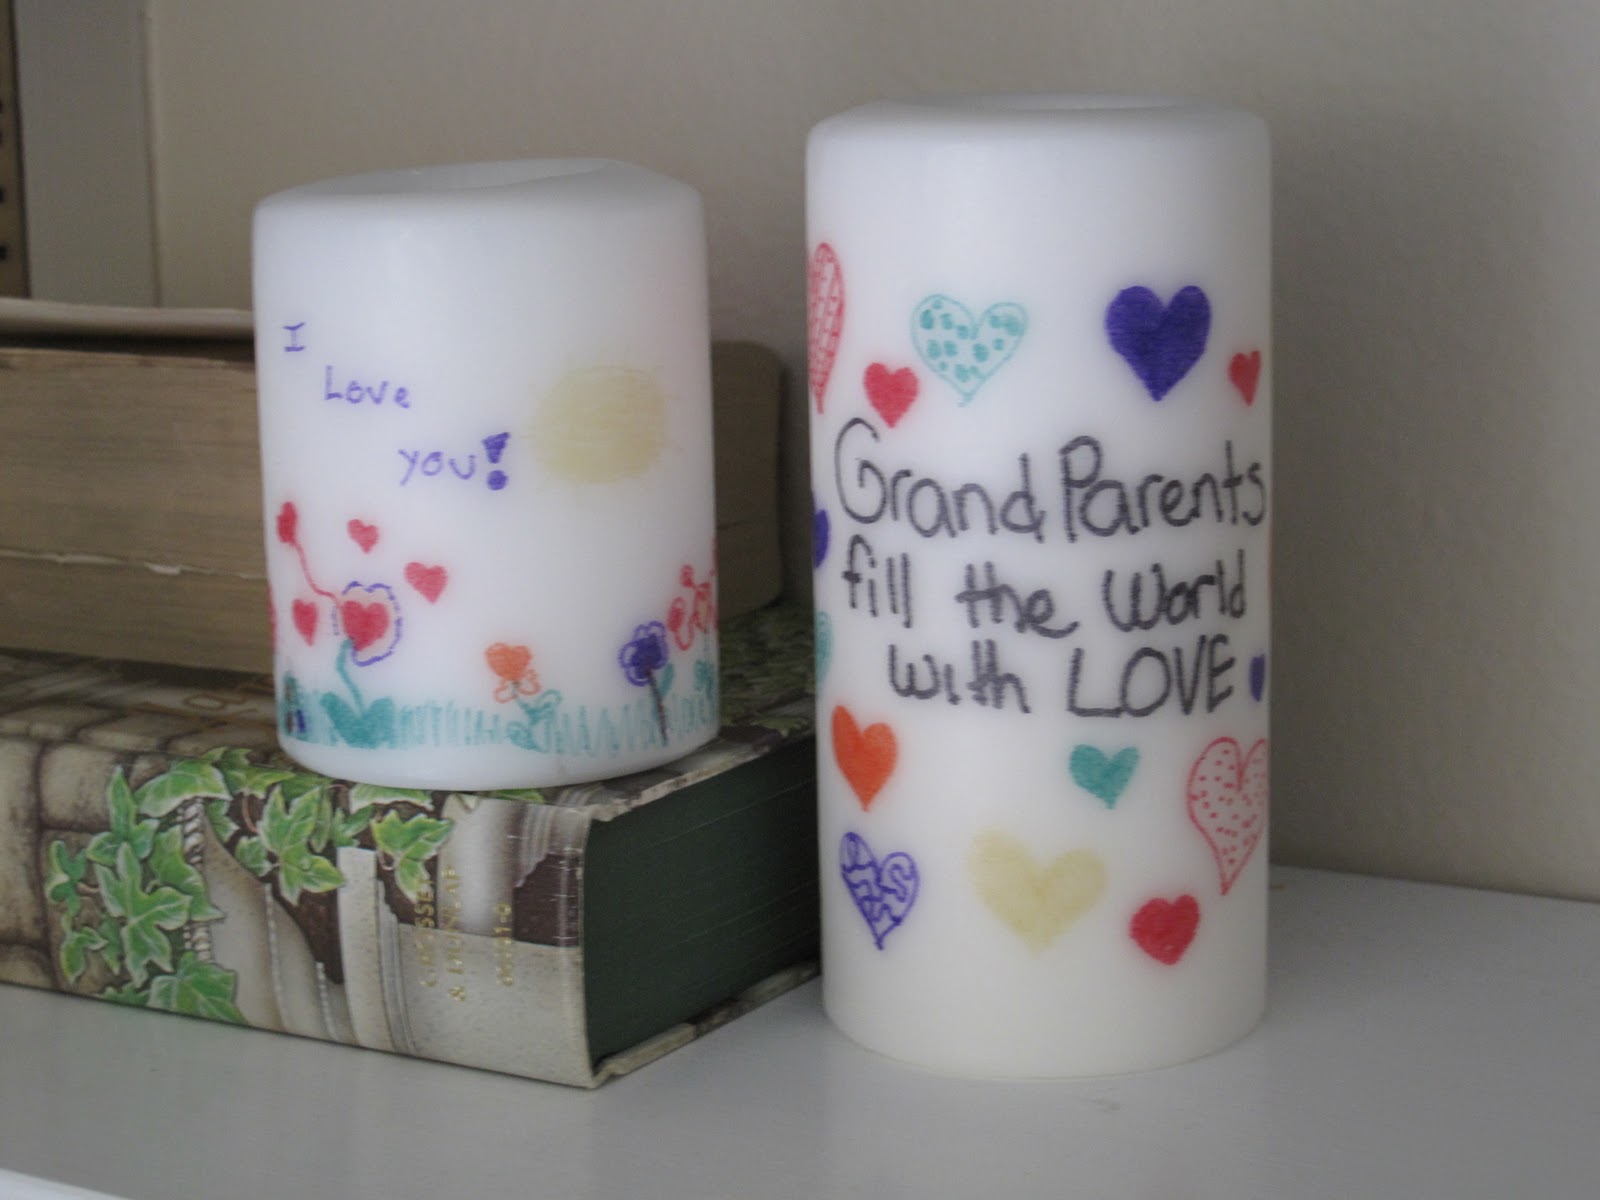
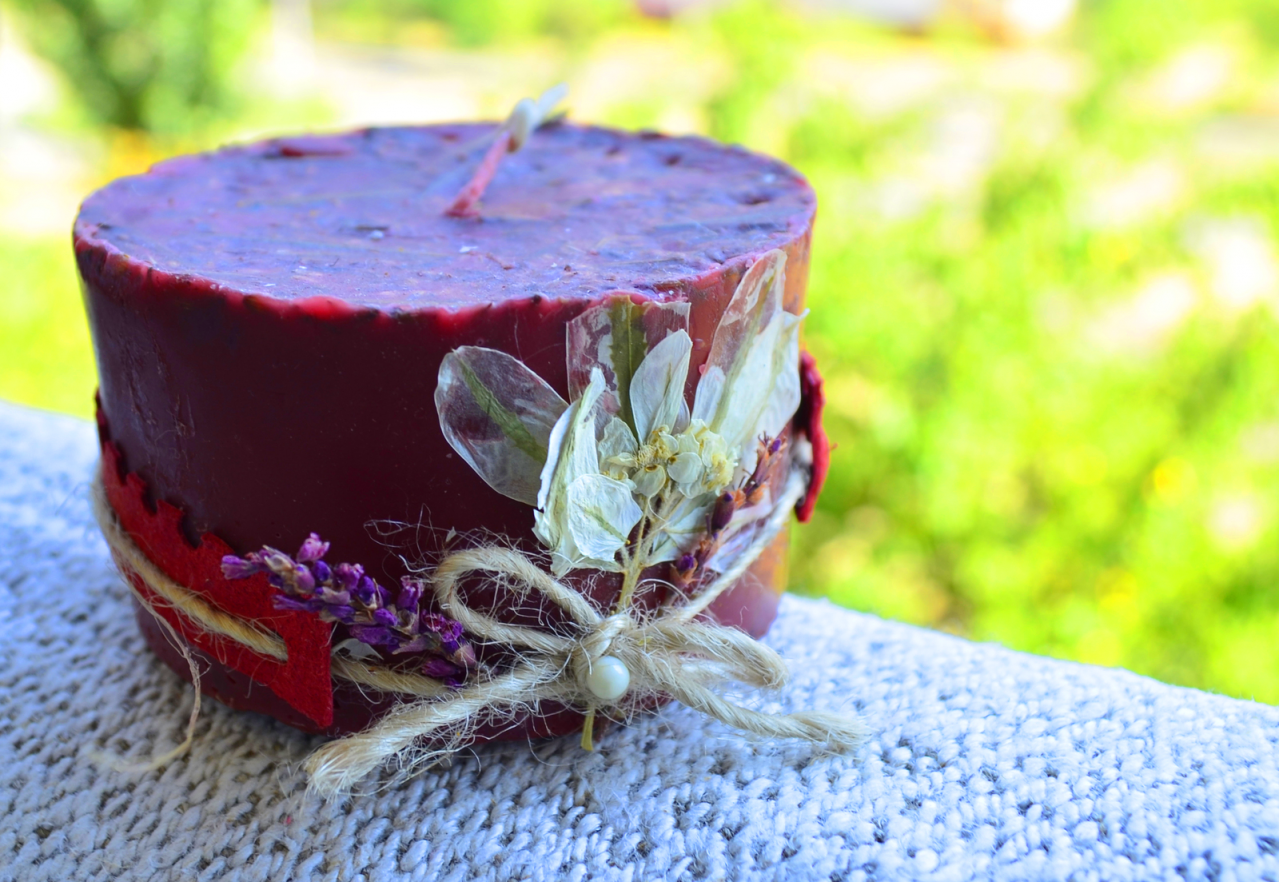
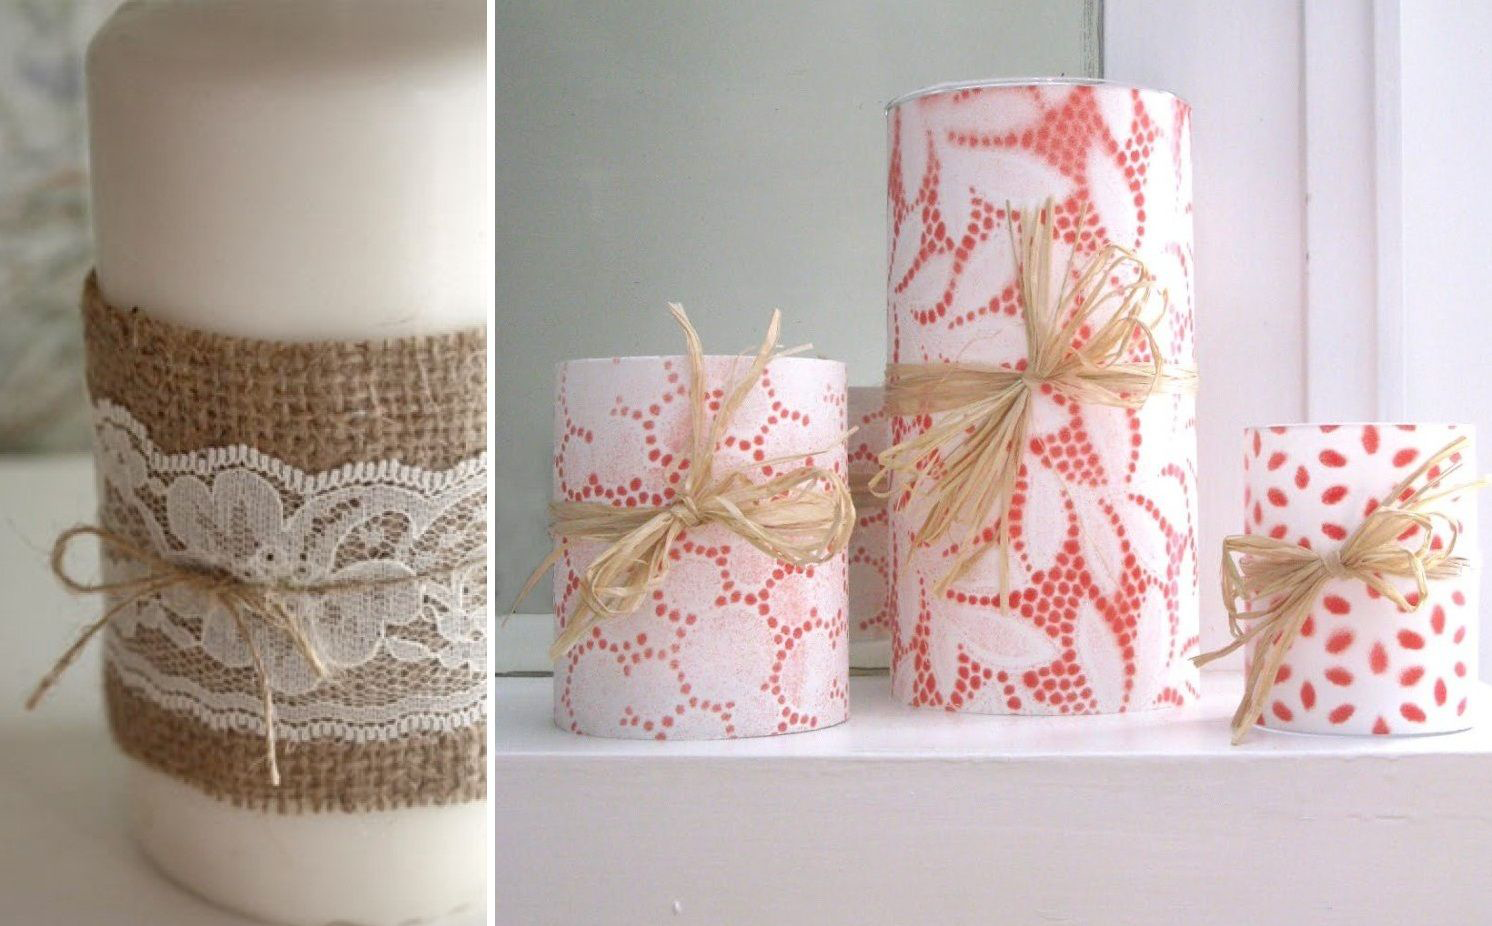
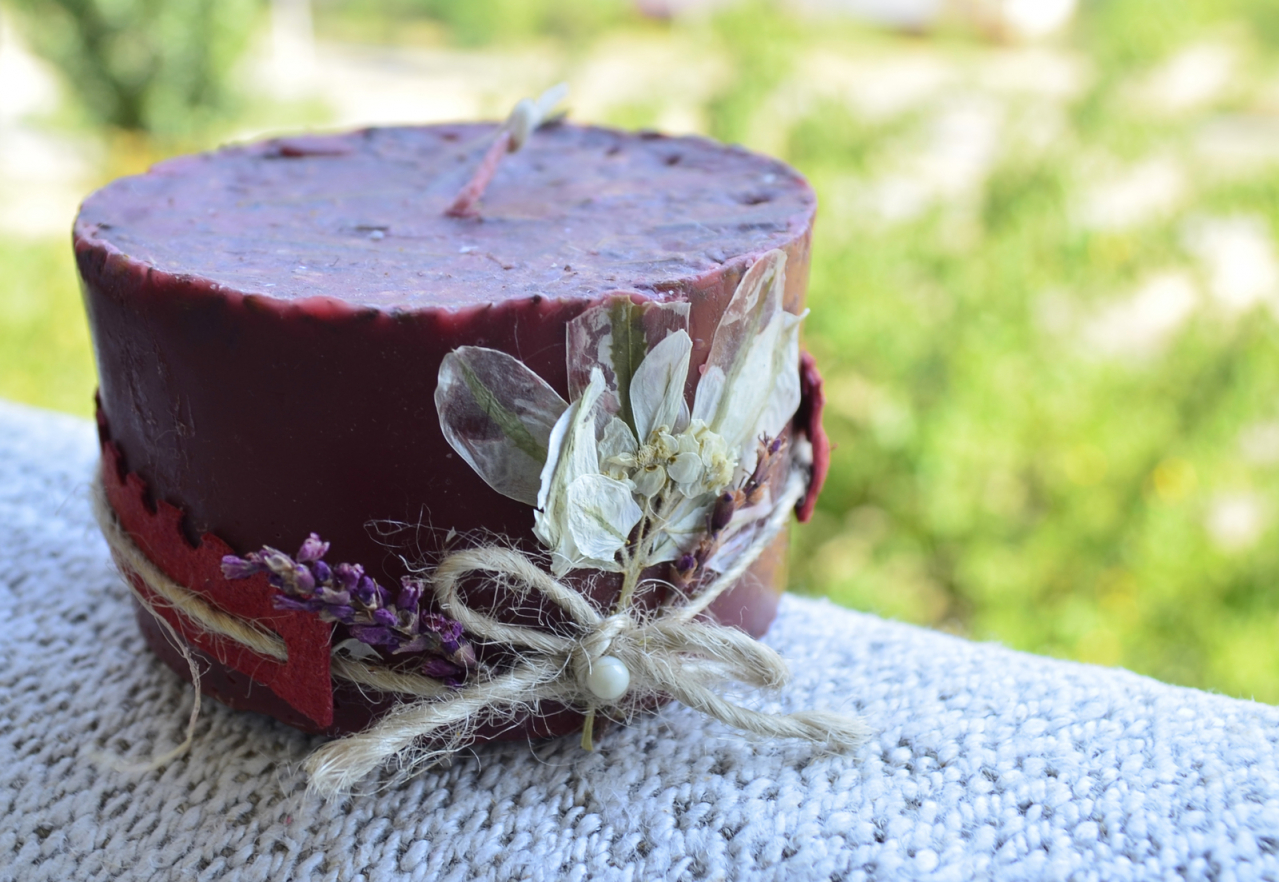
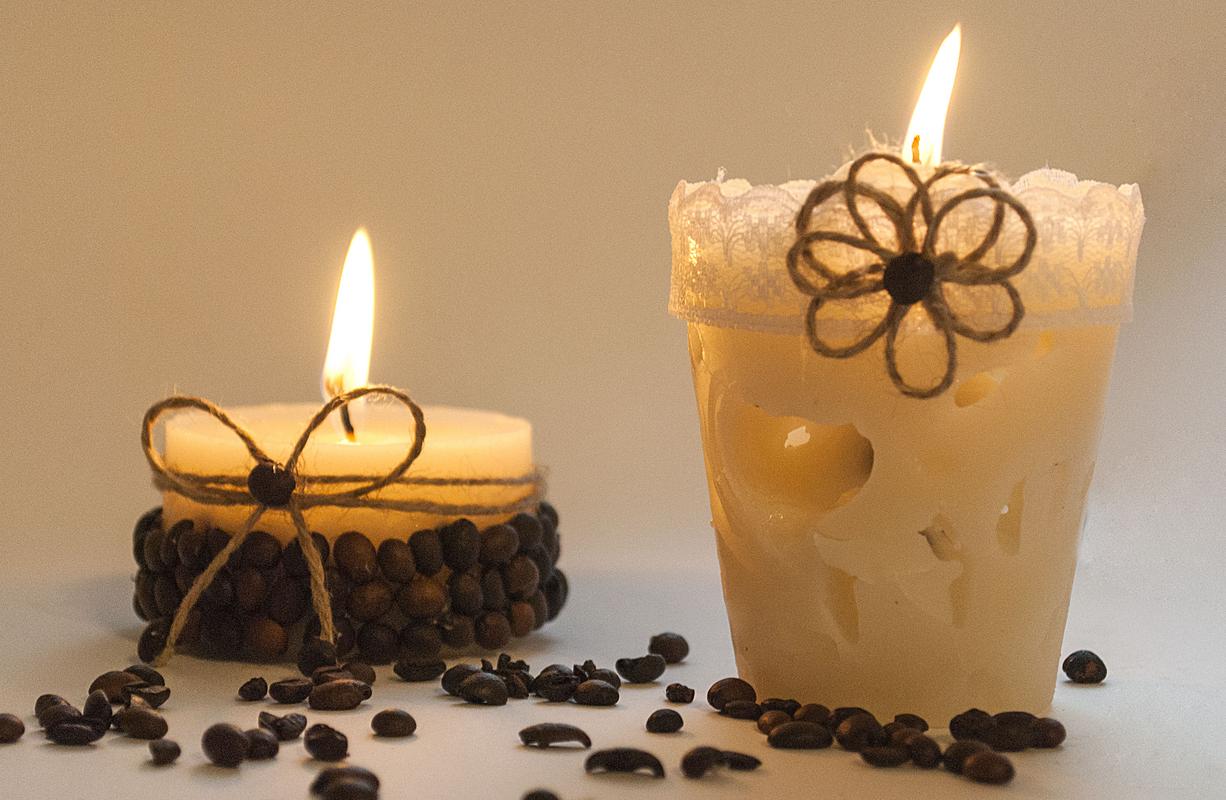
- Cut the wick, decorate the new sparkles, sand, flowers or any other idea that comes to your mind.
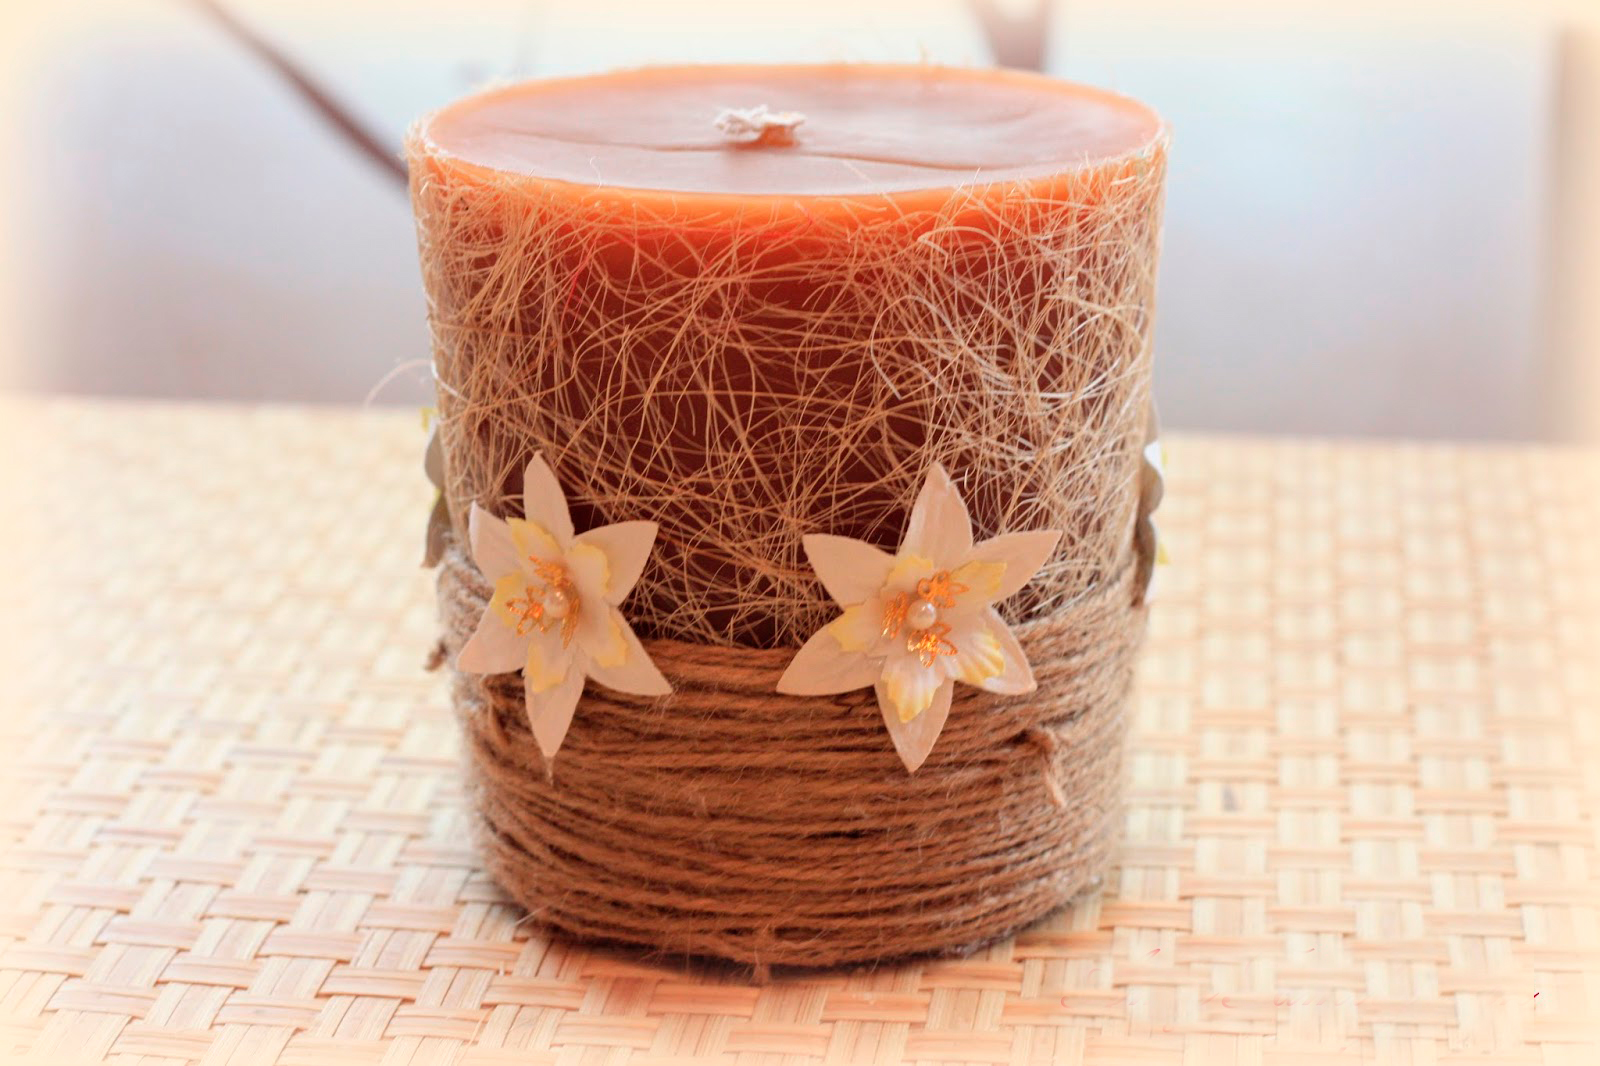
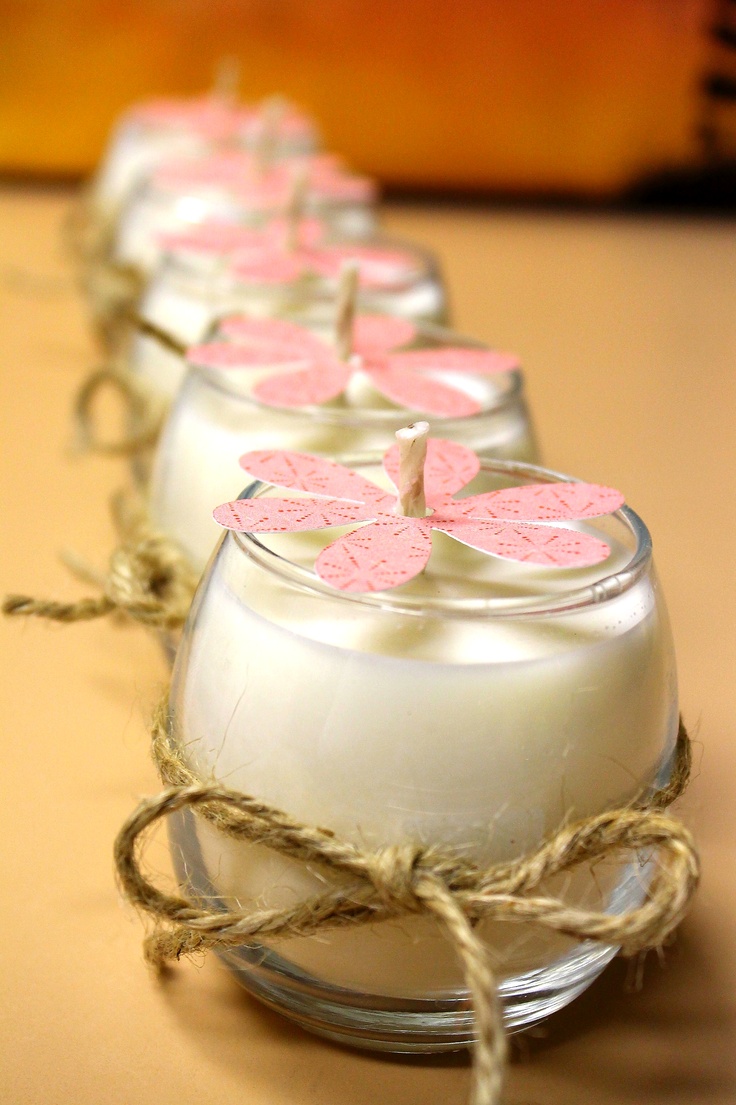
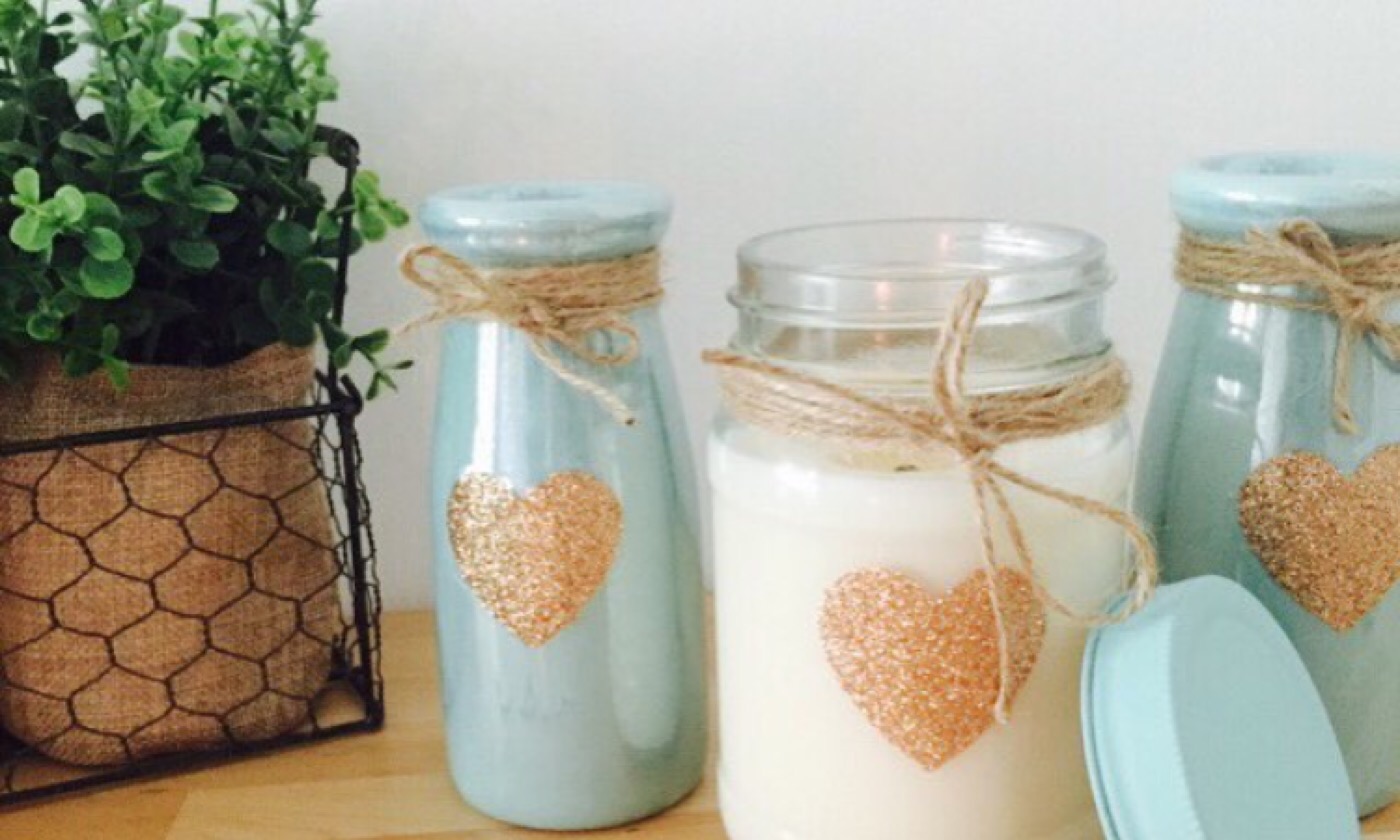
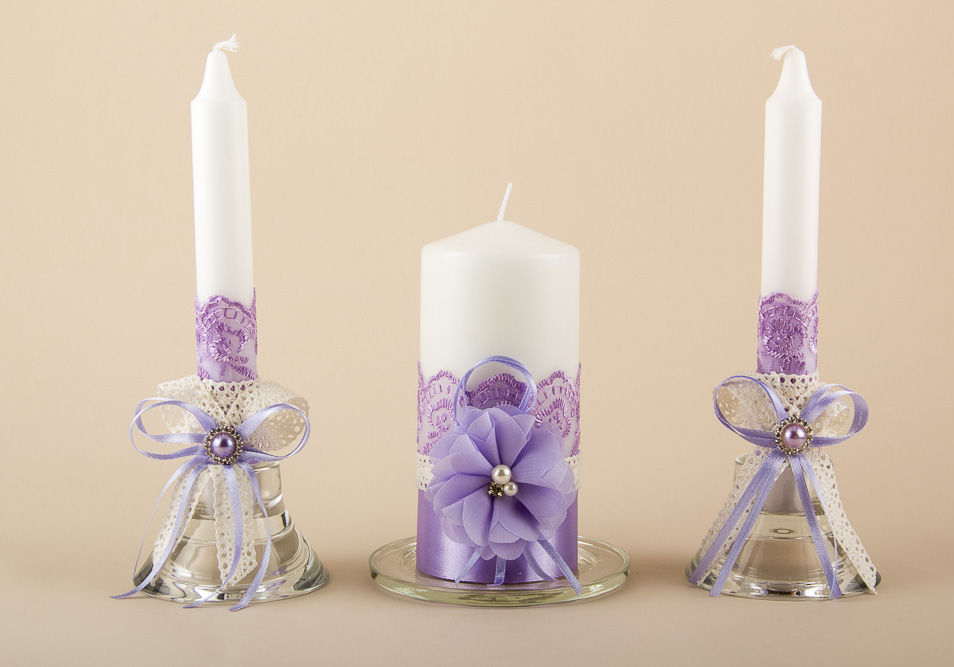
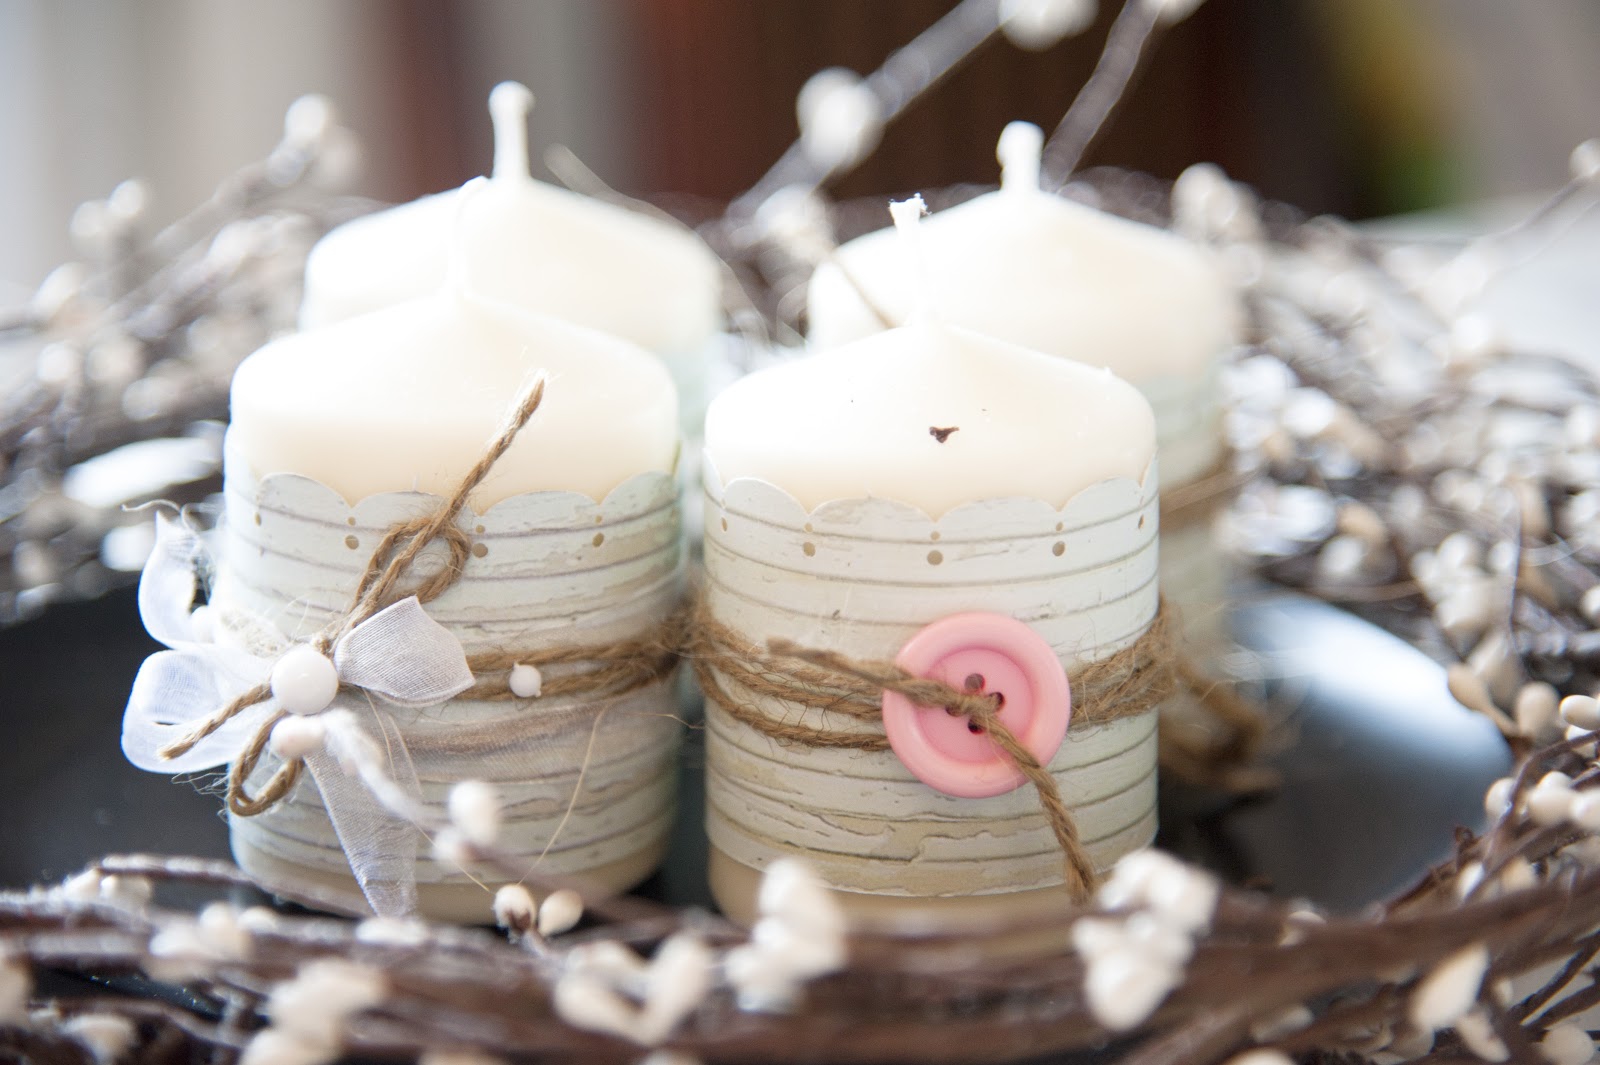
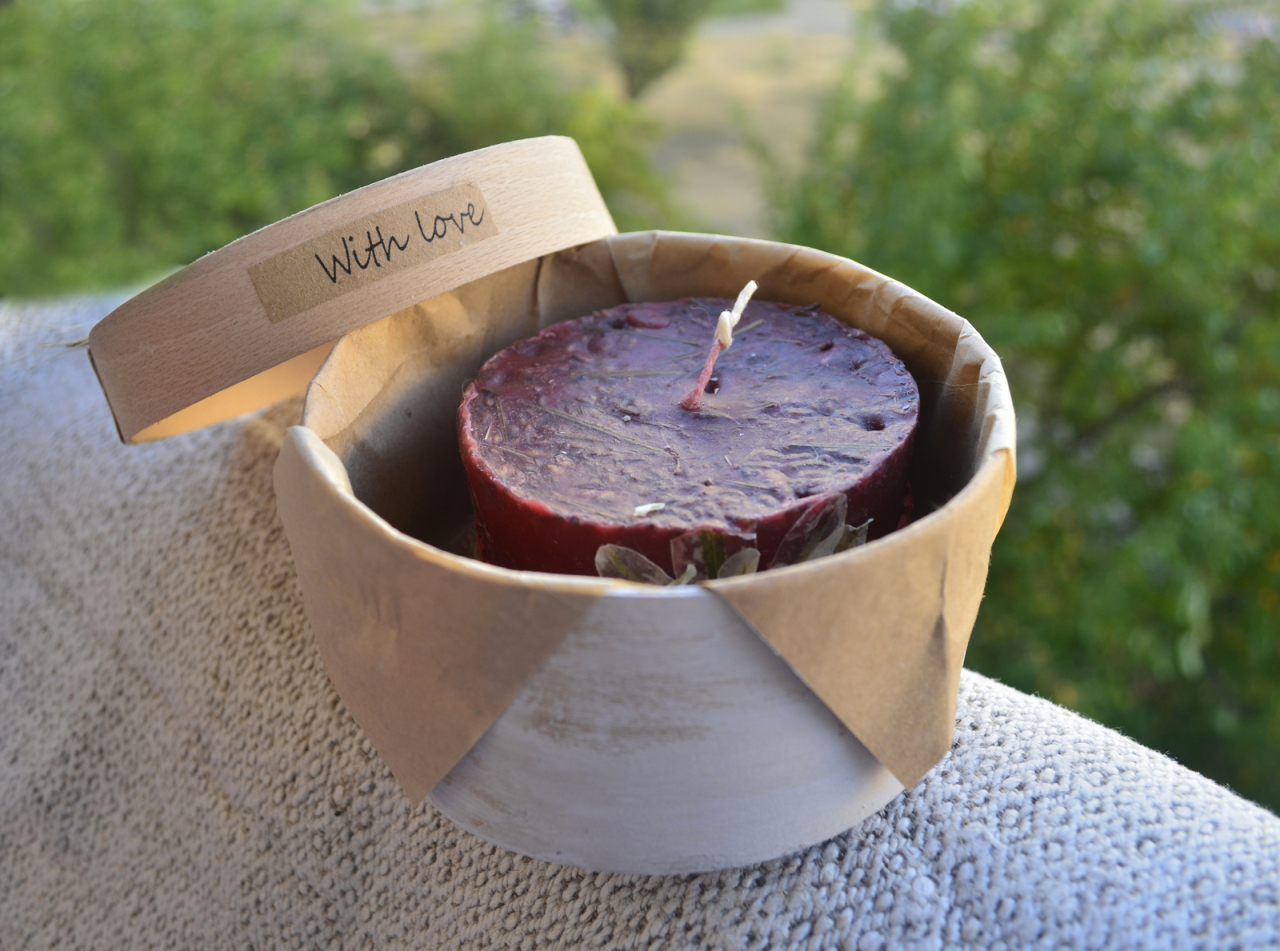
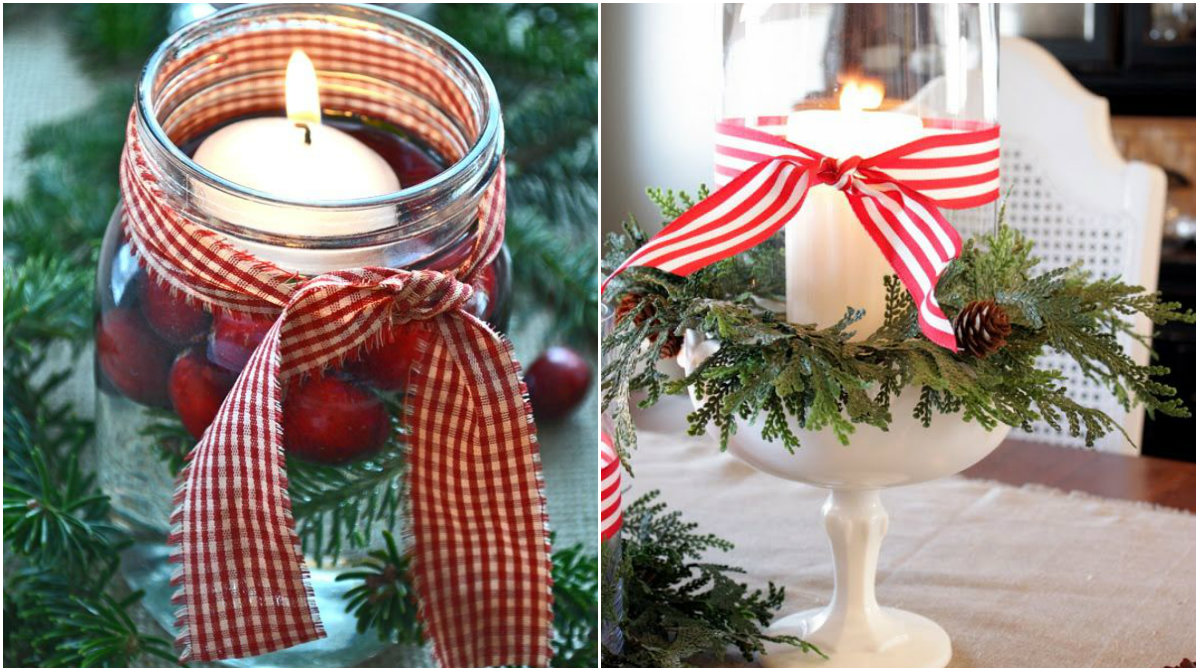
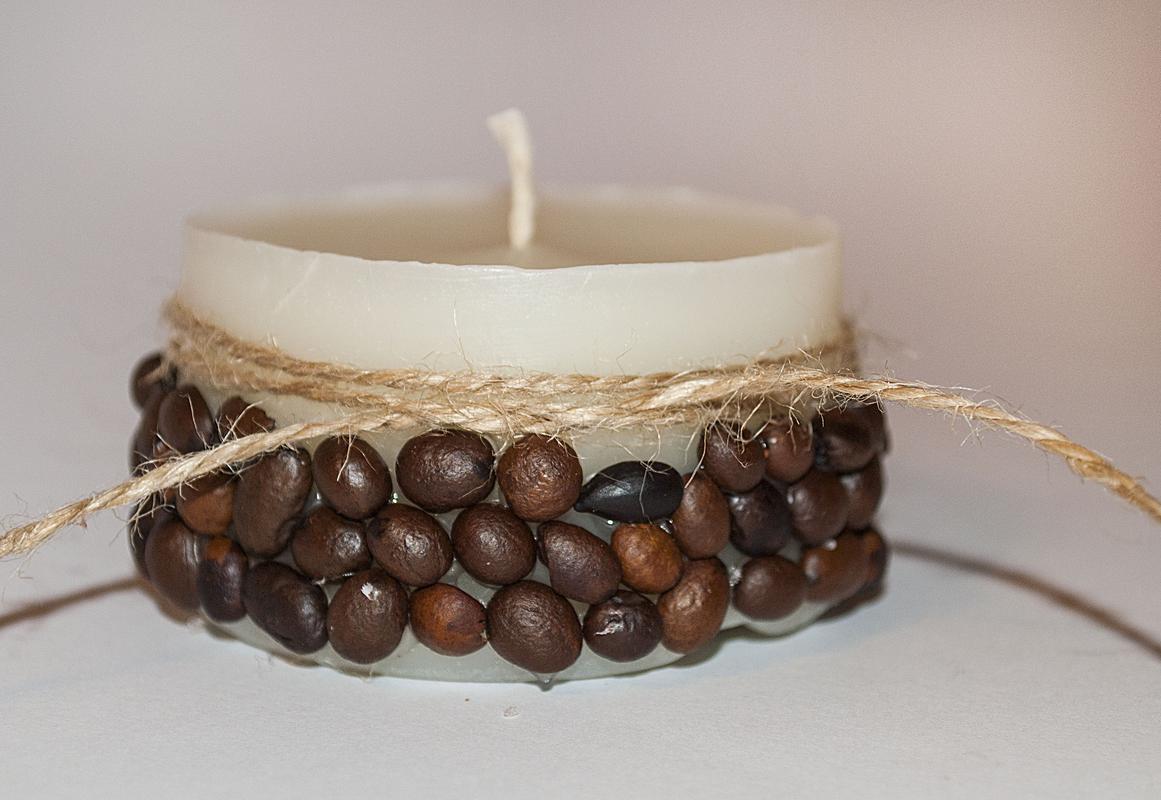
Decorate the finished candle with a rope and flowers
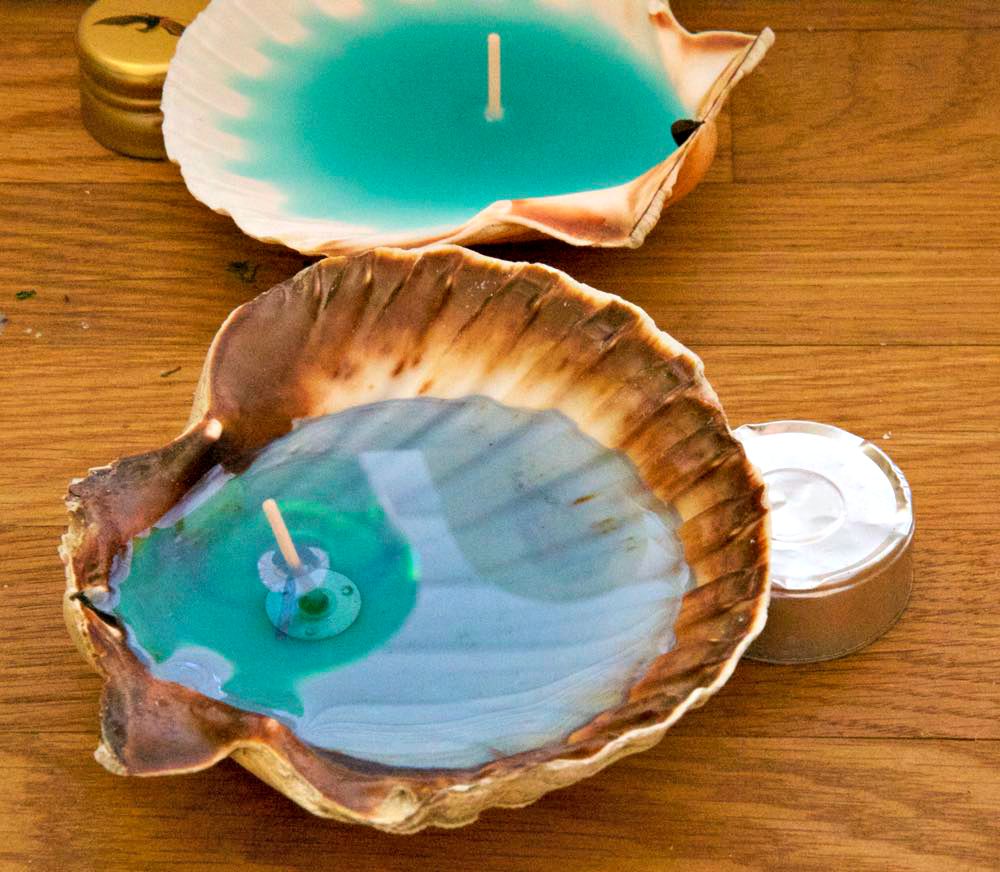
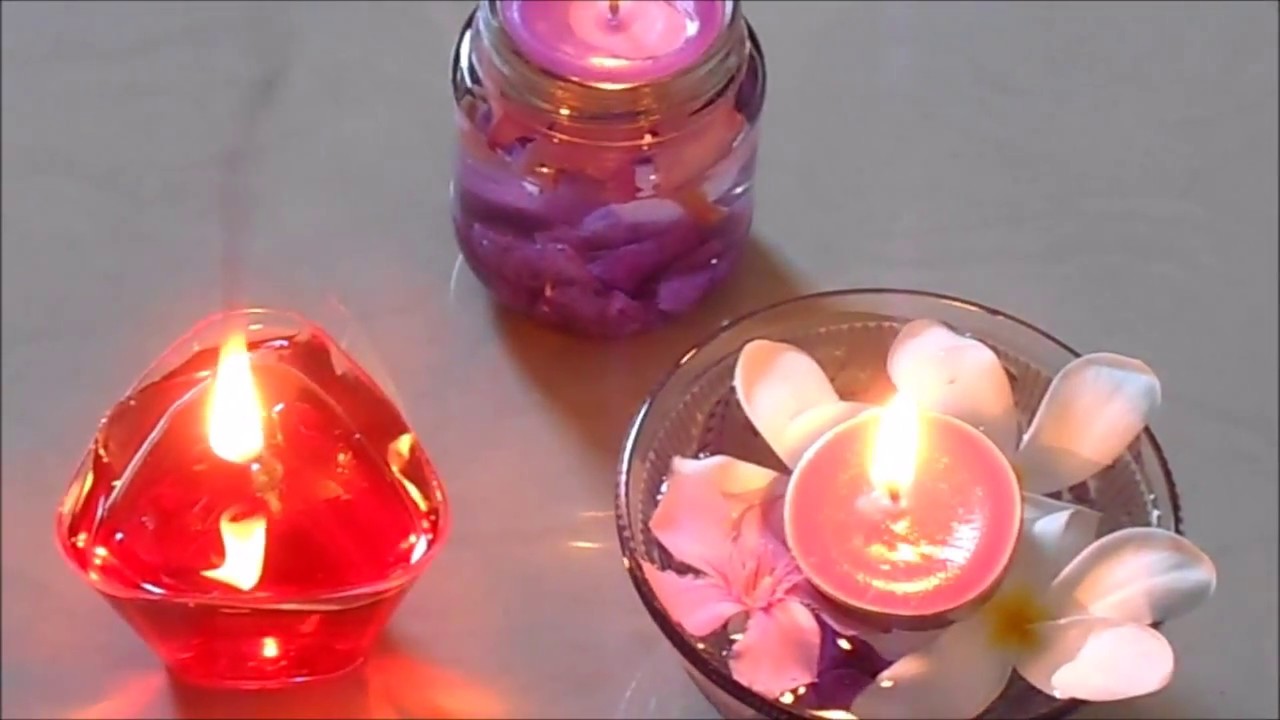
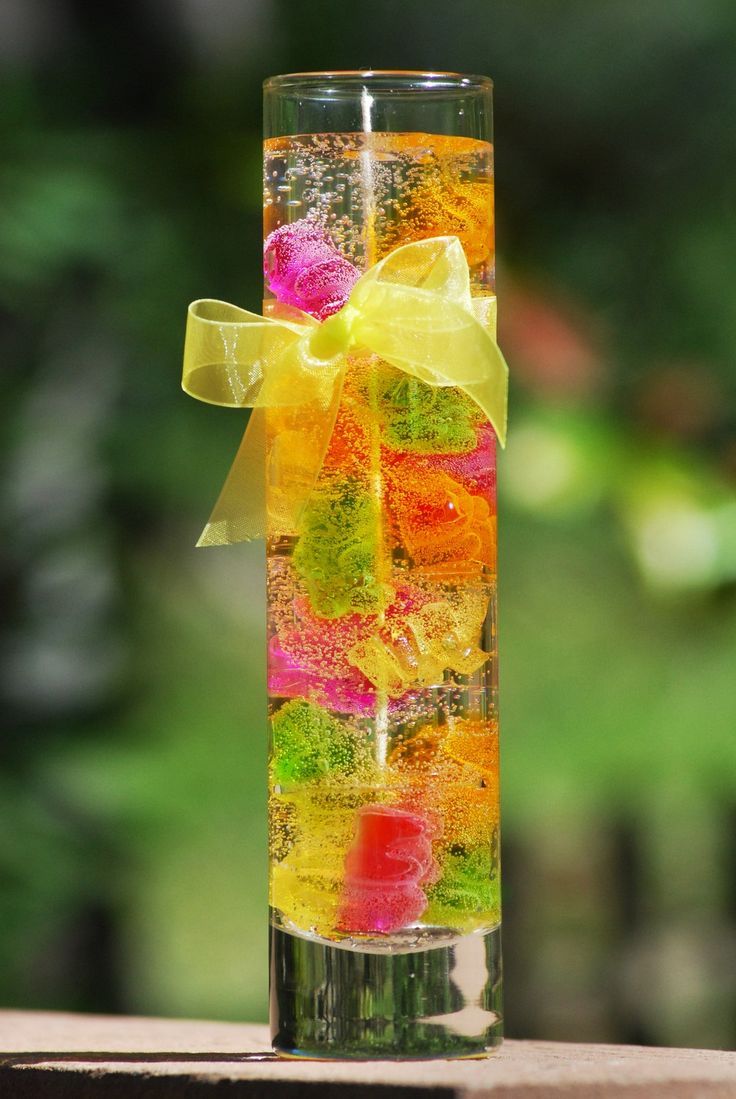
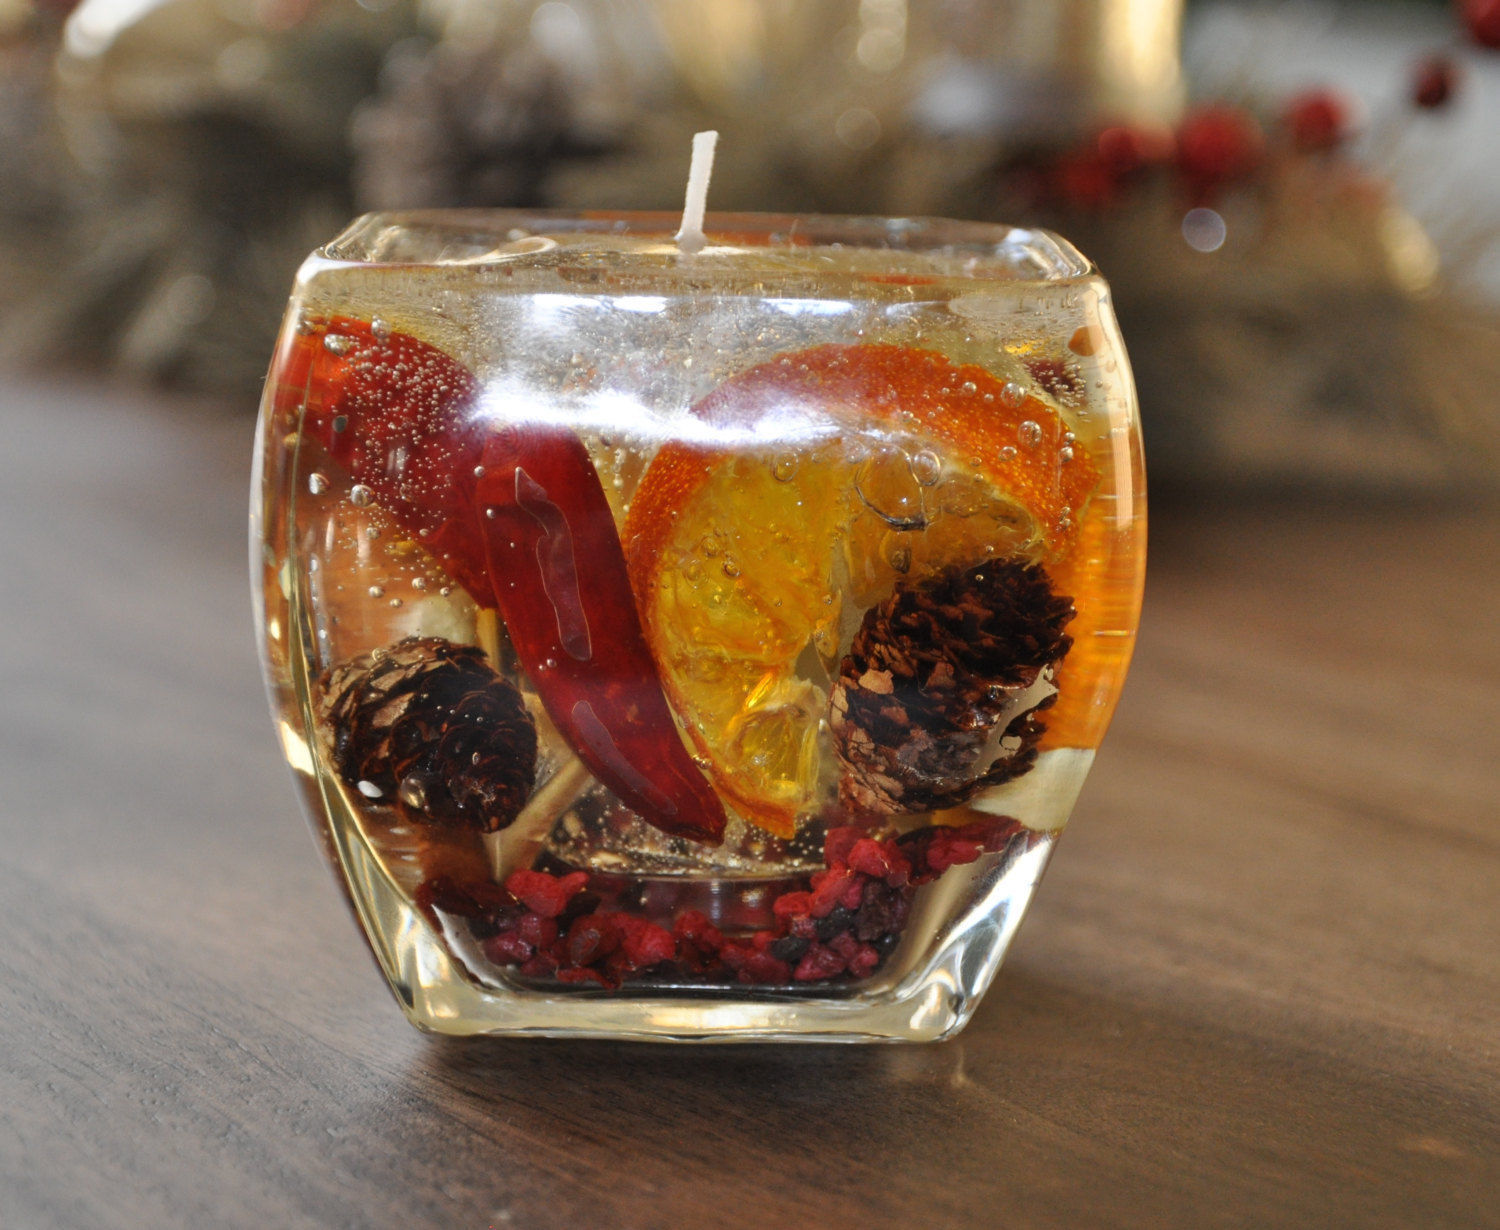
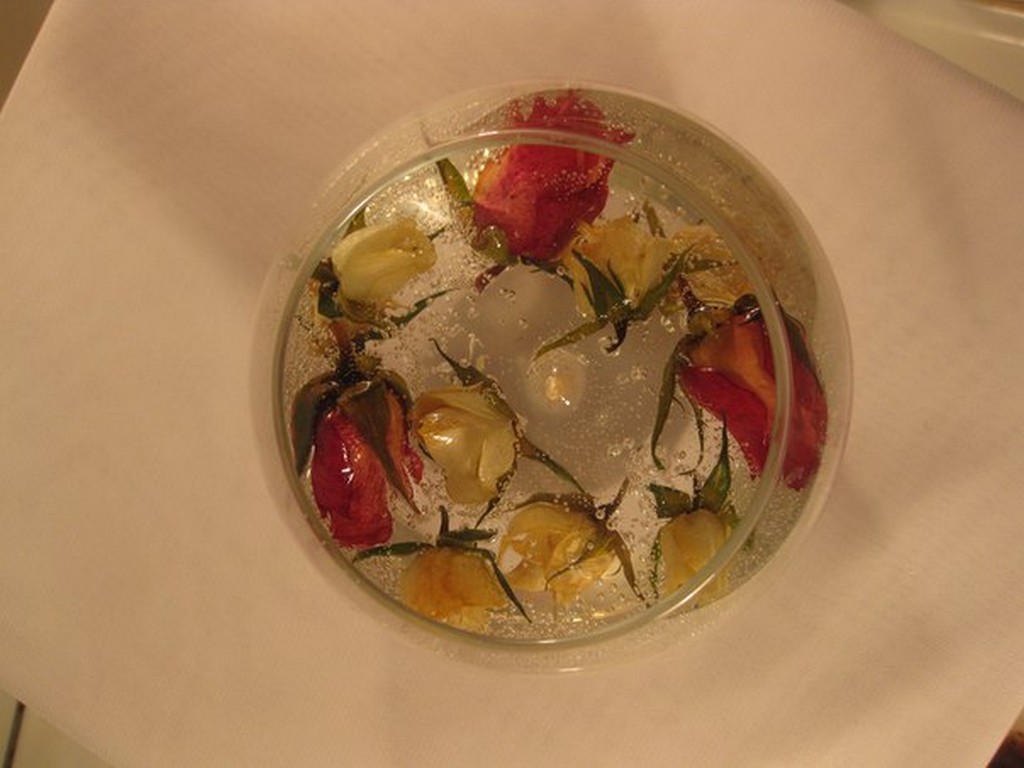
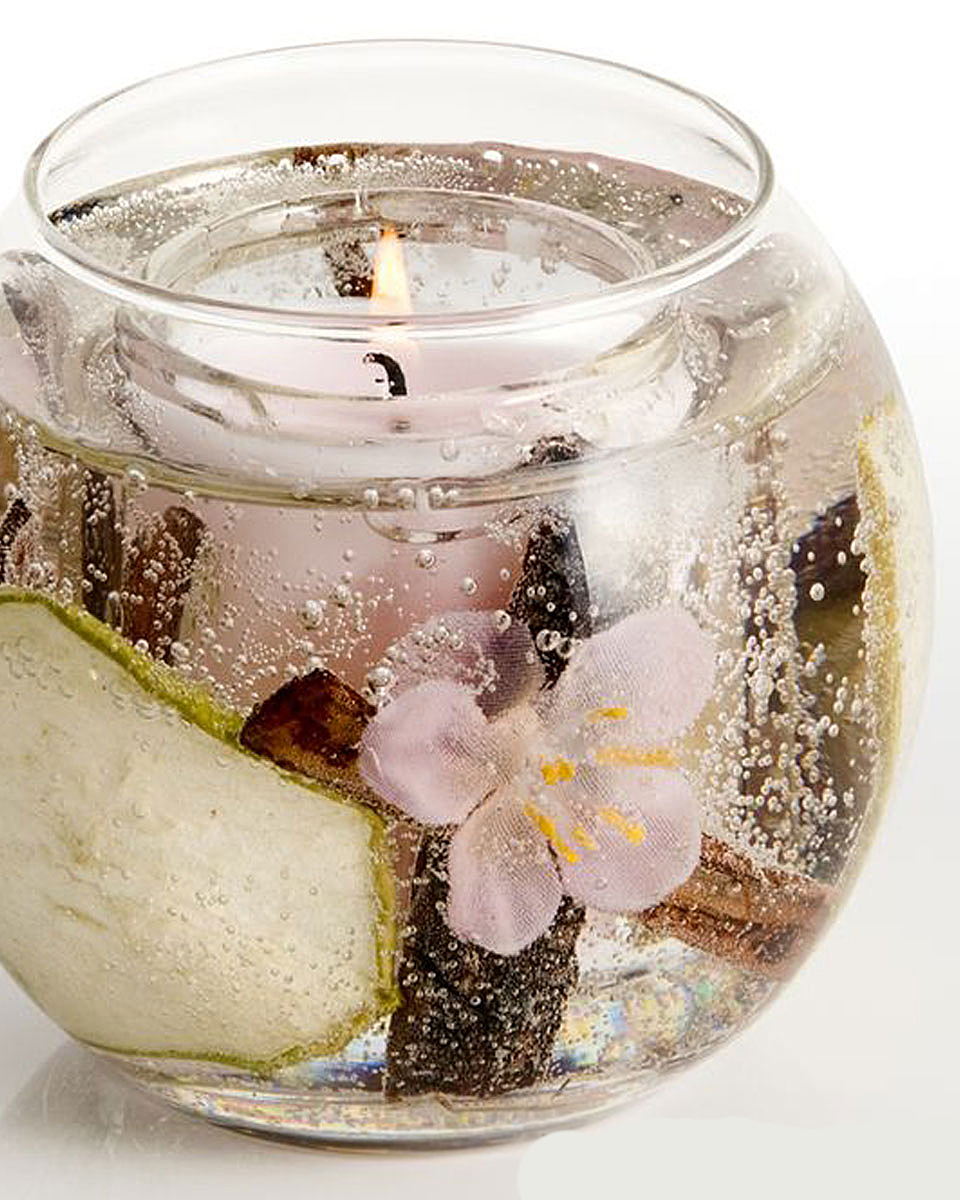
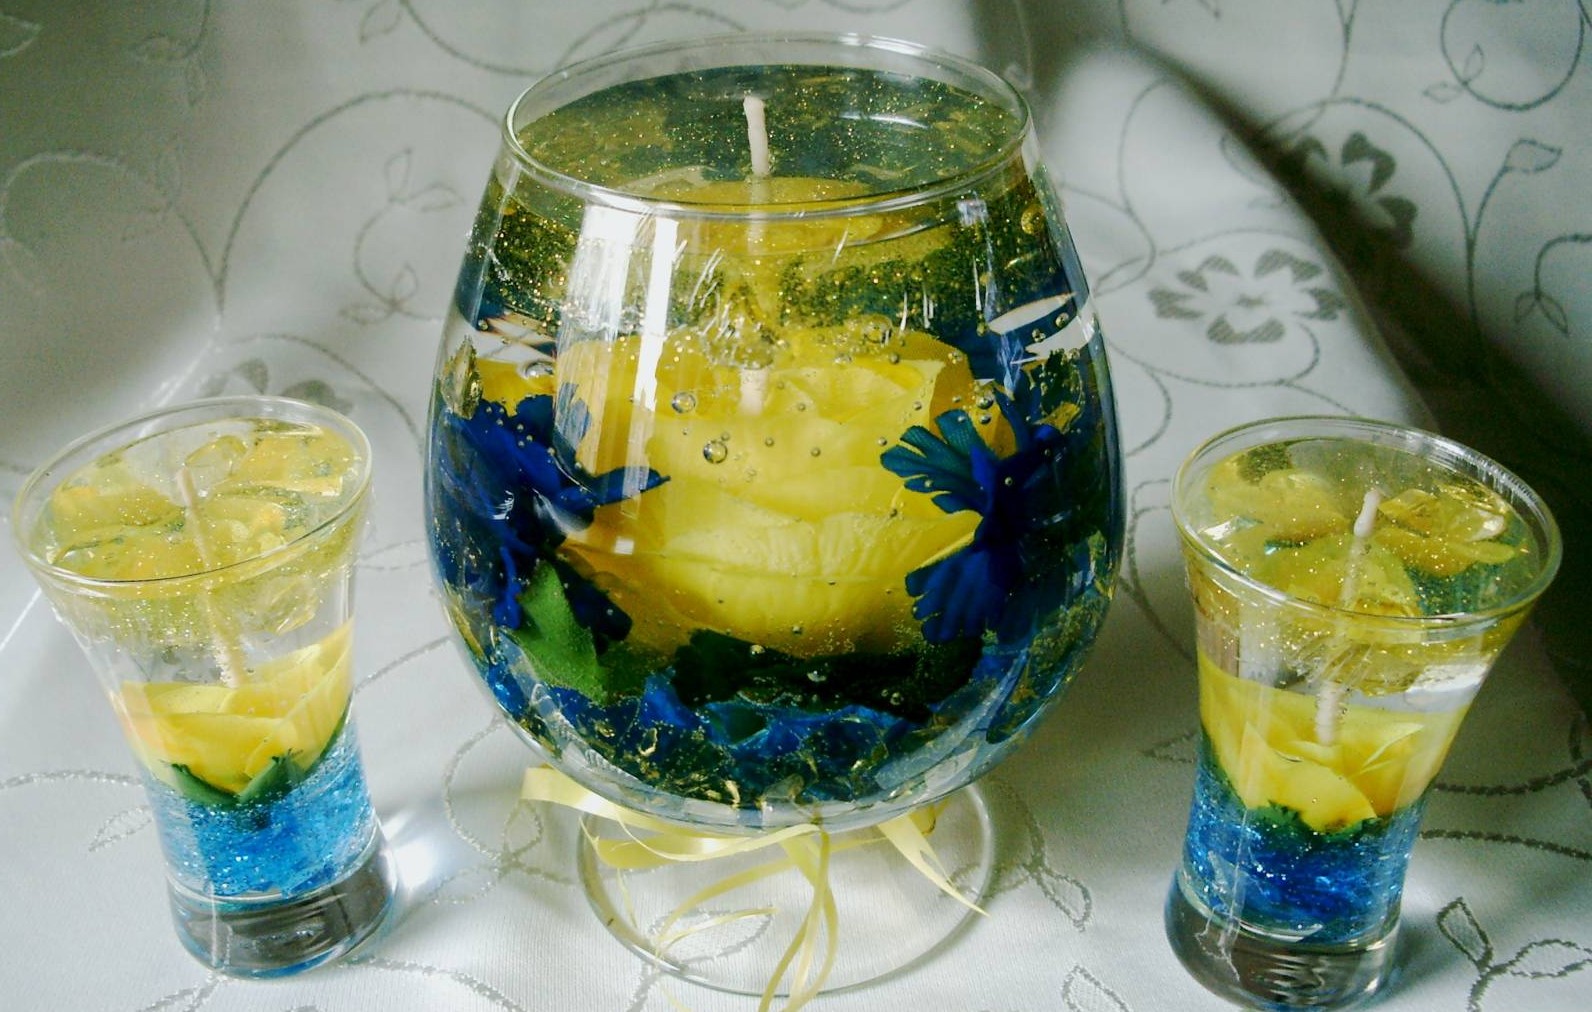
Making gel candles at home
Gel candle has become popular because of the appearance and long-term burning. It's easy to make at home, you can add interesting additional elements to complement your decor.
return to menu ↑The form
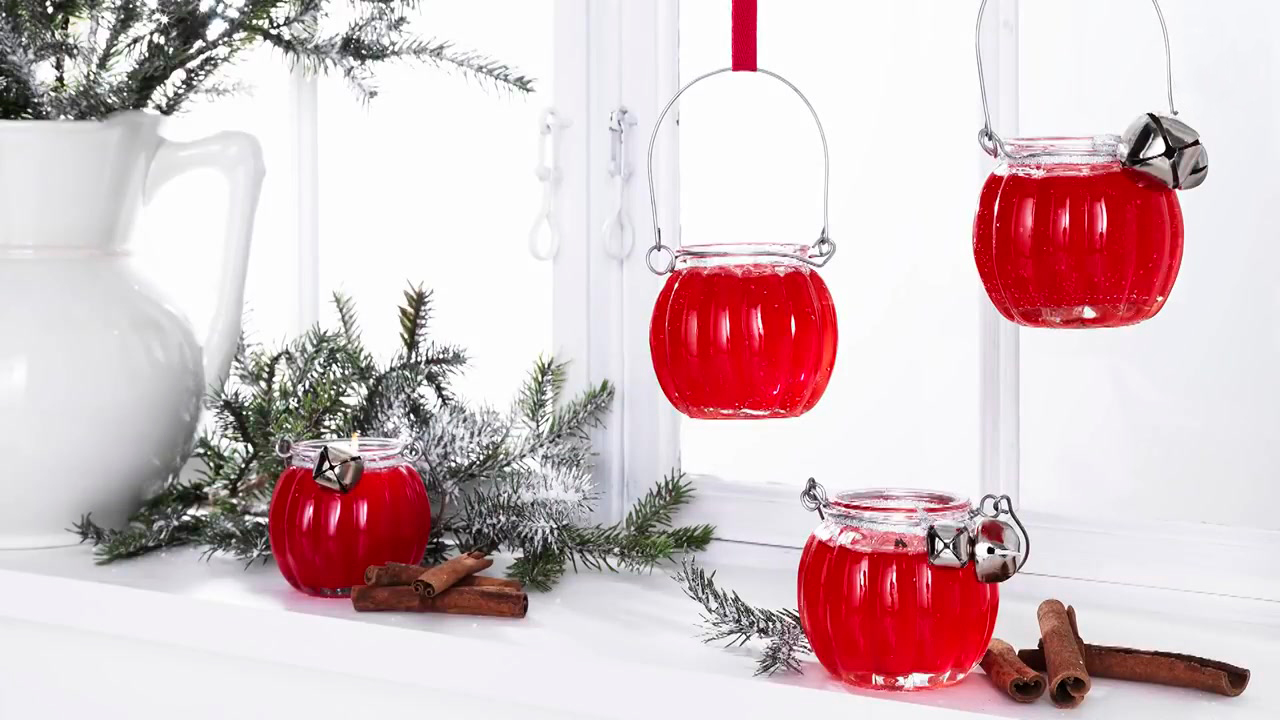
The best form for a gel candle is transparent.
Glass is best suited for home gel, because it will give the opportunity to personally enjoy the burning. If you are going to make a gift, you can consider pouring it into champagne glasses or cocktail glasses. When you use decorative inserts, a glass container will show them.
return to menu ↑Wick
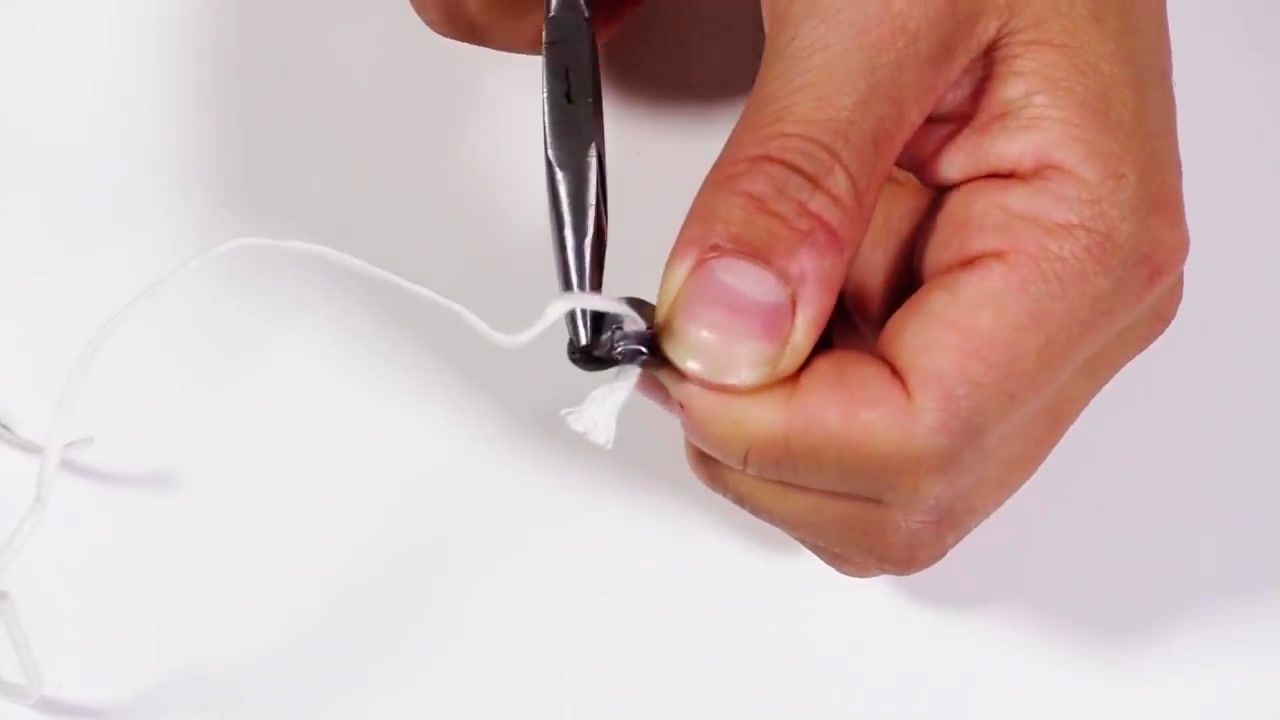
Use the weight to place the wick on the bottom of the mold.
Packaging on wicks always indicates what kind they are made for, which will make your choice easier. Attaching a wick to the bottom of a glass container may be the most difficult part of manufacturing. Use a piece of wax or velcro. Tie the upper end of the wick with a pen or cocktail stick.
return to menu ↑Cooking
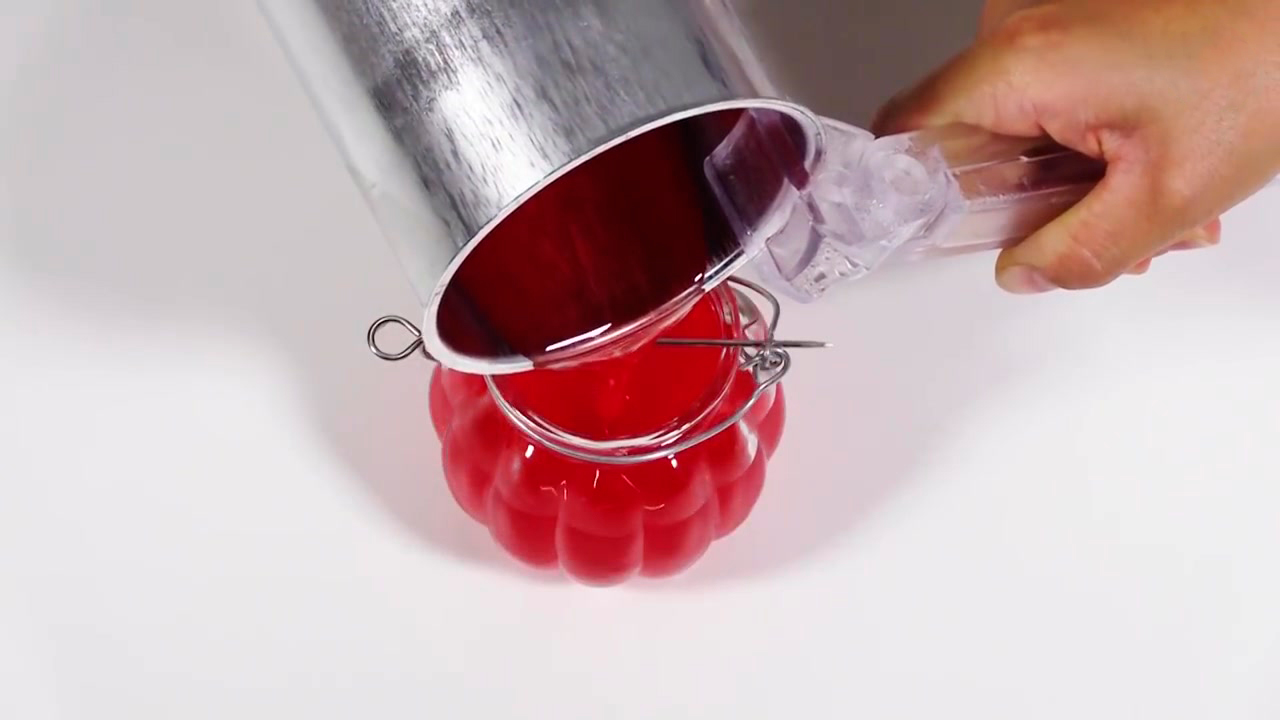
Fill the prepared form with gel
Preheat oven to 110 ° C, place in glass container. Then let it slowly melt in the oven. This will require patience, as the gel substance melts more slowly than other types. Once it is completely melted, add your favorite flavor.
When the aromatic oil is thoroughly mixed, you can add color if you want. It is important to add a dye before the wax cools down too much, but pour it slowly and slowly, stirring constantly.
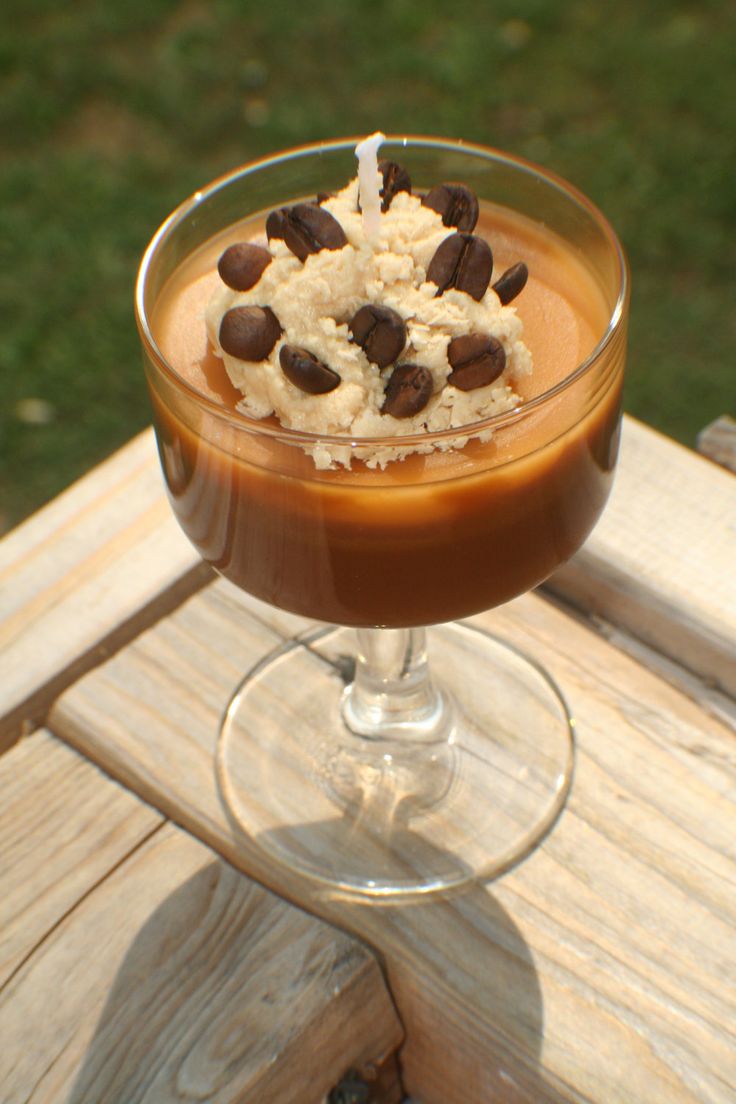
At this stage you can simply pour the substance into the selected form. But if you want to make a really interesting candle, you can add decorative elements. This is what makes many gel candles really stand out. You can use sparkles, marble, figurines, or almost anything that does not burn.
Keep in mind that air bubbles can be one of your greatest enemies when it comes to gel candles. Pour the substance into a slightly heated form to avoid this problem.
DIY candle
The easiest way to do


 - Surprise loved ones")