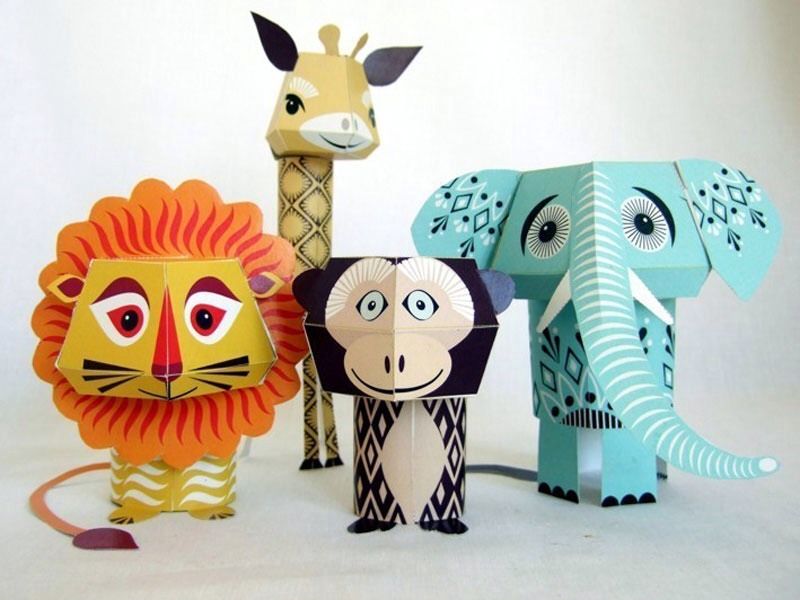
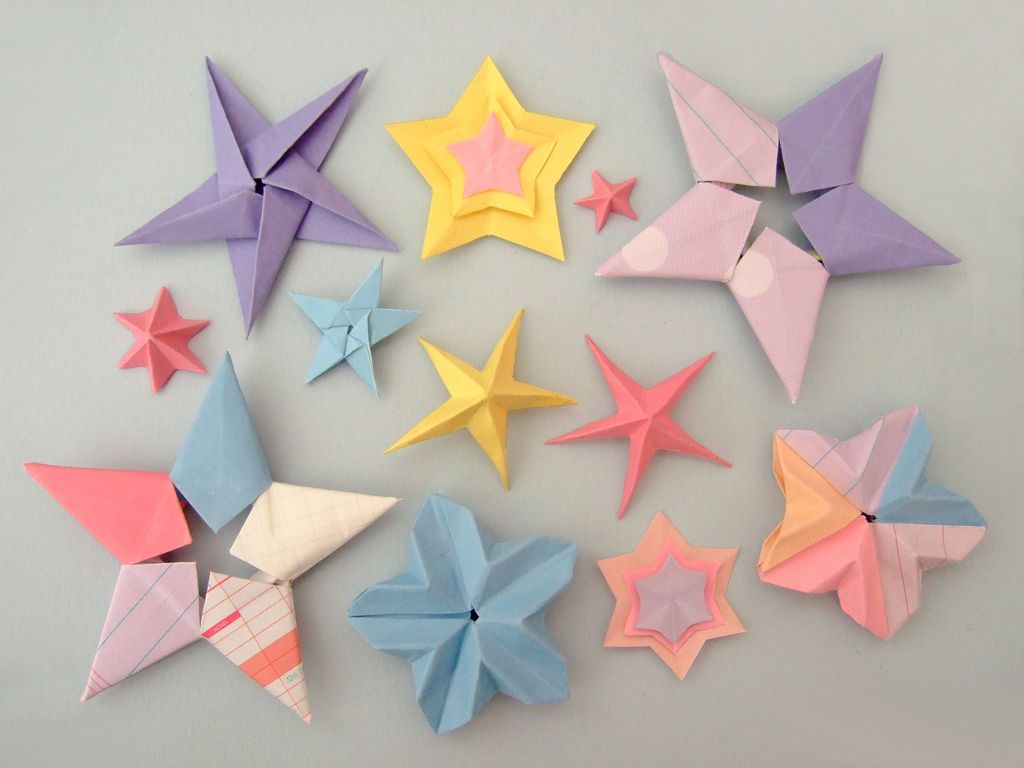
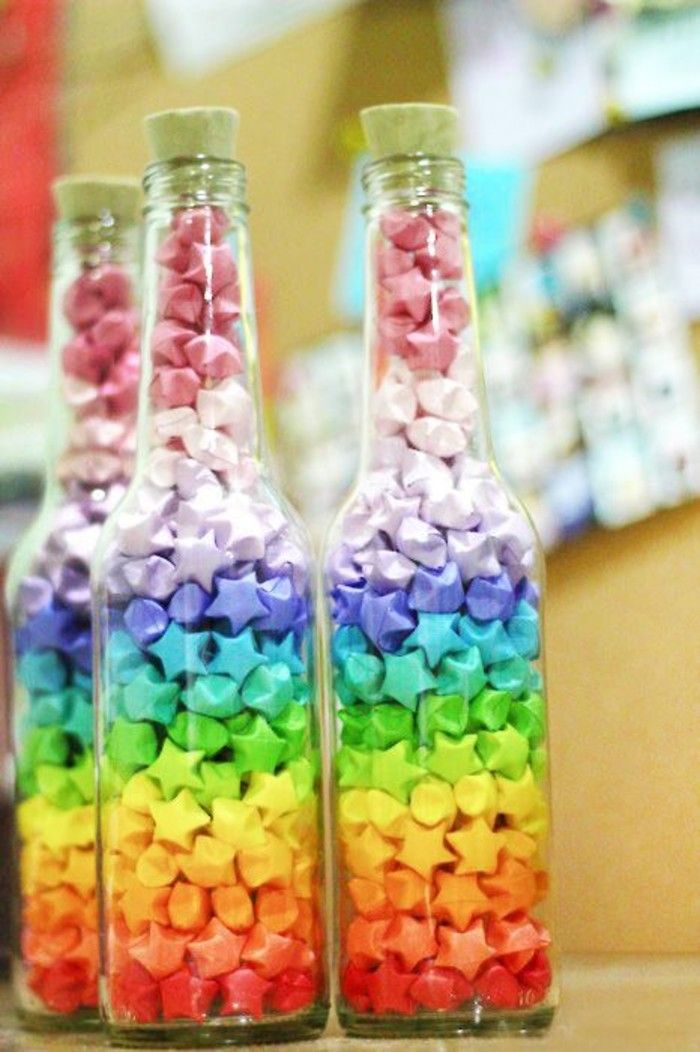
How to make Bulk crafts from paper with your own hands? 6 Step-by-step master classes for your decor

Those who love paper products, can use them in the design of rooms and interior design, so as not to spend a lot of money. Paper crafts can create unique and very stylish home interiors.
Content:
This is a trend that allows you to recycle material to create:
- unique furniture;
- attractive wall decorations;
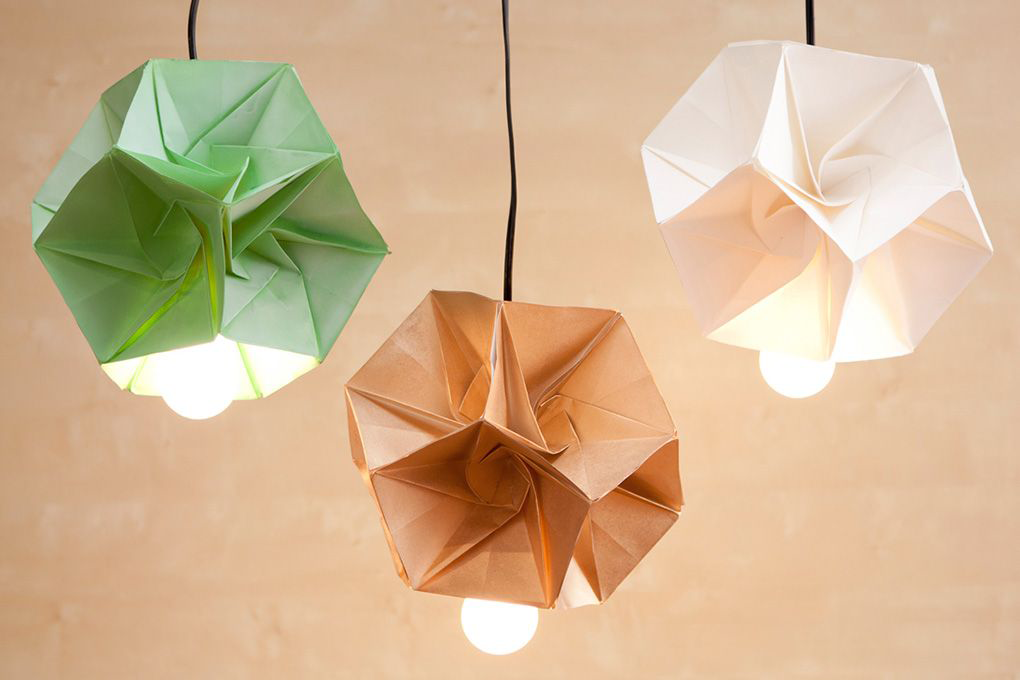
- lighting fixtures;
- mirrors;
- picture frames;
- window curtains;
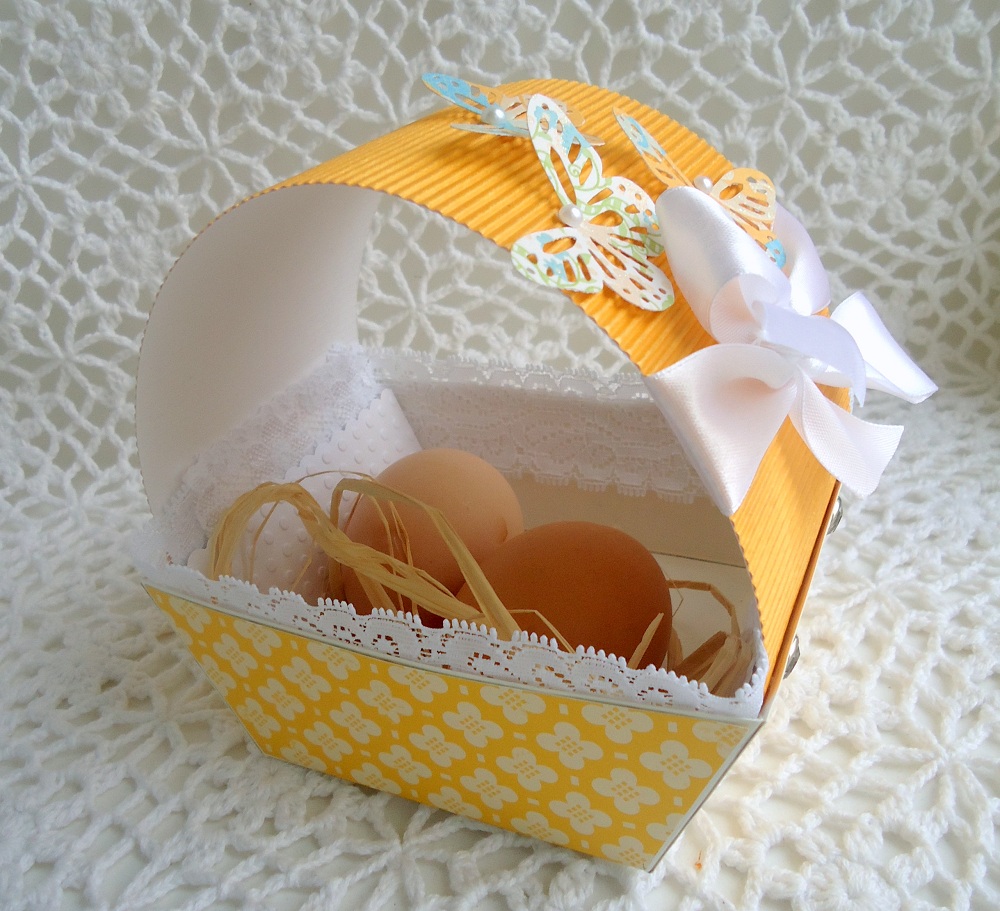
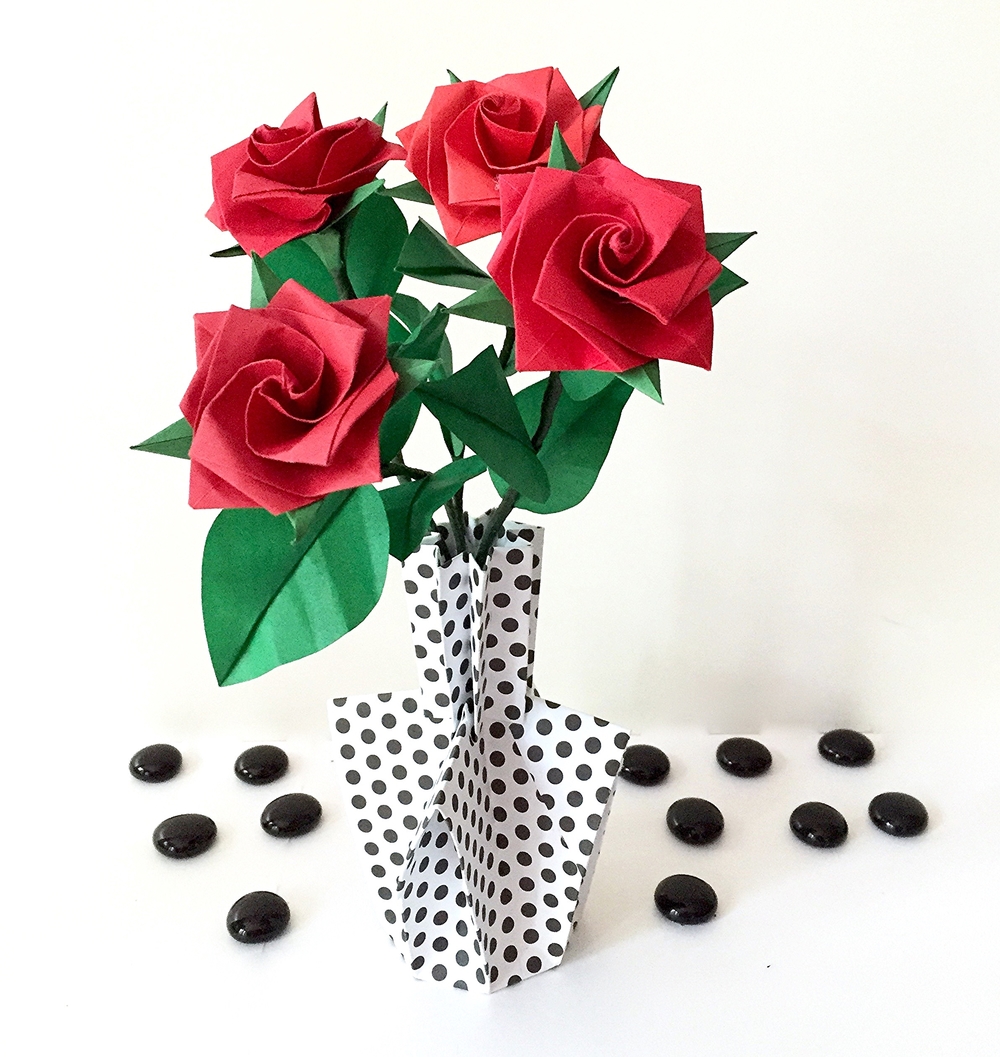
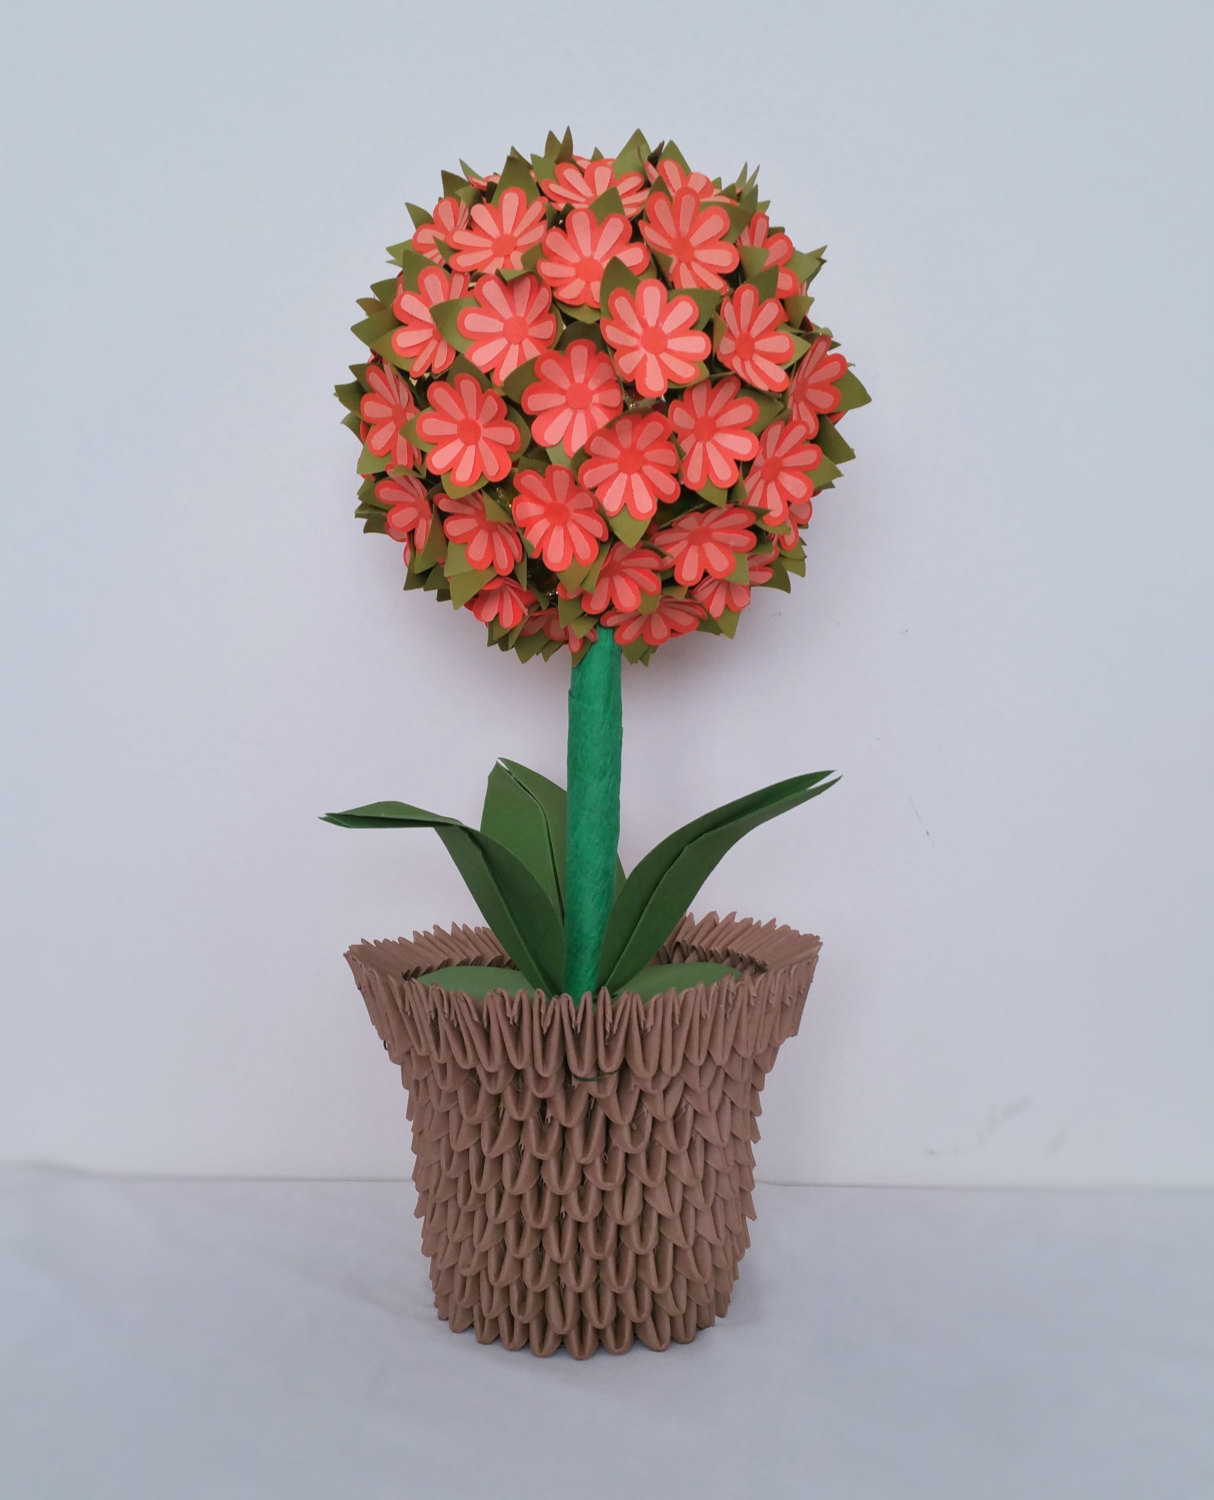
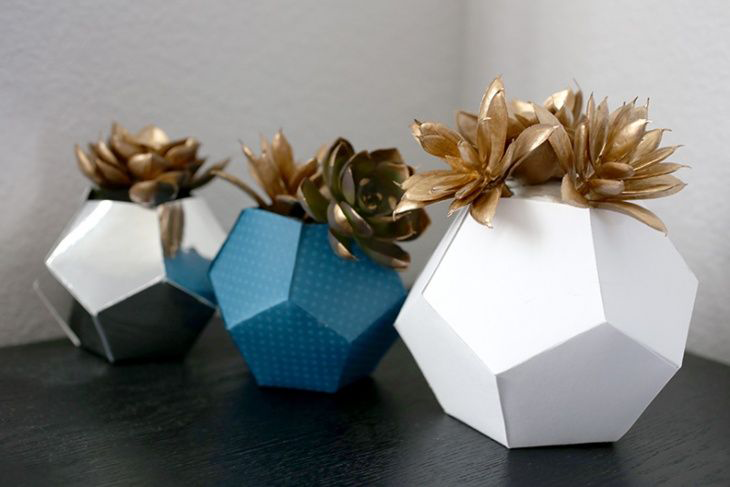
- decorative vases.
Paper is a material that has several applications, it is easy to work with, it is environmentally friendly, cheap.

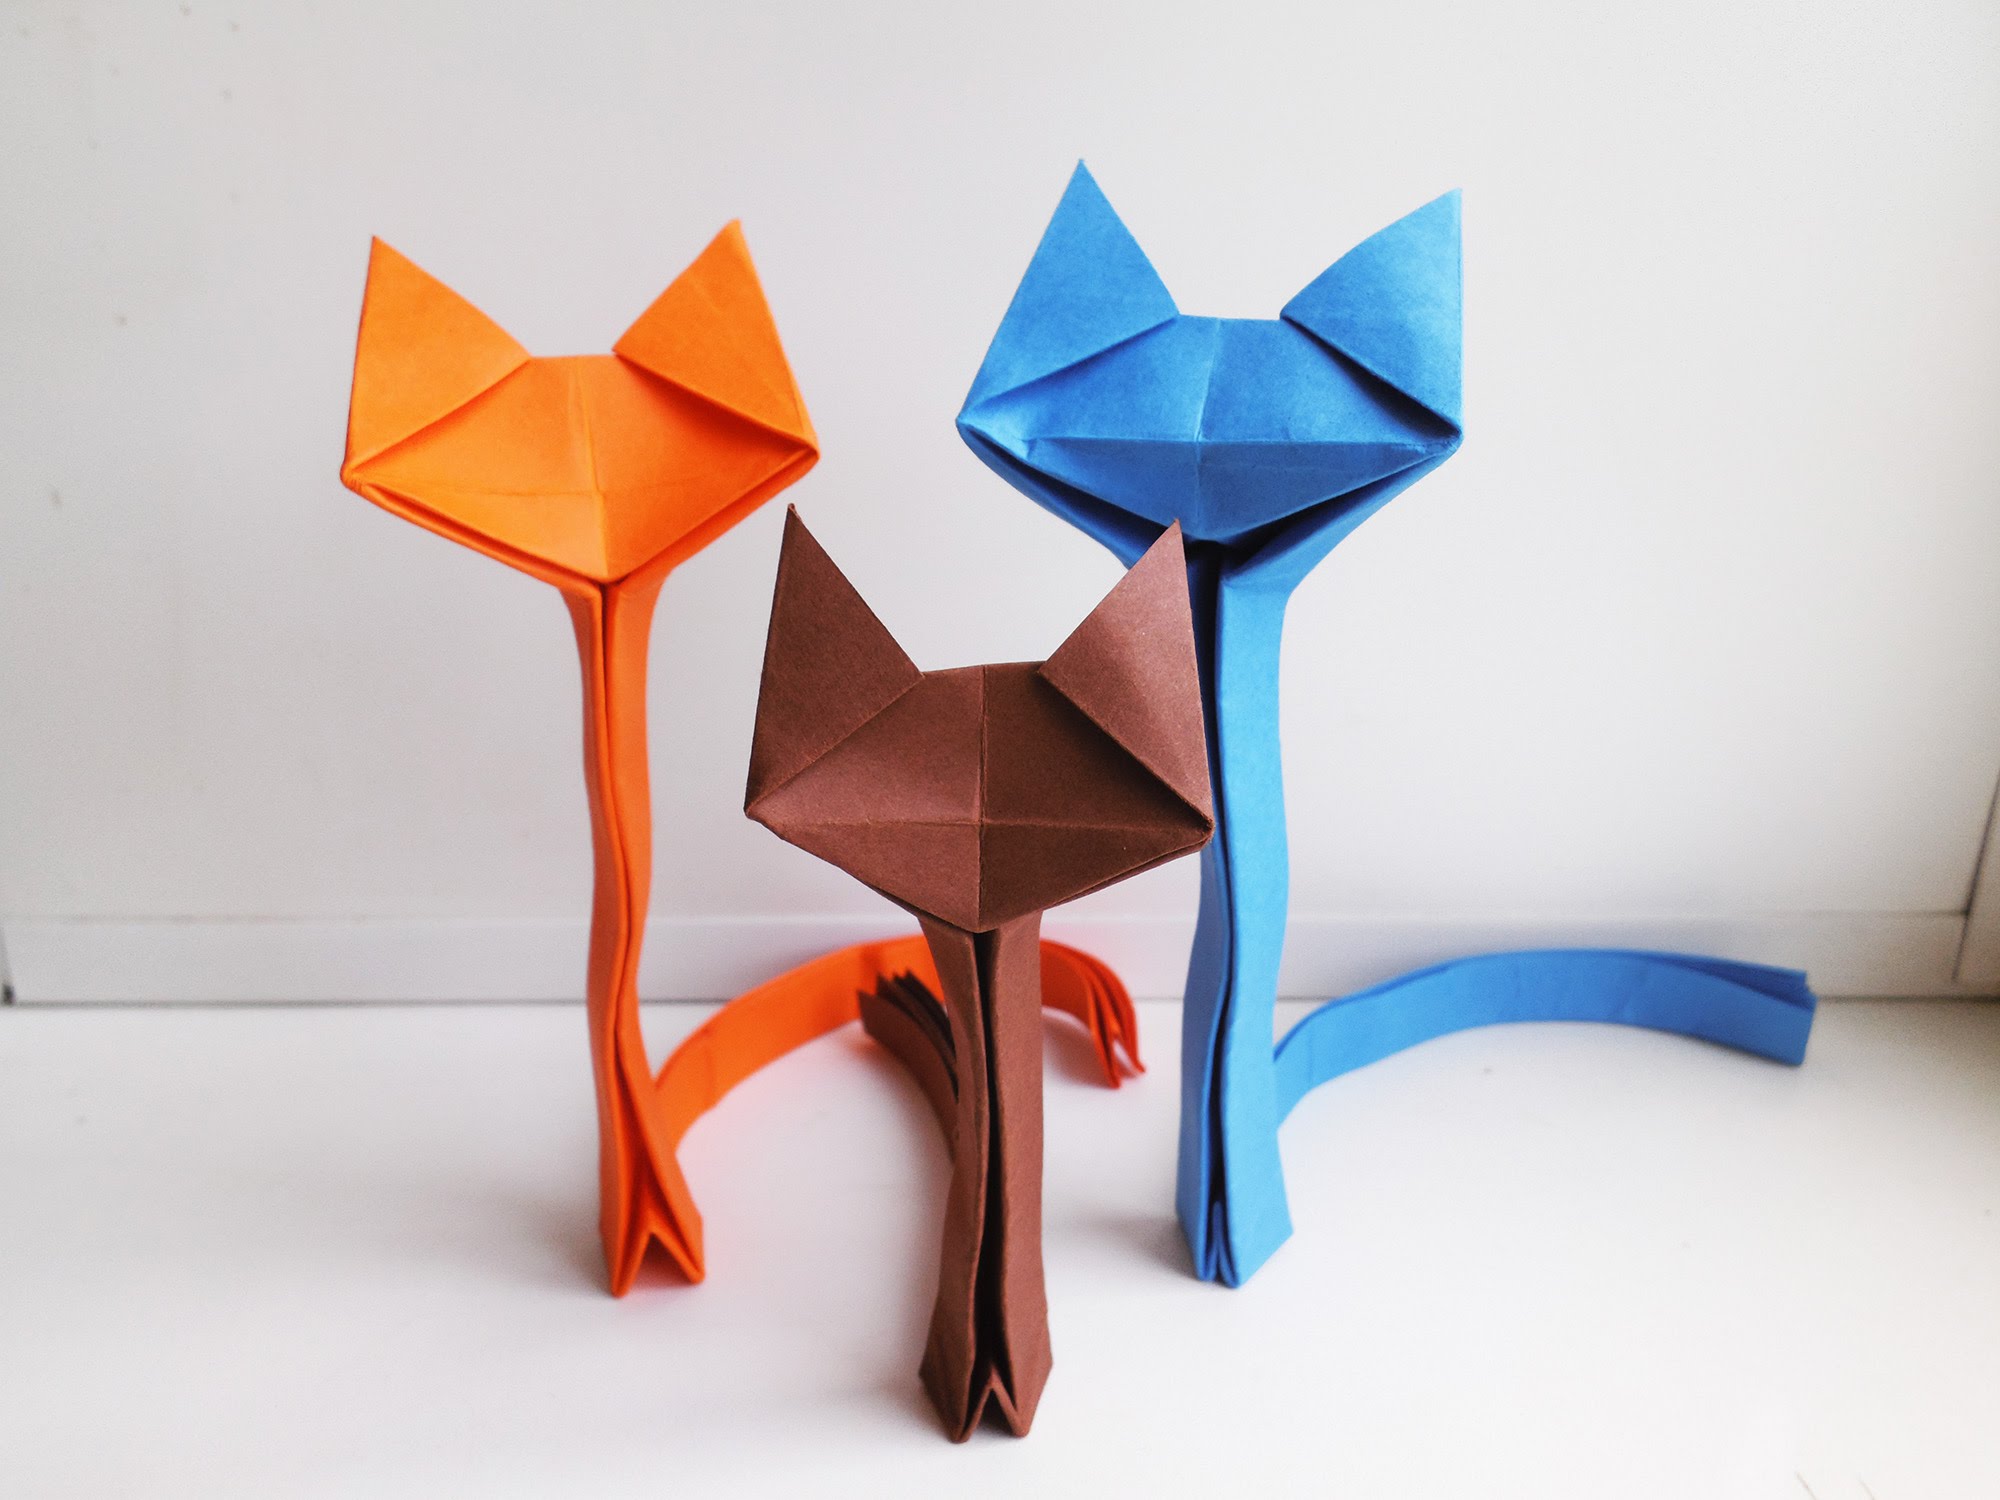
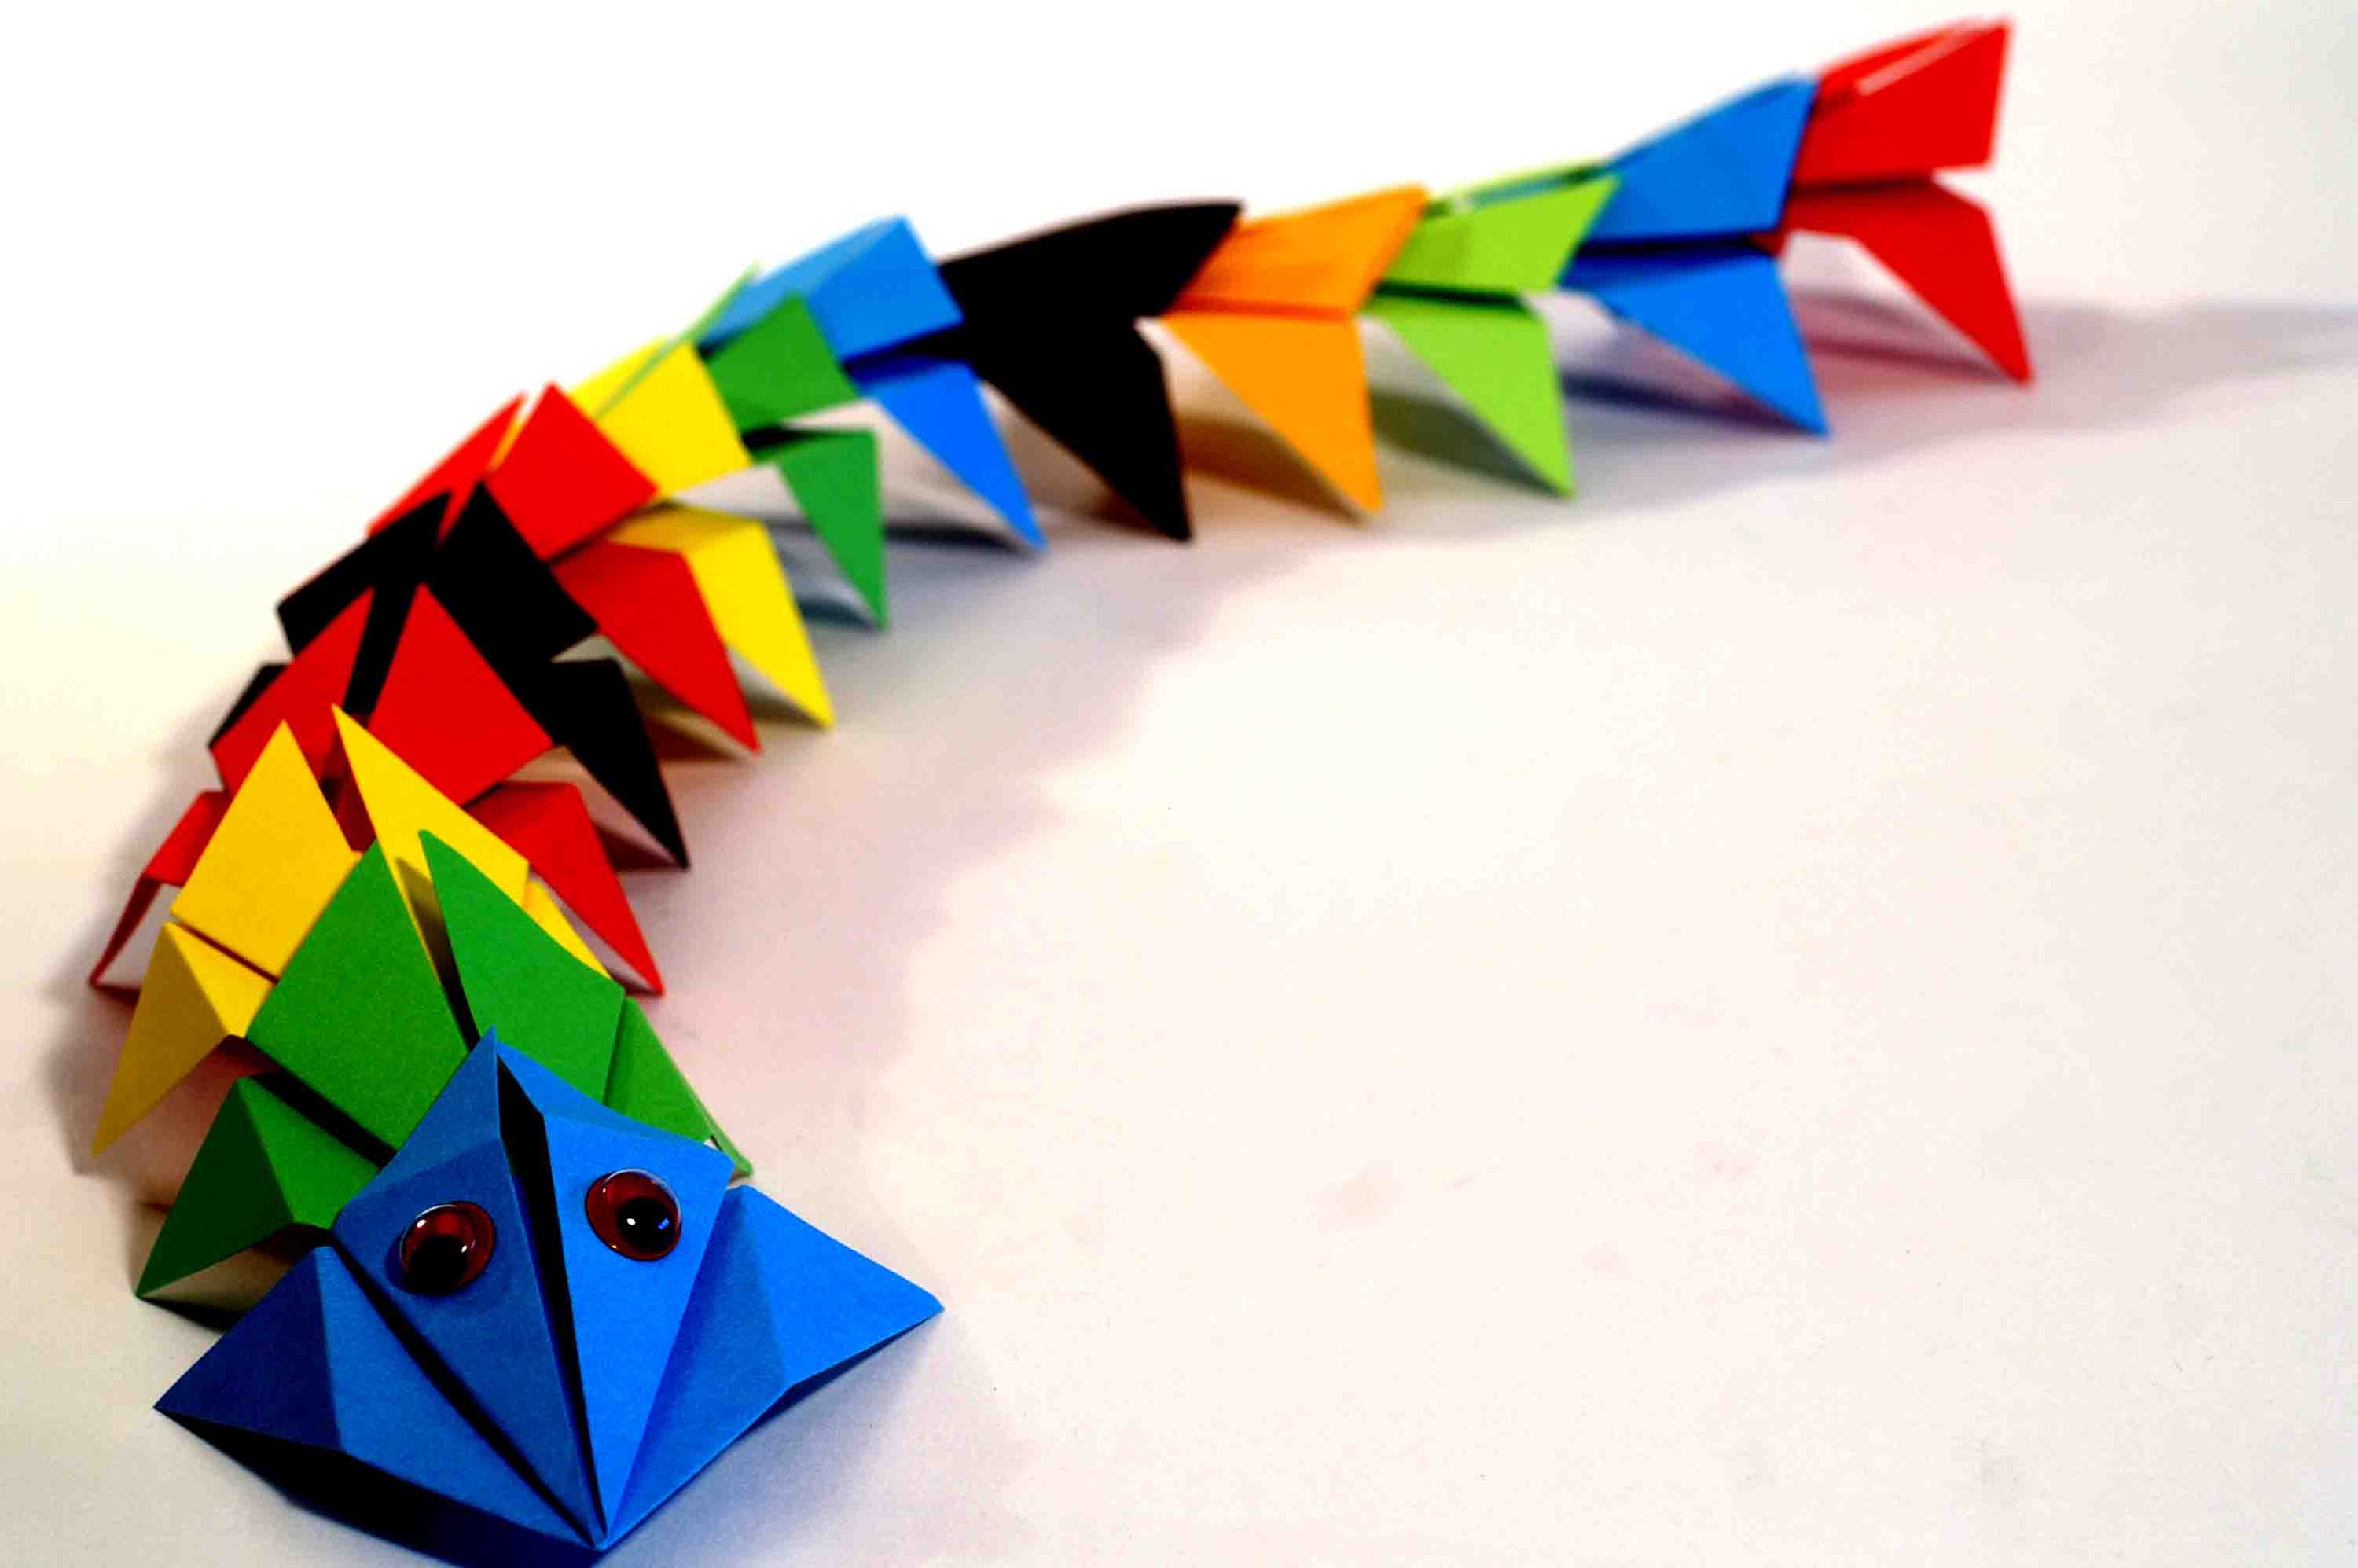
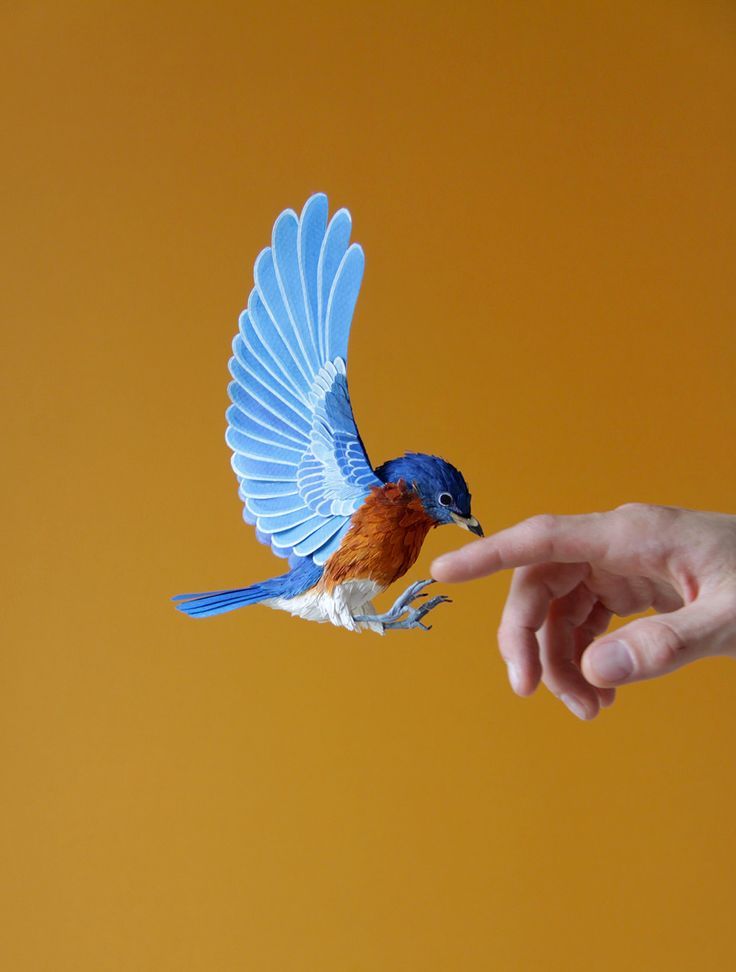
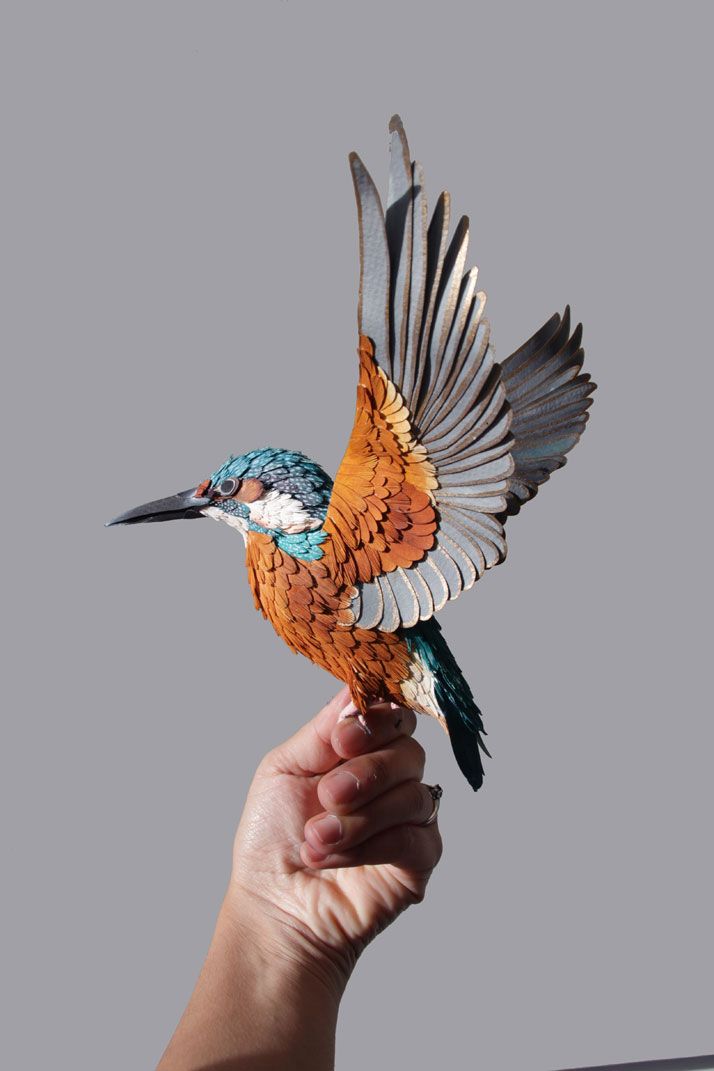
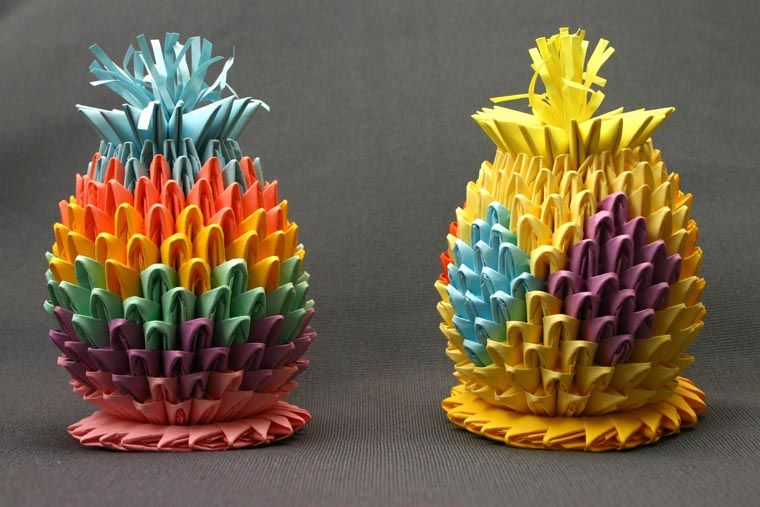
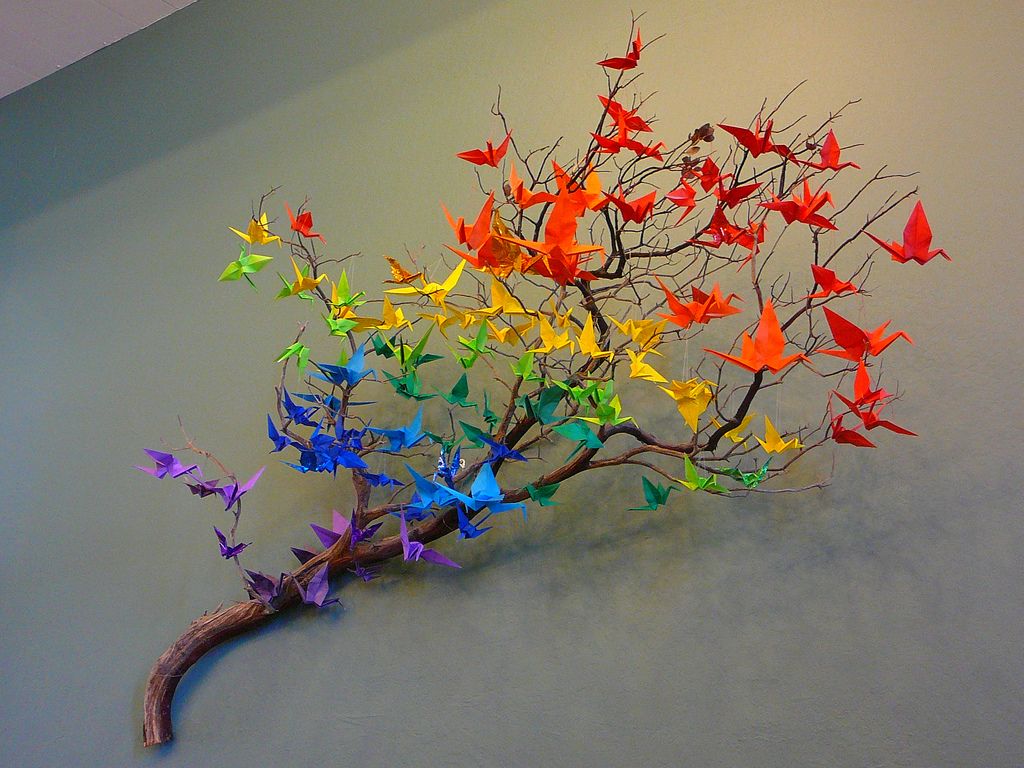
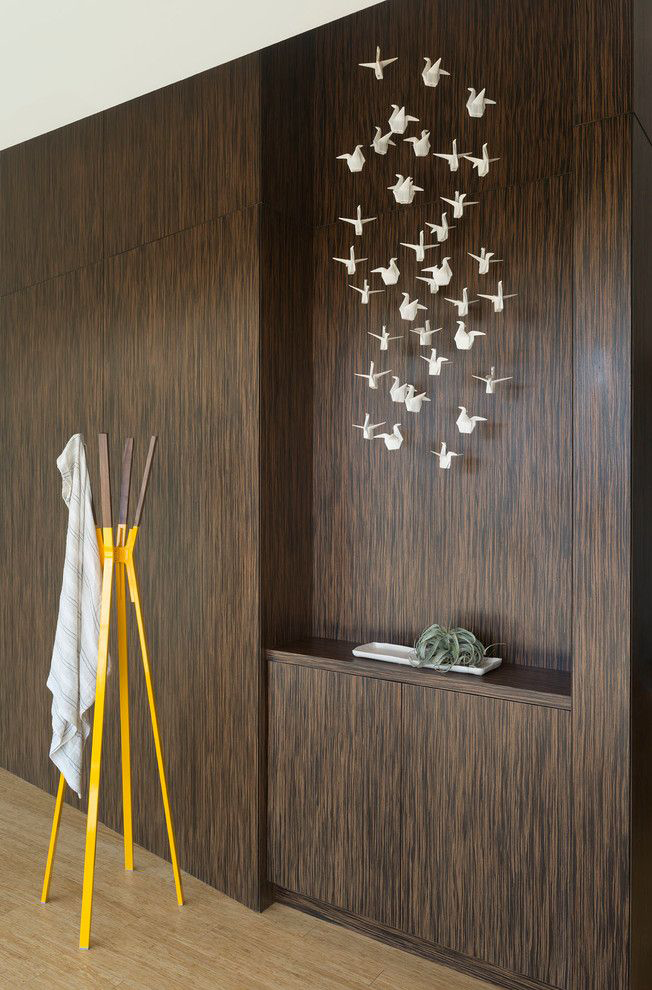
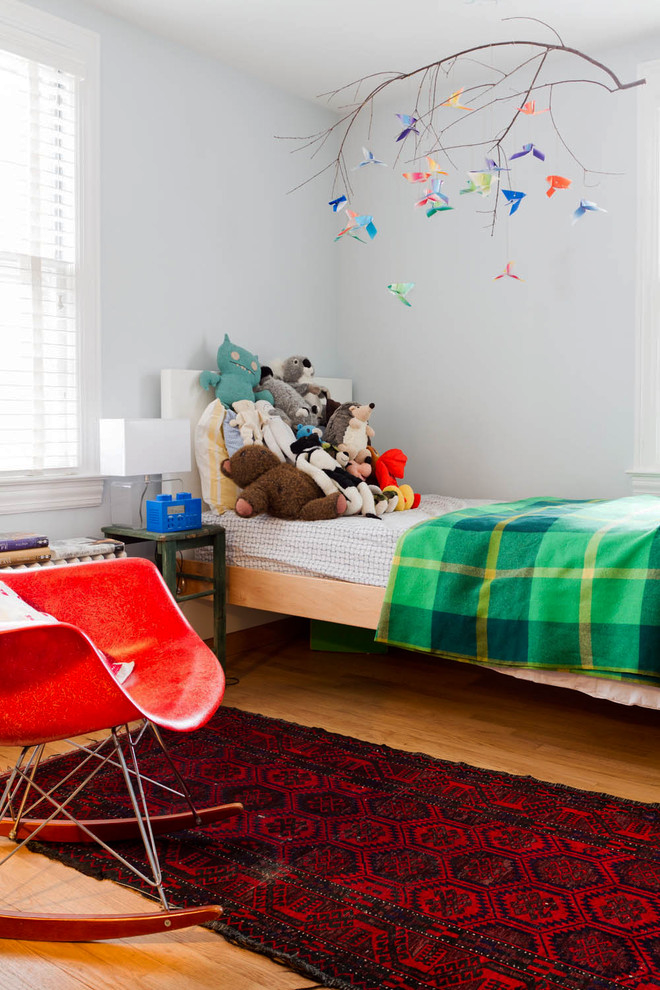
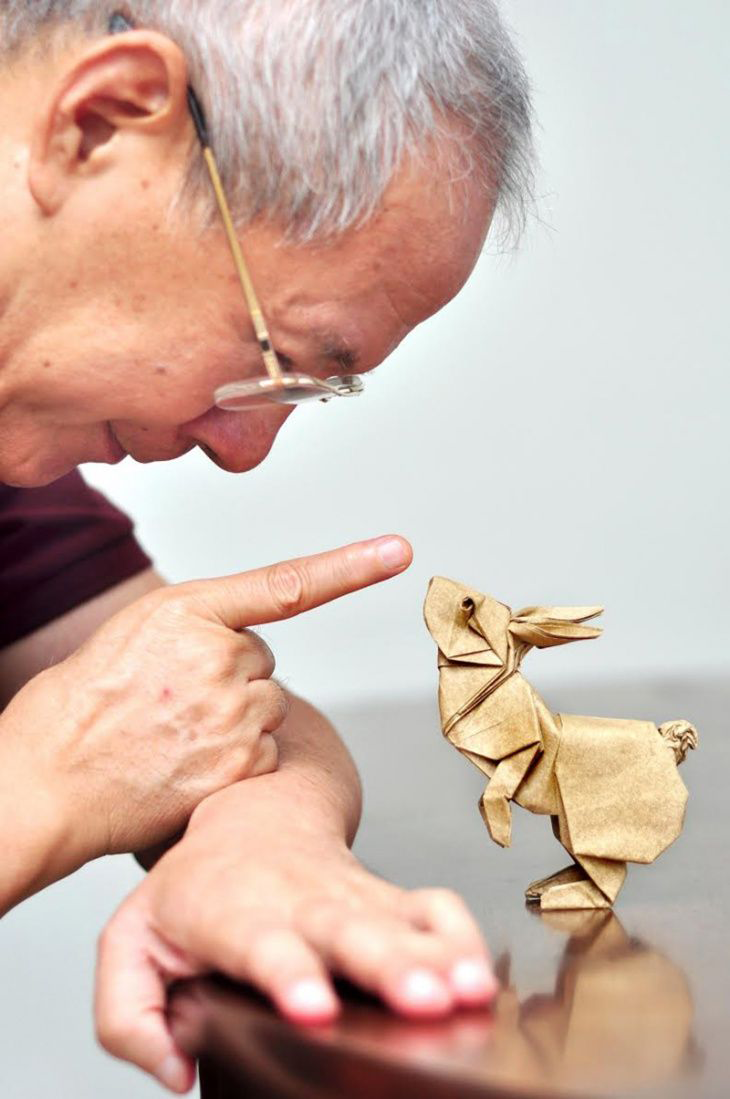
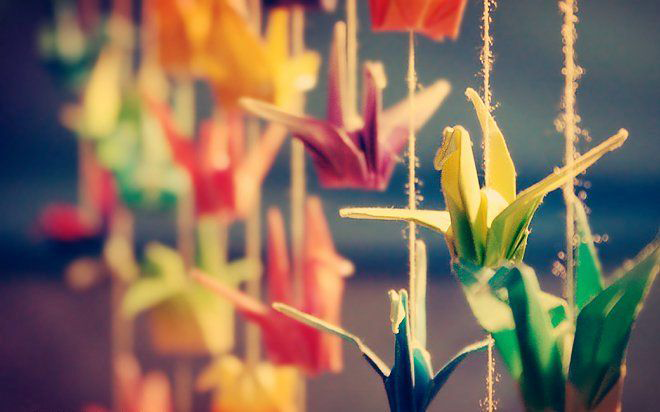
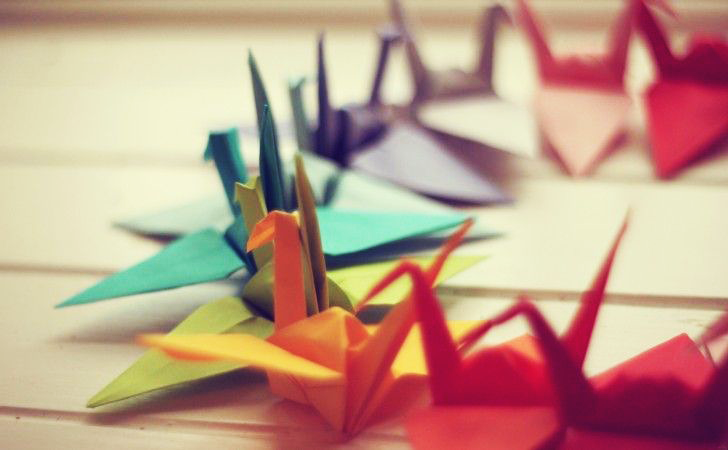
Delightful birds do it yourself
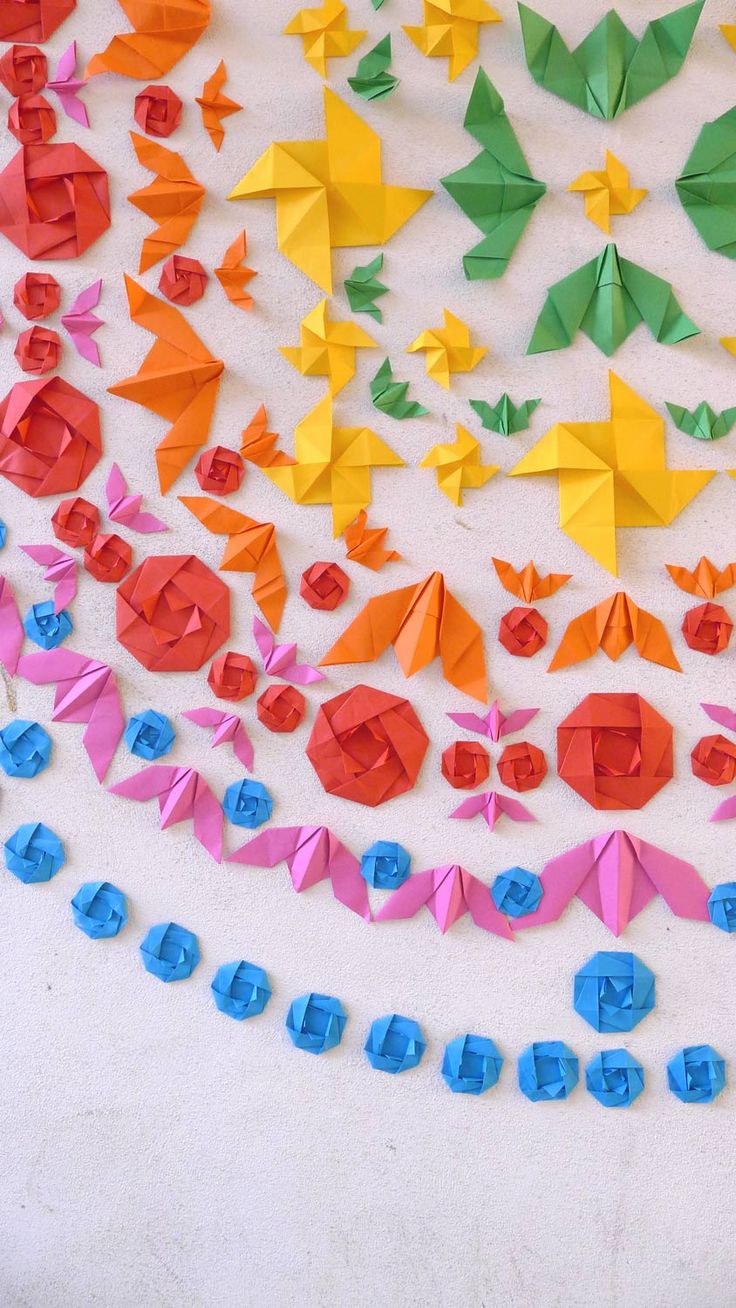
Paper home furnishings and wall decorations are reminiscent of works of art inspired by origami, thereby adding incredible details to modern interior design and decoration. Therefore, instead of destroying unnecessary paper, think about turning it into an object of art and interior.
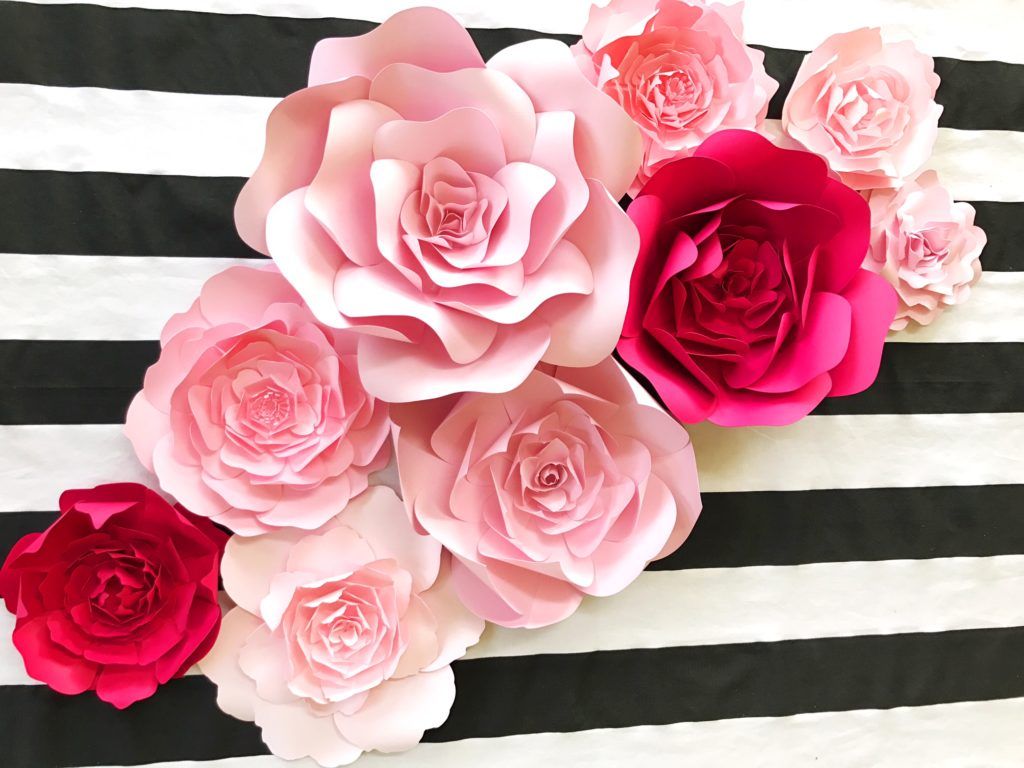
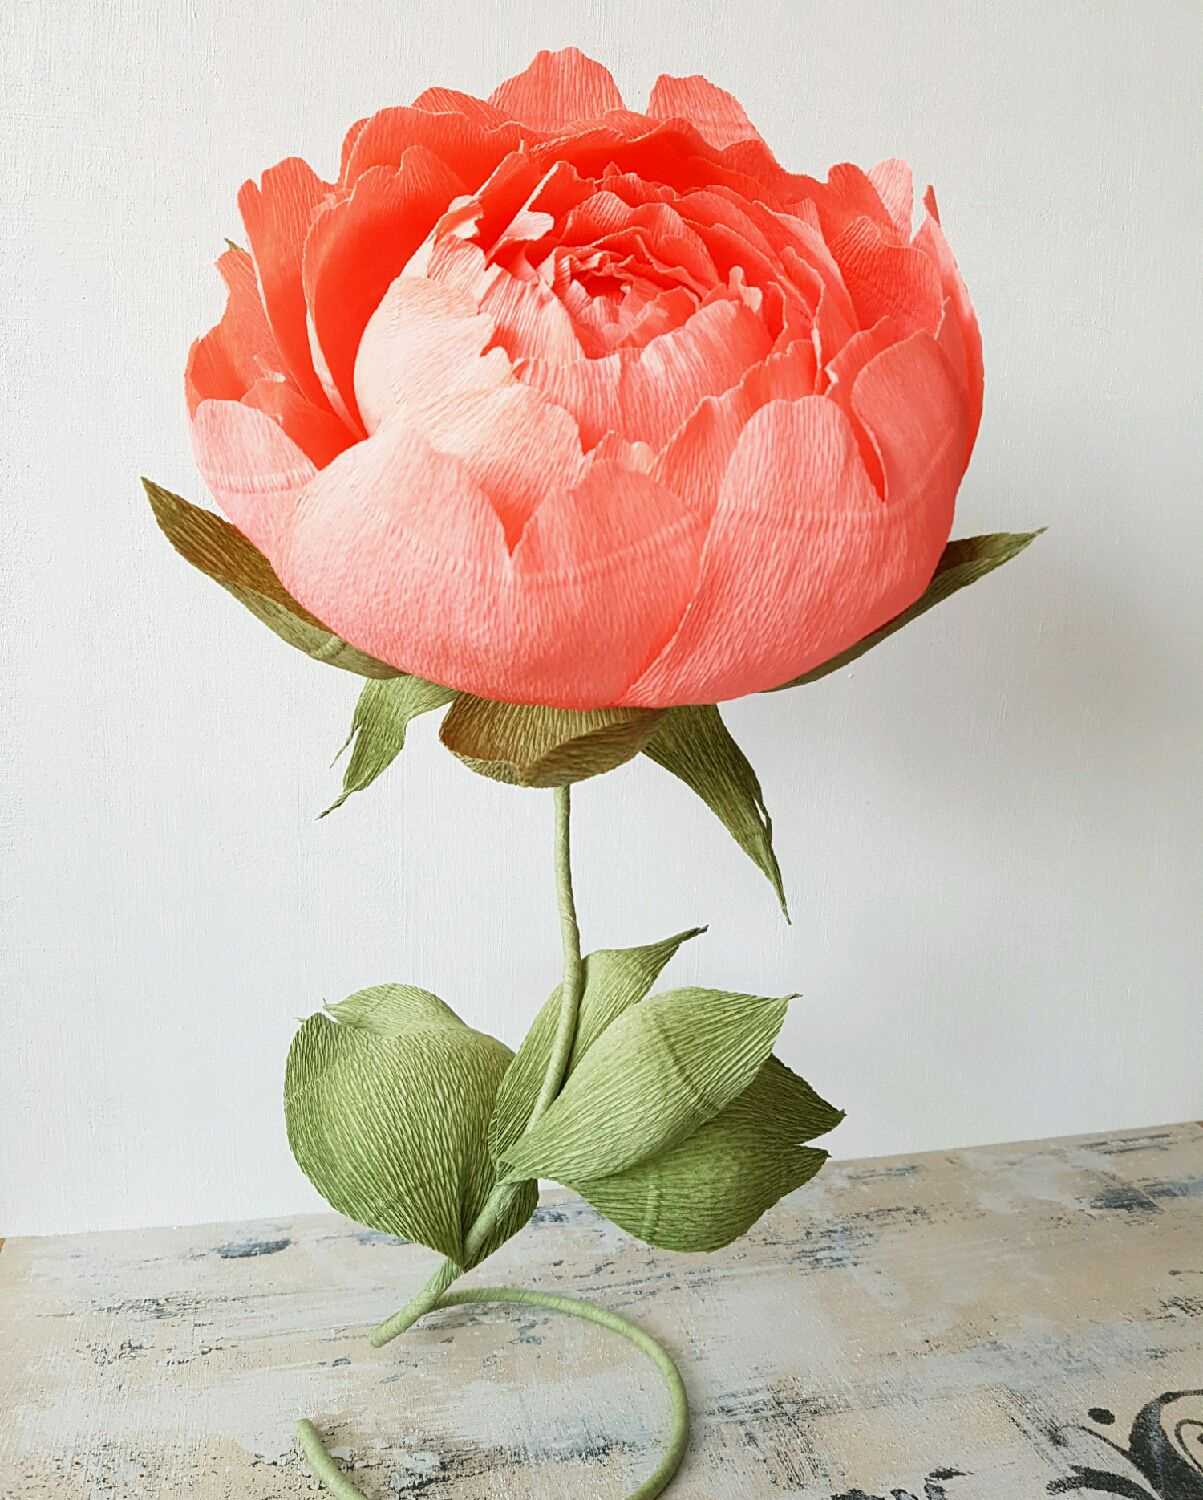
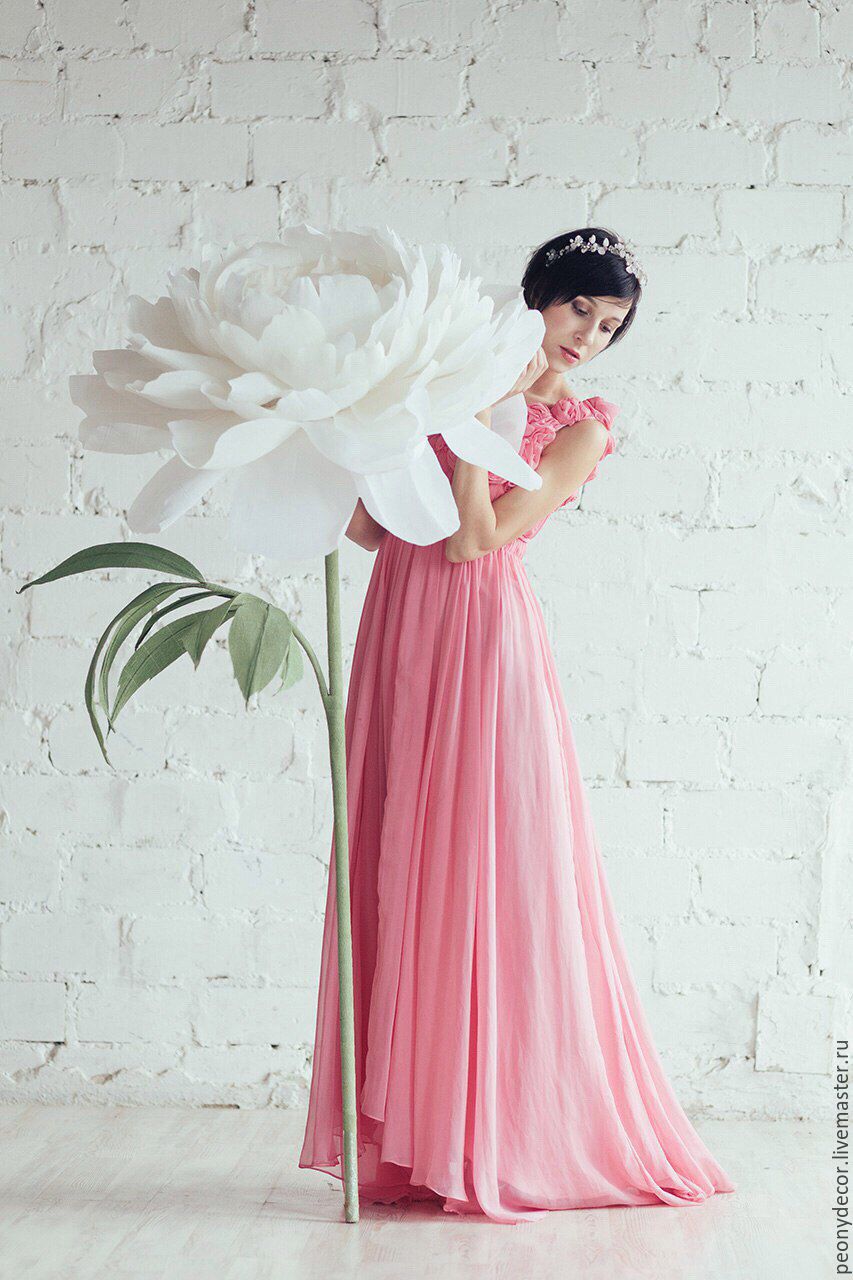
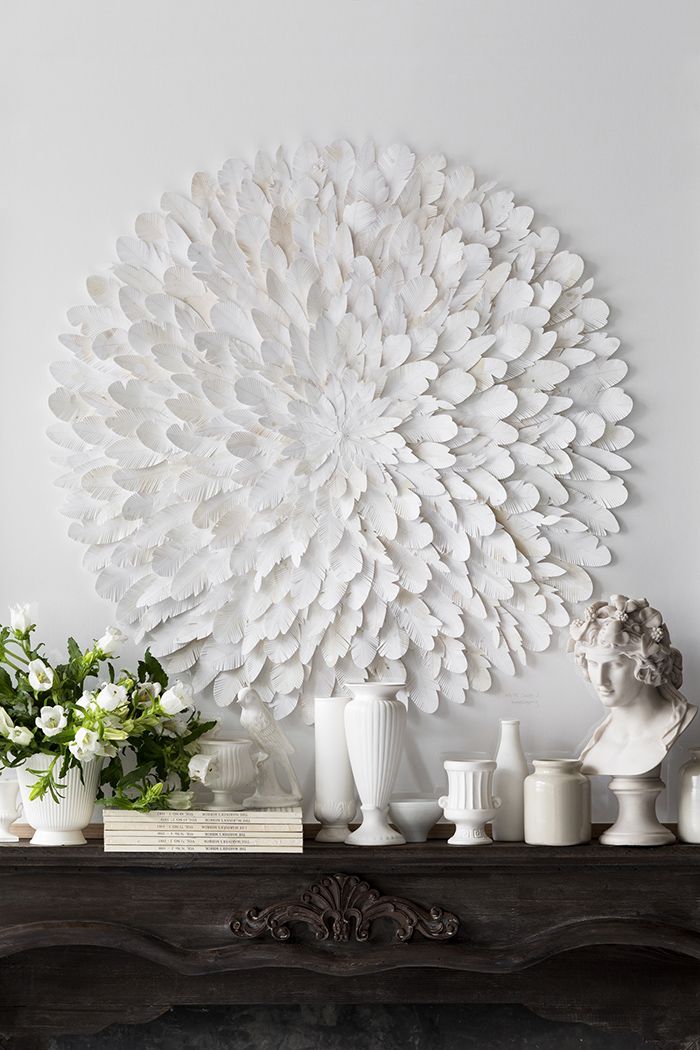
Walls adorned with beautiful peonies
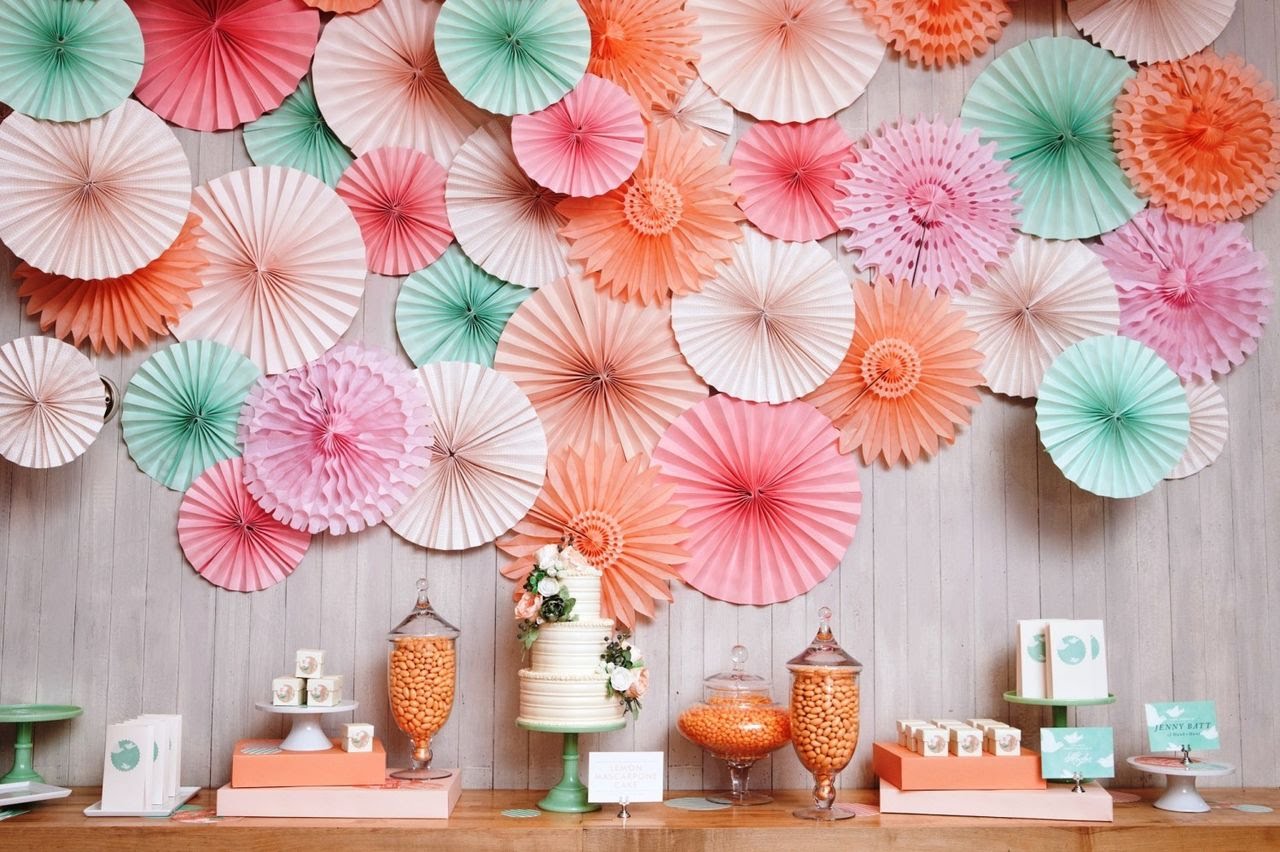
Design ideas and crafts
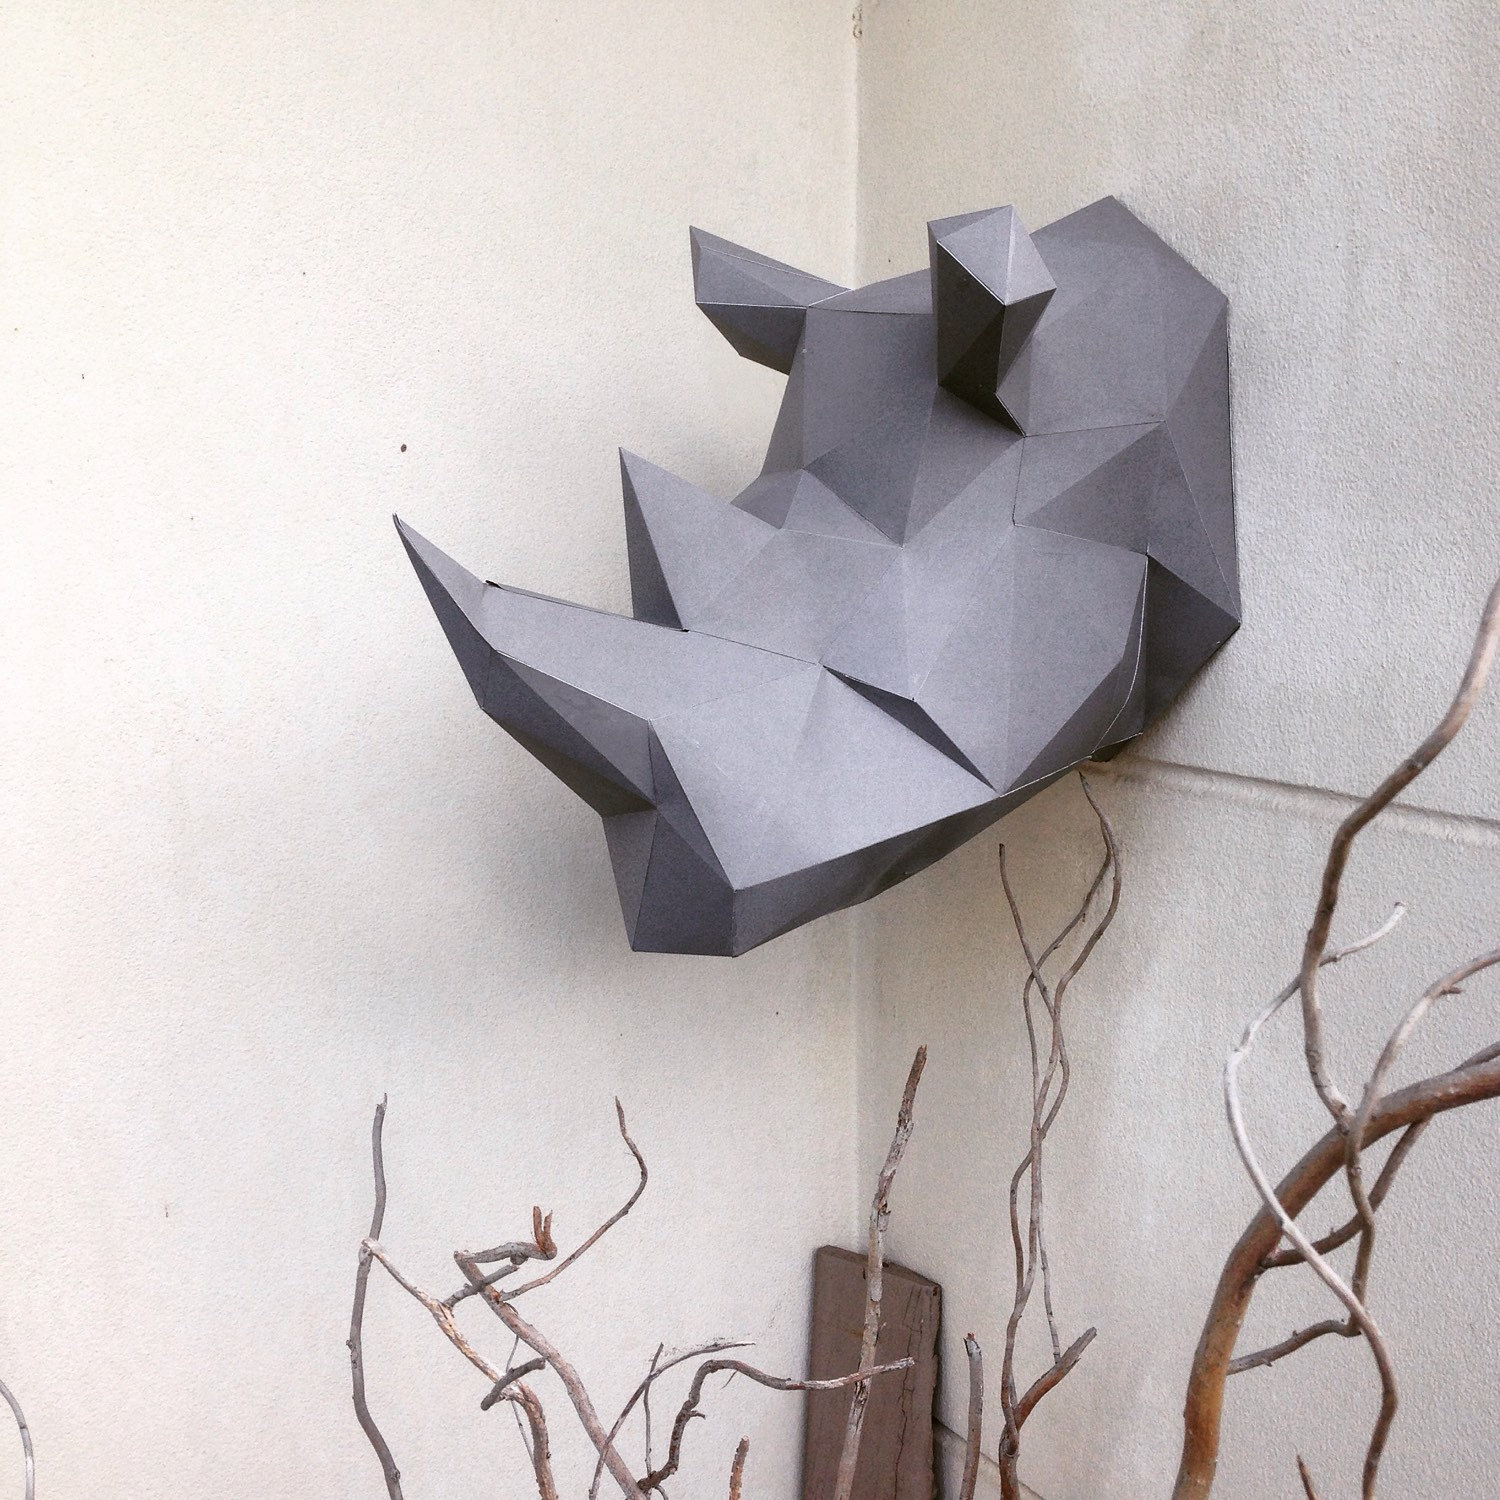
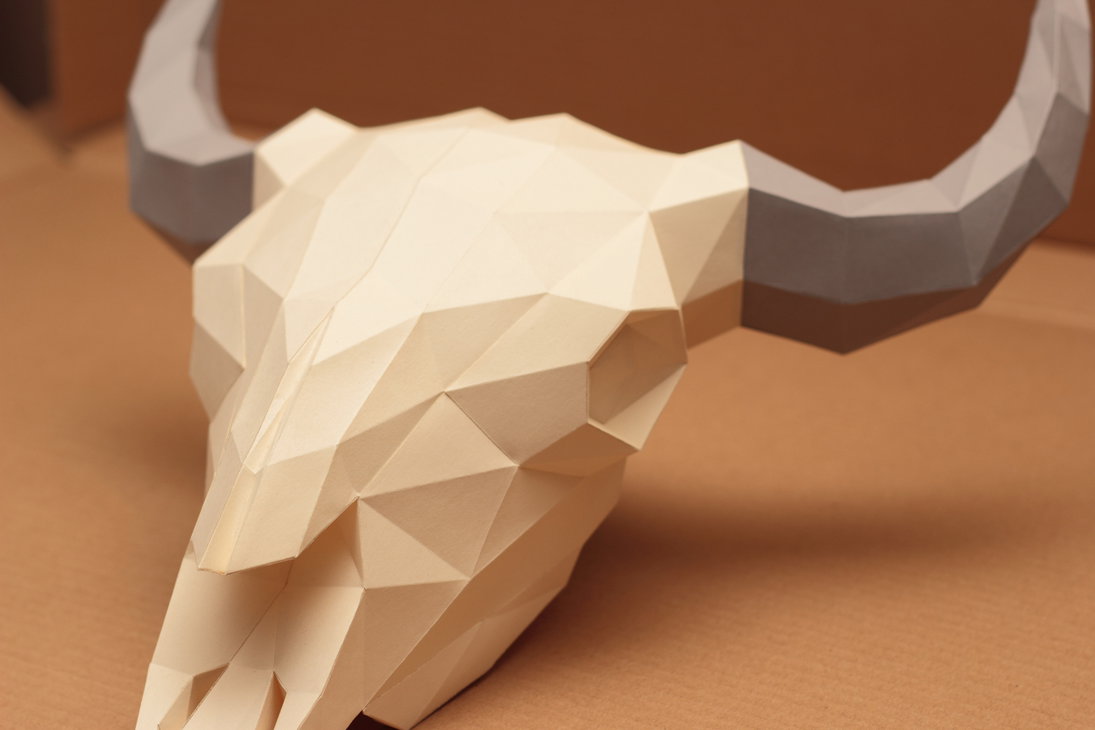
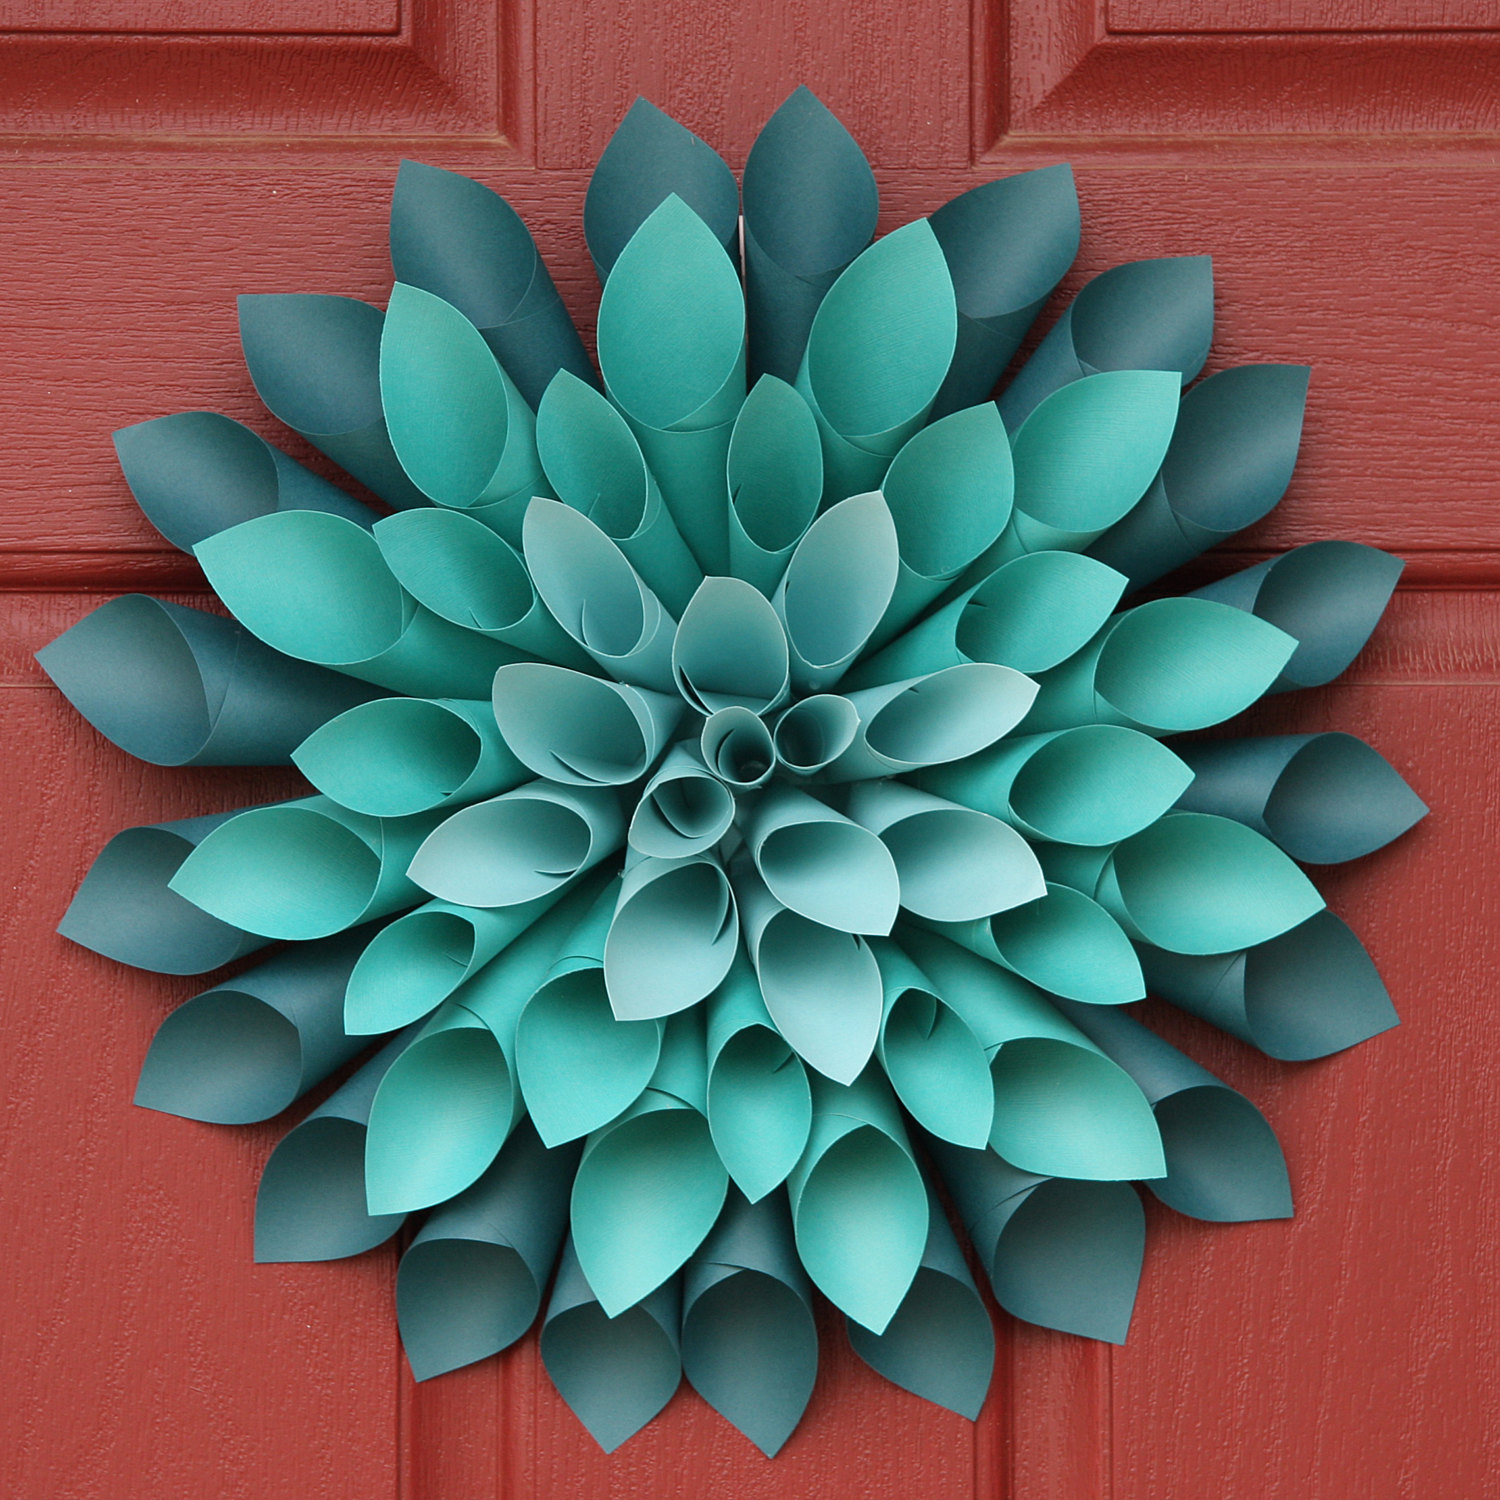
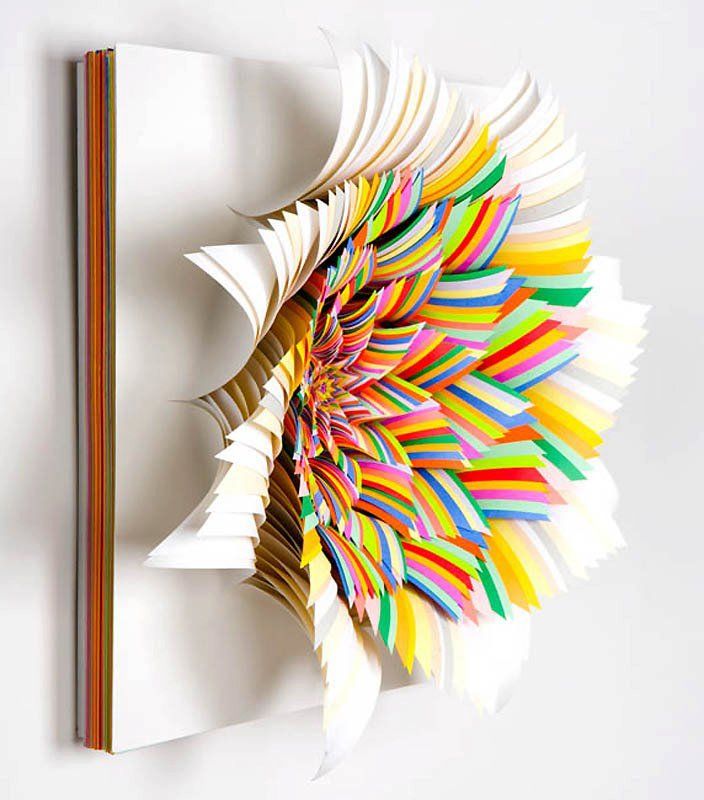
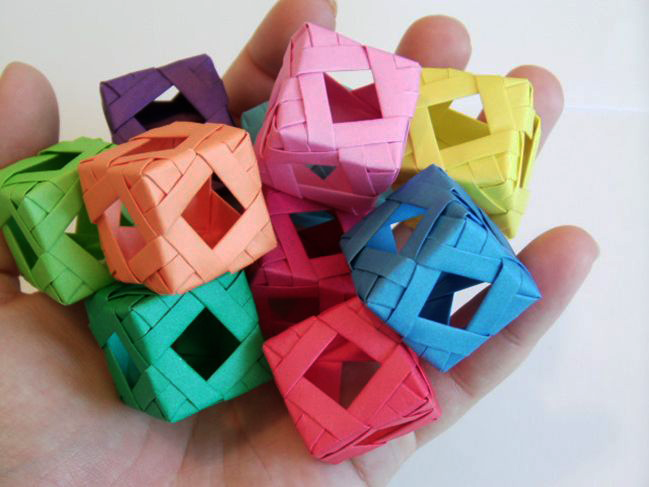
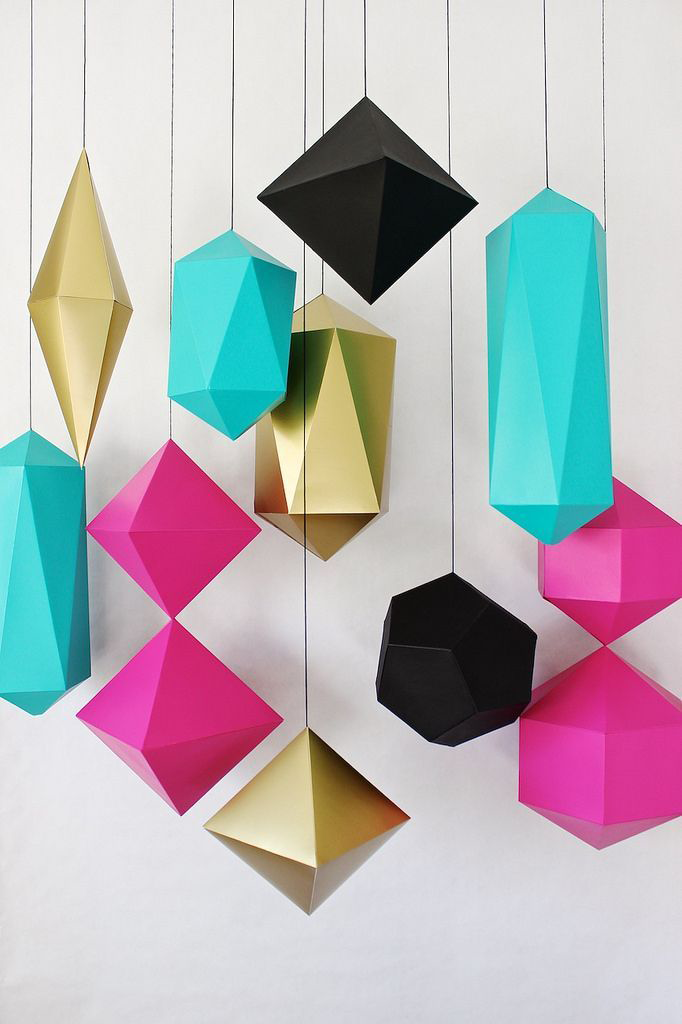
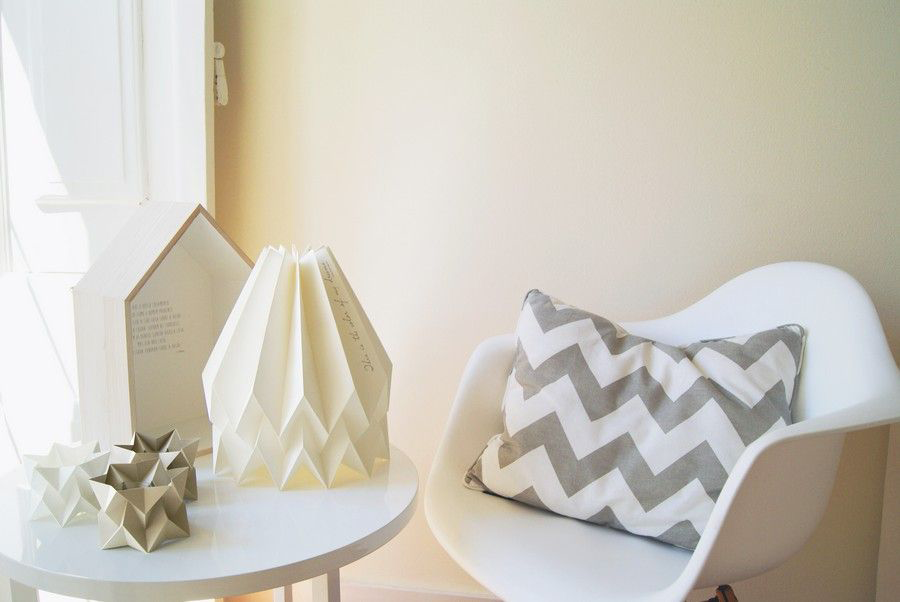
Interior design ideas made of paper, such as wall decorations or lamps, have the opportunity to significantly transform and decorate your interior. Various volumetric and fantastic 3D shapes for wall decoration, ceiling, stairs home furnishings can also be made from paper.
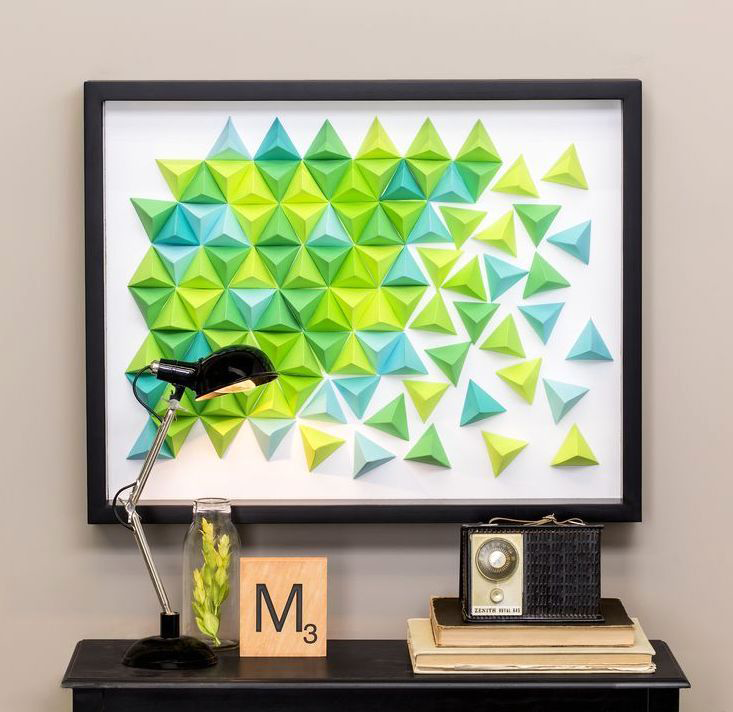
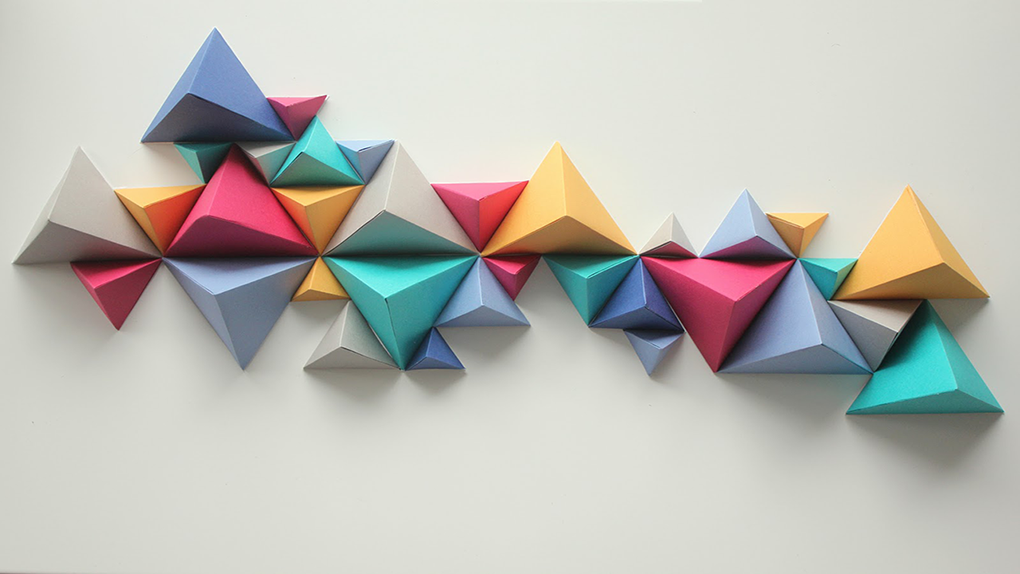
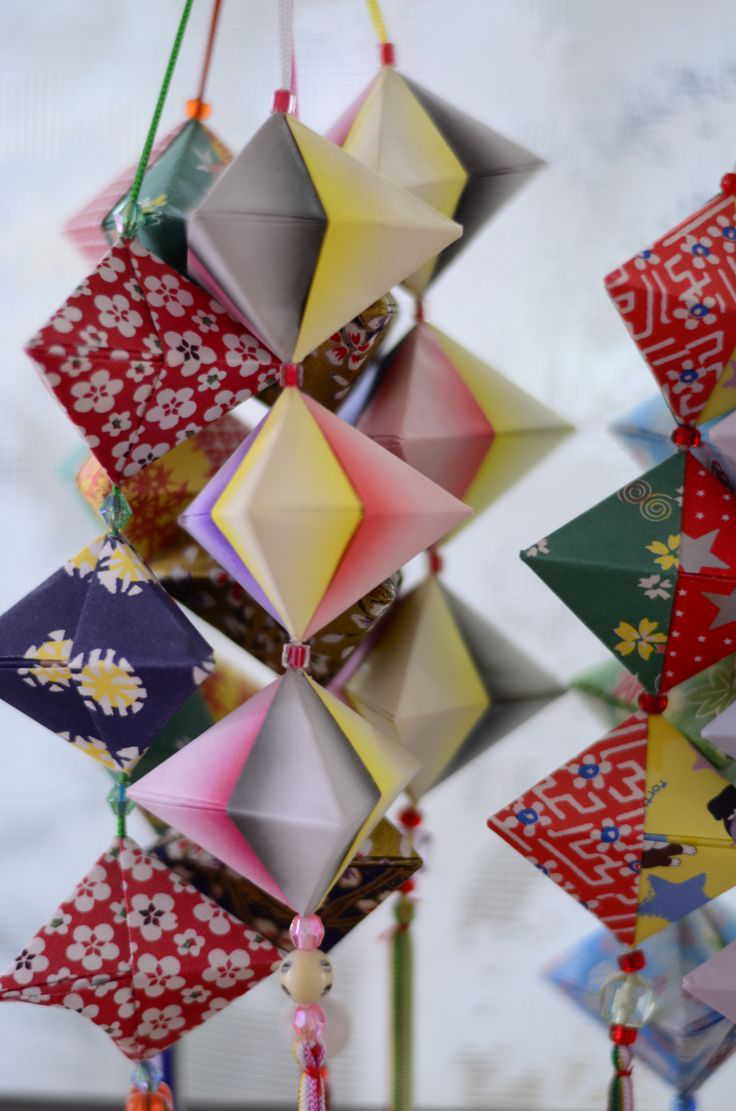
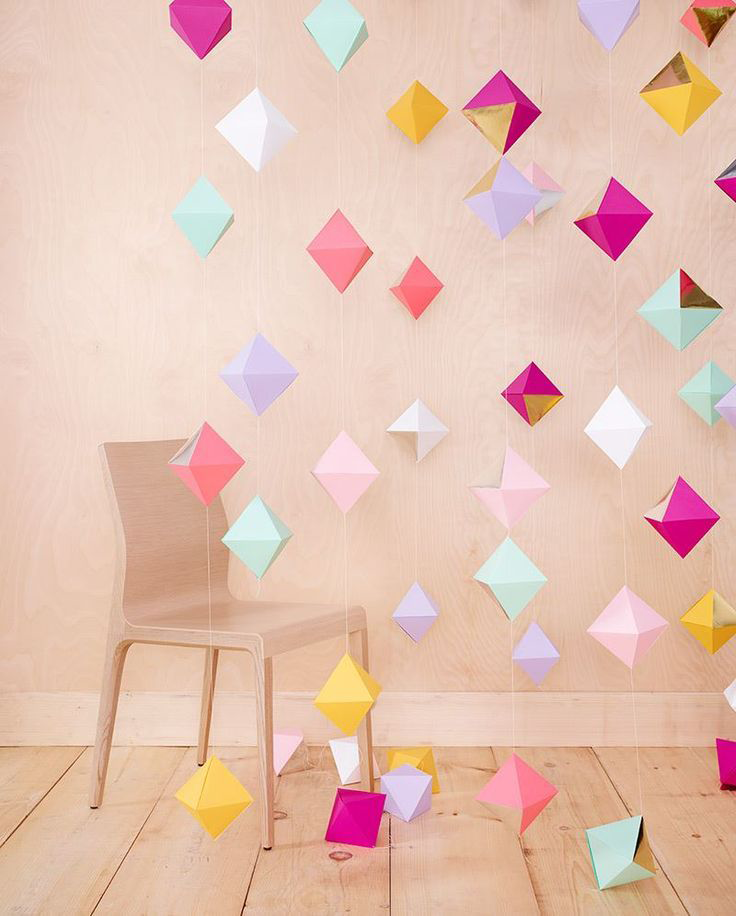
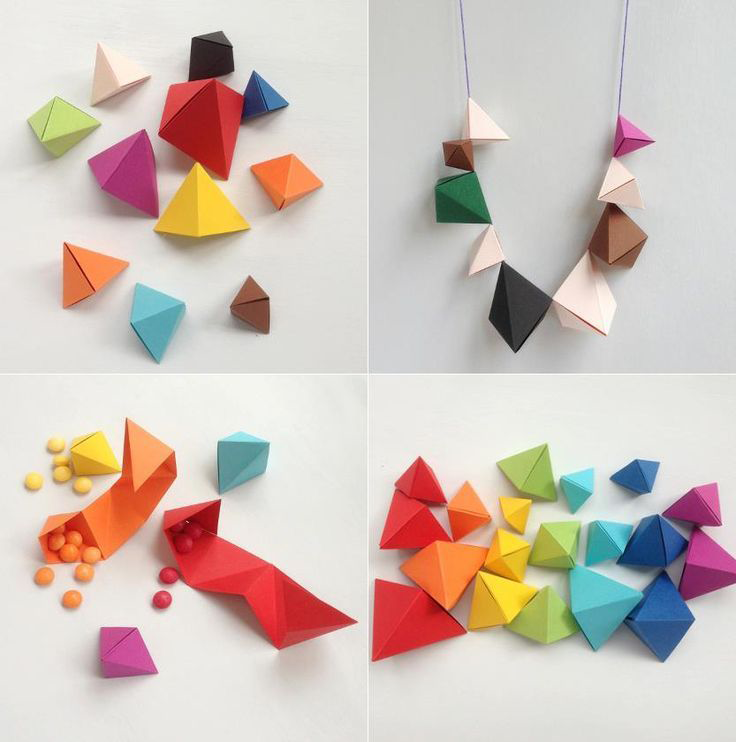
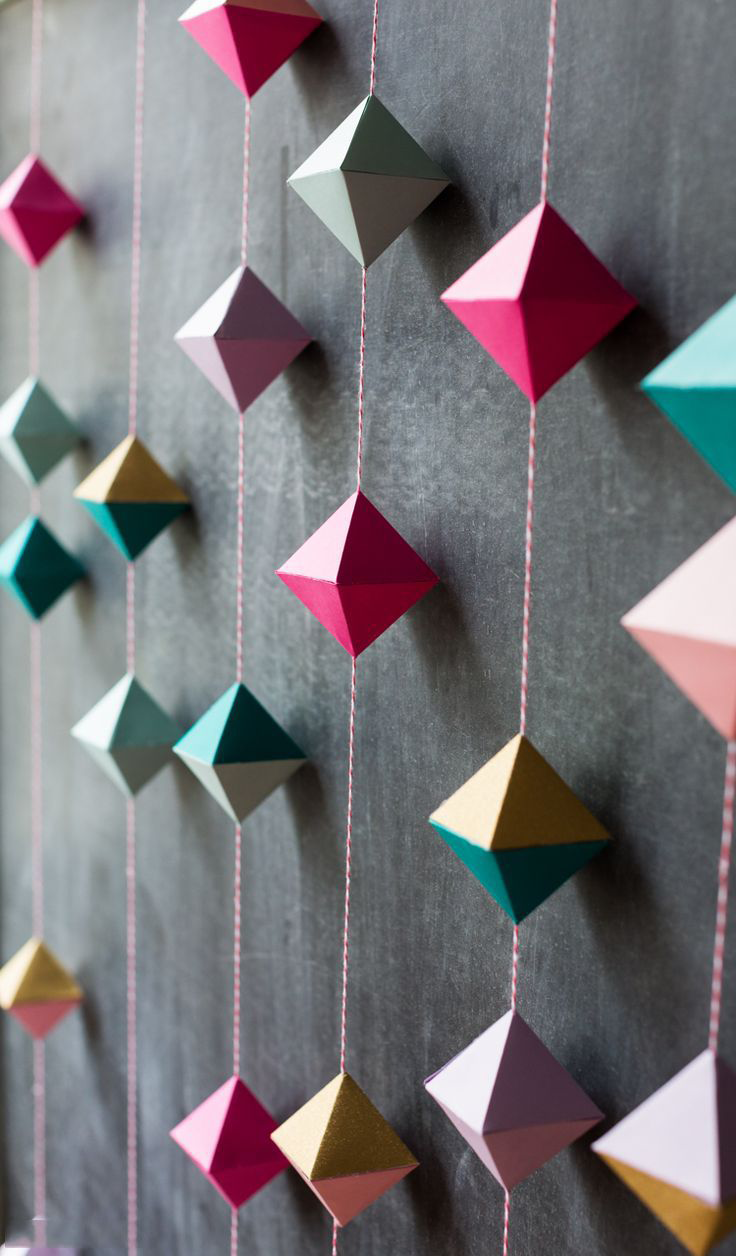
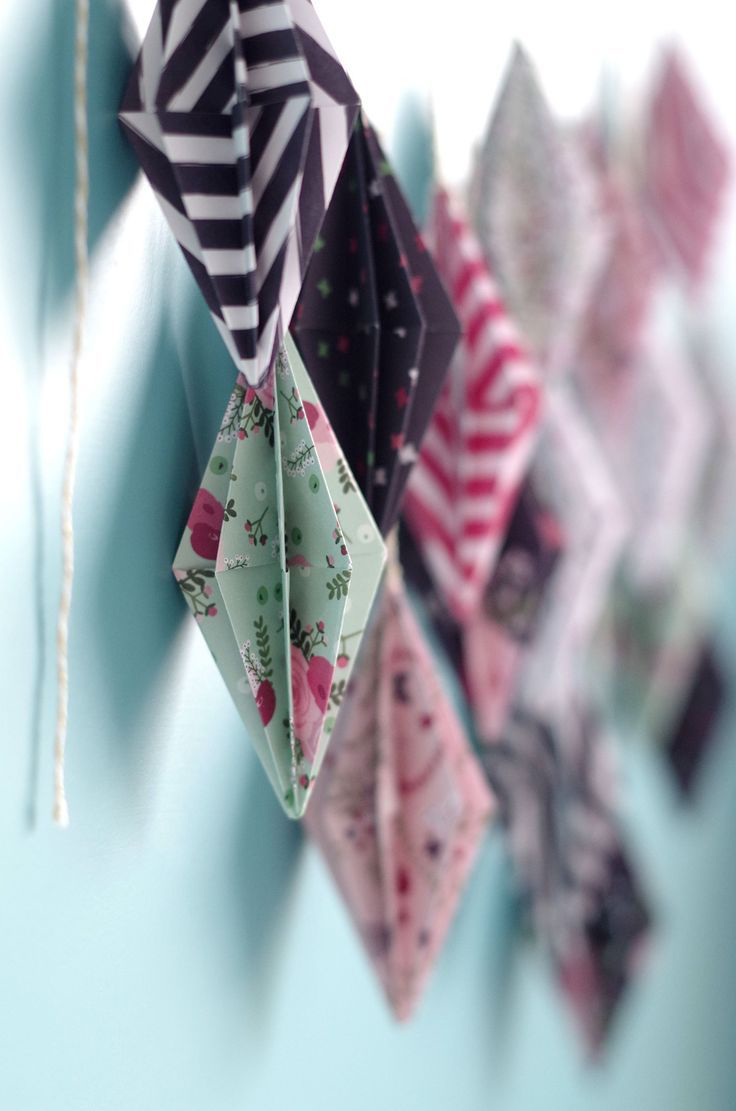
3D crafts for wall decoration
Having a delicate, exclusive look, paper products add wonderful accents on:
- chandeliers;
- table lamps;
- frames and doors;
- window curtains;
- decorative vases.
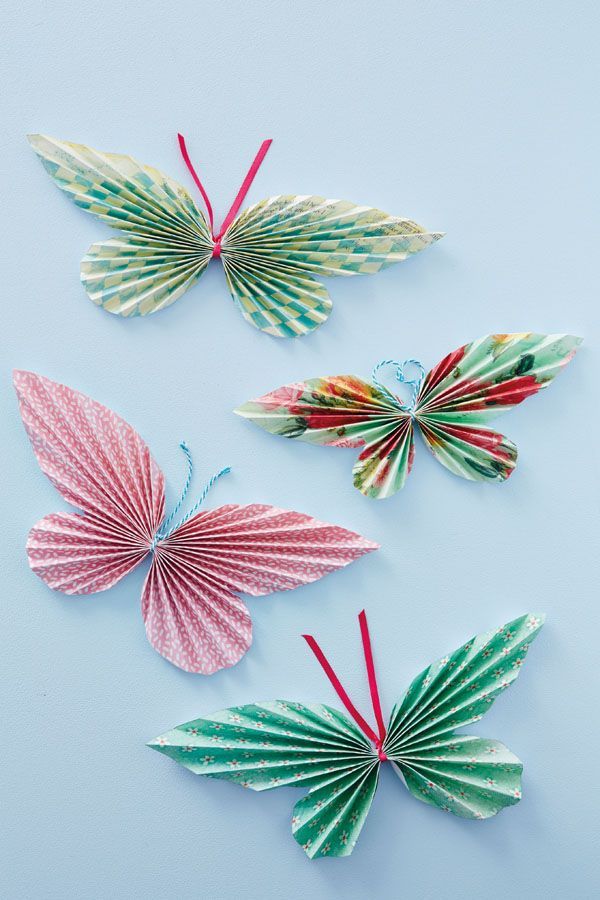
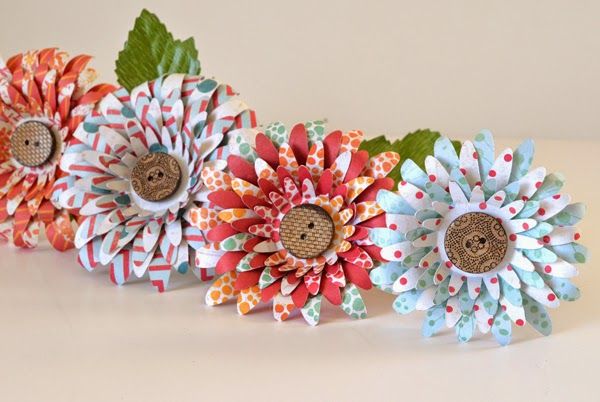
Jewelry can be in the form of:
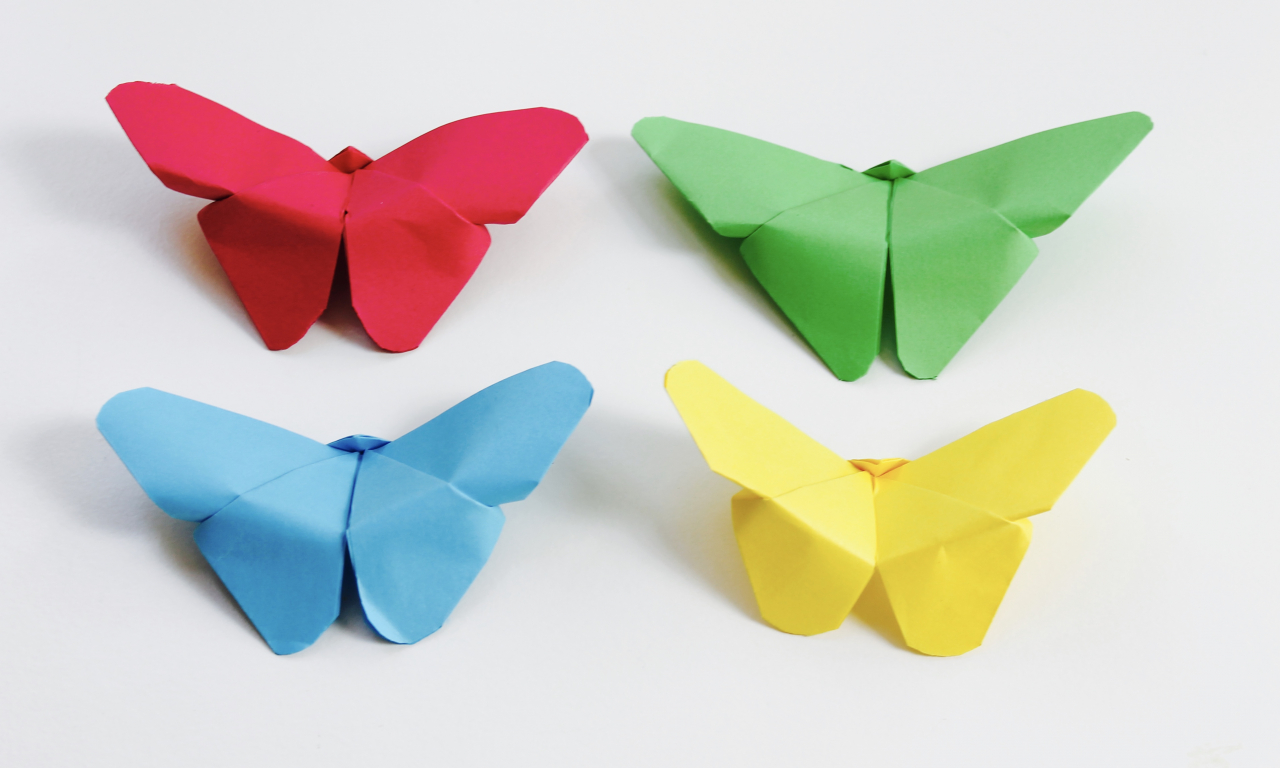
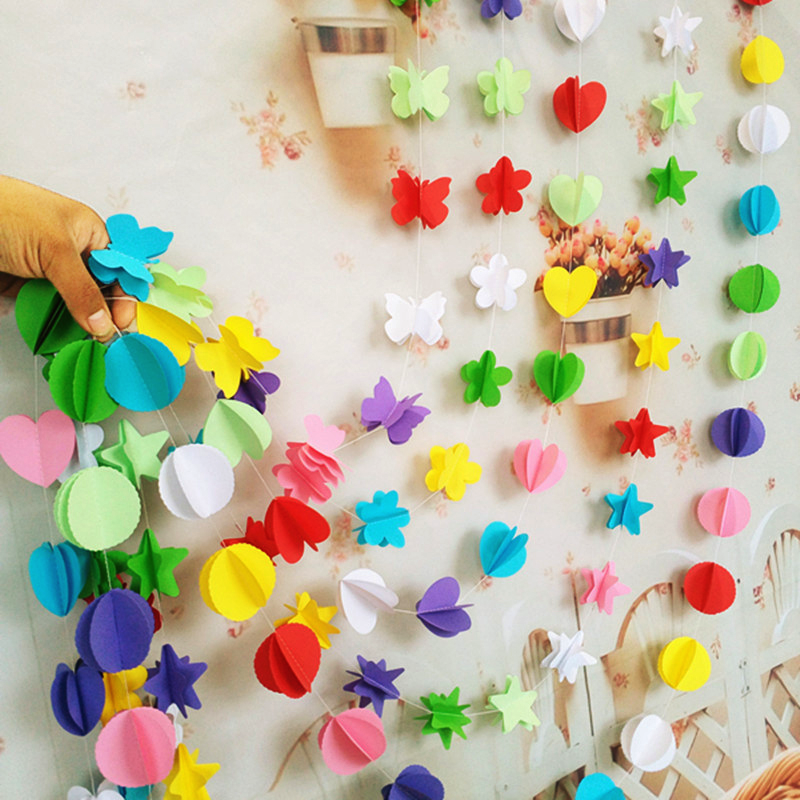
- paper flowers;
- birds;
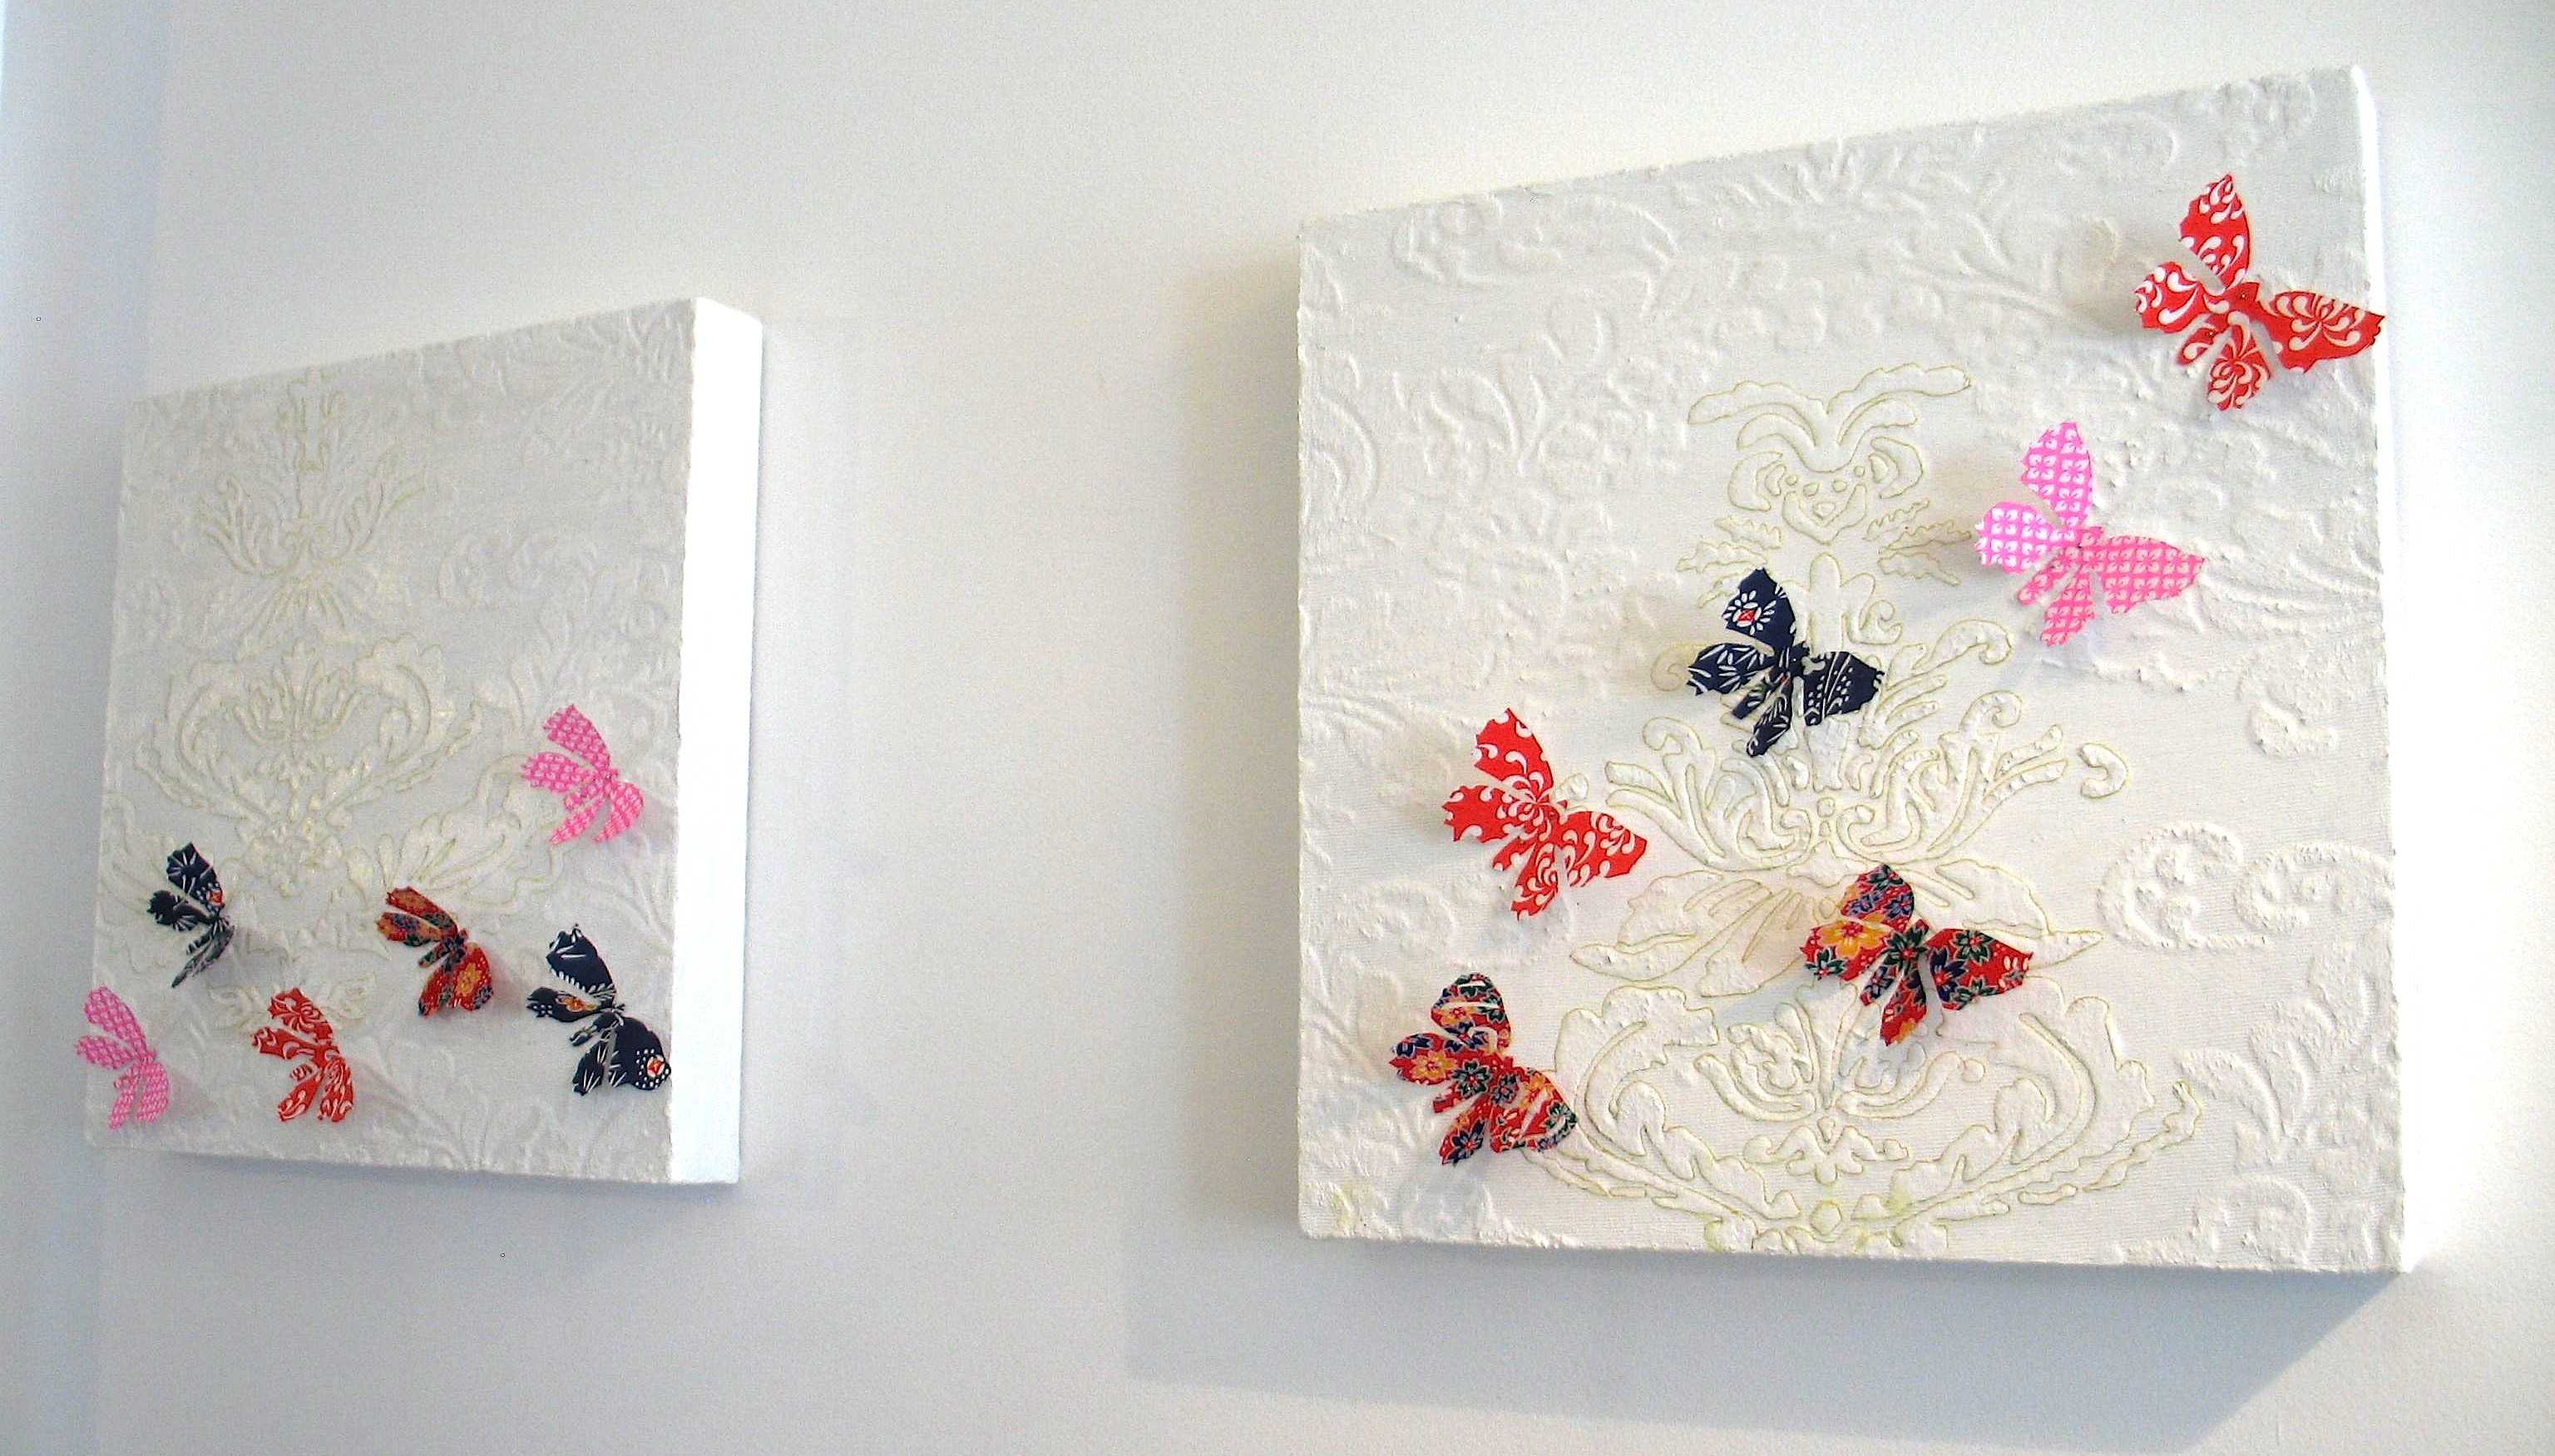
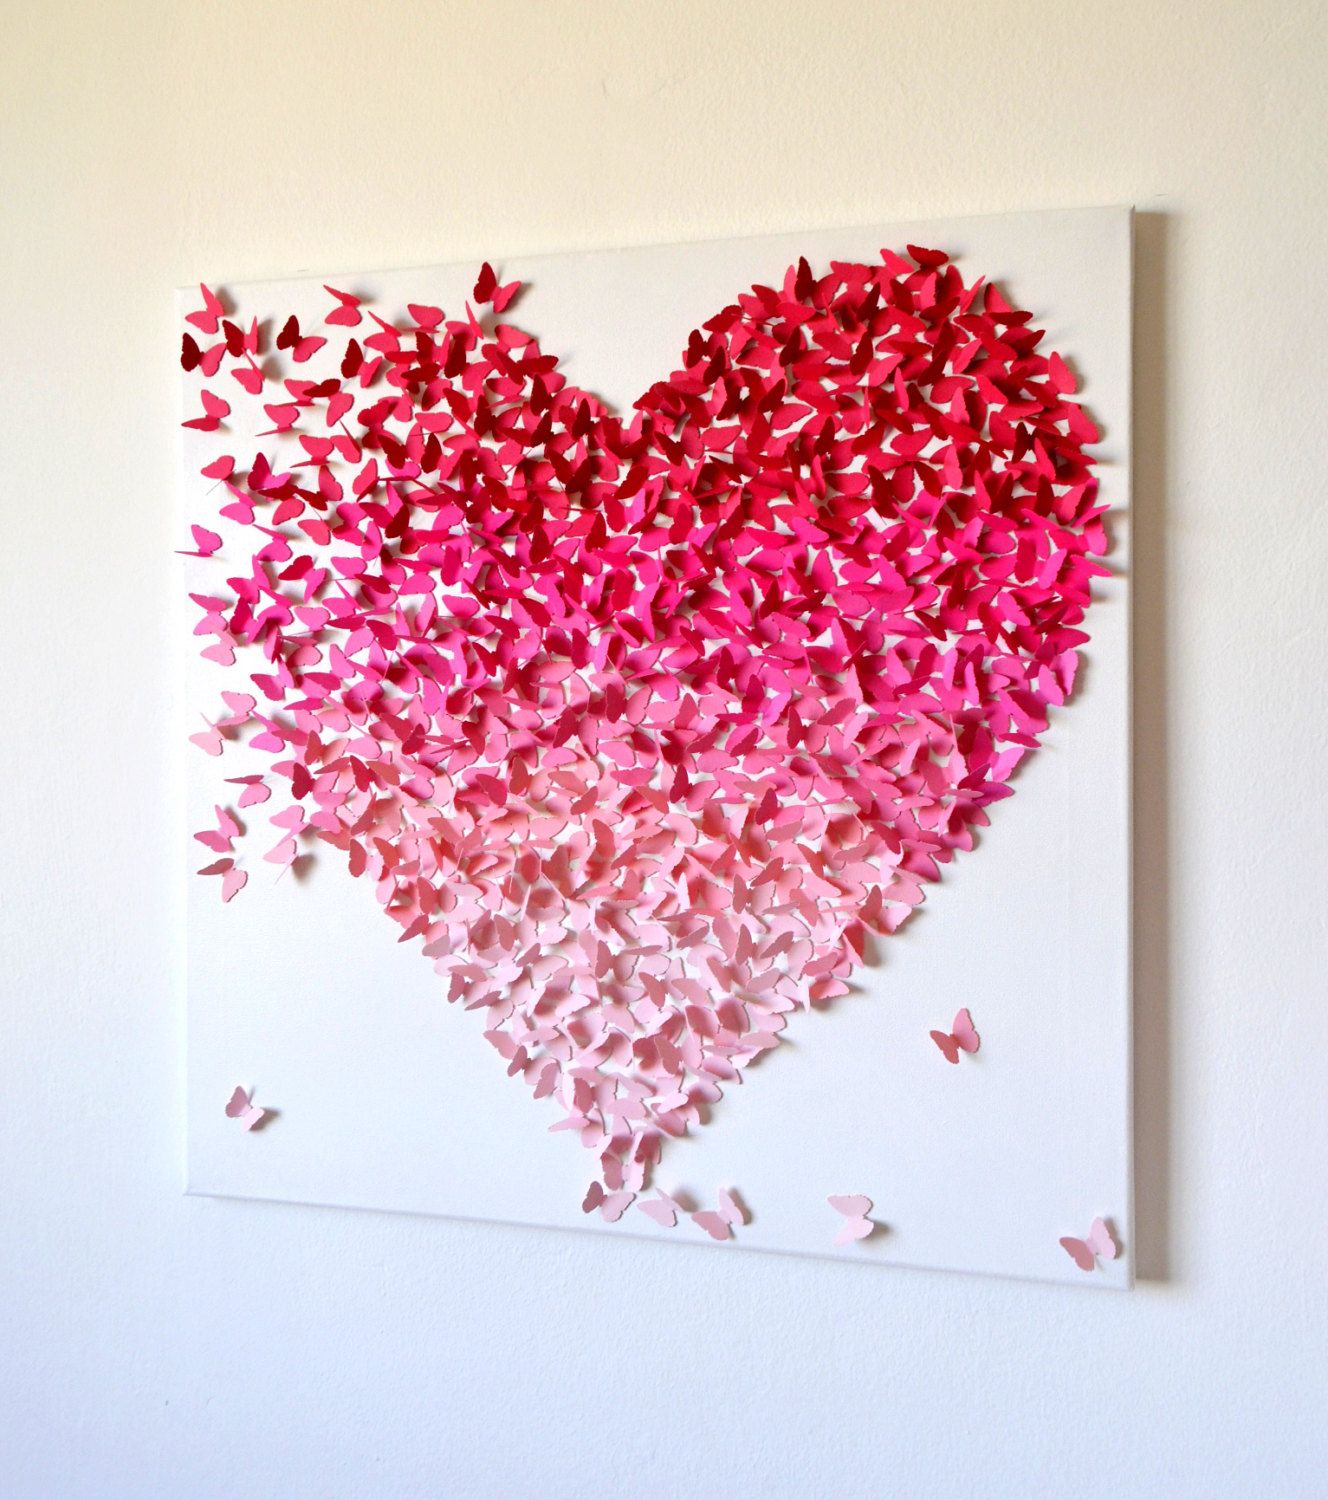
- butterflies.
They will give a romantic and interesting touch. Paper products produce a different effect in interior design, depending on the idea - it can be unusual, amazing or beautiful, impressive, stylish, modern or retro modern.
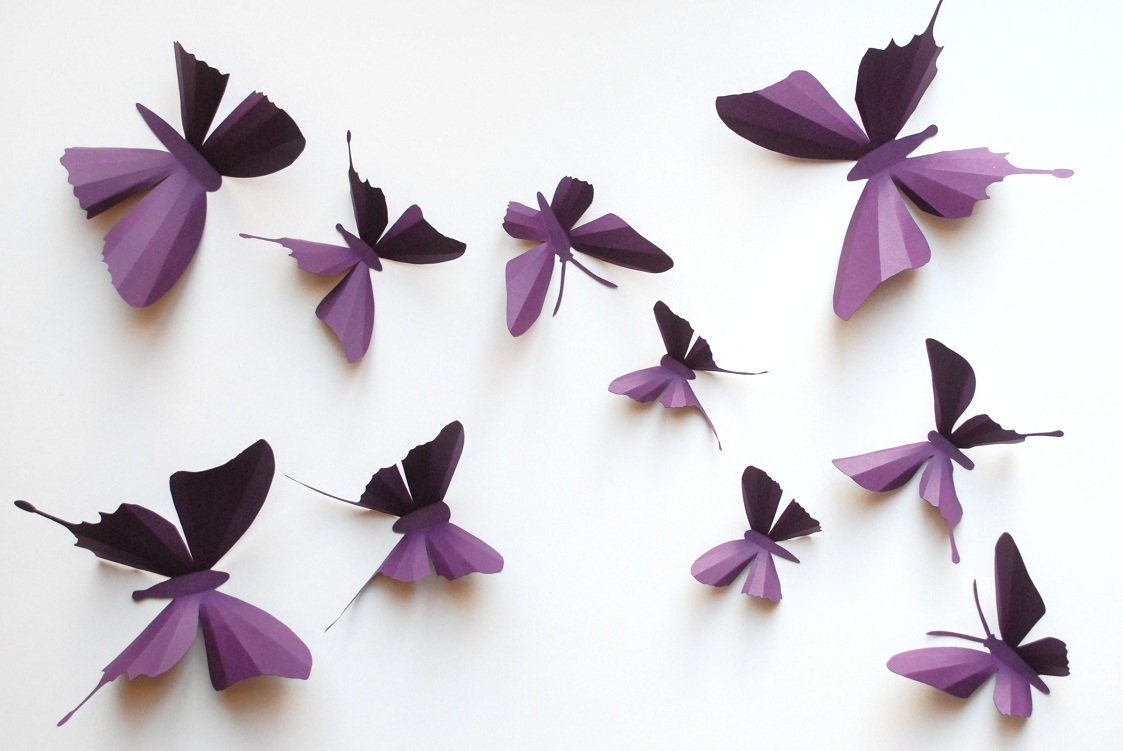
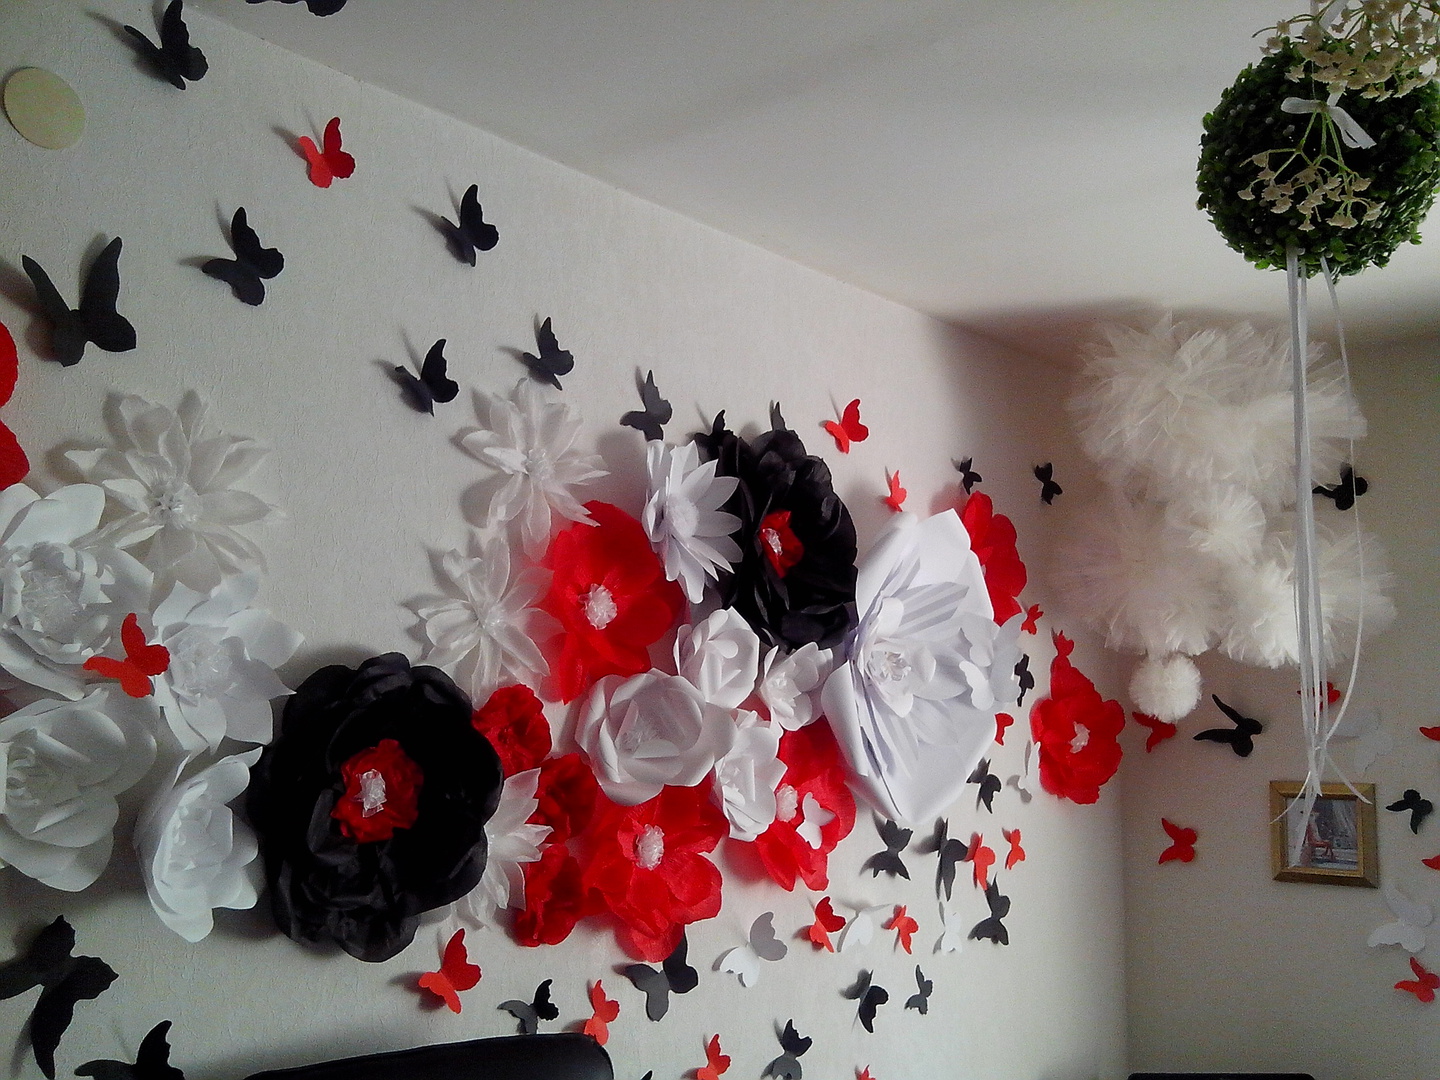
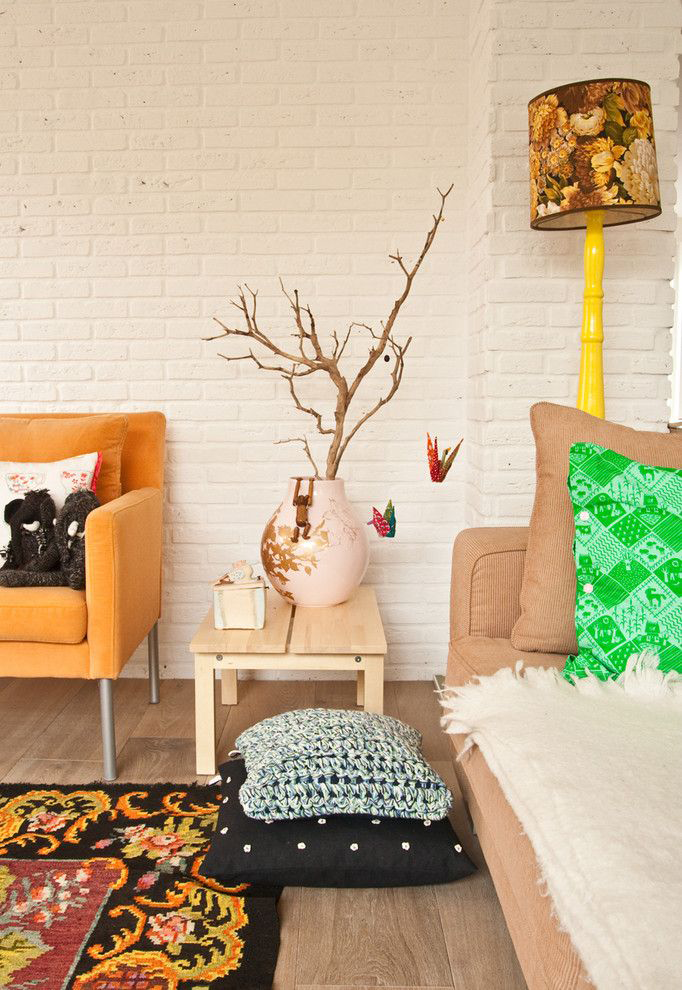
Paper 3D butterflies on the wall
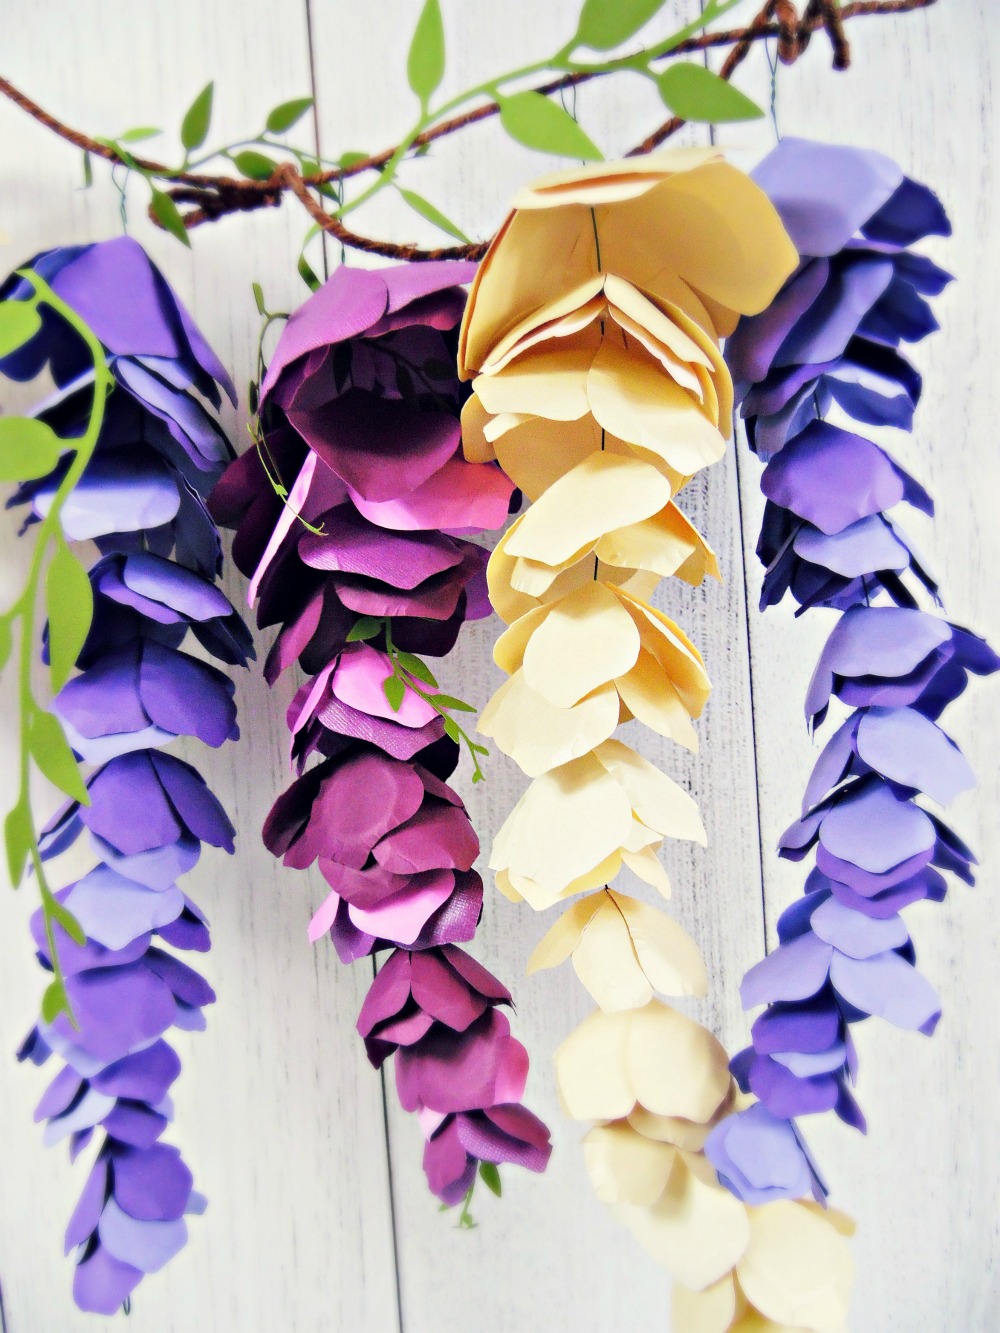
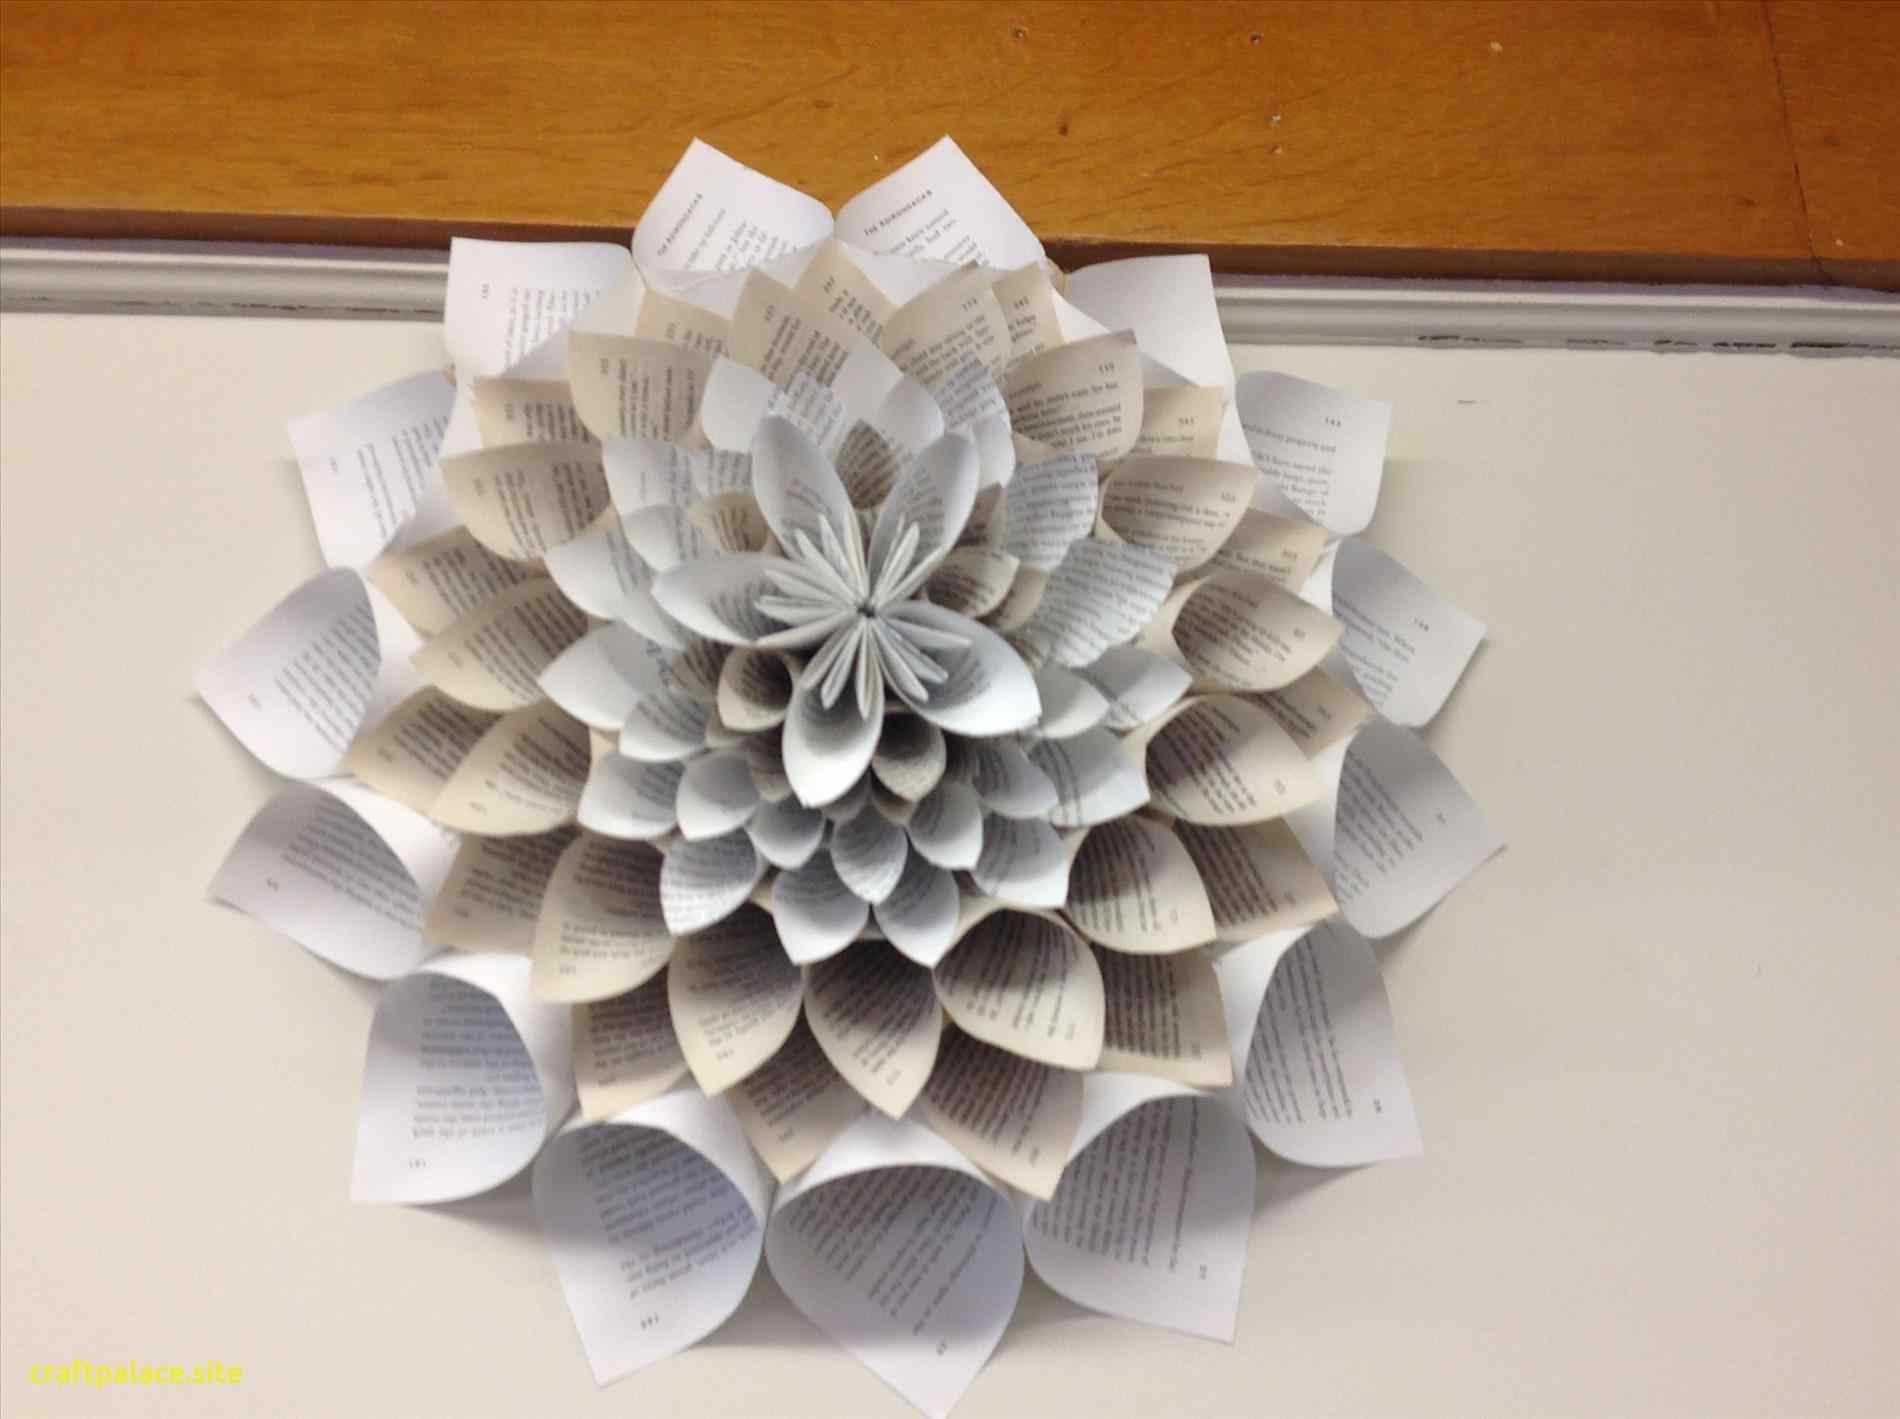
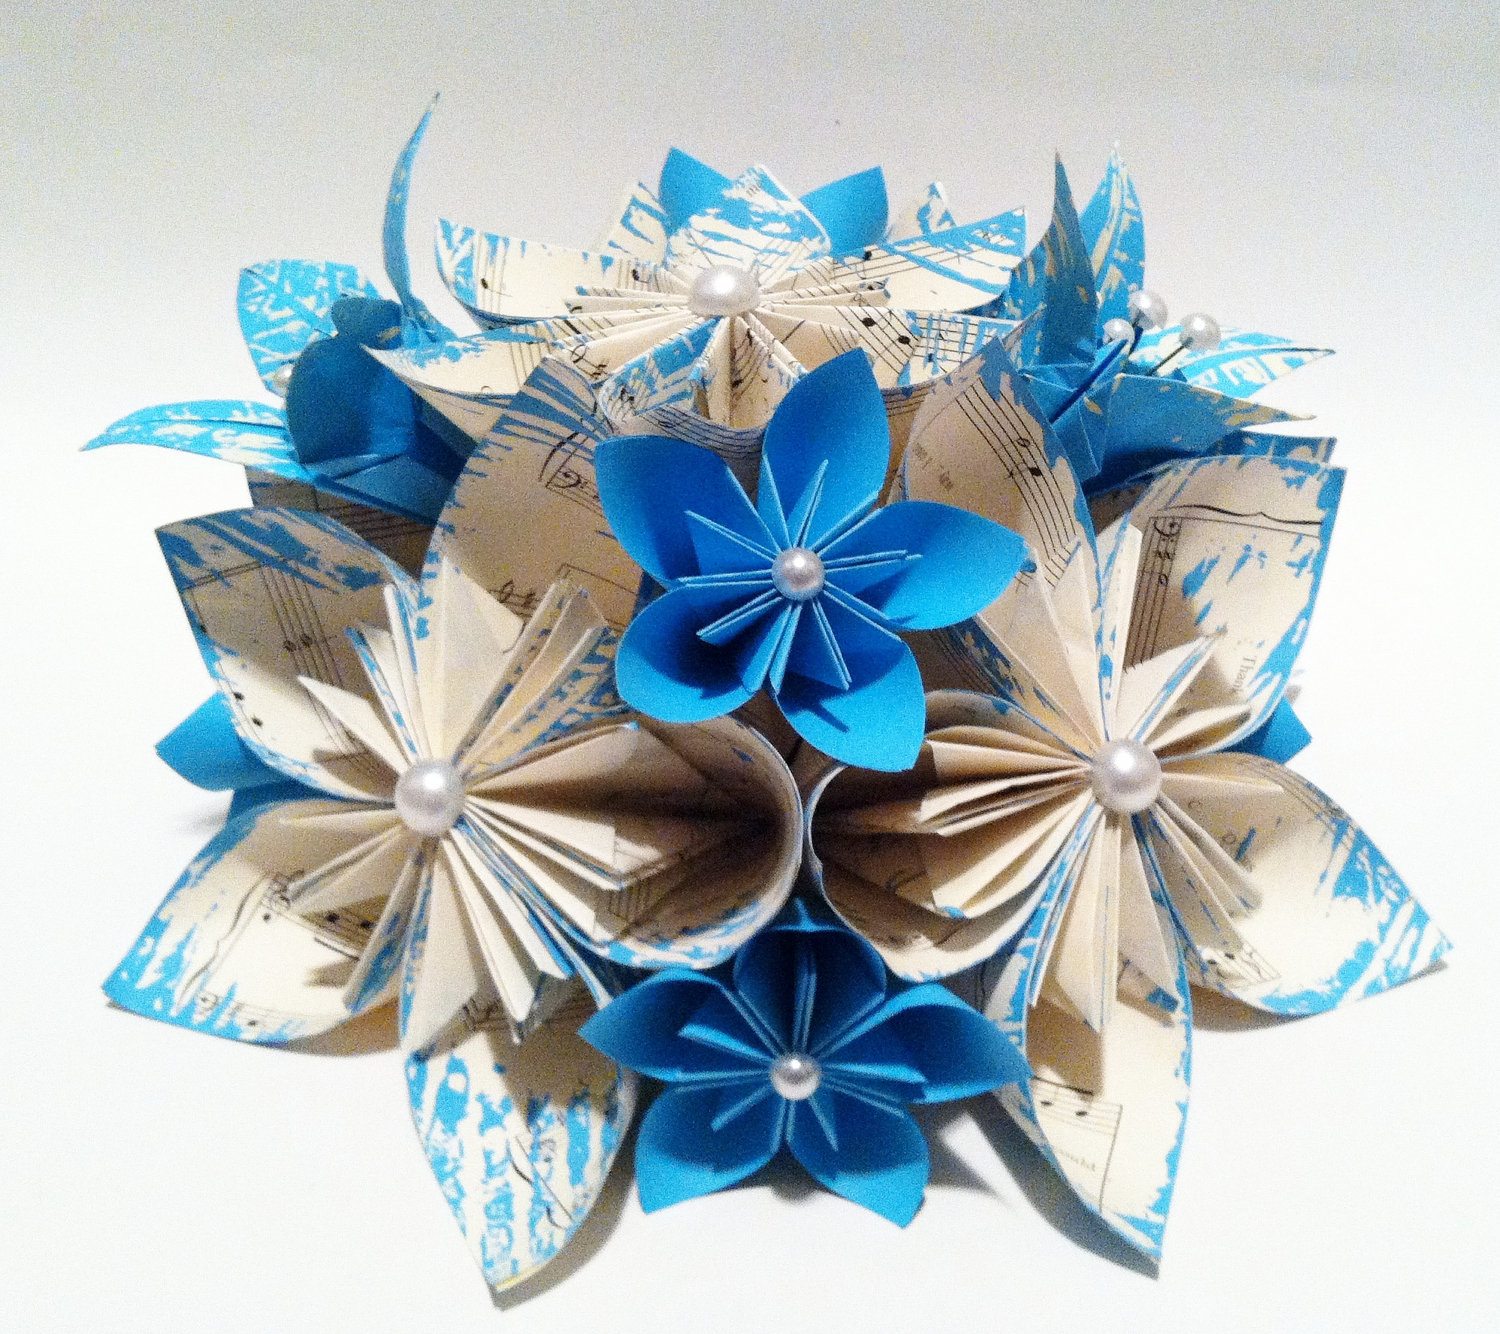
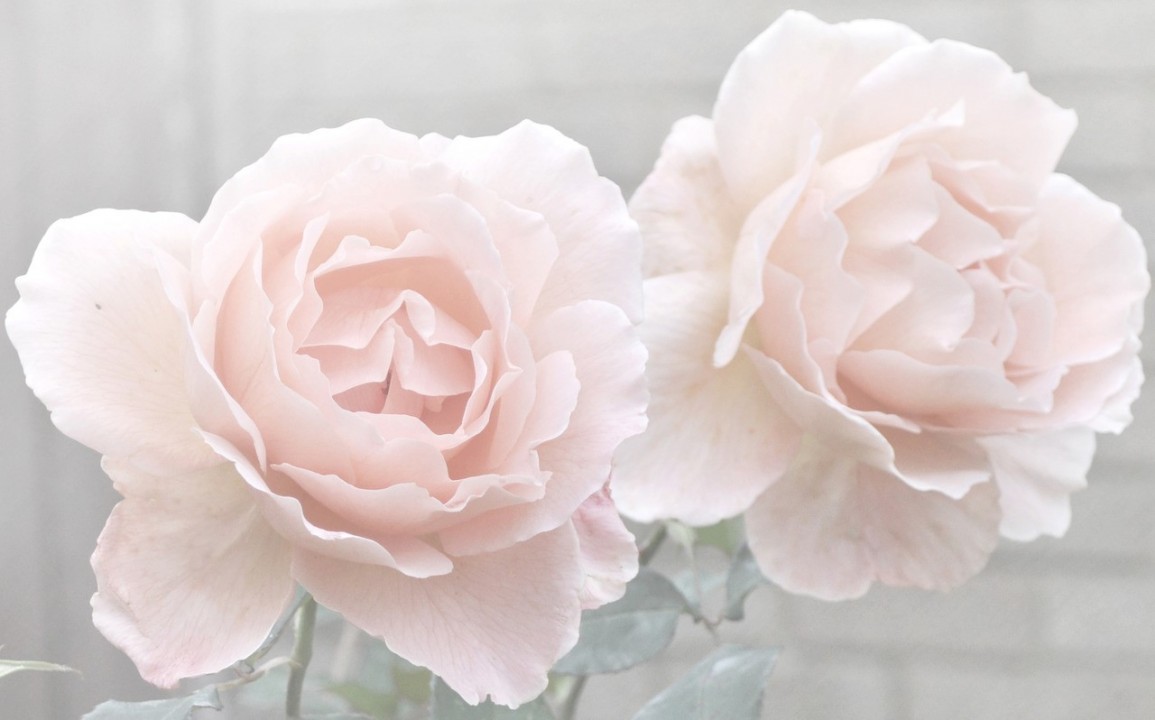
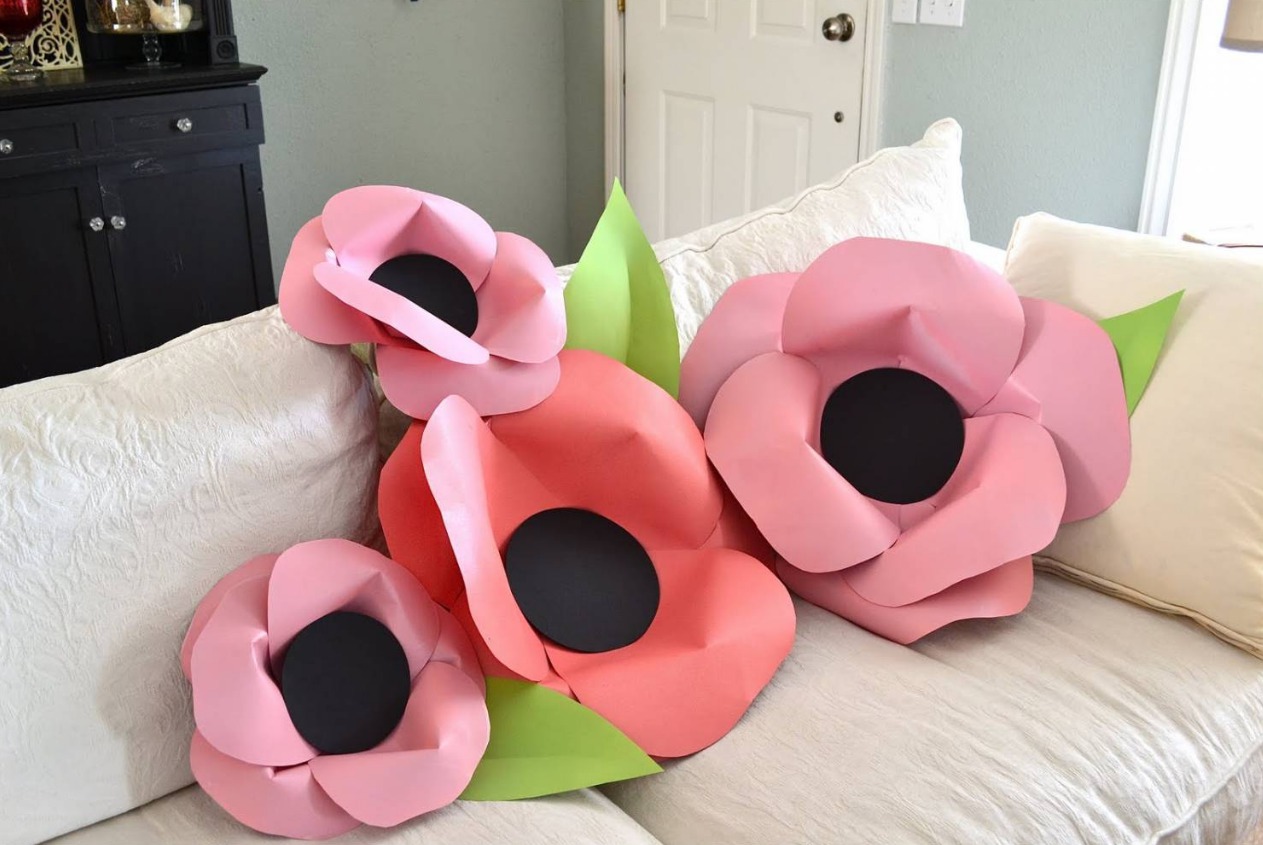
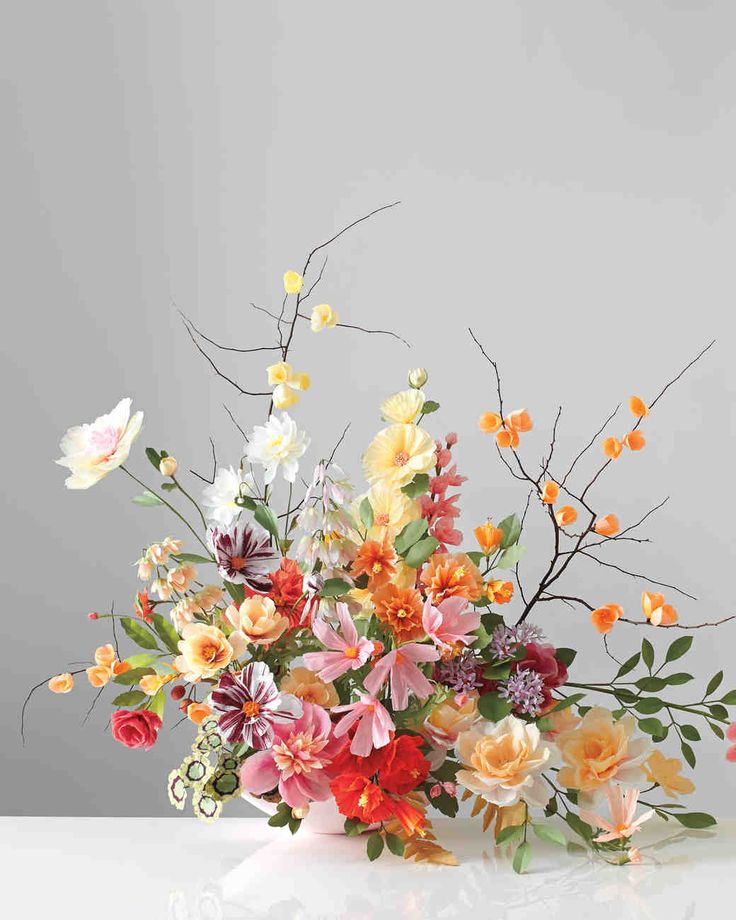
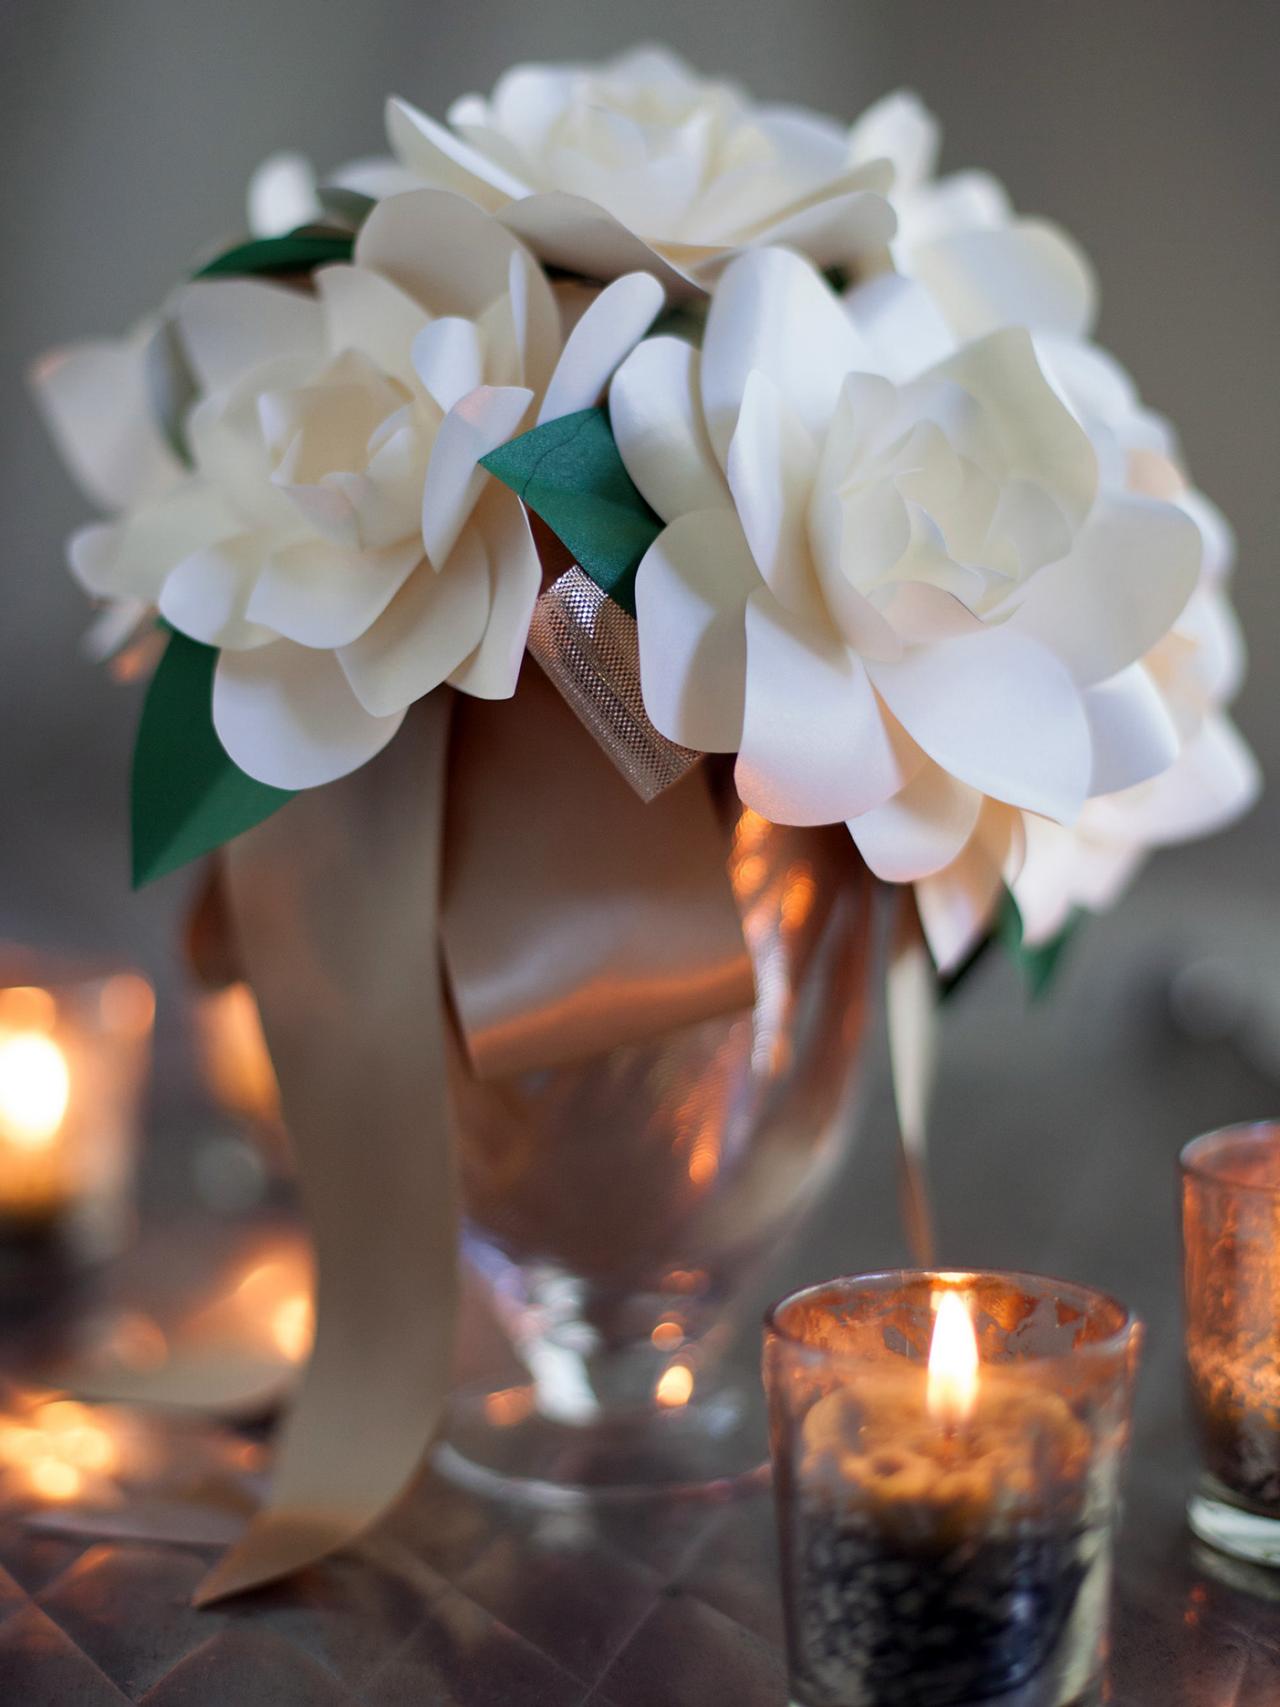
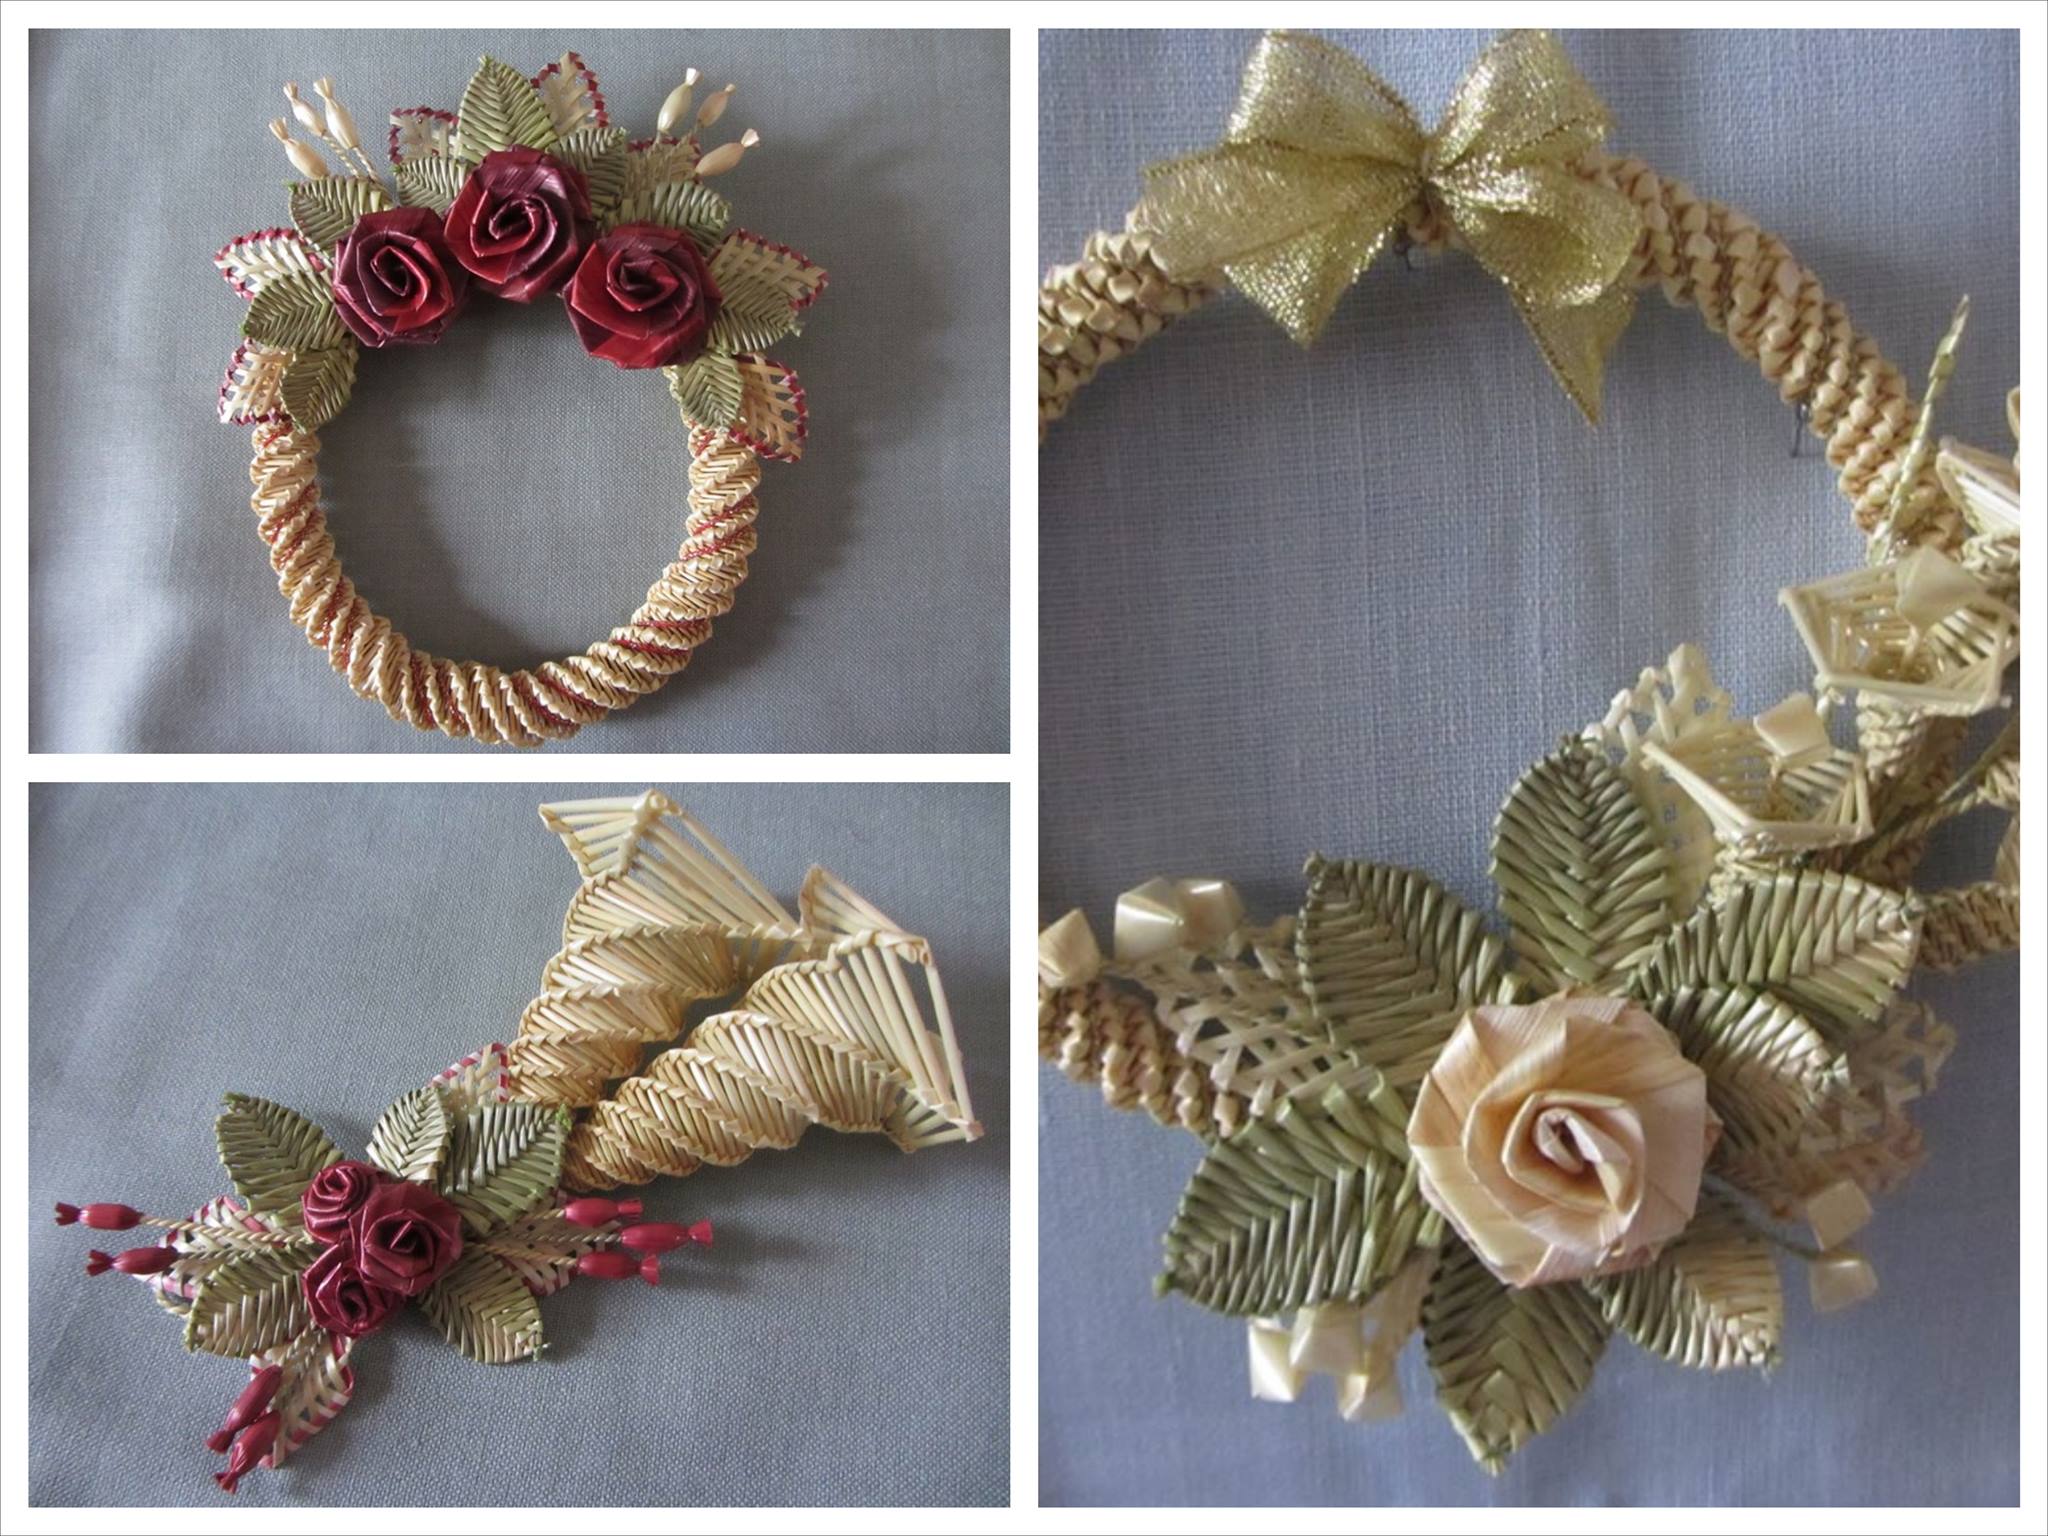
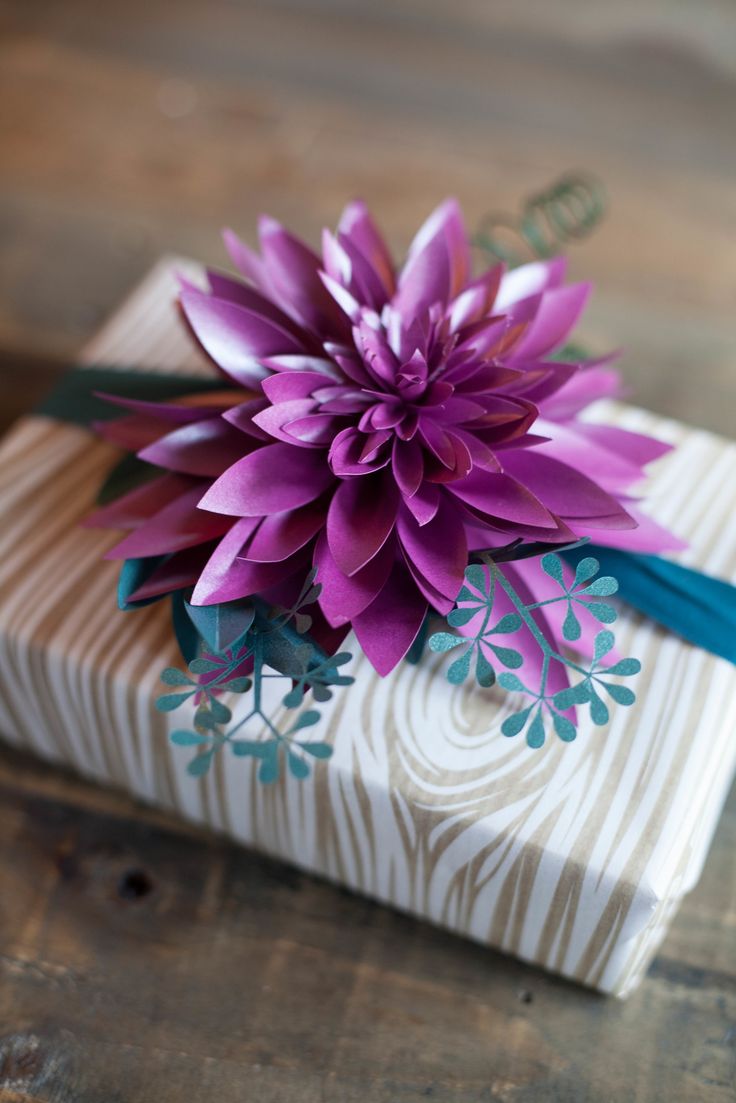
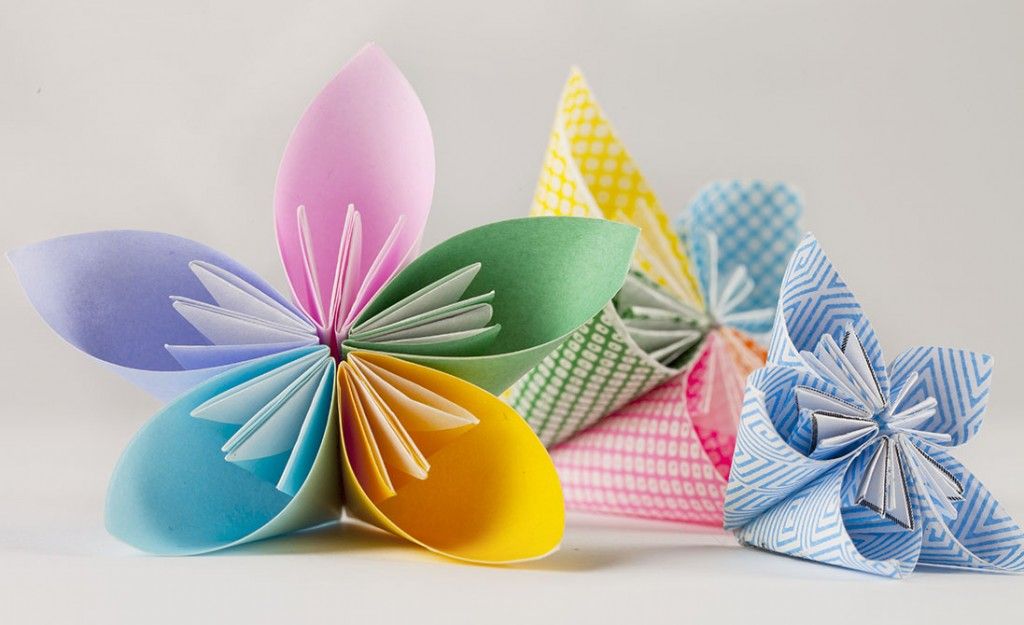
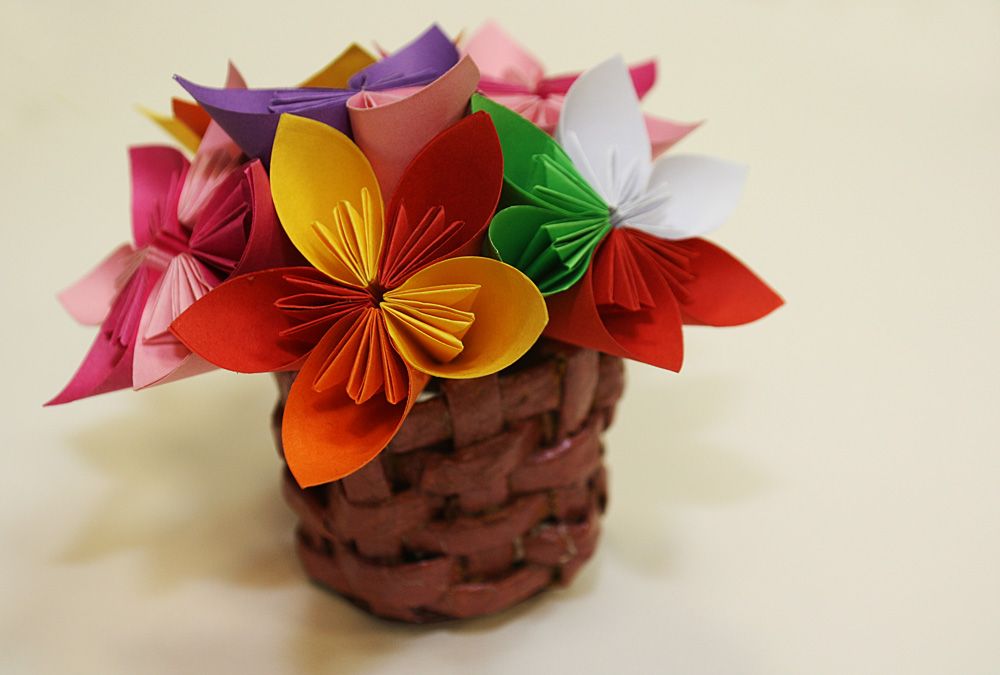
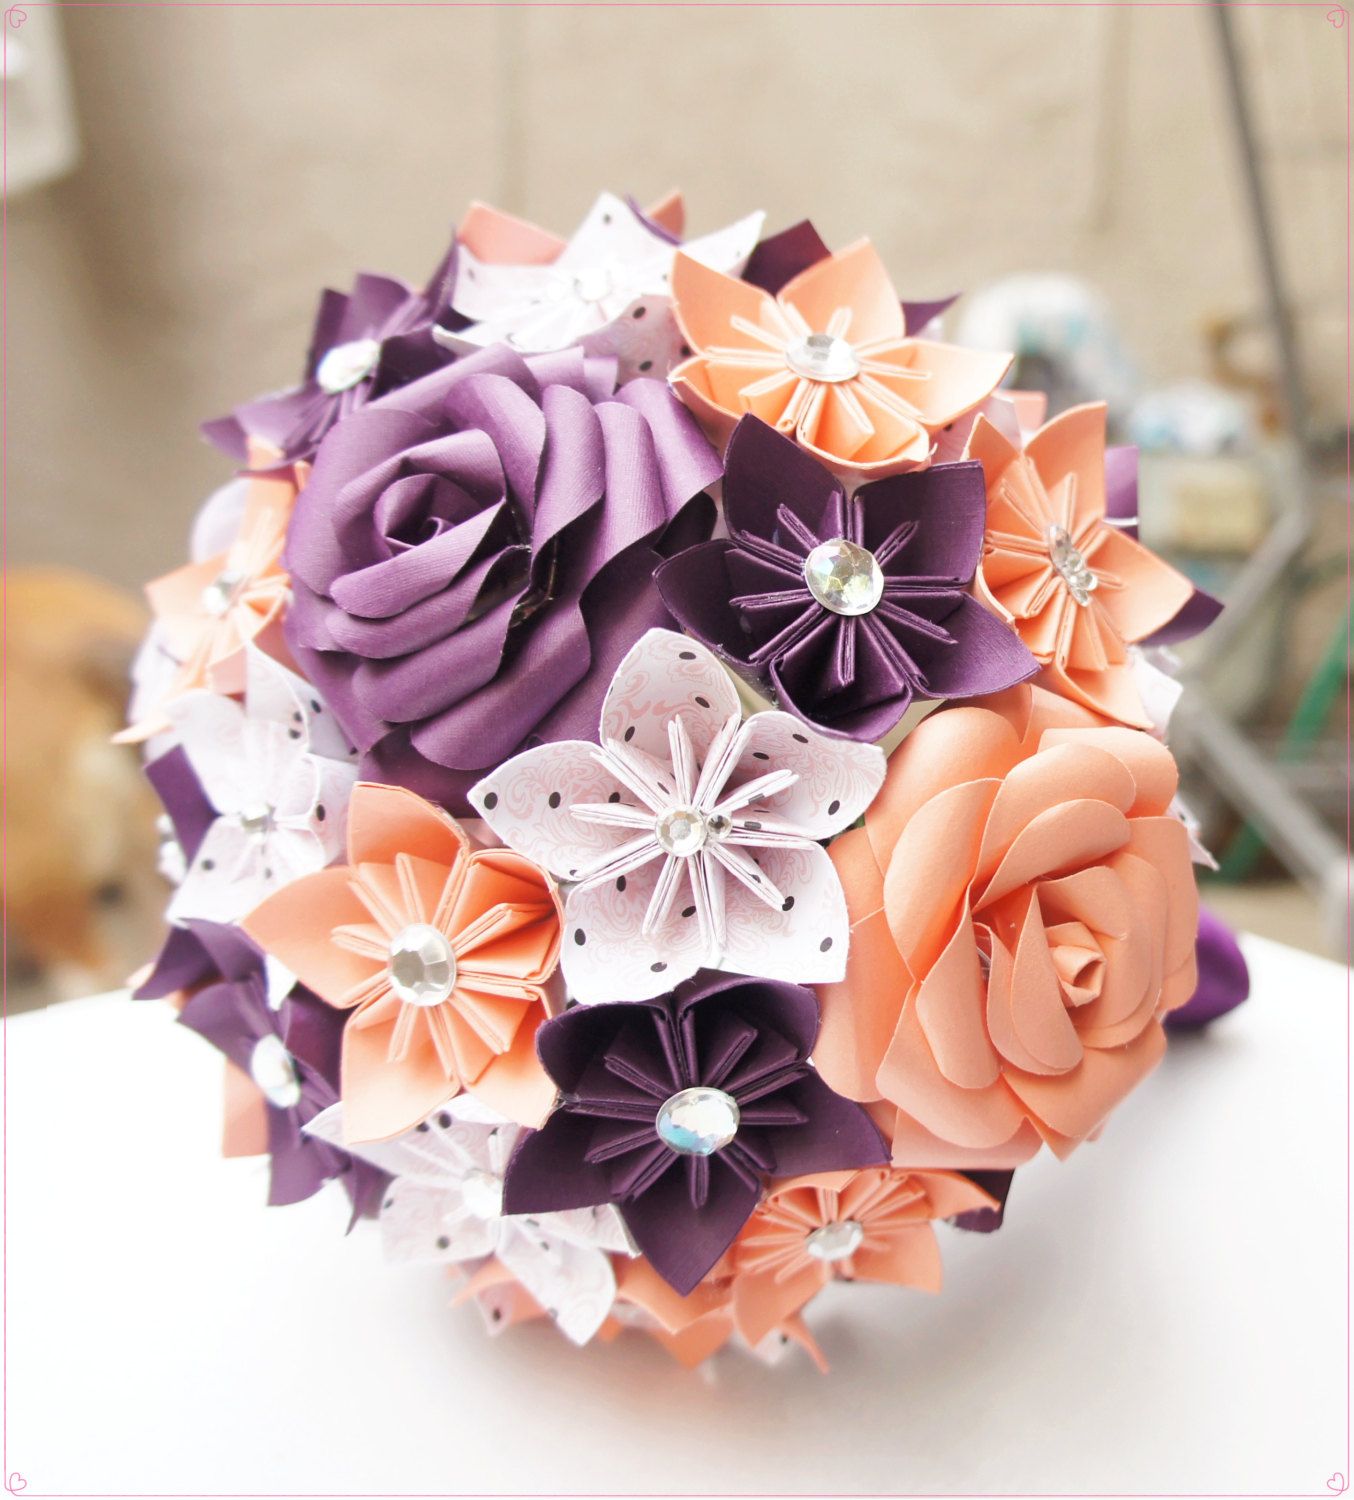
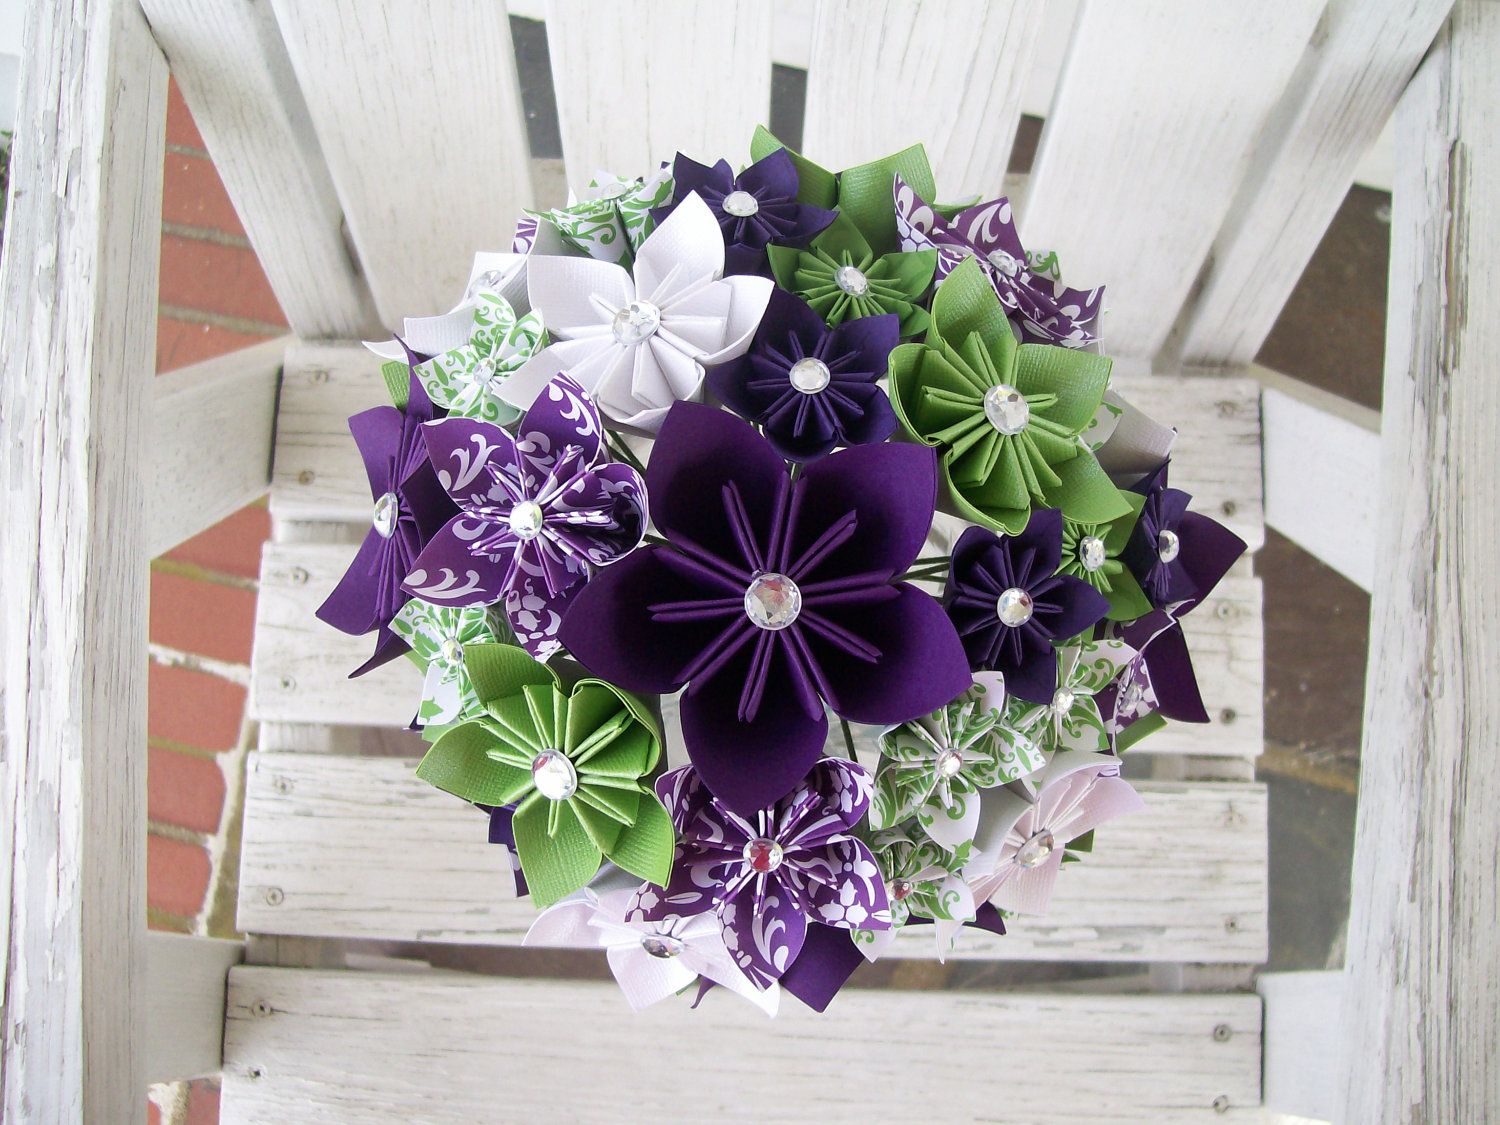
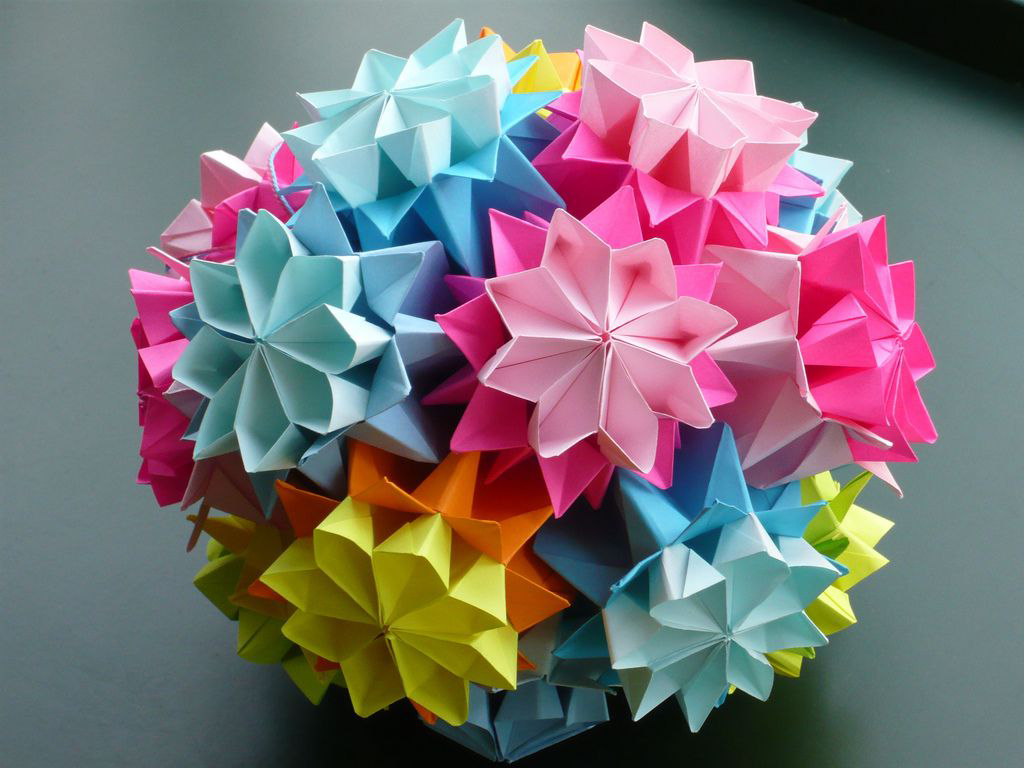
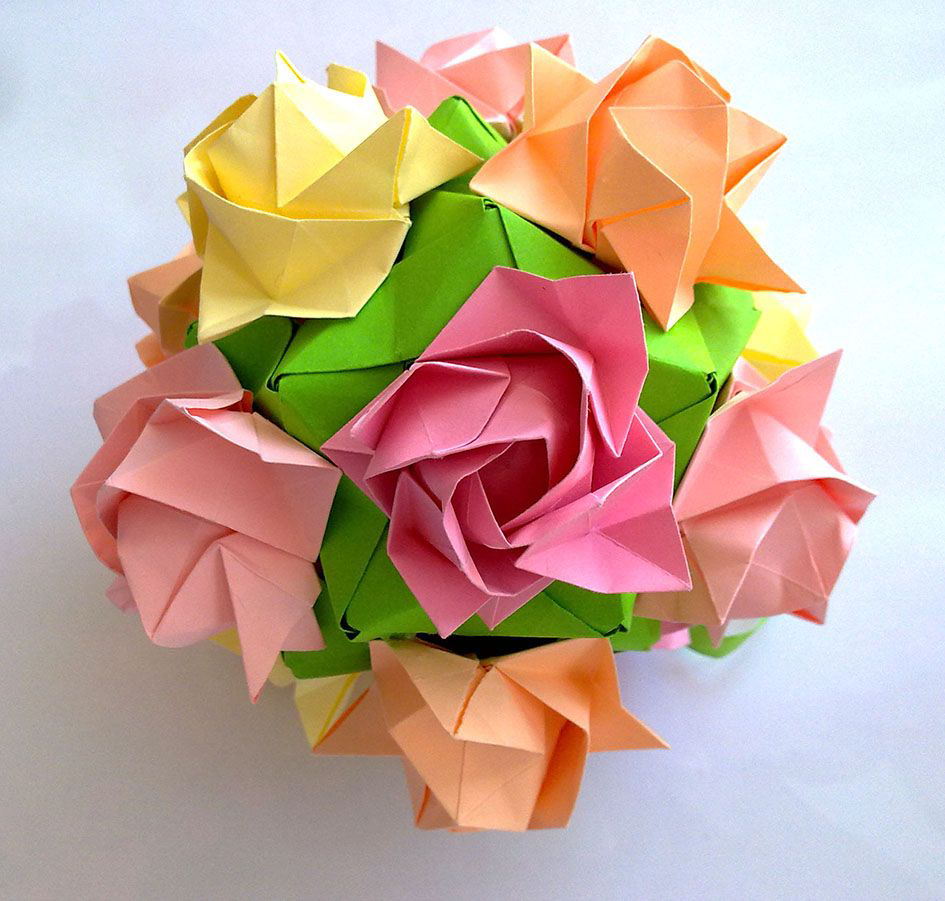
The design with paper flowers looks amazingly fabulous. They look like beautiful works of art that inspire to recycle paper, decorate the interior in an environmentally friendly style.
To do this, you can dilute this natural material with traditional brick, wood, producing paper structures on the walls and ceiling.
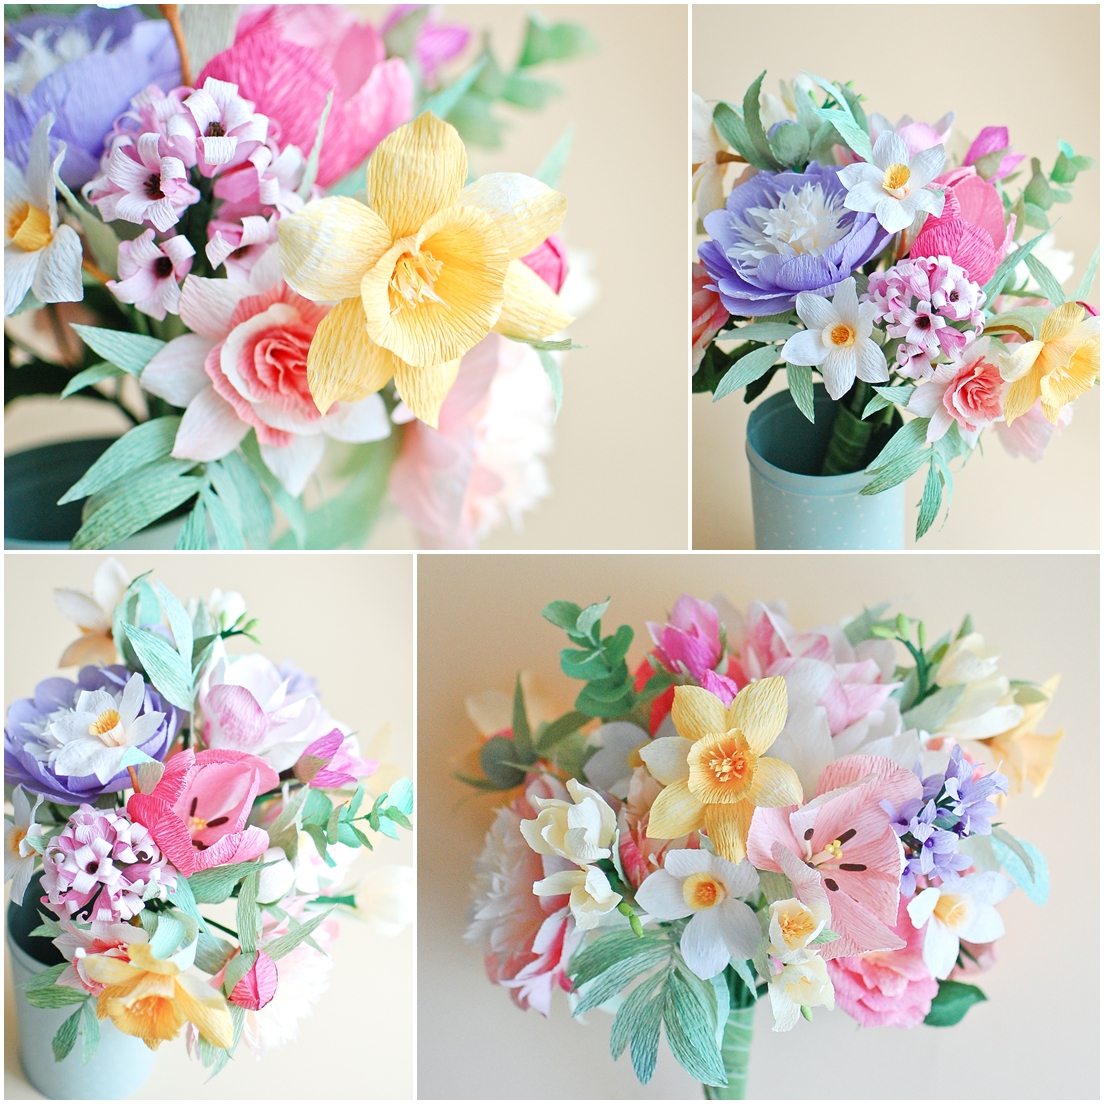
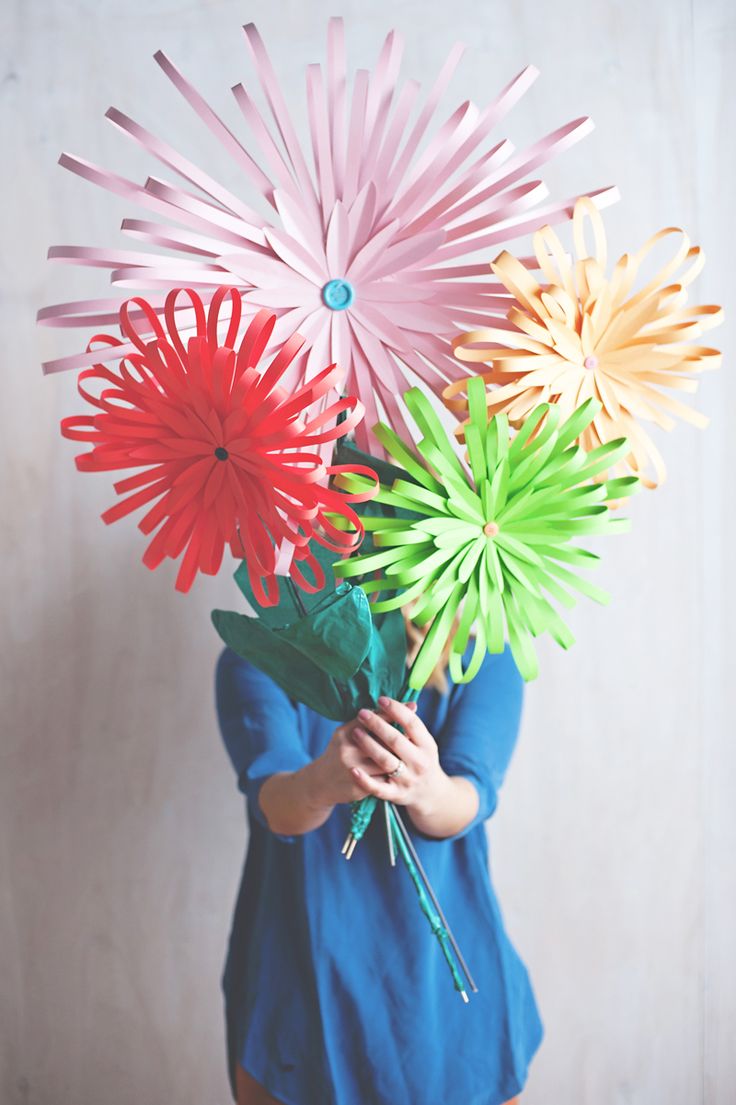
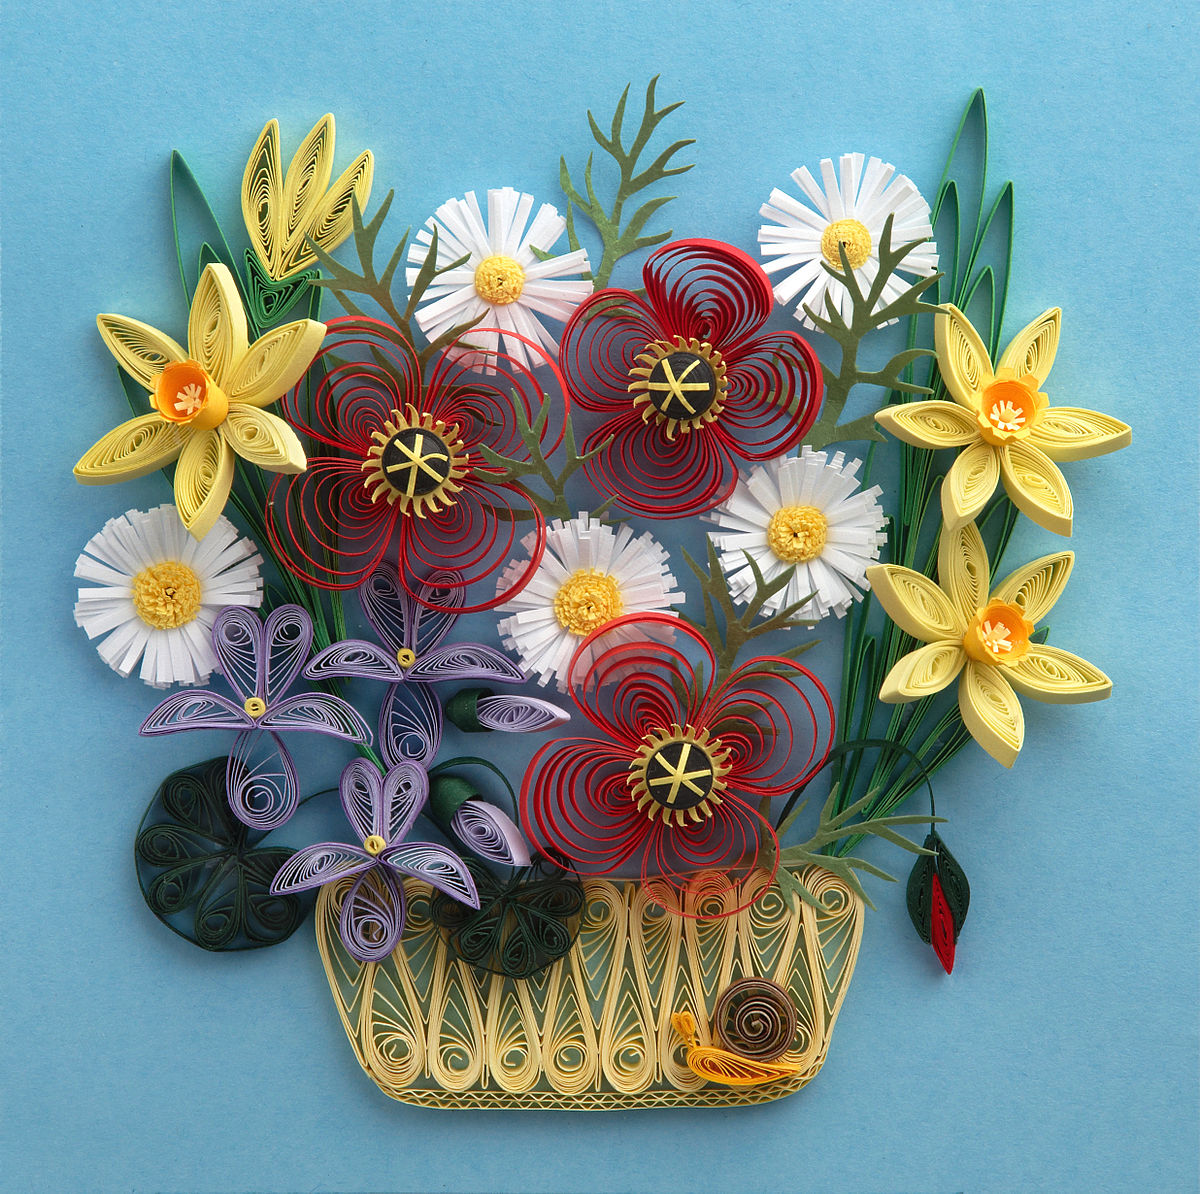
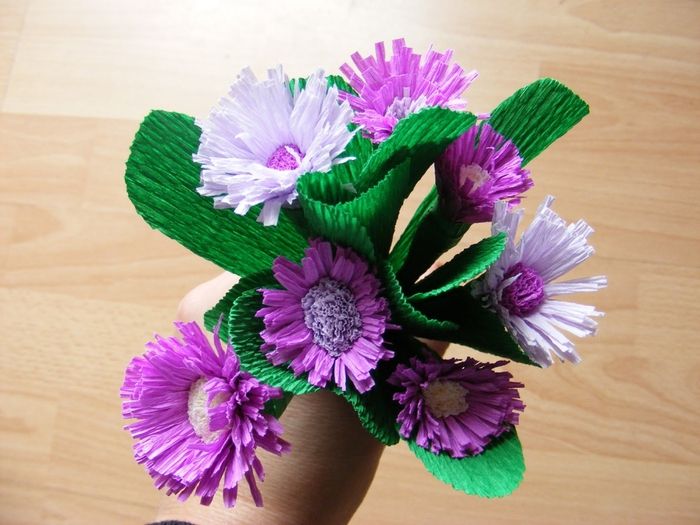
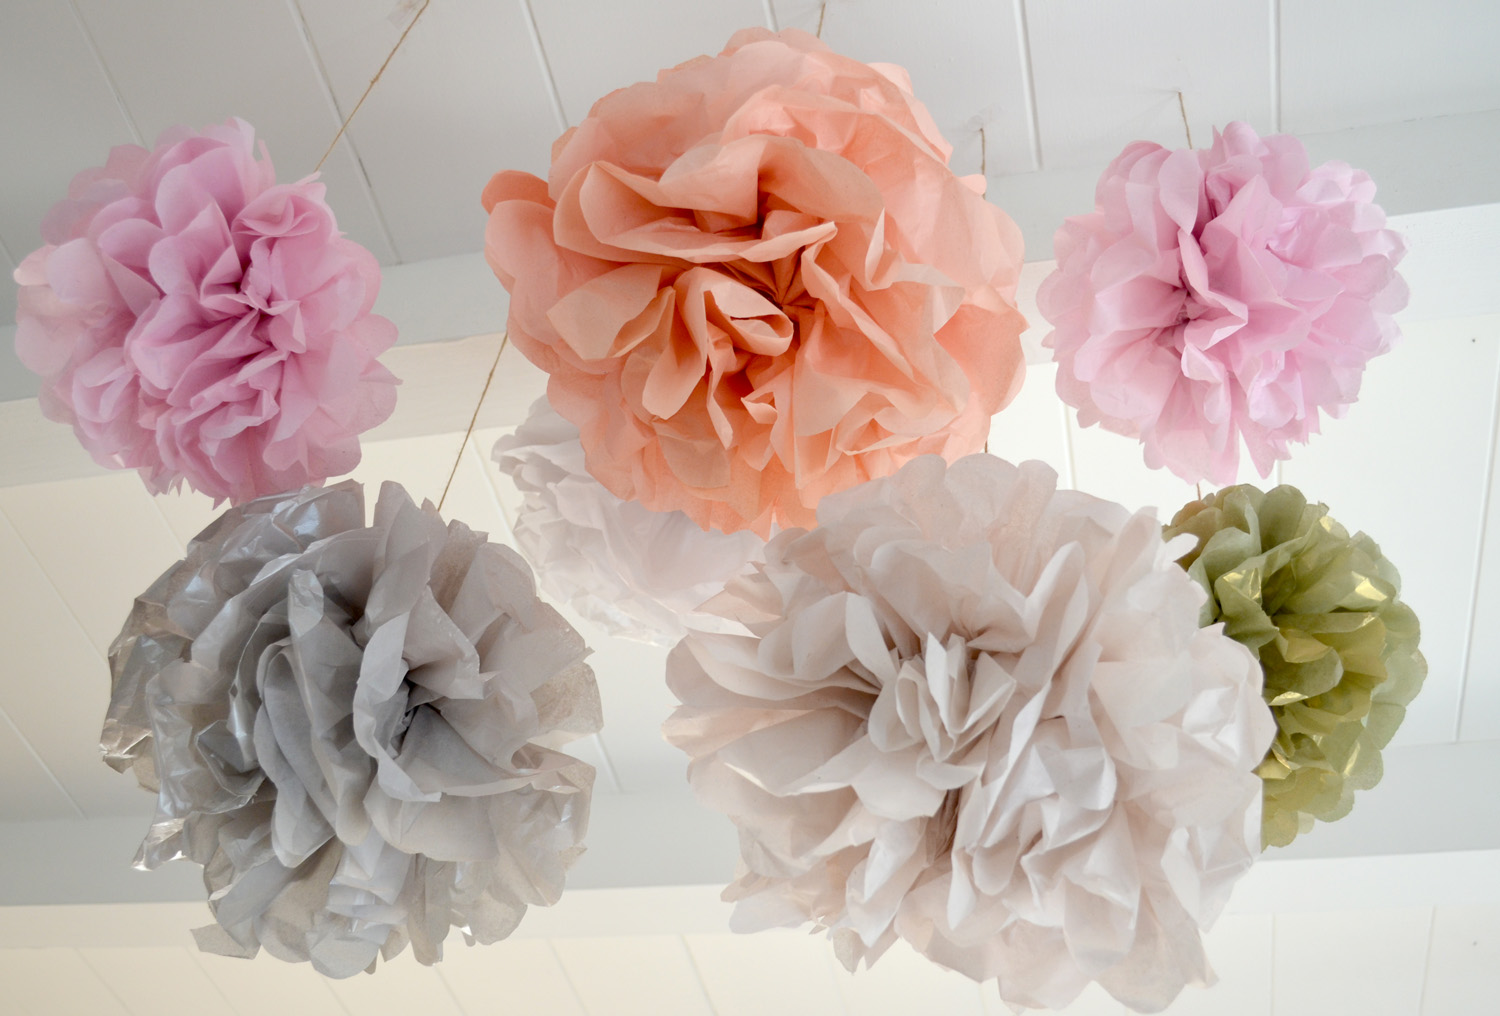
Bouquets for home decor, do not fade and no allergies
Change your wall and ceiling designs every year to make your decor always look fresh, using paper for modern interior design, wall decor and unique ceiling designs. There are many ideas, places and items where this trend can be used.
Therefore, if you are an enthusiast in manual labor, then why don't you try your hand on design paper? For interior designers, artists, this universal means of art has become commonplace and they offer their work for you to create.
But more importantly, do not forget that you are doing more than just decorating - you are helping to reduce recycling and save the environment from clogging.
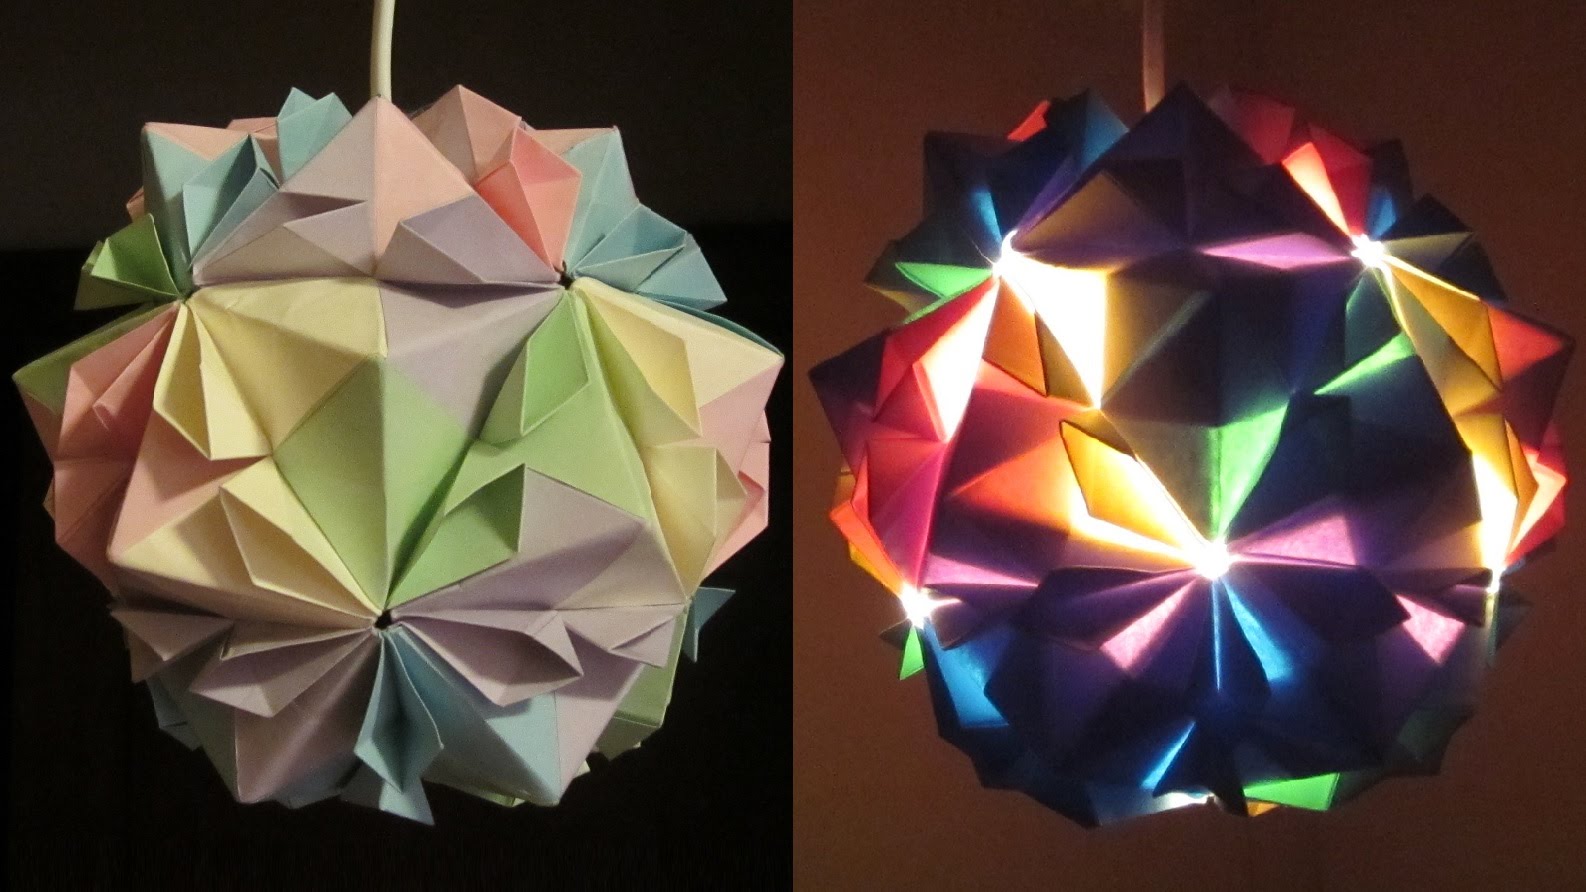
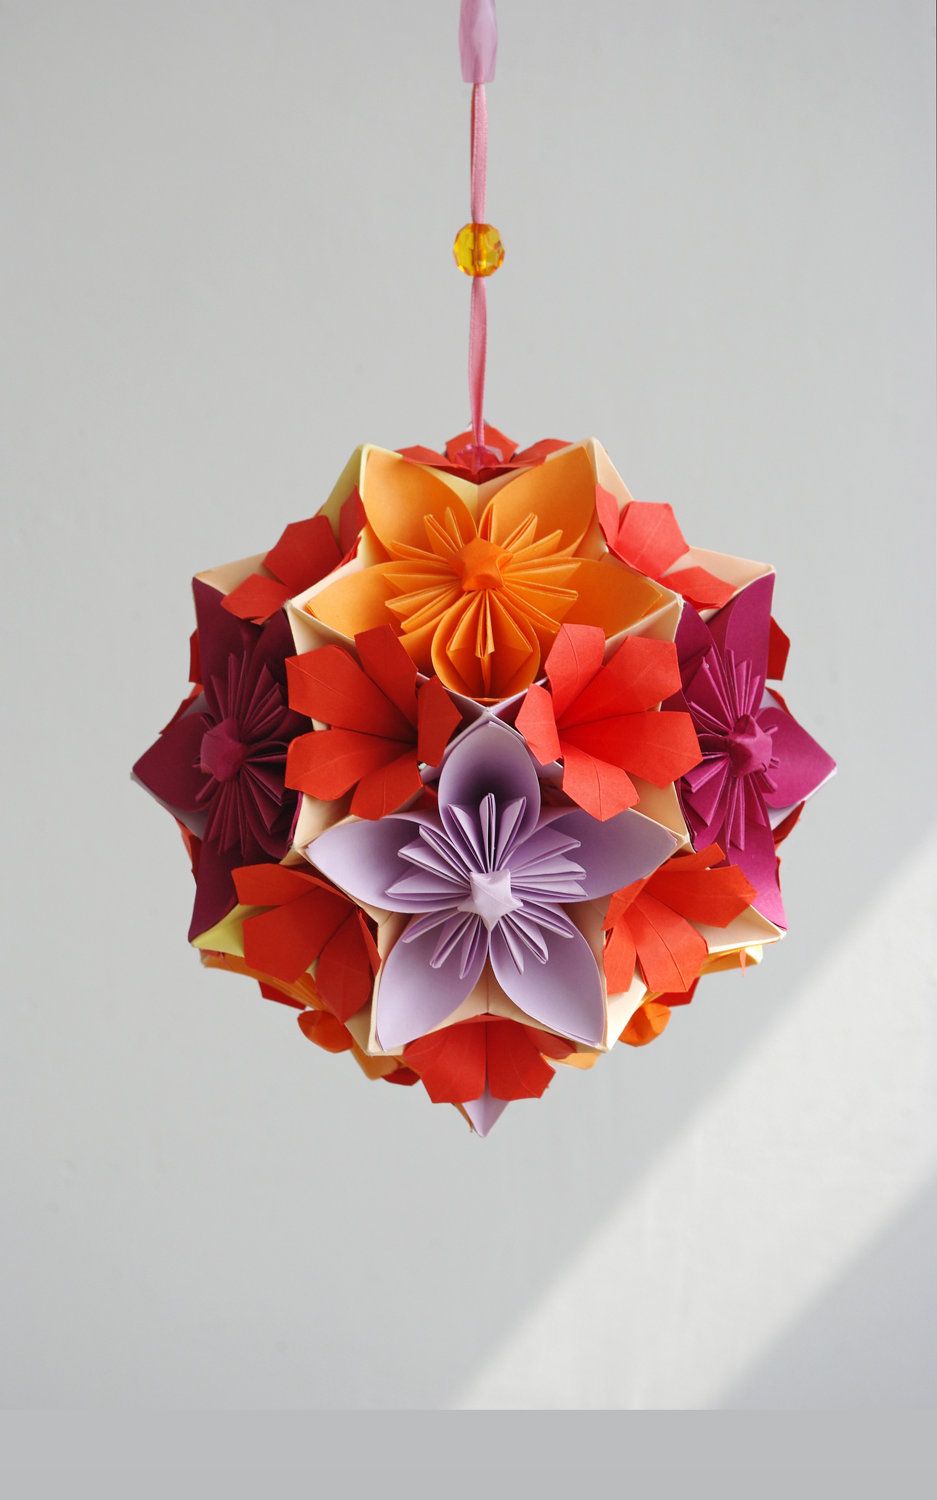
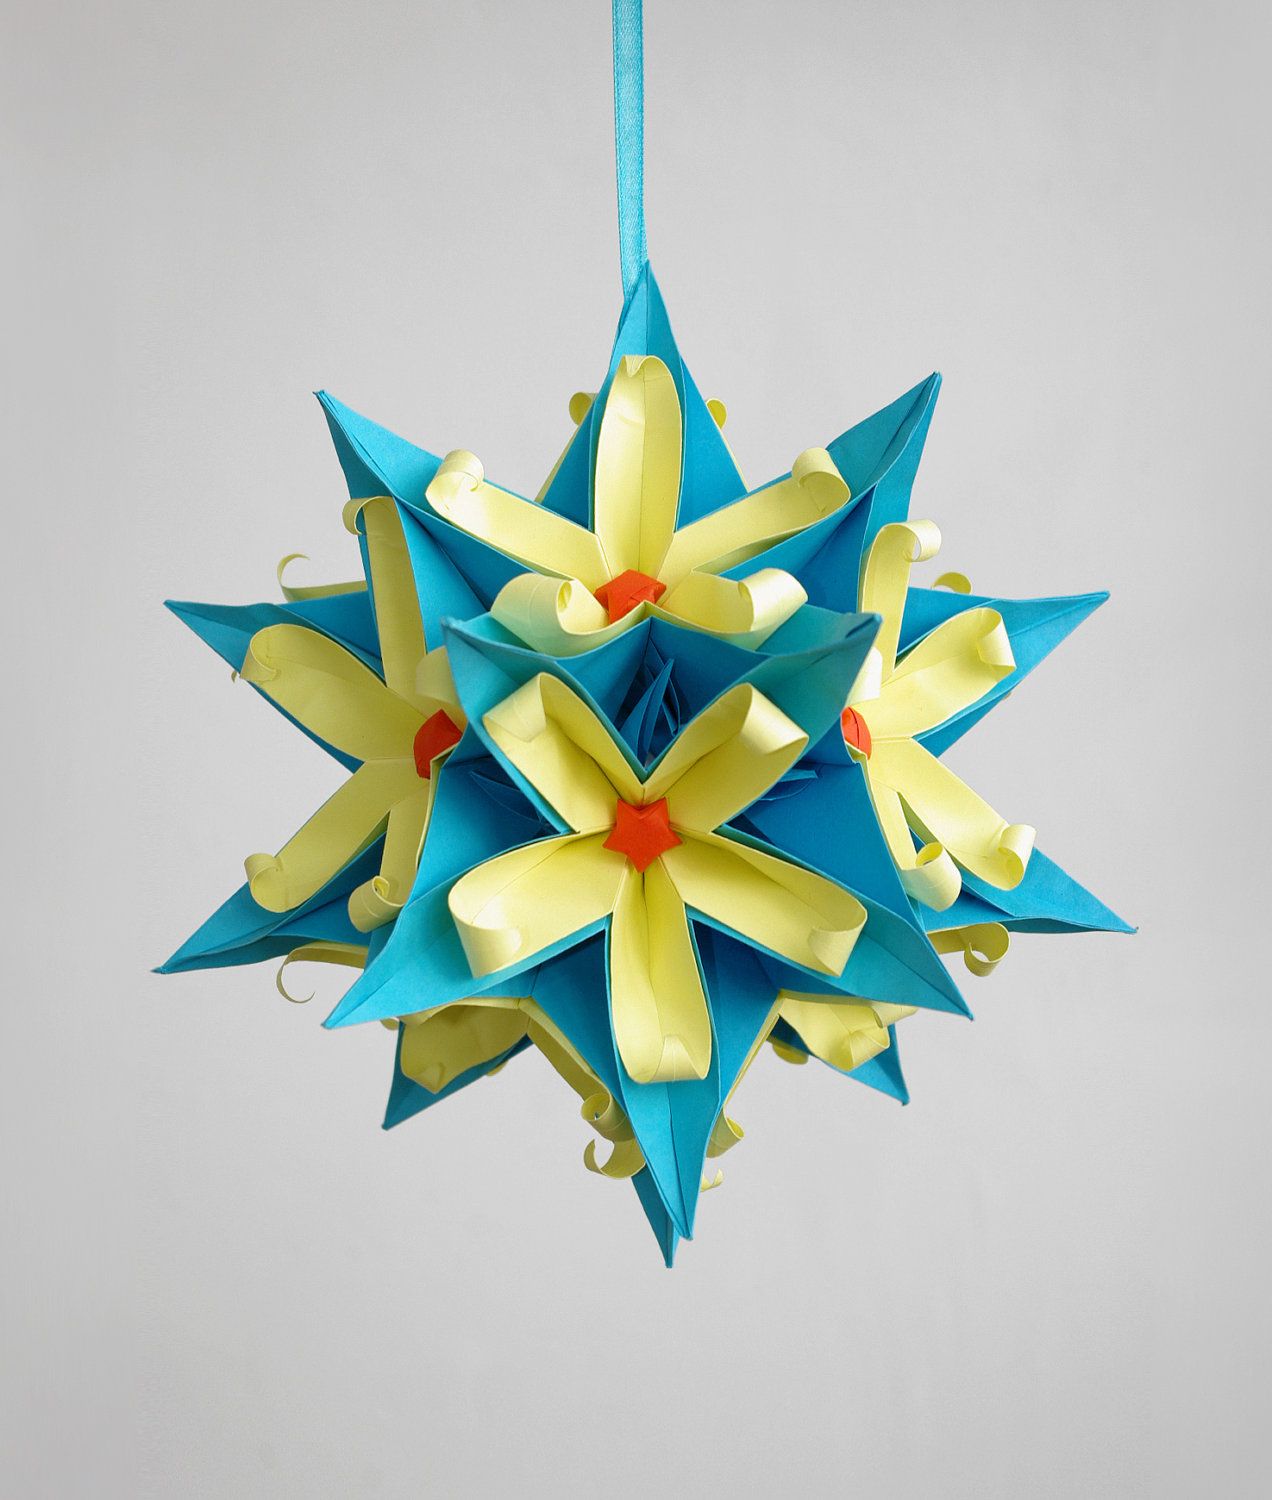
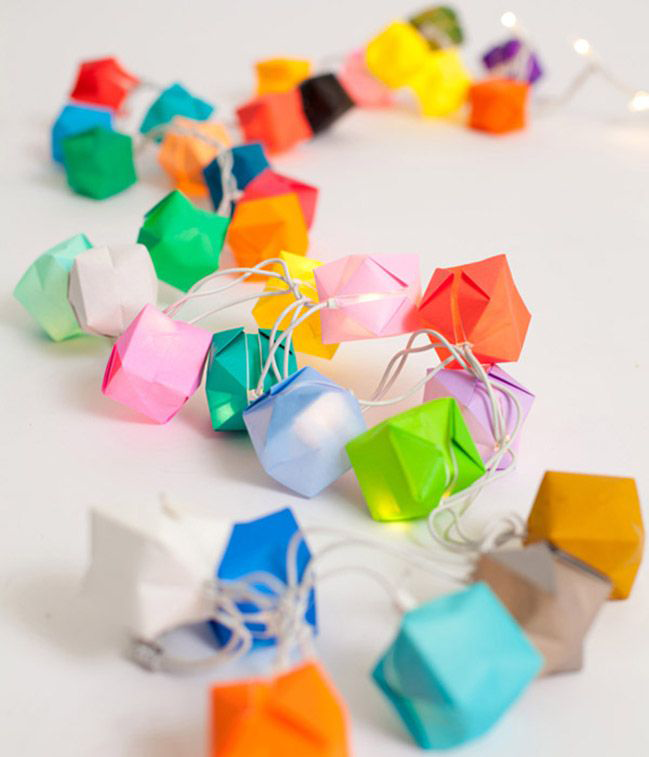
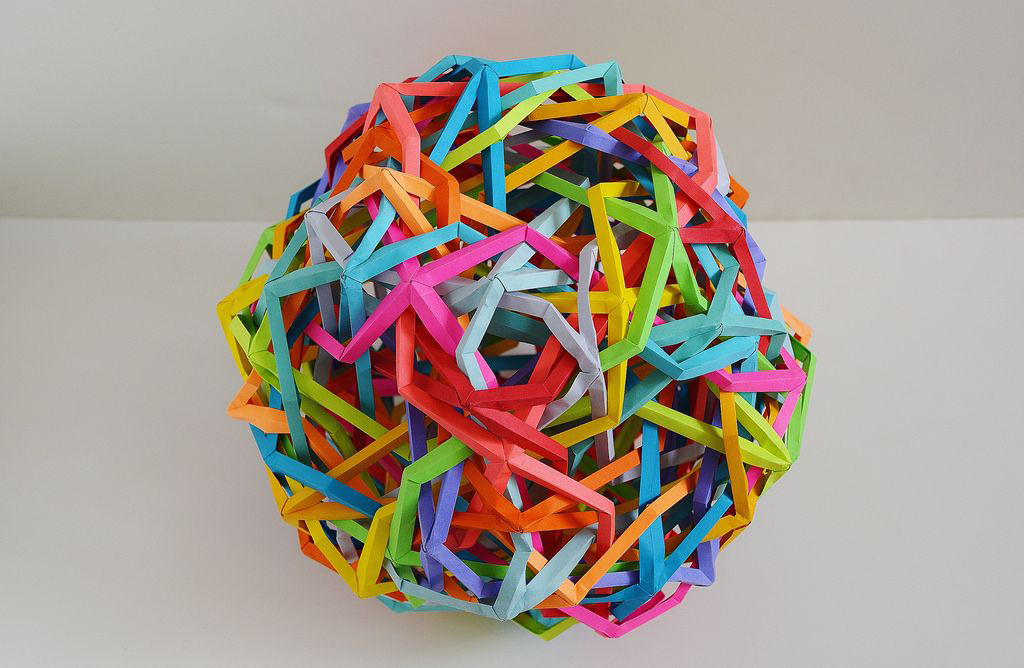
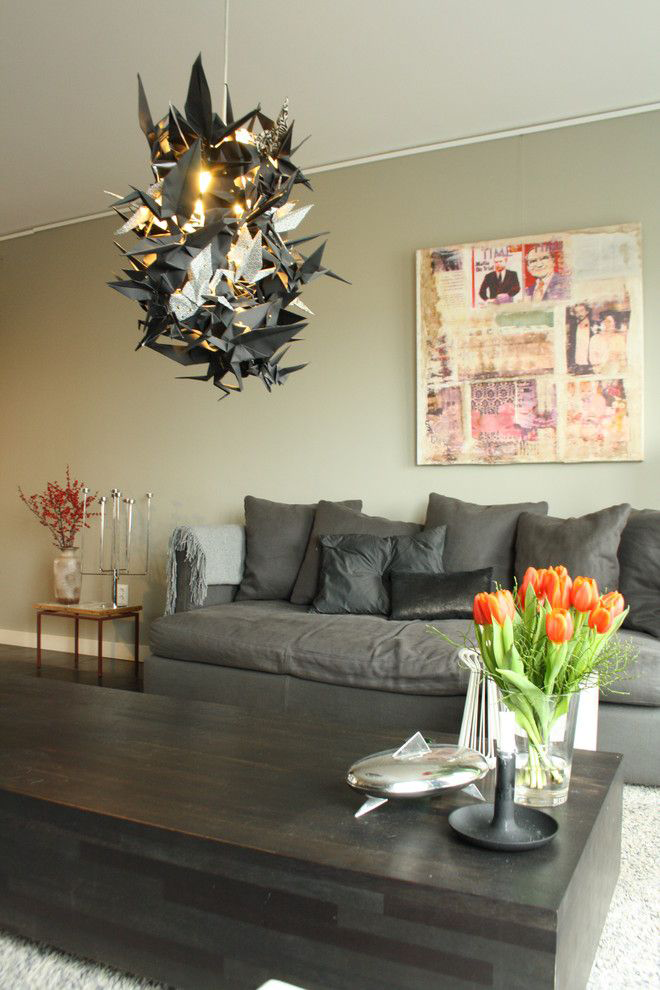
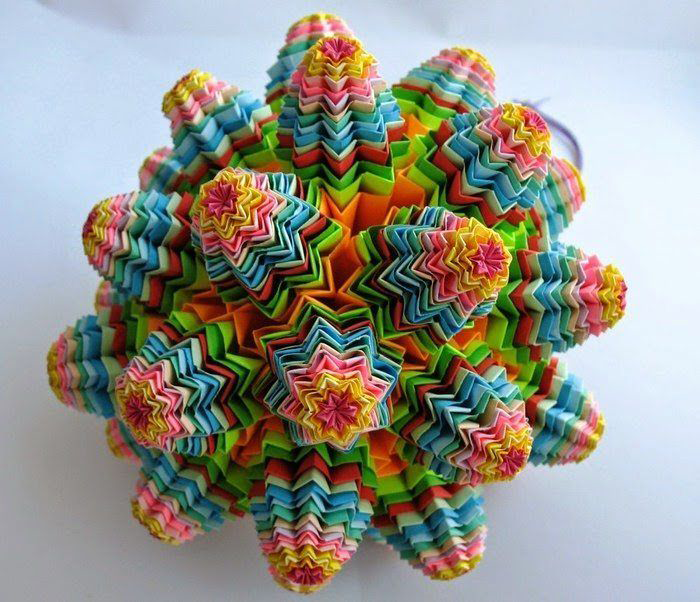
Original ball lamp
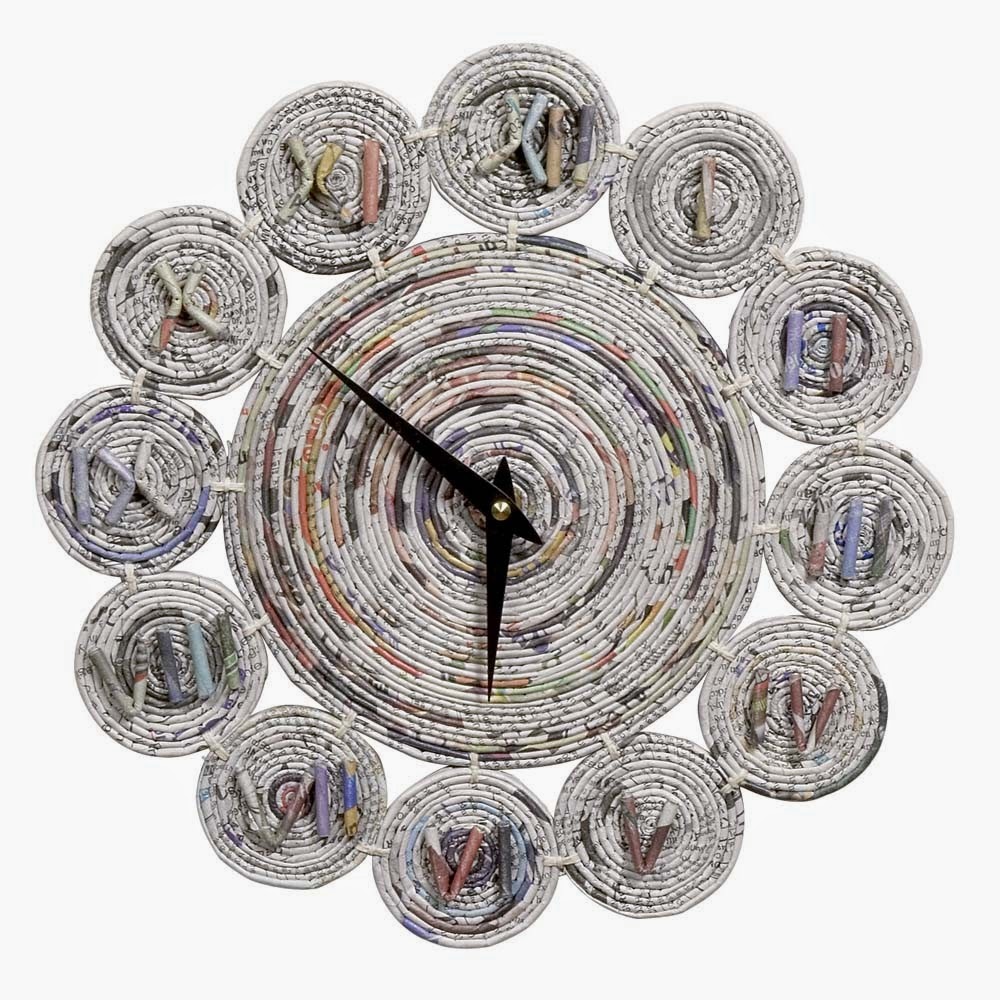
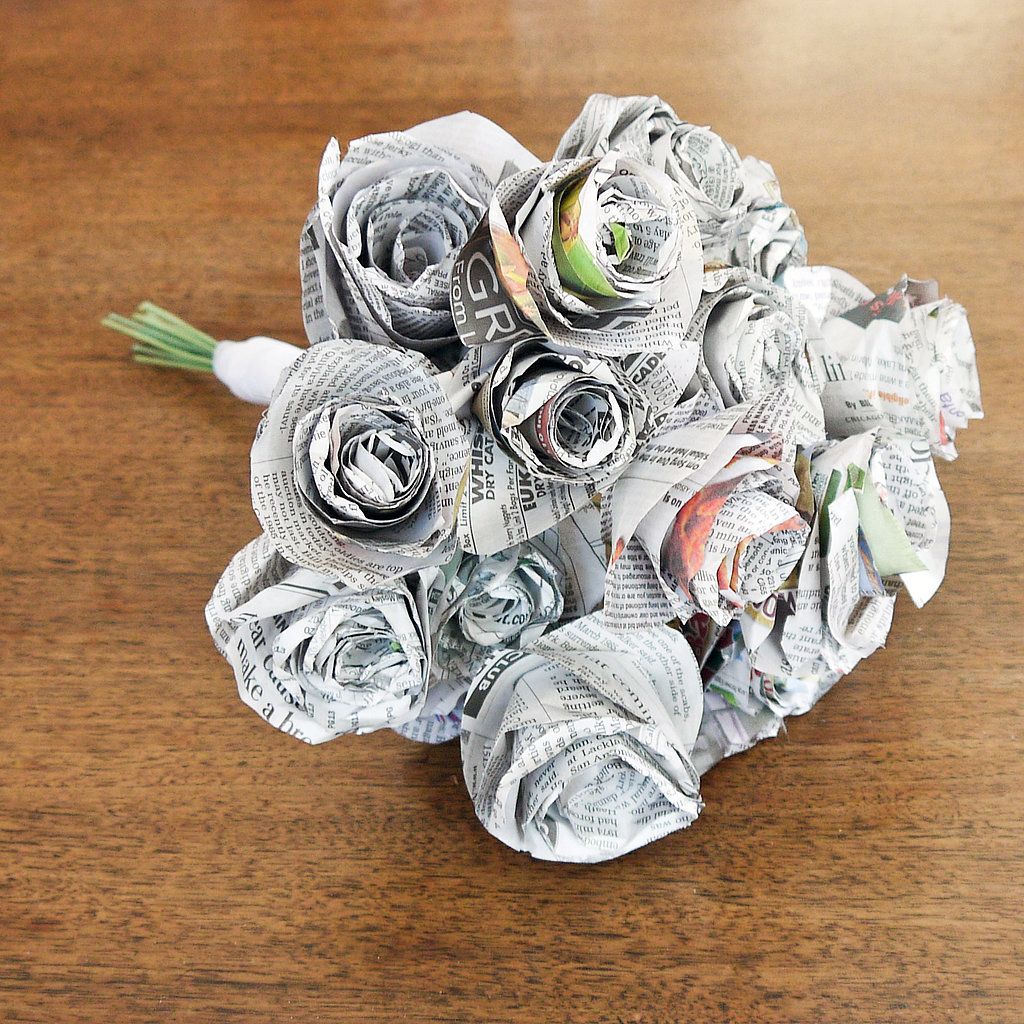
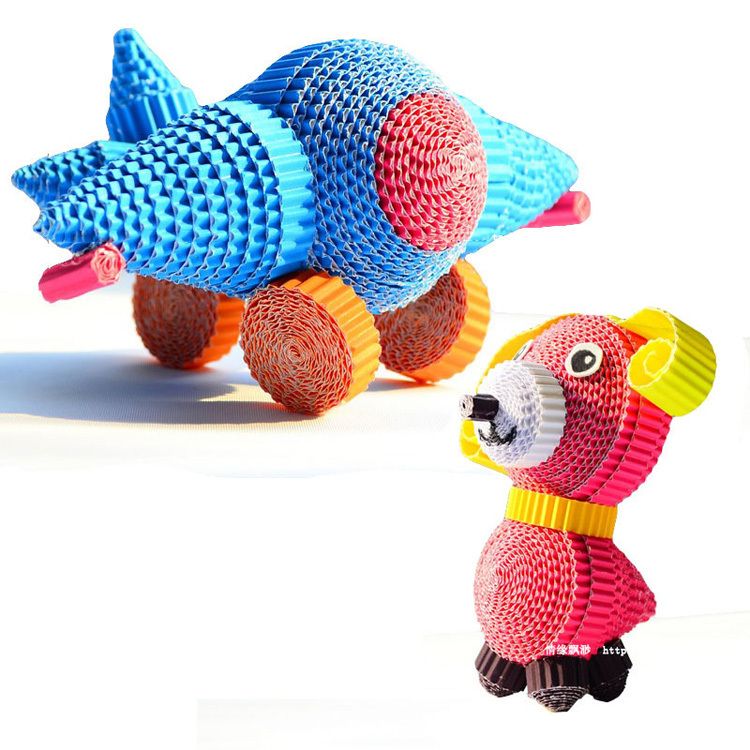
Newspaper - the perfect material for work.
A newspaper is an element that becomes completely useless the very next day after its release, and endless advertising products in the form of newspapers in our mailboxes and even more depress them with their generosity.
Volumetric balls for the decoration of the ceiling, make it easy and look original
Thus, we always use it as a garbage object of our house.
I wanted to choose for you the most interesting products that you can easily do with your own hands, namely from newsprint, to combine business with pleasure - to improve the ecological situation on the planet, to create a beautiful product for your home. Check out - it's very simple.
Wall art with newspapers
Wall decor
- To make a wall volume suspension step by step, roll several newspapers into a thin tube.
- Now glue these rolled sticks on cardboard, let the glue soak well.
- After that, use scissors to cut out any selected shape from these glued rolls of paper, for example, a heart shape or a flower, or choose a doll shape.
- Make sure that you cut out a large object that is identical to that of a smaller size (it is best to make the shapes in a pattern).
- Now take a bit of fishing line with beads and make 5 strings of different sizes, attaching their bases to a paper craft.
- Now choose the color in which the product will be made, think up some interesting ornaments on top of the base to make the pendant more beautiful.
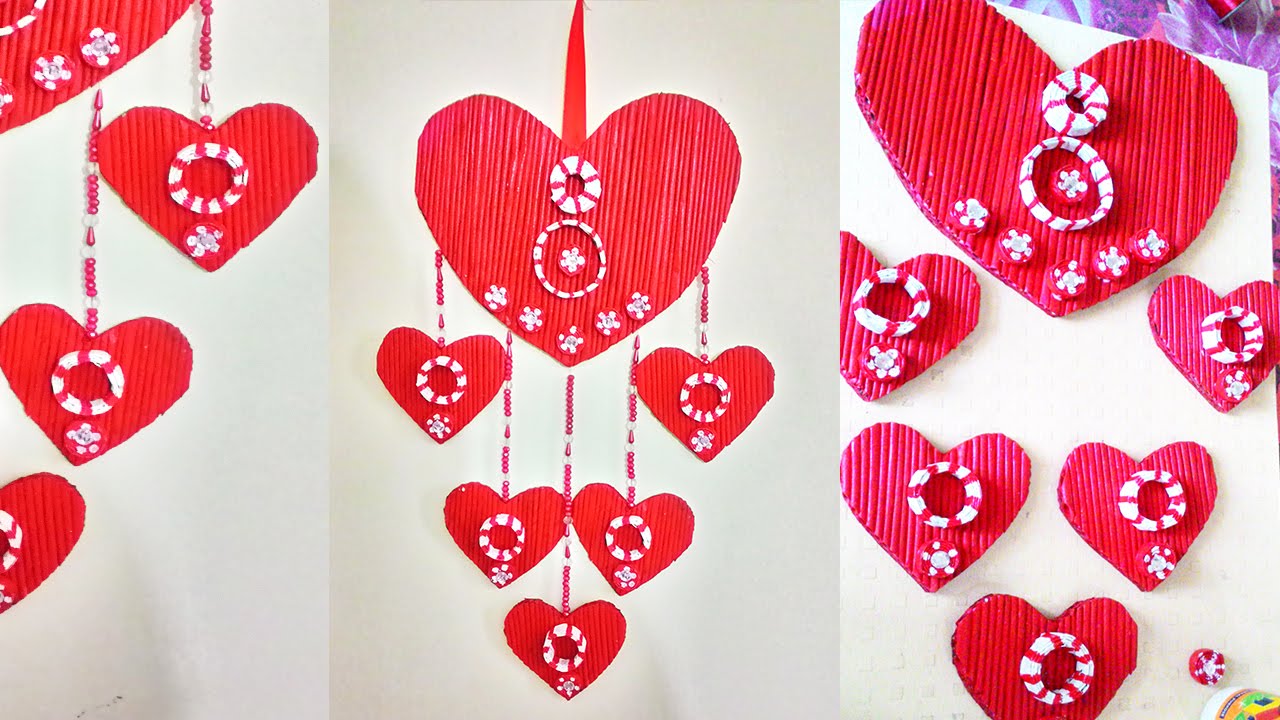
Heart shaped newspaper pendant - beautiful and romantic
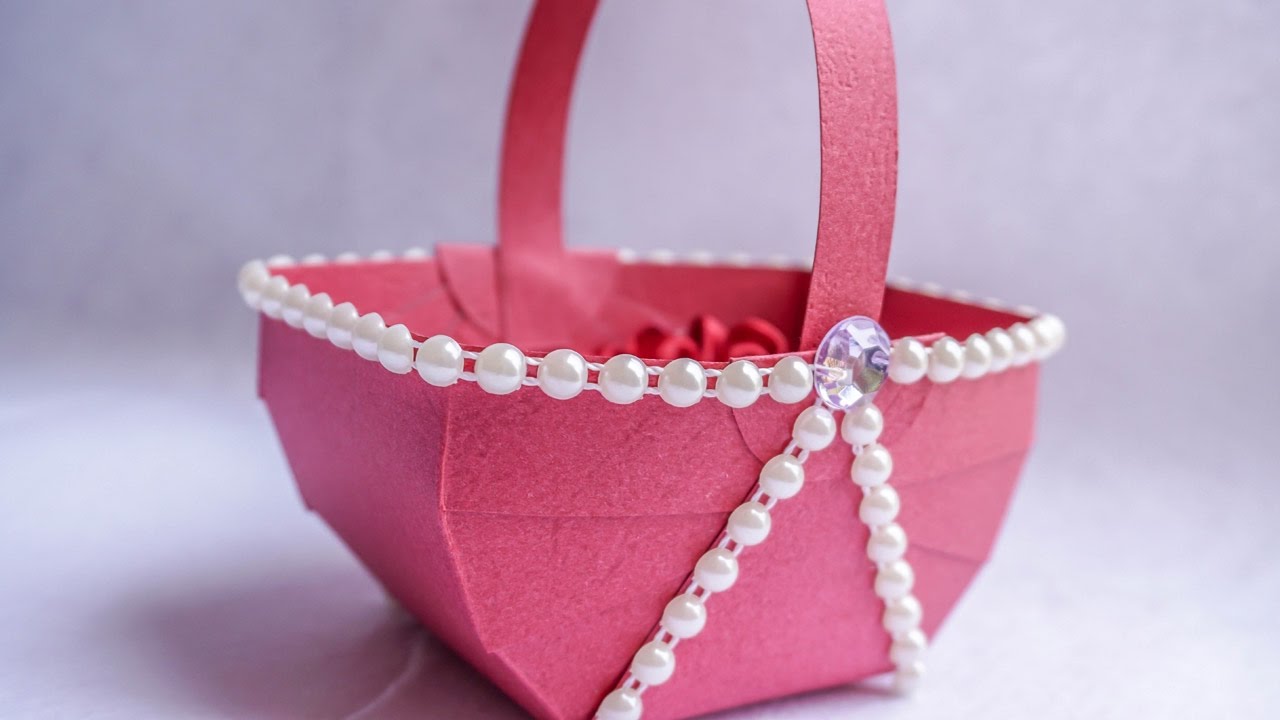
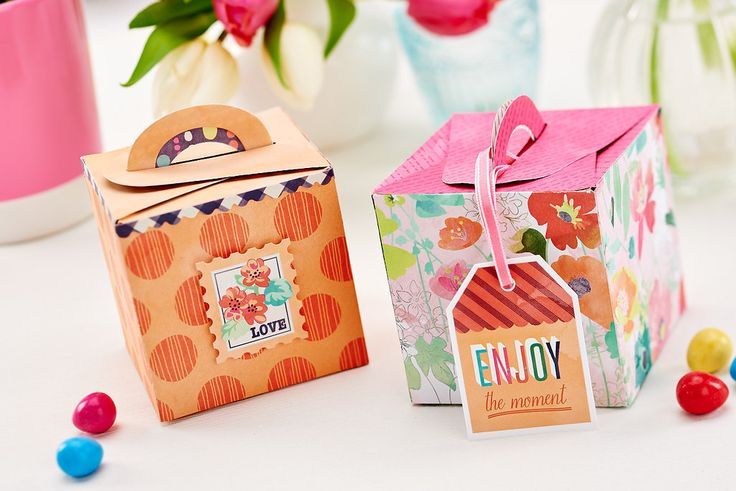
How to make a gift bag
The choice of handmade gift bags with elements of old newspapers will be the decision that finds an uncommon bold personality in you. After all, it is not easy for our mentality to make a gift in the newspaper, like our grandmothers and grandfathers in the pre-perestroika era. Such a decision not only leads us to the way of processing things, but at the same time, it fulfills all the necessary requirements for transportation, usually placed on the packaging - that is, it is still a very good option.
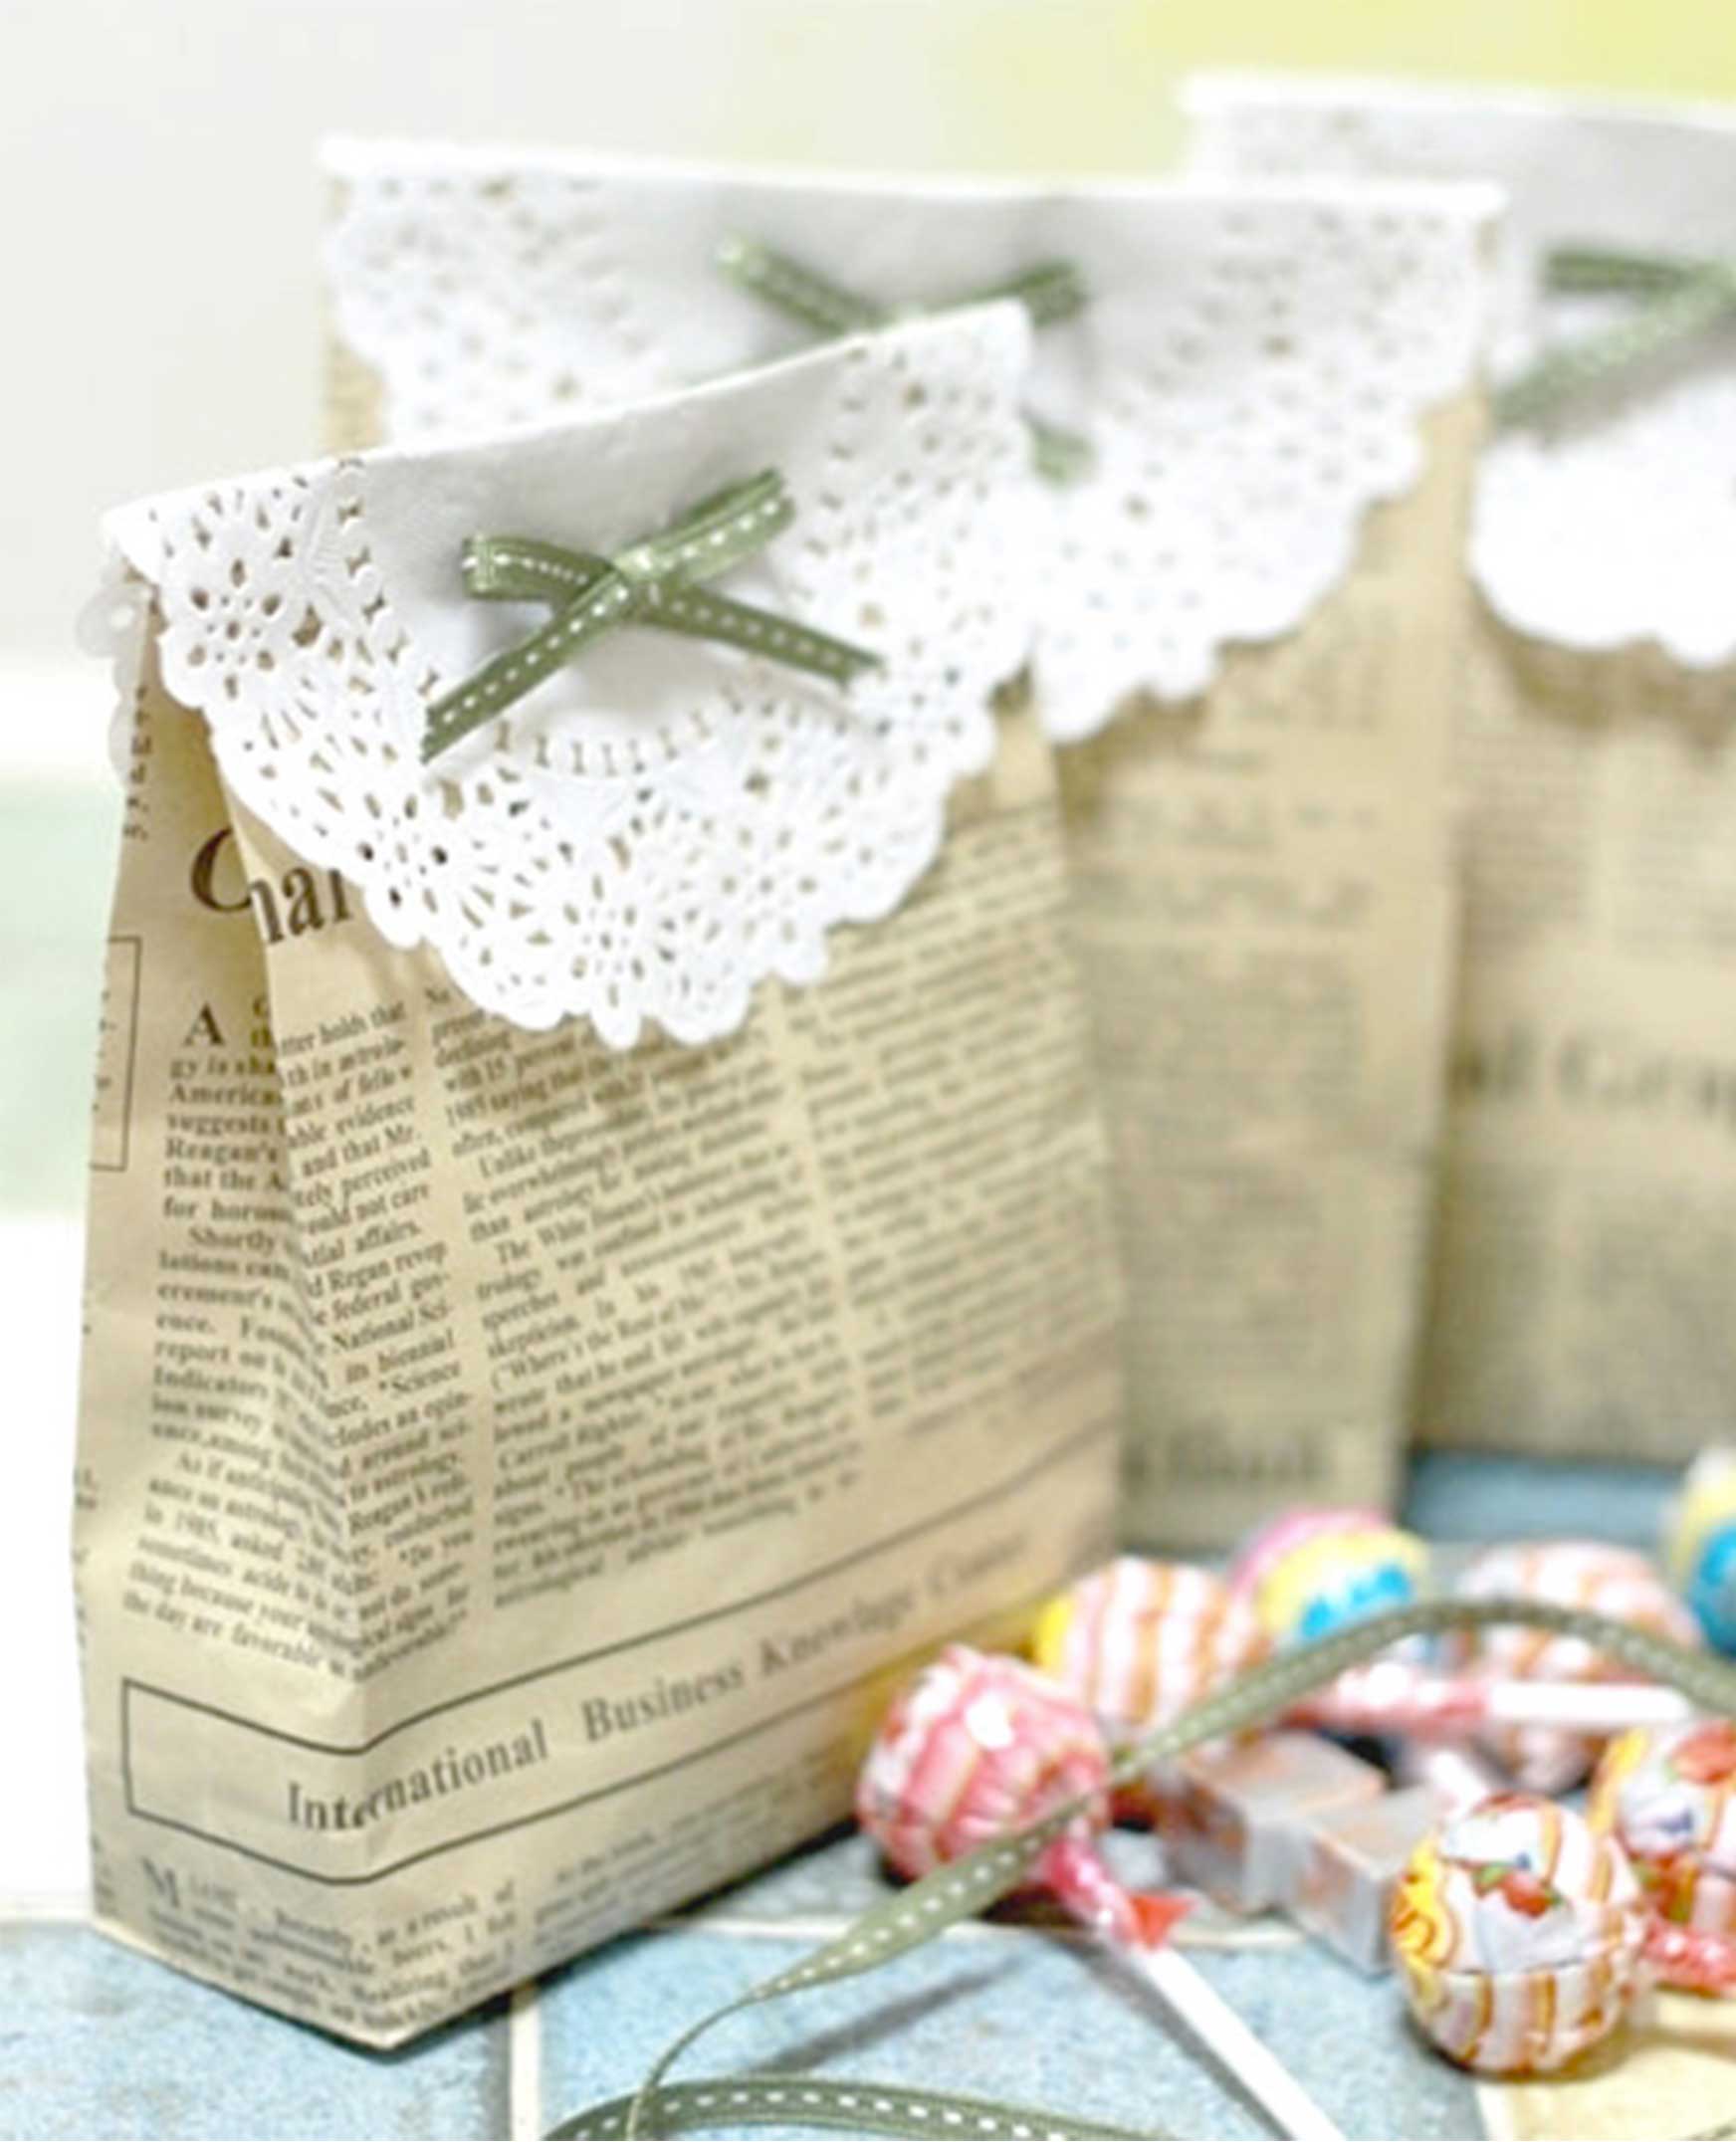
A gift bag can be decorated with a lace napkin to make it more festive.
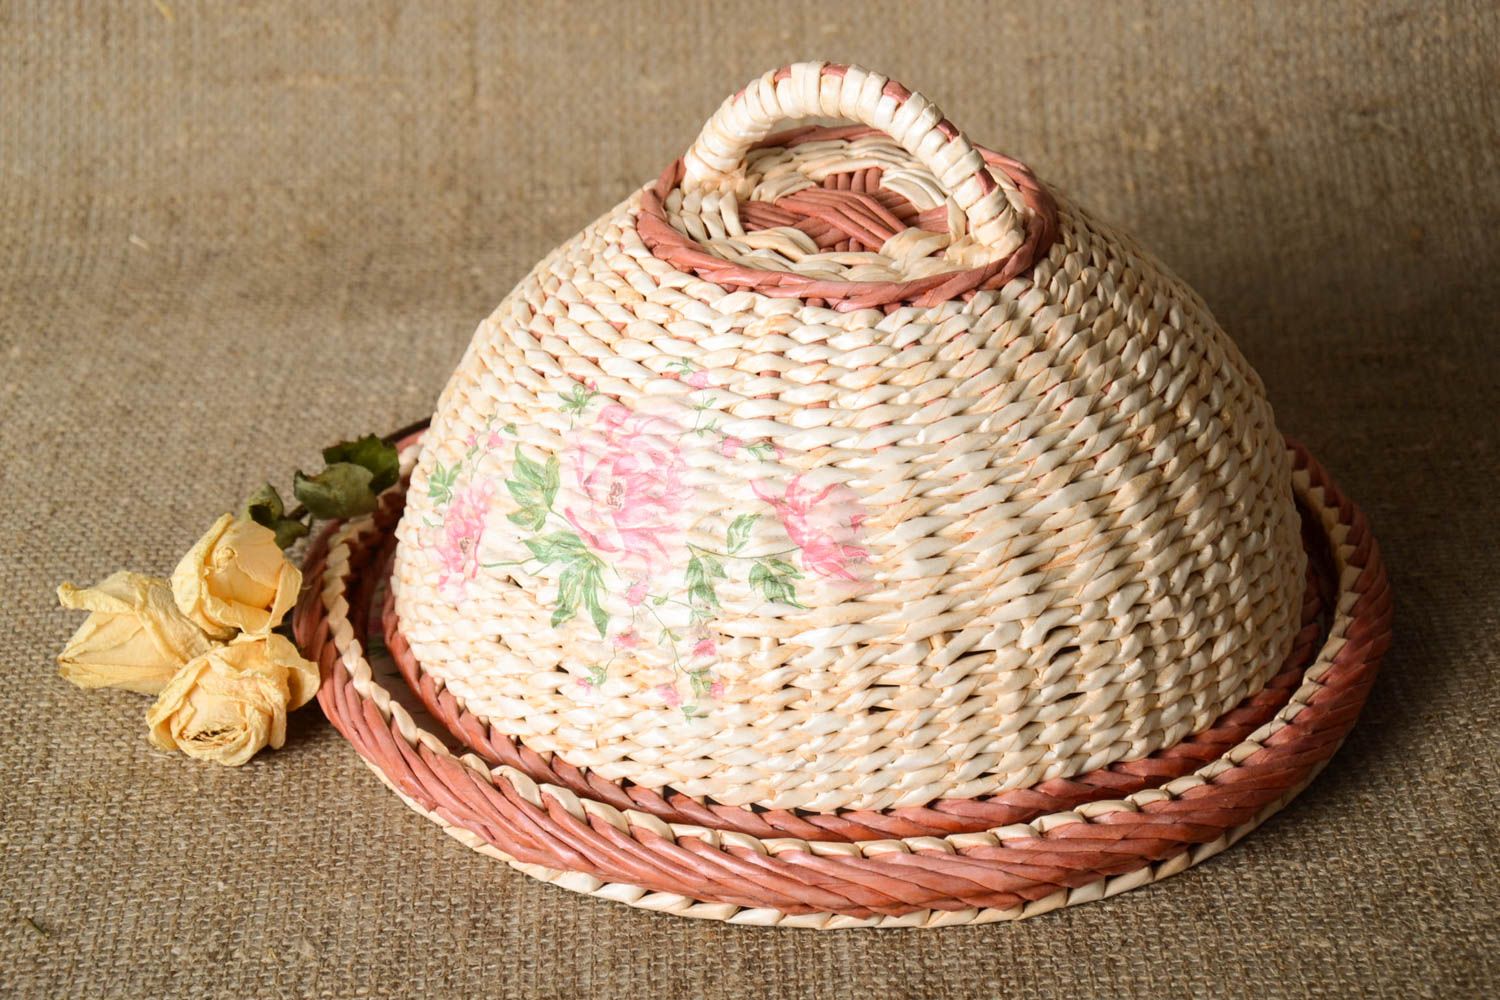
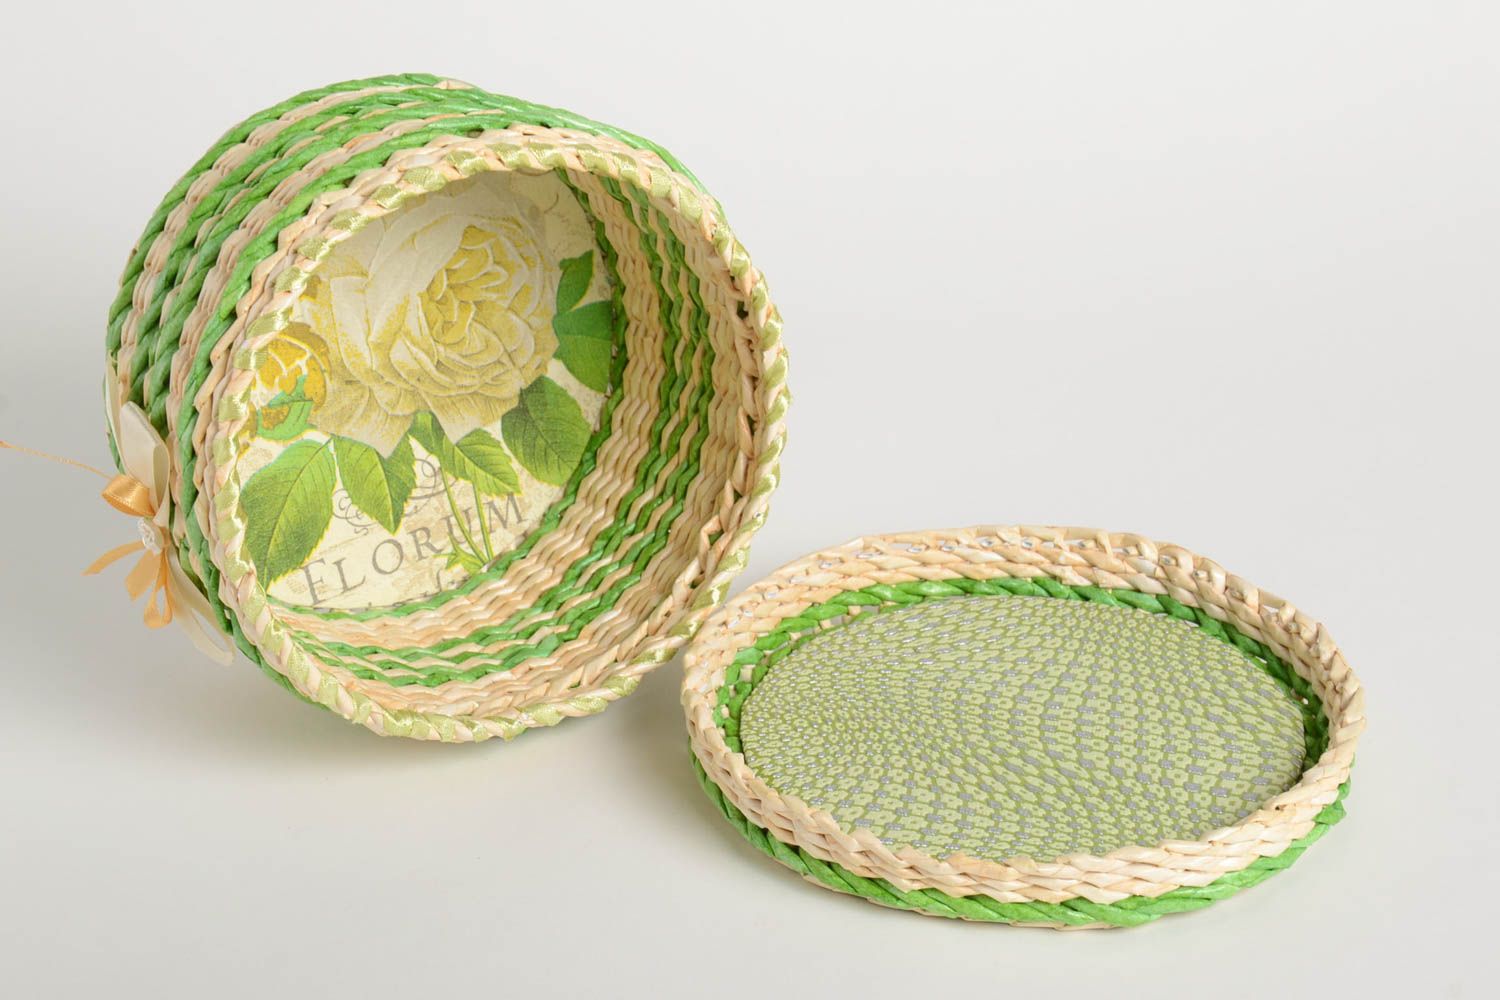
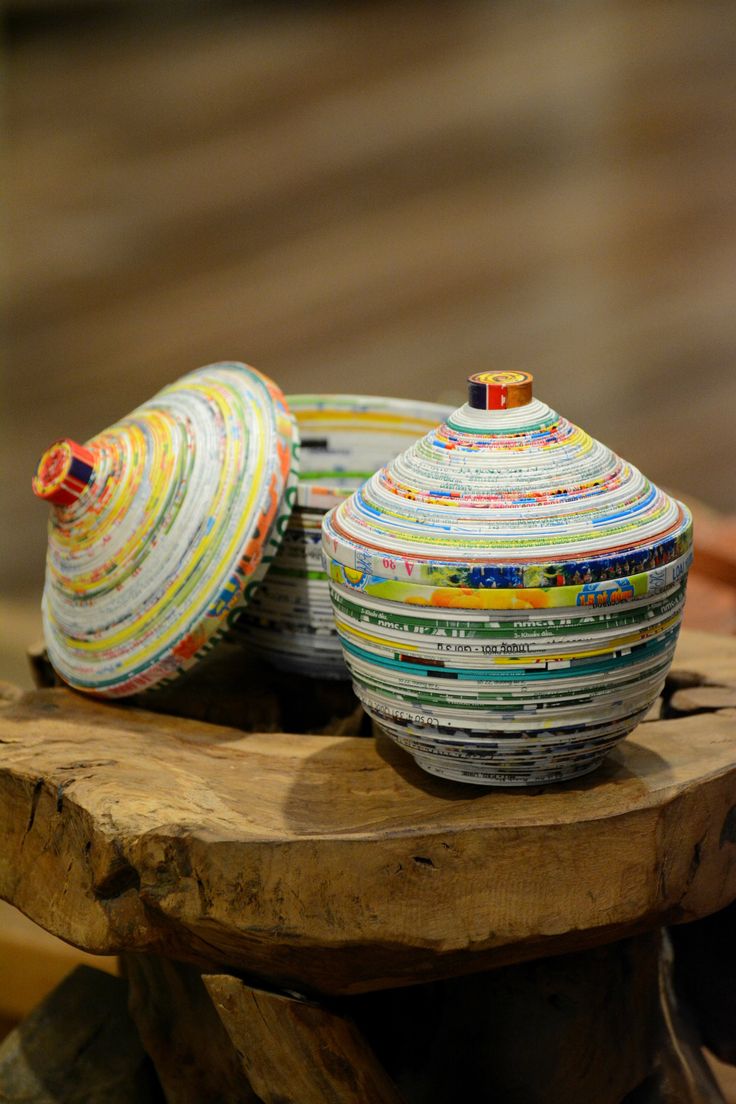
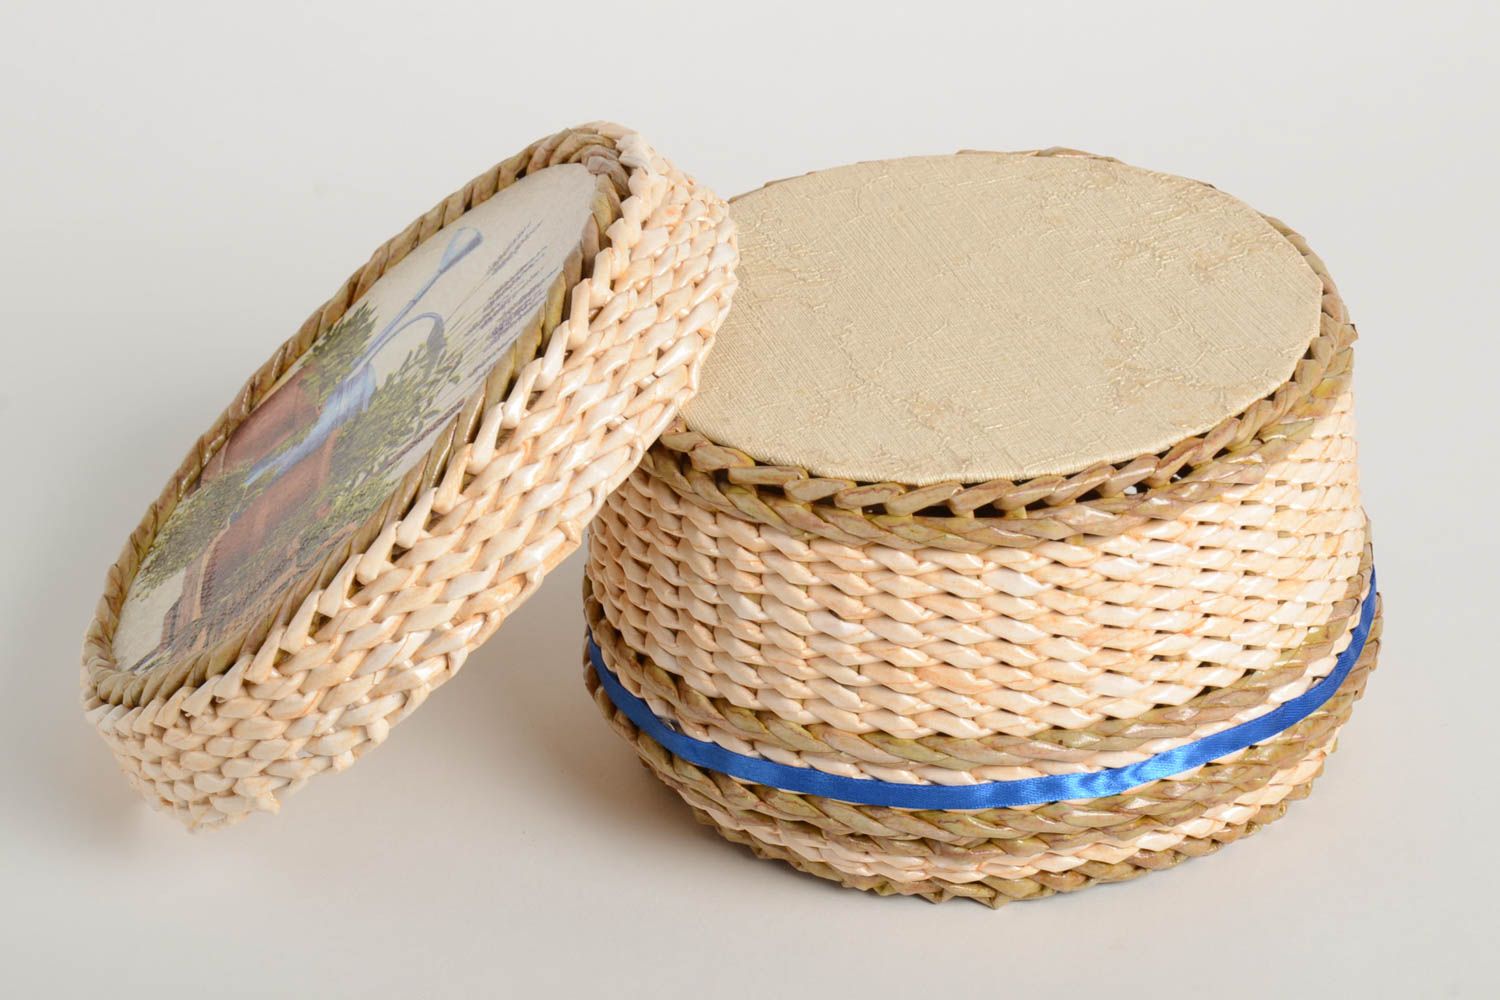
Bowl of papier-mache
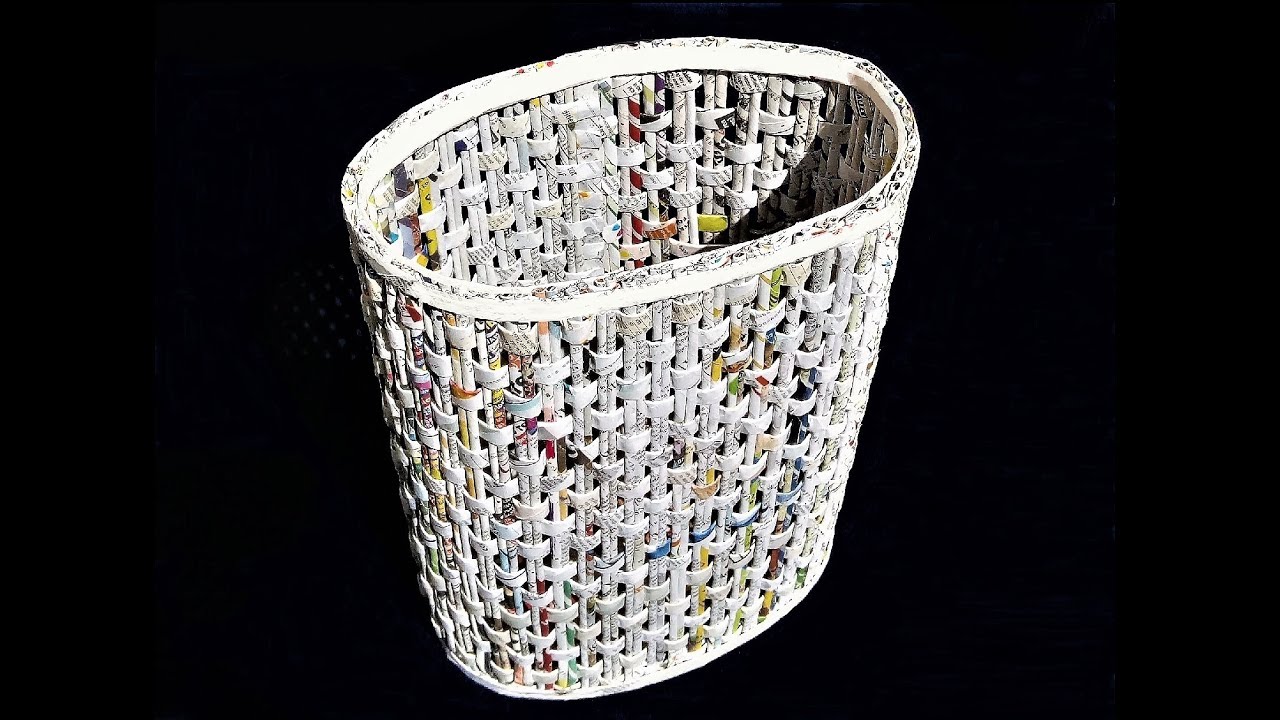
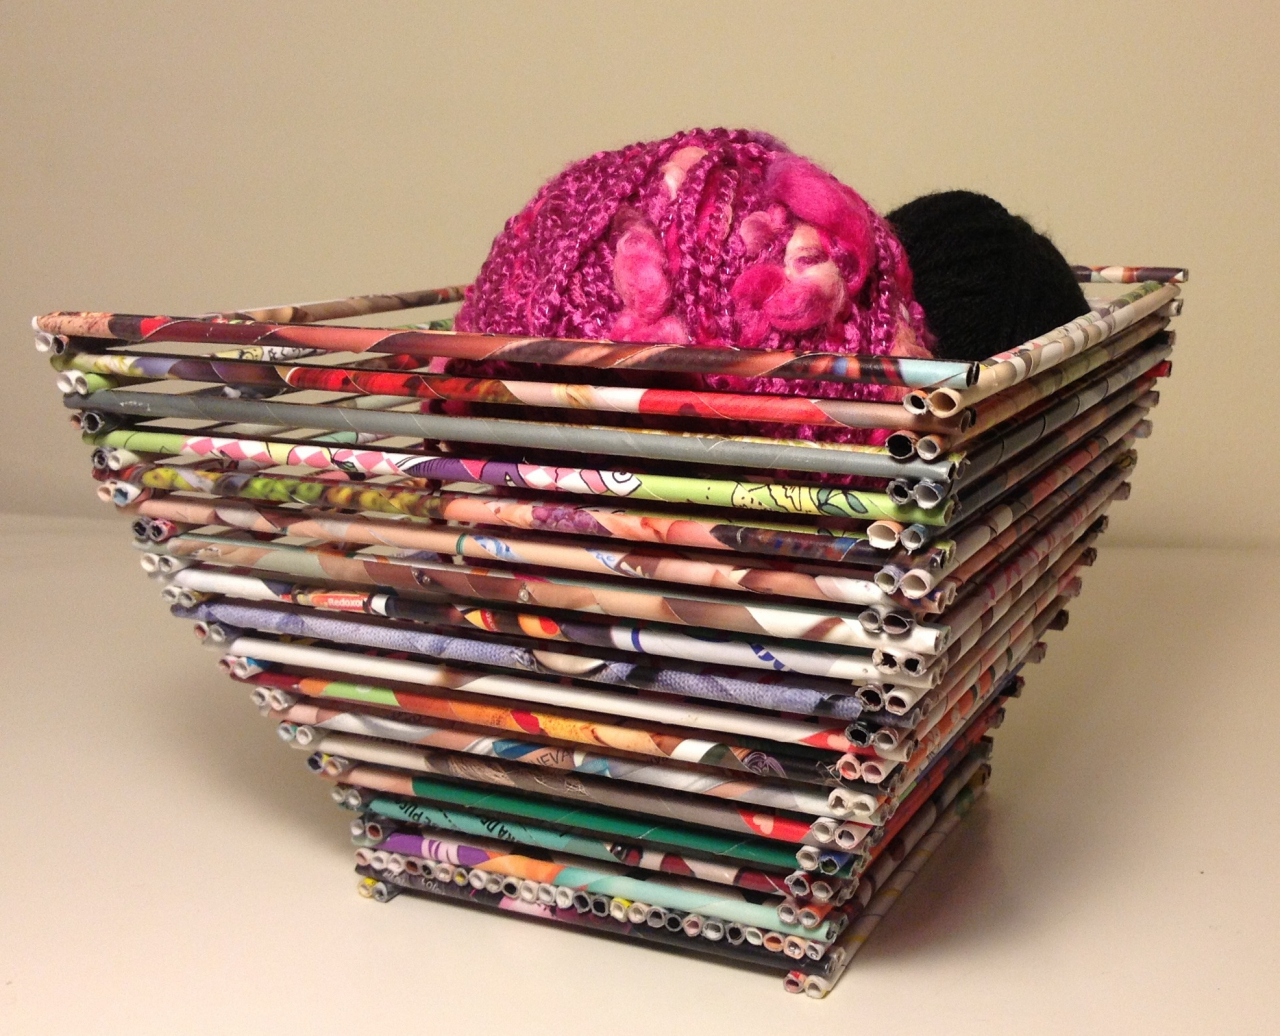
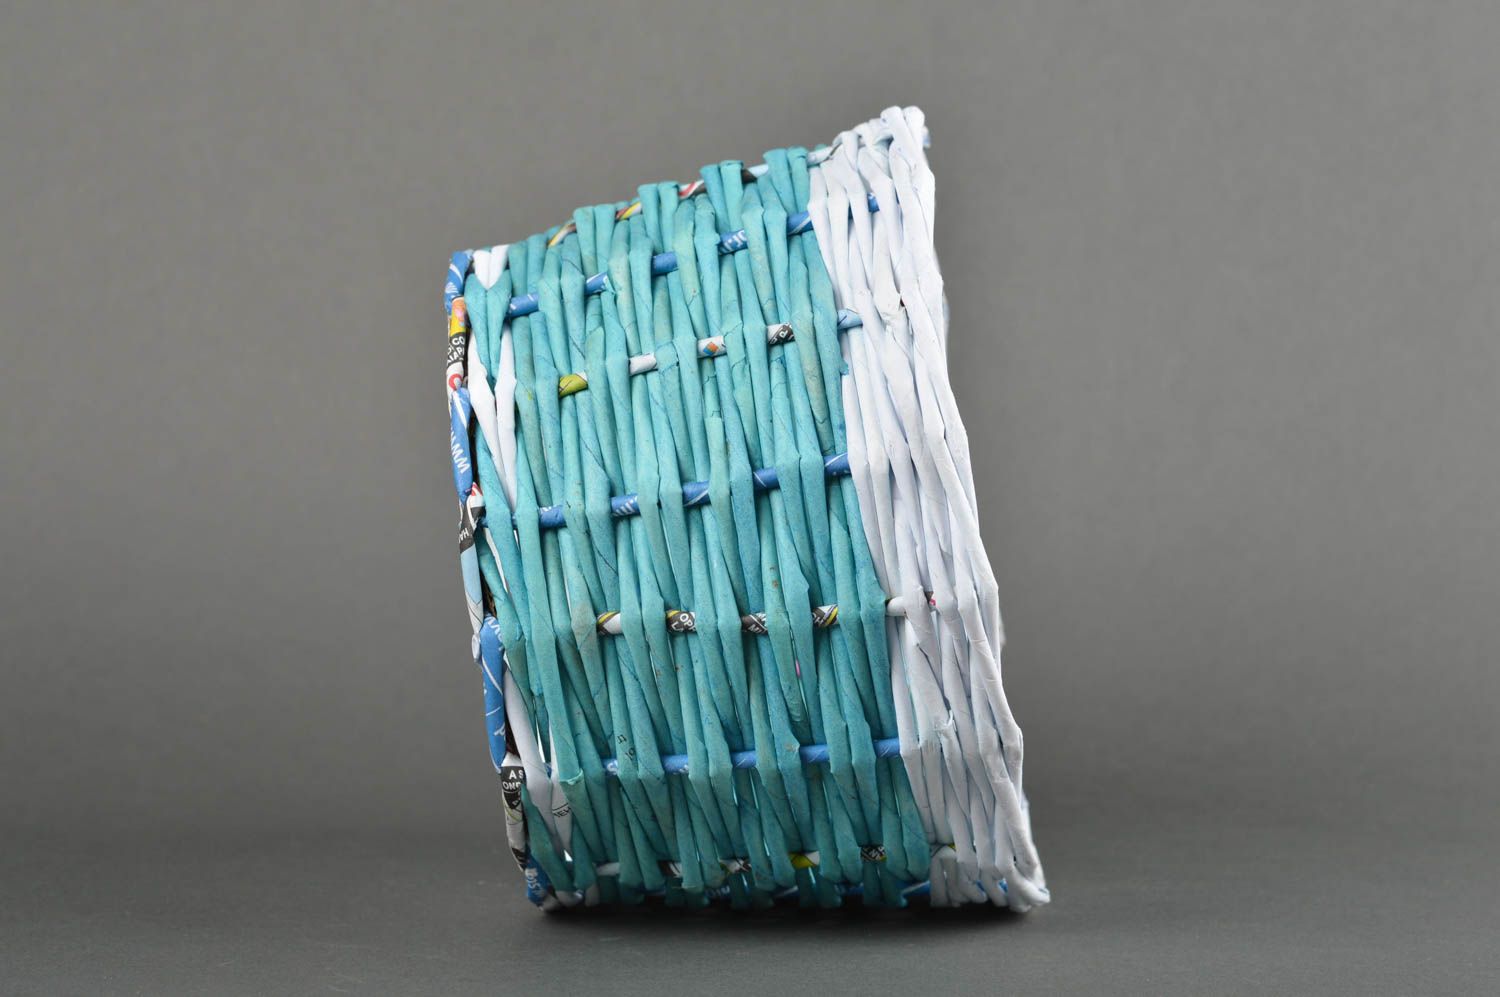
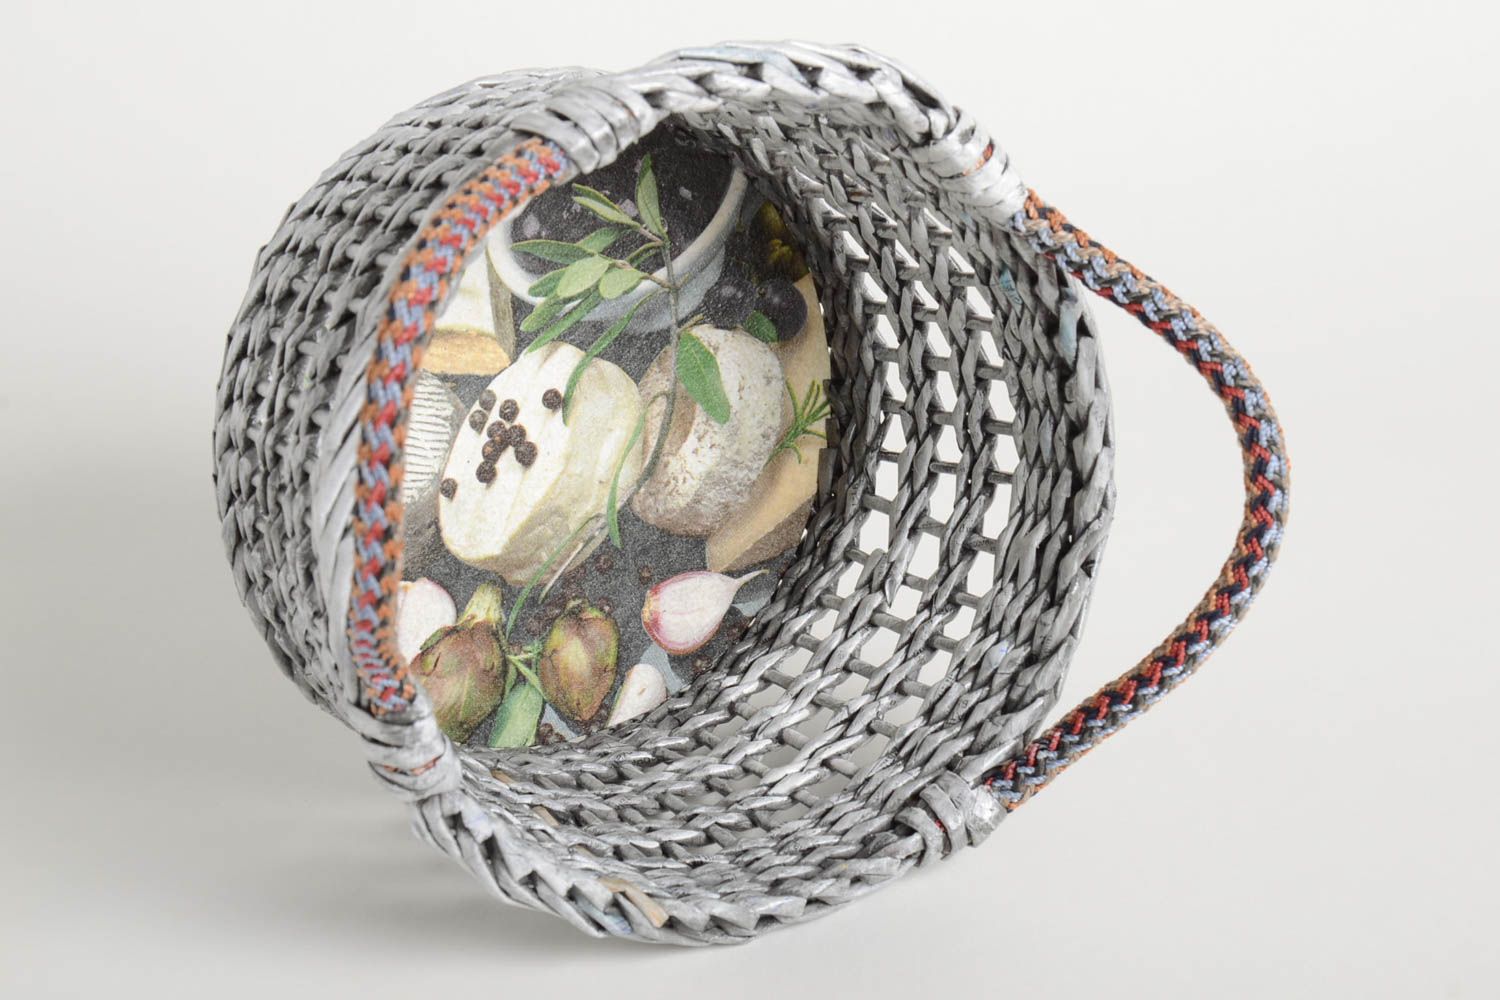
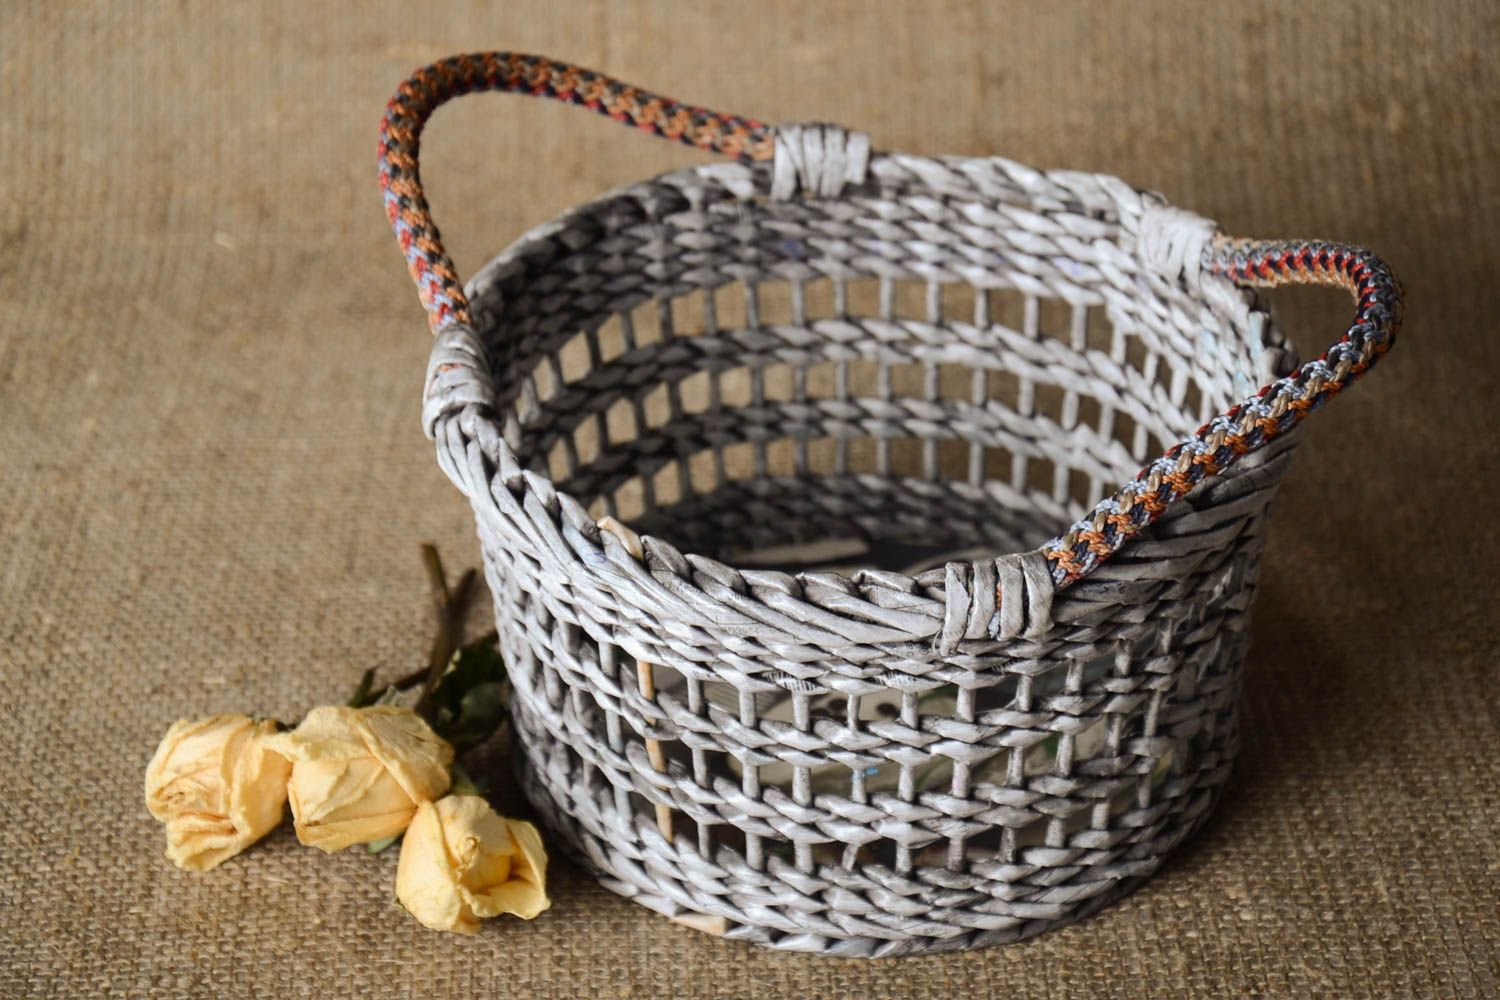
You can also make a basket or a giant bowl for storing dry items from daily newspapers.
Beautiful decor
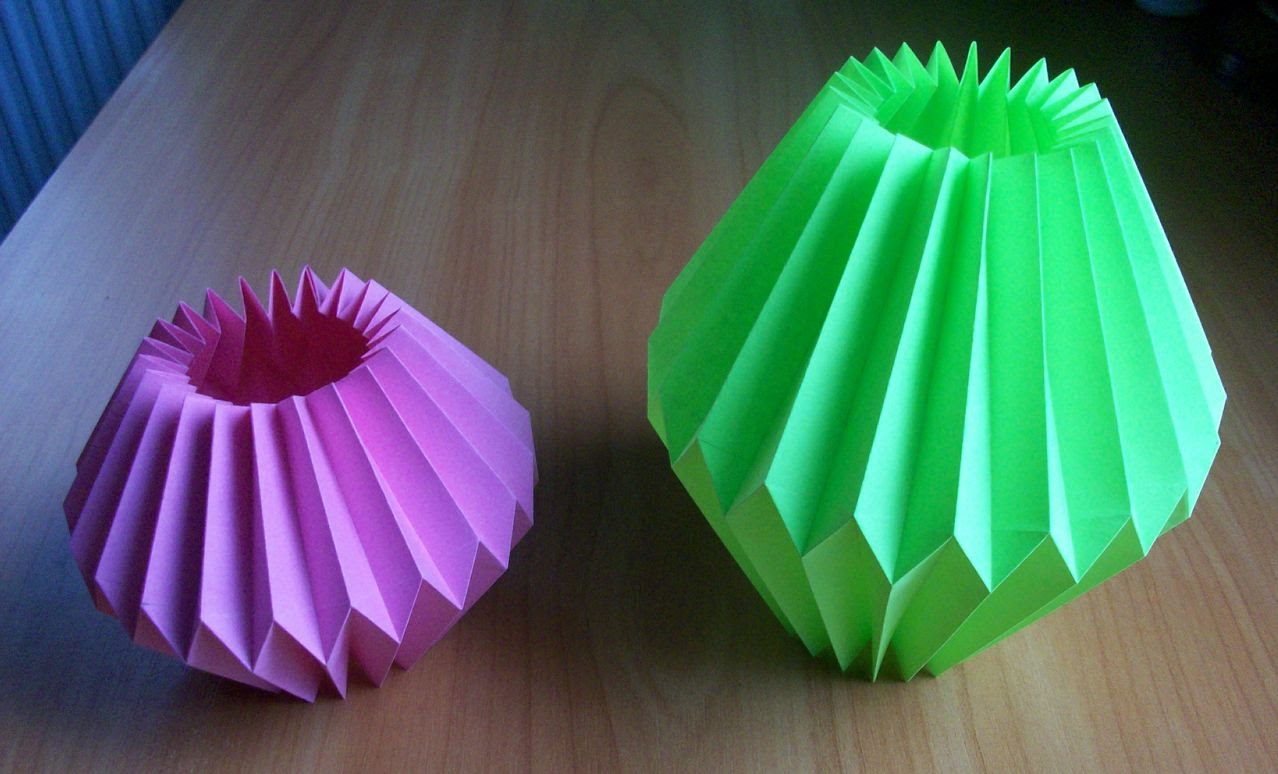
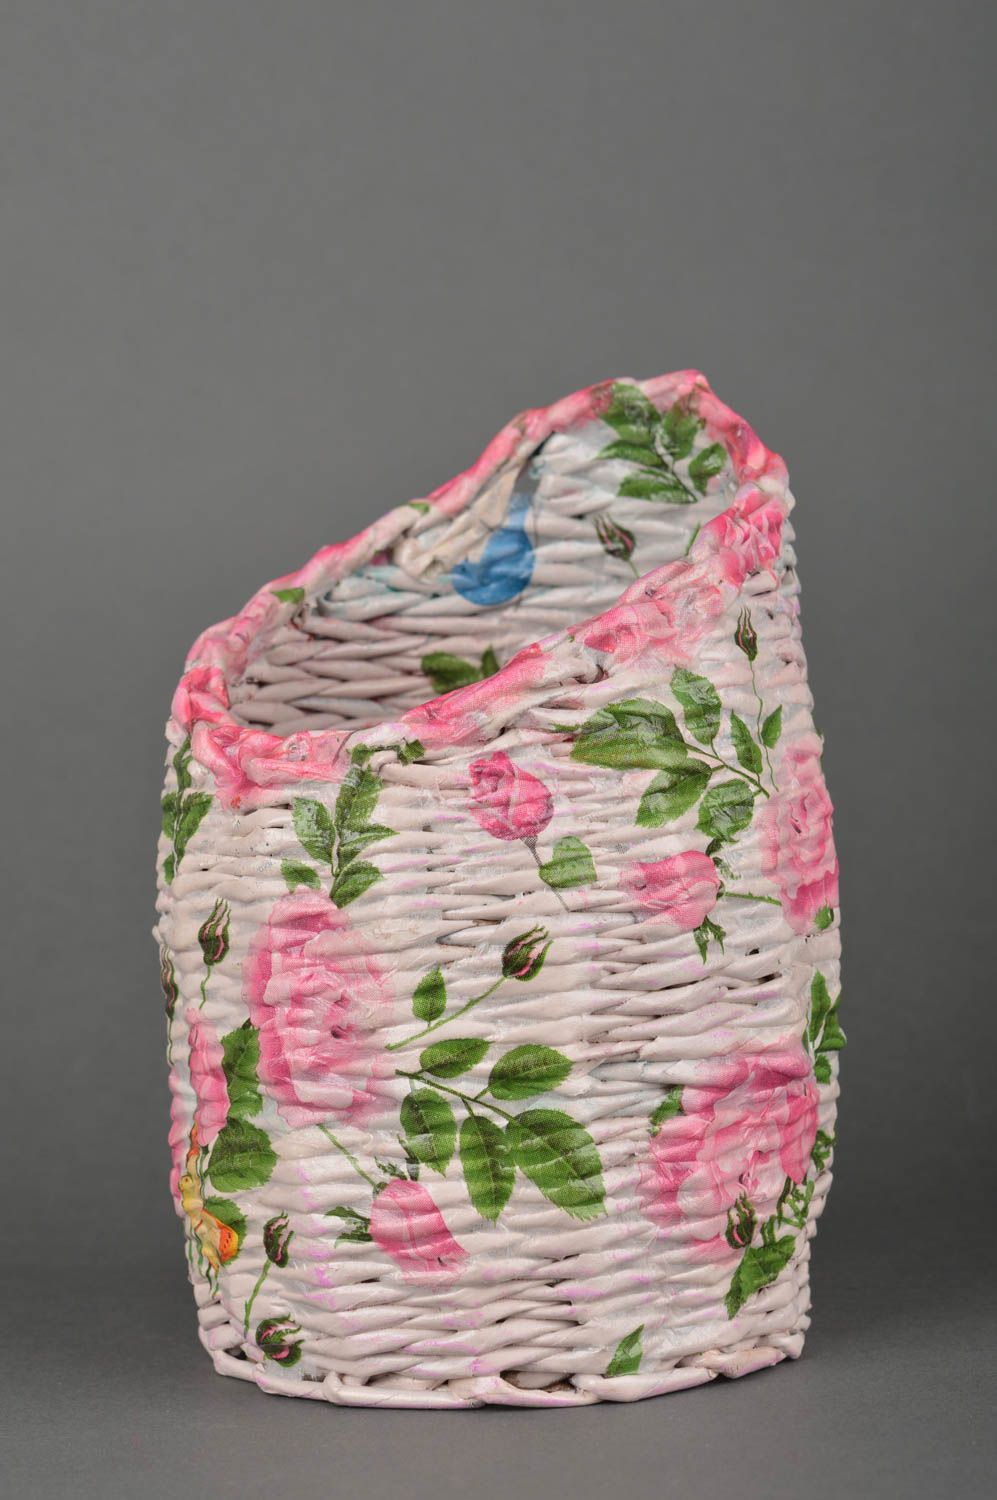
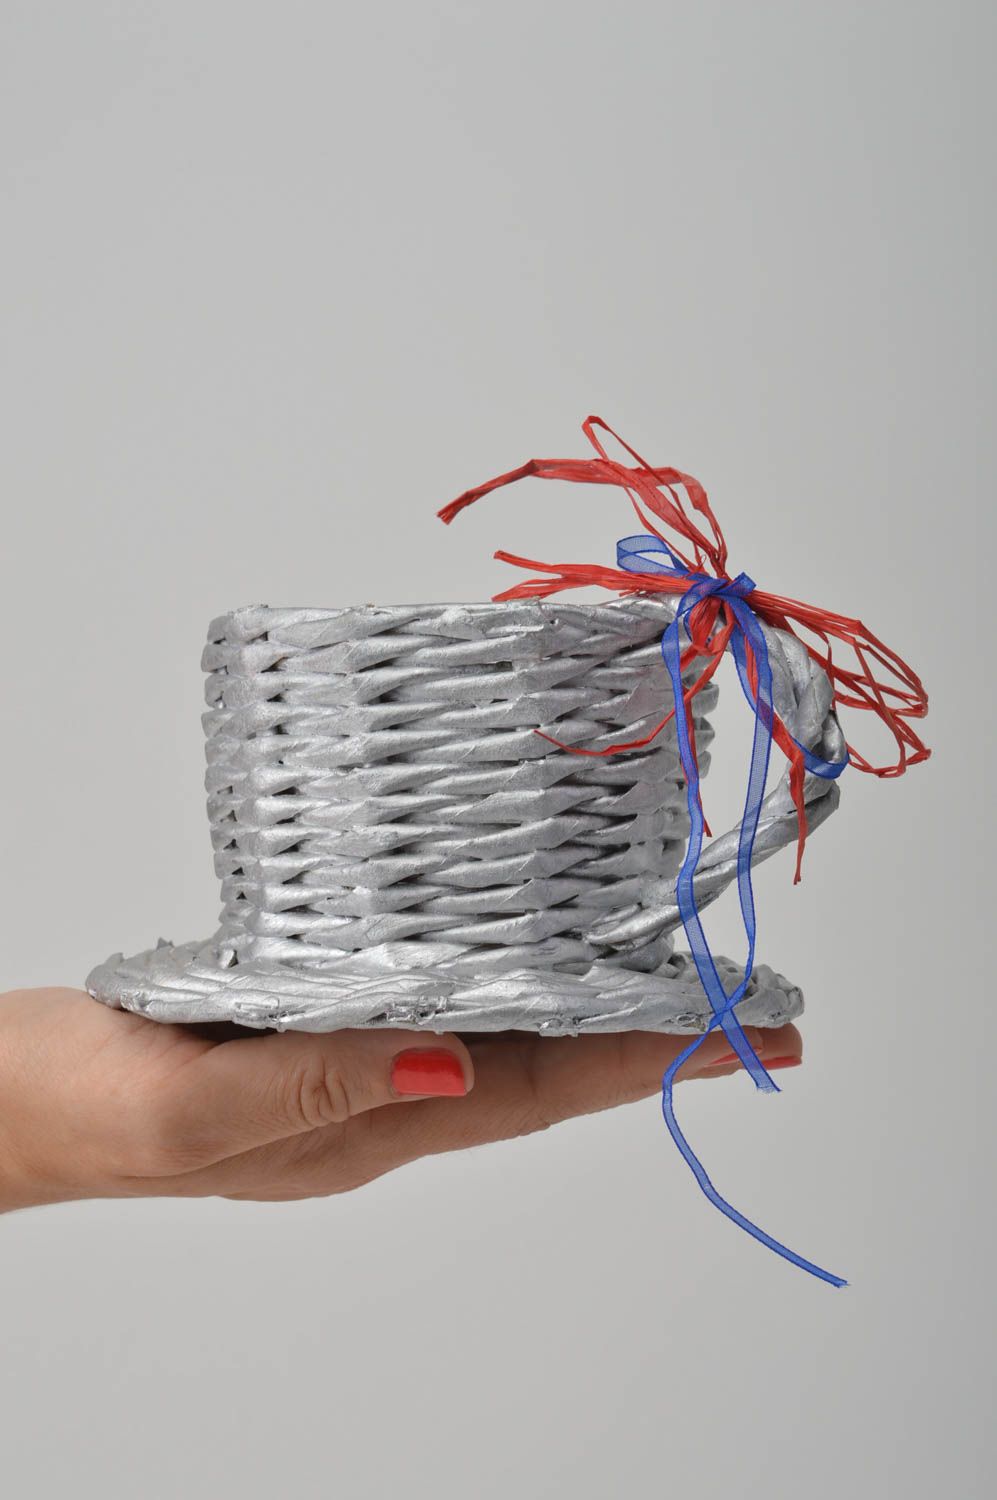
Vase do it yourself
Roll them up tightly like in this video, bend in accordance with the requirements for the form. One of the most remarkable properties of these newspapers is that the product will be surprisingly flexible, so you can create several useful items, twisting them according to your desire.
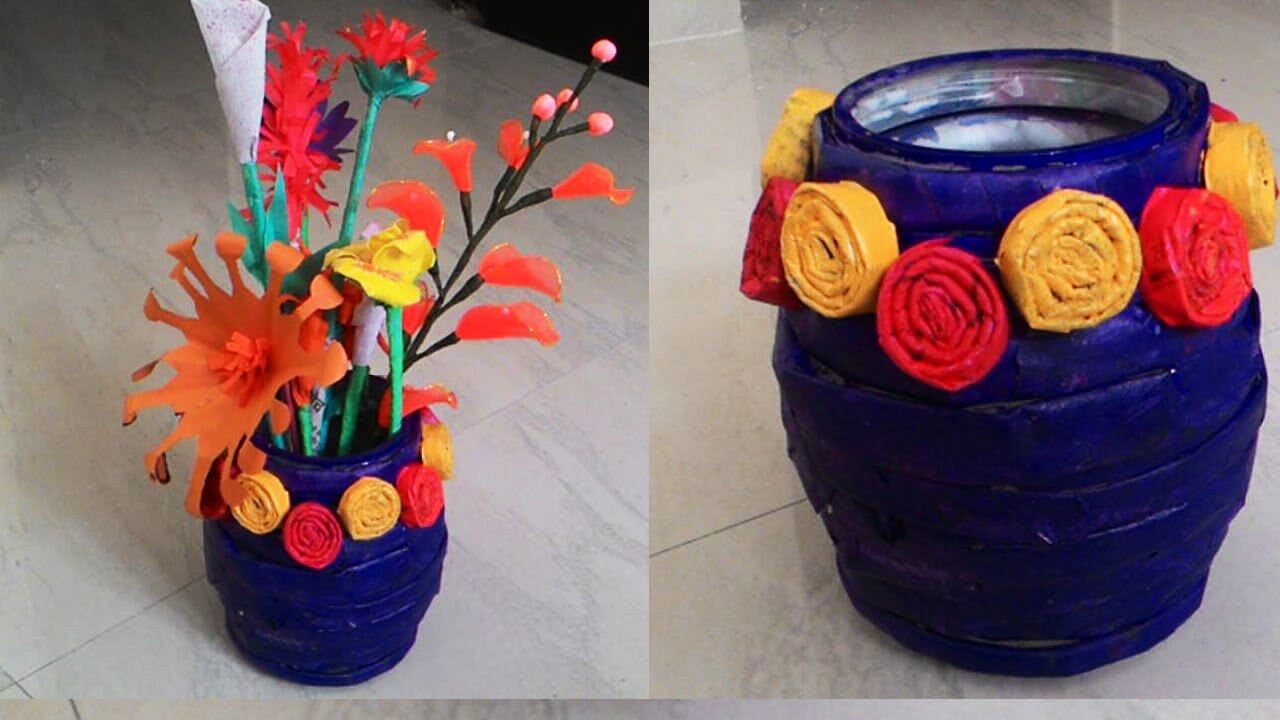
A blue vase decorated with flowers will decorate your dresser
Furniture
This product is made according to the principle of quilling - wind the rolled up sheets of newspaper on a pen or pencil using glue, and then paint them in your preferred color. The building material for the decorative vase is ready.
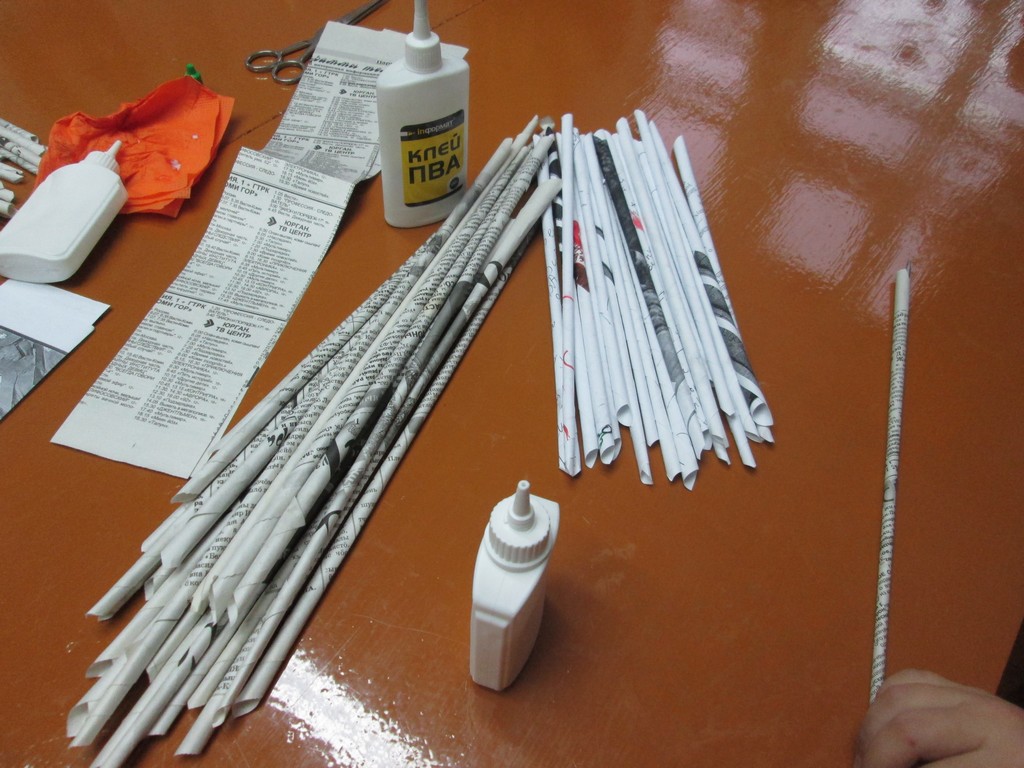
The most convenient way is to fold sheets of paper by winding them on a pencil.
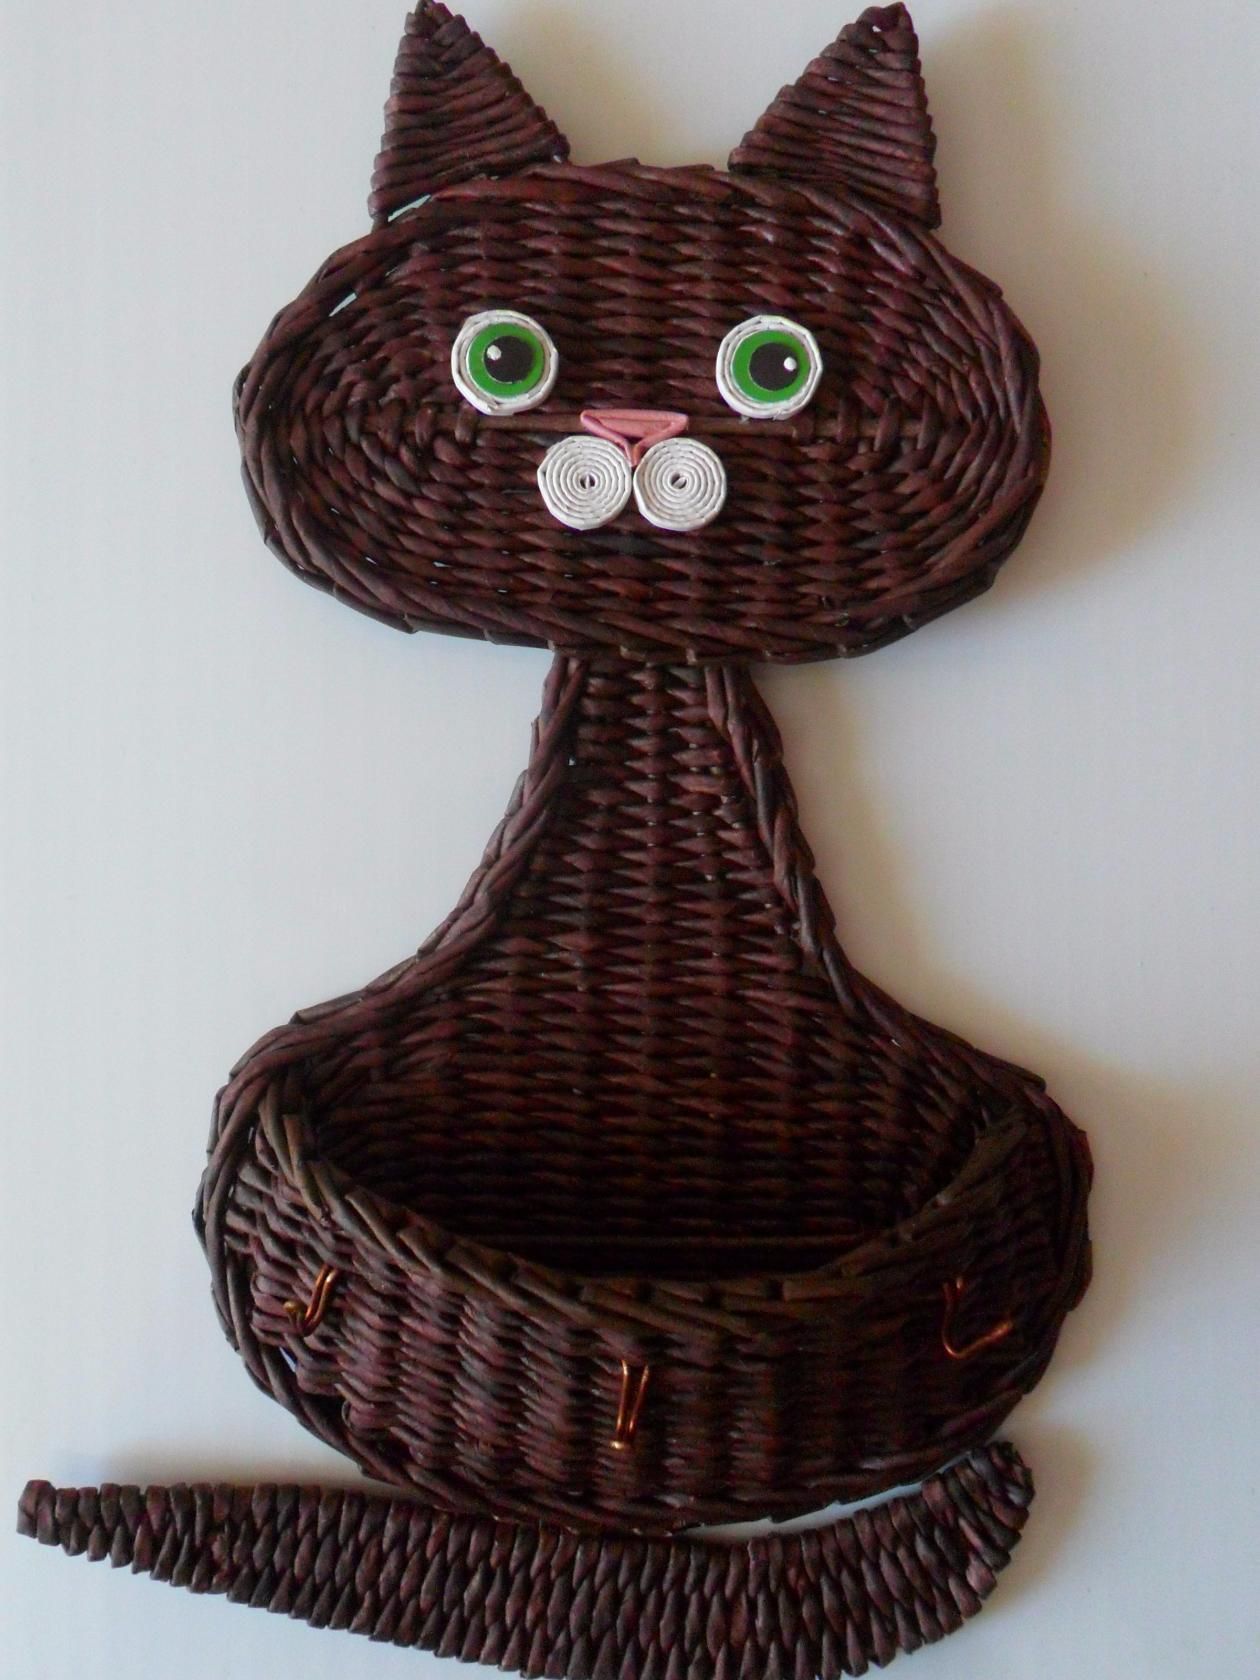
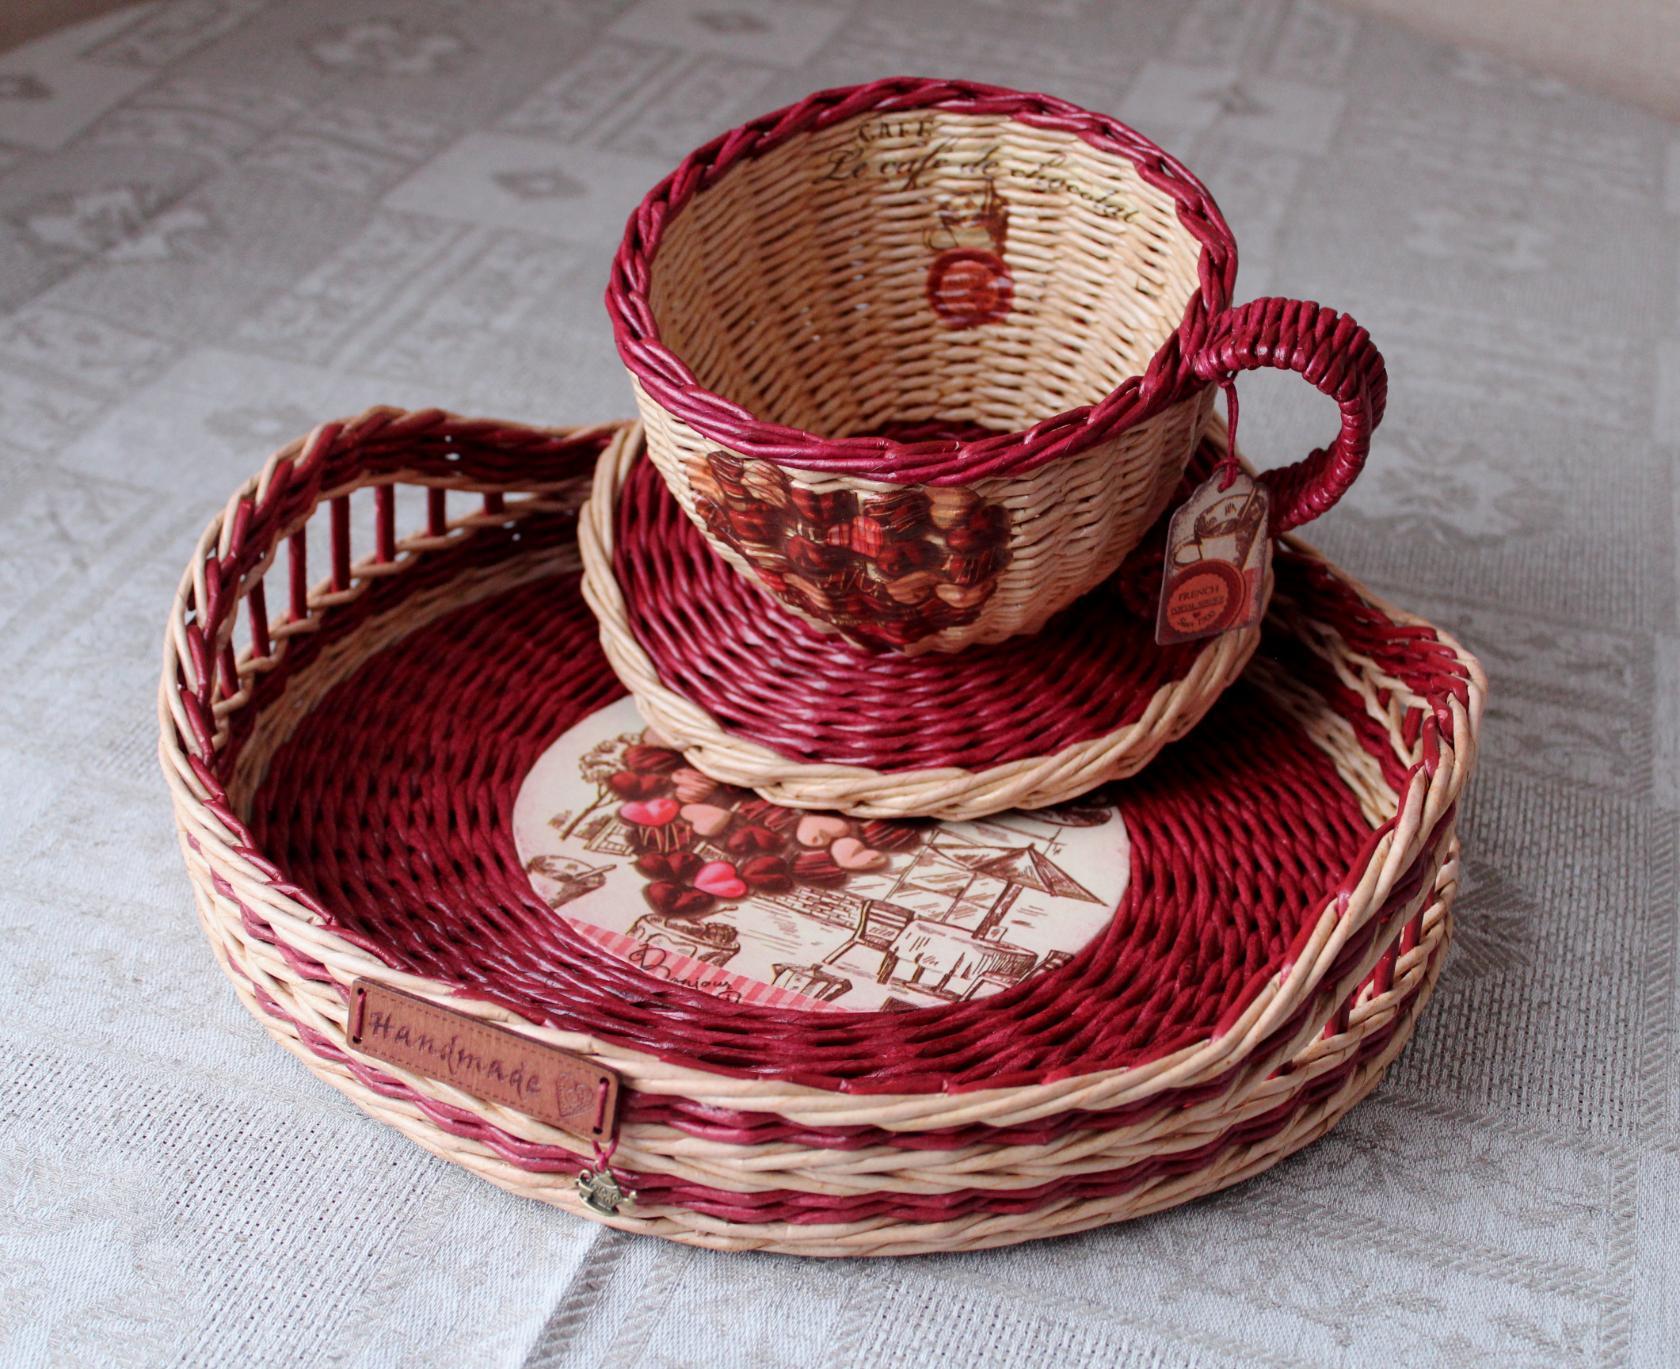
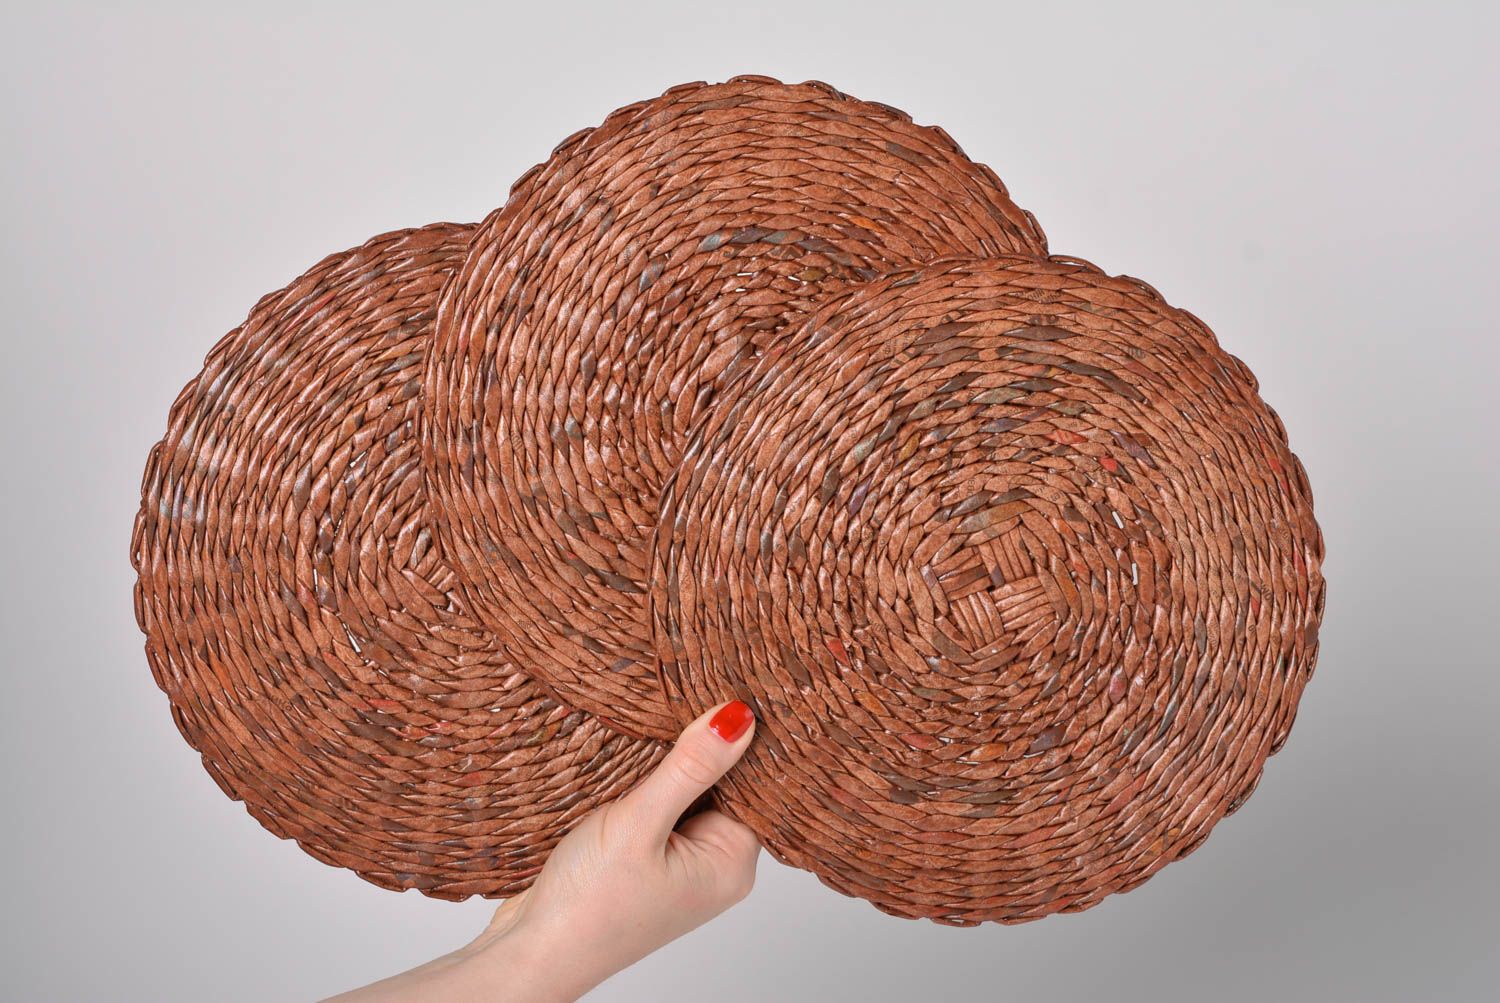
Curling the newspaper sheets into bundles is the best way to use your own newspaper for handicrafts.With such tubes you can decorate a modern flower vase by gluing strips horizontally or vertically, as well as perform more complex shapes like a frame for a mirror, photos or wall plates, etc.
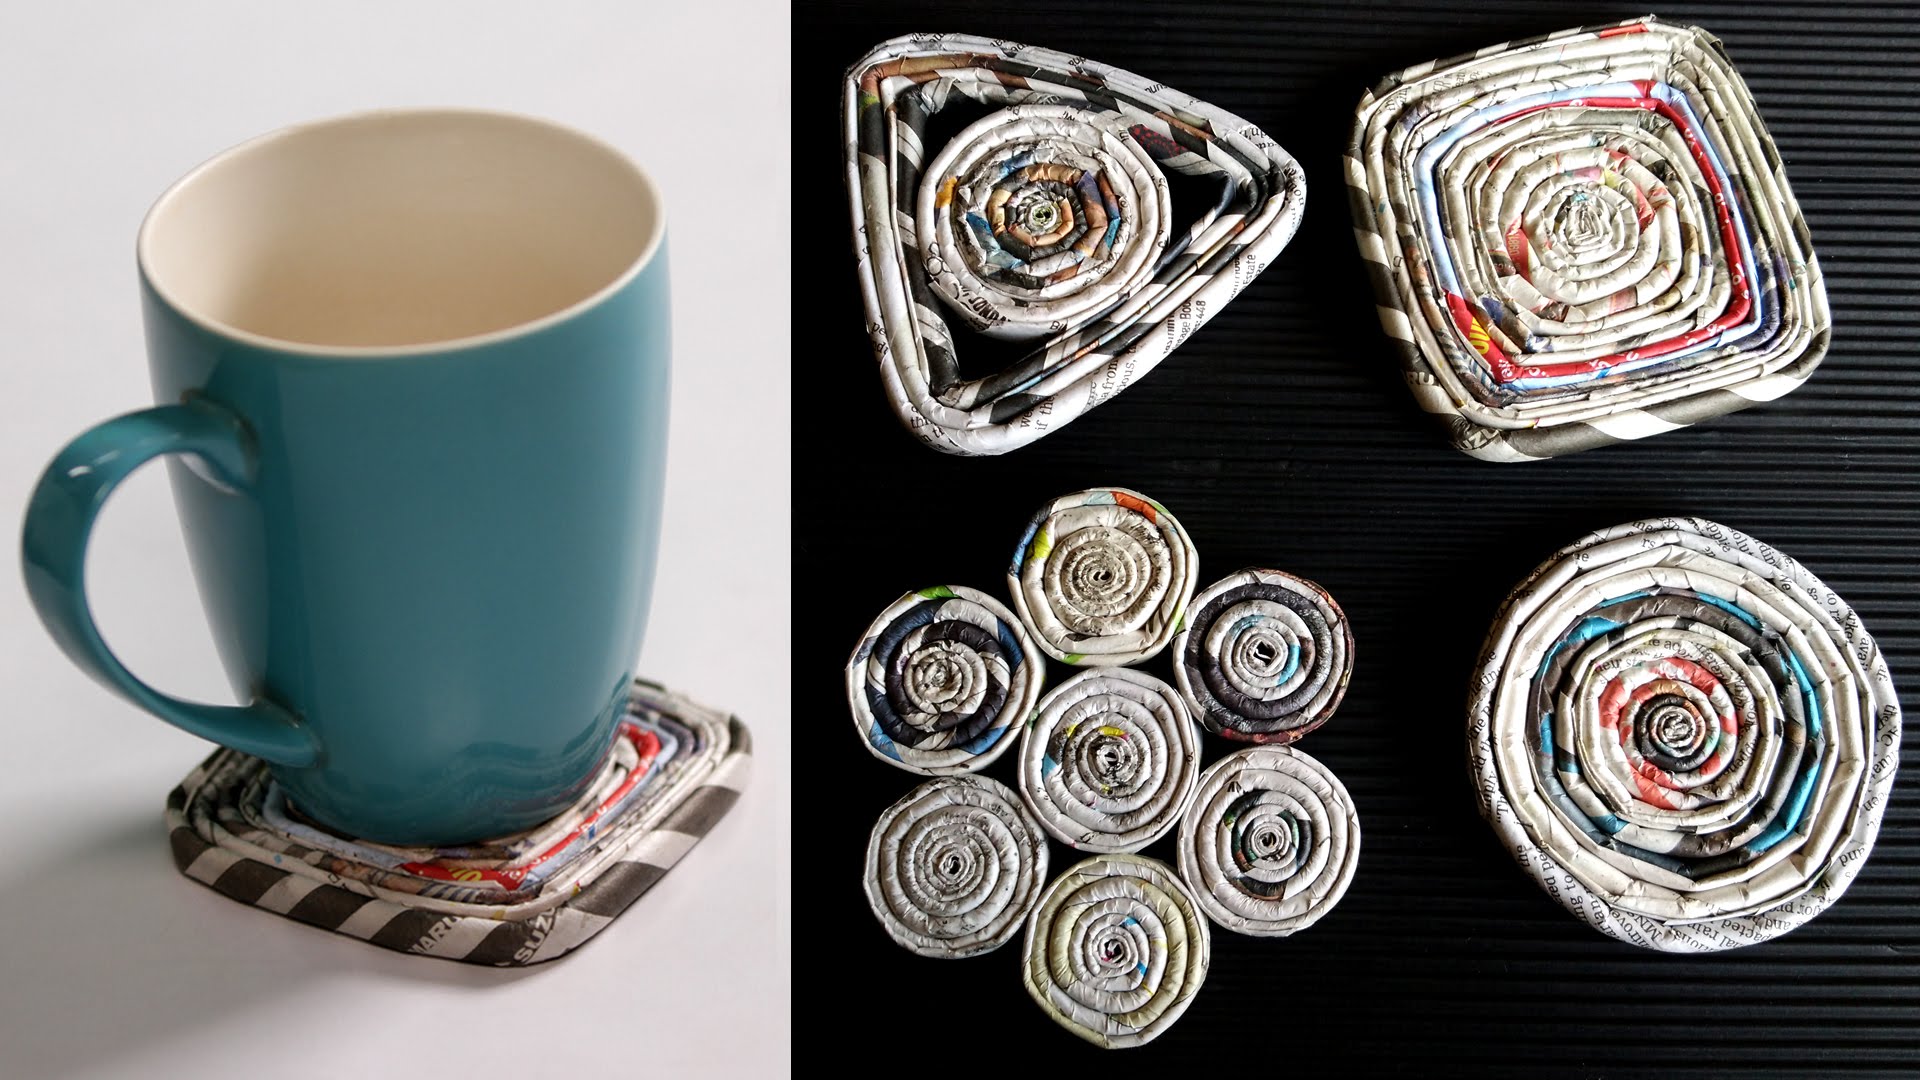
Stands for mugs are made in the technique of quilling from newspaper tubes
Handmade vase
Although the process of recycling paper waste can be quite complicated, you will get excellent material from which you get first-class postcards. Objects can be made from such paper. You can make this vase from any paper to your taste.
- You will need 12 sheets of 25 × 25 cm. At the end it is important to correctly assemble the elements. Always use the three elements to combine.
- When you have formed a ball of 12 pieces, take out one block in one place.
- The released two tabs are folded and glued. Repeat the same procedure from the bottom.
- If you do not pass a stable base from the bottom, the vase can roll over, so the bottom hole is also necessary.
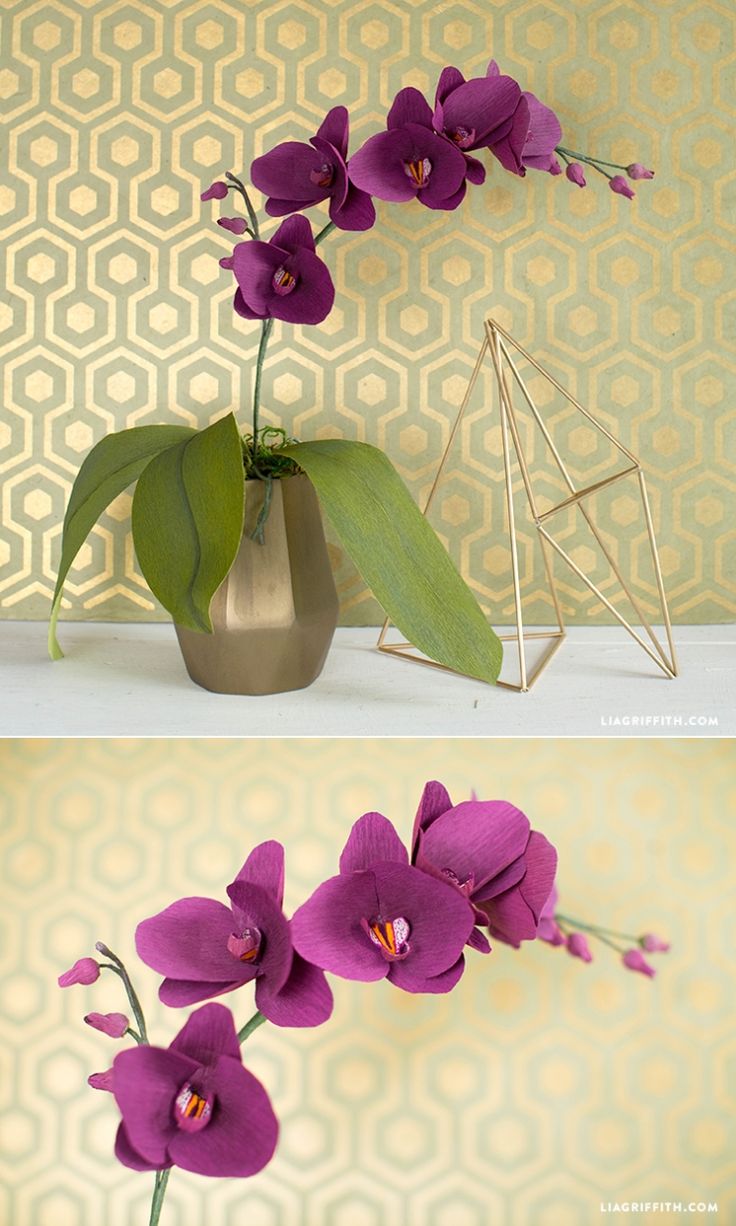
How to make tropical paper orchids
Tropical orchids are quite expensive, but you can make them out of paper, if you like these flowers, but you don't want to spend your money.
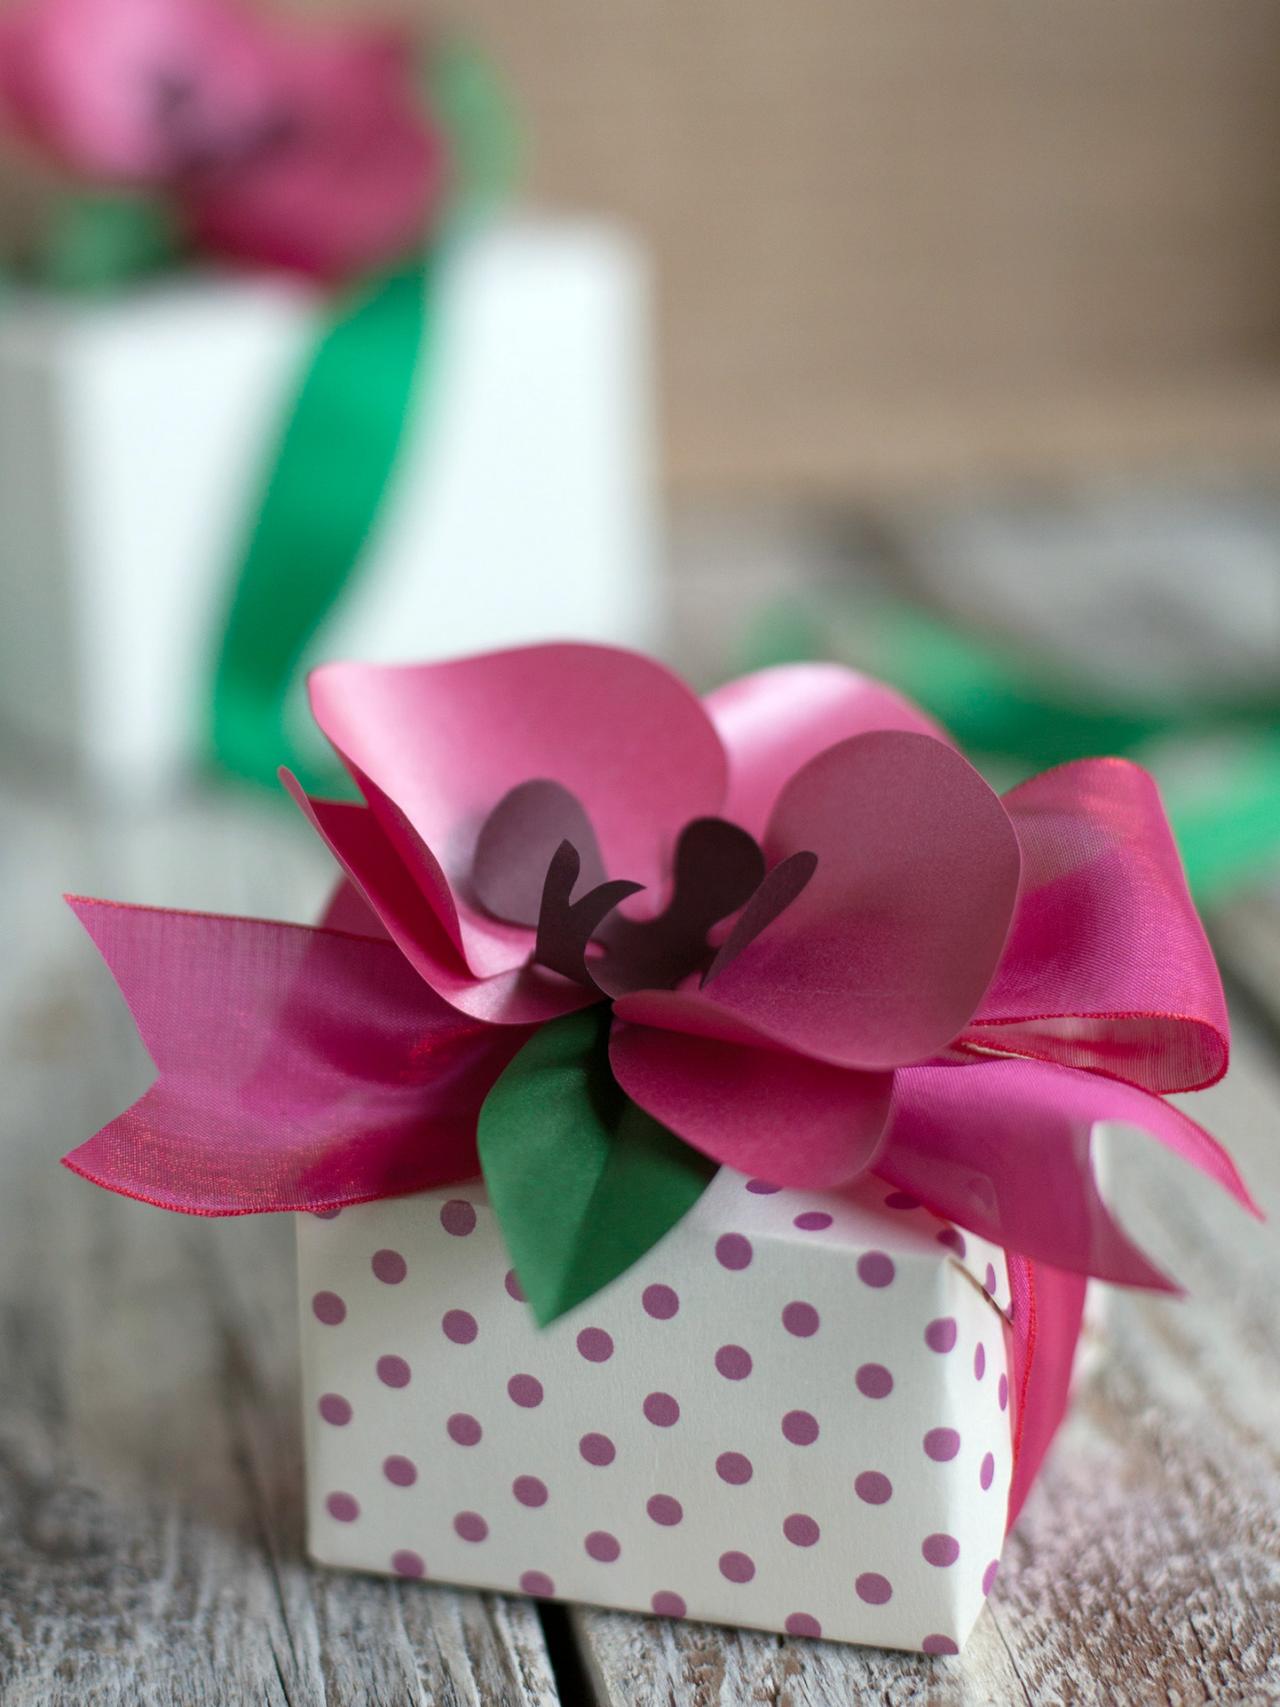
Beautiful orchid will serve as a wonderful decoration
Tools that you need:
- orchid pattern;
- desktop printer;
- scissors;
- glue;
- paper.
STEP 1
Print and cut all the orchid petals, which are indicated in the template, to the selected color.
Then print, cut the center of the orchid on the second color paper, sheet template on green paper. Cut two sets of petals, one center, two leaves for each flower.
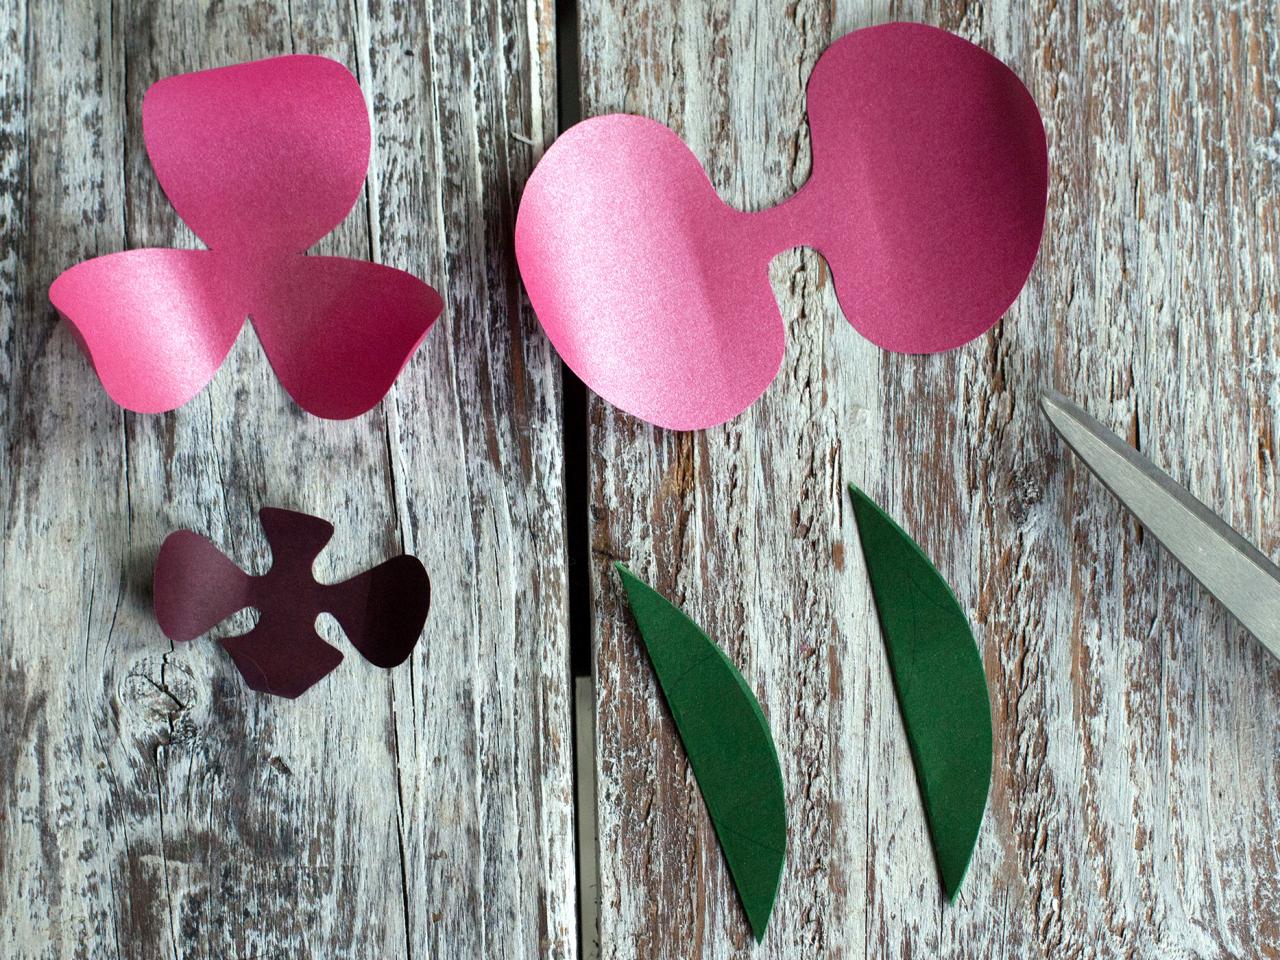
All parts from the template are ready
STEP 2
Use the edge of the scissors to twist each petal and center piece. Fold the leaves in half. Wrap each petal in the opposite direction to form a bowl shape. Roll both sides on the leaves.
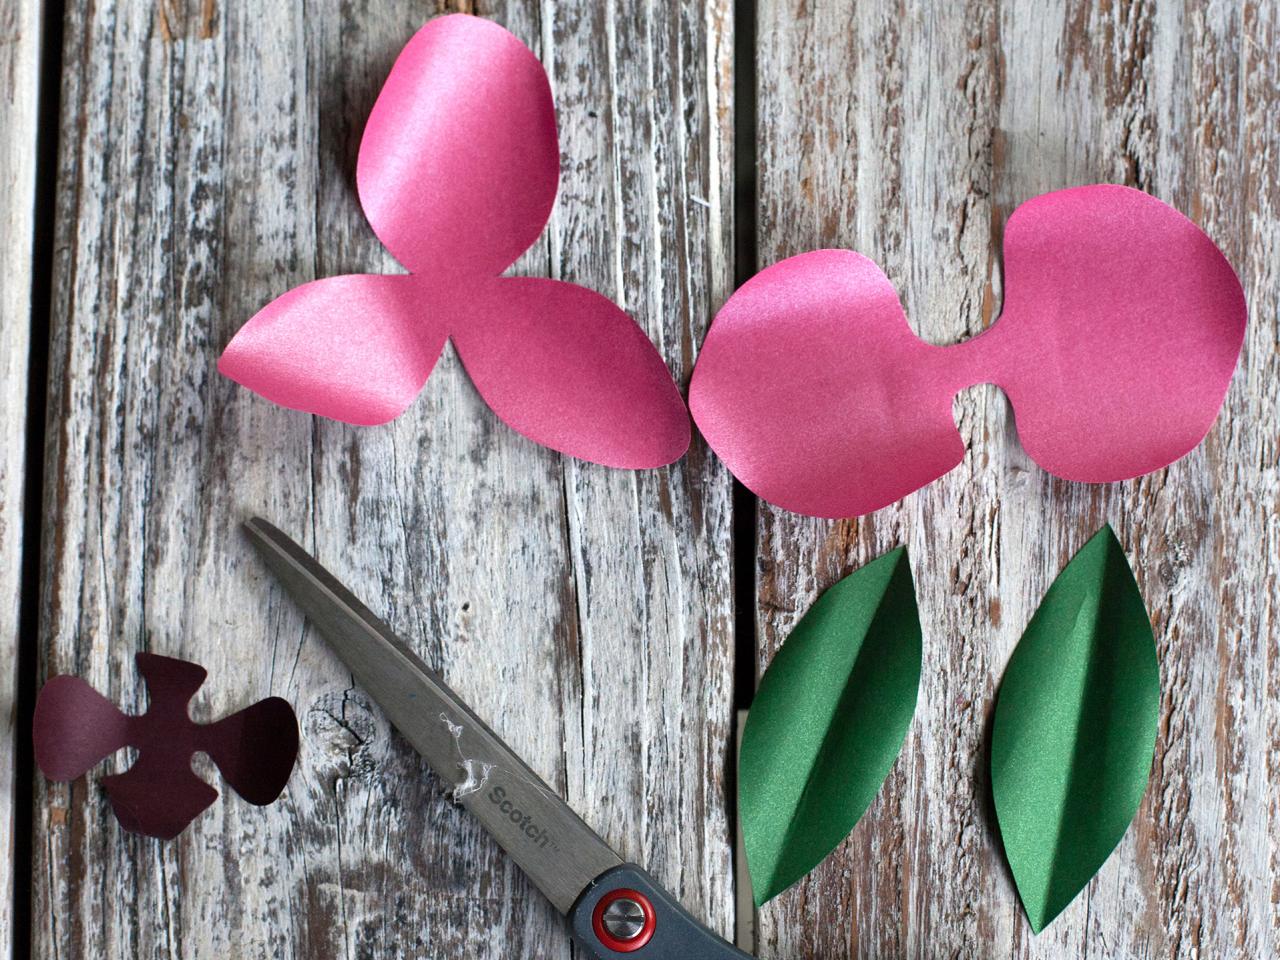
Use scissors to bend future petals.
STEP 3
Attach each layer with hot glue. The largest of the three petal figures is located below the curved petals up, followed by gluing a two-piece petal into the center and central part on top of two layers of petals.
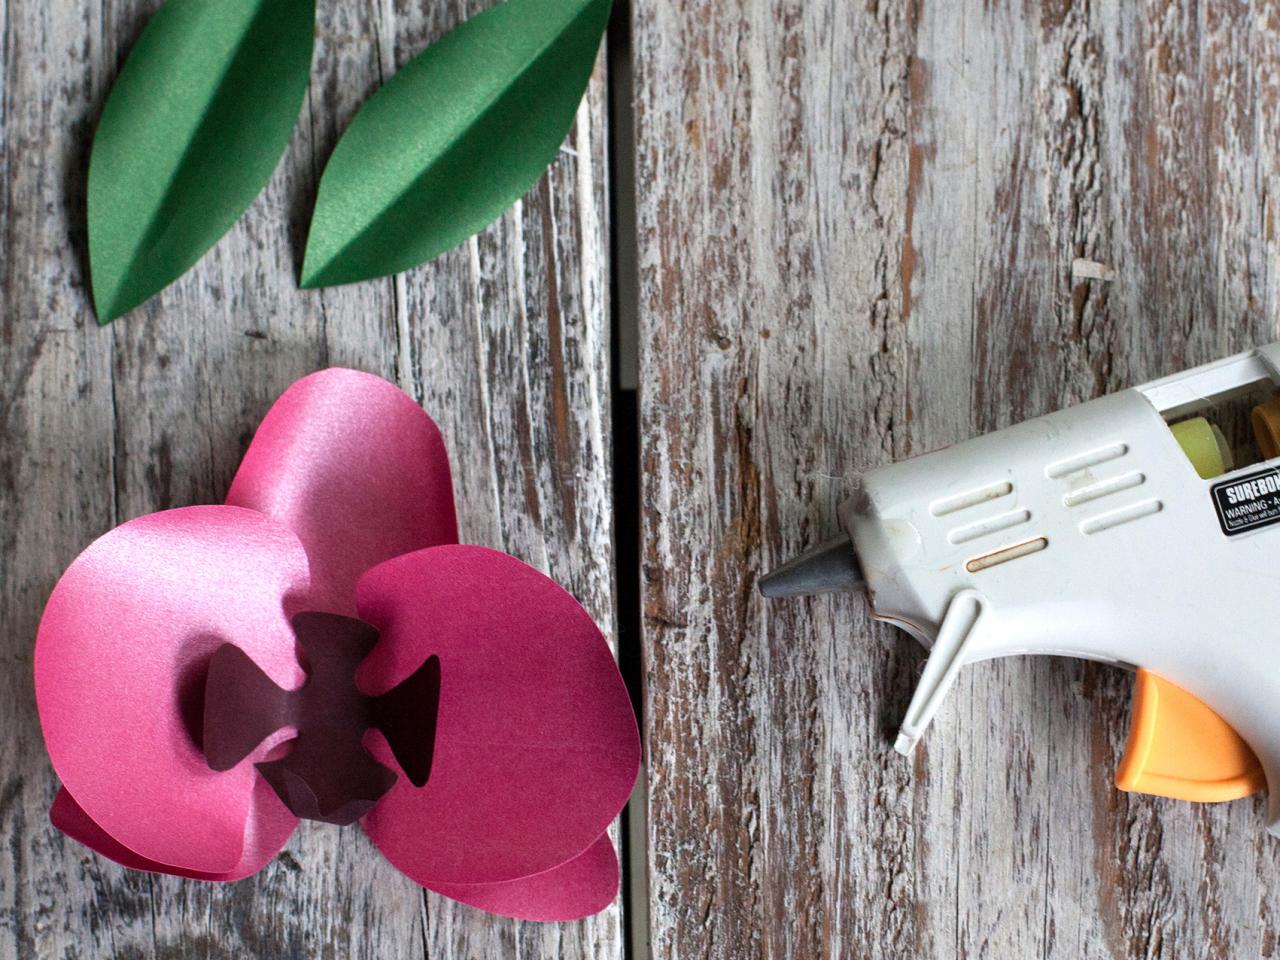
Glue the parts with liquid nails
STEP 4
Attach the sheets by turning the flower and placing two sheets in the back.
STEP 5
To make a hair clip, bracelet or gift wrap, glue the fastener to the back of the flower.
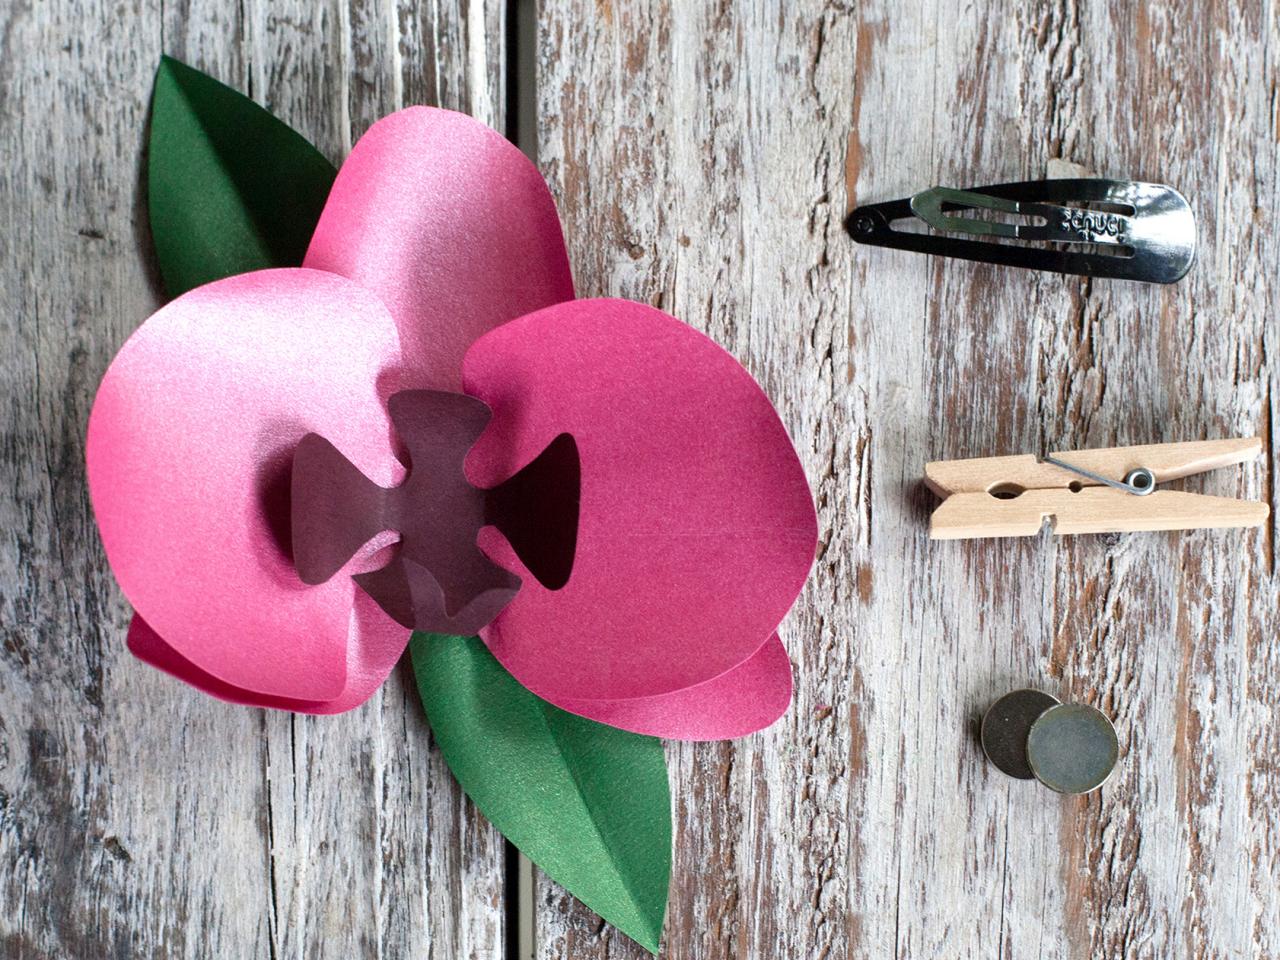
Attach the clip to the flower
STEP 6
Attach the trunk. For the orchid on the stem, bend the end of the wire at an angle. Cut a small sheet-like figure by making a one-third cut in the center and slide the angle of the wire into this fold. Glue the petal and wire behind the orchid.
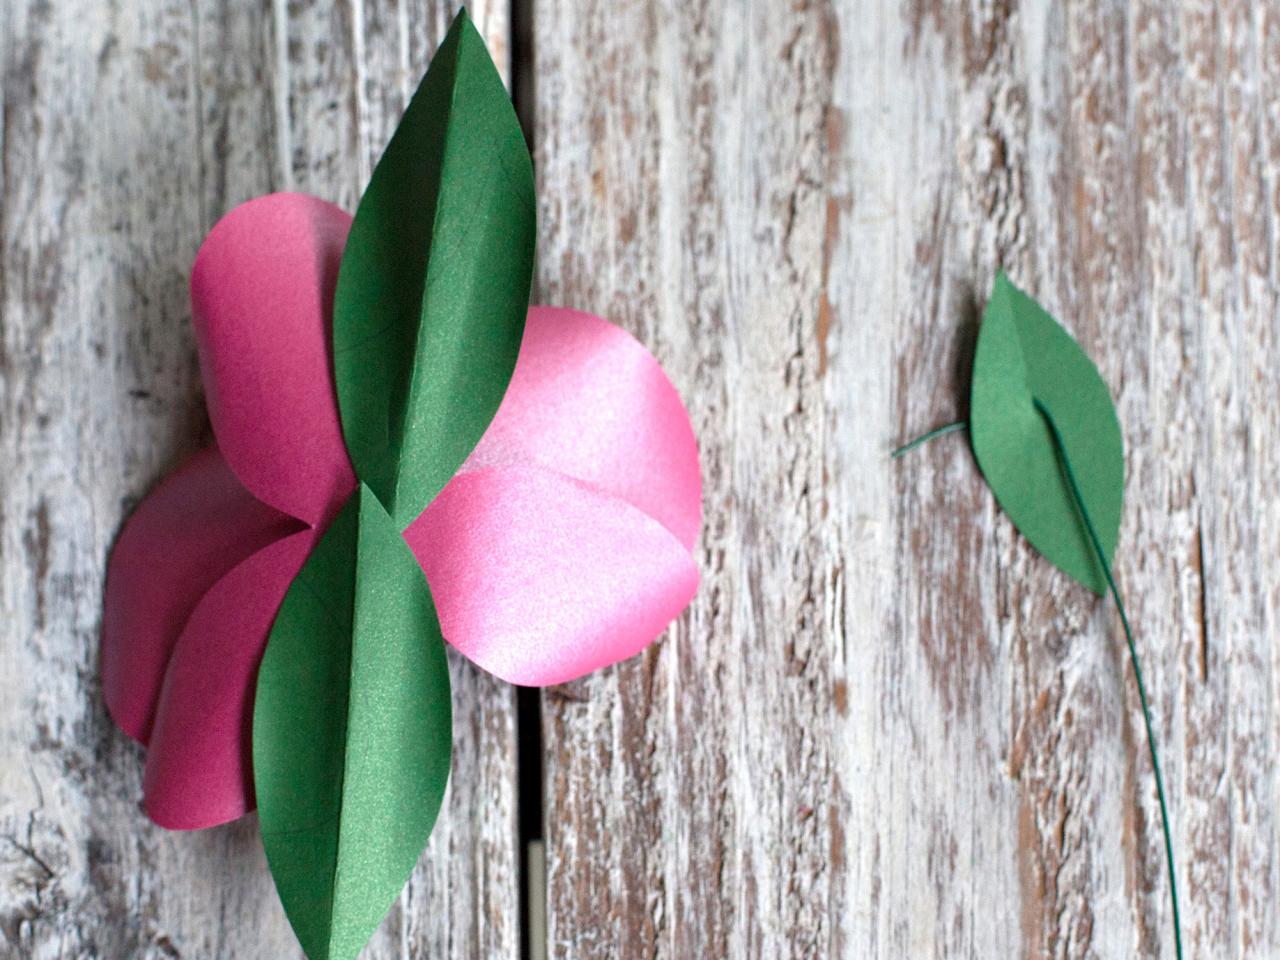
Attach the wire and petals to the flower
STEP 7
Ready-made orchids can be used not only in decoration, but also in order to make a gift, a bouquet, to wear them on a sweater or in hair.
STEP 8
These orchids can be a great alternative to a wedding bouquet or decoration.
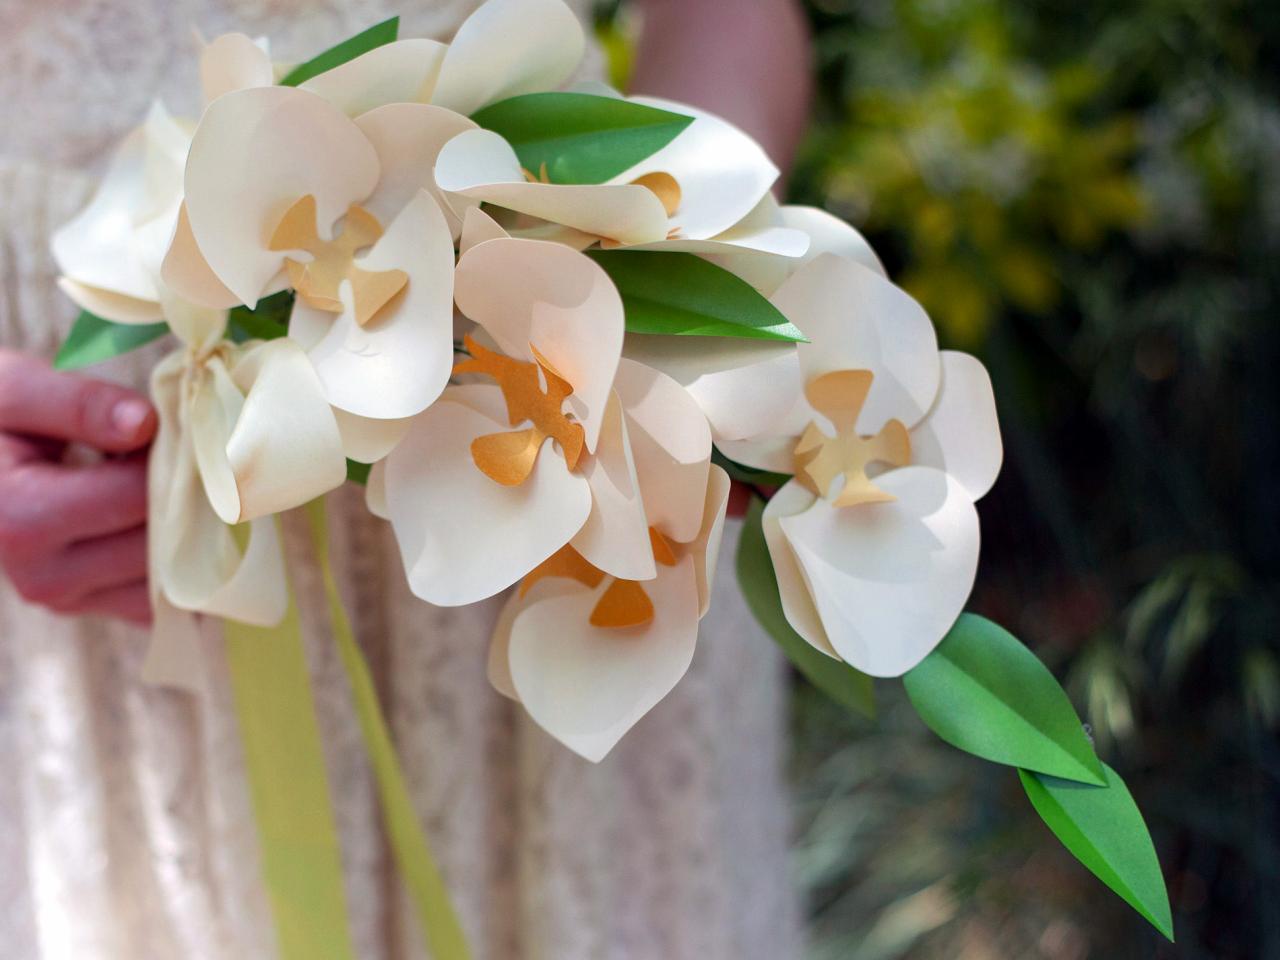
This product is perfect for special occasions.
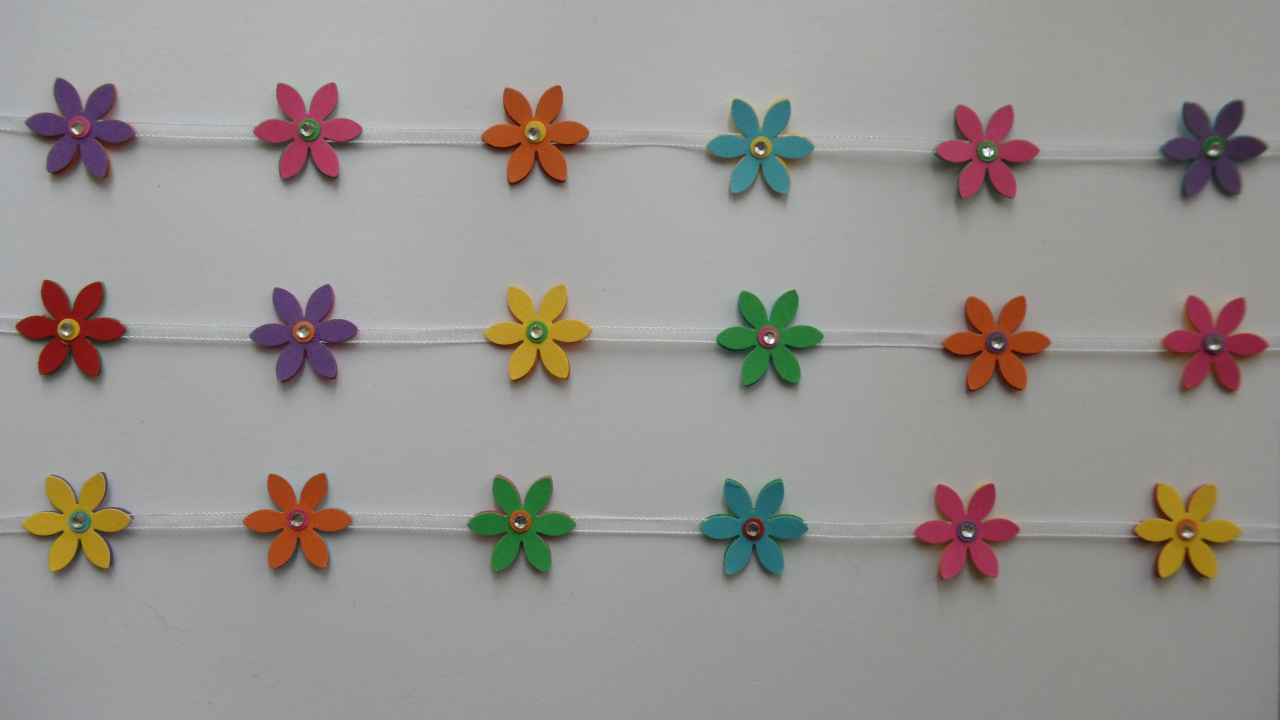
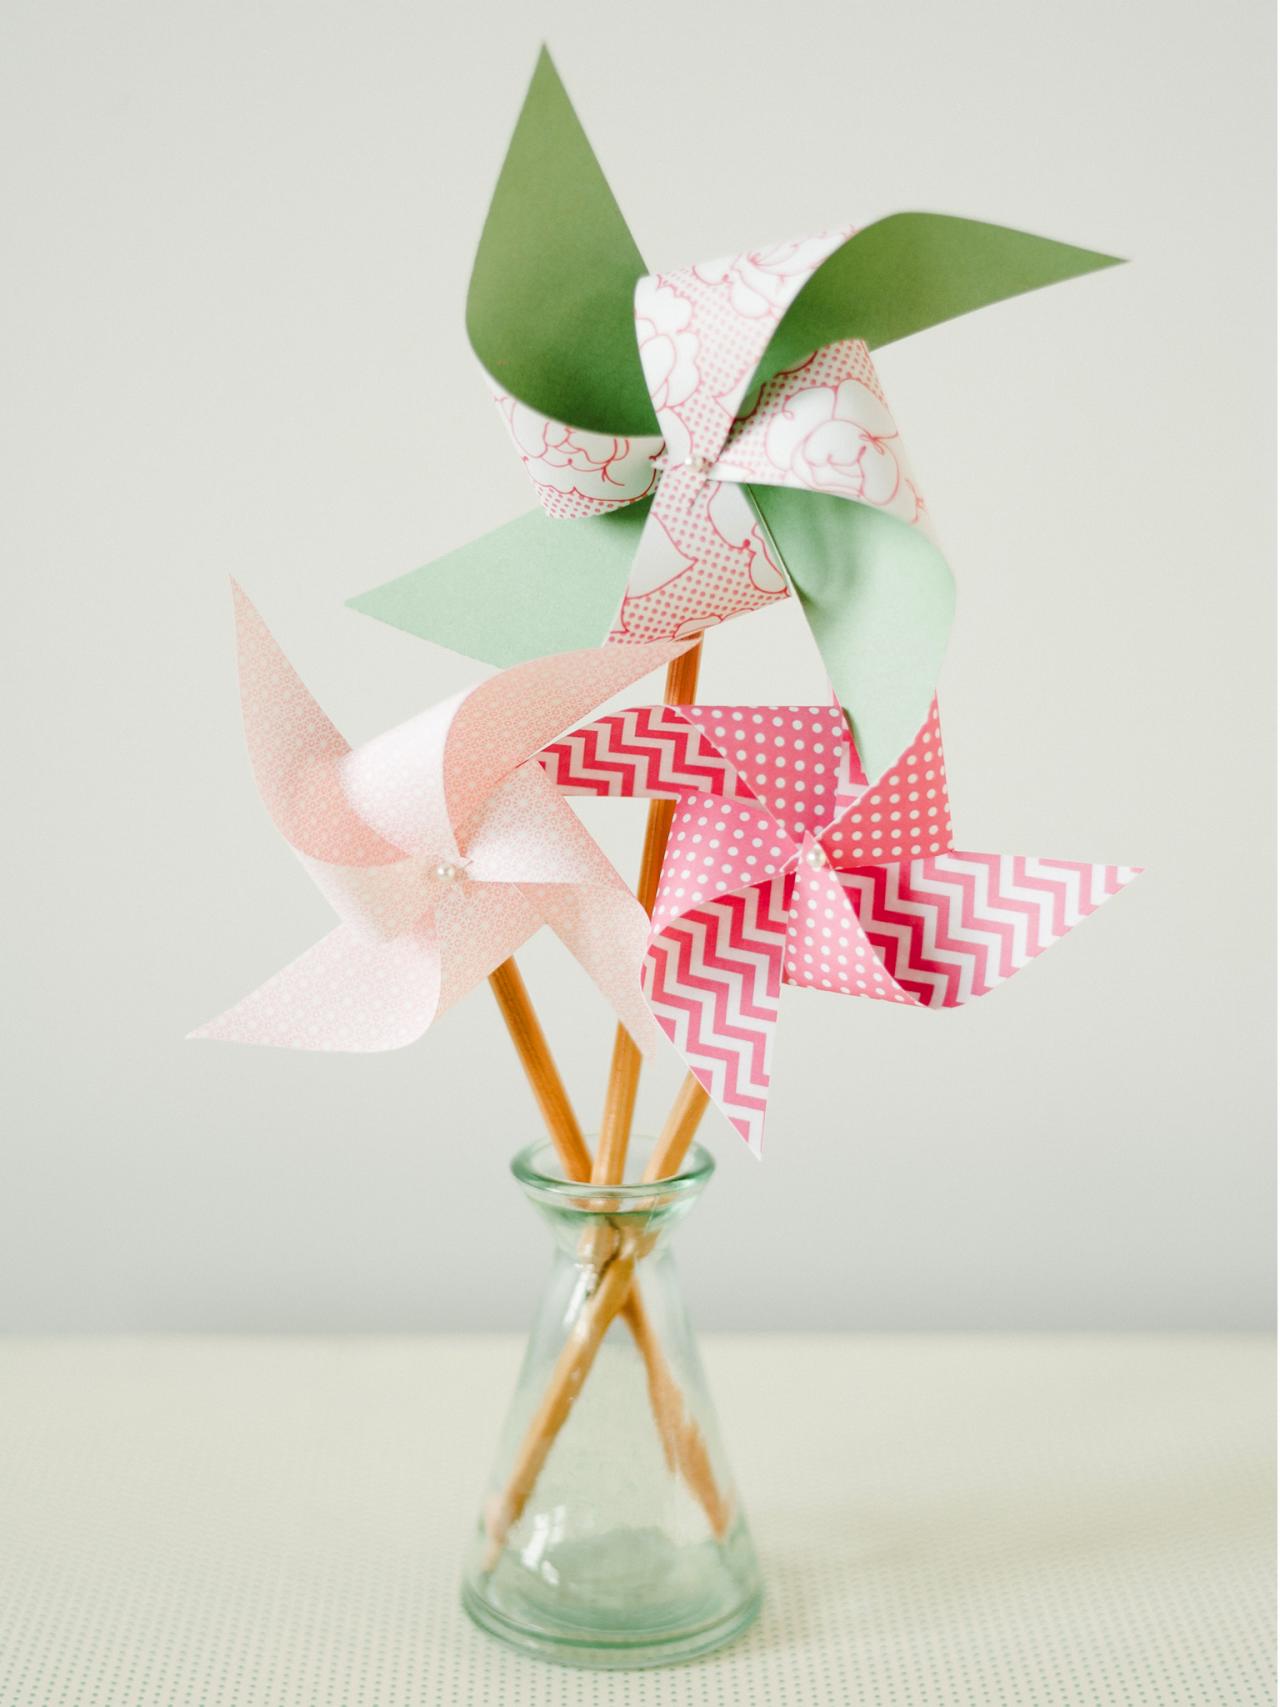
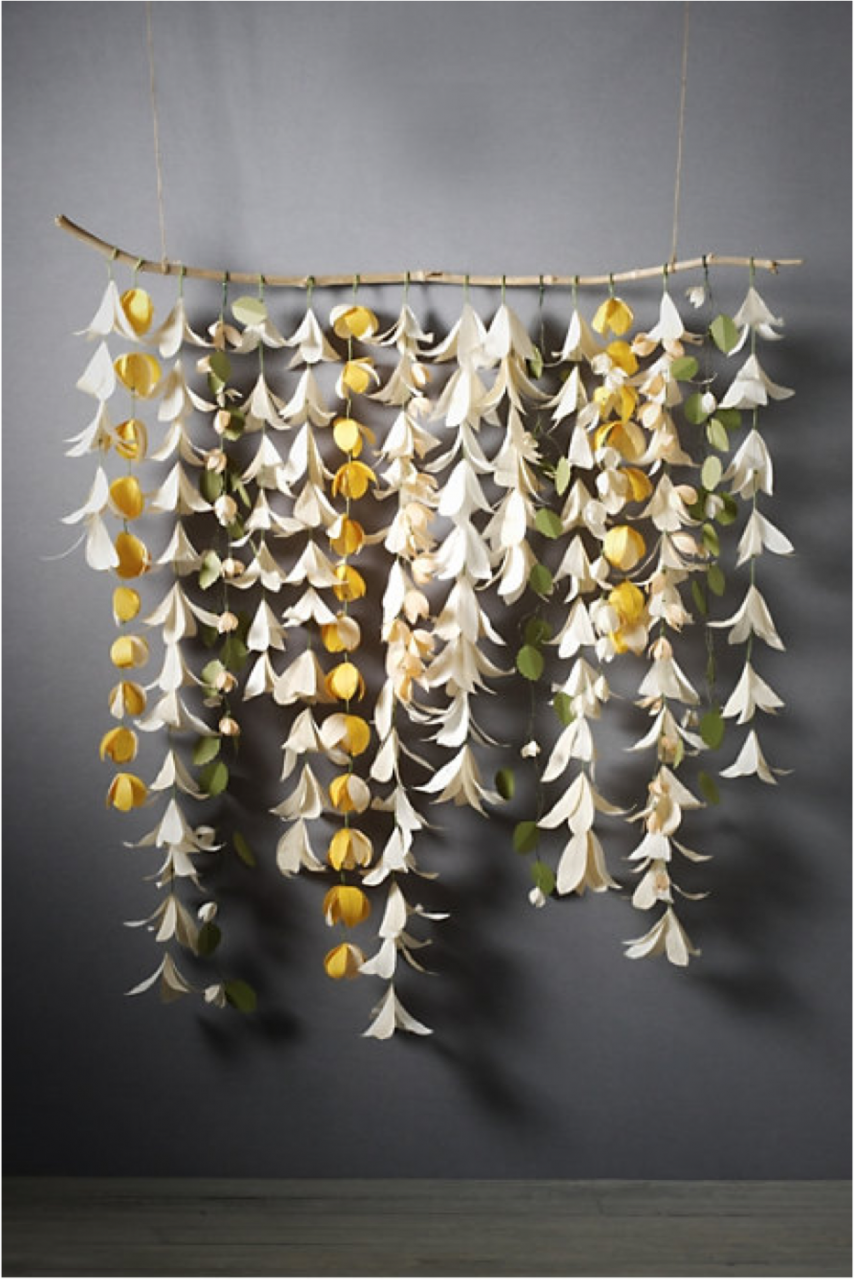
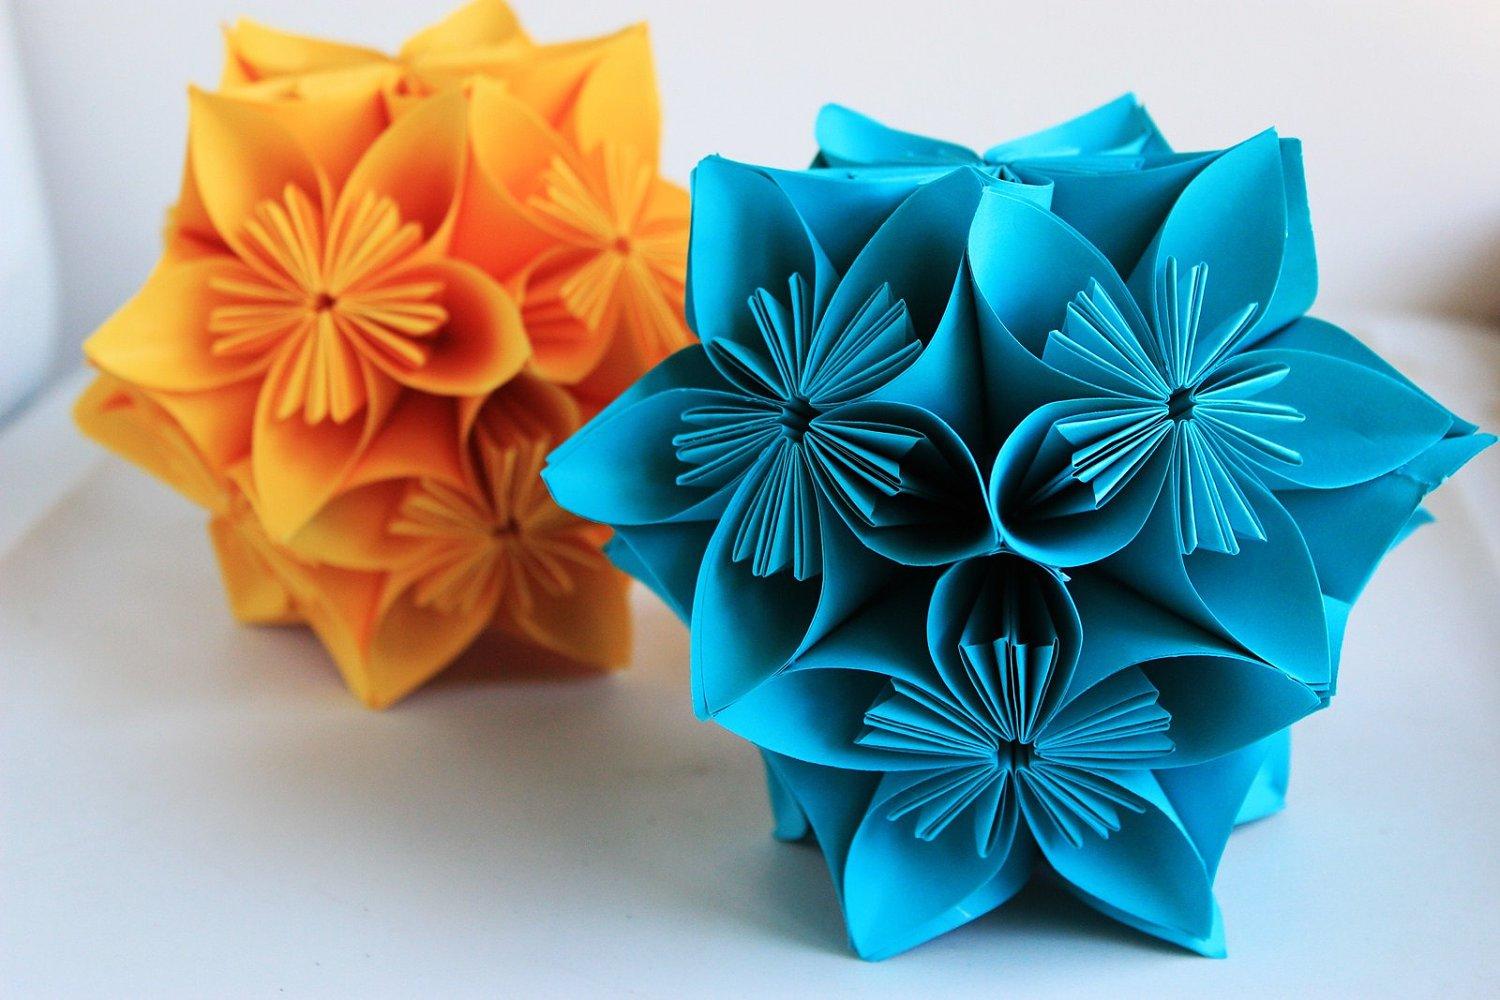
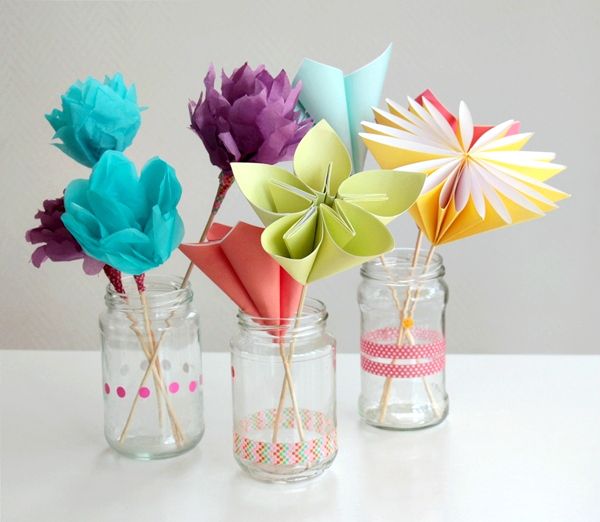
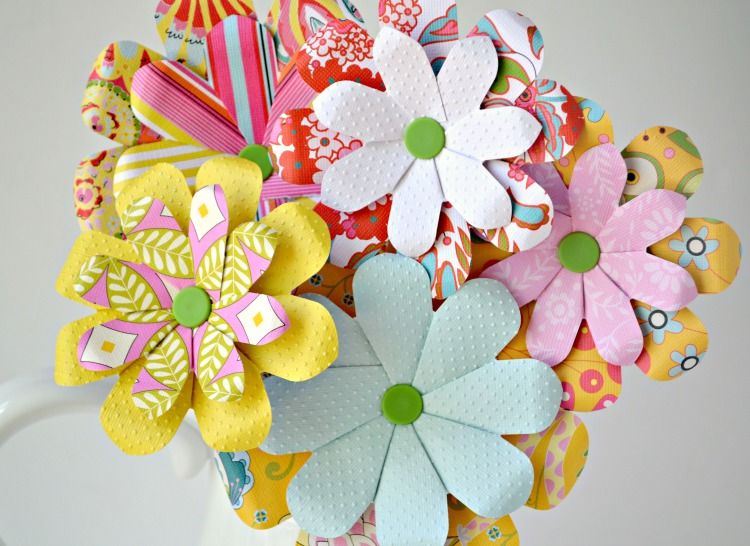
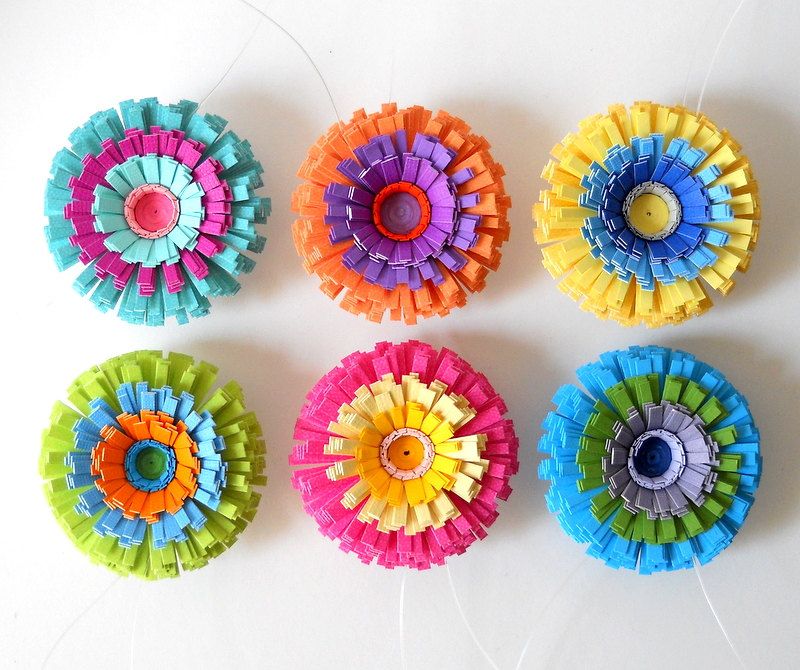
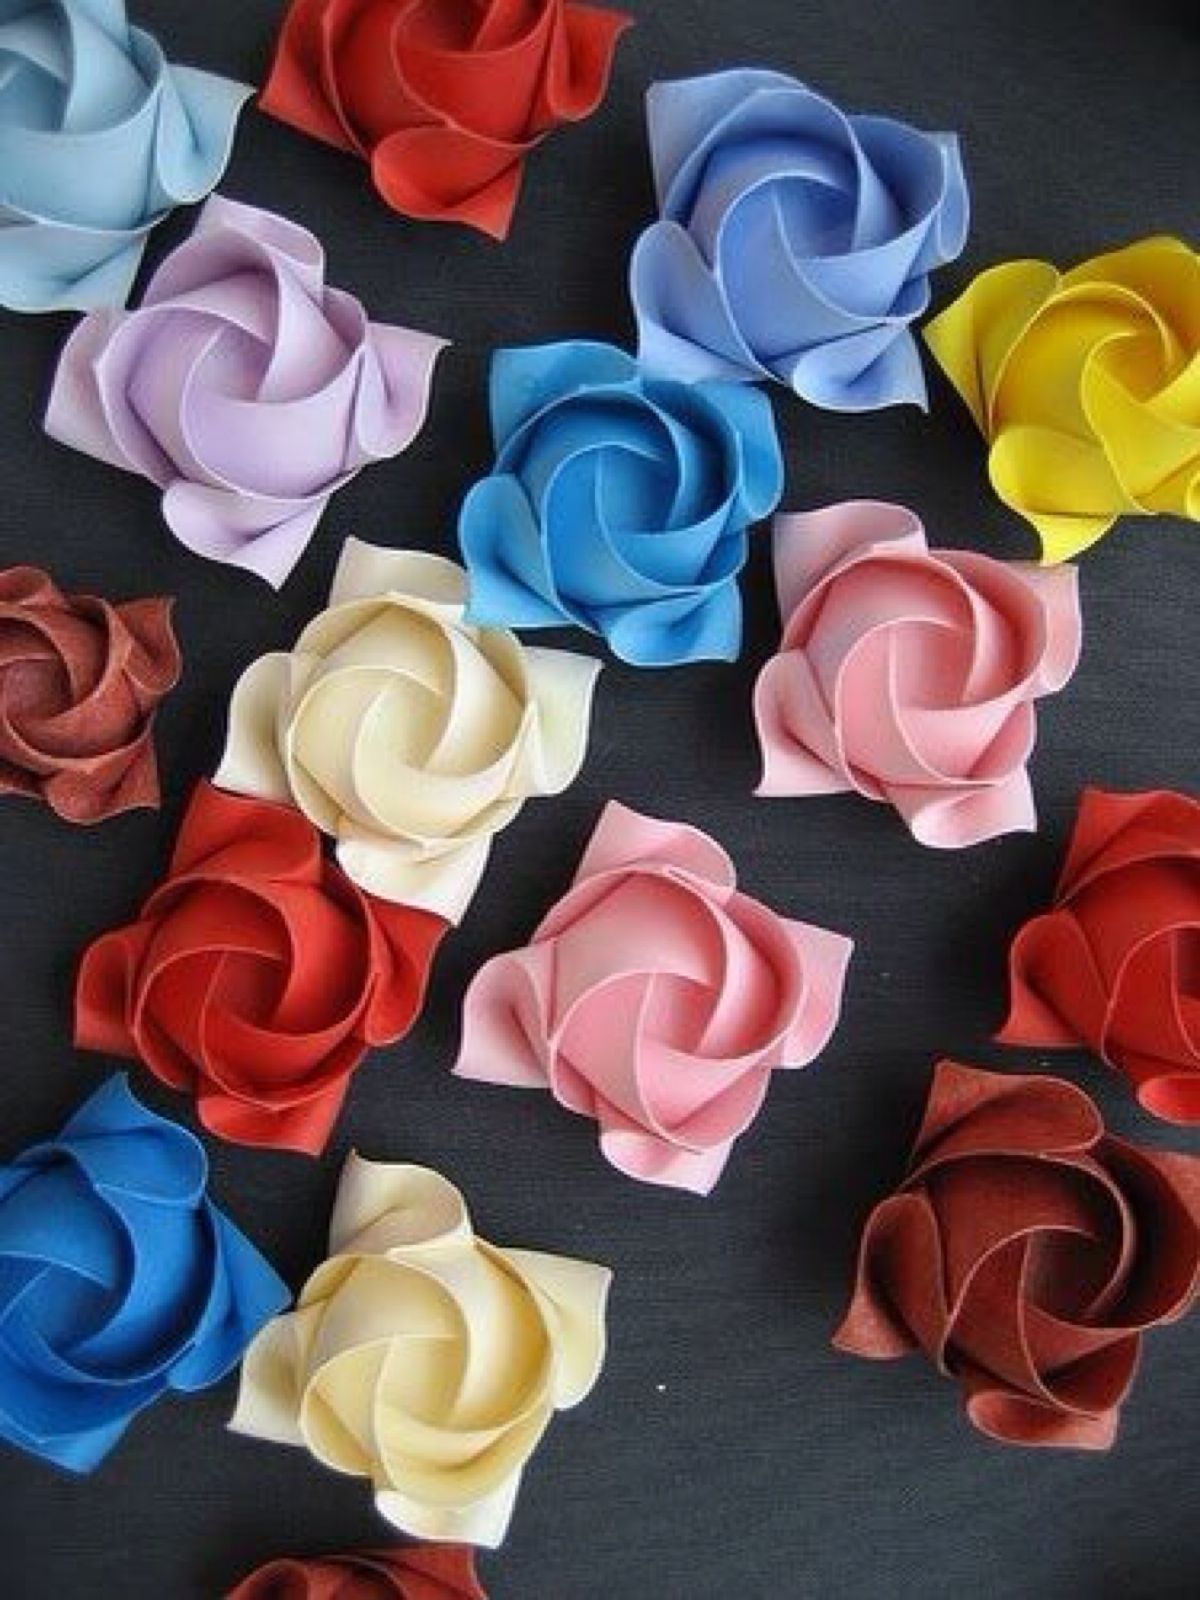
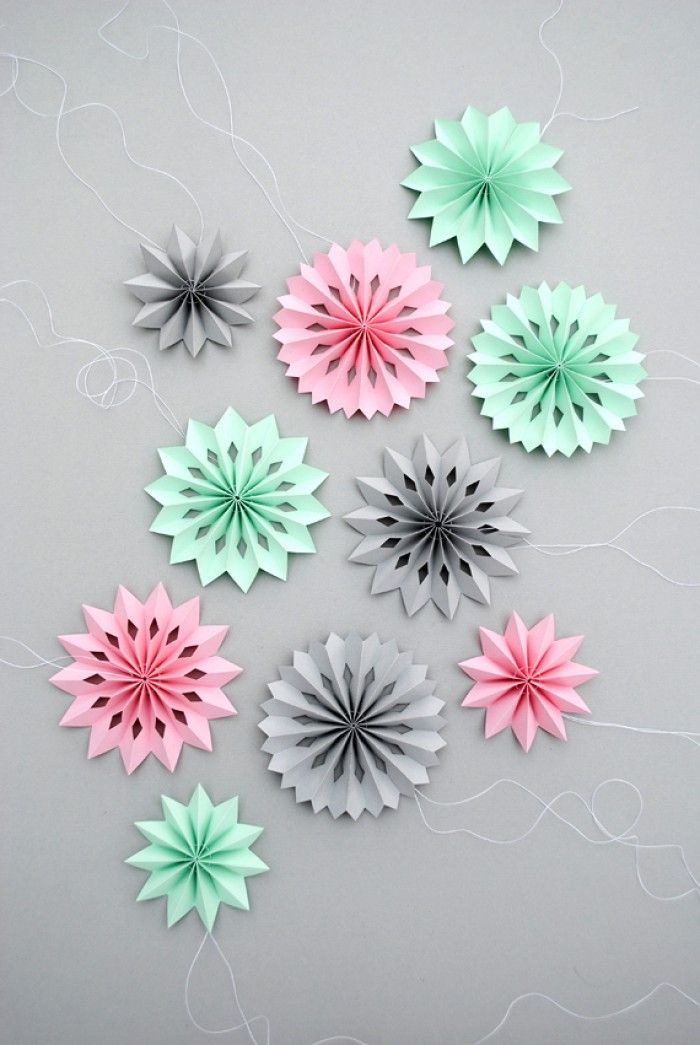
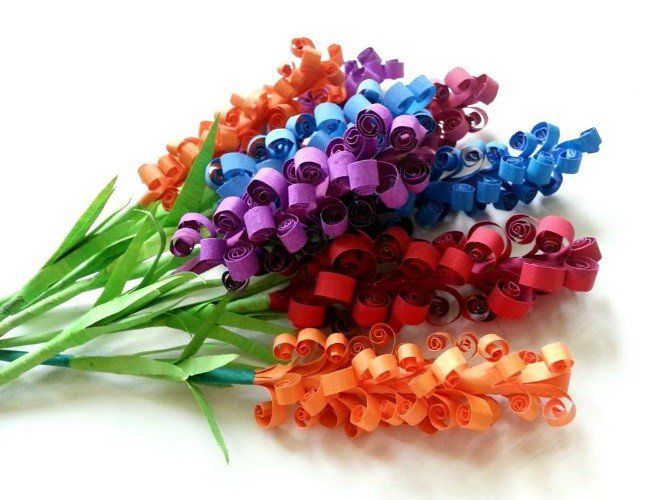
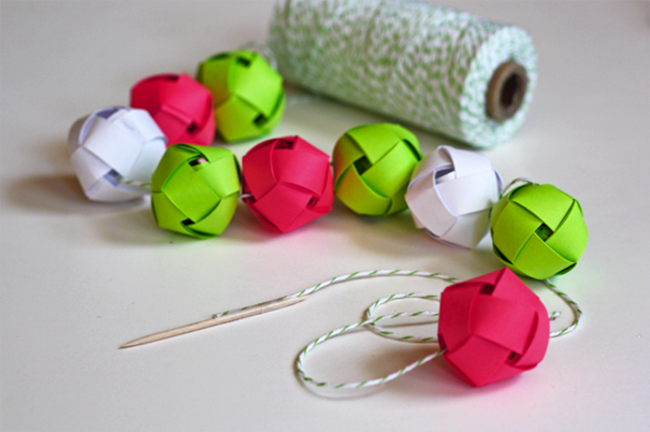
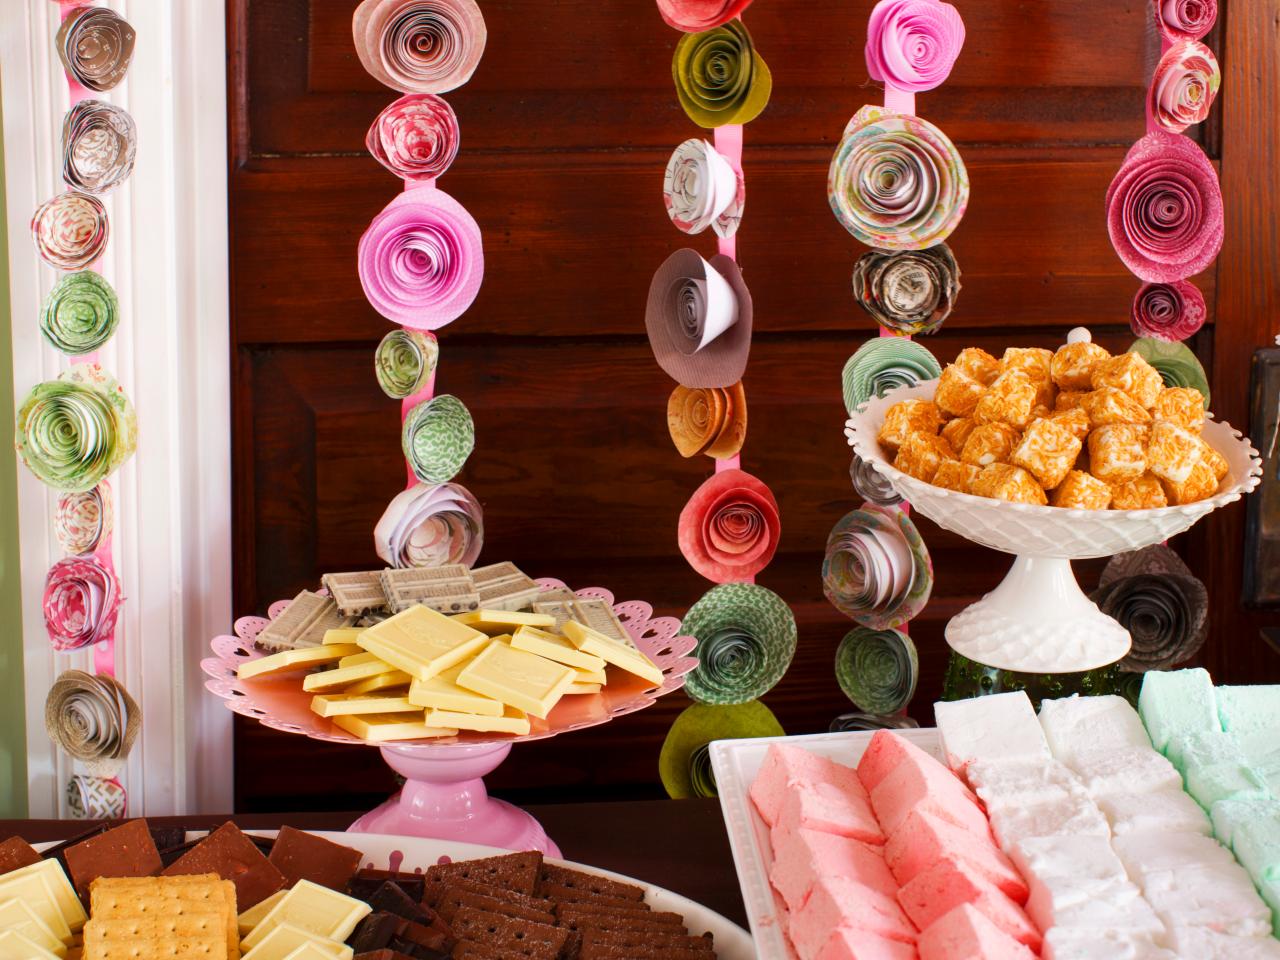
Flower Garlands
Create yourself a playful mood with these easy-to-make bulk paper flowers.
Party Flower Ornament
You will need:
- glue gun;
- scissors;
- glue stick;
- decorative tape;
- color paper.
STEP 1
Choose colors
Choose a matching color for a balanced color scheme. For a monochromatic approach, consider layered shades and shades of the same color. For a more multi-color effect, blend together those shades that differ in contrast.
STEP 2
Fold in half
Use square sheets, as the rosebuds are completely round. Rectangular papers should be cut to a square state. The first step in this process is to fold each sheet of square paper in half.
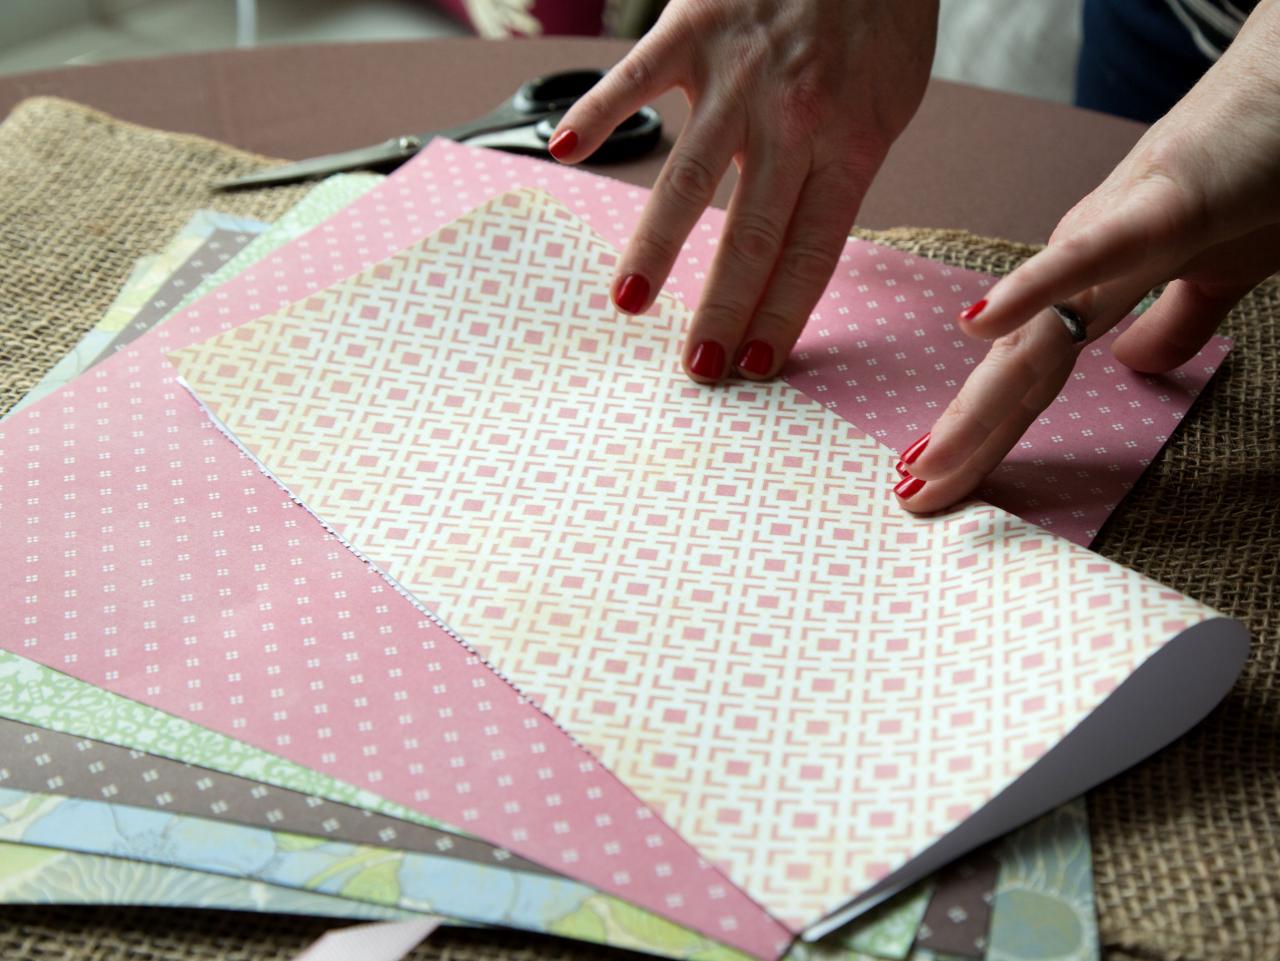
Square sheets fold in half
STEP 3
Fold by a quarter
Once everything has been evenly folded in half, fold it again by a quarter.
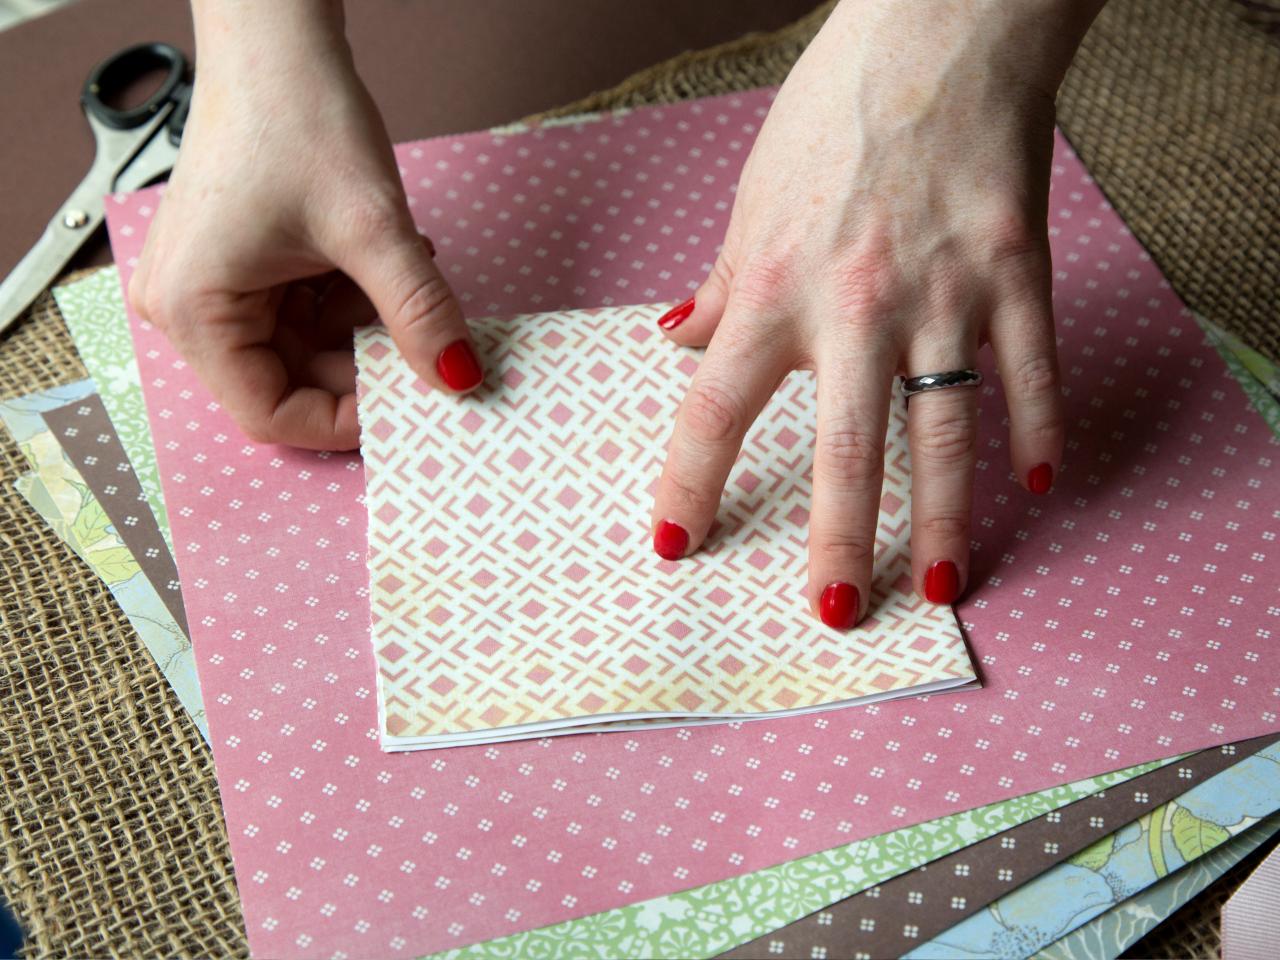
Fold evenly by a quarter
STEP 4
Turn the square into a circle
After folding a quarter, use scissors to round the edge.
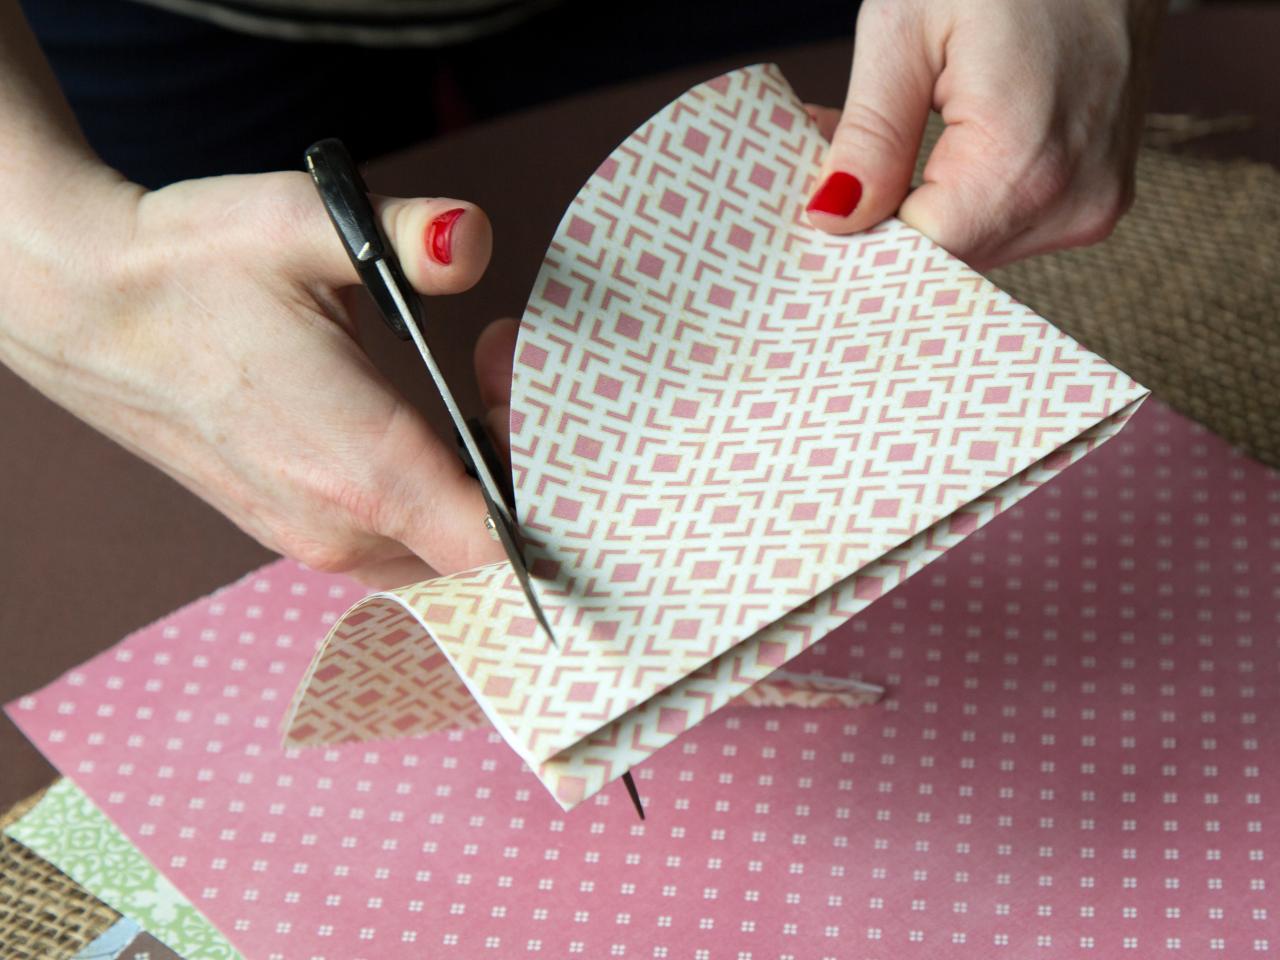
Round the edges
STEP 5
Expand the circle
Expand to open the form. If you managed to create the perfect sphere, it’s time to move on to the next step; however, if the result is oblong or oval, it is better to repeat the previous step to create a perfect circle.
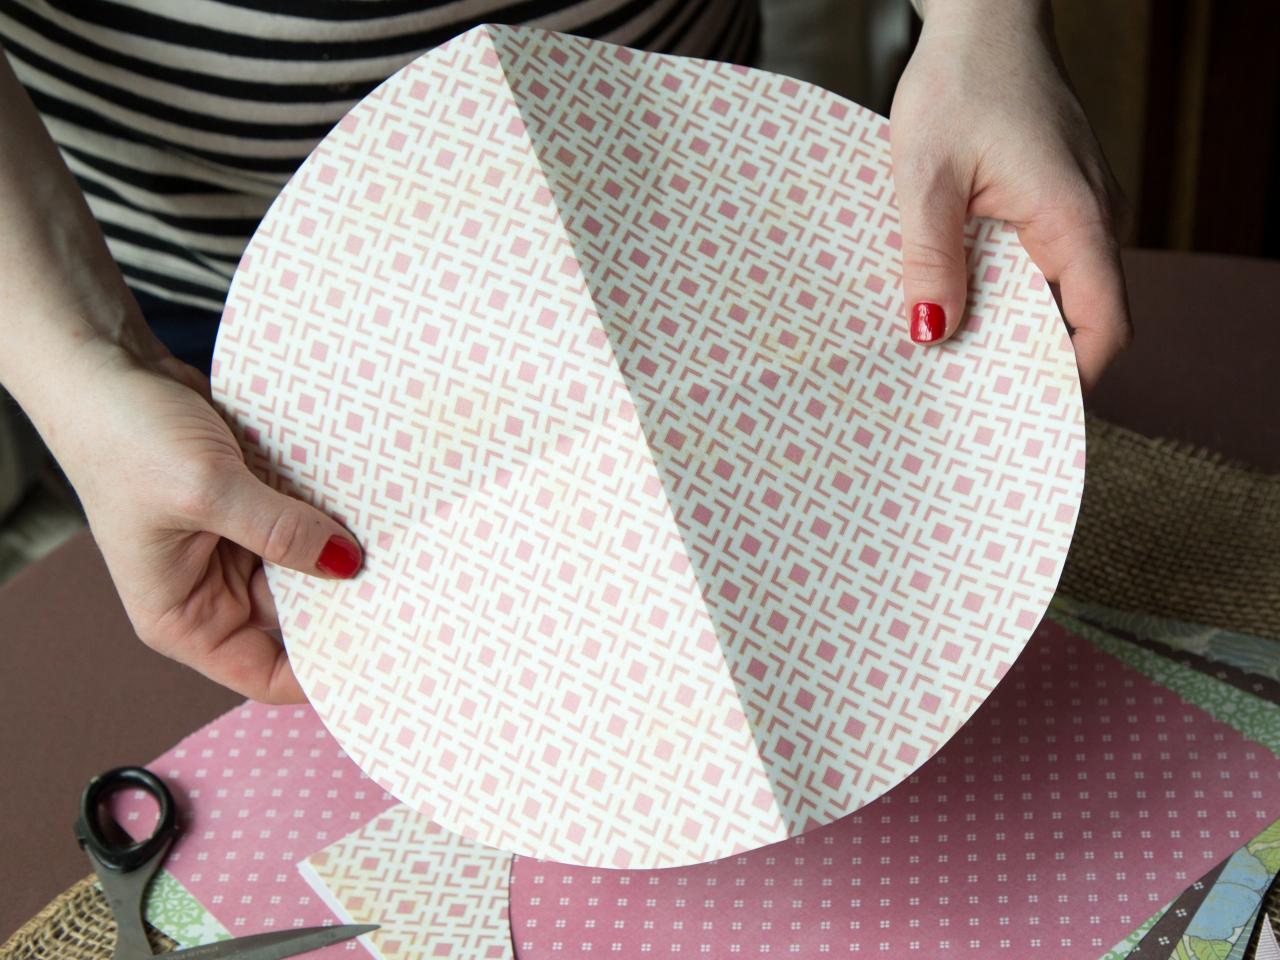
The circle should be perfect
STEP 6
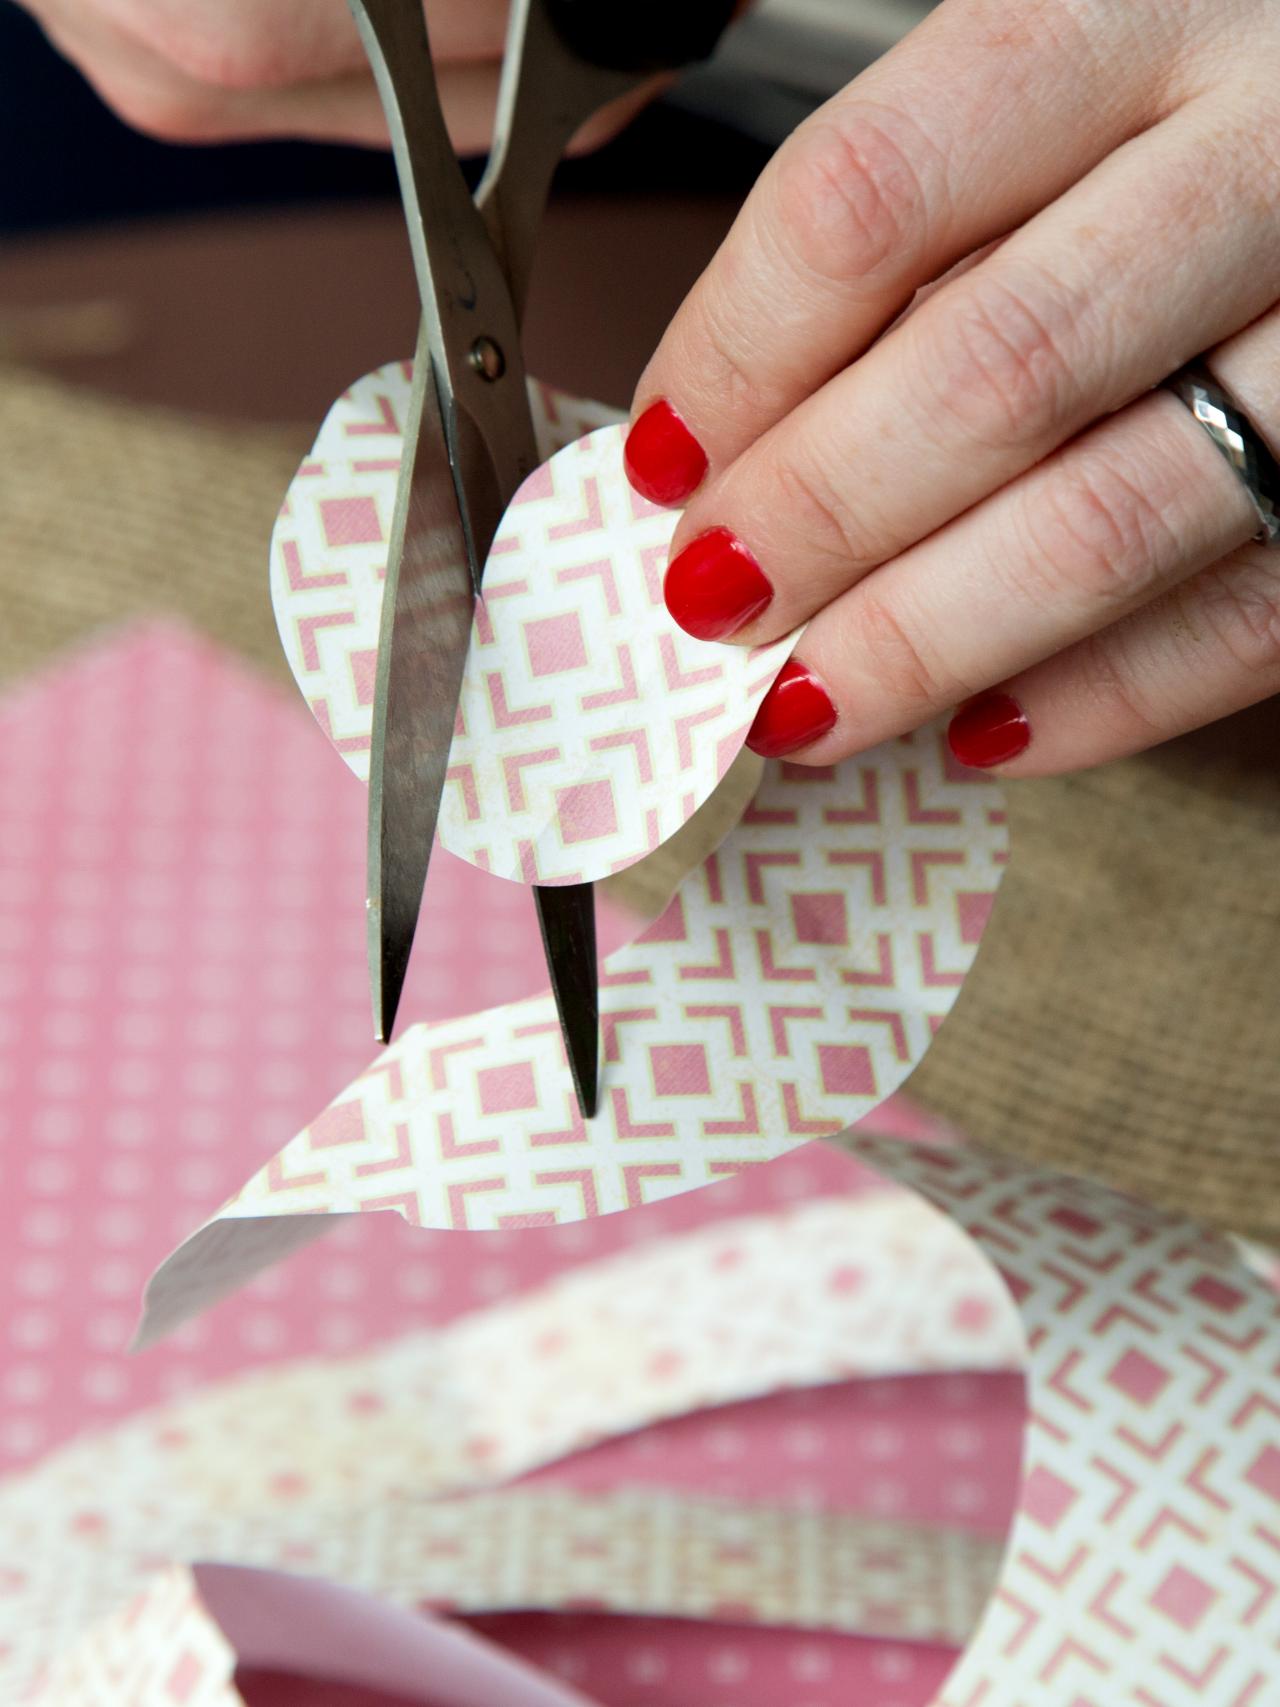
Cut into circles
Starting at the outer edge and paving the way to the center, cut out solid circles in a spiral.
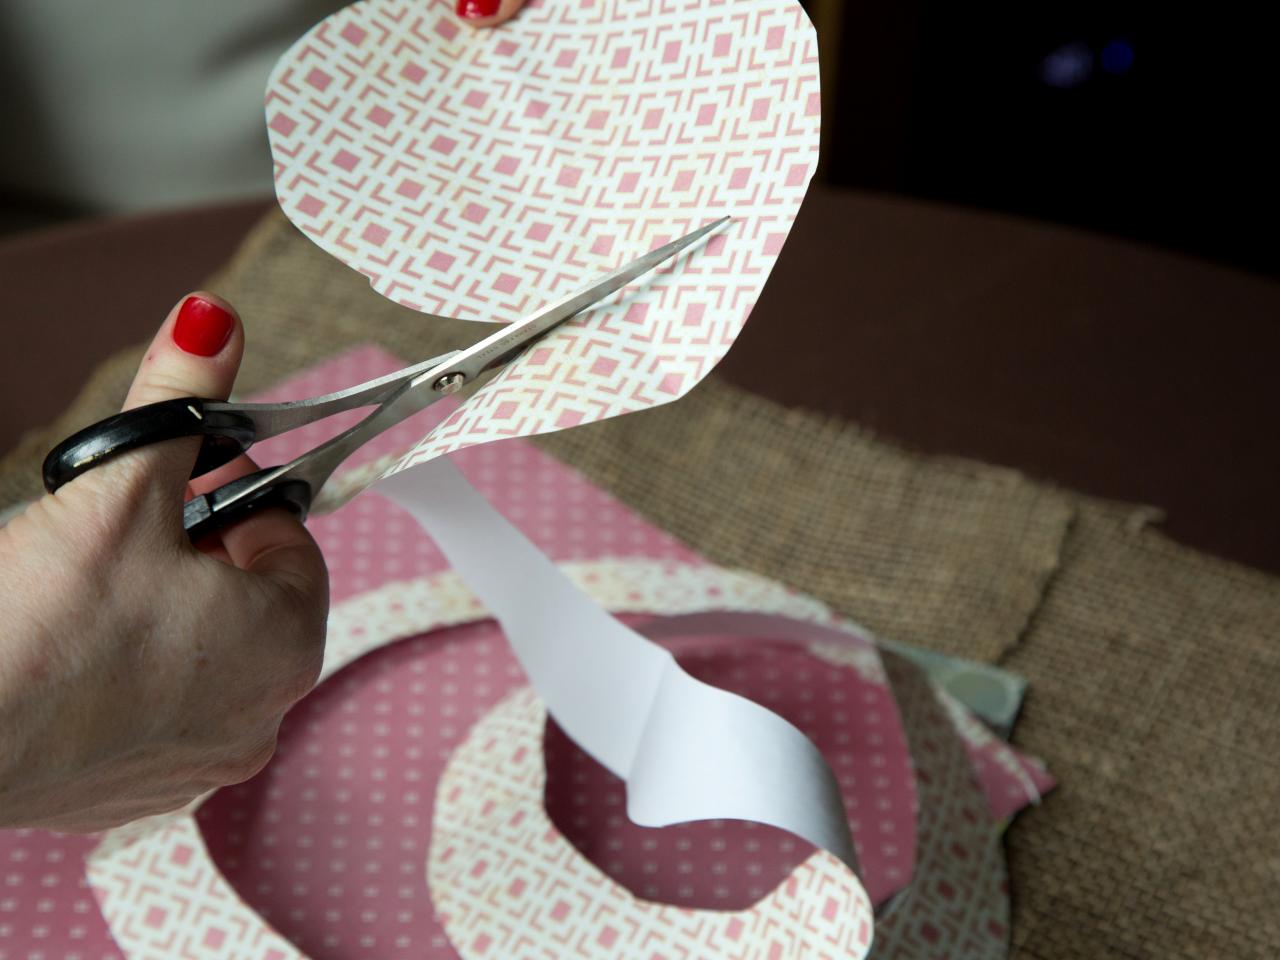
Cut into circles
STEP 7
Form the center of the flower
As you reach the end of the circle when cutting the spirals, leave the oval tongue at the end about 2 cm in diameter. This is part of each paper bud that will hold the spirals together with glue.
Leave the oval tongue at the end of the helix.
STEP 8
Roll up spiral
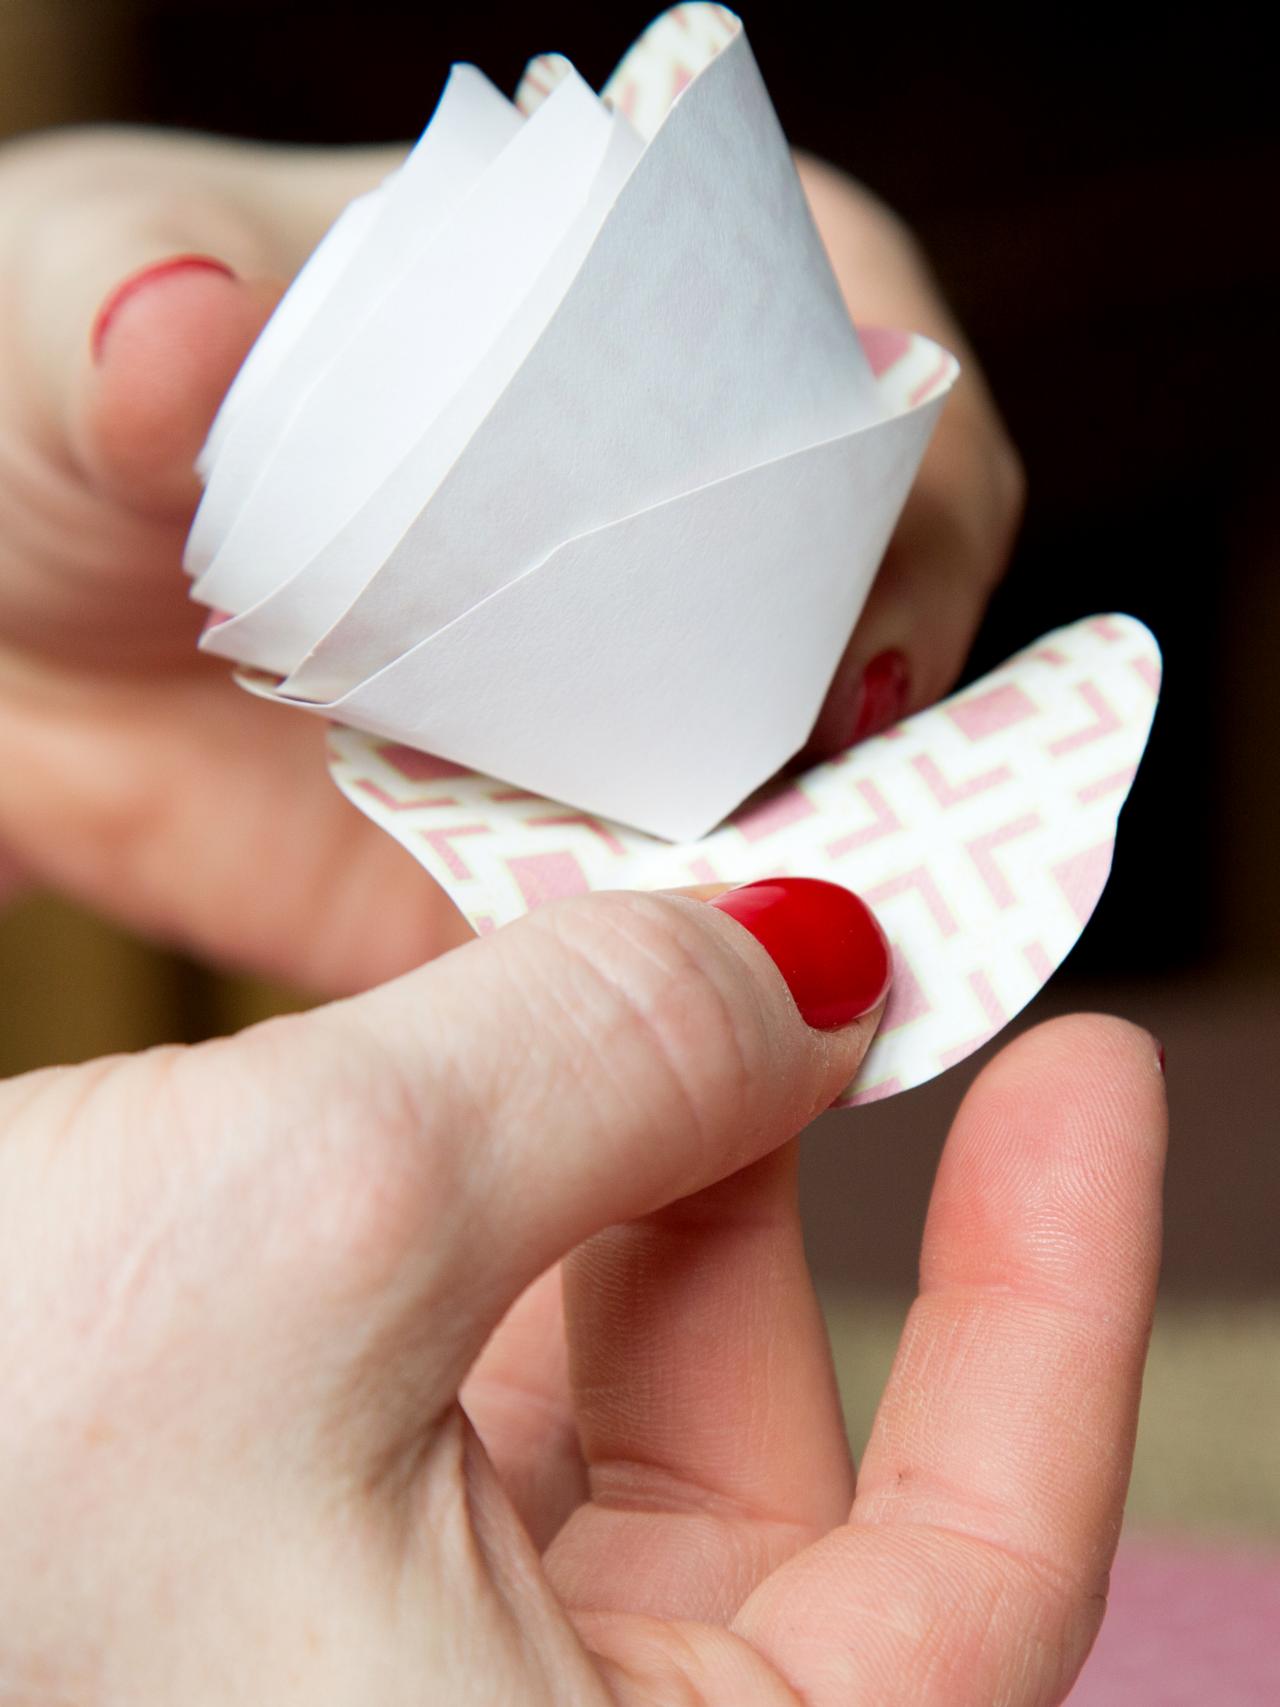
Starting from the end of the spiral opposite the oval tongue, wrap tightly until the shape of the bud of the rose begins to form.
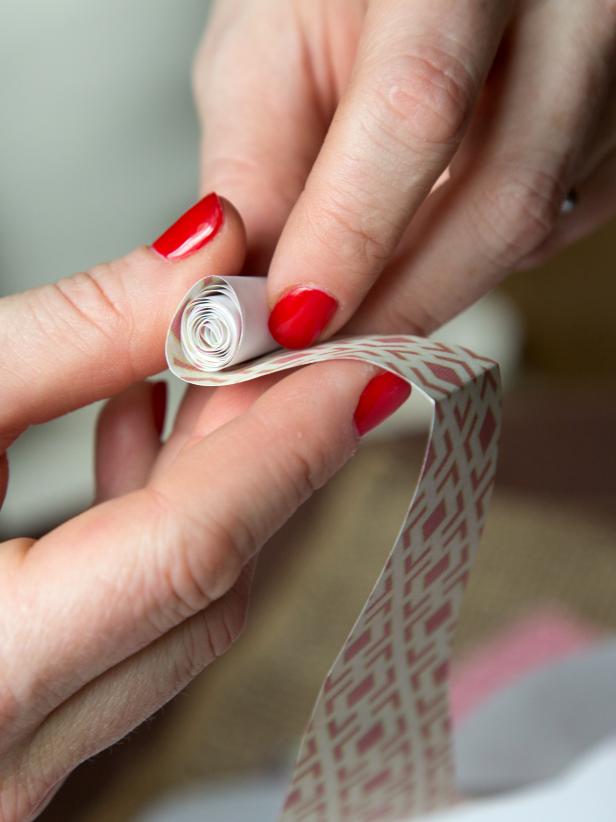
Roll up spiral
STEP 9
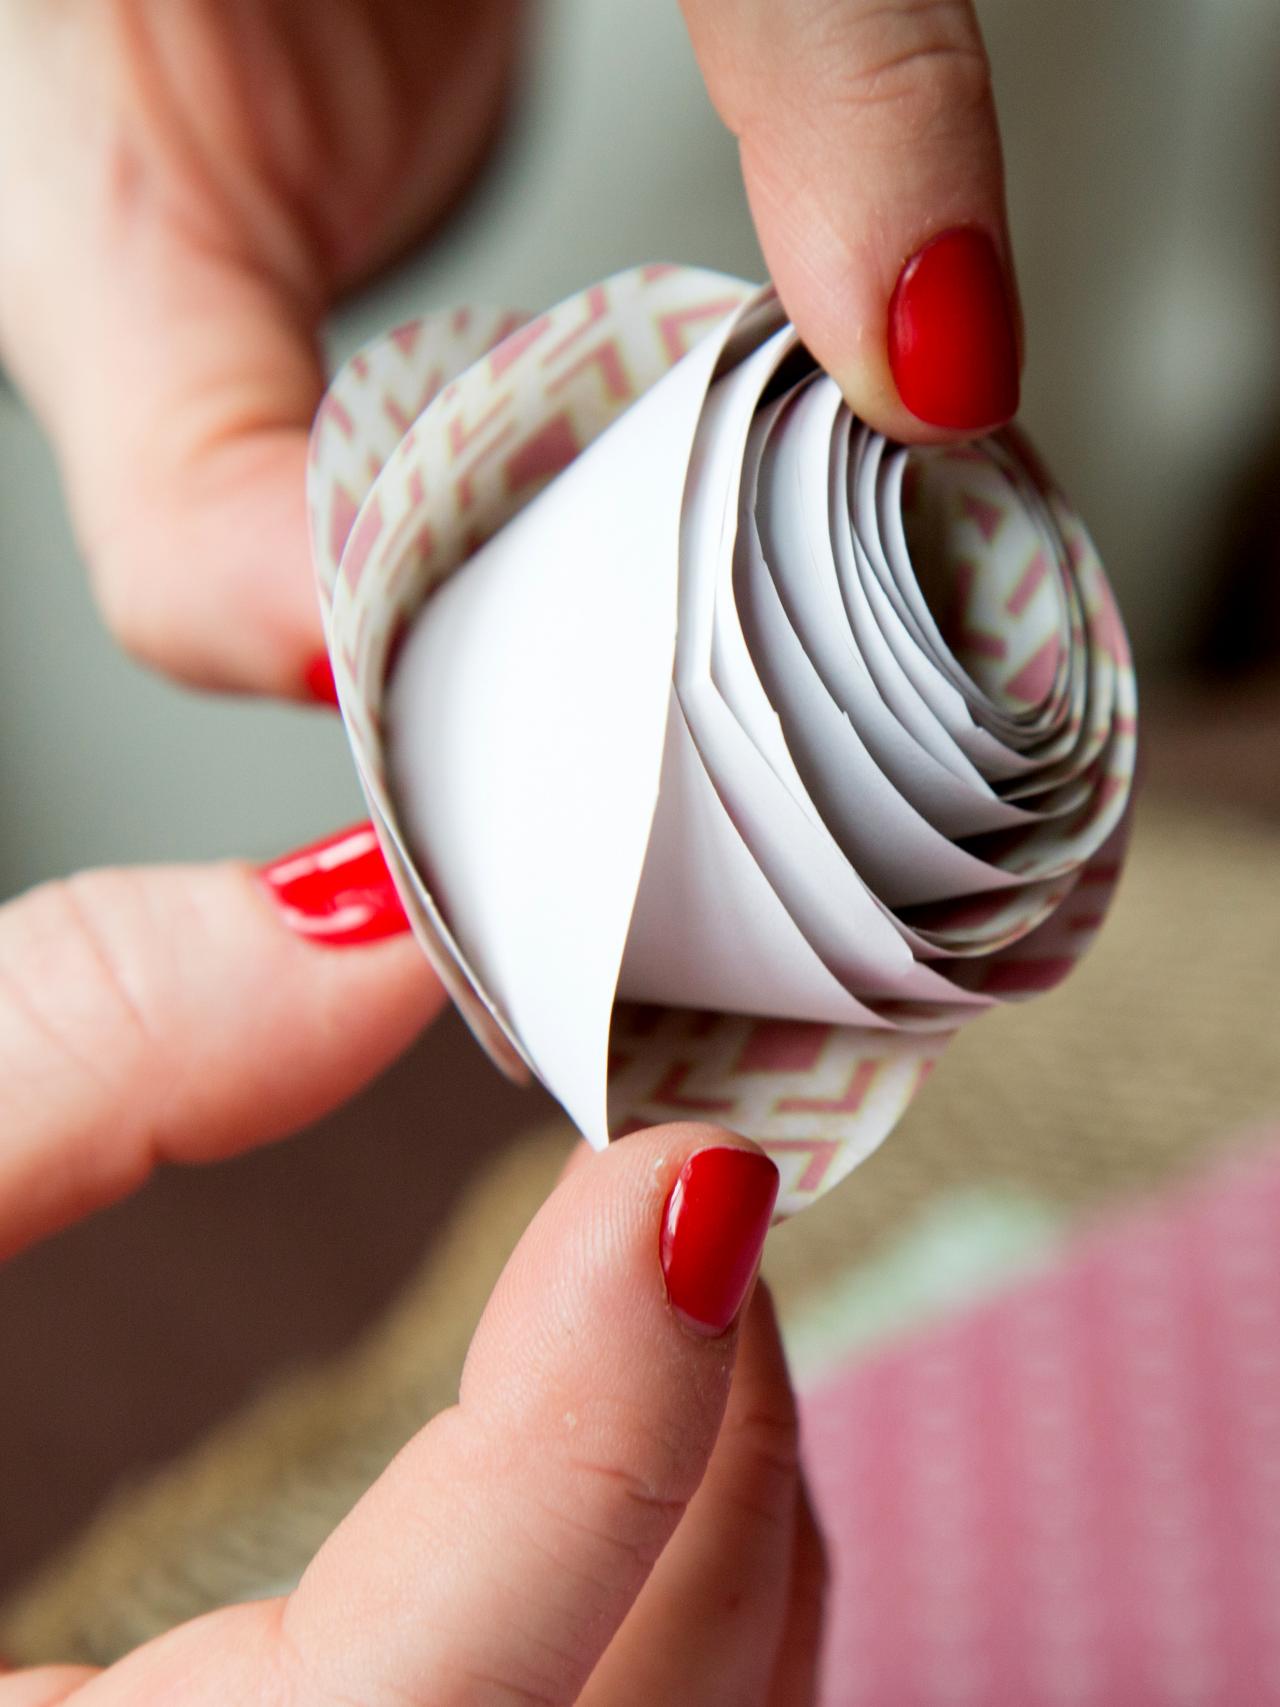
Fluff the ends
While the inner part of the rose bud should be tightly pressed, the outer part can sit more freely.
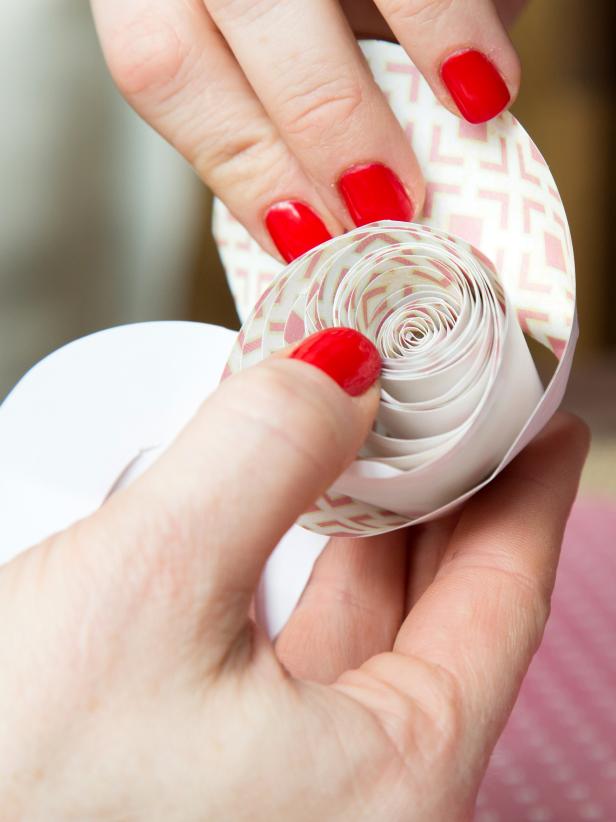
We press the inside
STEP 10
Form the base
Fold the spiral so that the inner circle lies on the bottom of the bud.
Form the base
STEP 11
Glue the base
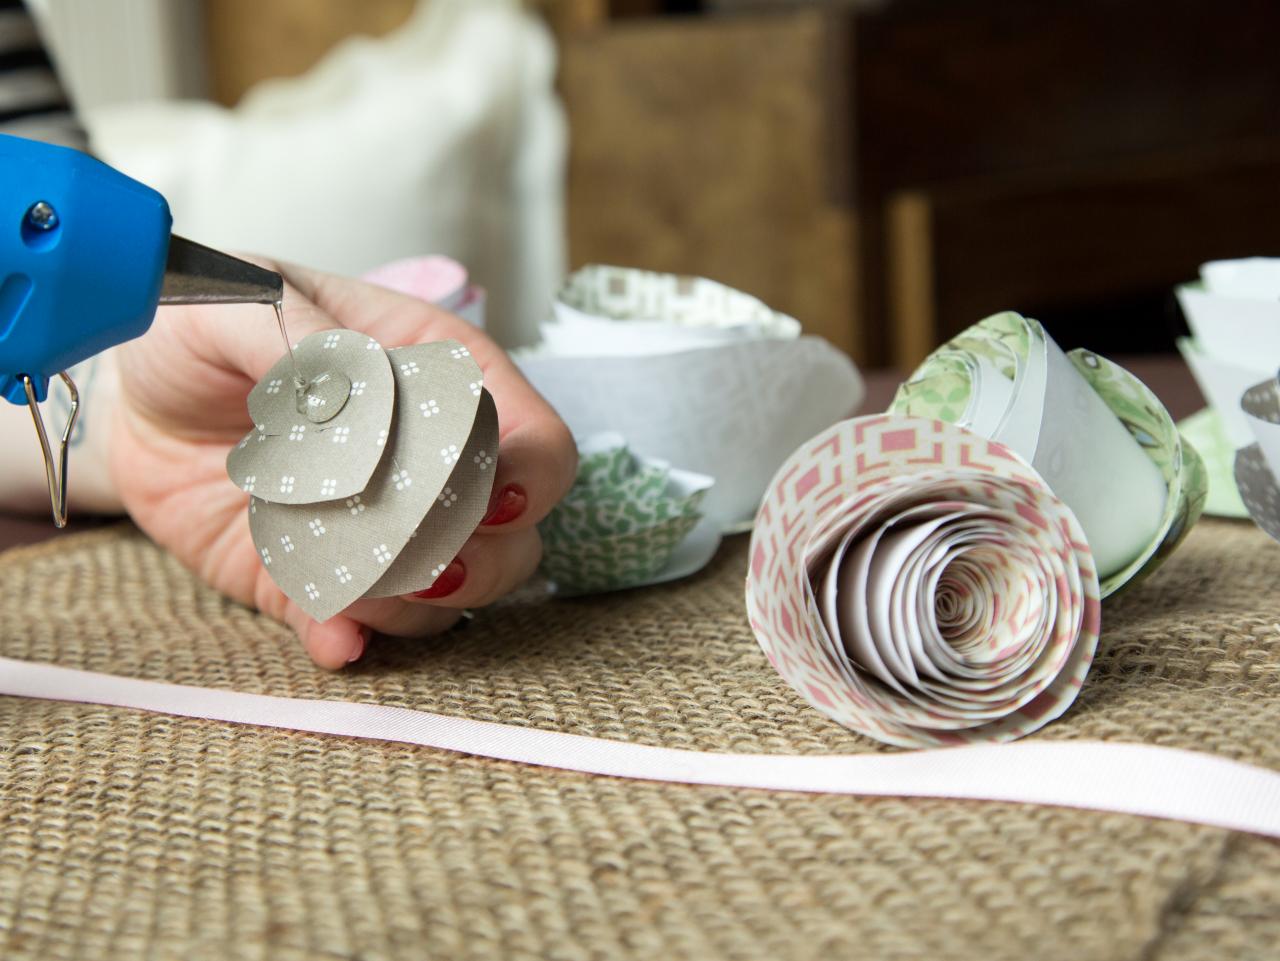
Pull the ends of the tape down, add a ball of hot glue.
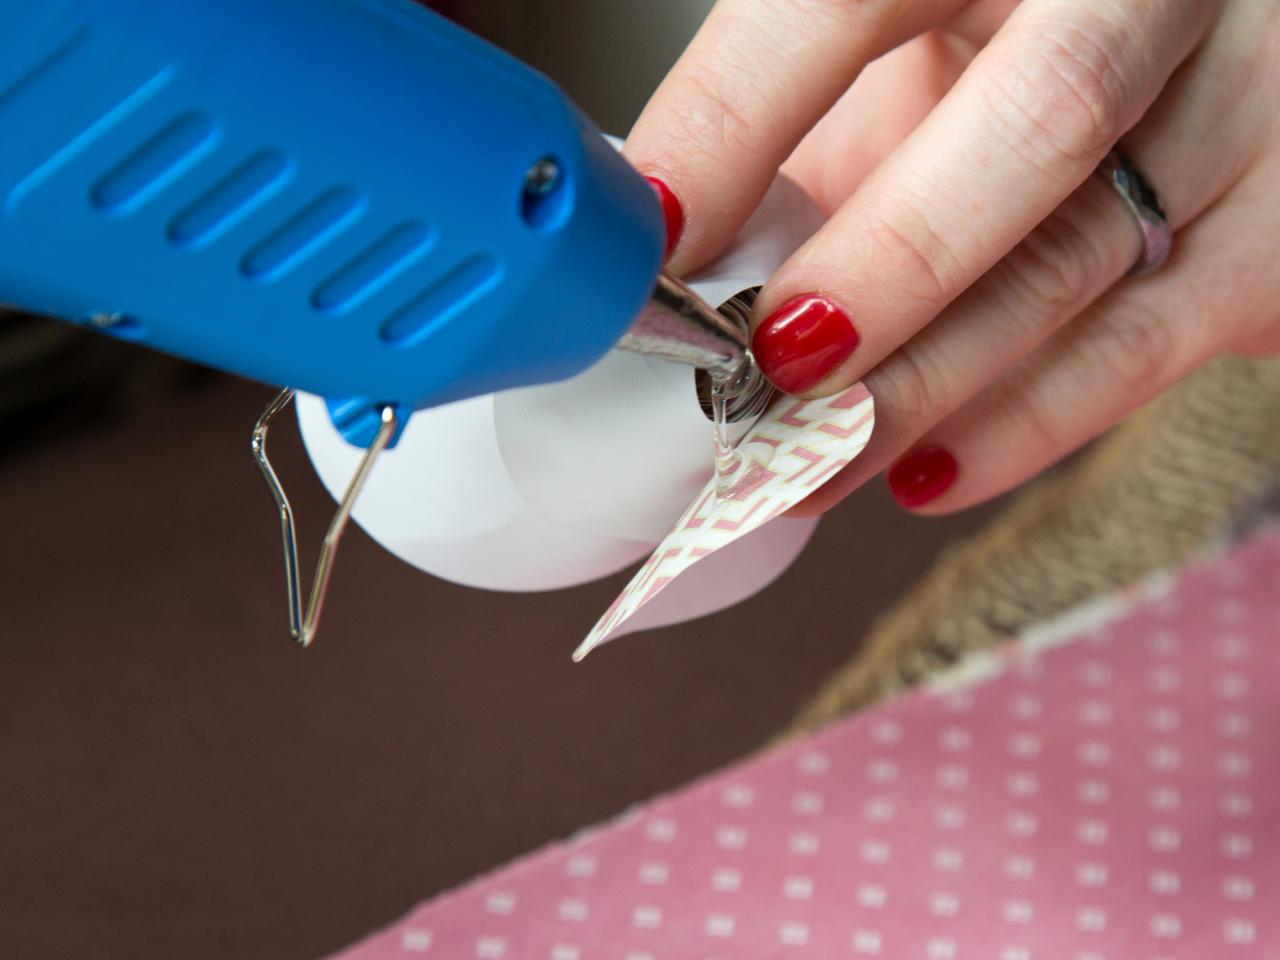
Glue the base
STEP 12
Leave to dry
Press all layers of rosebud tightly until glue dries.
Wait until the product dries.
STEP 13
Alternative colors and patterns
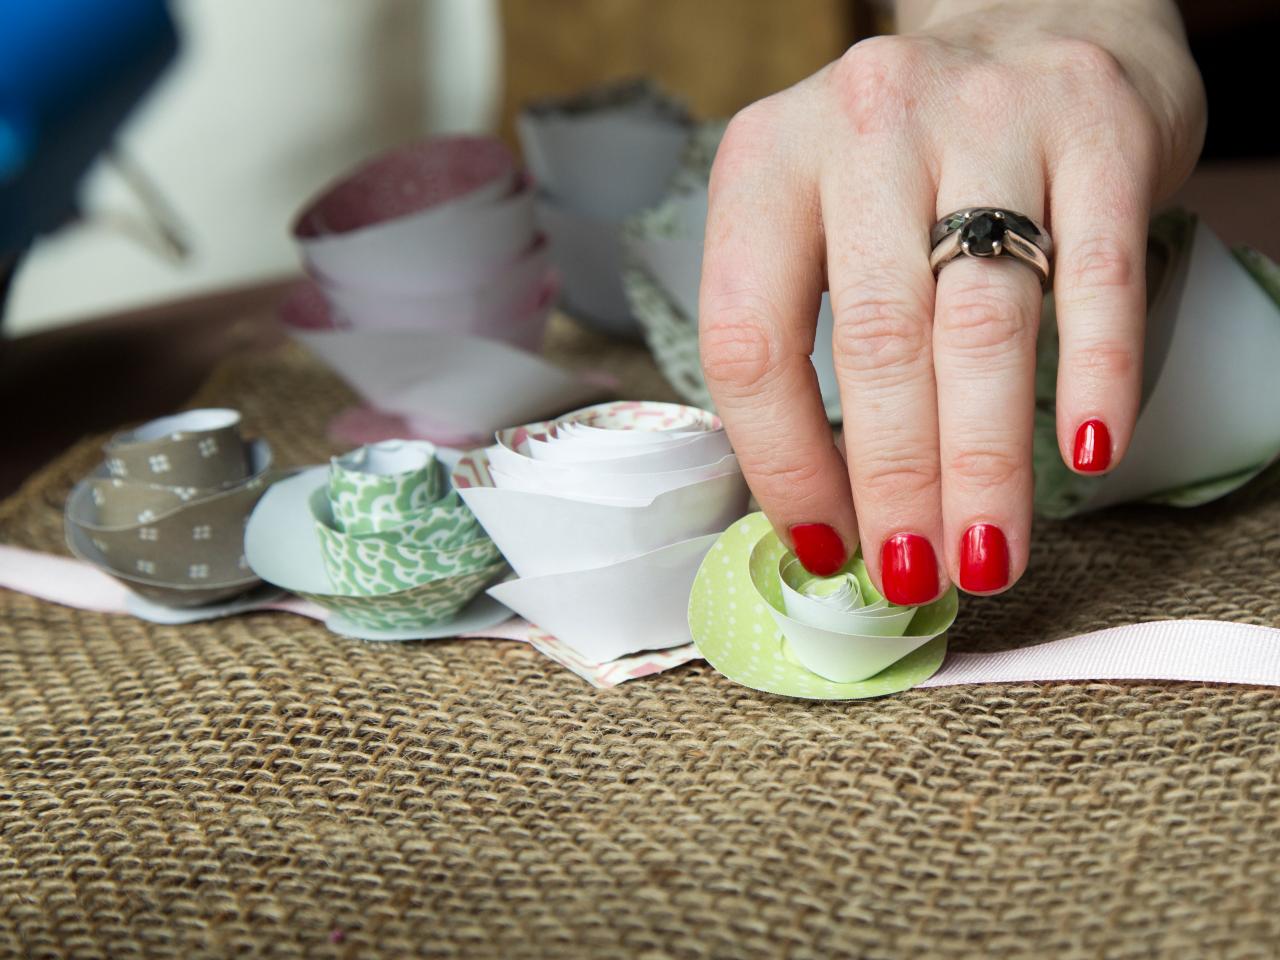
After all the buds are made, be sure to mix, alternating colors.
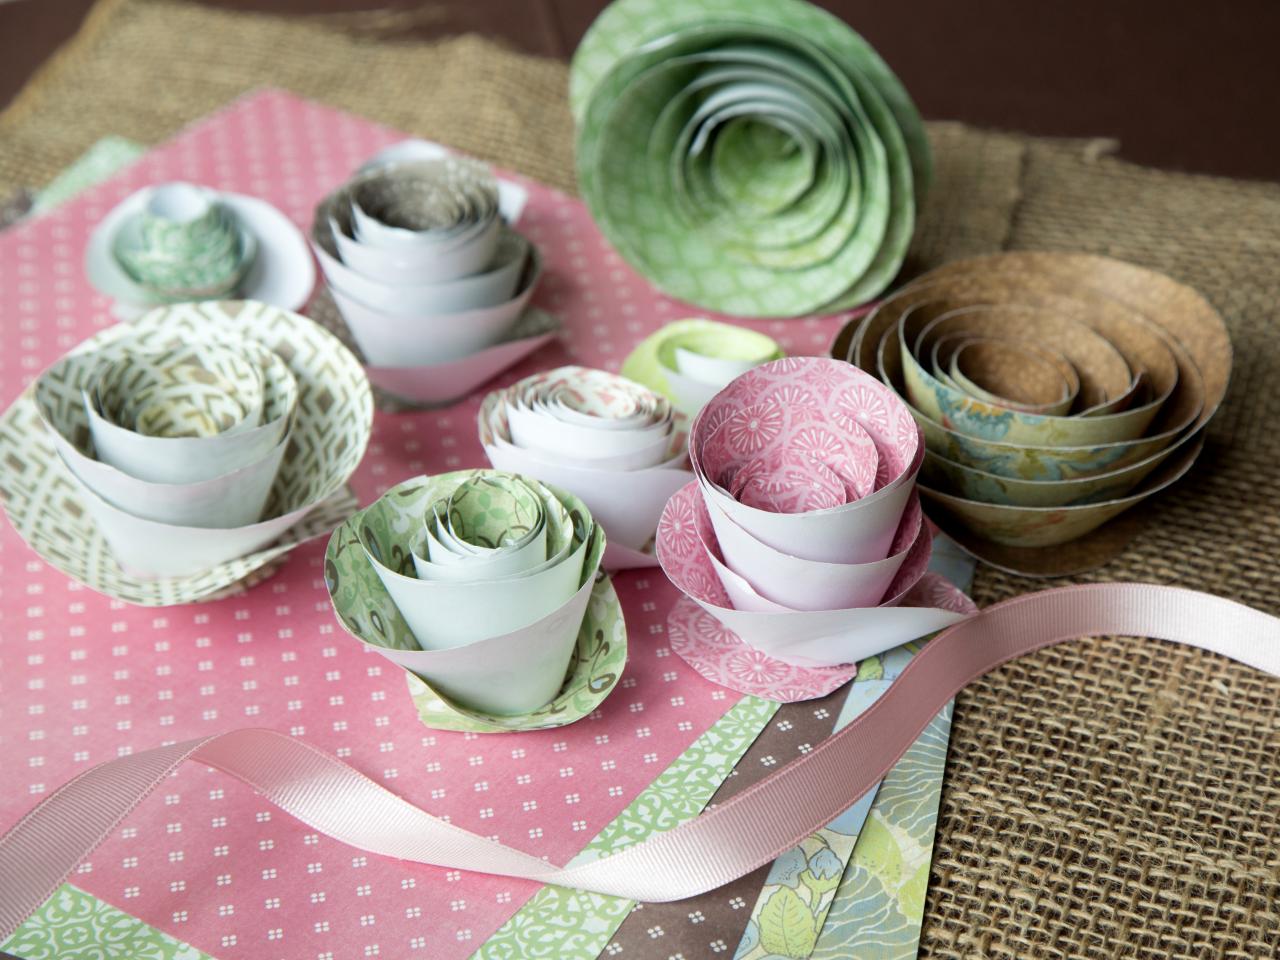
Make flowers of different colors and sizes
STEP 14
Plant flowers on the ribbon
When all the buds are built in the correct sequence, stretch the ribbon, cut it into 2-meter strips.
Create a composition of ready-made flowers.
STEP 15
Attach rosebuds directly to the ribbon using a hot gun.
Attach blanks to tape
Showing a little imagination, you can get very beautiful crafts. And the most important thing is that this is a very beautiful decor, which can please you and those around you for a very long time.