Handicraft of leaves on a sheet of paper The hands. What you need to know to create a beautiful application

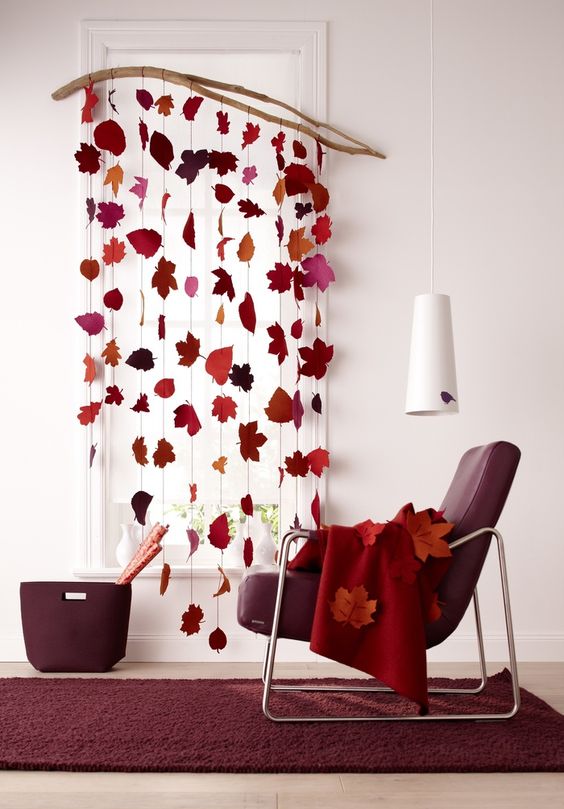
Handicraft of leaves on paper can revive any corner of the apartment. Include fantasy and start creating with us.
Content:
What should I use to create?
Walking through the autumn park is the favorite pastime of most people - this is due to the fact that the environment plays with rich colors that are constantly changing.
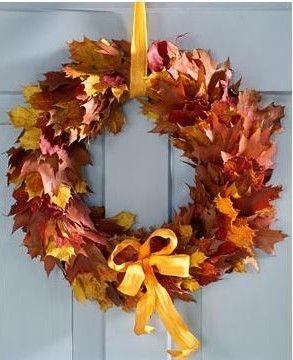
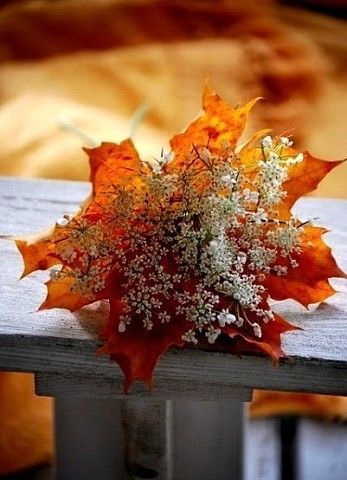
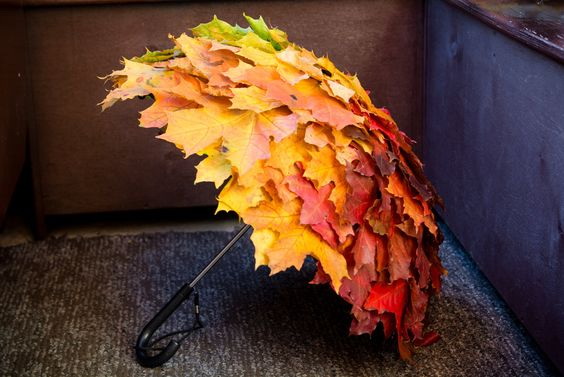
Bring with you the fall colors
For a long time such a picture will not be observed, respectively, many are trying to save a piece of this beautiful time at home. This can be done by collecting leaves and then creating an application out of them.
Save a piece of beauty at home
If you know the rules for preparing the material and creating such applications, they will last for several months without losing their color and shape.
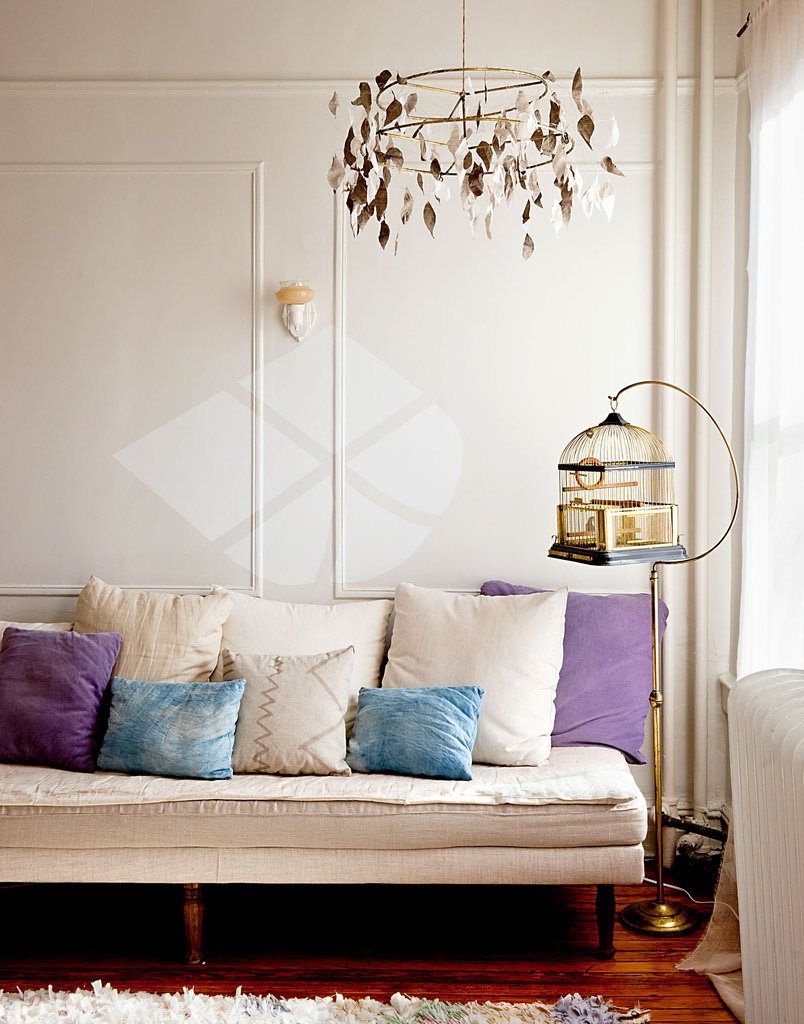
Creating comfort with simple details
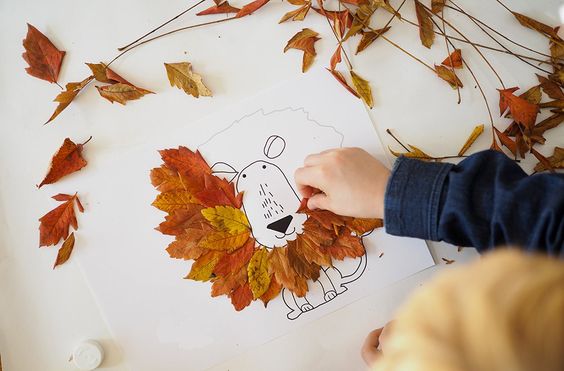
Another argument in favor of creating such crafts is that you can involve your children in this process.
Making applications perfectly develops the imagination of the child and his imagination. The advantage of creating crafts is the availability of materials.
The advantage of crafts - availability of materials
Leaves will get easy, you just need to get into the park and collect the kinds you like. The remaining materials are either originally in the house, or they are cheap. Simple is the method of creating such crafts.
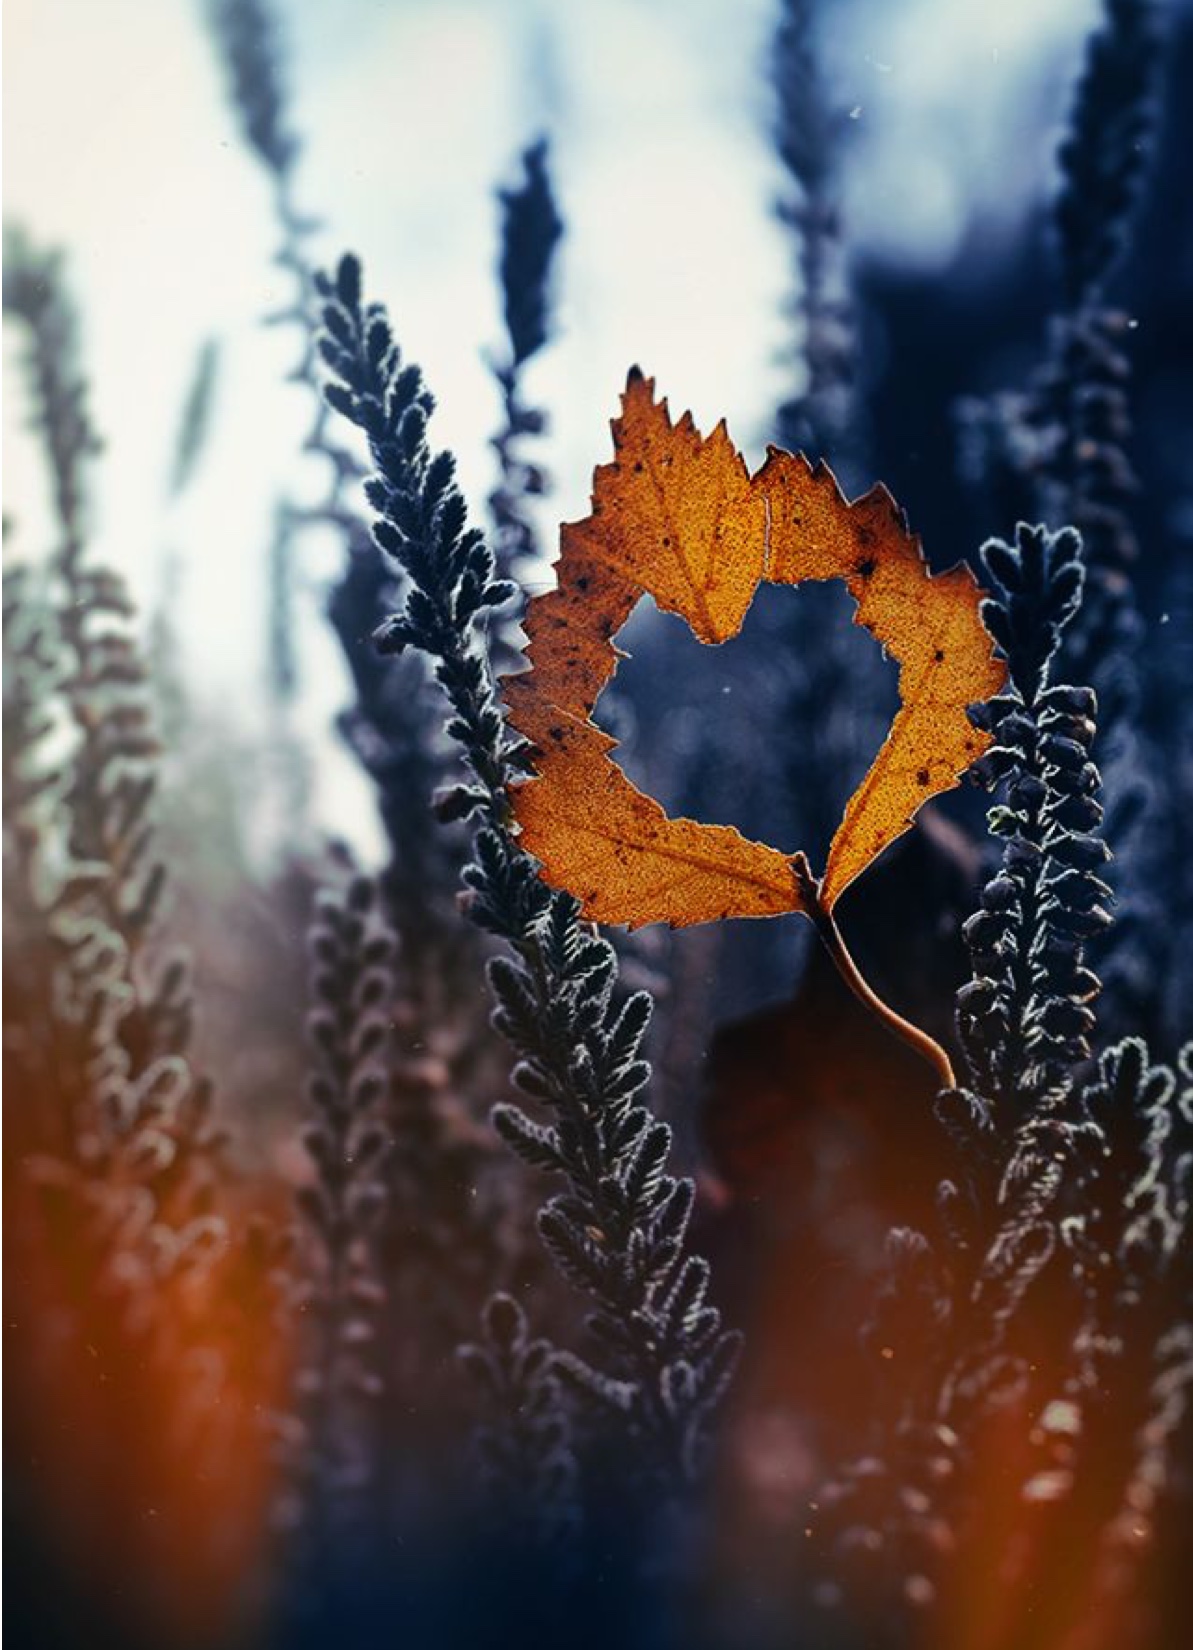
Love for every season
You need to start with the collection of natural material, and there are some nuances. To collect plants, theoretically, it is possible at any time of the year.
But the collection will be the most productive in the fall. It is especially important in this situation not to miss the right moment when the leaves just began to fall. This moment is rather short.
A short moment, but vivid impressions
No matter size, color or shape. Diversity in this process is only a plus. Next, you need to use the following:
- The basis for creating applications. Usually they use either velvet paper or cardboard. Plain paper will not work, as it does not have the desired density.
- Adhesive. It can be both glue pva, and rubber glue.
- Have to use scissors, brush, tweezers. All work will be carried out on oilcloth.
Features of preparation
The key rule of creating crafts is that they must be pre-dried. The wet material will lose shape after some time.
There are two ways of drying: one is standard and takes some time, the second is fast.

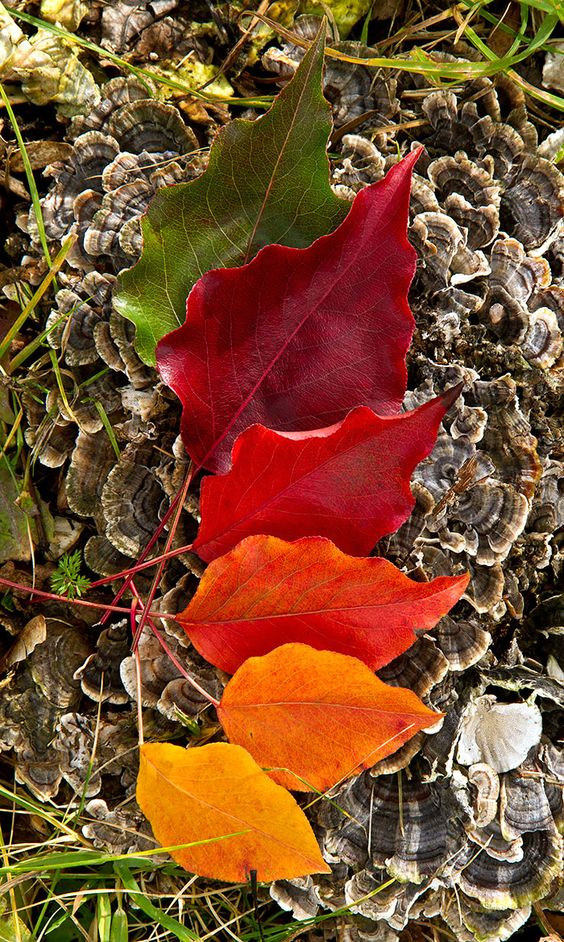
Choose a variety of colors
The first way is quite famous: put leaves, wrapped in paper, between book pages. Drying lasts about a week.
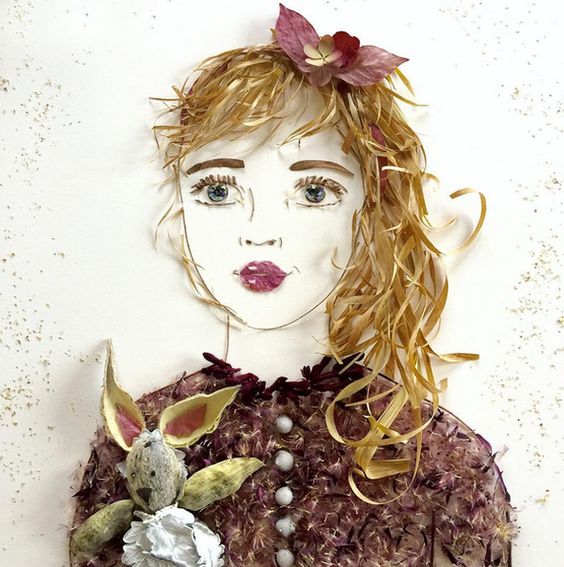
As for the fast method, you have to use the iron. The leaves are wrapped in fabric, after which they need to start smoothing.
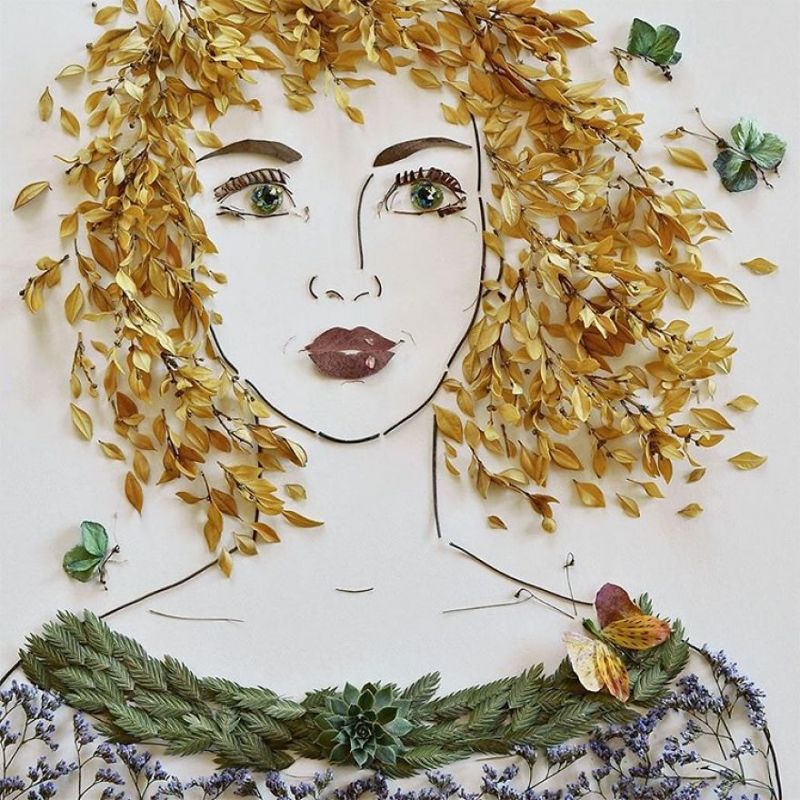
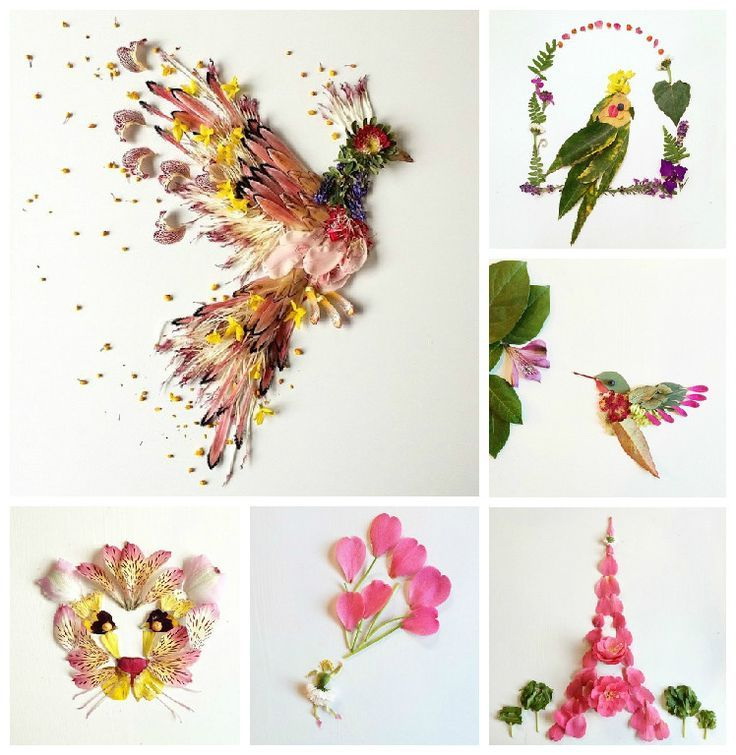
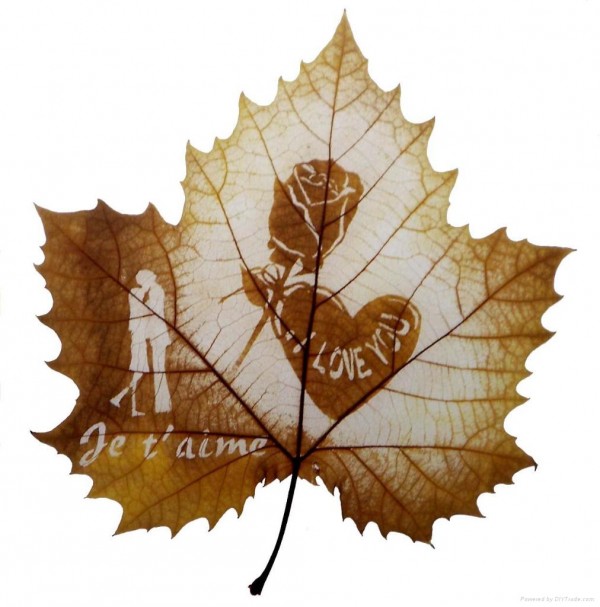
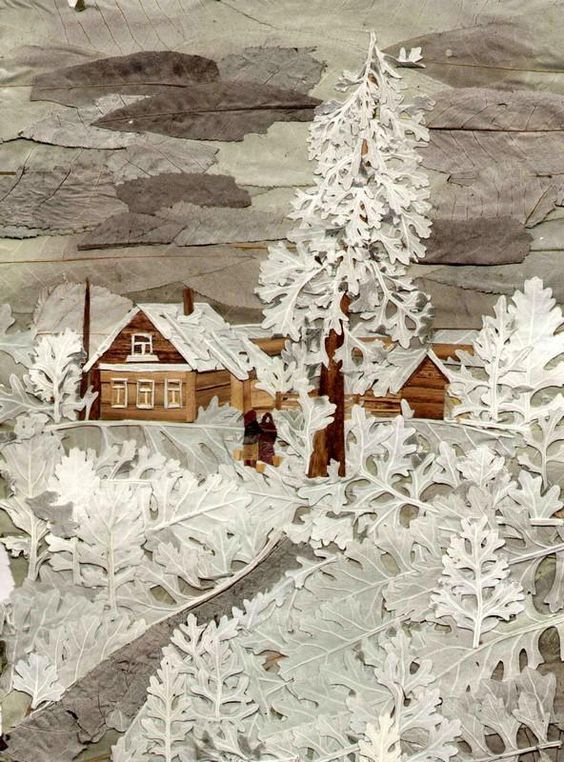
You can even make such beautiful portraits
The process of creating crafts
Before starting work, you need to prepare the leaves themselves, as well as the desktop - it is covered with oilcloth. The composition itself is invented and arranged on a separate sheet. And only after the composition is formed, they need to be transferred to the sheet.
As for the pasting process, then you need to be careful, and do not apply glue to the entire surface of the sheet. When drying, the craft is simply deformed if the glue is in excess. Adhesive is applied only on the edges.
When the composition is ready, you will need to put a piece of paper on top of it, and only then send it to the book under a press.
Turn on imagination and imagination
Further, it all depends on imagination and imagination. Usually two days are enough for the composition to finally grab. There are several different techniques of creating crafts.
return to menu ↑What is a patch application?
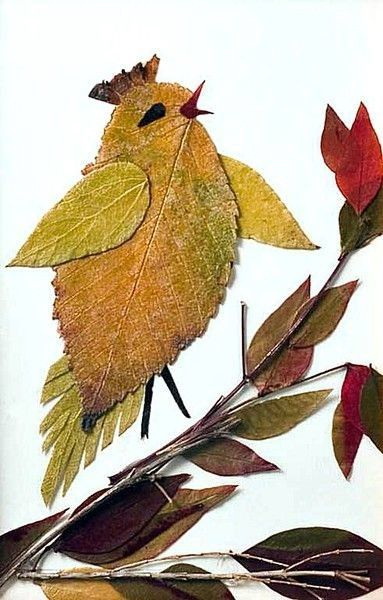
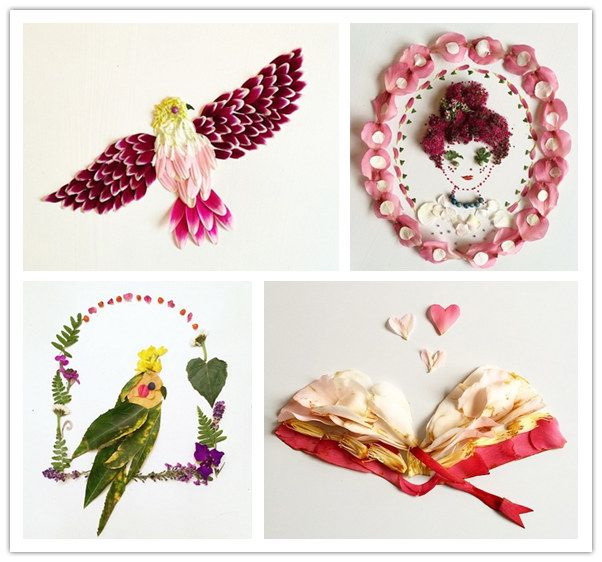
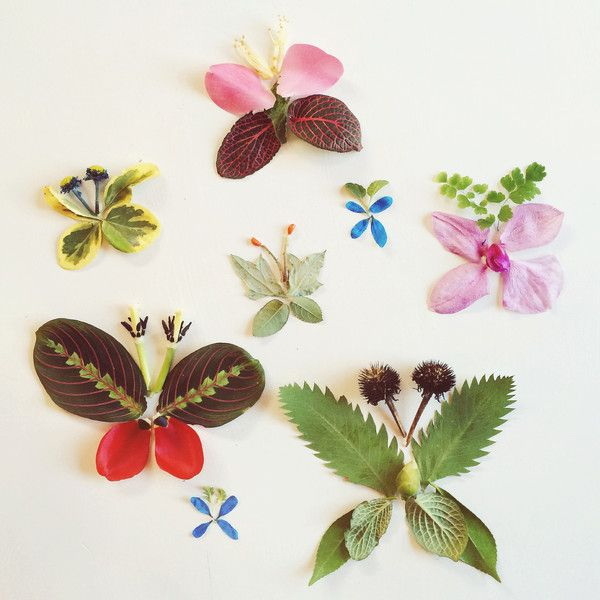
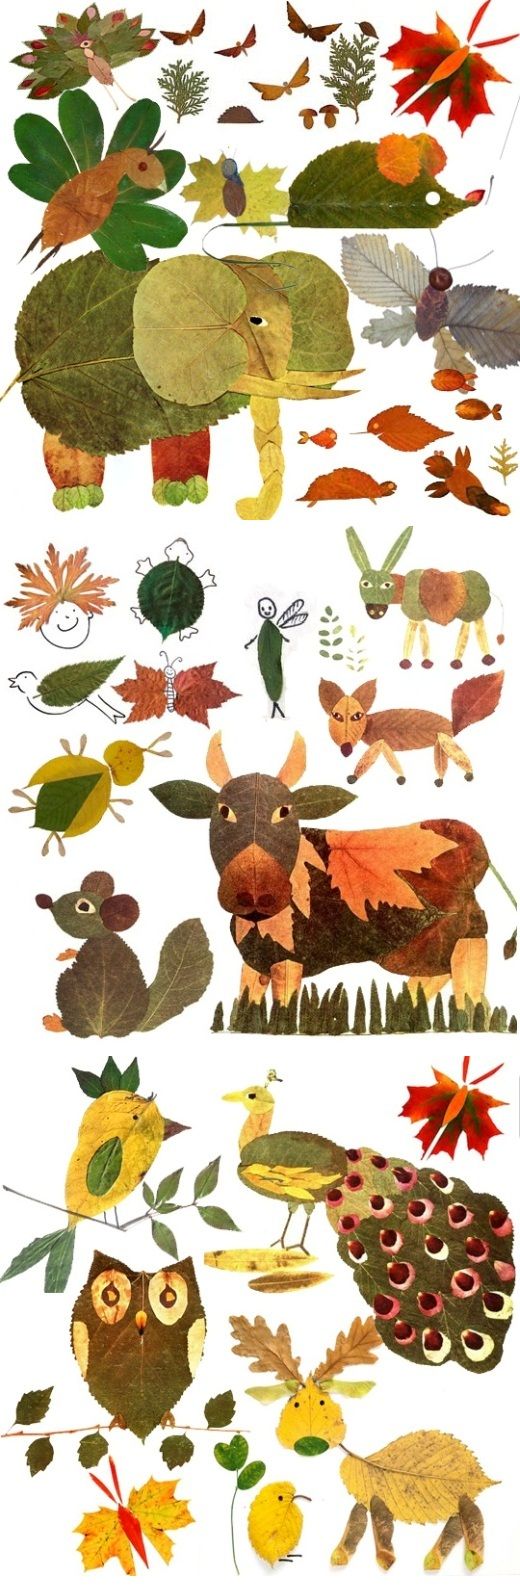
The peculiarity of the applied application is that individual elements cannot be cut. All parts are superimposed on each other, and how, and in what order, you need to decide independently. With the help of this technique you can depict a butterfly or a bird.
The main thing is to prepare the basis
The relative disadvantage of this method is a certain limitedness of actions, since due to the fact that the material cannot be cut, complex drawings may not be obtained.
In this situation, you can create the missing elements of the composition of other materials, including natural, as well as simply draw a marker.
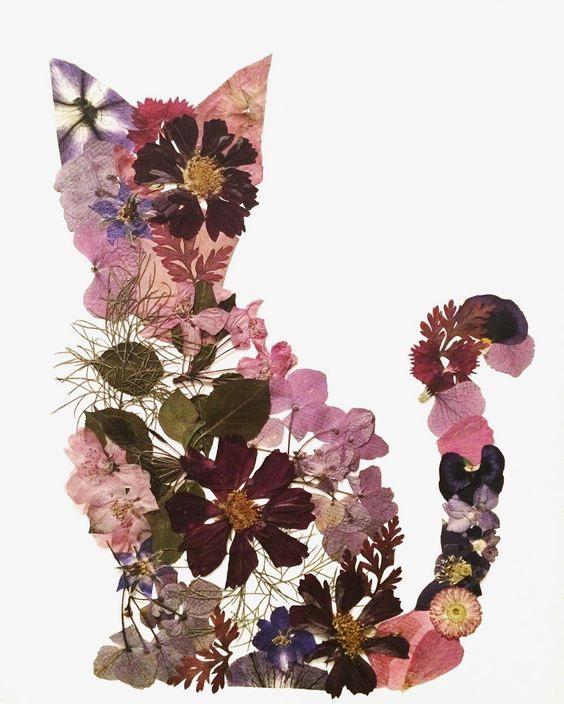
What is a silhouette applique?
This technique is the opposite of the previous one. If it is impossible to deform the elements in order to obtain the desired pattern with invoice application, then this is allowed.
A lot of variations
There are no other special rules or guidelines for the correct execution of handicrafts using silhouette equipment.
It will be interesting to you:
Crafts from natural materials do-it-yourself for every taste
Crafts from natural material with their own hands. Your child can do this!
Crafts from a sheet of paper do it yourself (7 step-by-step instructions)
How to make roses from paper with your own hands: Step-by-step instructions for beginners
What is a symmetrical appliqué?
The considered technique of creating handicrafts is narrowly focused, that is, it should be used only if symmetry is present in the figure.
For example, it may be a butterfly or a reflection in the water. With other figures that do not have symmetry, this technique should not be used.
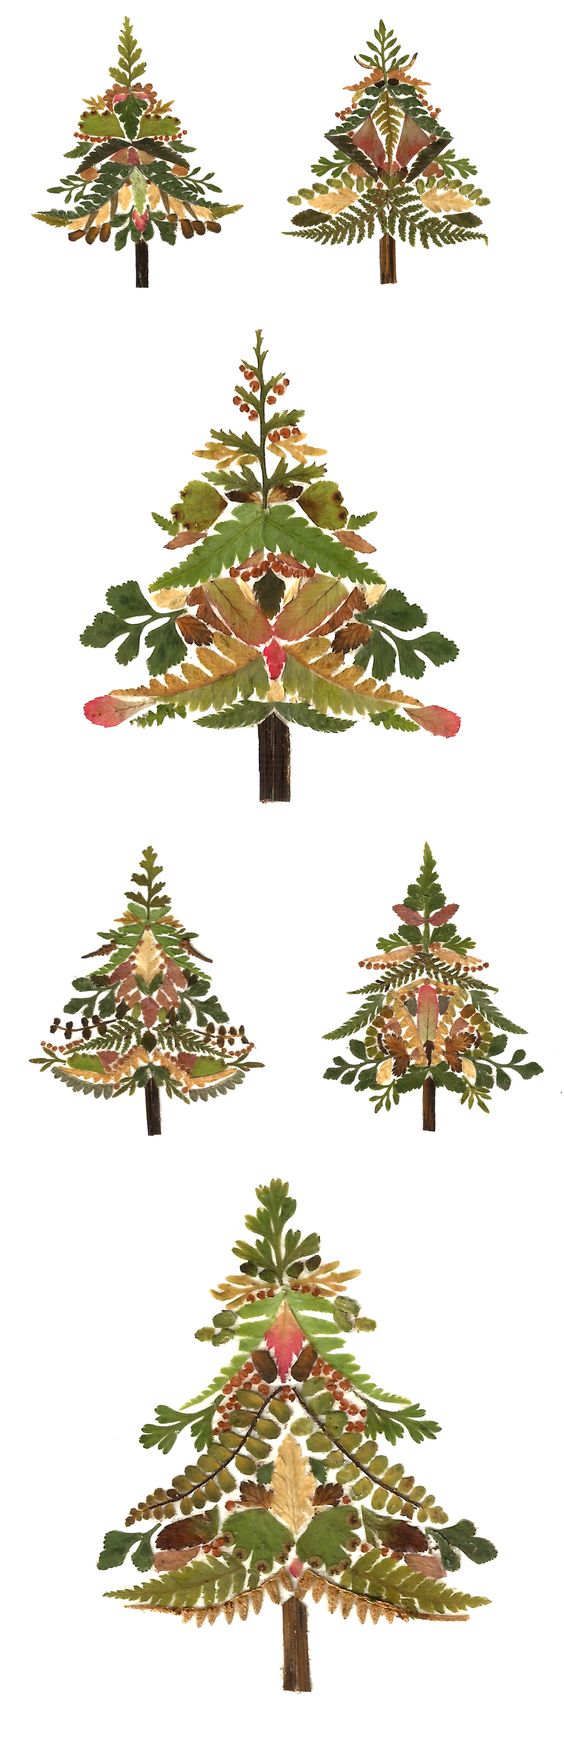
Beautiful Christmas trees that can be done differently with one material
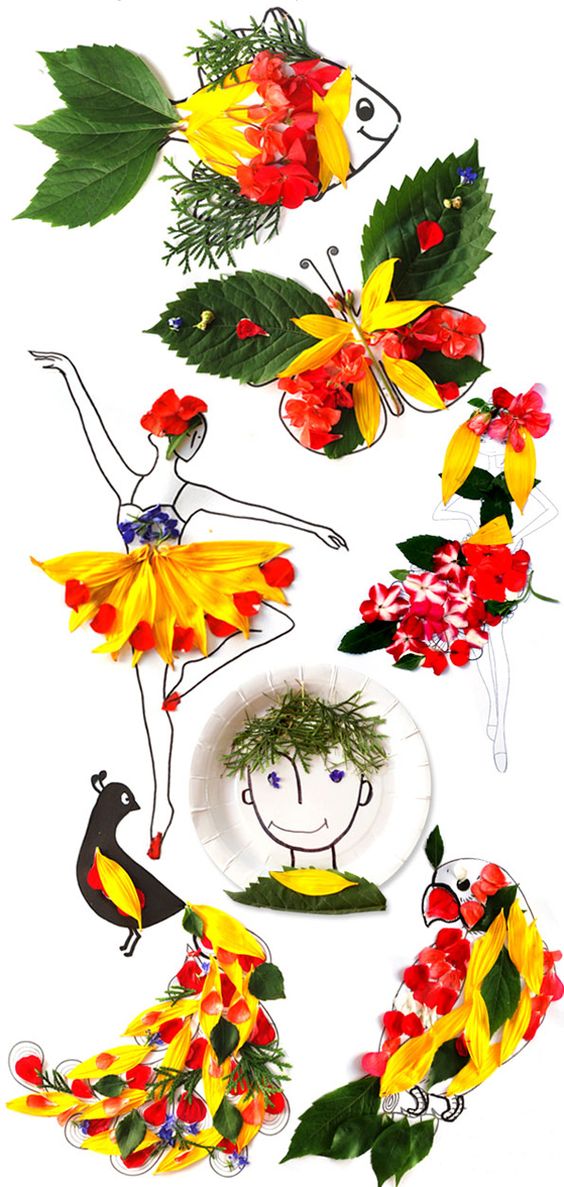
More universal is the modular application, the meaning of which is that the picture is formed by the superposition of a large number of identical elements.
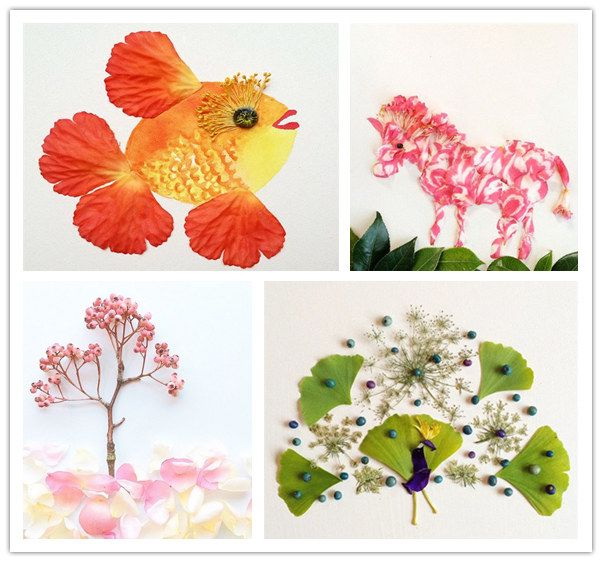
This technique will look organic when creating an image in the form of a fish or a bird's tail. Also, with skill, you can combine this technique with a symmetrical or silhouette technique.

Symmetry is beautiful in everything
Types of crafts
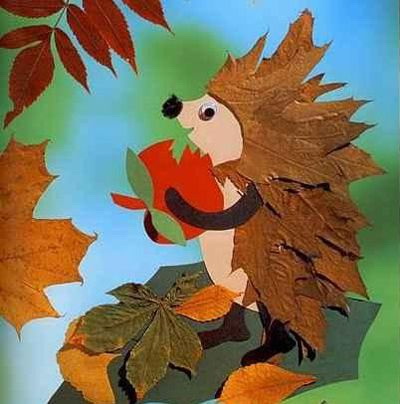
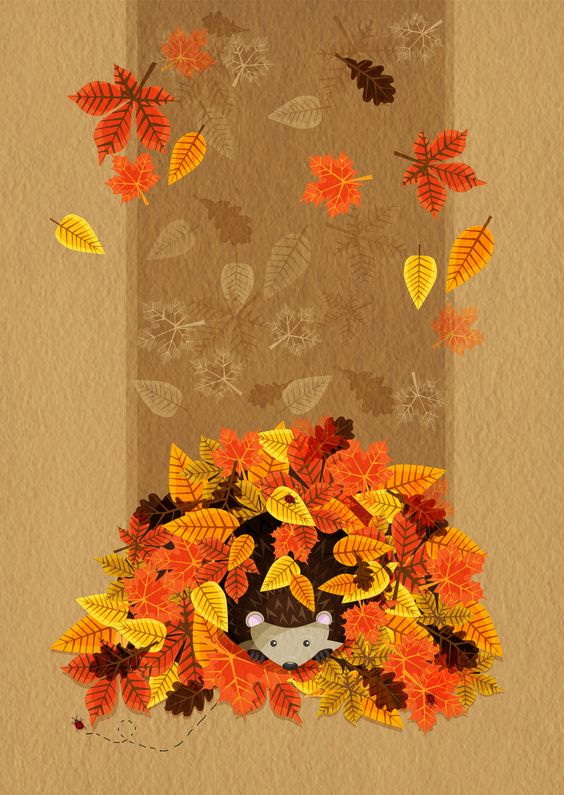
Most often, the so-called subject application is performed, which implies the image of one object. The subject itself can be anything, even an animal or a vase.
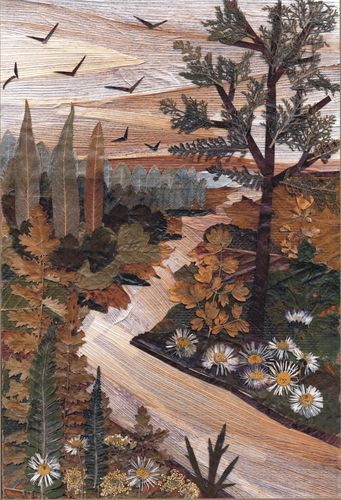
This type of application is simple to perform. Much more effort will have to spend, creating a storywork. The idea is to create a plot of a fairy tale or depict a landscape at the expense of improvised materials.
Mood with your own hands
In fact, subject crafts may contain elements of subject application, if for the transfer of a plot it is necessary to recreate a certain object.
Fine ornaments
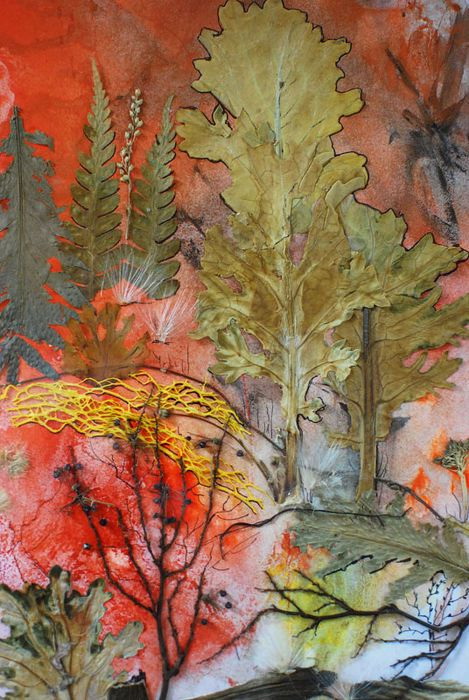
As for the curb application, this type of craft is considered abstract. It does not involve the creation of an image of a specific object or the transfer of the plot of a particular fairy tale. In this situation, the craft will transfer the abstract ornament.
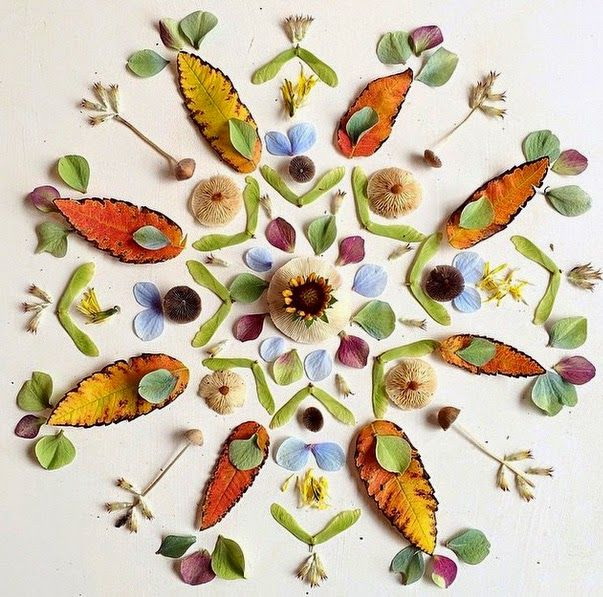
Abstraction of autumn leaves
Common ideas
- With the help of symmetric technology can make a butterfly. Only natural material, cardboard and glue are required for creation. The popularity of such crafts is associated with ease of implementation. It is only necessary to expand it in order to create wings, and to figure out how to form a body. By analogy, other simple animal figures are also performed.
- Slightly more difficult is the creation of an owl or fish, since here it is necessary to use the modular technique mentioned earlier.
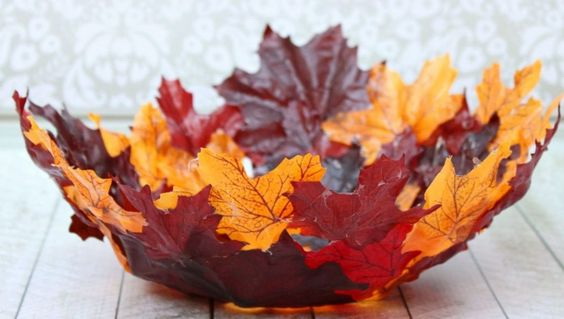
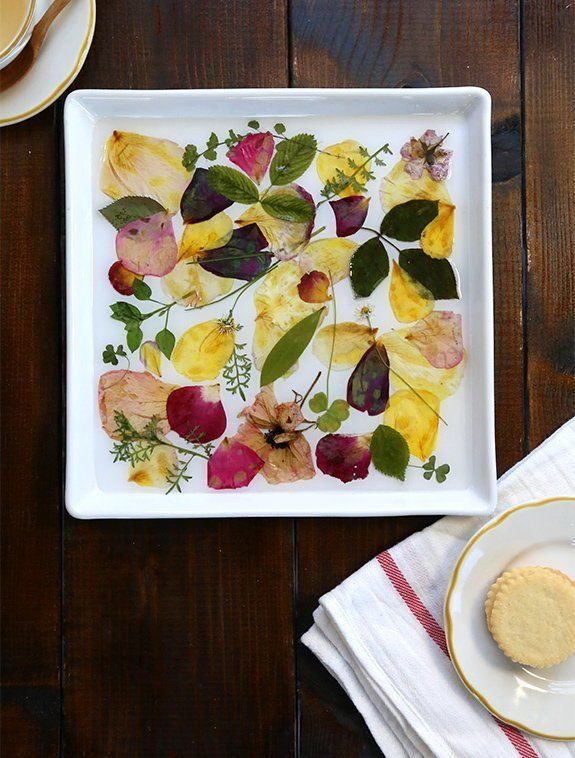
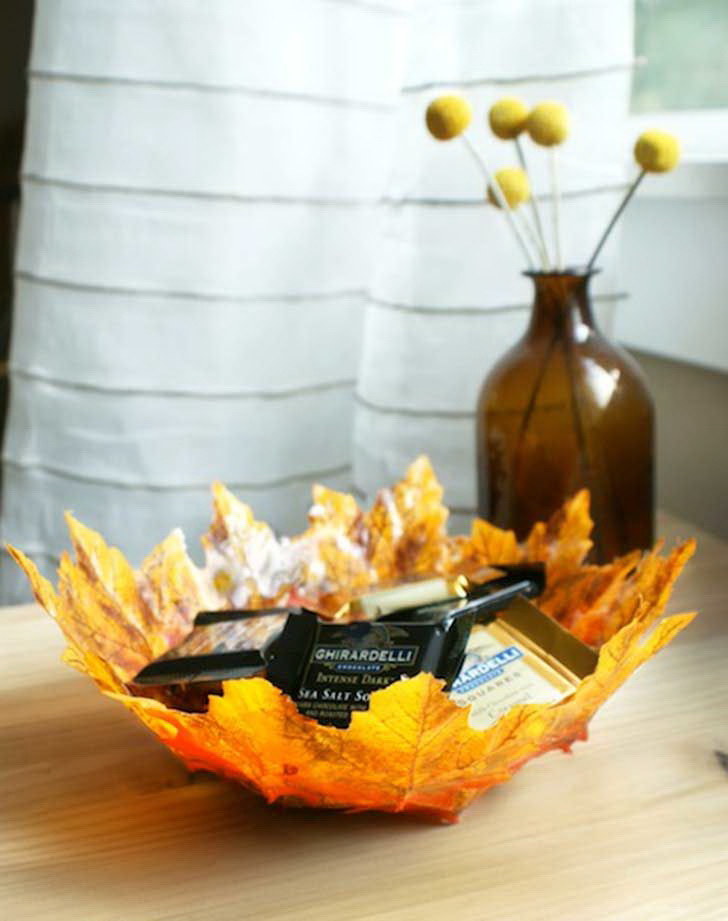
- You can make an ornament for glass with your own hands. Idea: leaves are pasted on a white base, the base itself is carved in the form of a beautiful figure. After that, the created handicraft is glued to the glass.
Autumn is a time for creativity
Creative ideas
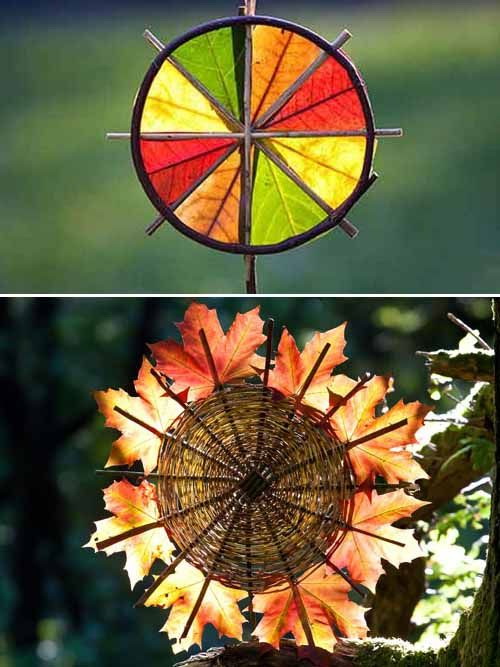
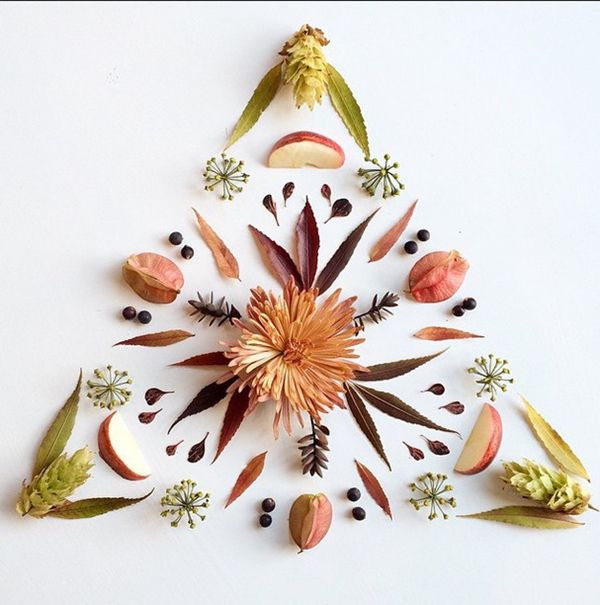
The mosaic technique belongs to more creative directions, the meaning of which is to create a layout similar to puzzles in a mosaic.
To understand the principle of creating such applications, it is worth looking at examples of already created crafts. A characteristic feature of mosaic technology is the observance of symmetry.
An unusual method is considered to be when the missing elements are drawn on an already created piece of crafts.
This will make the craft more "lively", in addition, sometimes only the drawing of a certain part of the composition allows you to finish it.
We must not forget about another way to decorate the appliqué - it is about painting with colors. There are also no restrictions on how to use paint or what to paint.
We turn on the fantasy and create
An interesting technique is the creation of an application on which the material will be decorated with intricate patterns, such as stripes or a stroke. Next you need to stick on the cardboard, mark the contours and cut them.
Creating a picture in the form of a collage
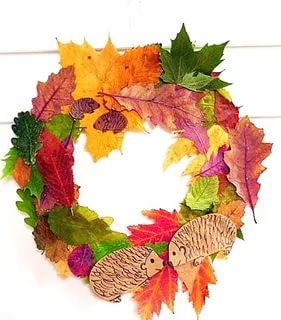
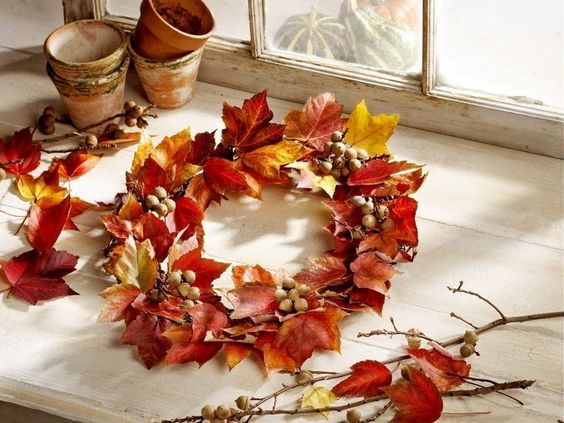
An excellent decoration for your home can be a collage on the theme of autumn, made of collected leaves. You can create such a picture yourself or with a child.
Let the child show his imagination
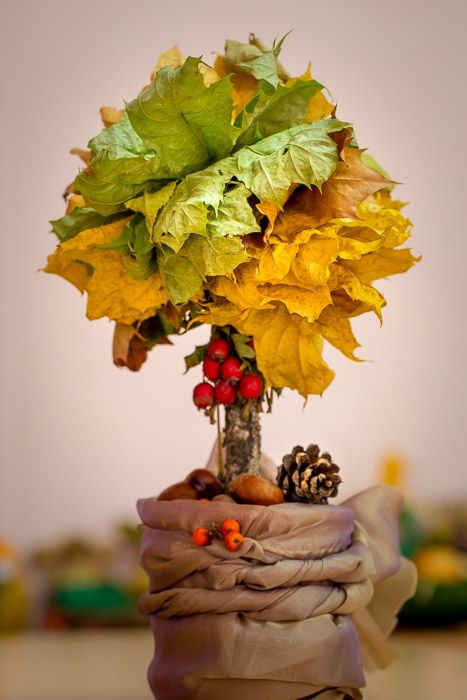
The peculiarity of such a collage is that it will be used not solid, but crushed. For example, you can make crafts in the form of a tree.
Well dried material is ground into small pieces. Further, it all depends on the fantasy, as part of the picture will be painted with acrylic paint, and the other part will be formed by the ground ones.
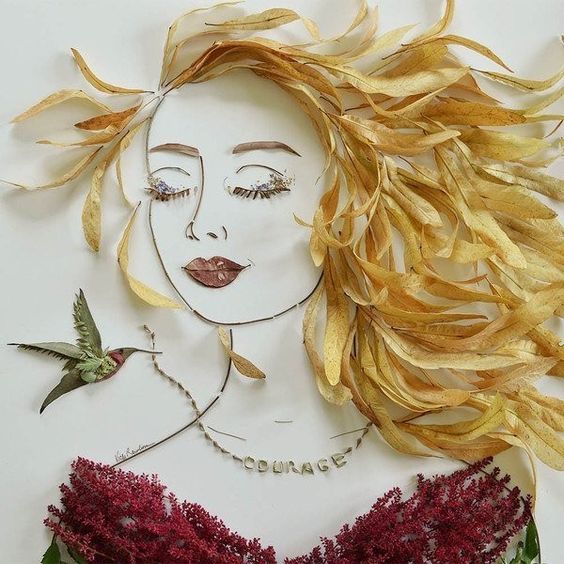
Portrait Theme
Some tips:
- paint should be applied in a thick layer;
- to get a beautiful branching of the tree, on the painted trunk you need to blow through a straw;
- apply only after the barrel dries;
- to hold, you need to pin down the material.
As in the previous cases, to create crafts, it is extremely important to wait until the leaves are completely dry.
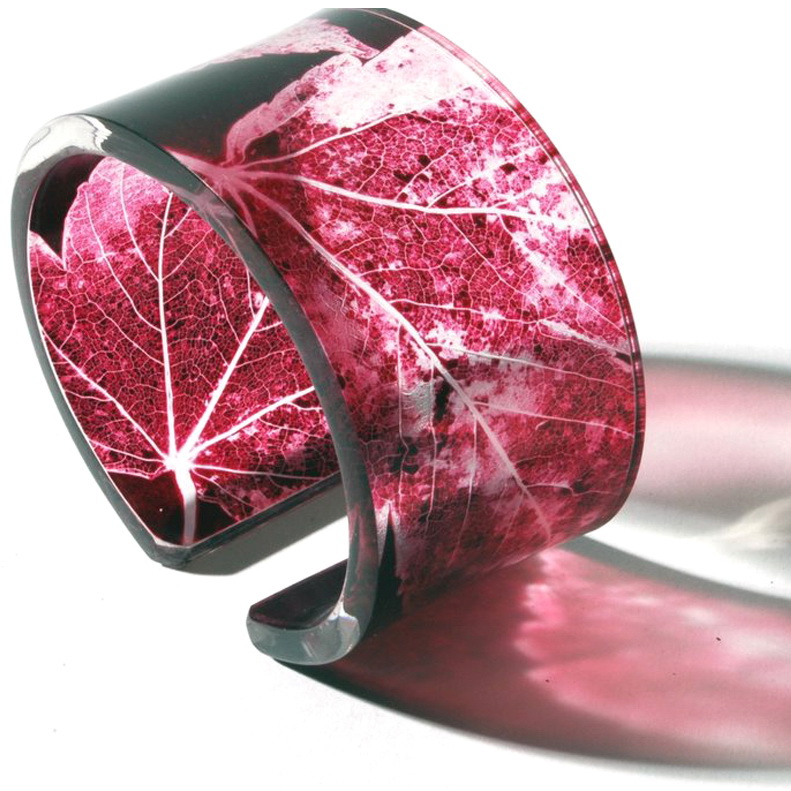
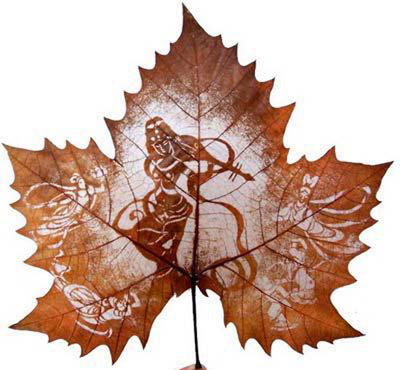
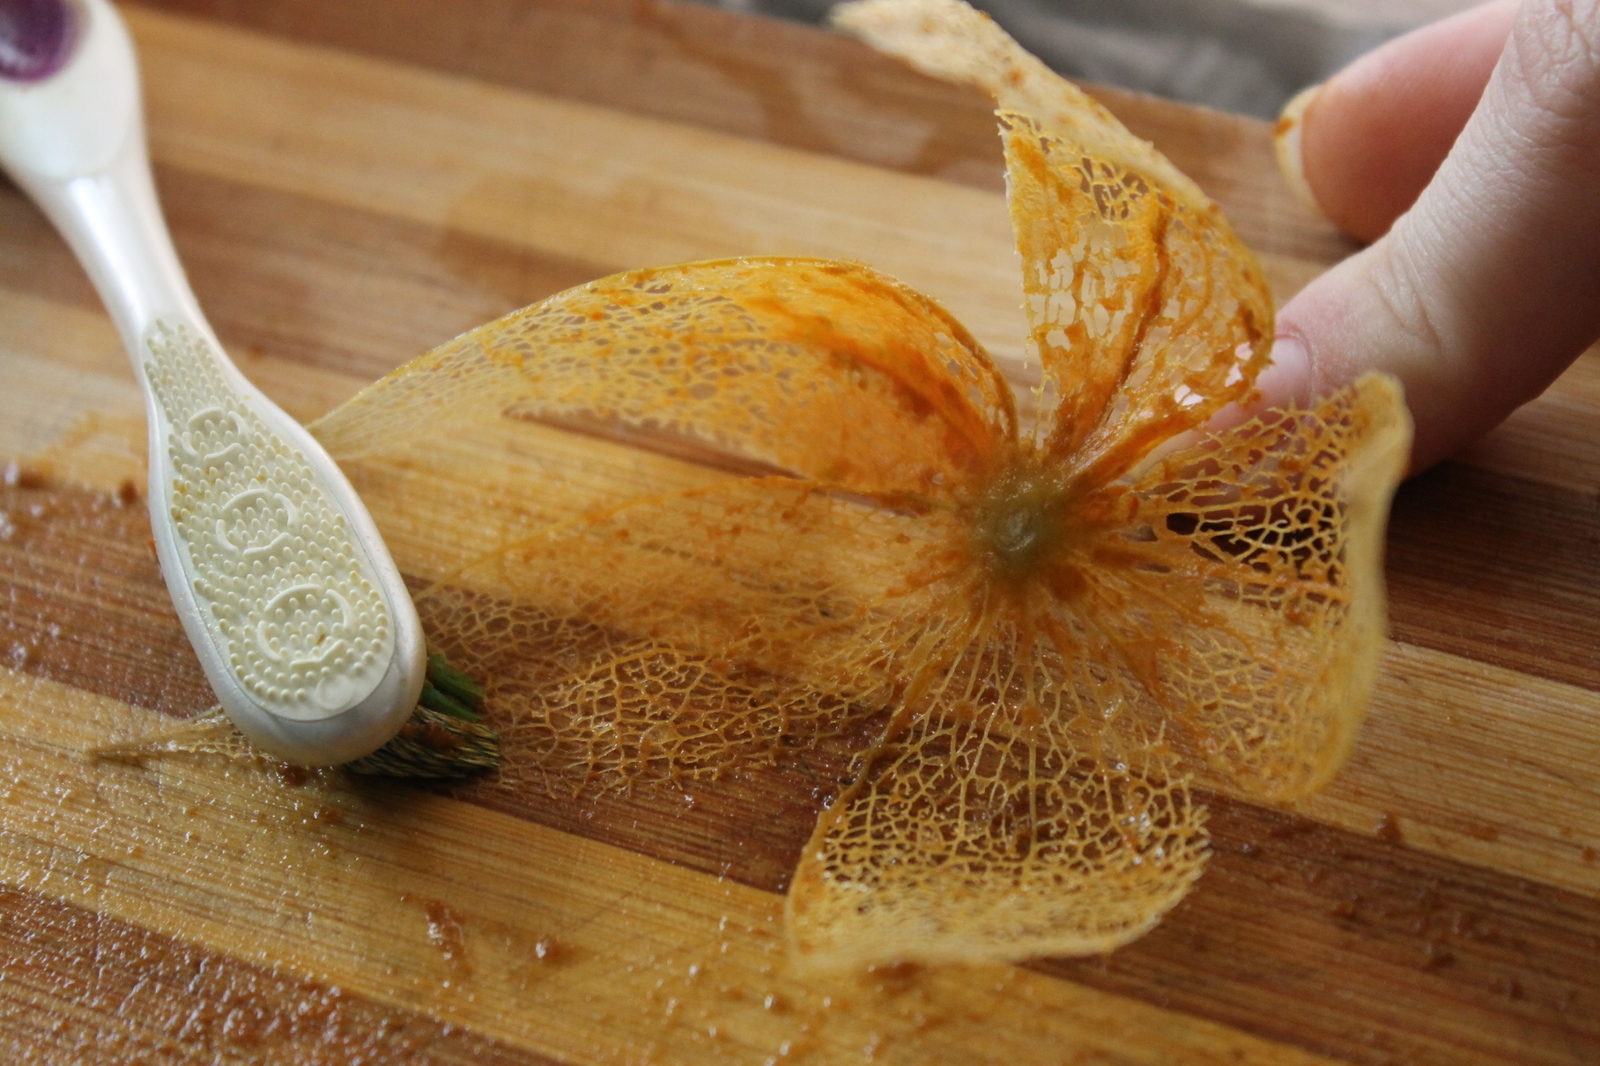
return to menu ↑What is skeletization? Where can this be used?
By and large, skeletonizing refers to the removal of the upper layer, which is why they become transparent, while the structure, like its integrity, is not disturbed. All this looks at least original and unusual.
To get exactly this appearance, you need to collect fresh leaves, and boil them for half an hour in a special solution.
This solution includes a tablespoon of soda and four tablespoons of water. Next, the foliage is laid out on the table, always with a glossy side, after which the material must be blotted with a napkin.
Appearance worth the hard work
After this, the hardest work begins. It is necessary to clean the flesh very carefully so that the structure is not broken, otherwise the procedure performed will be useless.
The result of the work should be transparent, colorless sheets, in fact, the finished material to create unusual crafts.
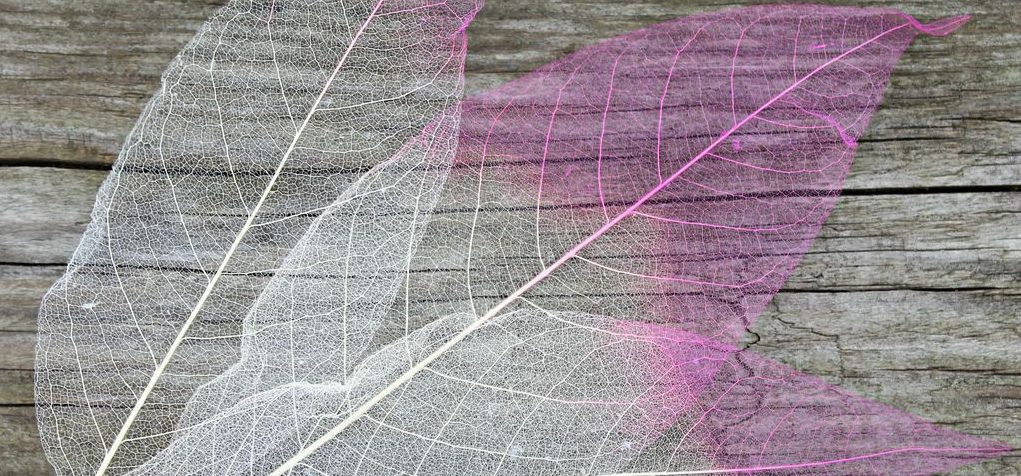
Technology amazing application
By themselves, the transparent leaves look unusually, but rather faceless, respectively, they need to be placed in a solution with food coloring.
Skeletization Leaf
Find out how easy it is to do now.
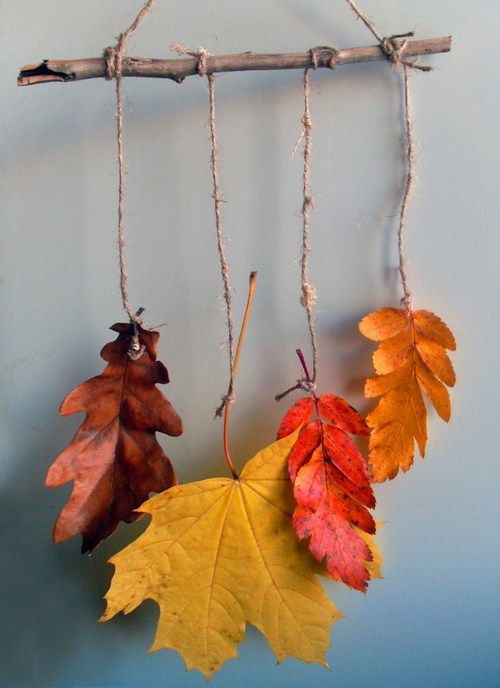
The secrets of creating a herbarium
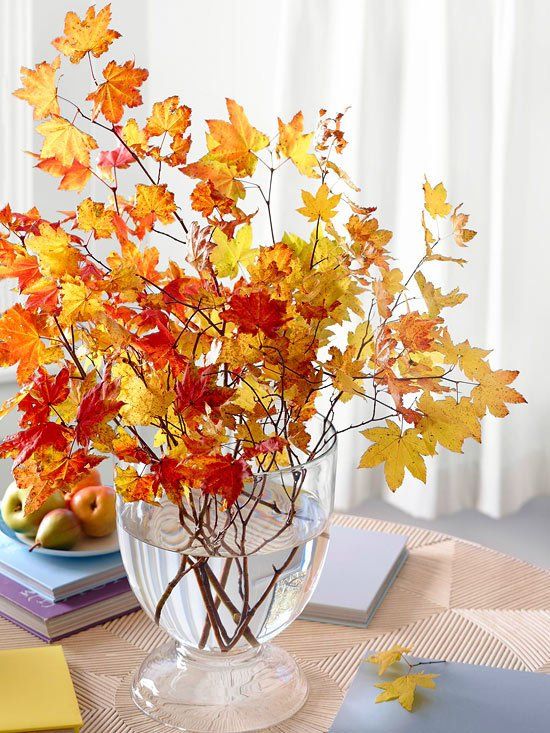
Perhaps the easiest way to create crafts is the usual collection of herbarium. There are no features here, the main thing is to follow several rules. First of all, for the herbarium is required to collect only the whole.
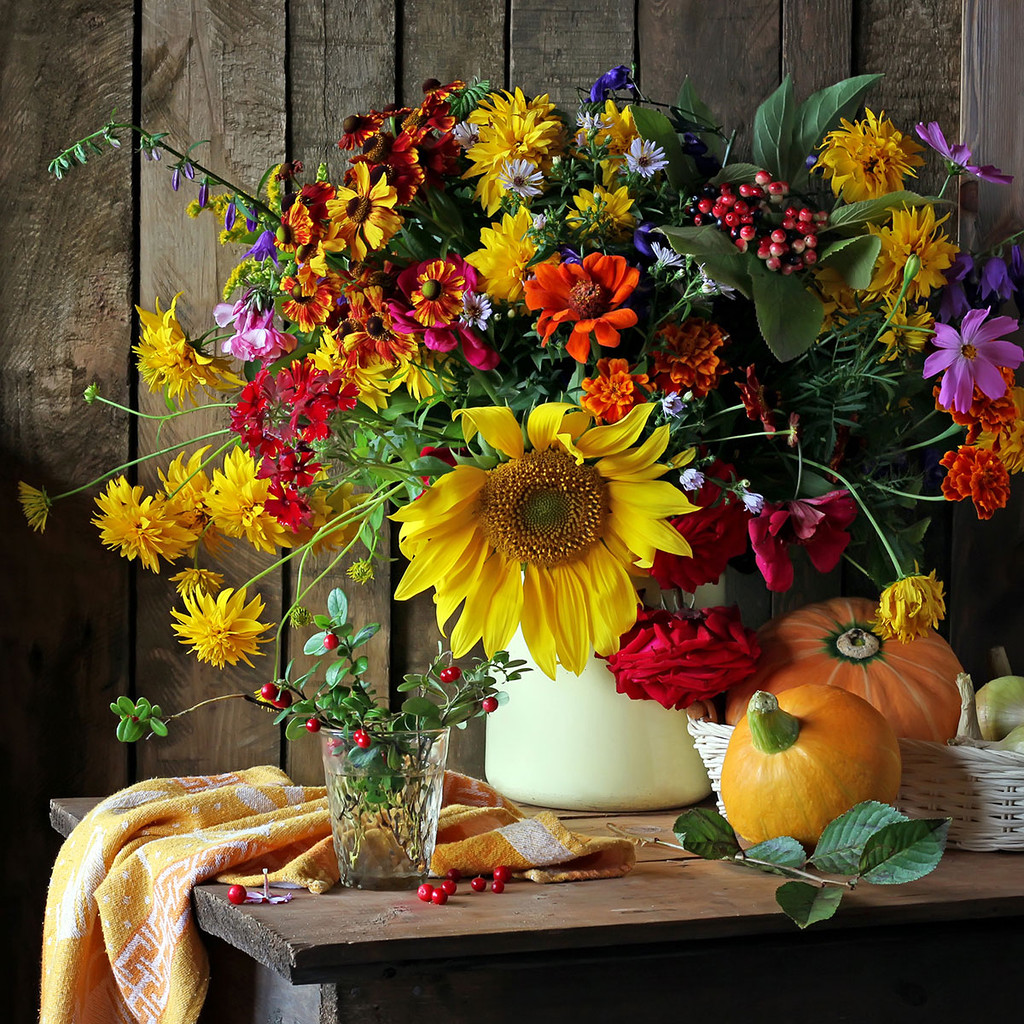
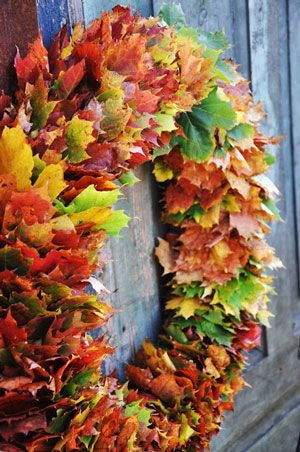
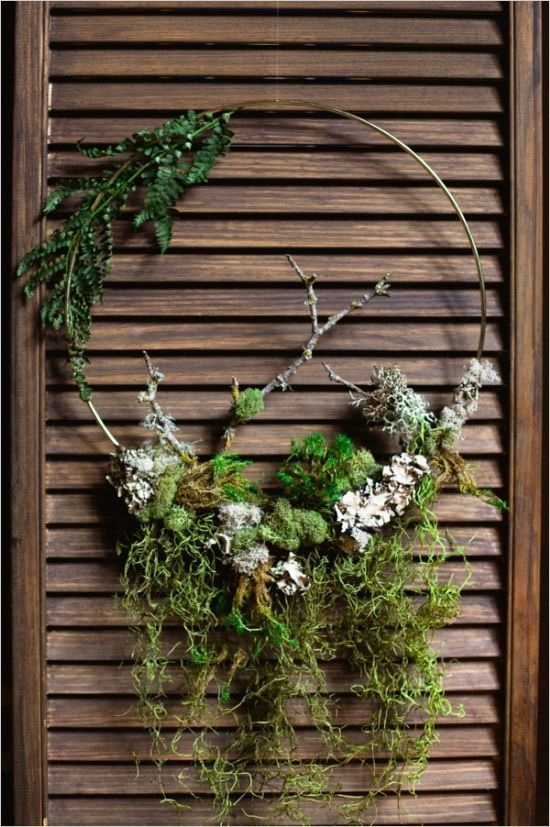
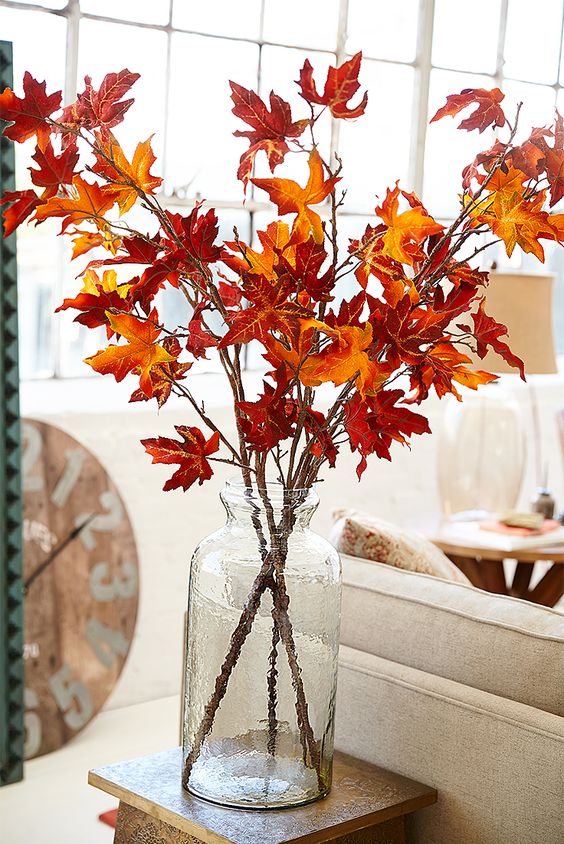
Rich Autumn Bouquet
The collected material must be straightened, put on newsprint, and put under a herbarium press.
If the press is not available at hand, you can make it yourself from cardboard sheets. Dry on average no longer than two days. When the material is removed, you need to be very careful, as it is at this time very fragile.
It is possible to display even emotions.
Dried material should be stored in a special album that has envelopes. Storage should only be done in a bright, low-humidity room.
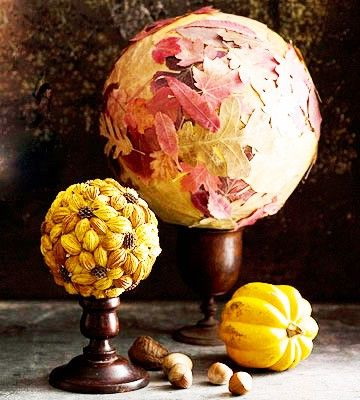
The possibility of combining with other materials
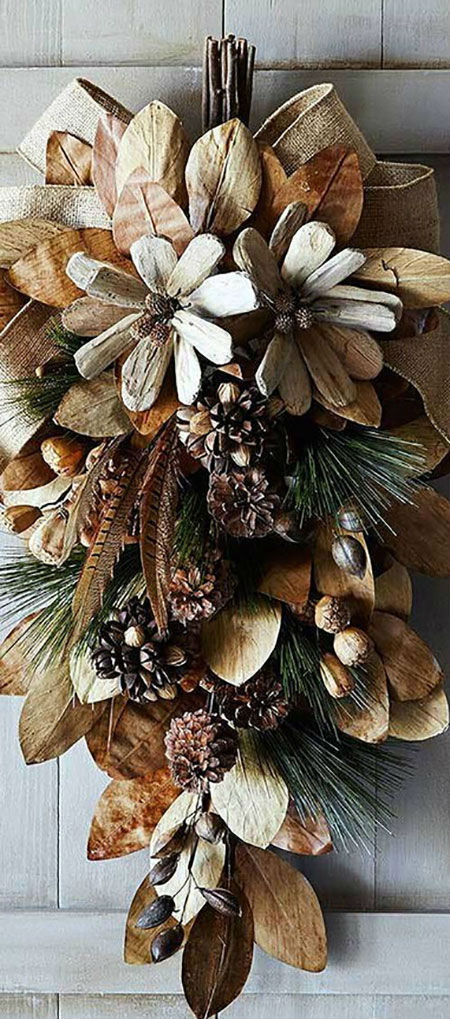
The resulting dry material can not only be collected, but also used to create crafts.
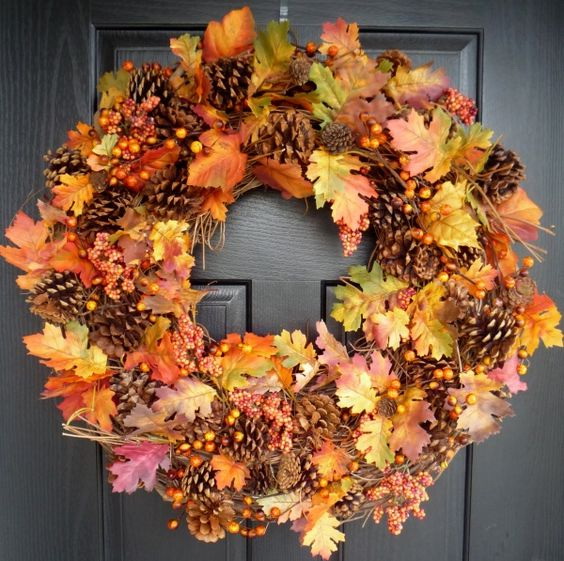
Beautiful ideas for crafts
We update your decor