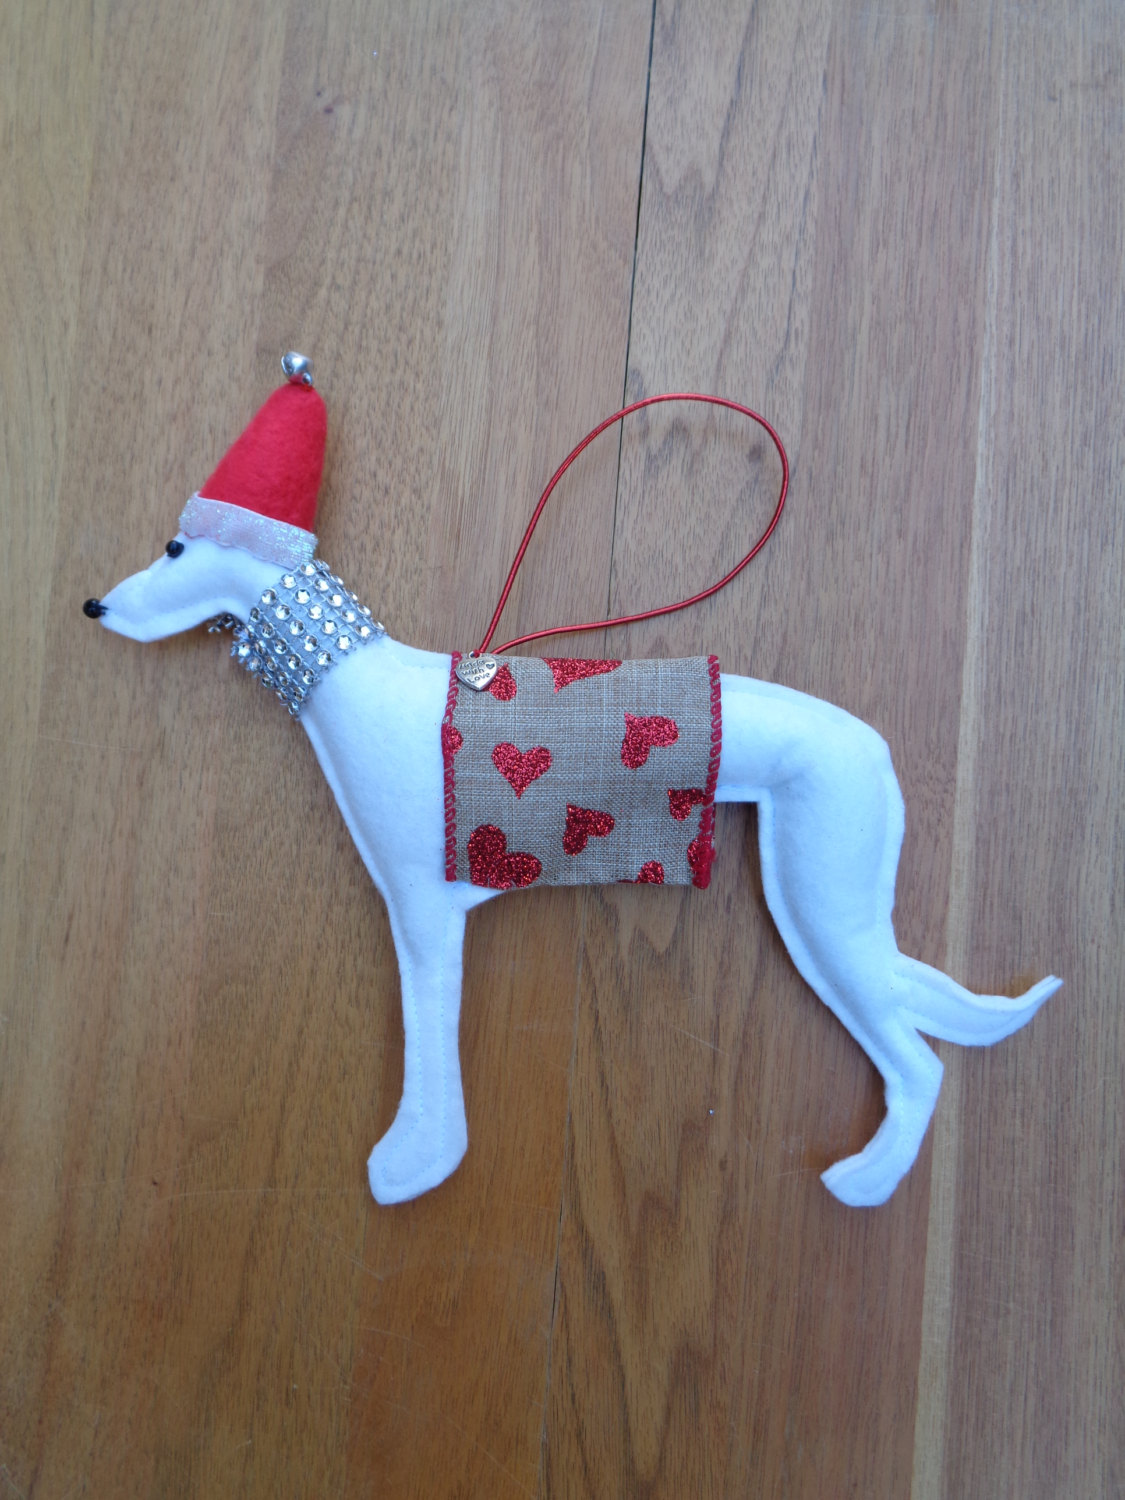
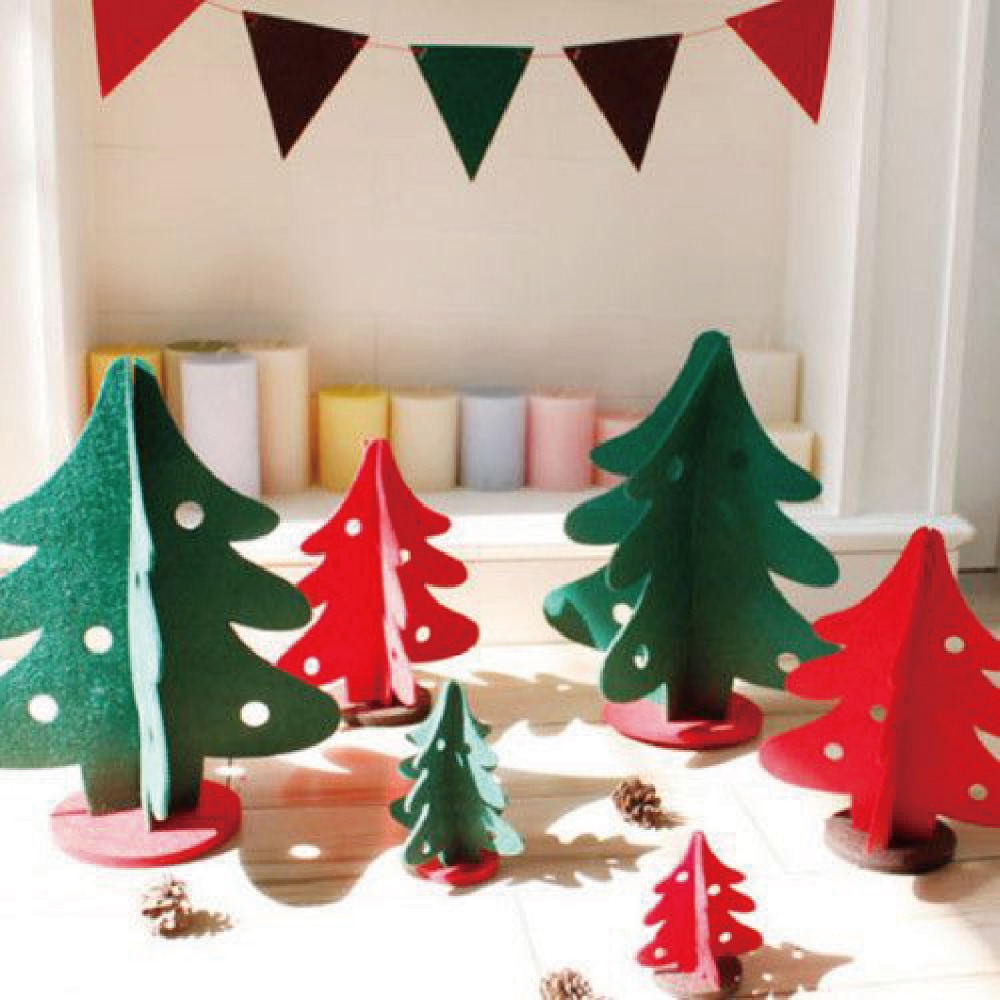
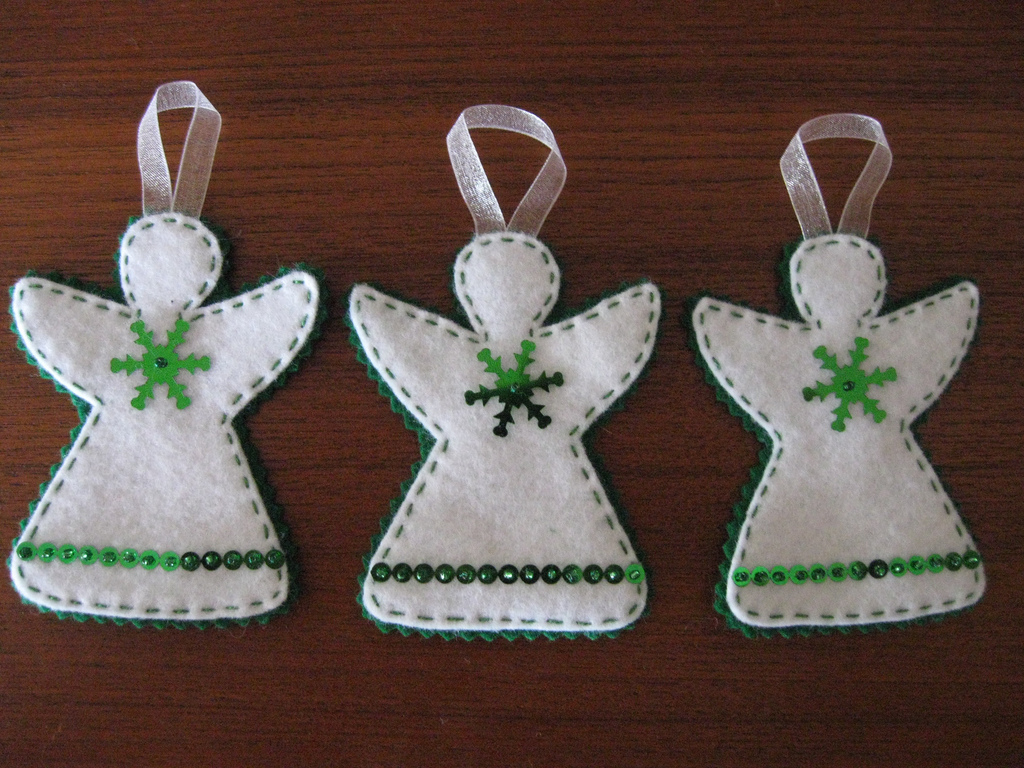
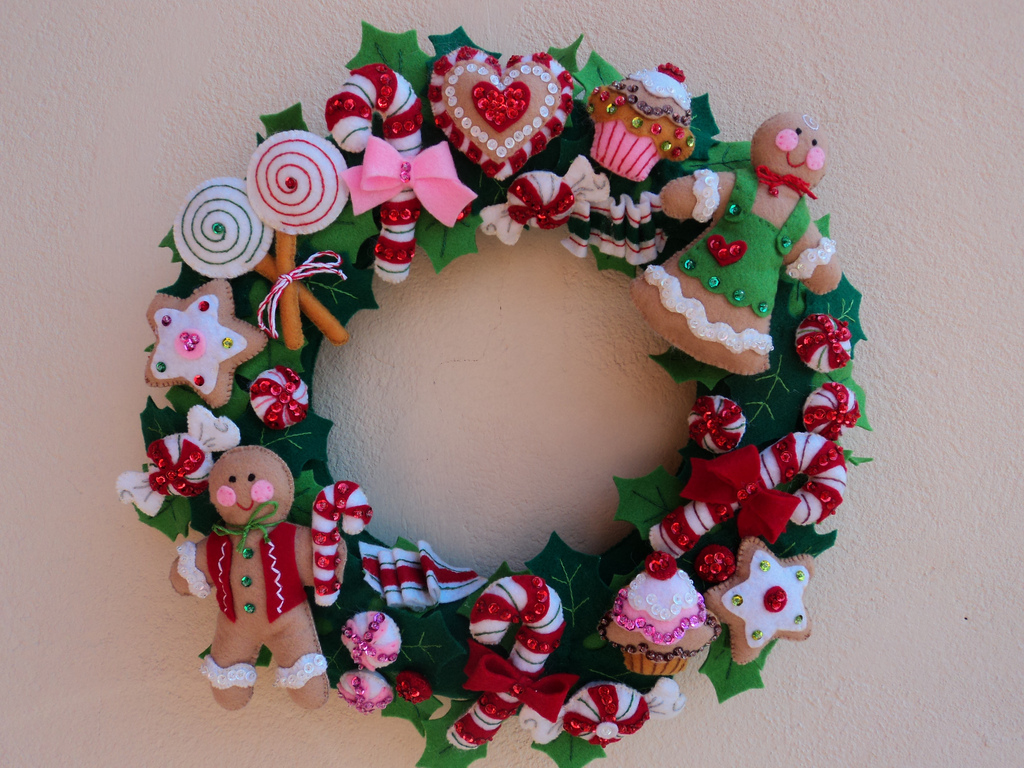
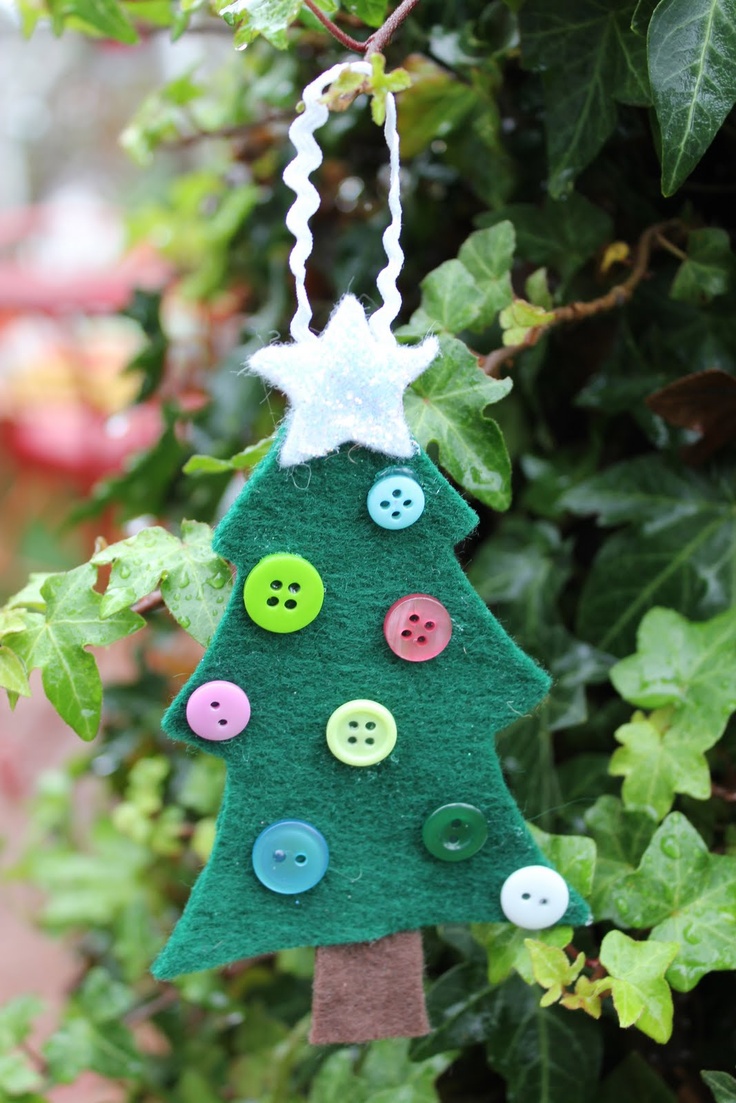
175+ Photos of crafts made on New Year's Eve Dogs do-it-yourself: Patterns and Patterns for beginners

Wonderful December! Today we are looking forward to the New Year holidays and decorating our house with felt articles.
Content:
Felt is an affordable and easy-to-use material for crafts.
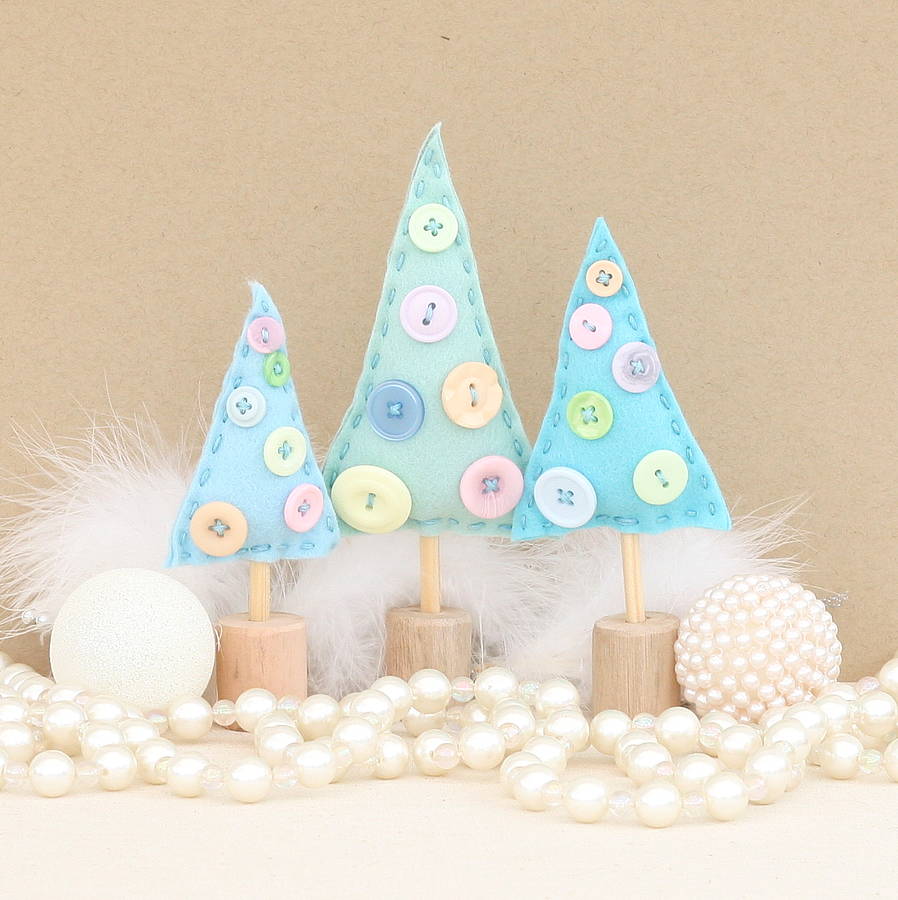
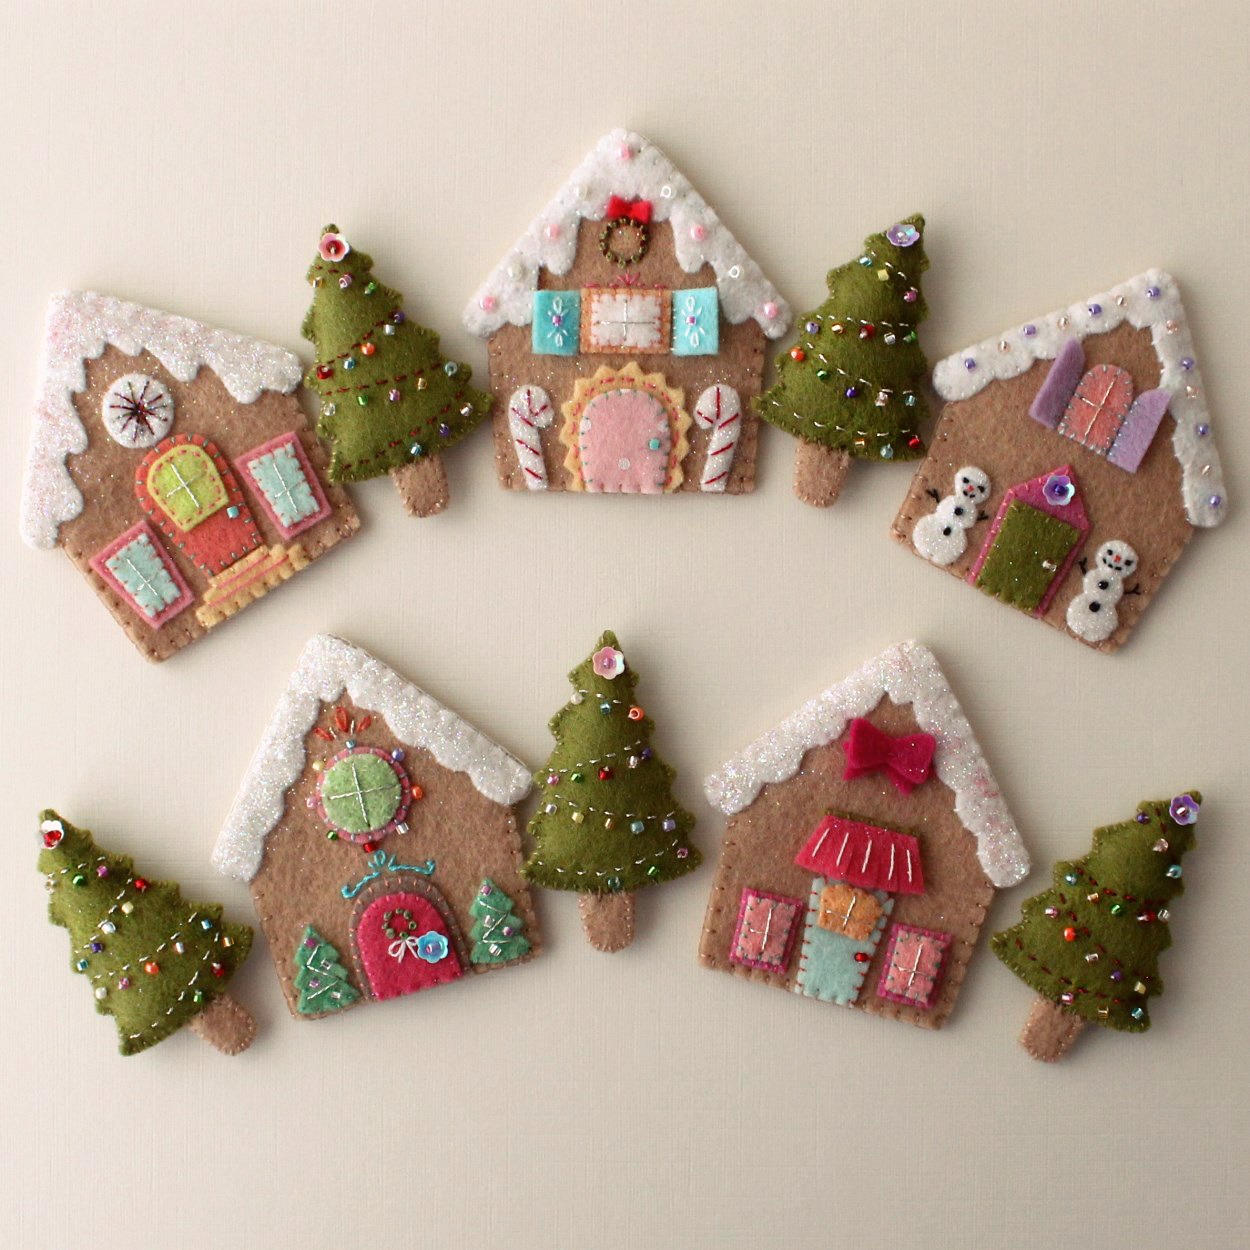
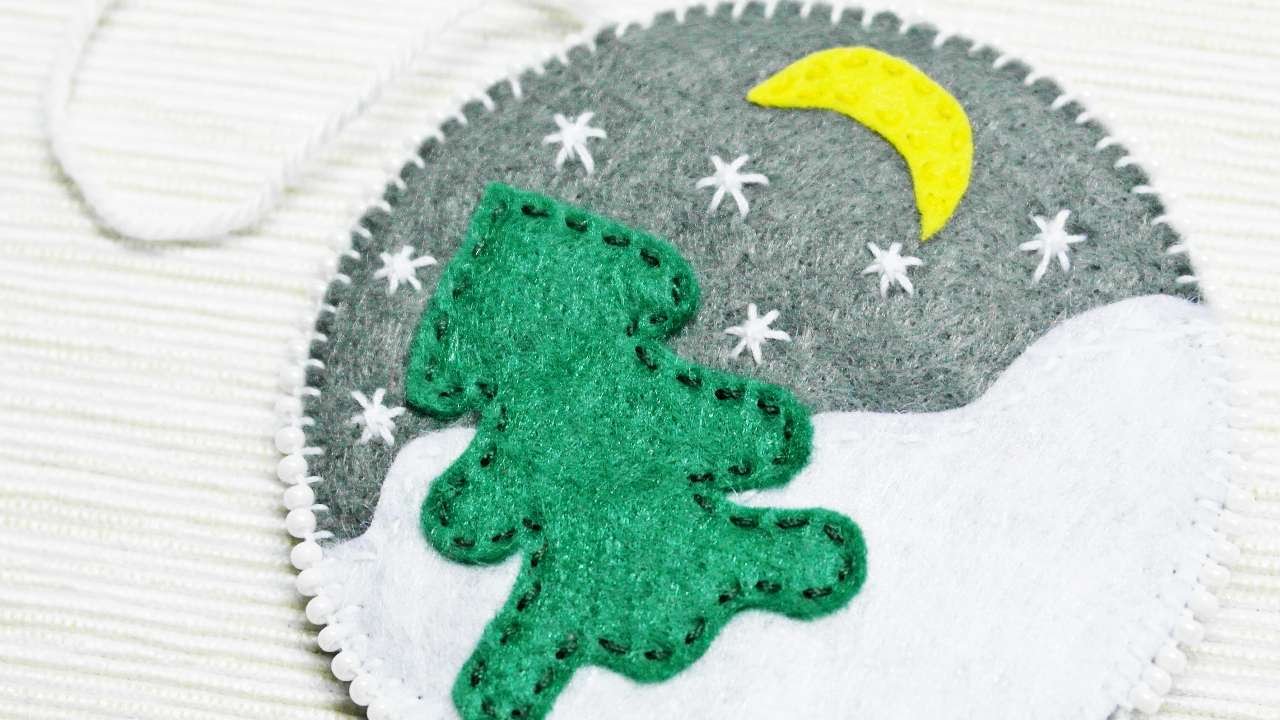
Ahead of us is waiting for the New Year and Christmas - a magical time, with joy, gifts and fancy houses. Today I want to show you very simple ideas for making a house made of felt - an affordable and easy-to-use material for crafts, from which you can create a whole range of things! From plush toys, pillows, accessories, to wall art and jewelry - the options are endless!
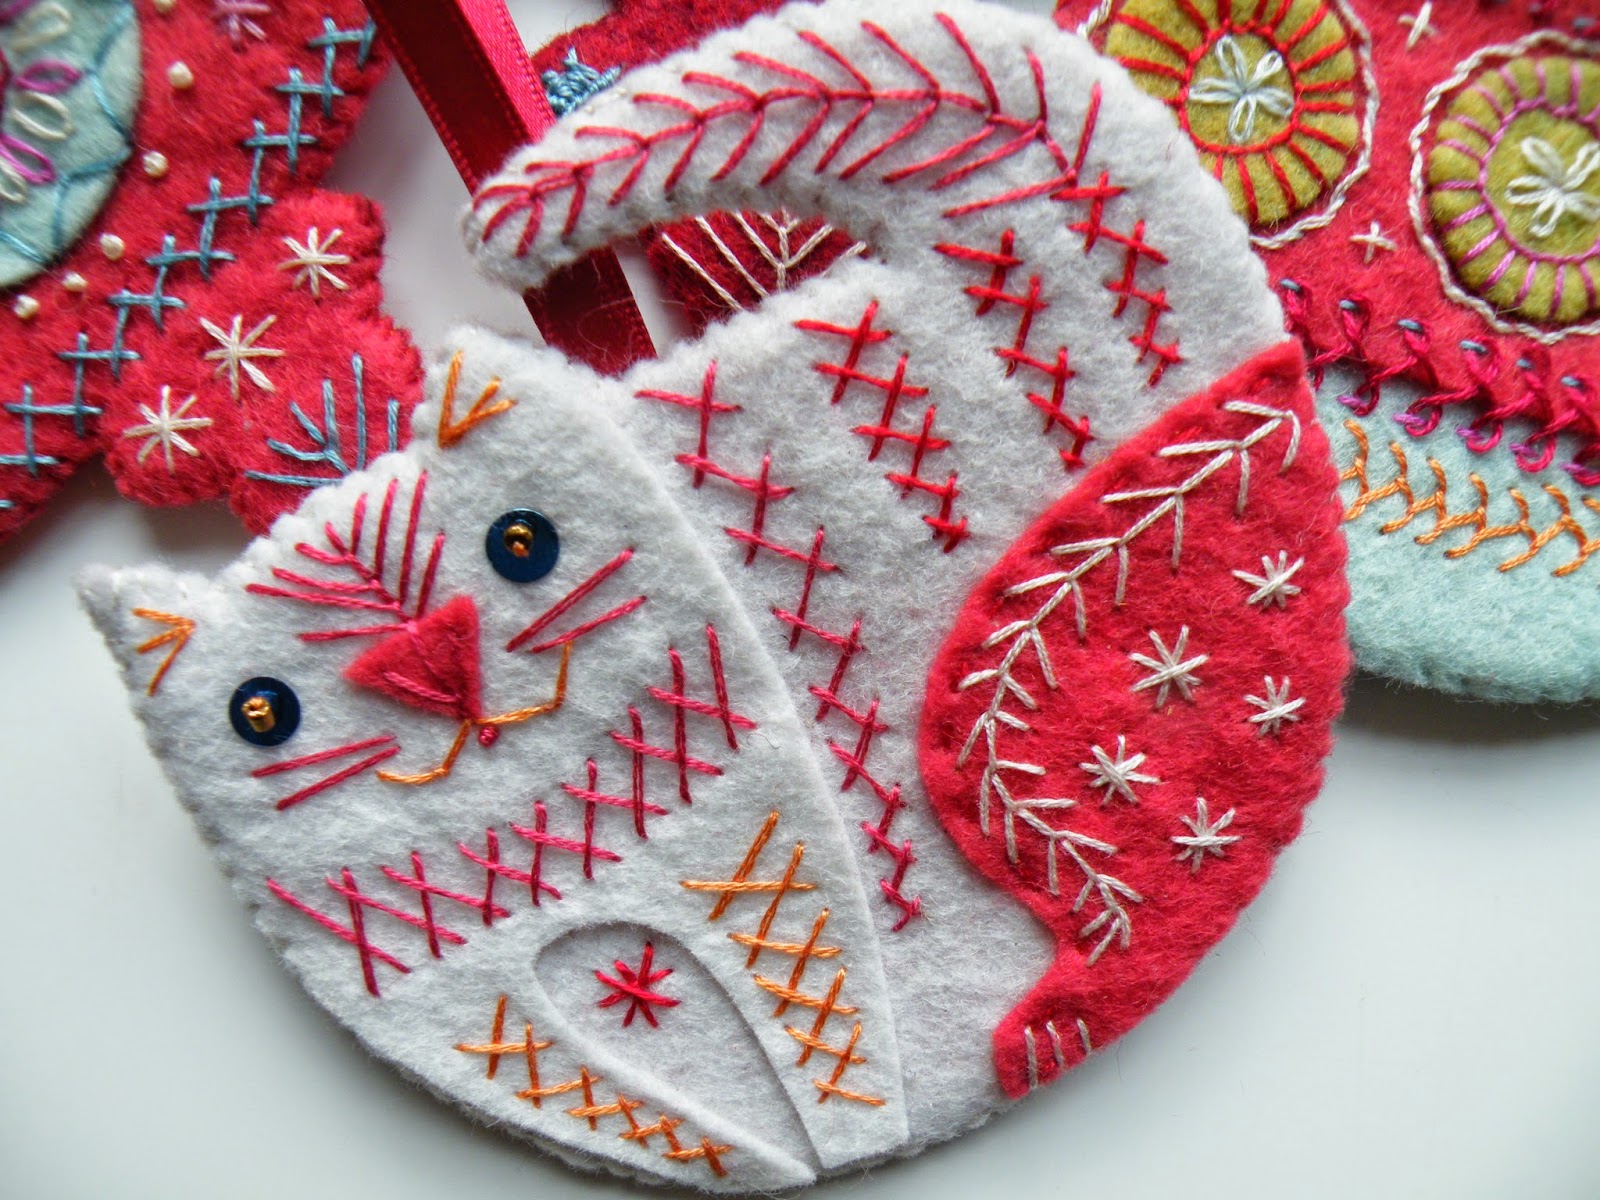
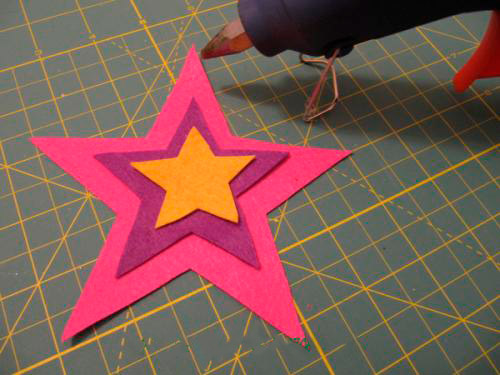
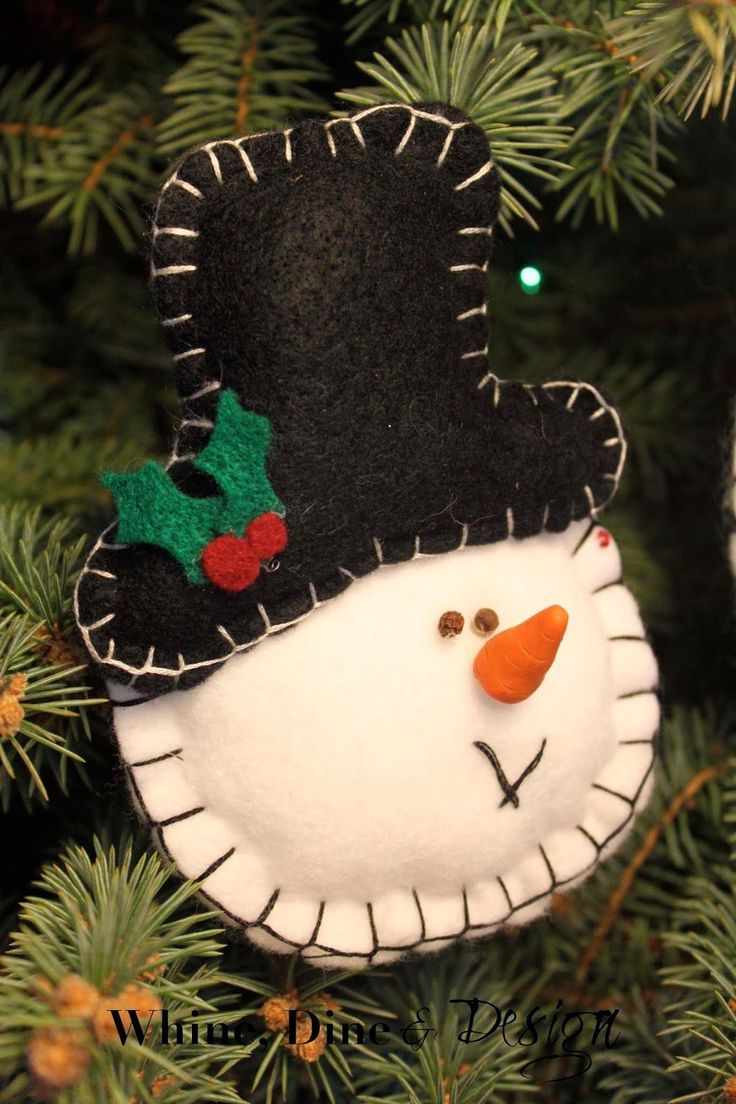
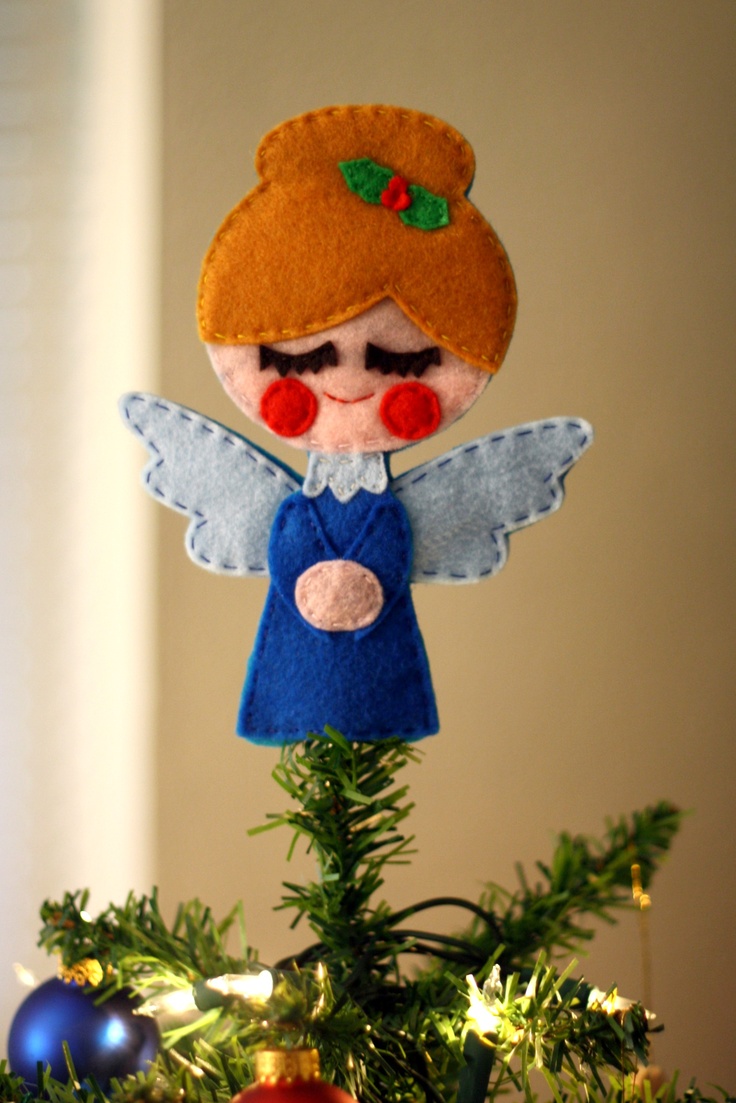
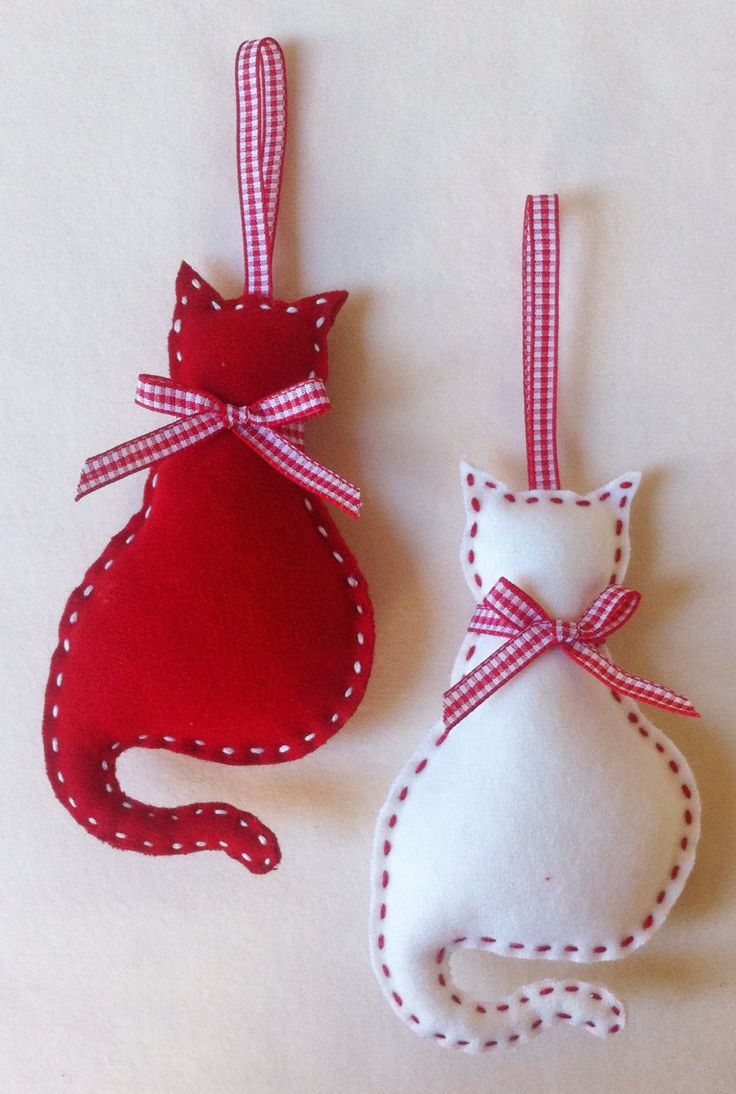
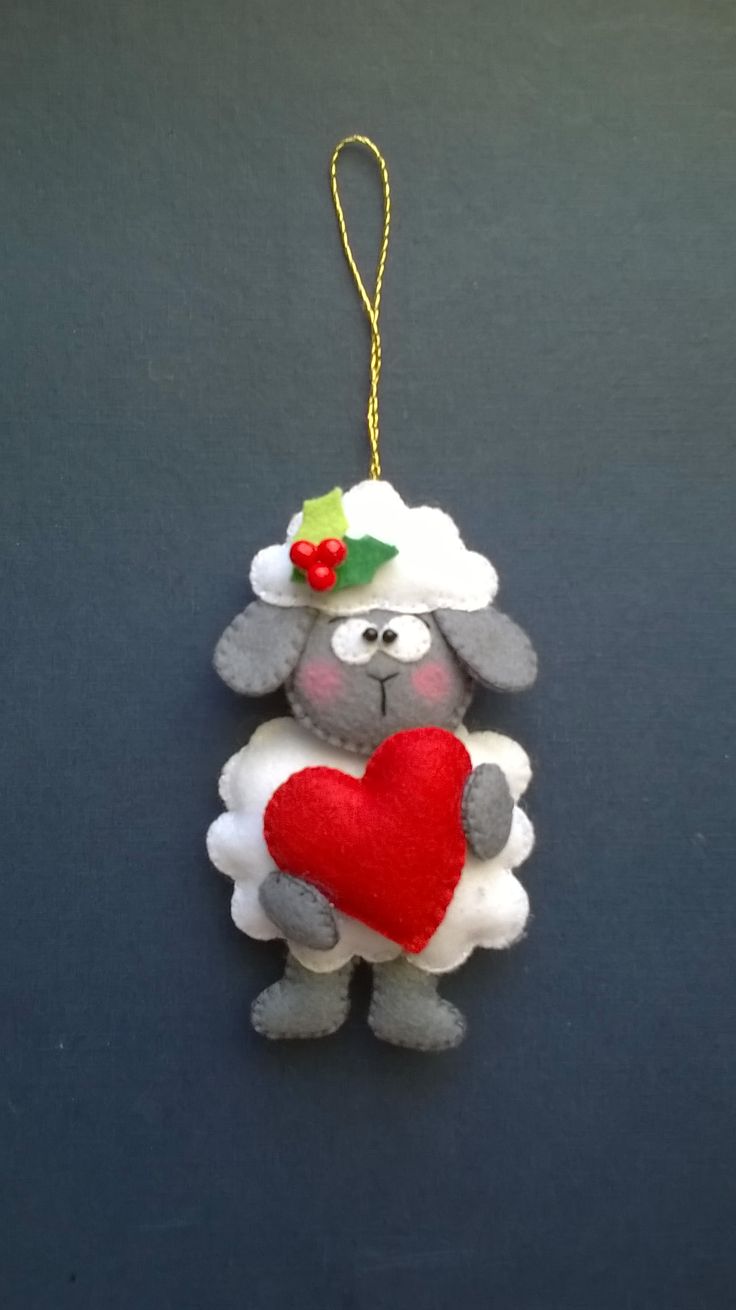
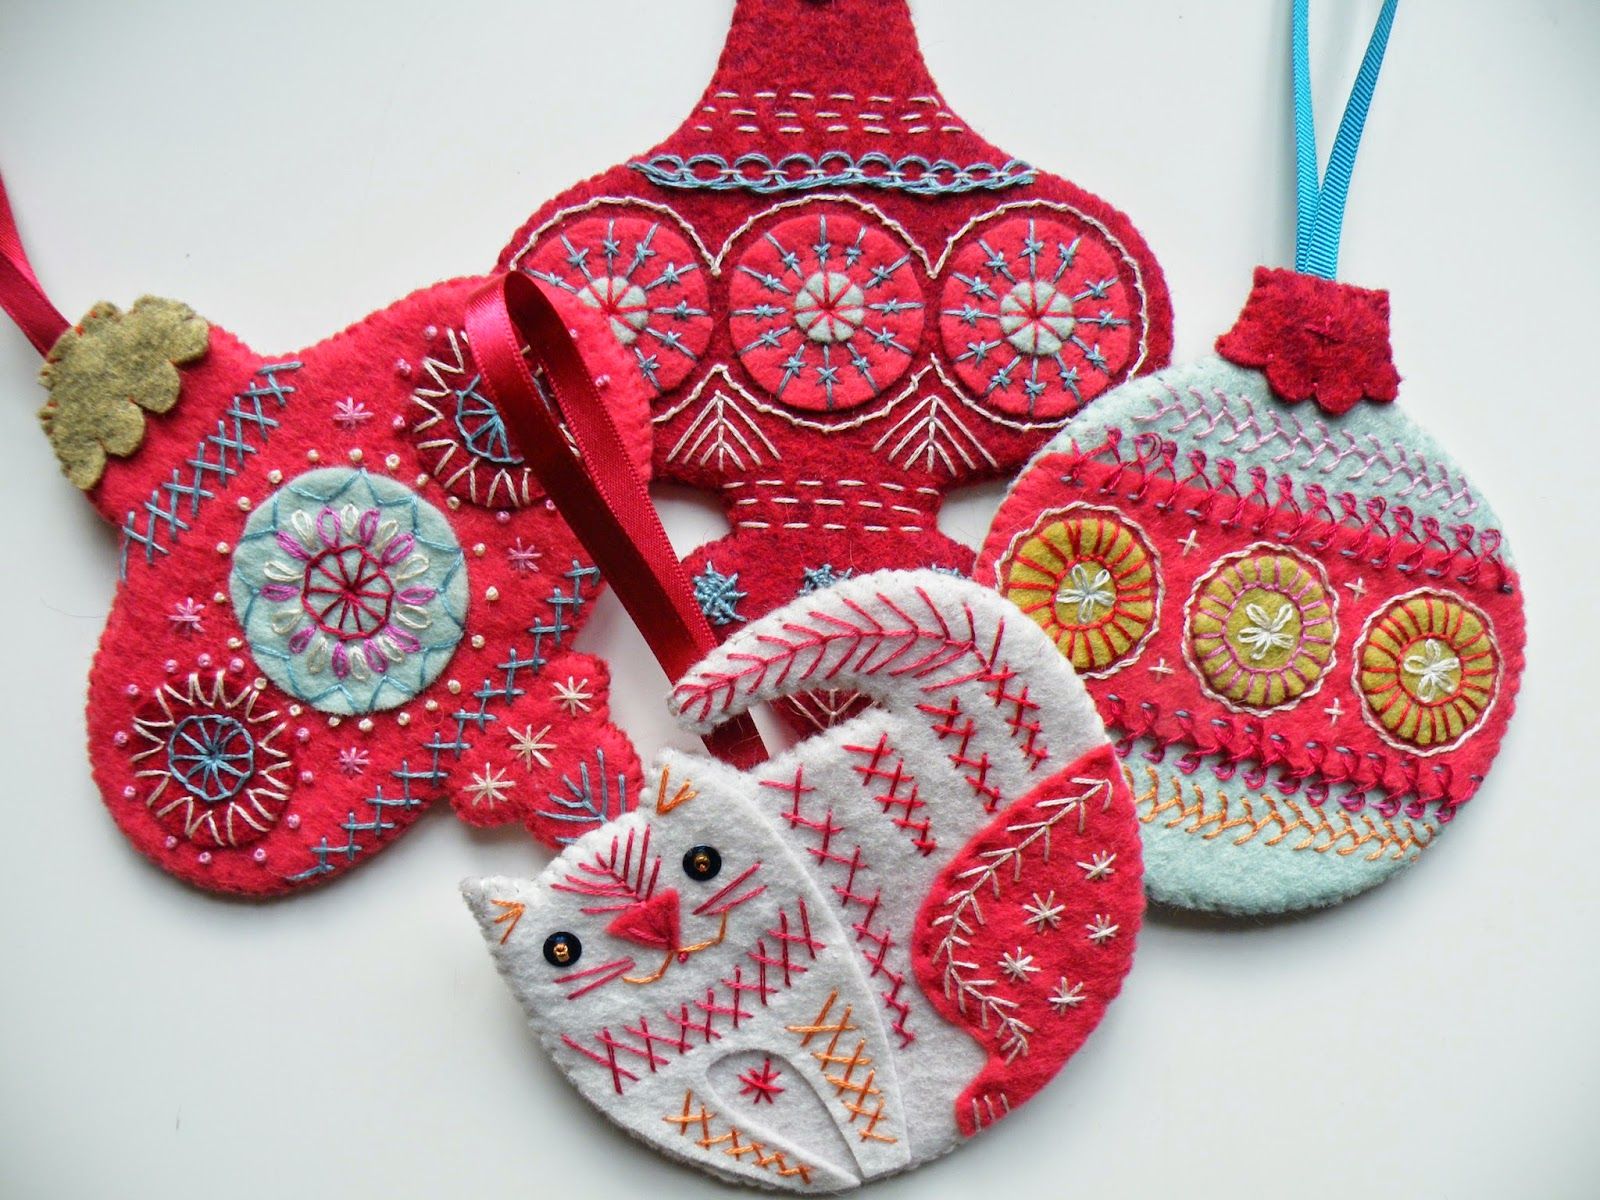
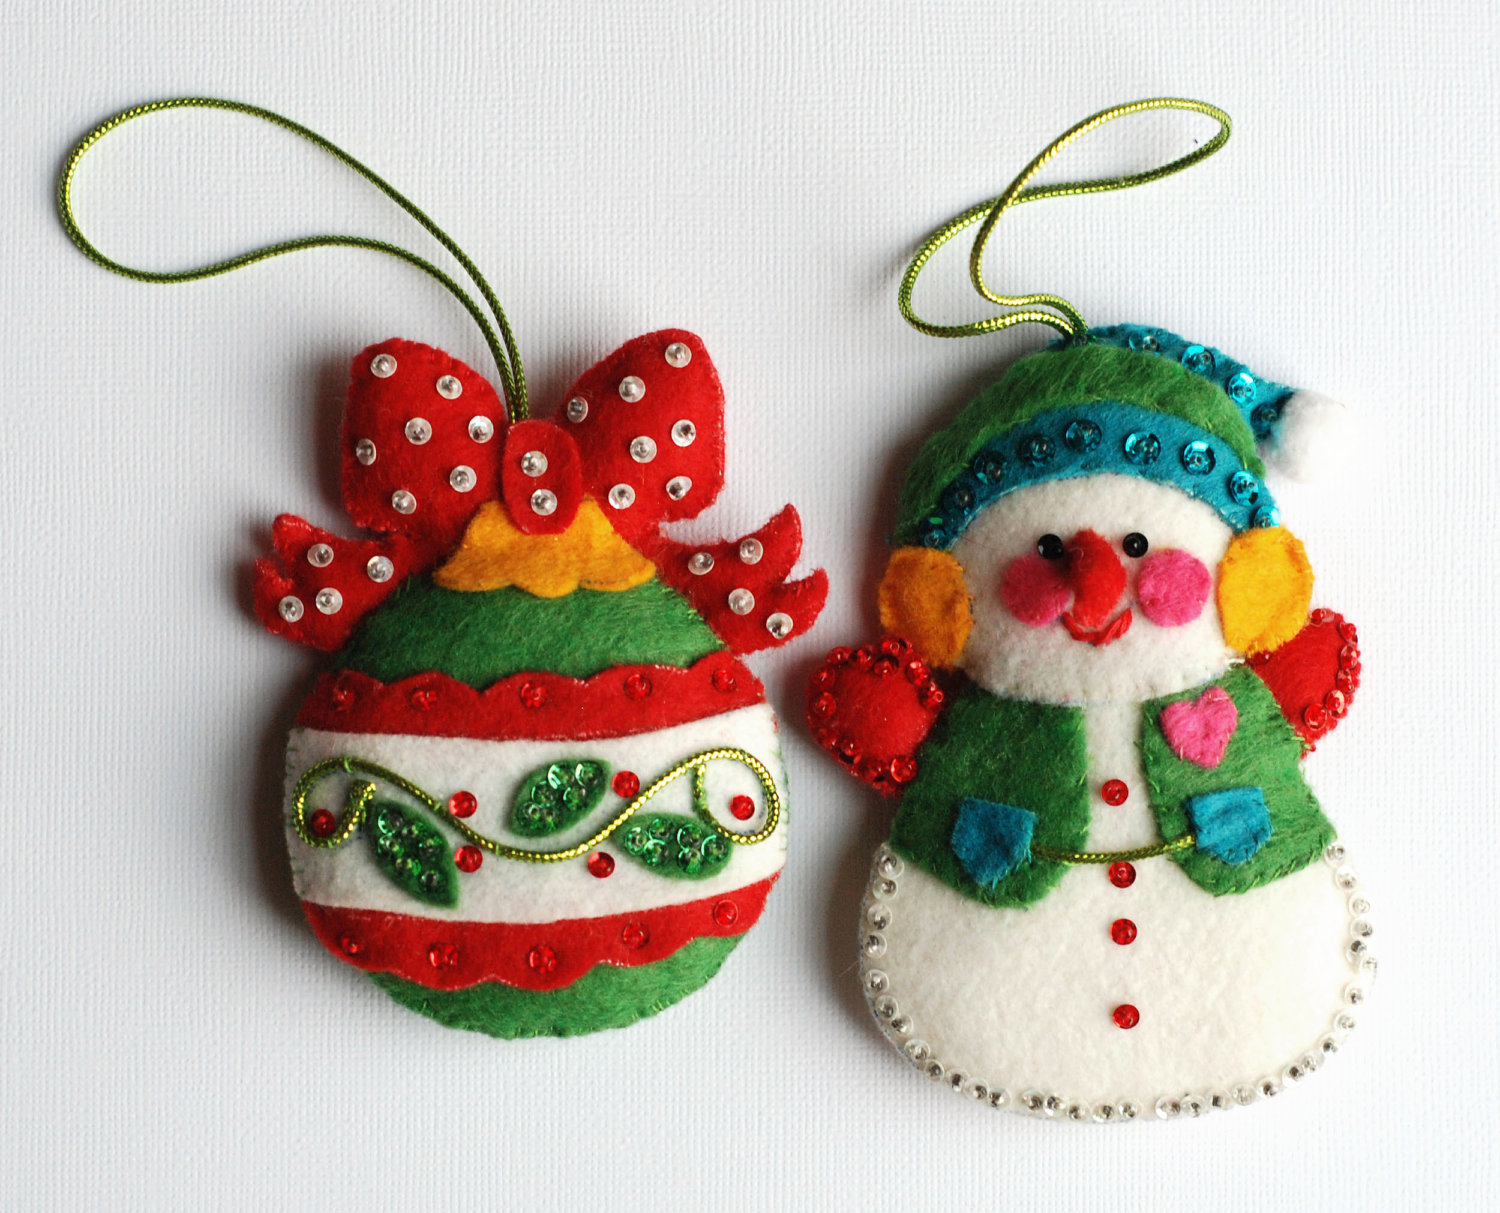
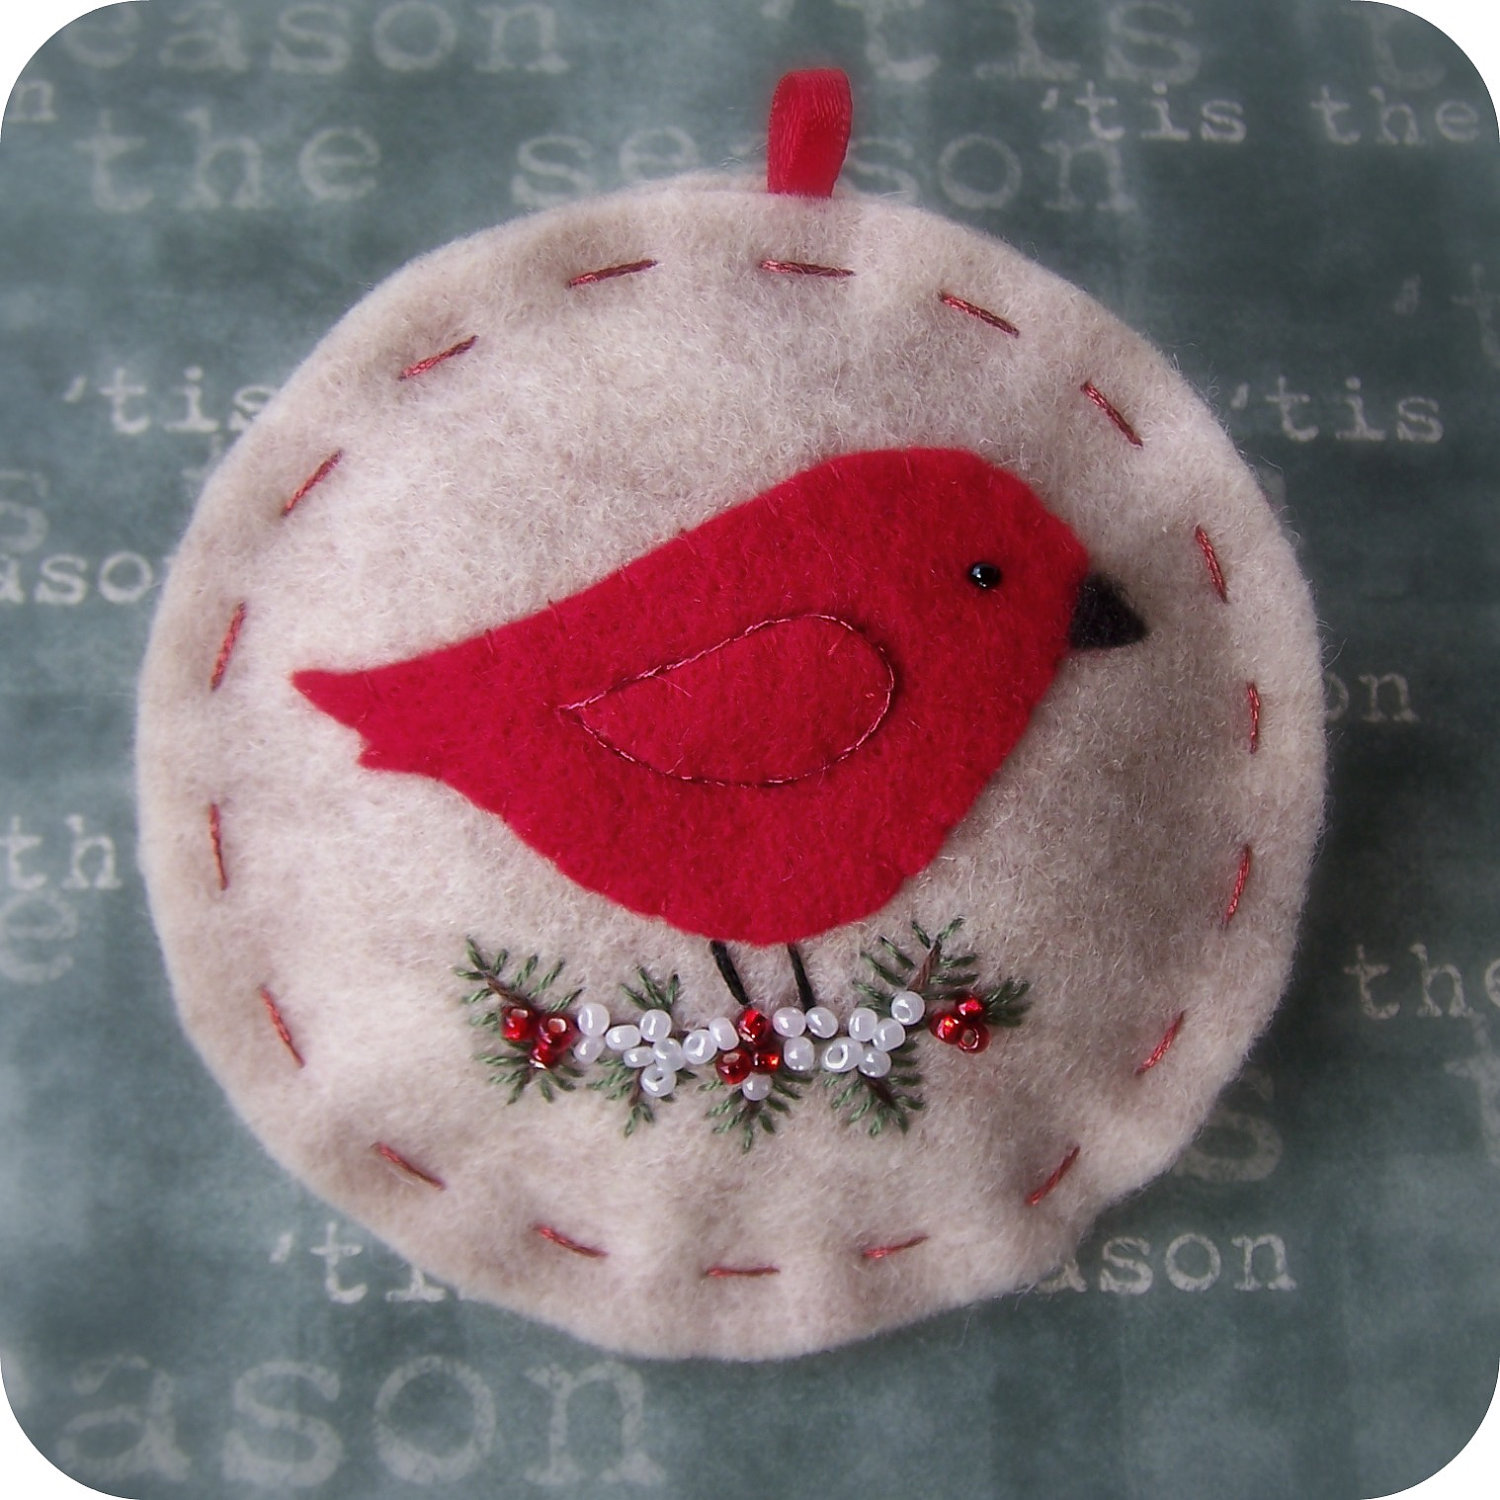
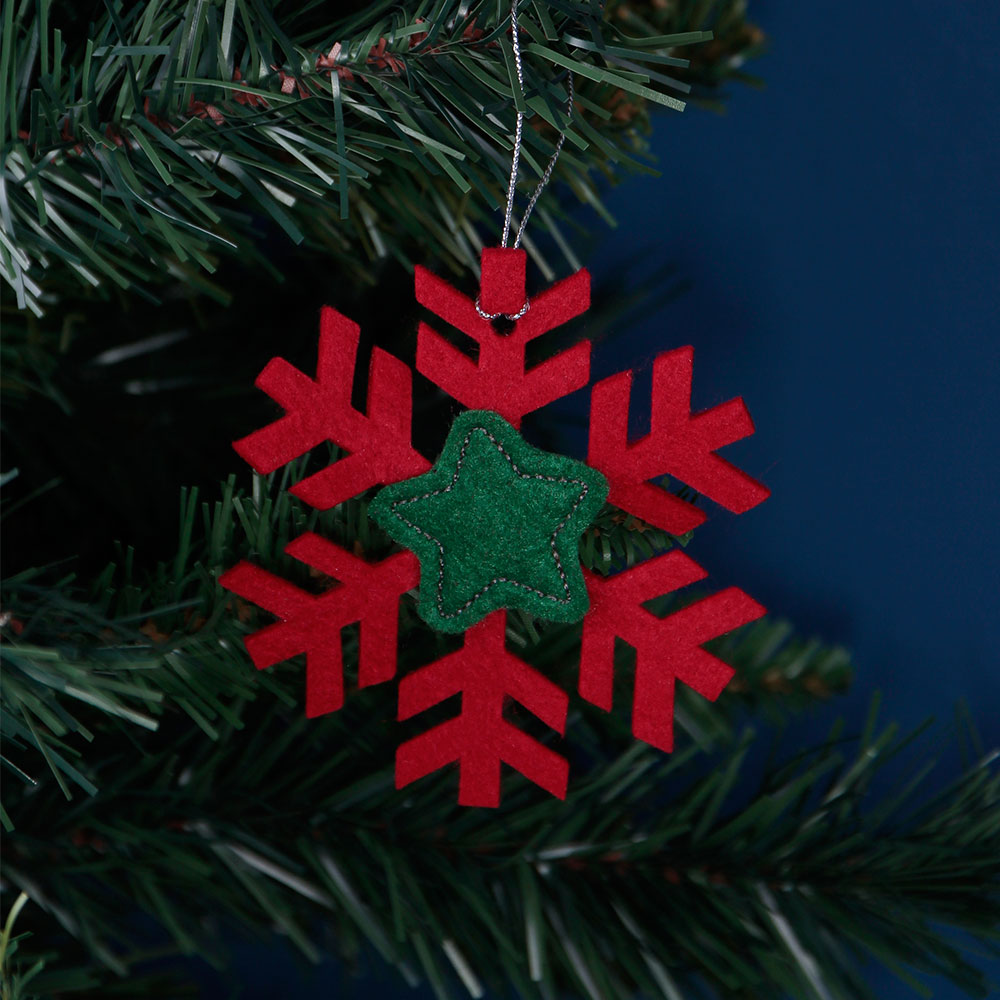
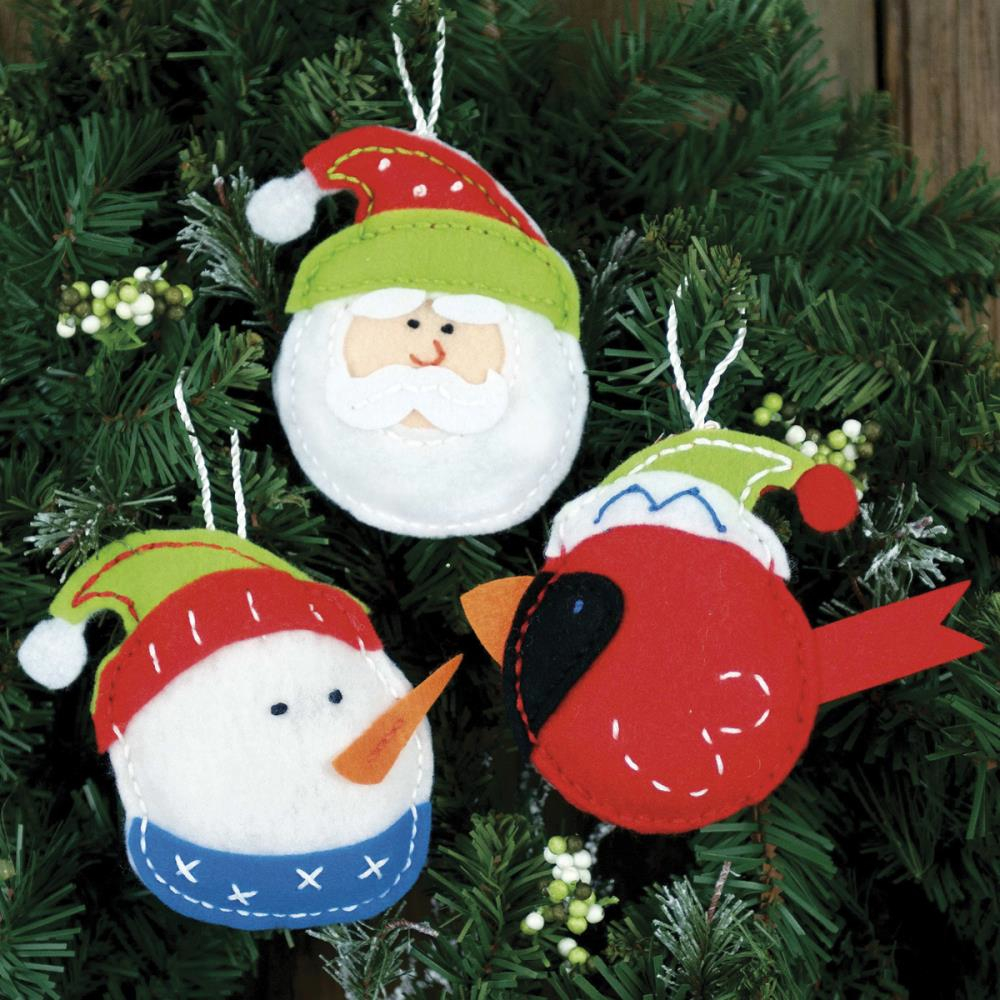
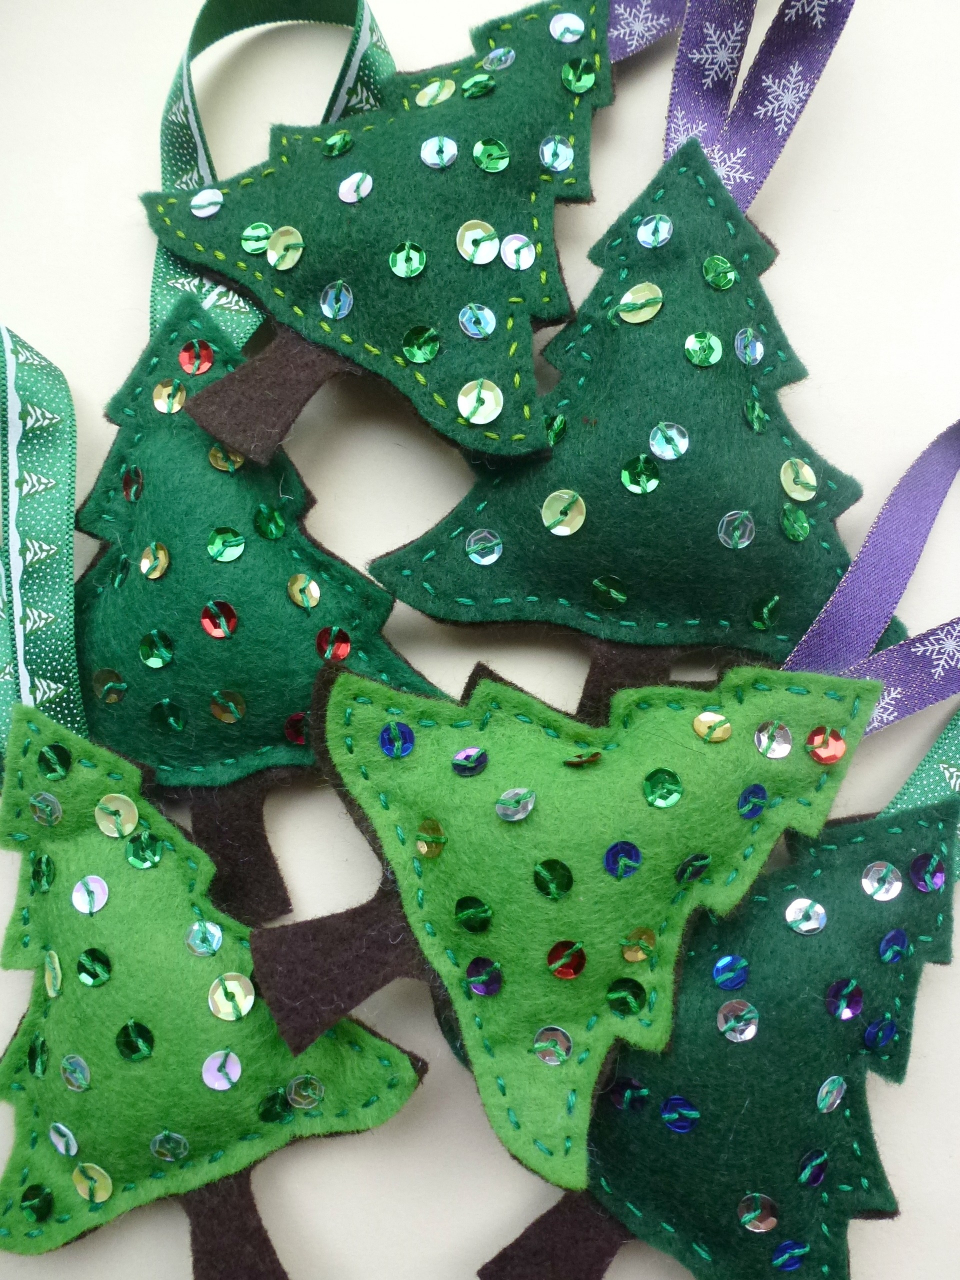
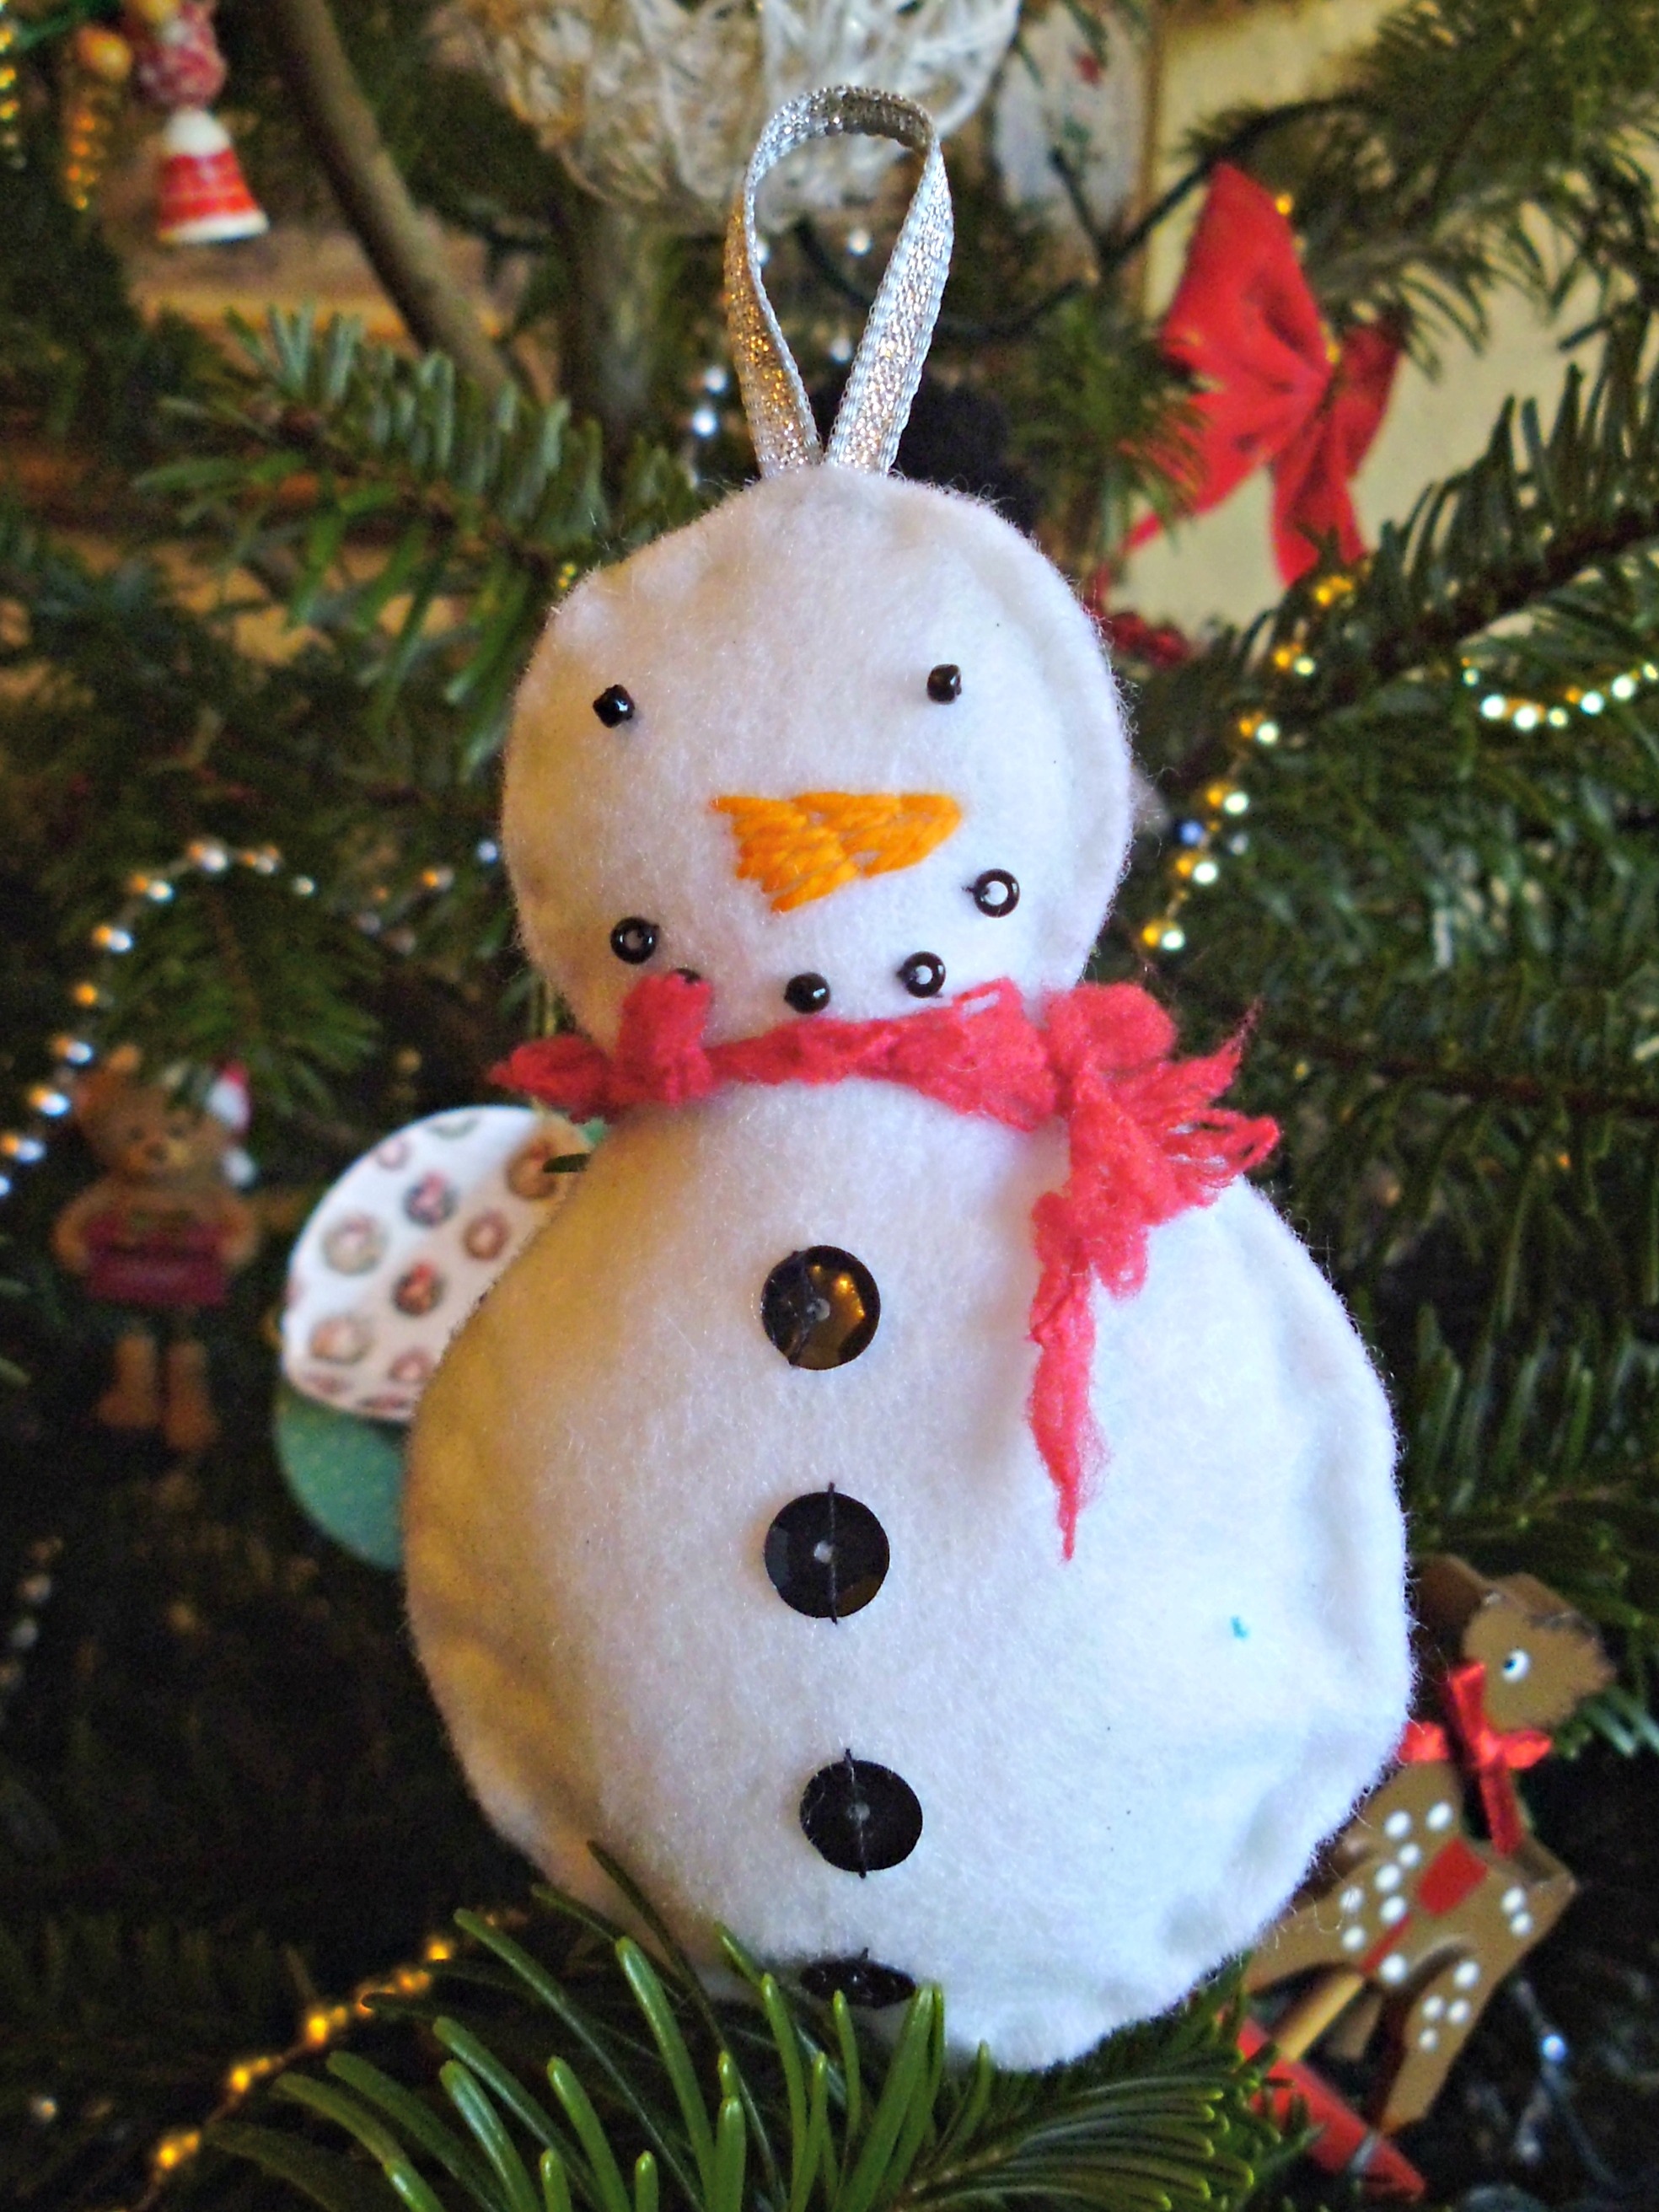
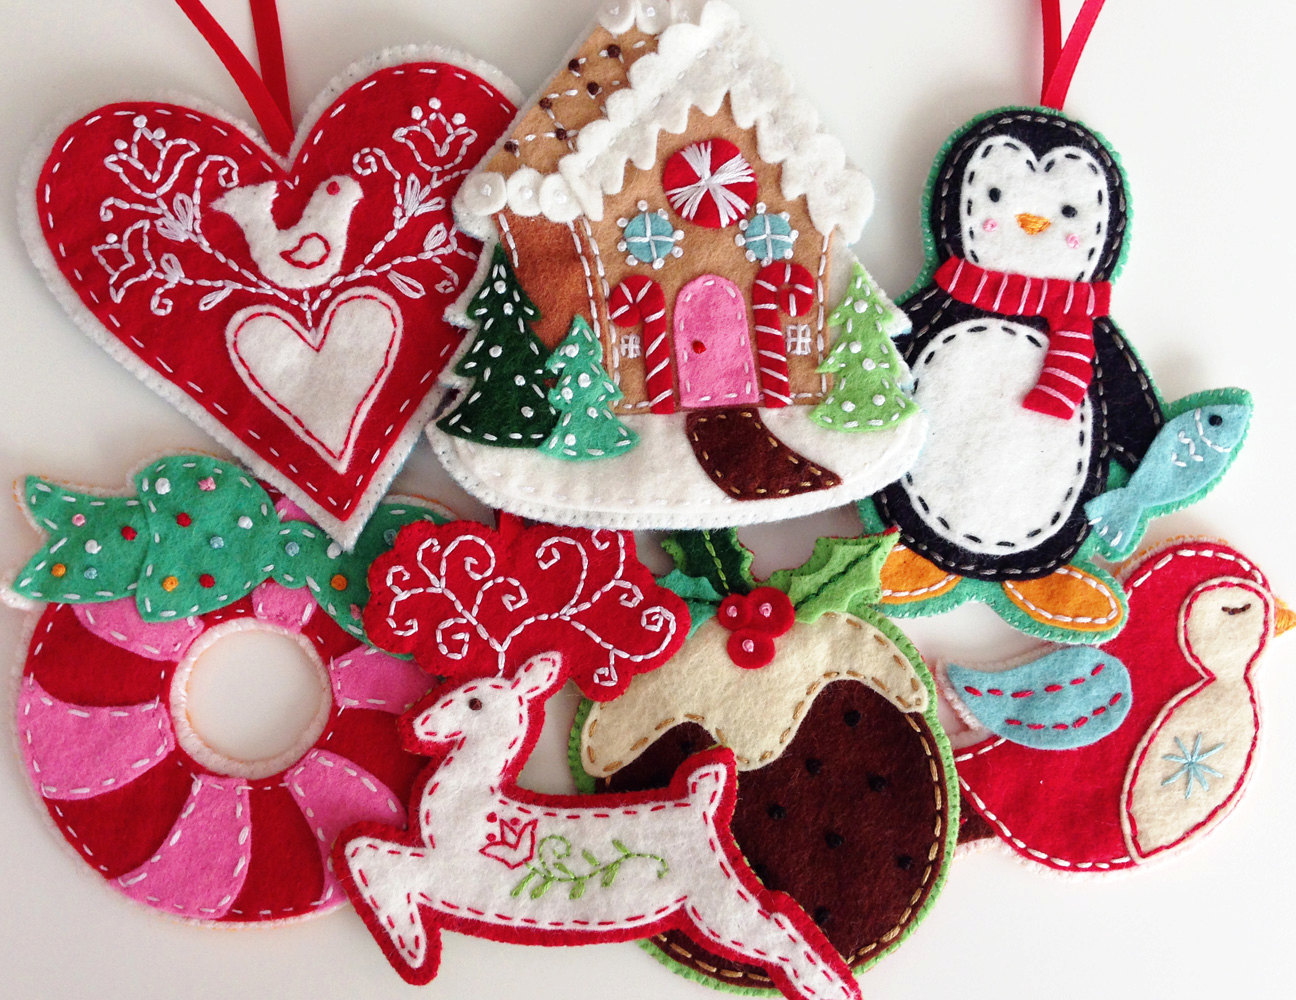
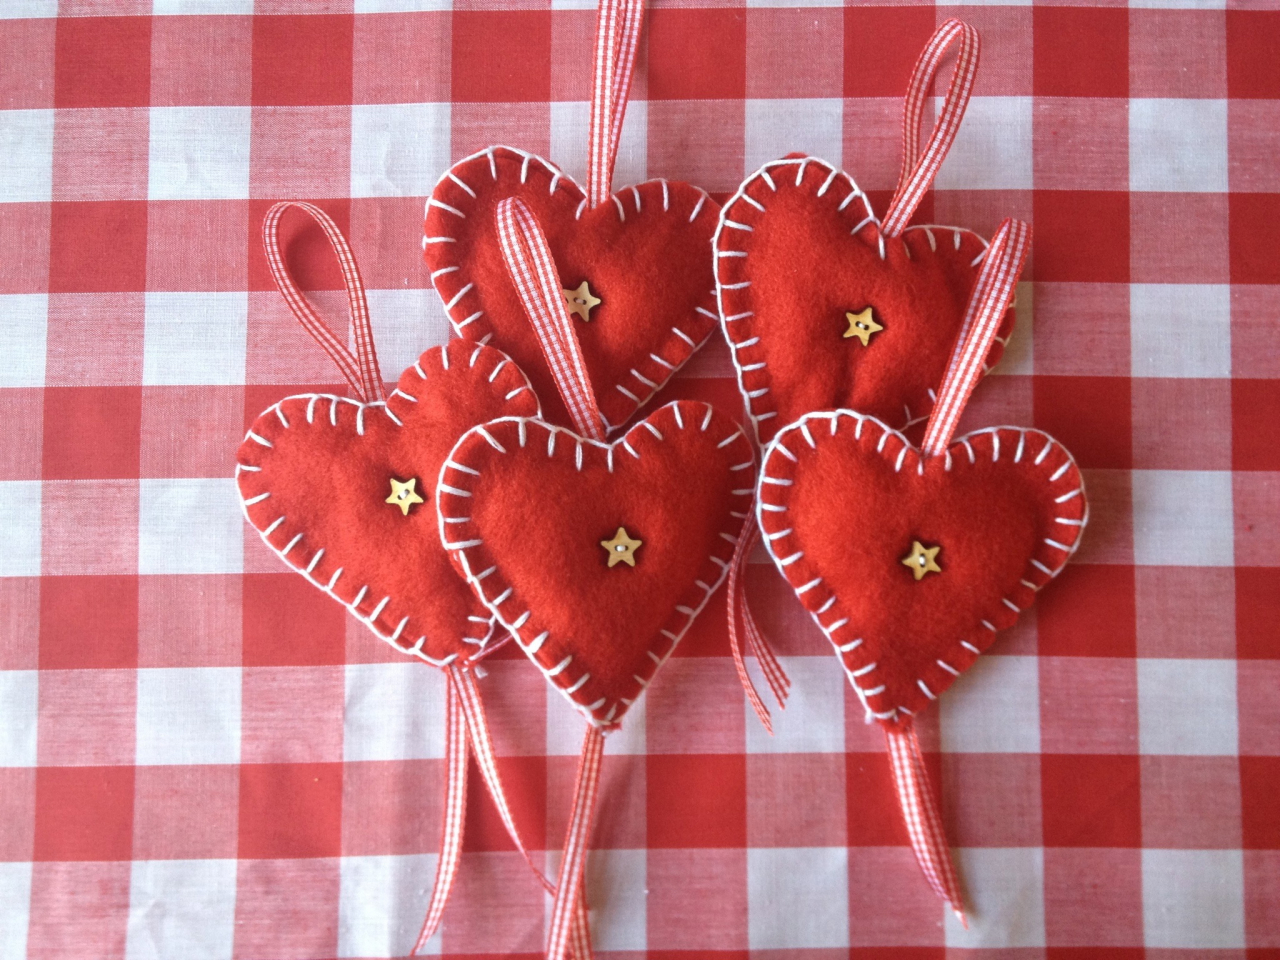
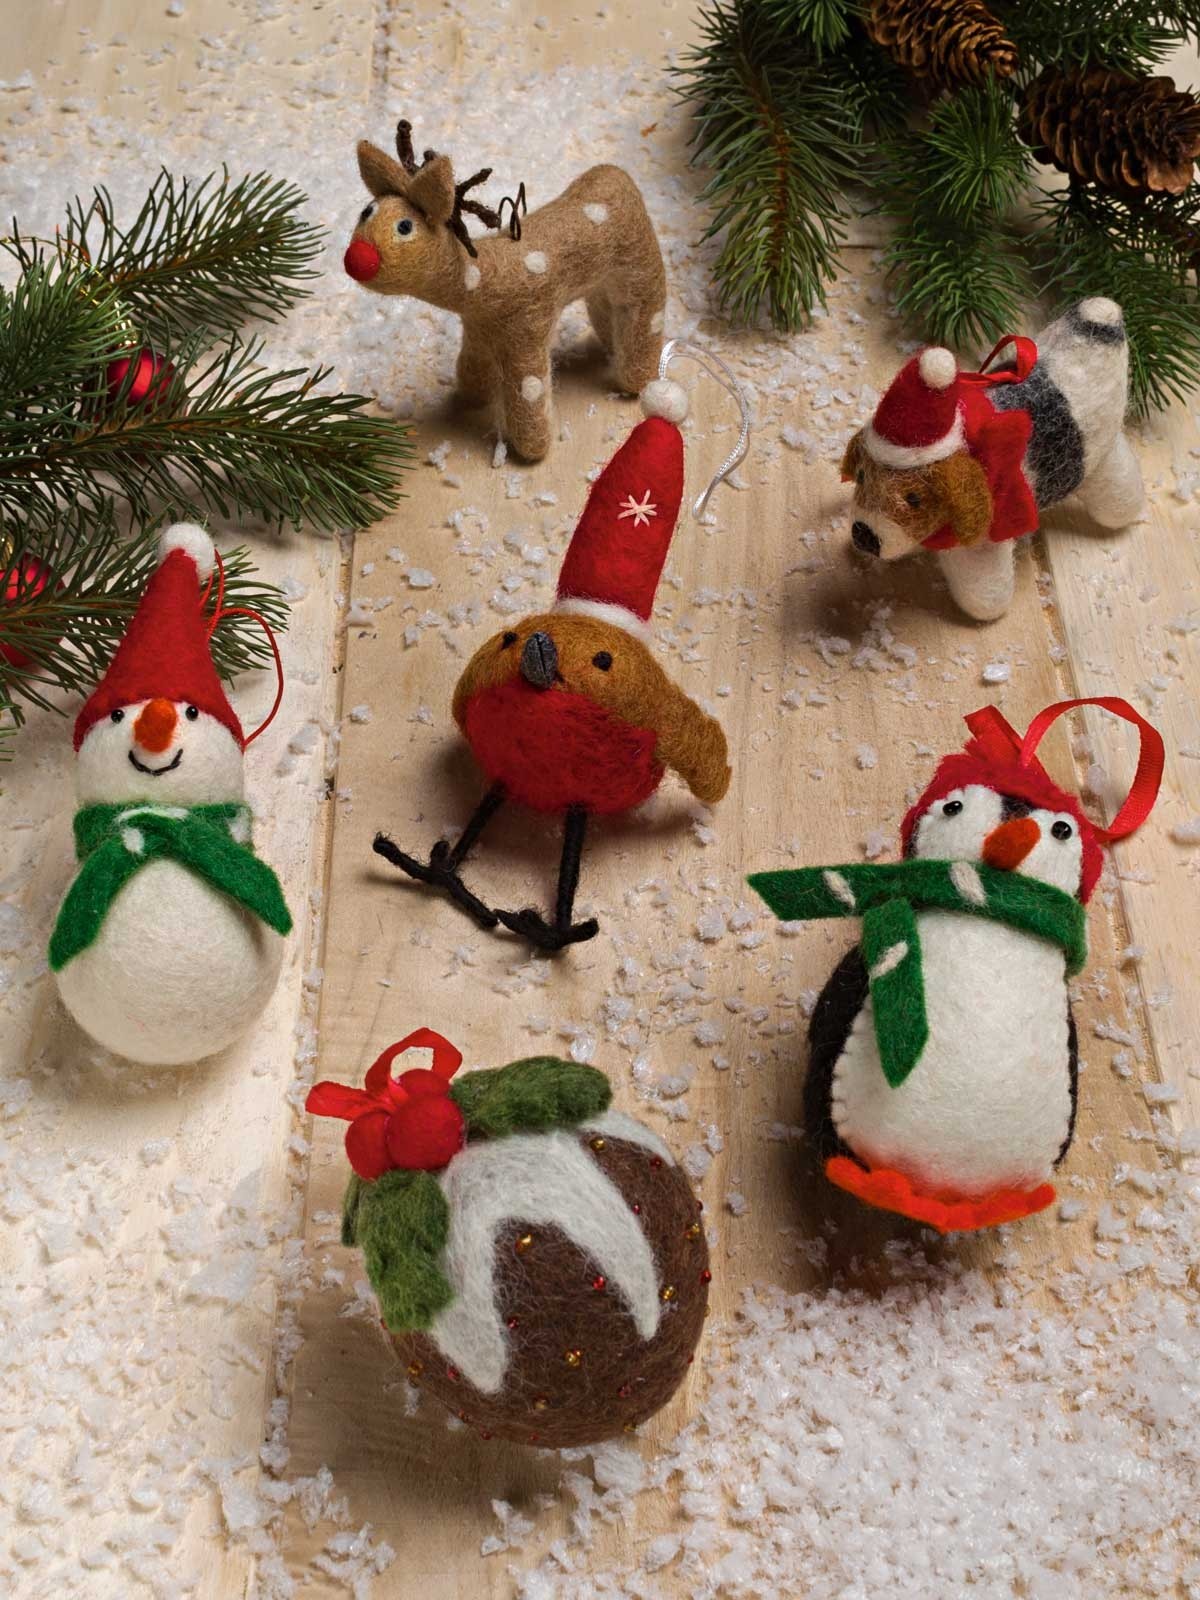
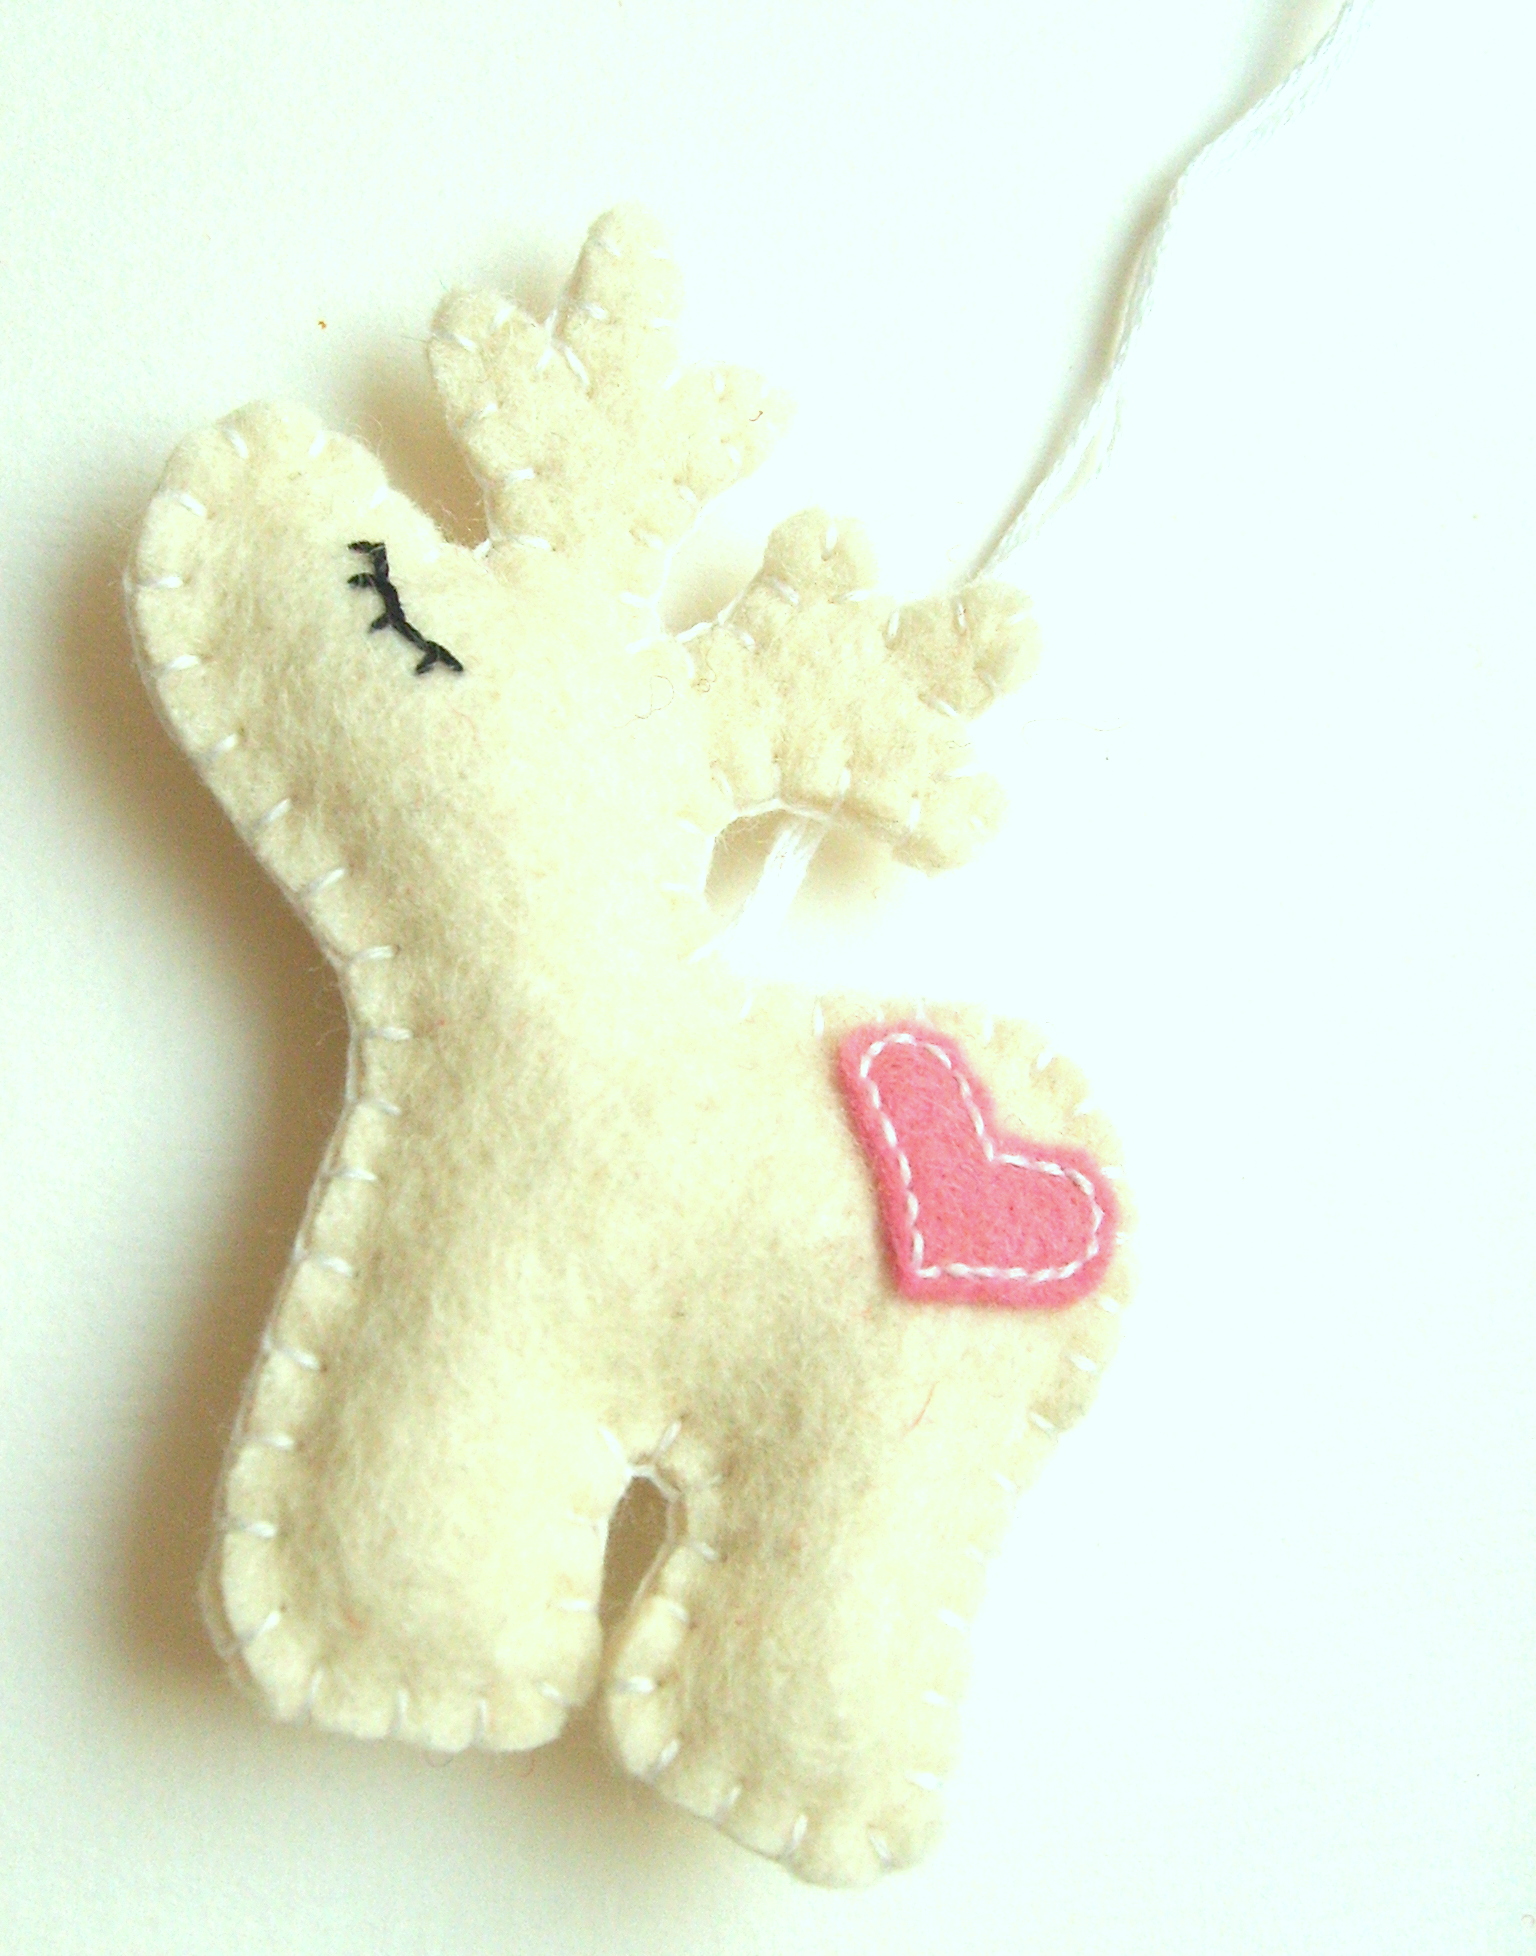
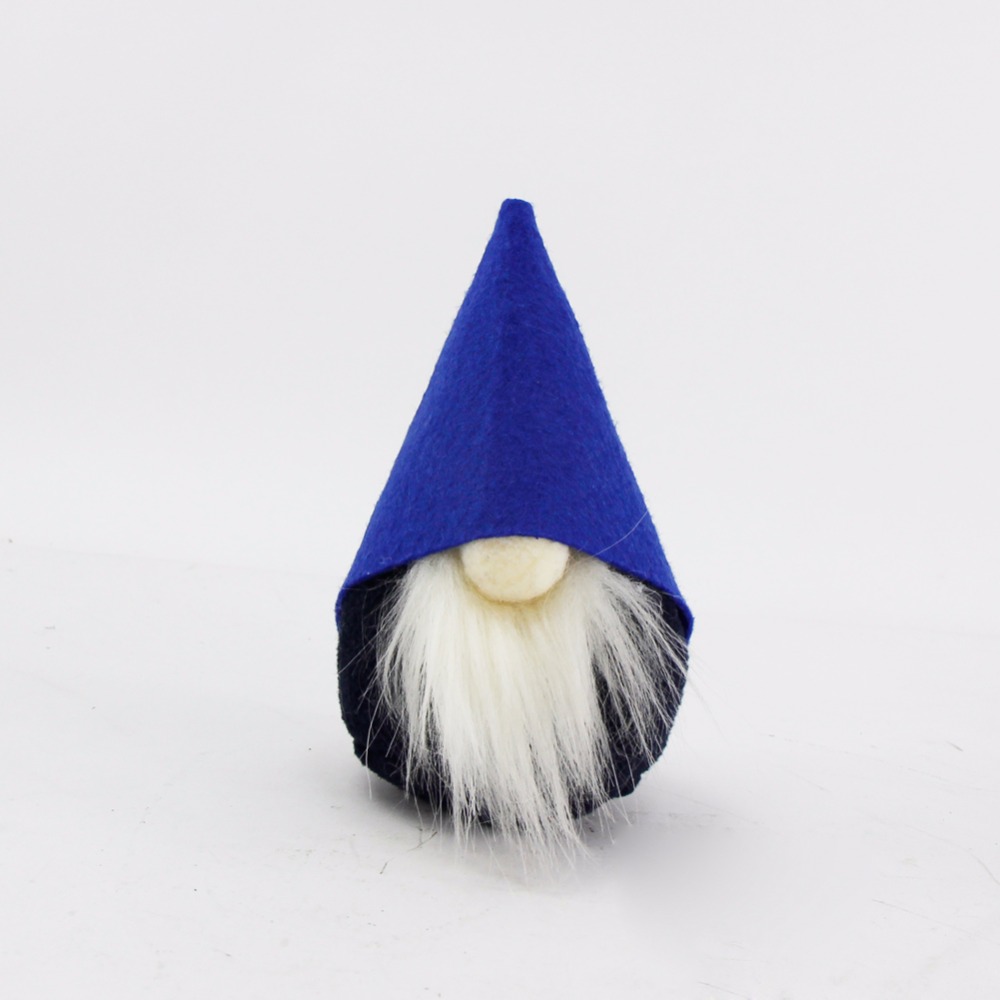
Christmas cat made of felt
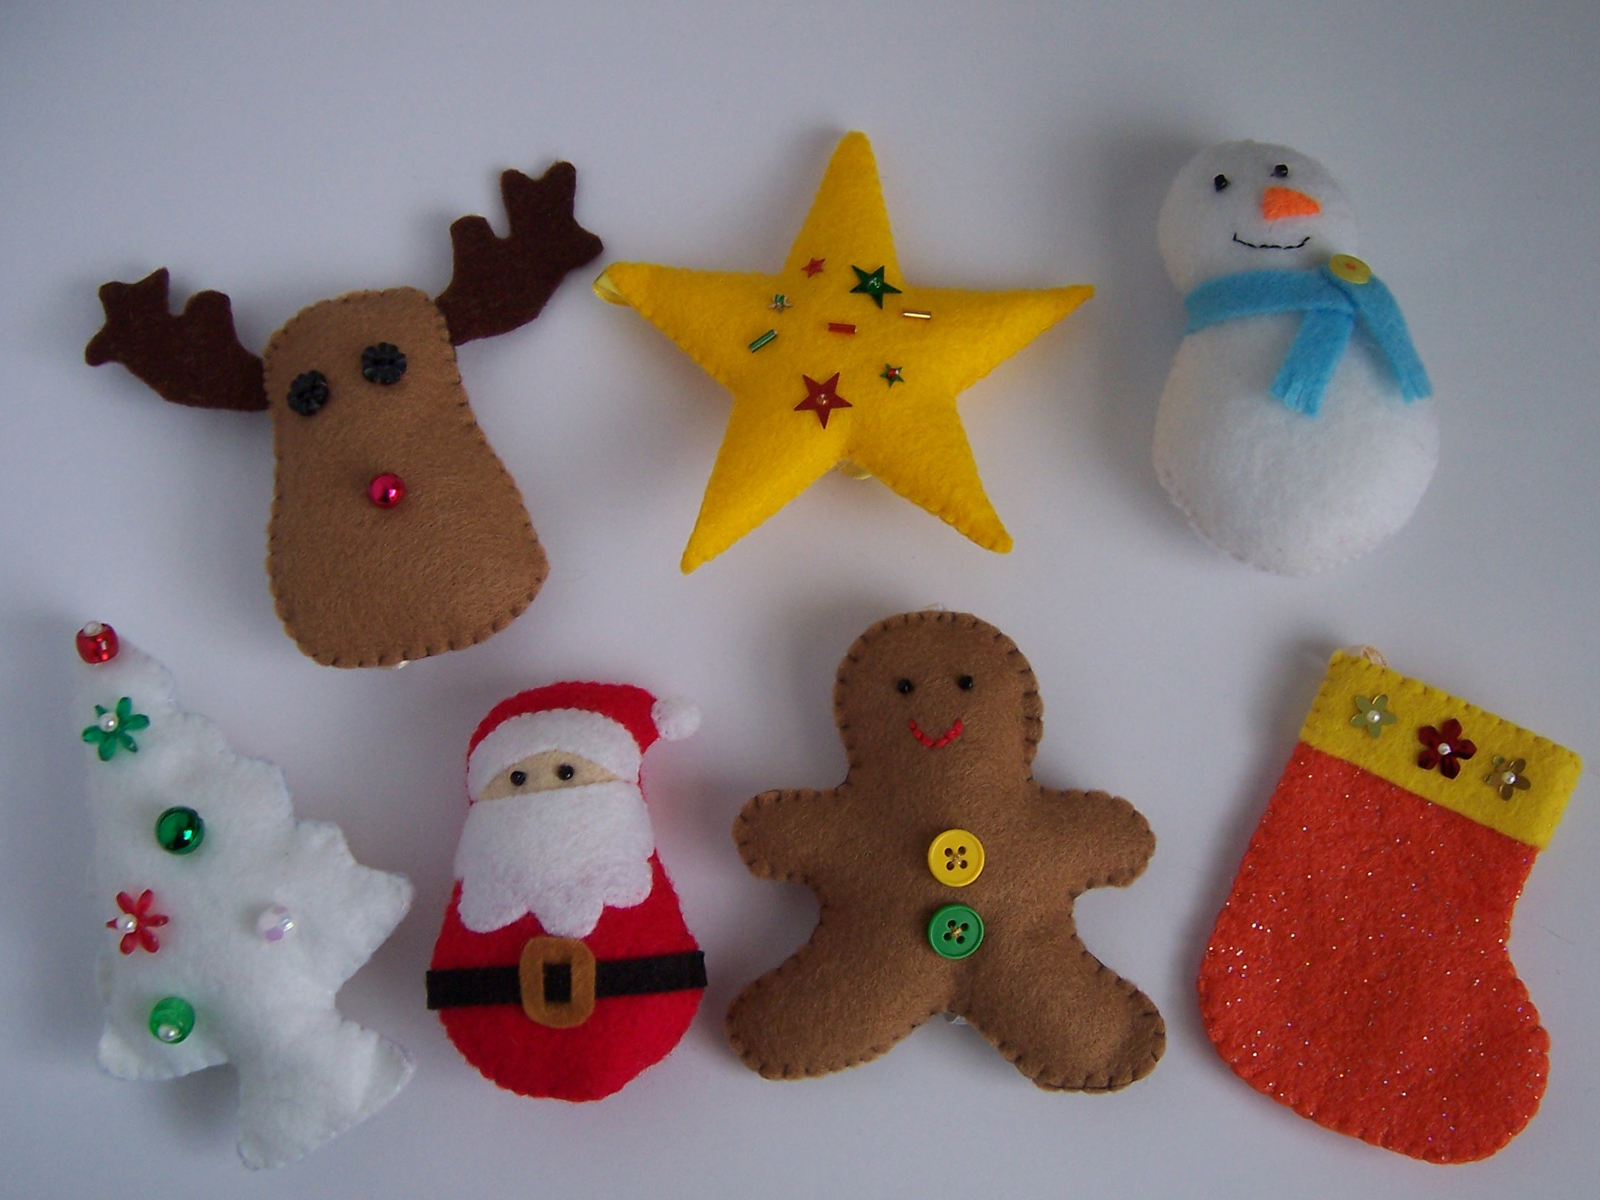
I gathered for you a few New Year projects that you can do with your own hands. Try your hand with a step by step guide, which is well suited for a beginner and advanced master.
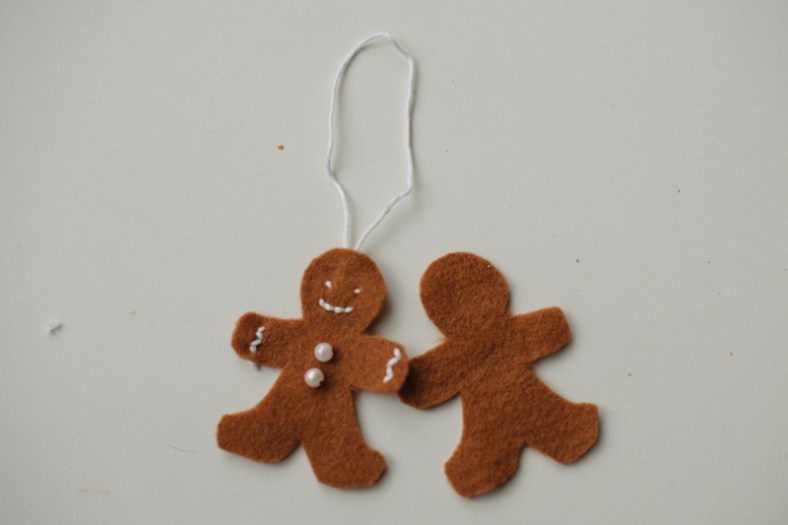
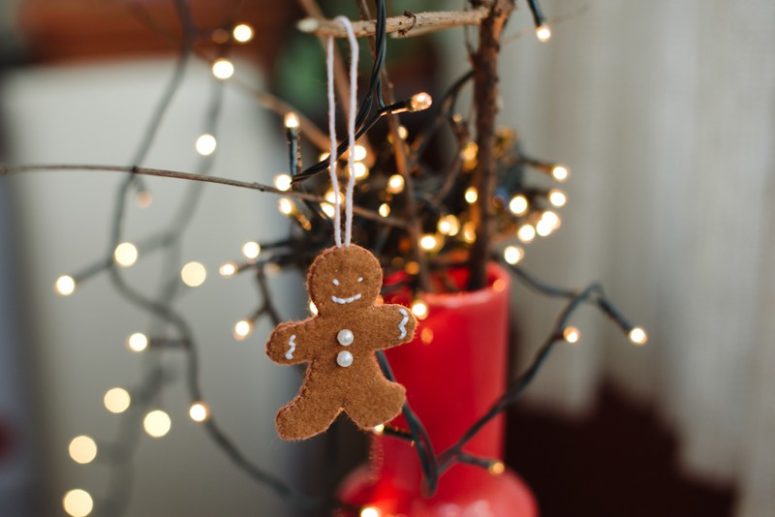
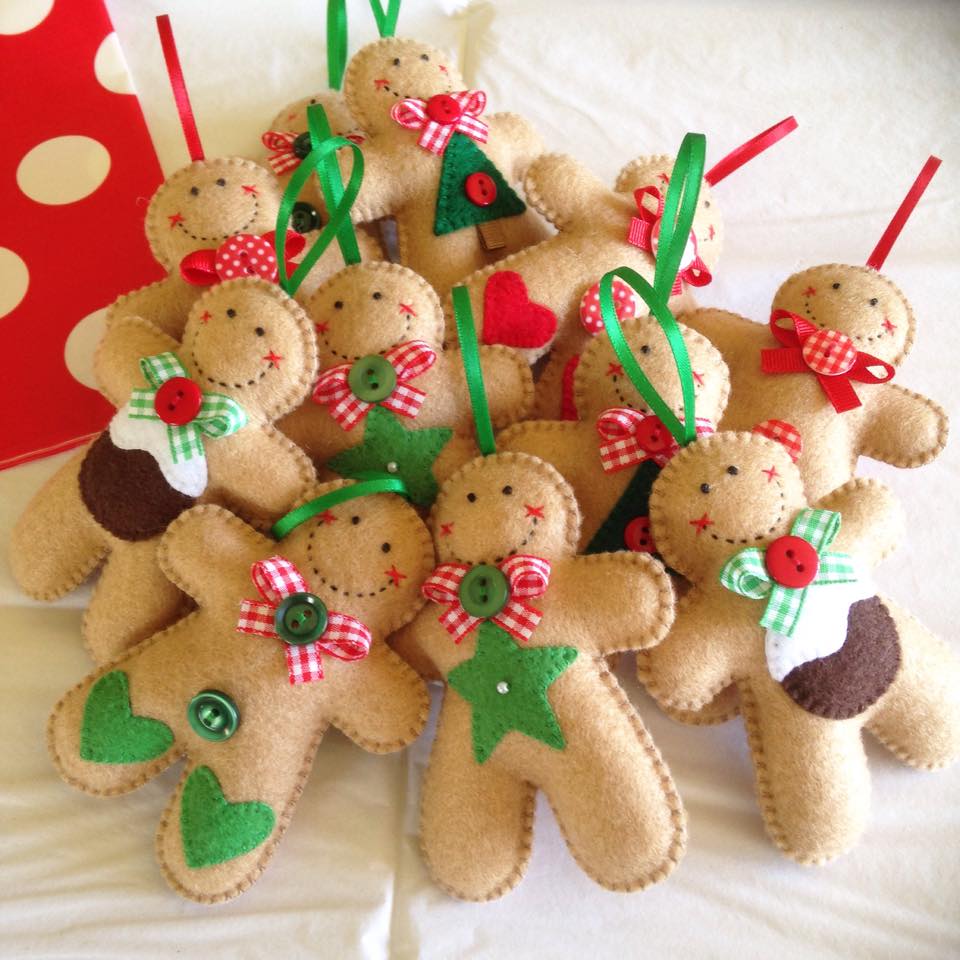
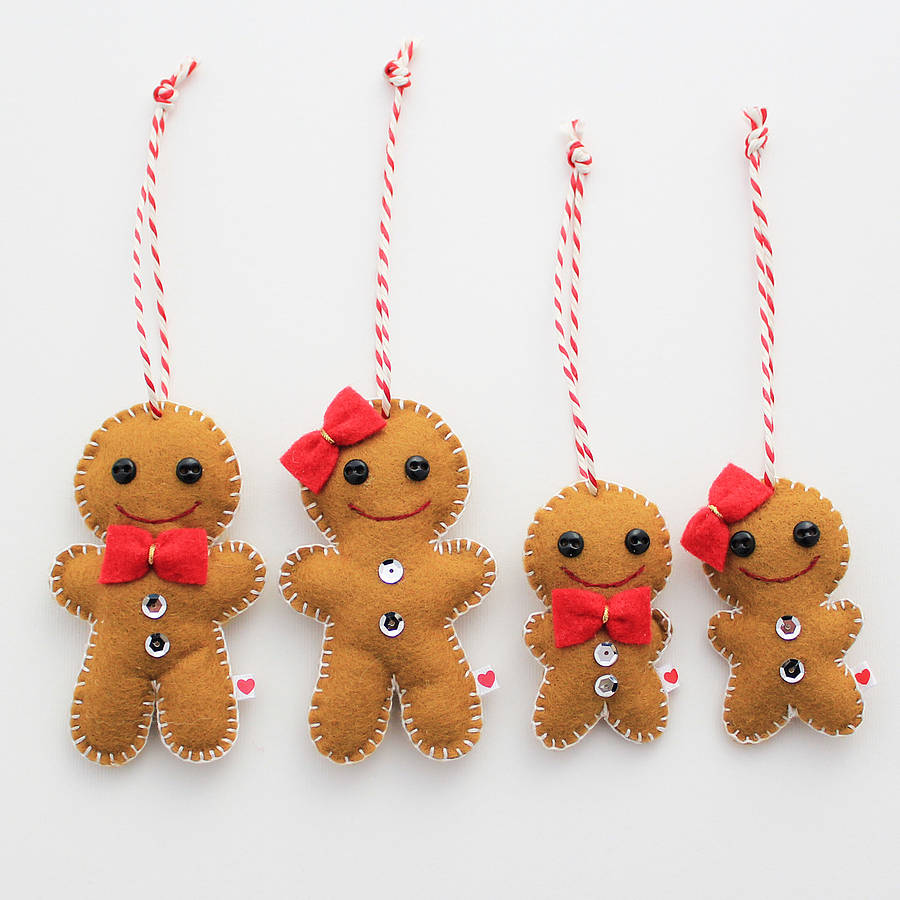
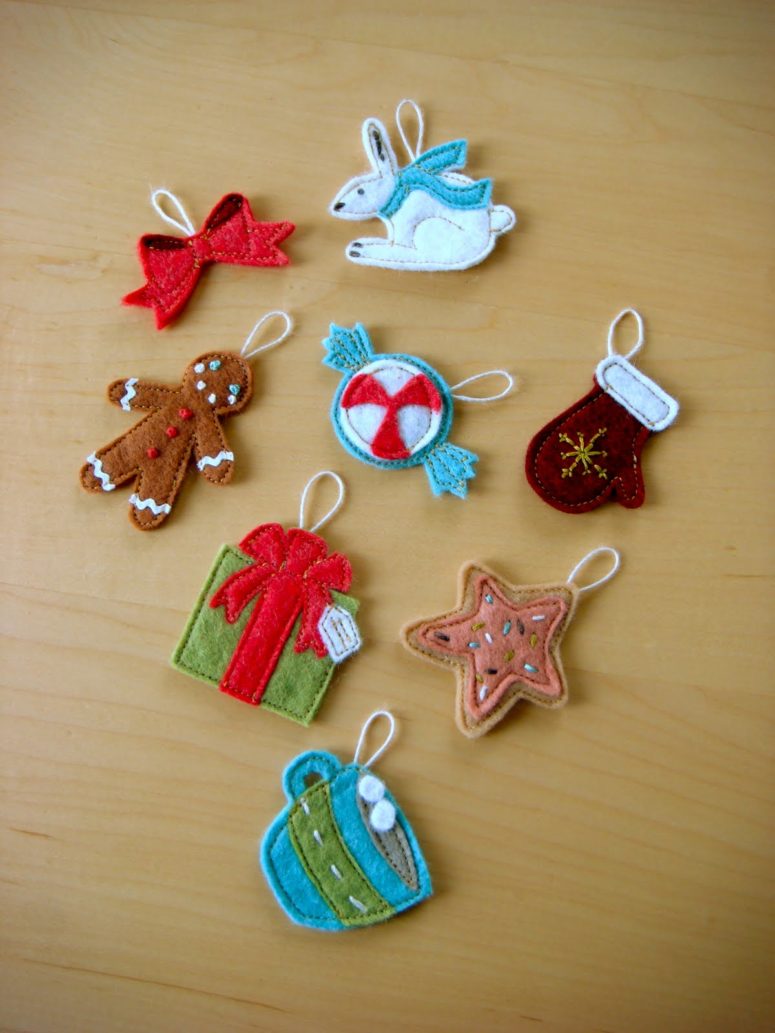
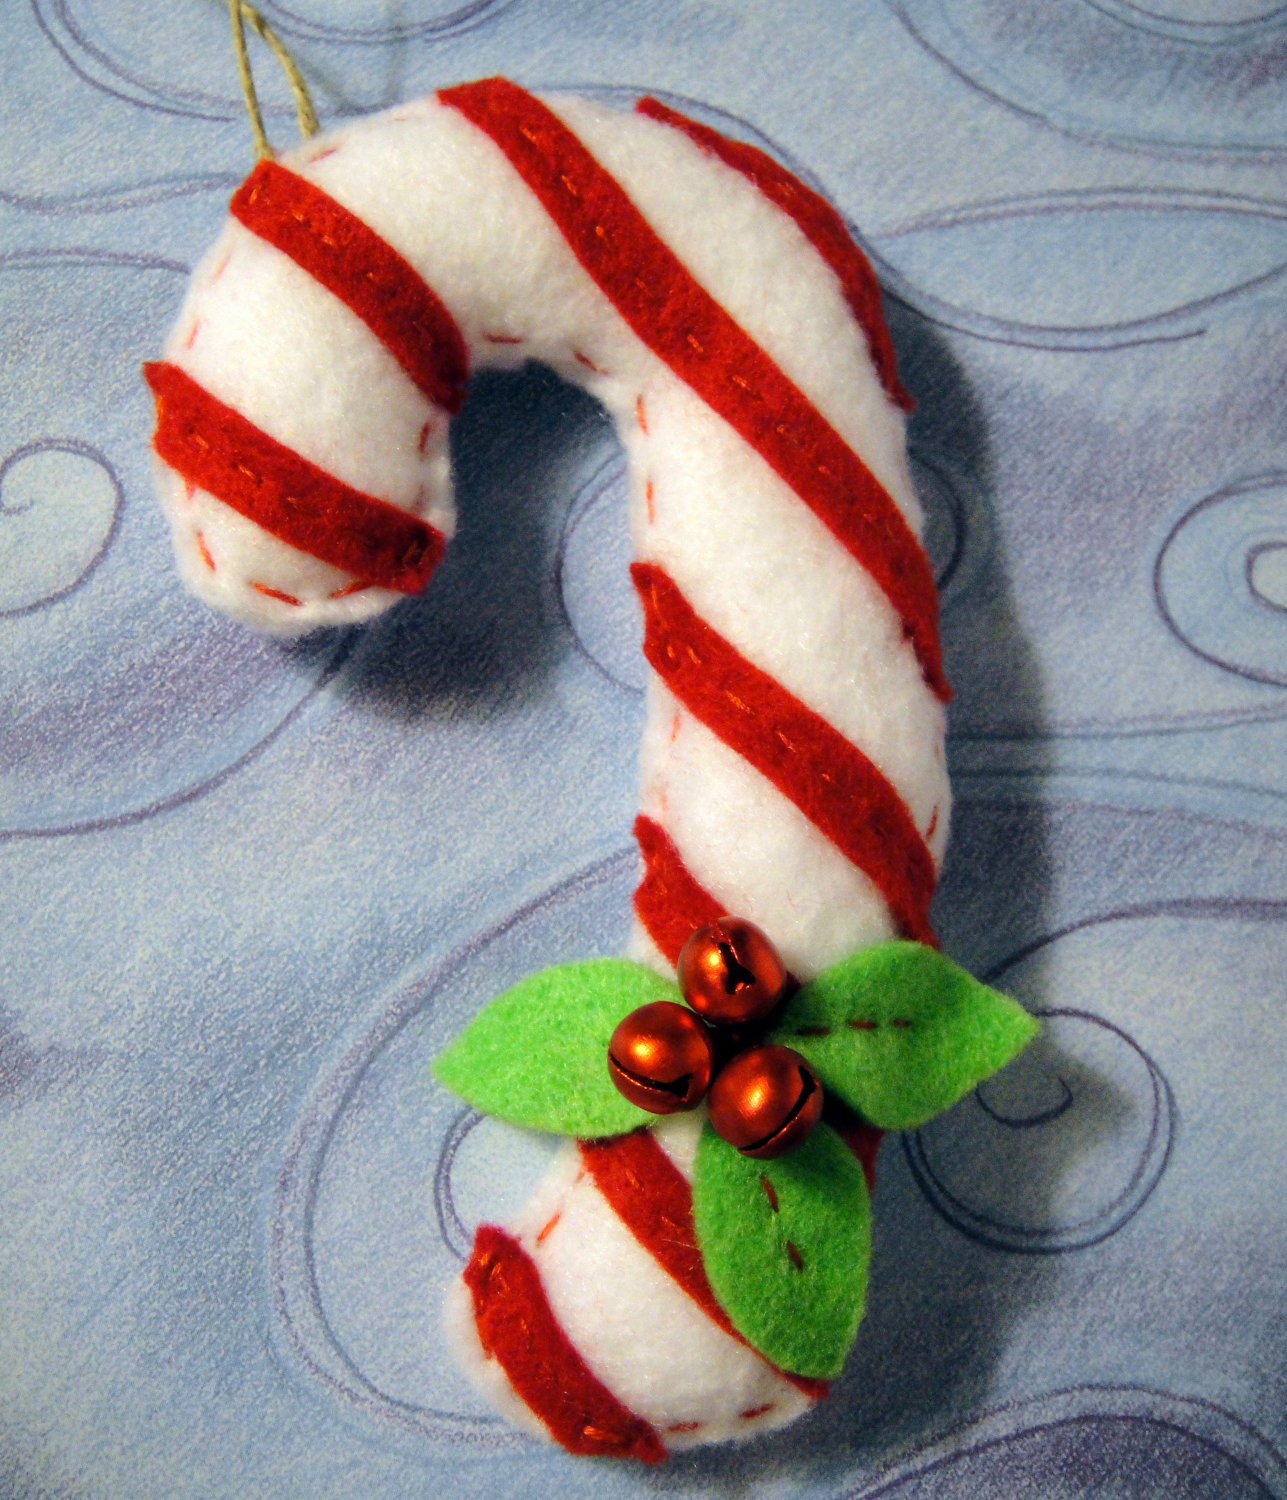
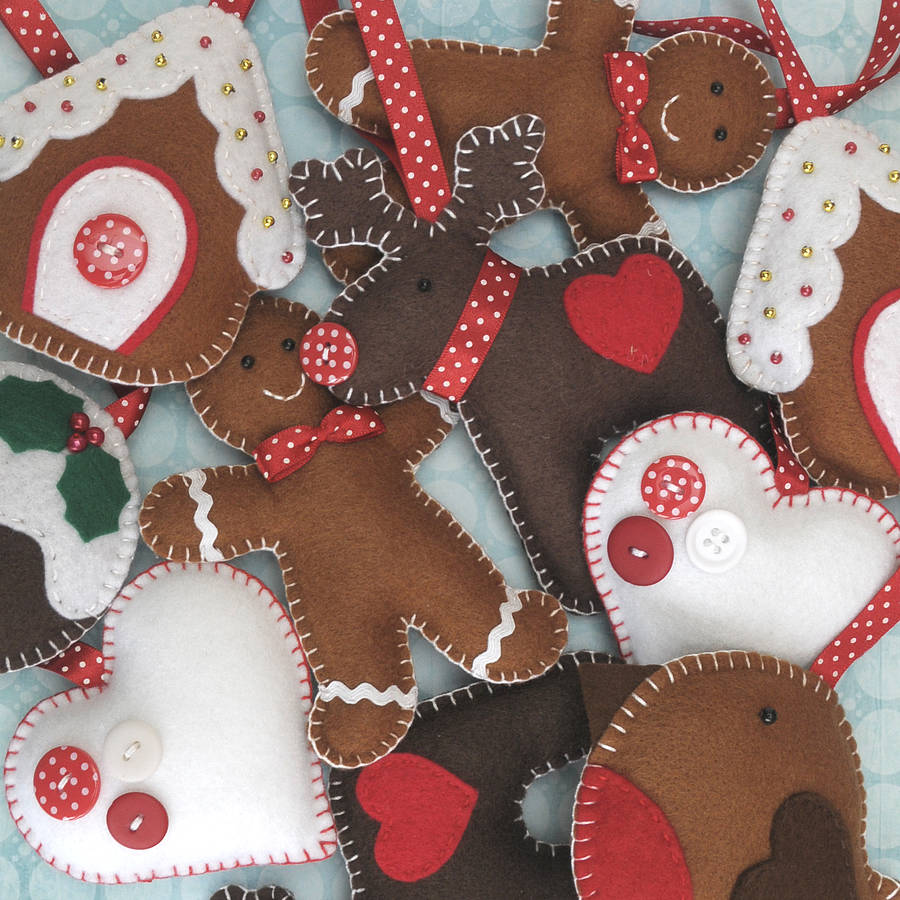
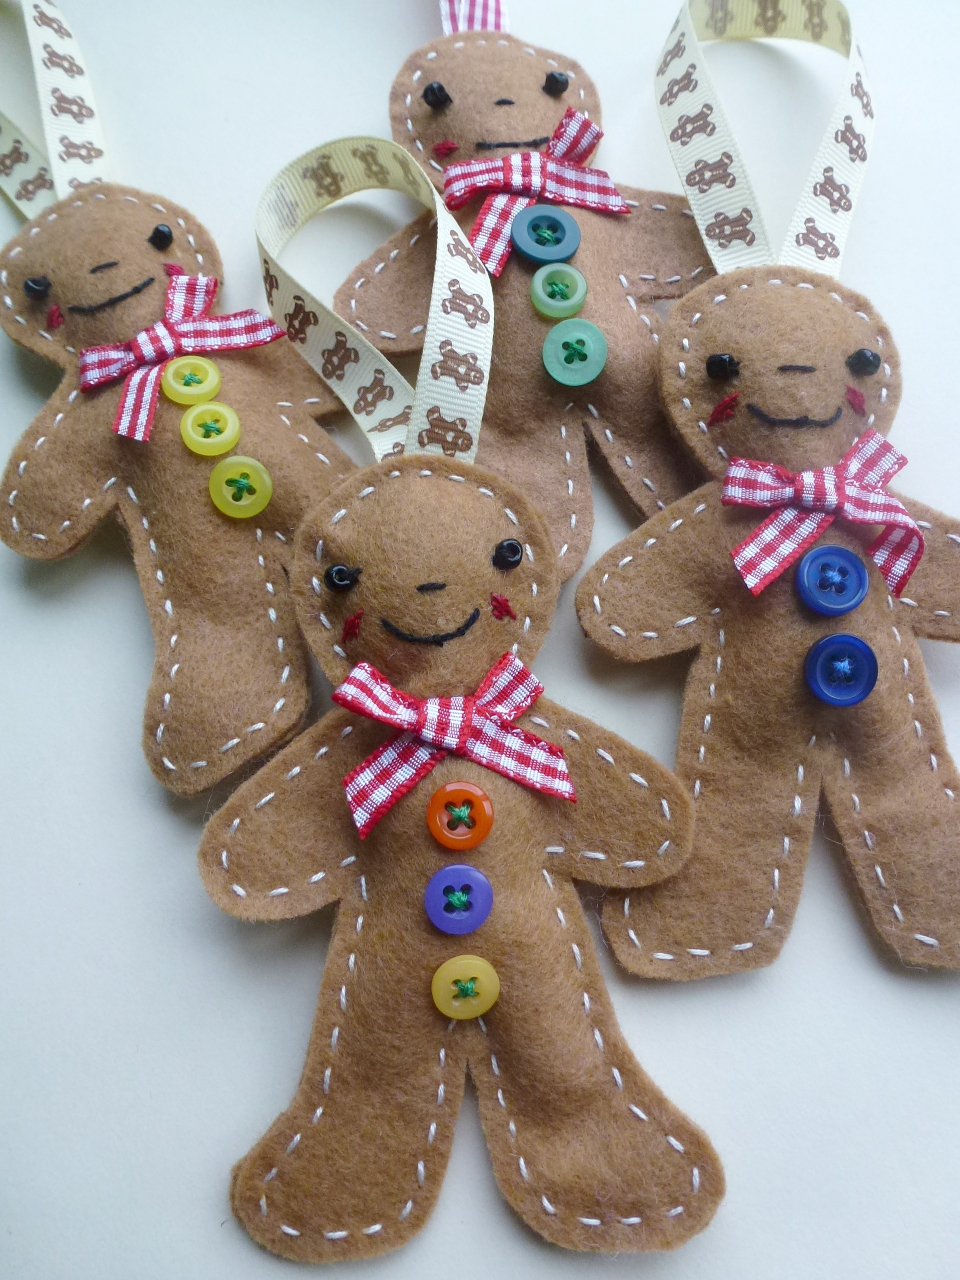
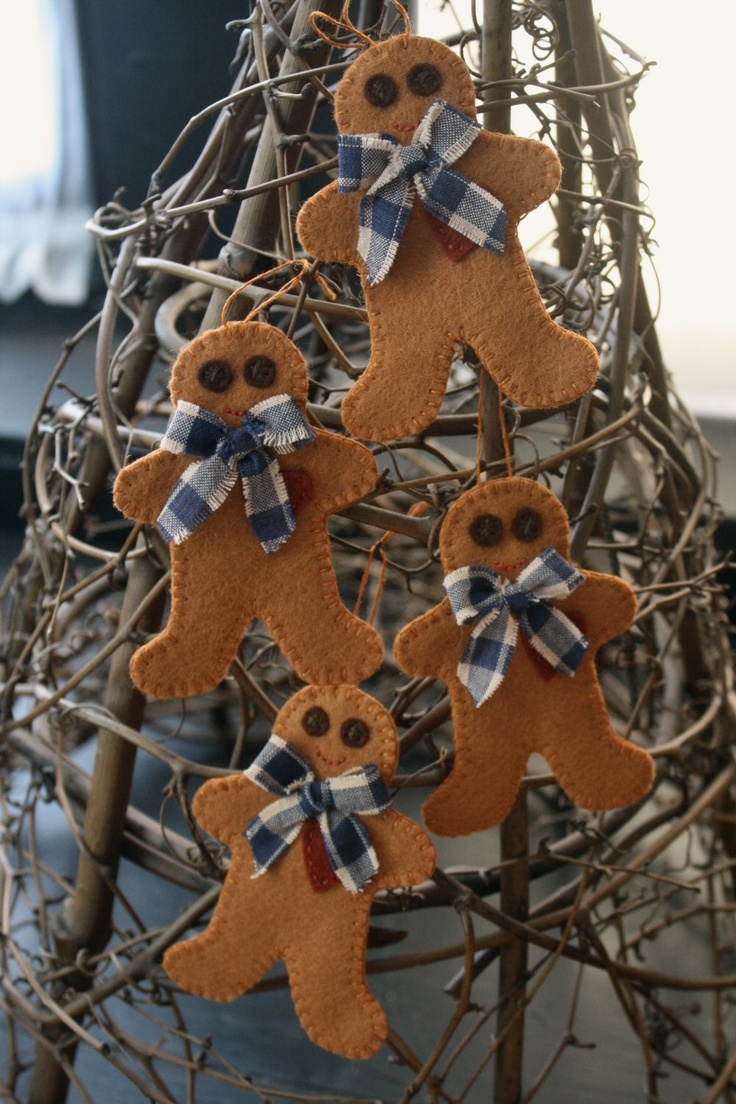
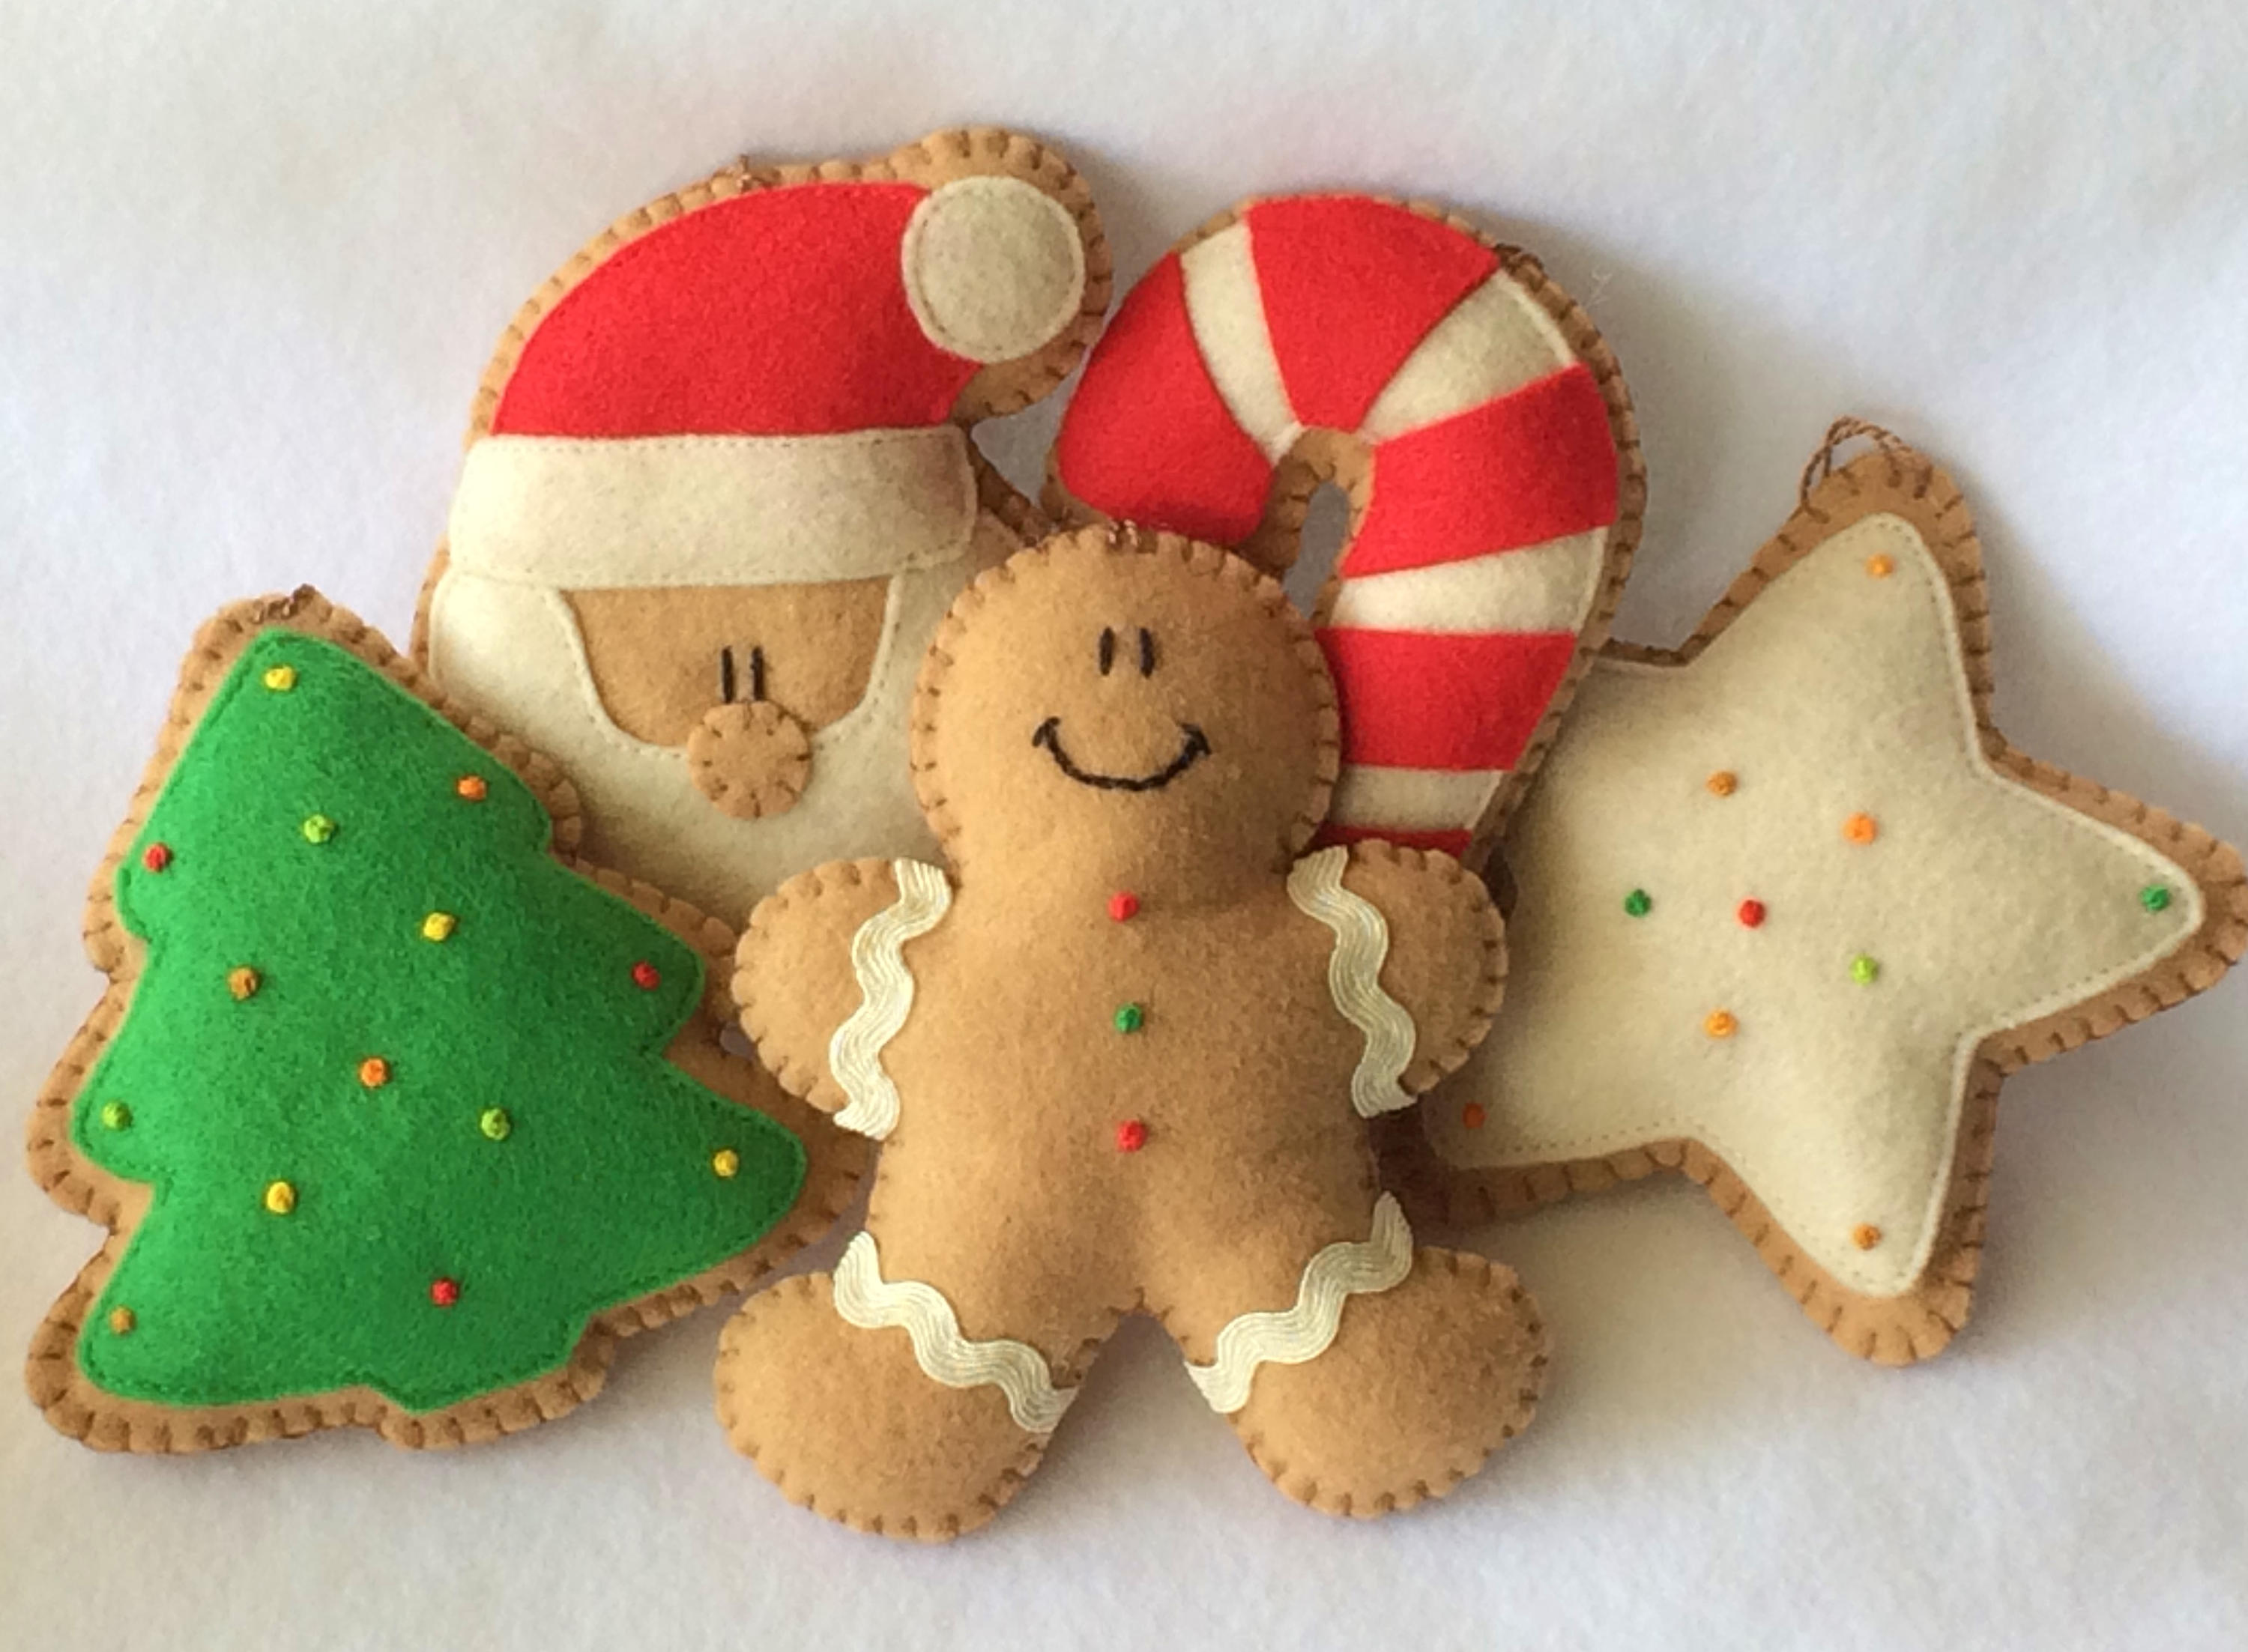
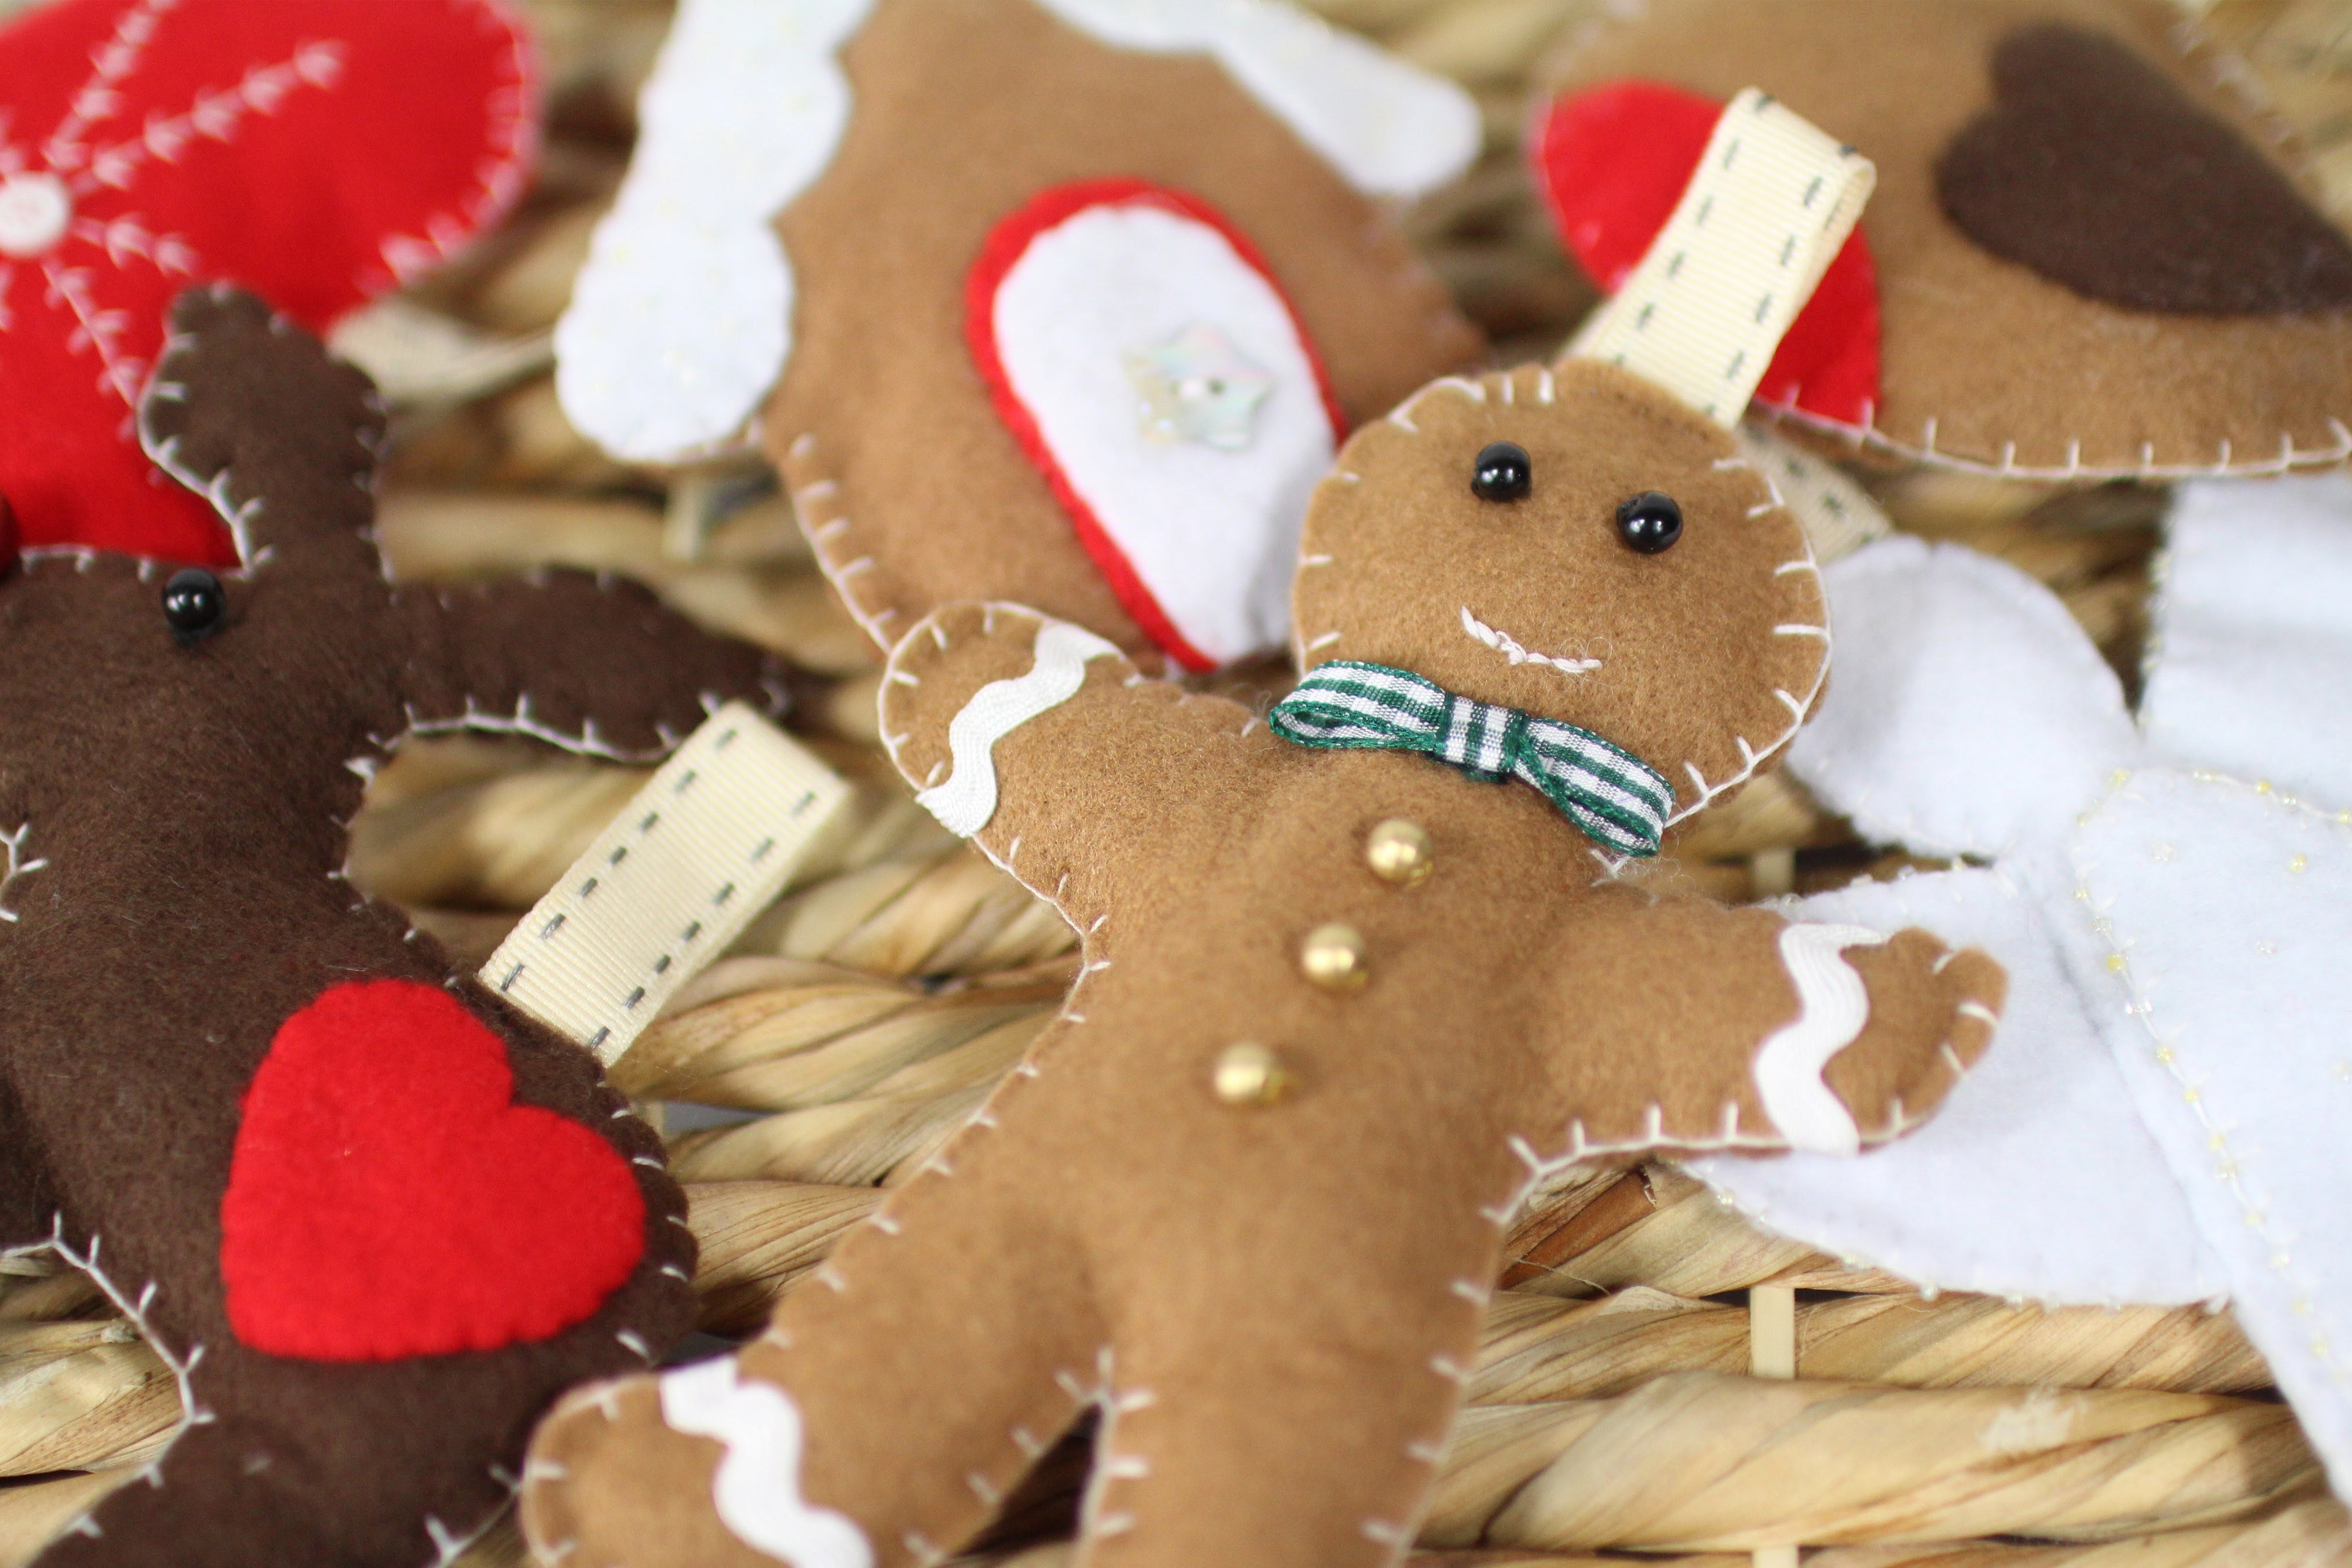
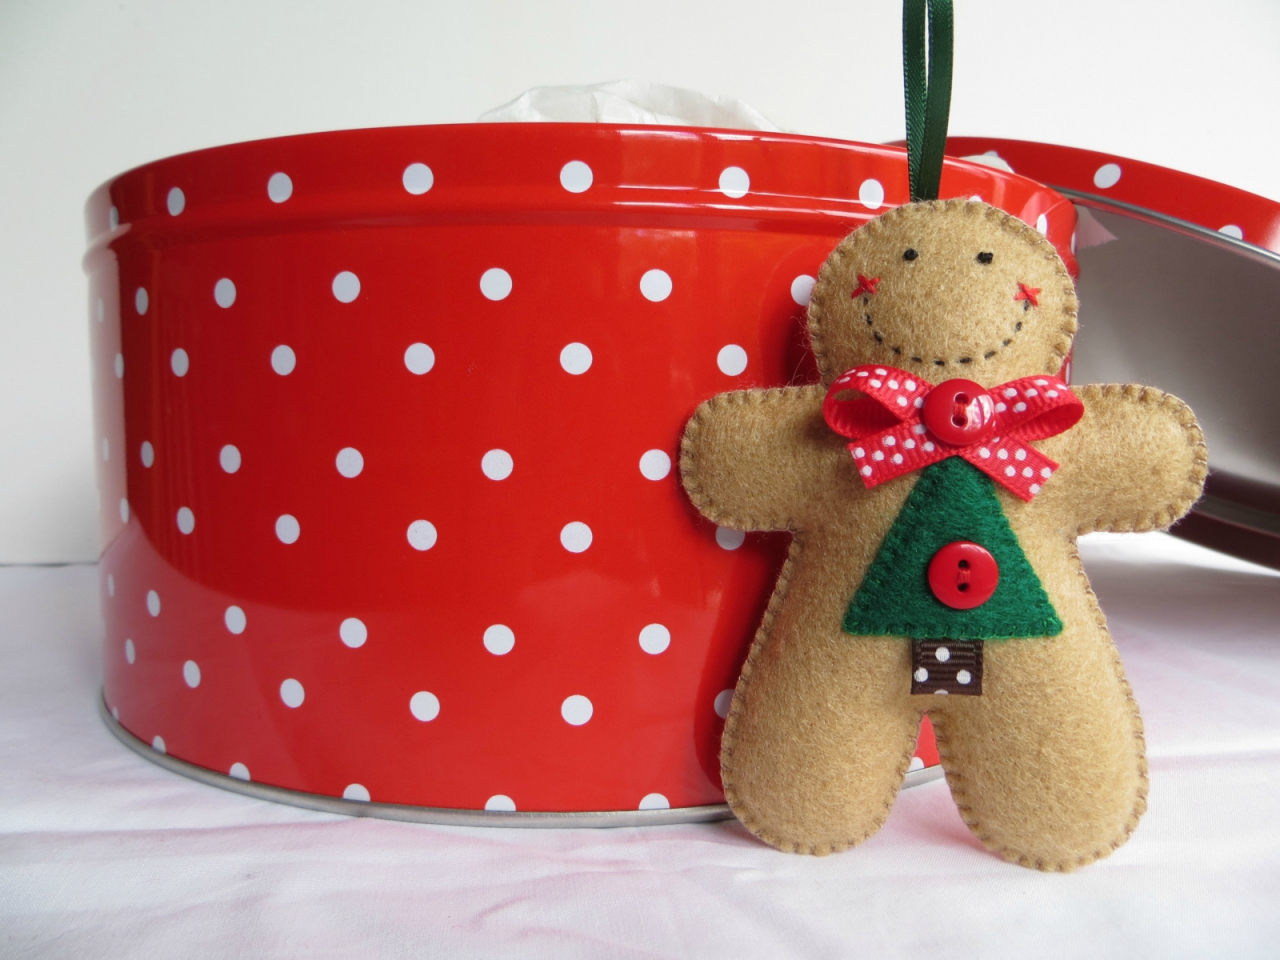
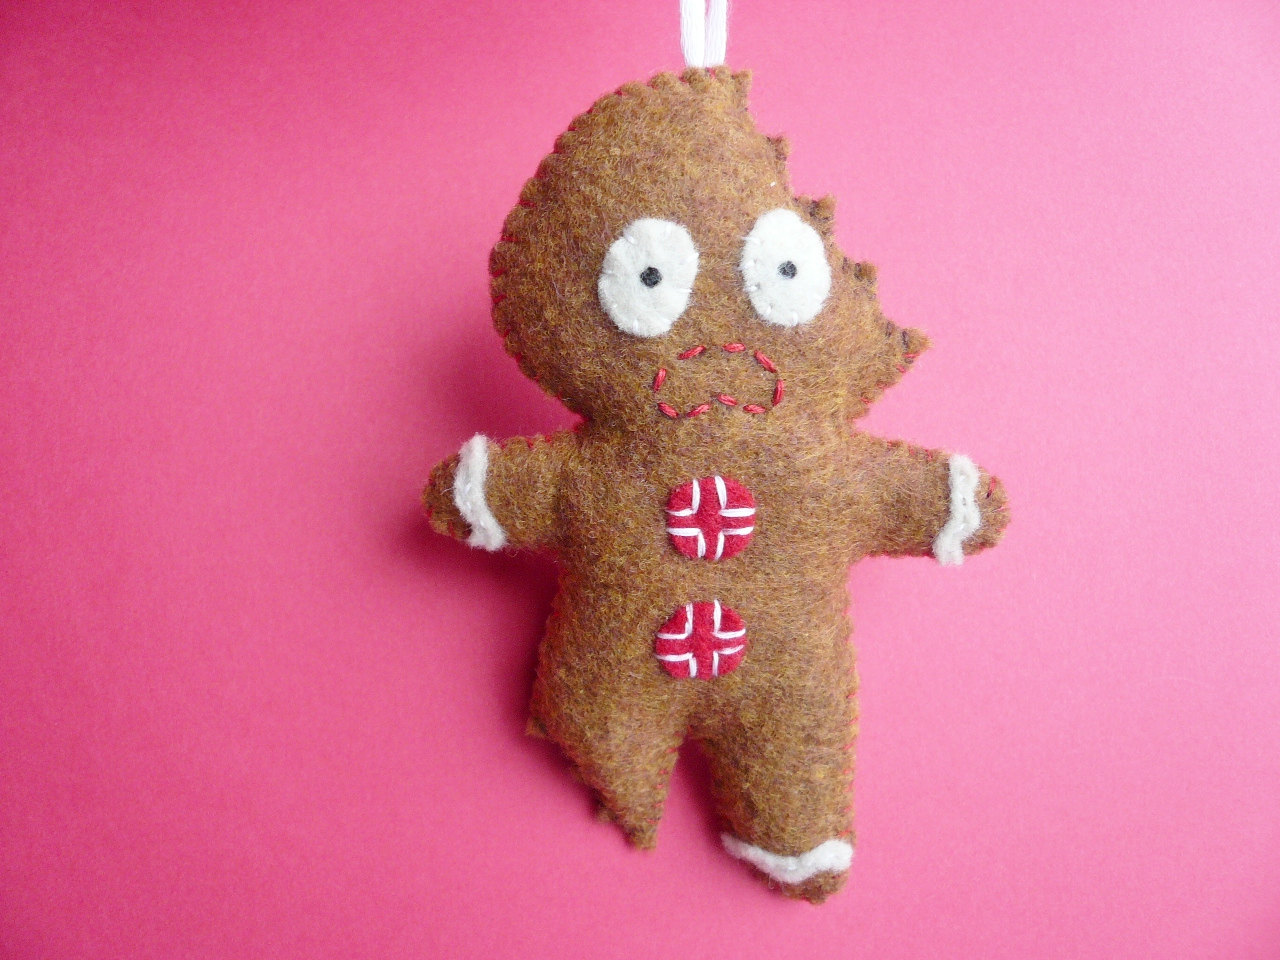
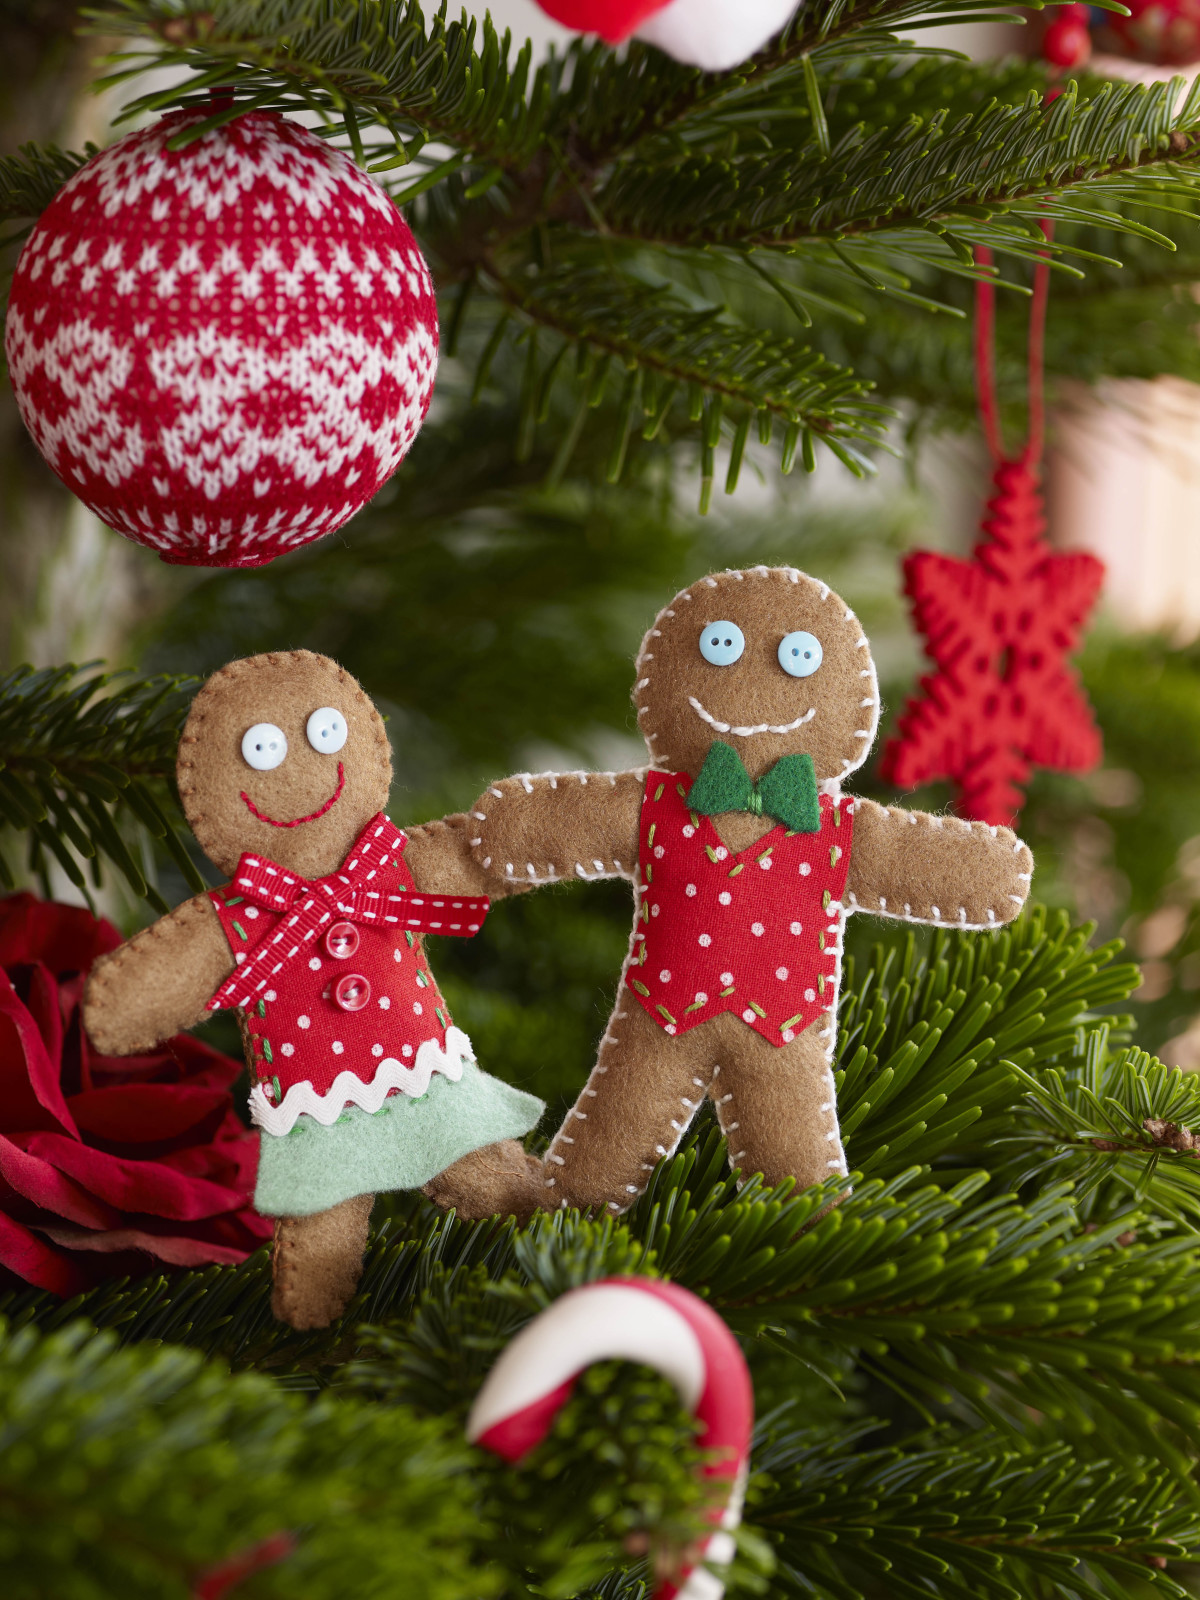
Toy "Gingerbread"
These little sentimental decorations from Christmas gingerbread felt are able to create a magical mood. Suitable as a decoration for a gift, or toys for the Christmas tree.
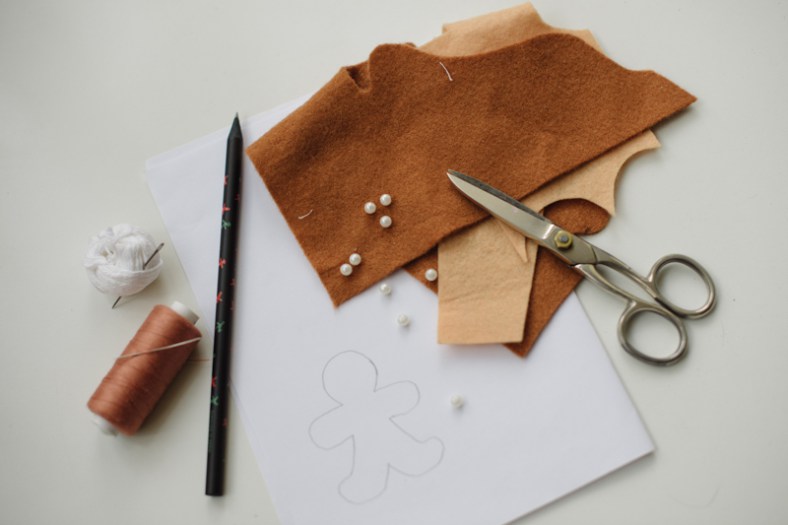
Prepare materials for making gingerbread
Necessary materials
- felt;
- white thread and needle;
- small buttons;
- thin ribbons;
- hot glue gun;
- pen / pencil and scissors;
- cotton wool or padding polyester;
- stencil or cookie.
Step 1
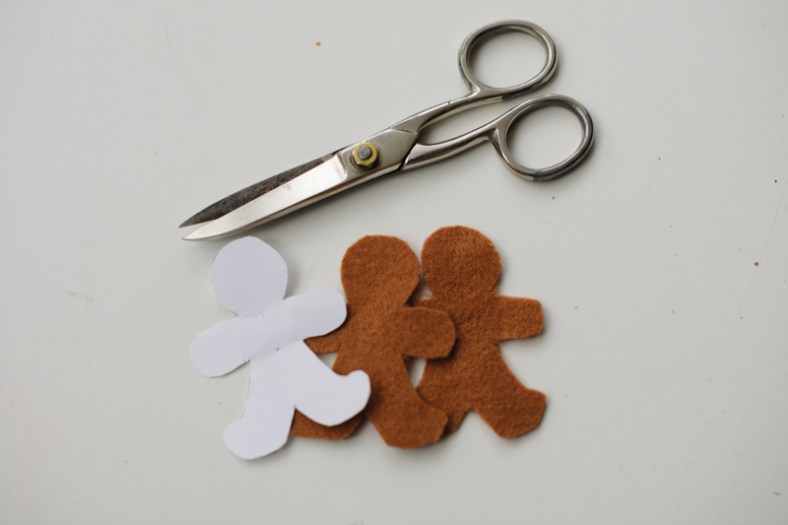
For Gingerbread, you'll need two identical pieces of felt.
For each Gingerbread you will need two identical pieces of felt. I used the cookie itself as a stencil, but you can draw a little man on a piece of paper and cut it out by copying the resulting figurine on felt.
Step 2

Decorate one figure - it will be the top of the Gingerbread
Cut out your felt, decorate one figure - it will be the top. You can decorate it to your liking, add different decorations, I just sewed it around the edges with white threads, added a red bow and two buttons on hot glue.
Step 3
Glue the two pieces of Gingerbread
Before collecting the two parts of my cookies, I put a little hot glue on the wrong side of the top of my head to insert a loop of tape for ease of use of the finished crafts (with it you can attach it to gifts later or hang it on the Christmas tree).
Step 4
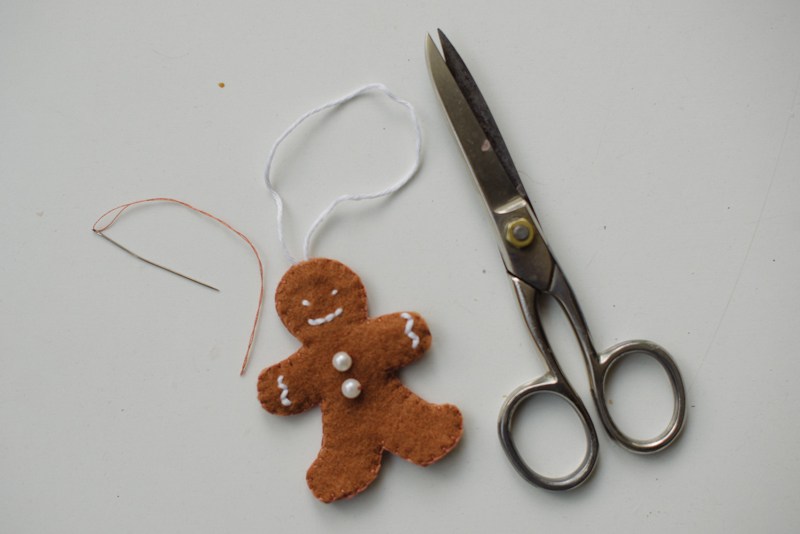
Cut off excess glue
Then I dug the glue along the contour from the wrong side: first the head, then the arms, the body and the legs. I also added the stuffing gradually: after the glue dried on the head, I filled it with cotton, then I added the stuffing to my hands. Always let the glue dry, only then fill a certain area with cotton.
Step 5
When all the little gingerbread was glued, filled with cotton, I waited for drying, cut off the excess glue.
Decorate gingerbread with simple white stitches
Step 6
As you already understood, the thread on the craft is decorative - just sew the gingerbread along the contour with the simplest stitch that we were taught in school during the lesson of labor. Christmas cookie is ready!
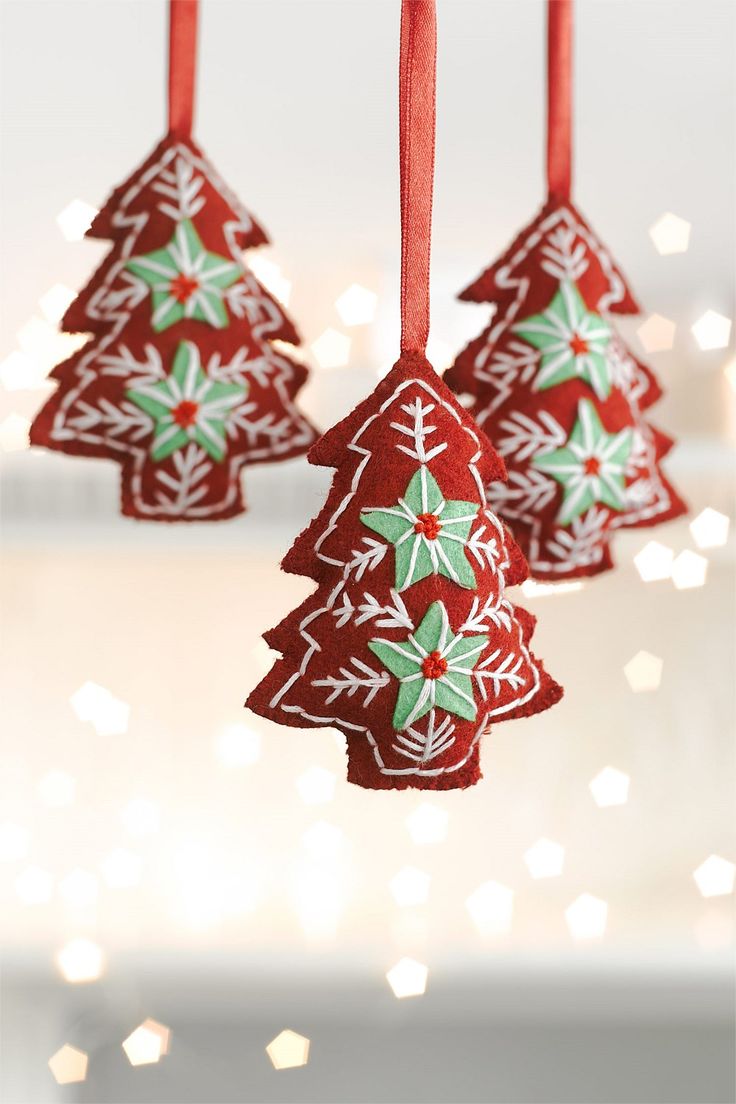
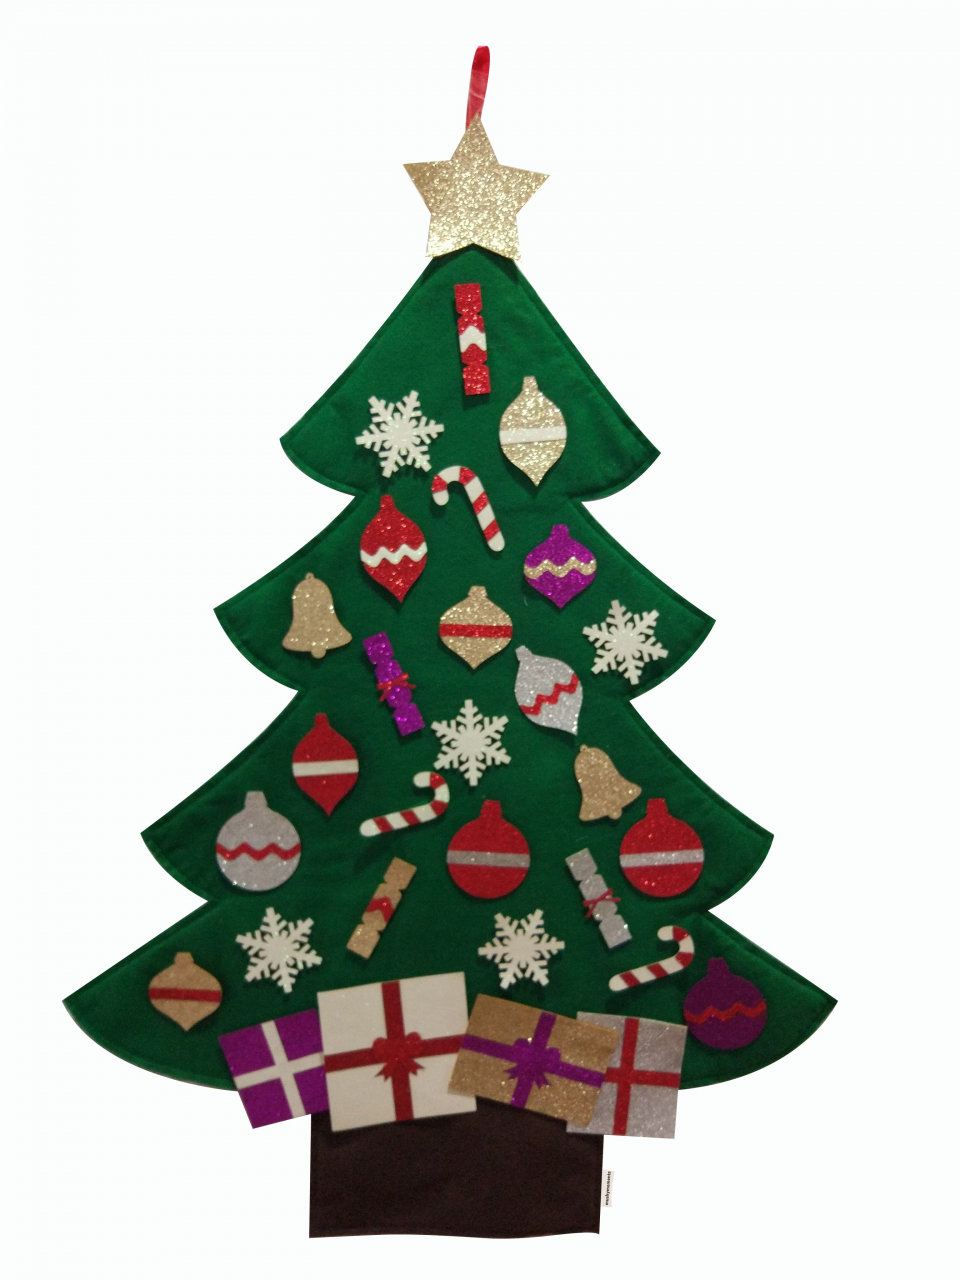
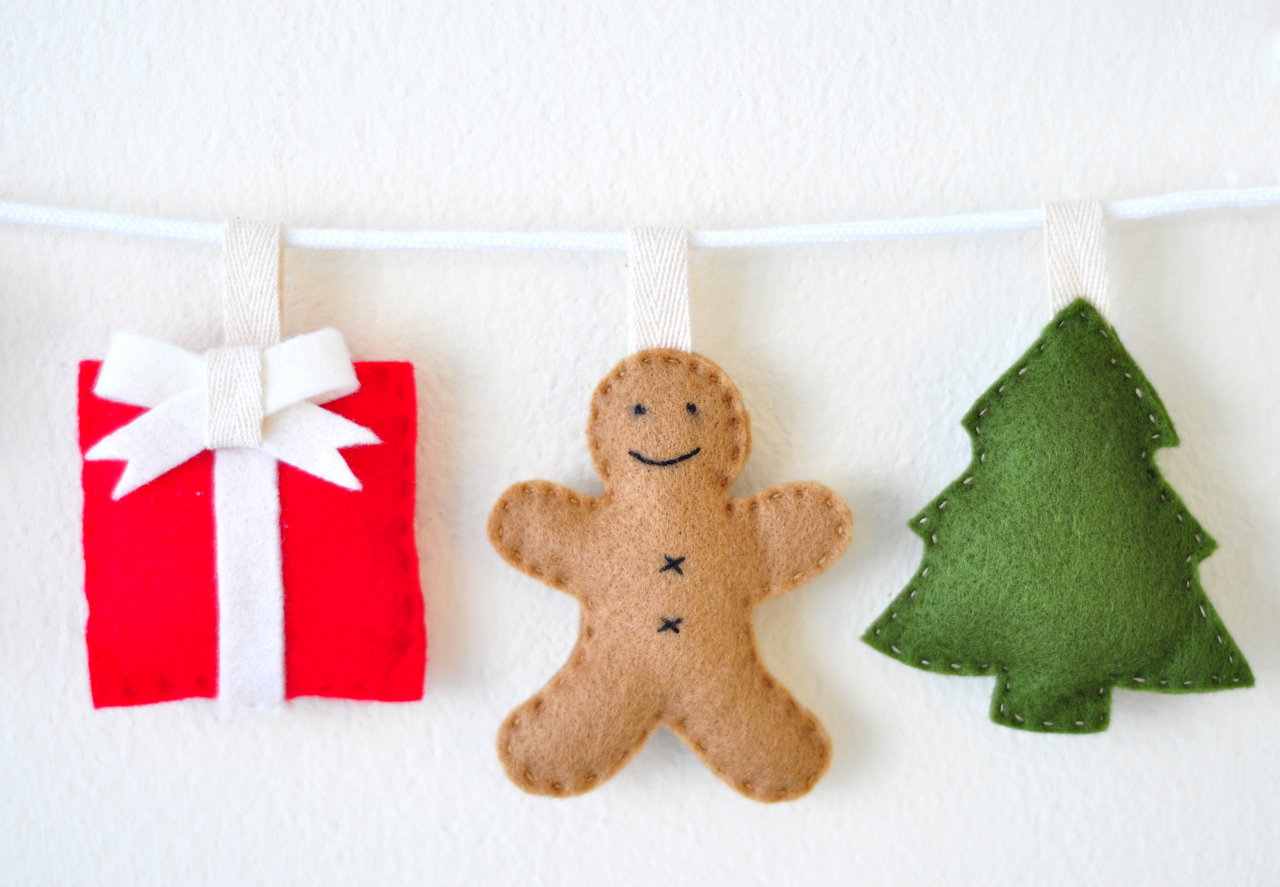
return to menu ↑Christmas felt garland
And this wonderful mini-garland can not only decorate a gift, but also act as an independent decoration for walls, doors or a Christmas tree. In any case, this garland of warm, soft, cozy felt will never hurt in the New Year season!
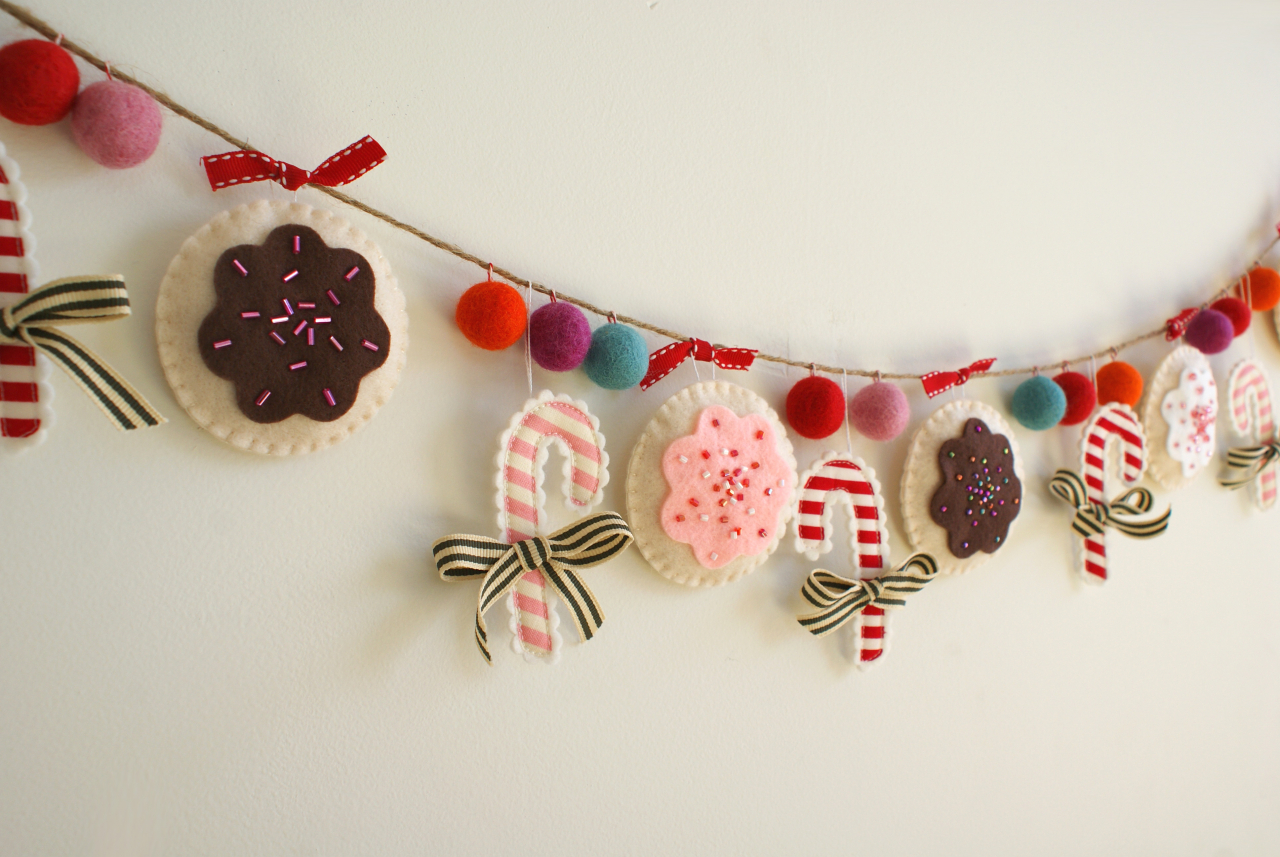
Garland of warm, soft and cozy felt
Although this is a rather painstaking work that involves cutting out all these small details, the result is worth it - your children will be delighted, and the author’s view of the obvious manual labor will give your interior a special highlight, like everything that is done with your own hands - with love and warmth .
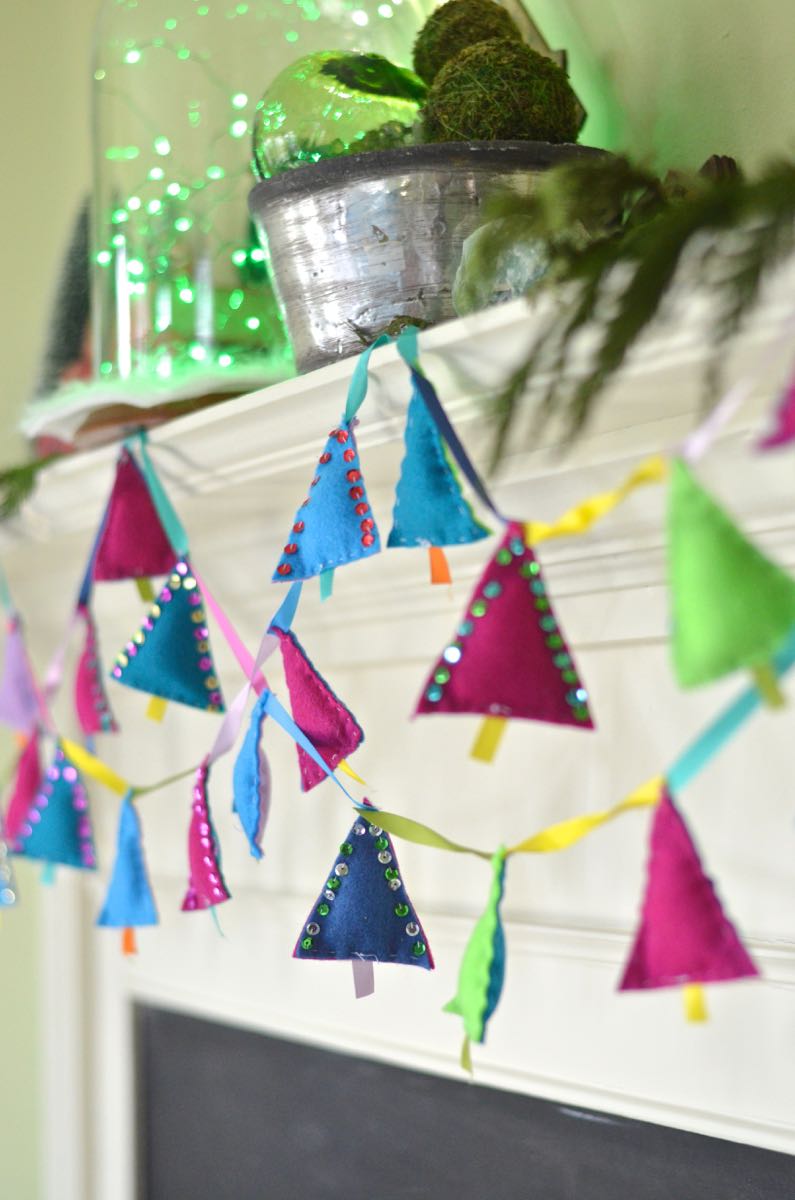
The author's view of manual labor will give your interior a special highlight.
Necessary materials
- sheets of felt (or felt) - I found it on Ali-Express, but it is also available in other online stores;
- round stencil (I cut out three sizes: 3.5 cm, 4 cm and 2.5 cm);
- thin marker;
- Good sharp fabric scissors;
- sewing machine with white thread.
Walkthrough
This is a rather painstaking job that involves cutting out small parts.
- Circles: count about 10-15 units of round figures of different sizes of the same color, and then cut them manually.
- Triangles: make a quick pattern to draw triangles, then cut along the top corner, which creates a strip of interrelated triangles, as shown in the picture. It is fast!
- Lay out your forms in order of length, as you see them (my garland has about 10 forms).
- Sew the forms in one long row so that there is no space left between each form.
It will be interesting to you:
DIY toys for the New Year 2018 - Year of the Dog
Decoration windows for the New 2018: 170 + Photo Ideas that should be used
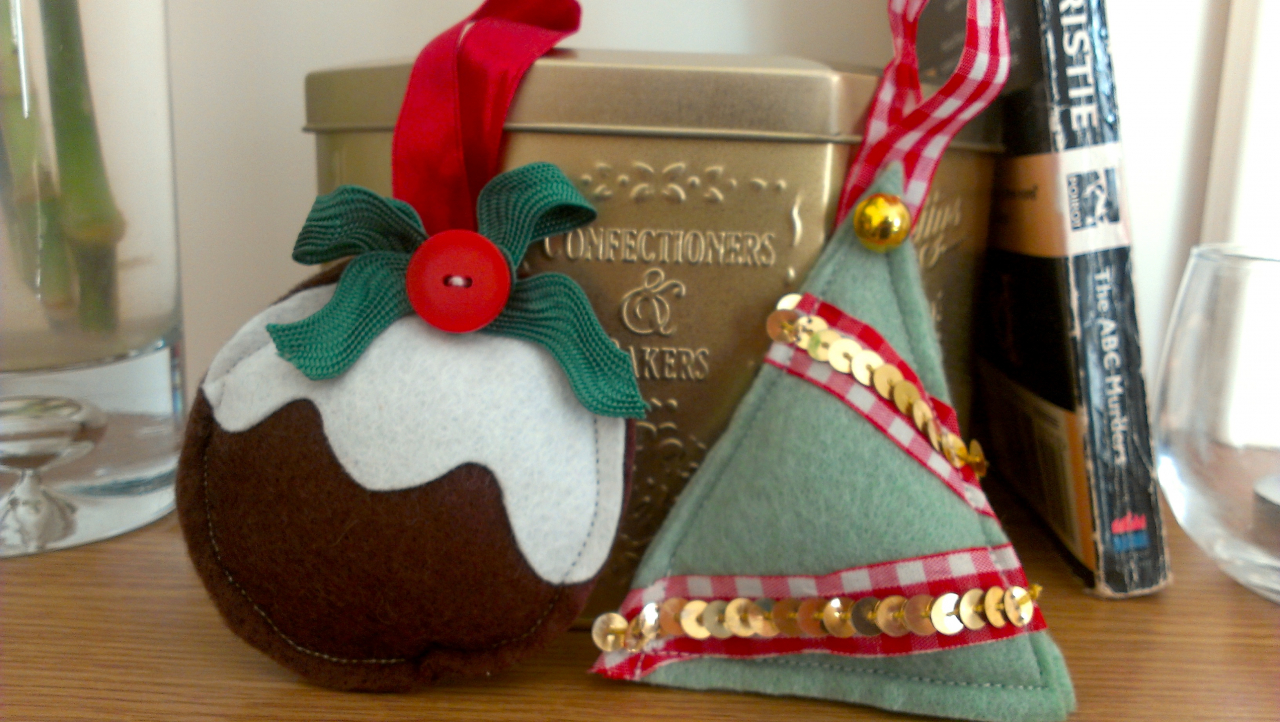
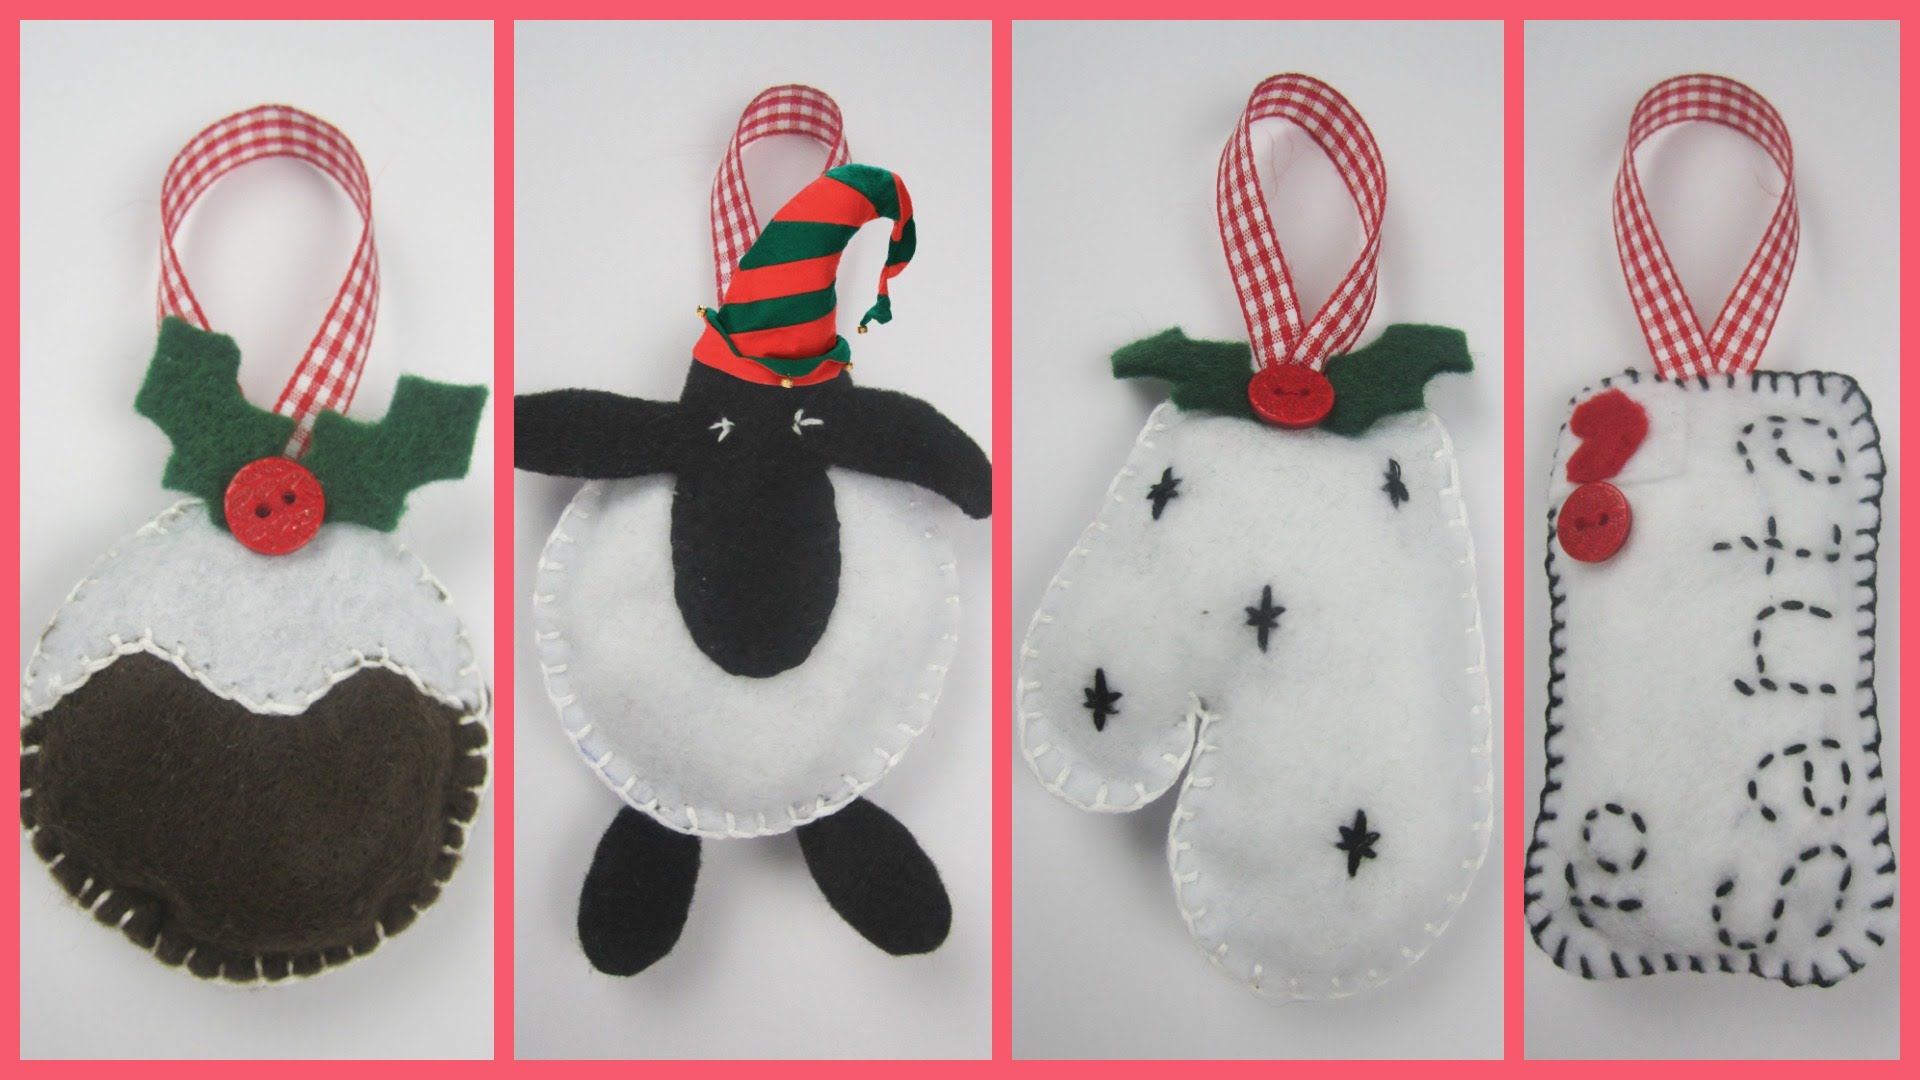
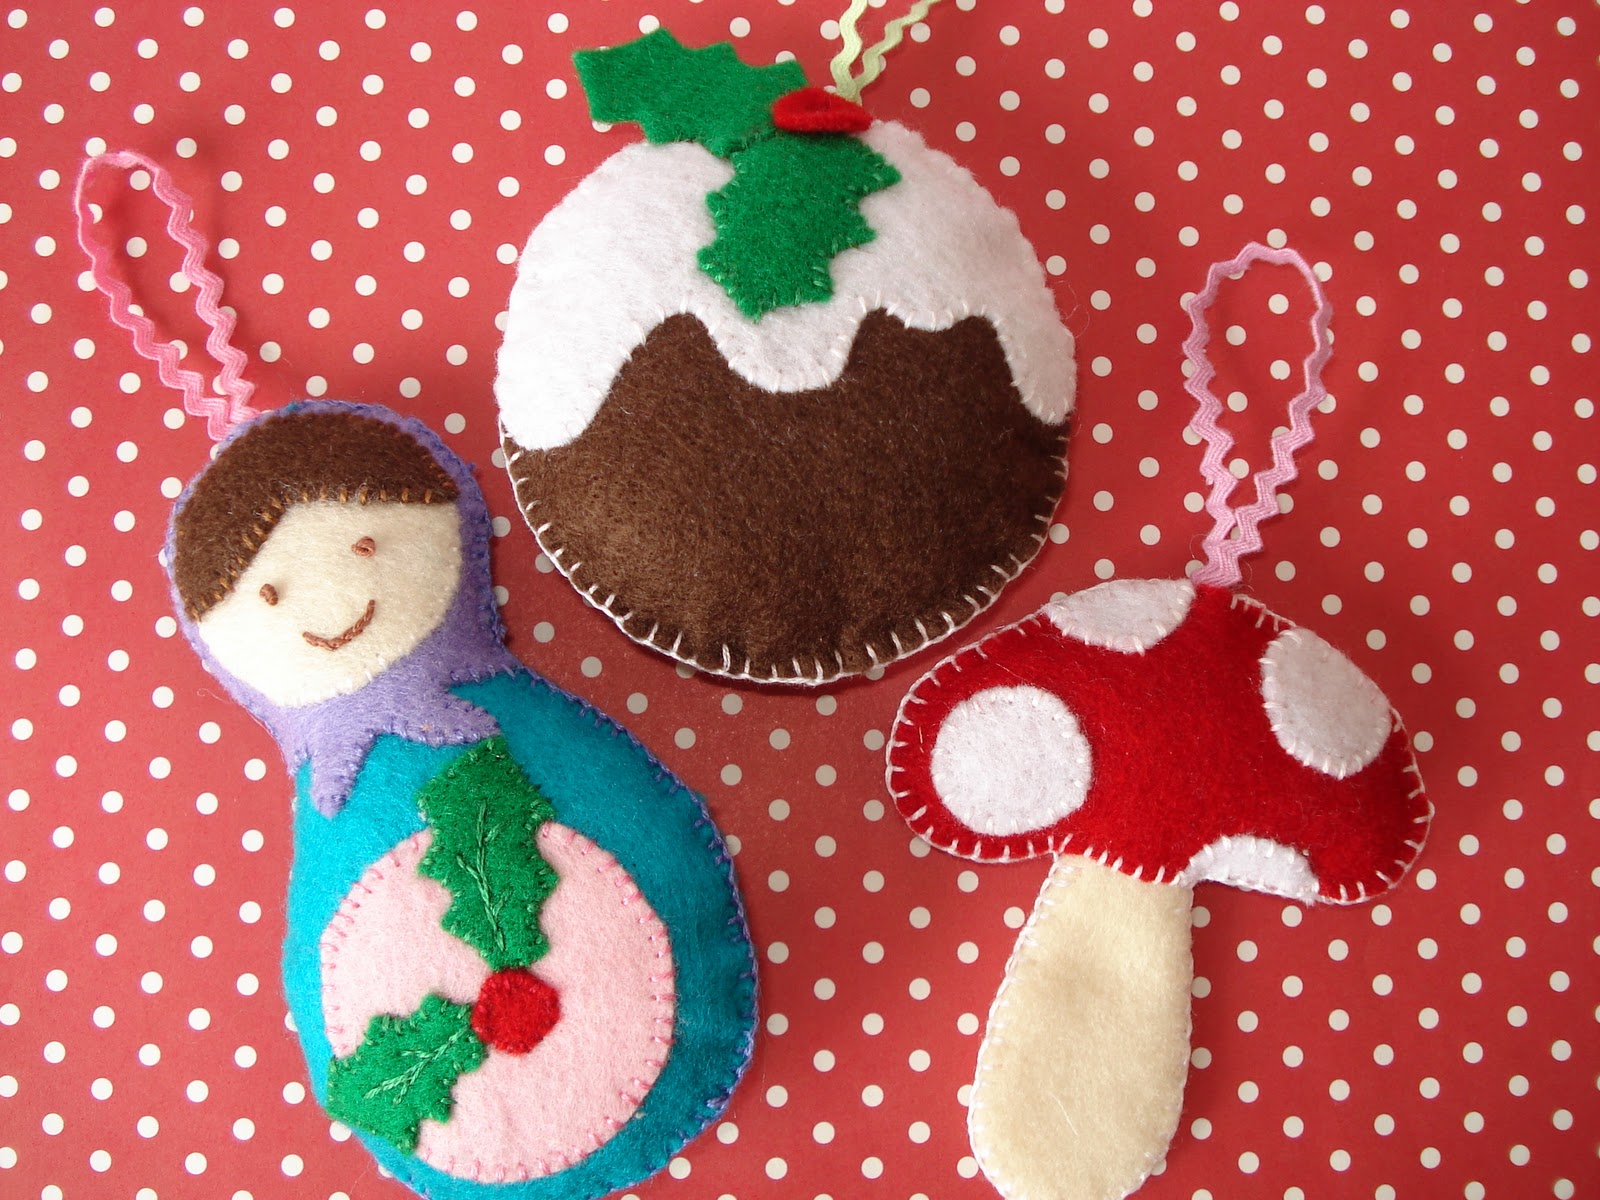
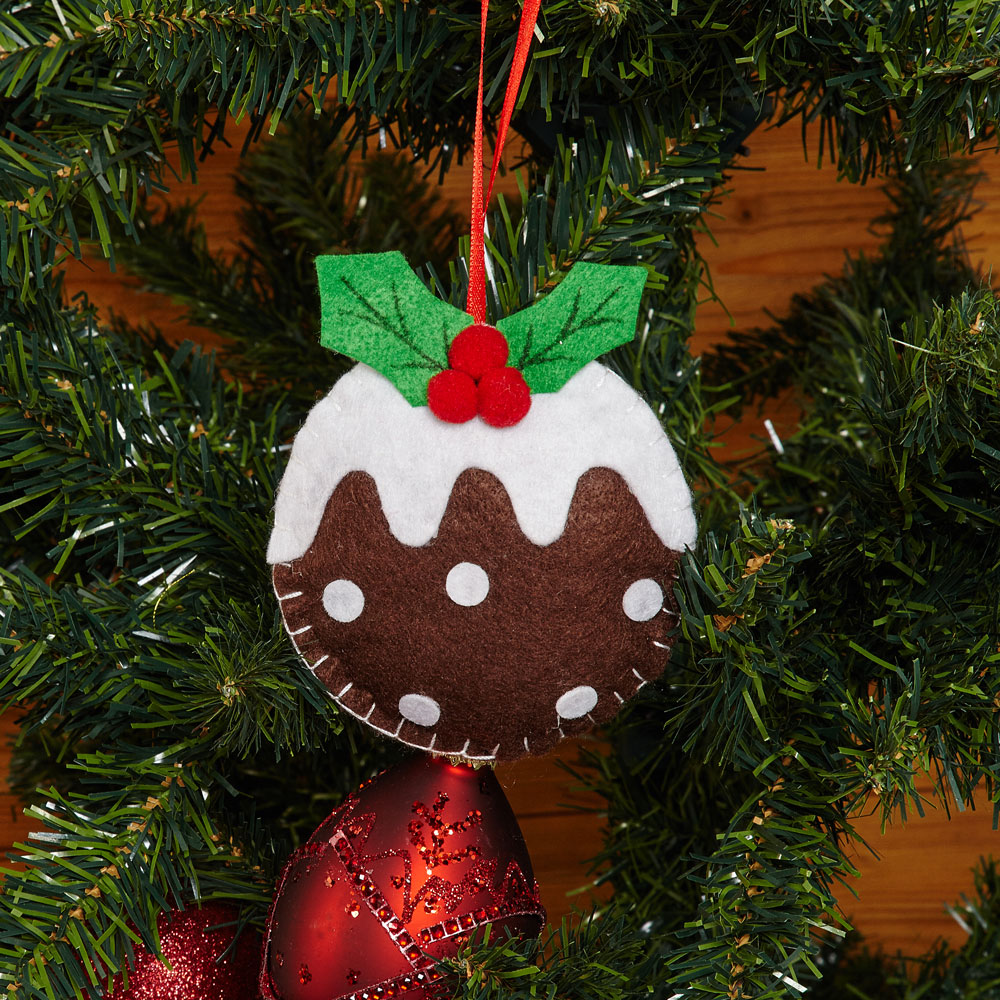
Felt Ornament "New Year's Pudding"

New Year's Pudding decorates the Christmas tree
Necessary materials
- sewing needle;
- pin for fixing parts;
- brown, white, dark green and red felt + matching sewing thread;
- the ribbon of your choice (I used a narrow black ribbon);
- scissors for fabric.
Walkthrough
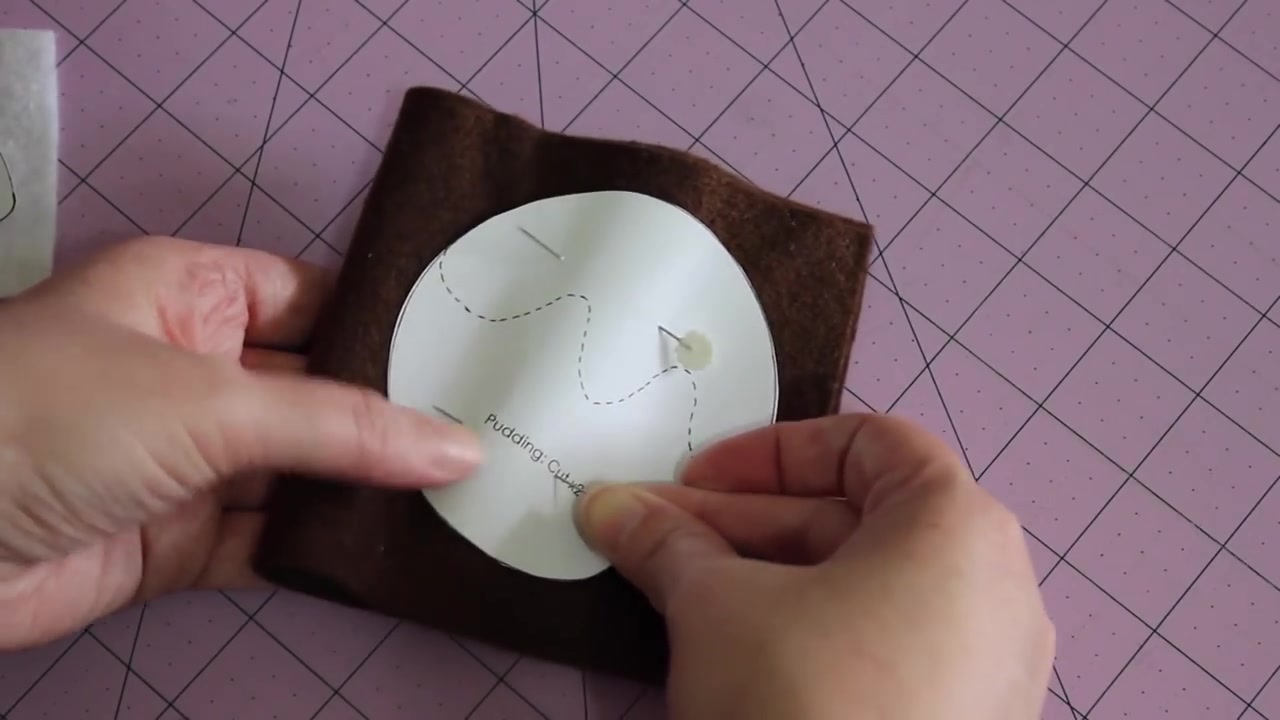
First cut a circle by pattern.
Step 1
First, cut a circle on a single pattern and then make a white glaze from this circle as in the picture. The second circle cut will be a brown cupcake, also round. For one decoration you will need two such forms.
Step 2
Next, cut a small red circle, measuring about a centimeter - it will be a cherry on a pudding. You will also need two leaves - you can make them of arbitrary shape. Then cut the desired length of the tape. Depending on how the finished decoration is hung, the ribbon can be long or short, but not less than 12 cm in length.
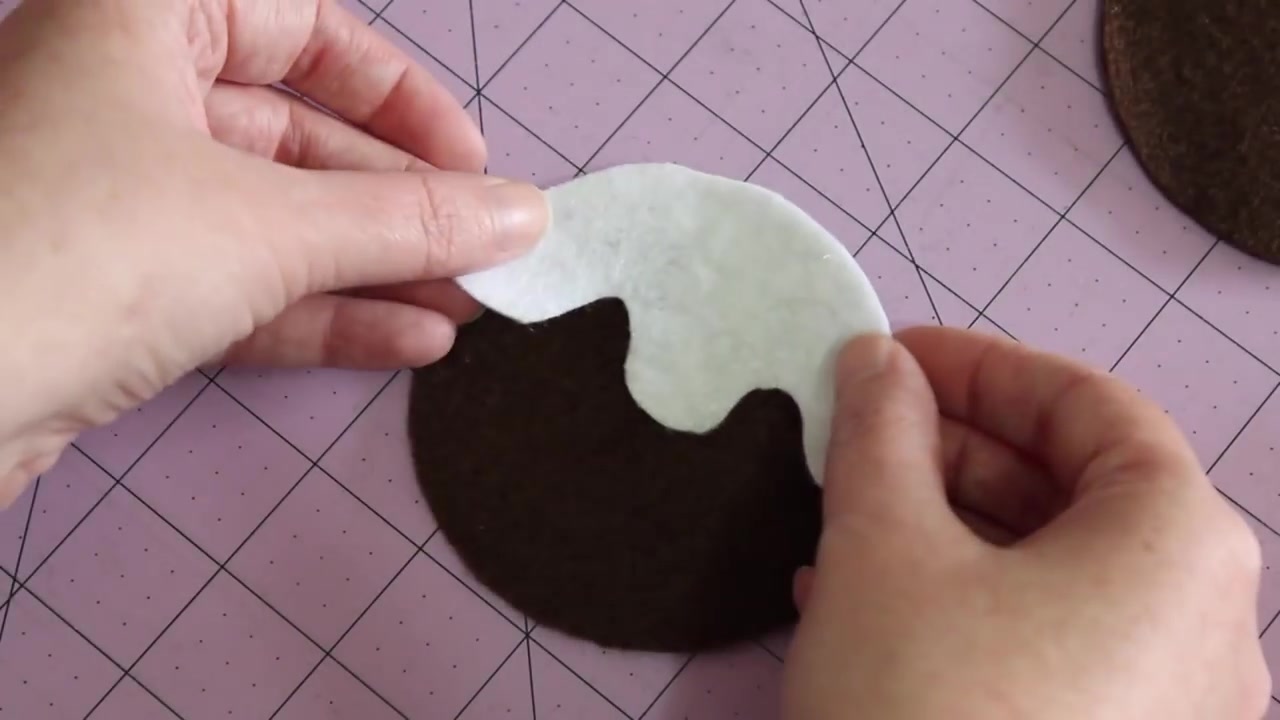
Cut white icing into shape.
Step 3
Fold the ribbon in the shape of a loop, firmly sew to one circle of brown pudding. This will be the top of your decoration. It is not necessary to use brown threads to match the felt, since all seams will be hidden.
Step 4
Then attach the white “icing” to the front of the ornament (so that the ends of the ribbon are inside), sew it into place with a white thread.
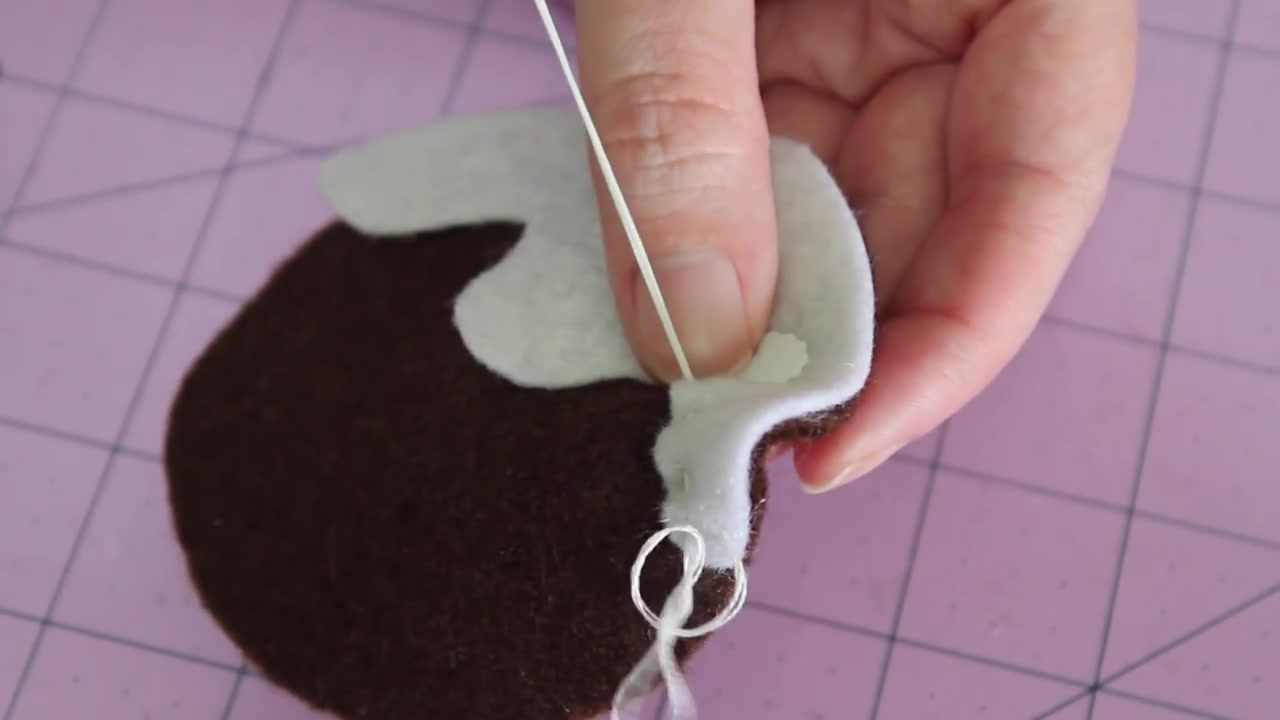
Attach the white "icing" to the front of the ornament
Step 5
Now you need to place the leaves and berries - put the leaves on the ornament and move them until you are satisfied with the position. The leaves should intersect slightly, meet under the ribbon, go out of the top of the ornament.
Step 6
Once the correct angle has been found, set the red berry on one side, sew the leaves using a dark green thread.Most stitches should be where the leaves will be hidden by the berry, but you also need to sew one long seam along each sheet to hold it in place. It is not necessary to make a seam to the edge of the pudding, it should only look out from under the berries.
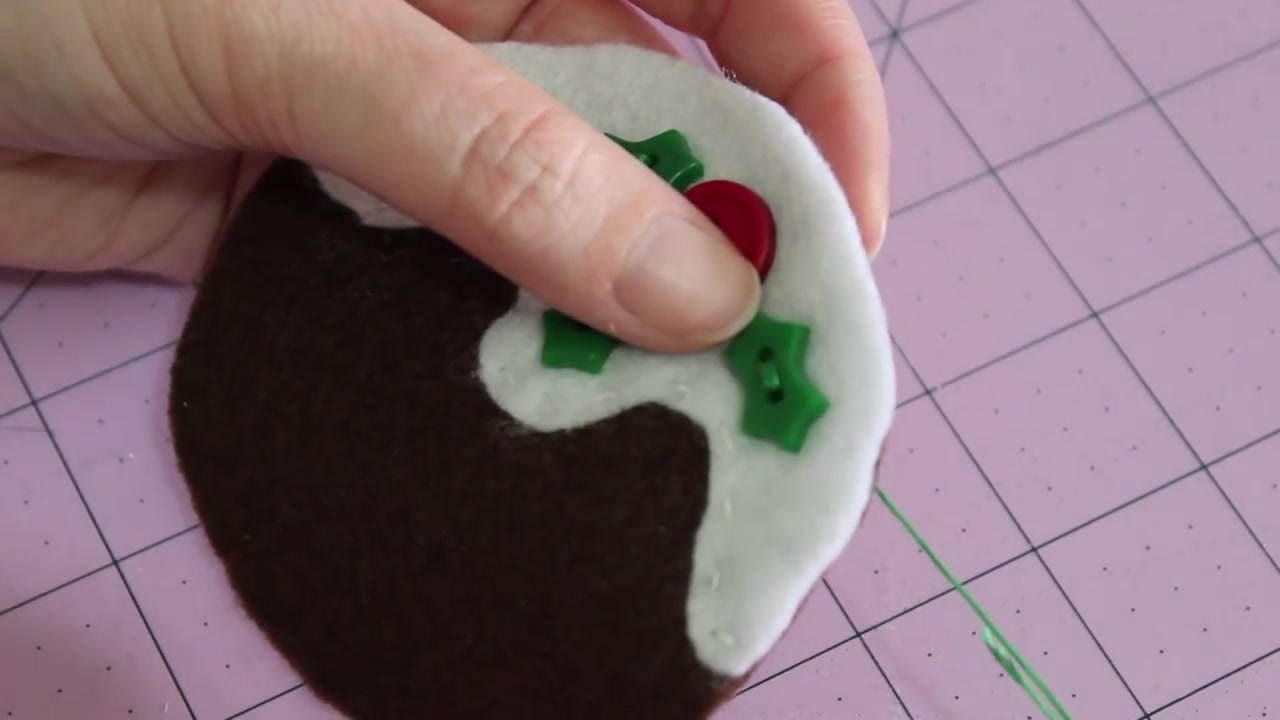
Place the leaves and berries
Step 7
It now remains to sew the second part of the cupcake, add the red berry. You can either sew the berry first, and then sew the front and back of the jewelry together, or vice versa, leave the berry last. The latter option will leave a few red stitches on the back of the ornament, but this will make the work a little less inconvenient.
Step 8
Whichever method you choose, sew the cherry with a large x-shaped red stitch to make a nice decorative touch. Sew the front and back of the pudding together, using a white thread around the section with “glaze”, gently spread the leaves outside the seams.

Sew the front and back of the pudding together using white
Finish the ornament by sewing a brown thread on the bottom of the product.
return to menu ↑Variations
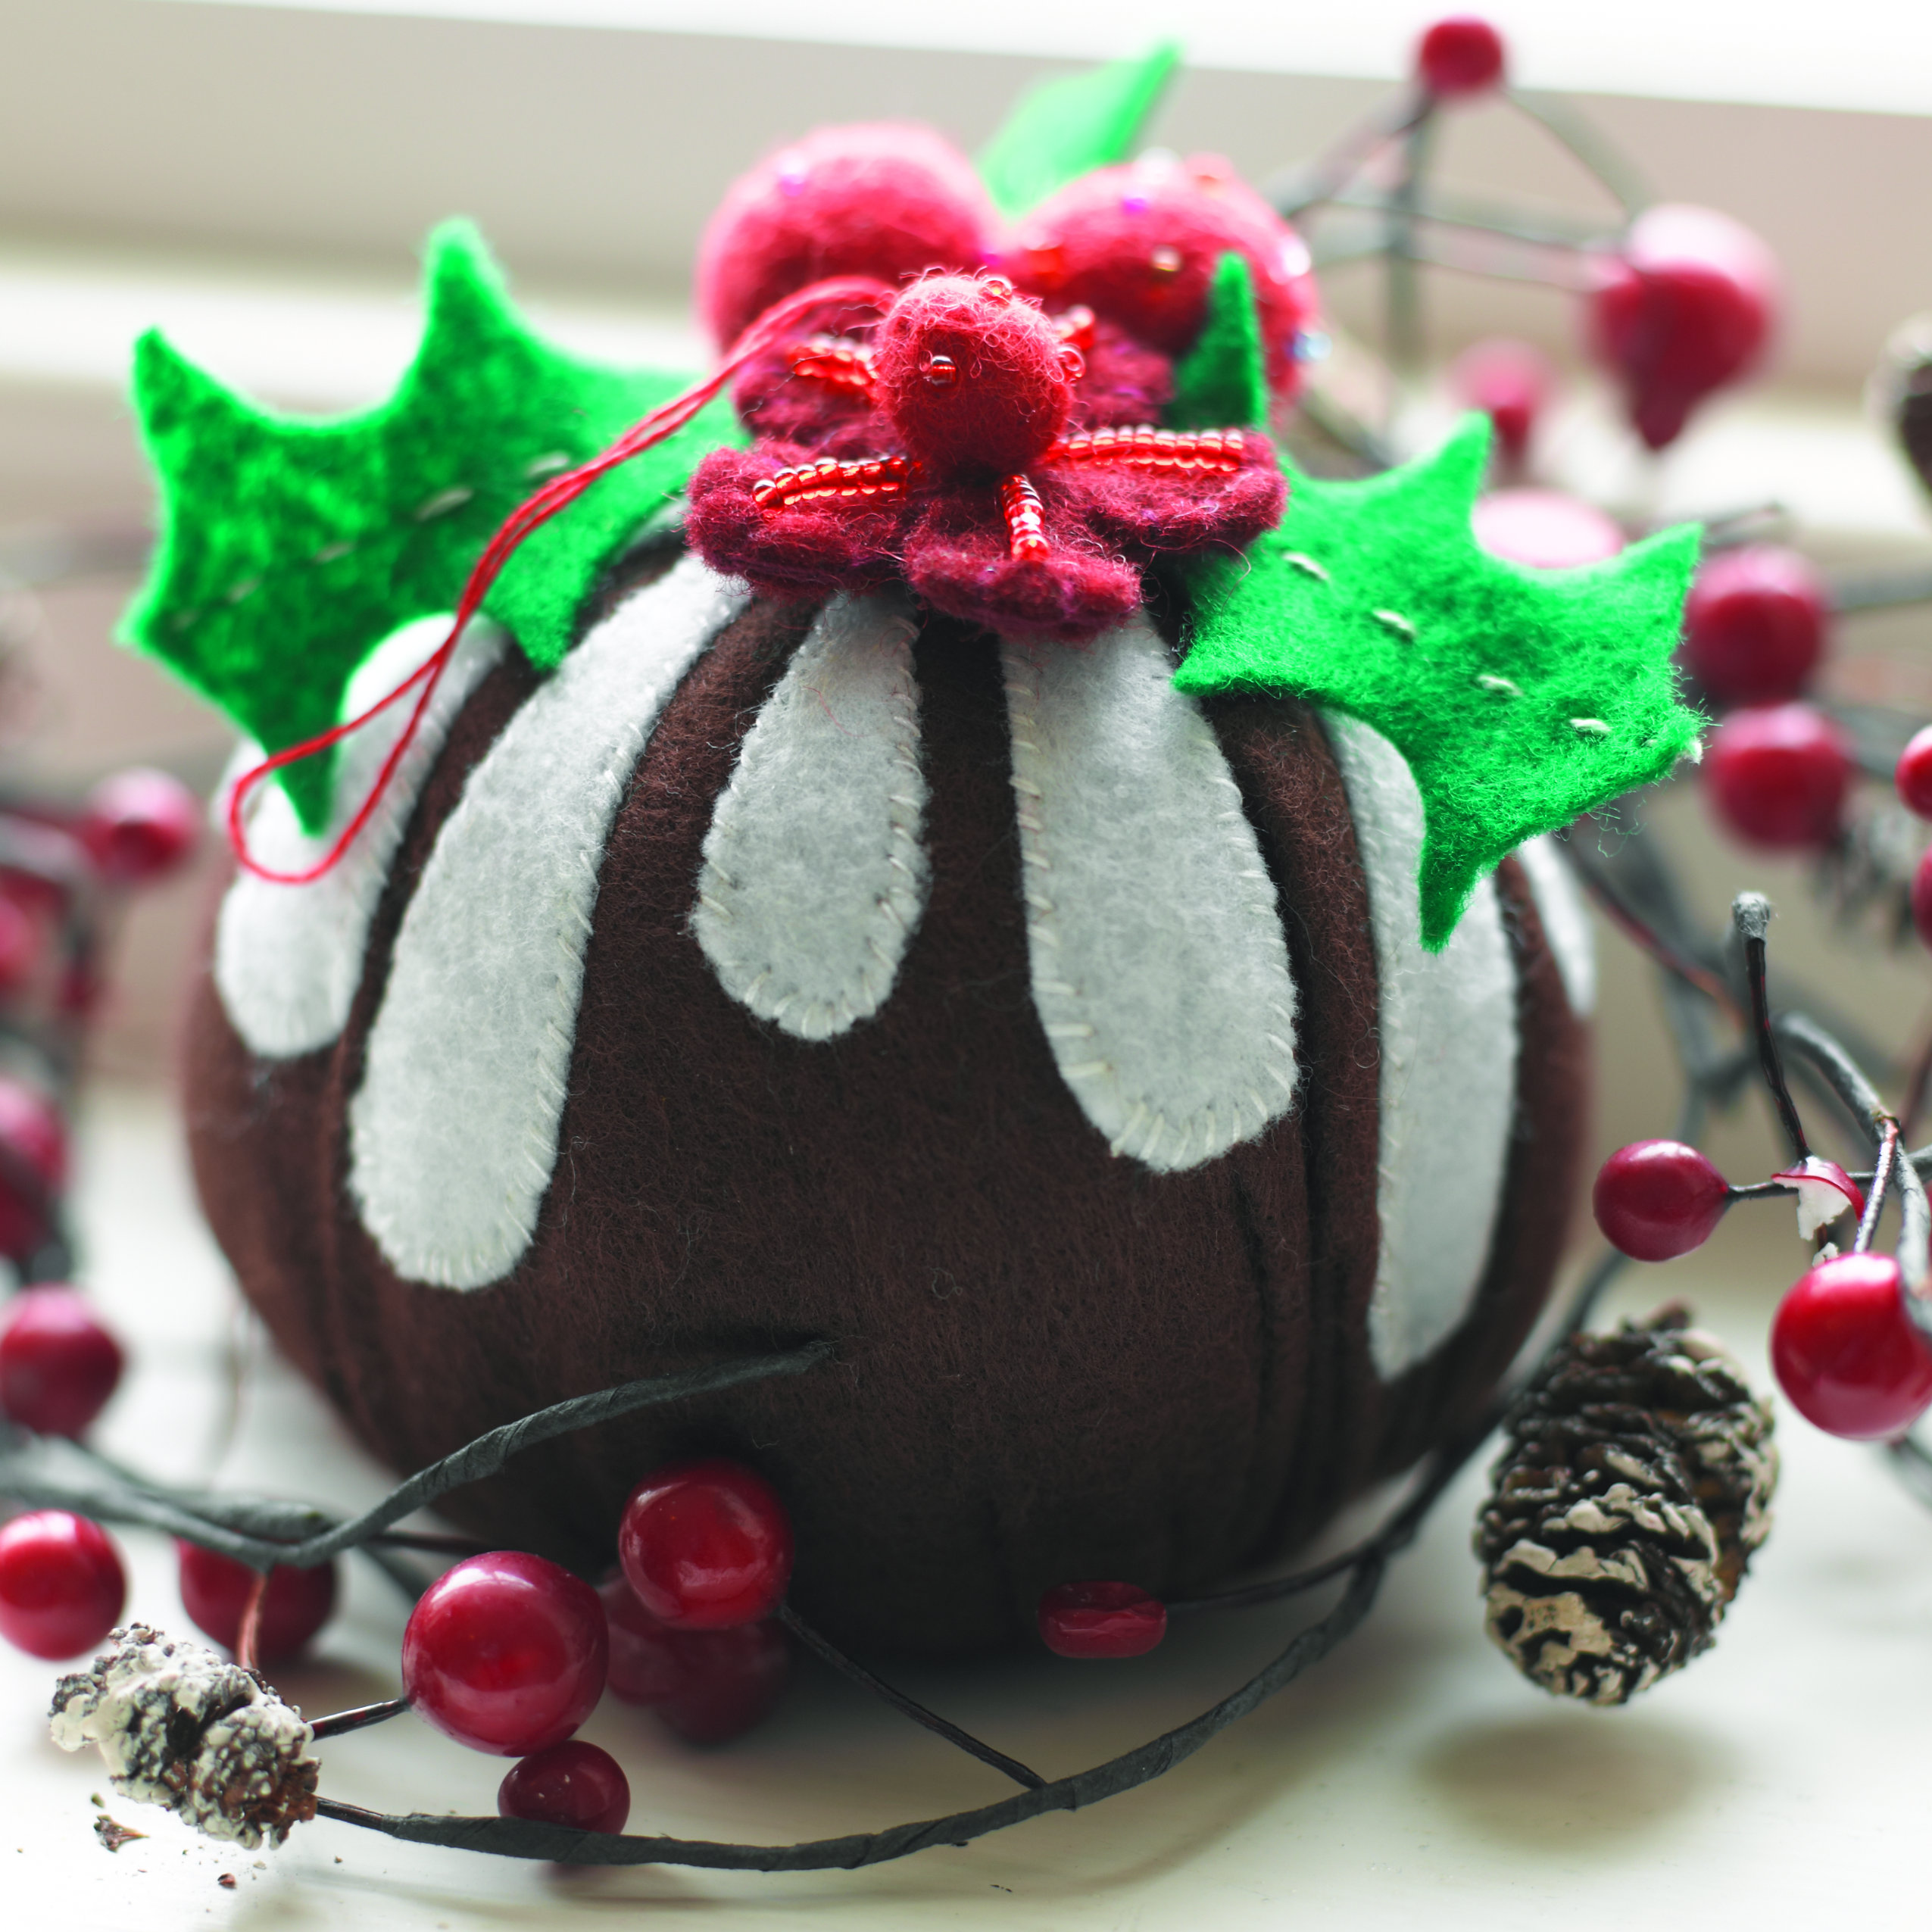
Experiment, add your ideas.
Try adding black sparkles, beads, or maybe little black felt mugs on brown pudding to make fruit pieces. You can use the small red button instead of the red felt. This design will also look funny as a New Year's brooch - skip the ribbon, instead install a pin or other fastener.
return to menu ↑Christmas magic wands

Create magic with this fancy felt wand
This craft can be used as an independent decoration, or as an envelope for a gift card. Imagine that you are a fairy, create magic with the help of this elegant magic wand made of felt!
Necessary materials:
- stick 45 cm long;
- brush;
- glue;
- shiny paint with gold;
- cotton wool or synthetic winterizer;
- needle, thread;
- gold spangles, 8 mm;
- three stars cut from a pattern;
- scissors;
- gift card.
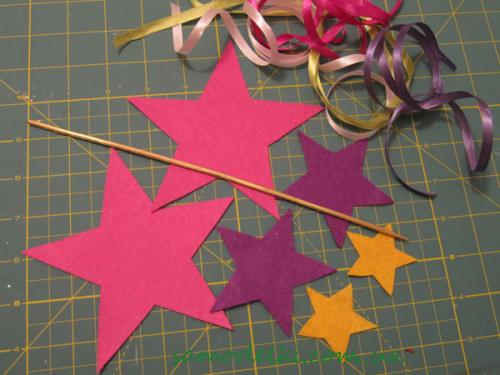
Prepare the necessary materials
Step-by-step instruction
Collect your materials, arm yourself with inspiration and good mood!
Step 1
Paint the stick with glitter paint - you will want to make at least 2-3 layers. If rush is needed, only one layer can be made.
Step 2
Glue a small ball of cotton wool around the tip of the wand, and hold it until dry. This little ball is what will hold the star on a stick.
Step 3
Connect three stars together
To make a pocket in a star - cut the top beam from one star, use a needle and thread to start sewing sequins on the star's pocket and at the back.
Step 4
Connect three stars together. Start stitching stars on the base just above the left of the place where the wand will sit.
Step 5
Continue to stitch the star around the perimeter, clockwise, until you reach the fifth point of the star. Push the cotton wool in with scissors to help in the insertion. Remove excess. Finally, insert the wand and close the seam.
Step 6
Put the gift card in your pocket. The wand can also be used as a small bag with sparkles for a New Year's party, a love note or a bath confession. Get down to the magic!
return to menu ↑Felt necklace garland
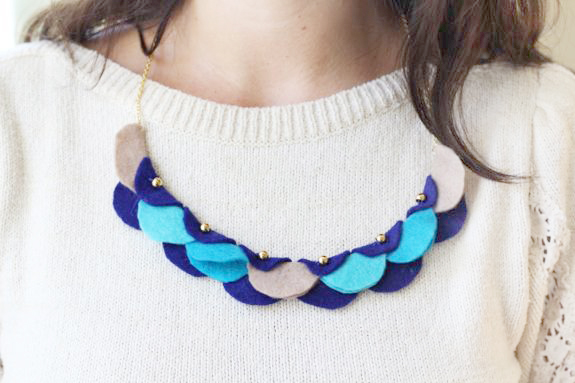
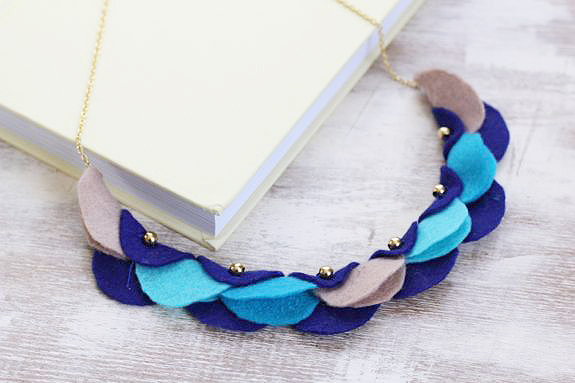
Charming garland necklace
How do you like the idea to note New Year with a garland around your neck? This charming necklace garland will not look ridiculous or cumbersome, try it.
This decoration will instantly make even everyday clothes festive and I am sure that you will add a special December anticipation - something for which we love this month so much!
The garland necklace will instantly make even everyday festive clothing.
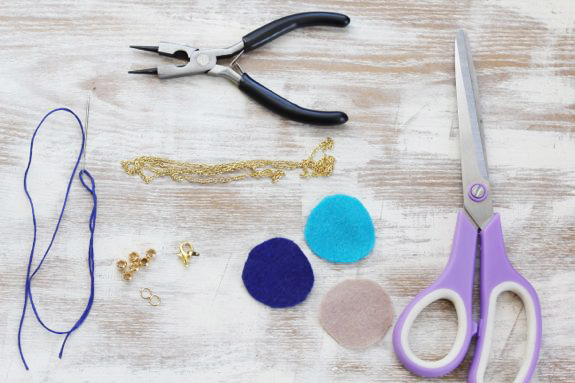
Necessary materials
- 13 felt circles - I used 6 dark blue, 3 Tan, 2 turquoise and 2 beige;
- 6 gold beads;
- floss and needle;
- long chain;
- two little ringlets;
- carabiner;
- scissors;
- pliers.
Step 1
Cut circles using a small glass mold as a template.
Cut out the circles.I used a small glass mold as a template and found it impossible to cut a perfect circle with scissors. Fortunately, when you fold them, the shape will perfectly hide the imperfections. So do not worry.
Step 2
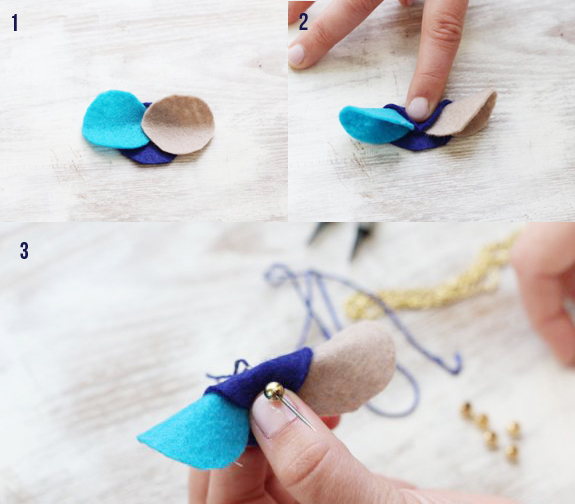
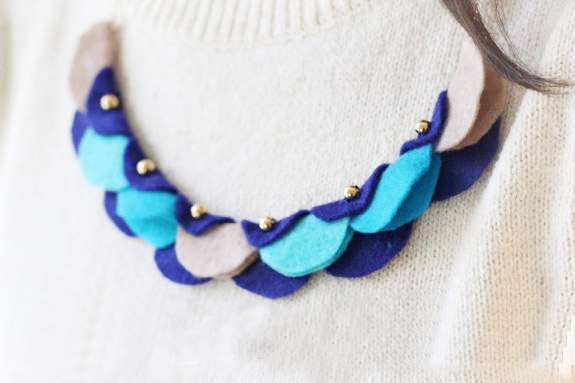
The dark blue circle should cover part of two other circles.
Connect 3 circles and fold them. Make sure that the dark blue circle covers part of the other two circles.
Step 3
Thread the floss thread into the needle. Thread the needle in the back in the middle of the design and insert the ball.
Step 4
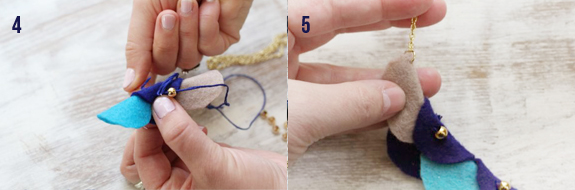
Bead necklaces
Return the needle to the wrong side - making sure that all three circles are fixed with a thread - and tie a thread. You should have a design like in the picture. Continue to manipulate the following circles and repeat the whole process.
Step 5
Measure the length of the chain you need and cut it with scissors
Put a little ring on the last lap. Repeat on the other side. Measure the length of the chain you need and cut it with scissors. If the chain is not long enough, cut it in the middle and attach the lobster clasp.
return to menu ↑Felt gift boxes
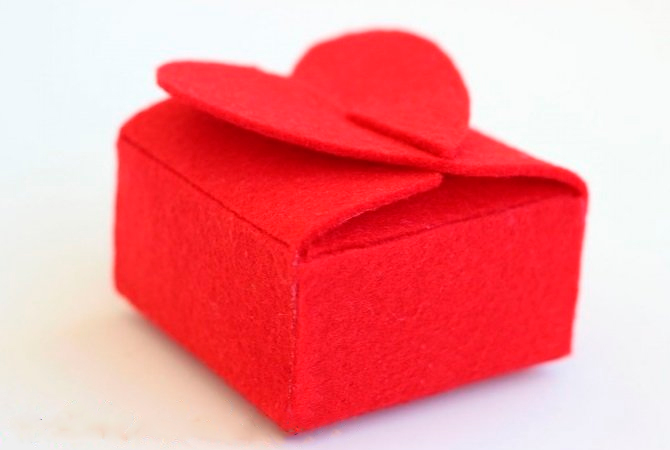
Felt is a great choice to make a gift box
Very tactilely pleasant, felt will be an excellent choice to make a box of it for an important gift.
To make the bottom of the box, I cut a square like in the picture to make 20 cm, and then added four slits and four diagonal cuts to remove the excess felt on the tabs.
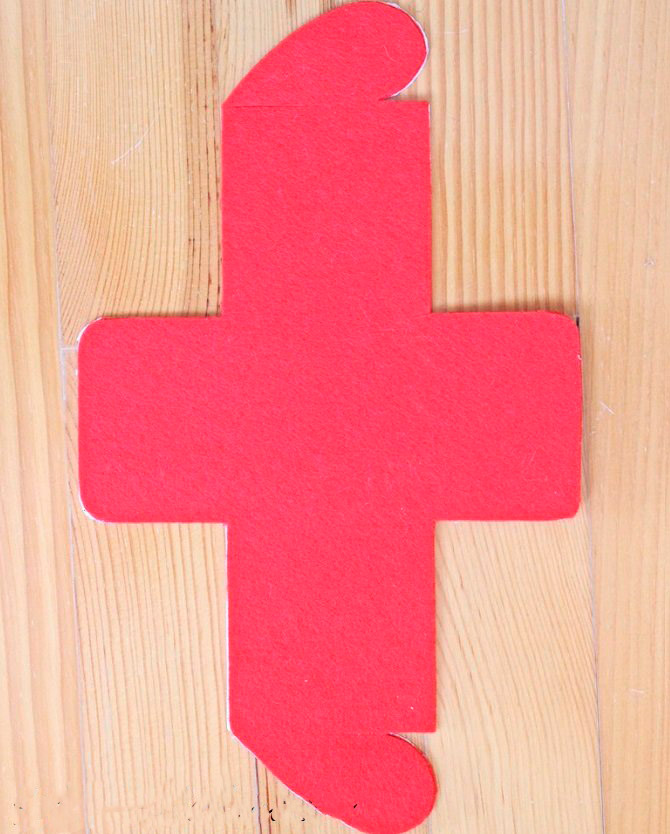
I squared the square like in the picture
I used a clerical knife and a ruler to cut the basic shape, then made cuts and cuts diagonally with scissors.
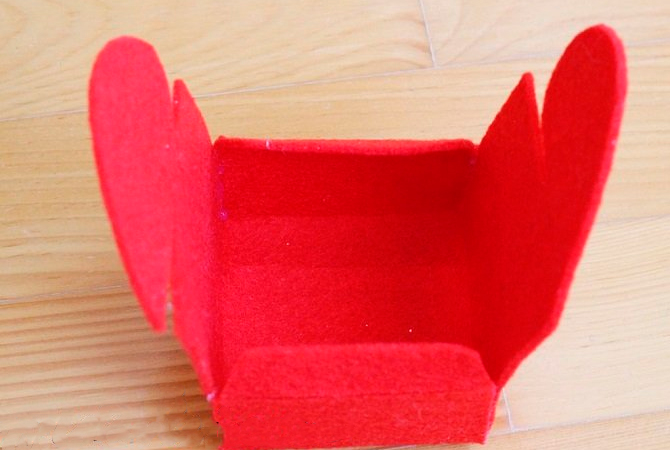
Warn tabs close to the edge of the ruler to facilitate assembly
The upper field is made similarly, except that the product must be slightly larger in order to organically connect with the bottom of the box. On the sides you can take half of the height of the lower part.
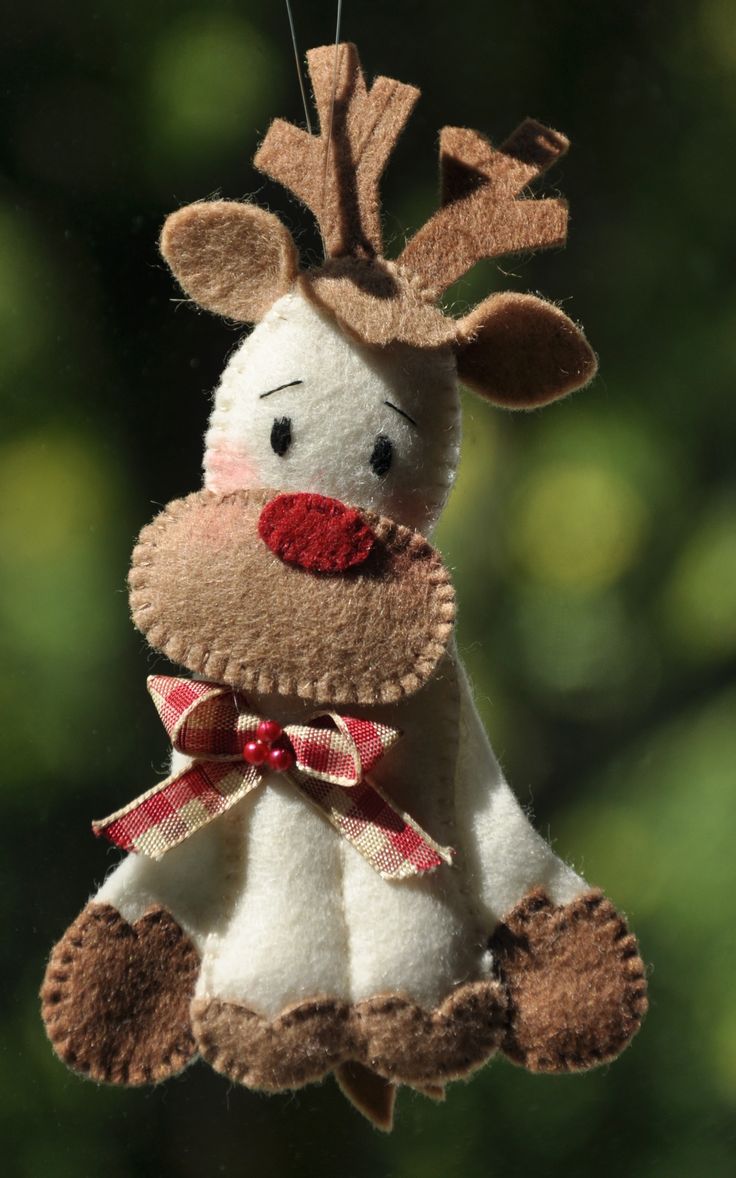
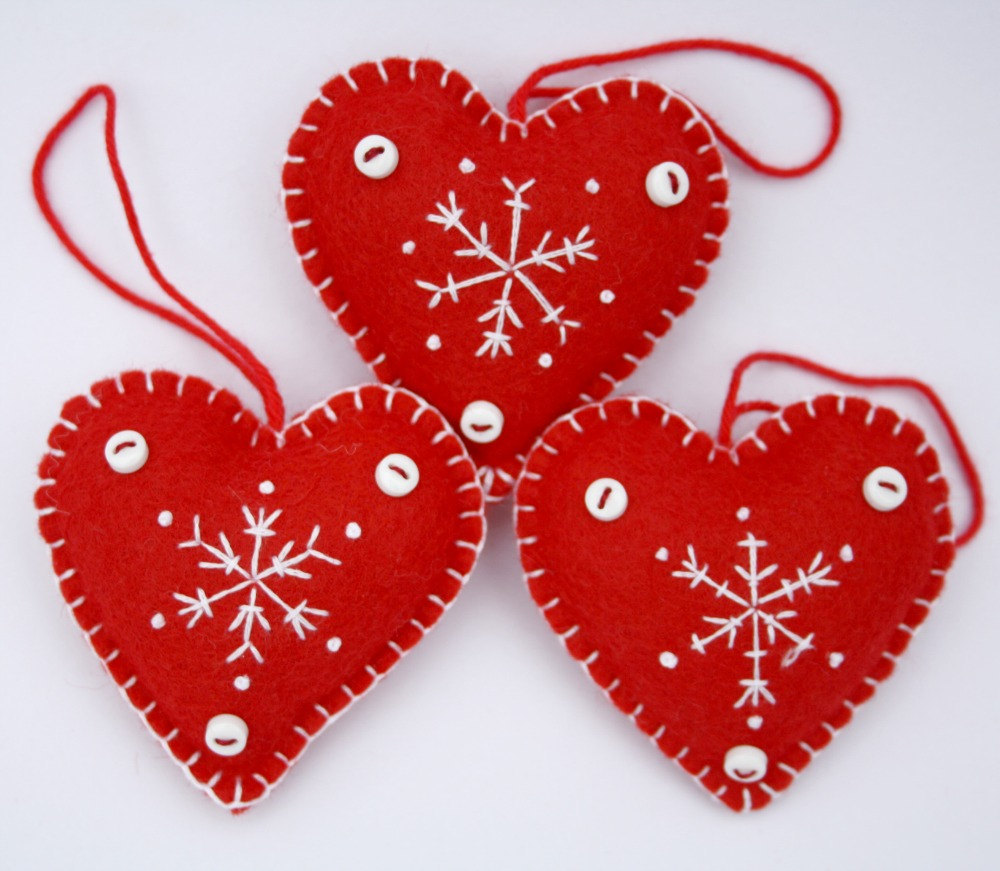
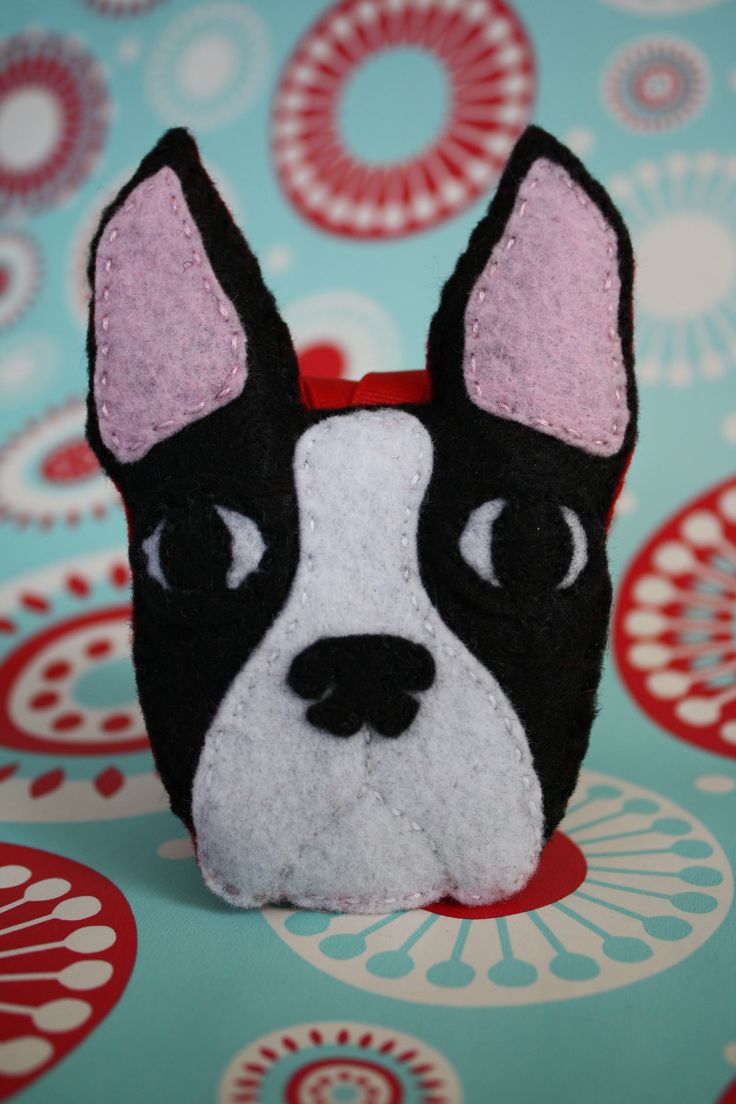
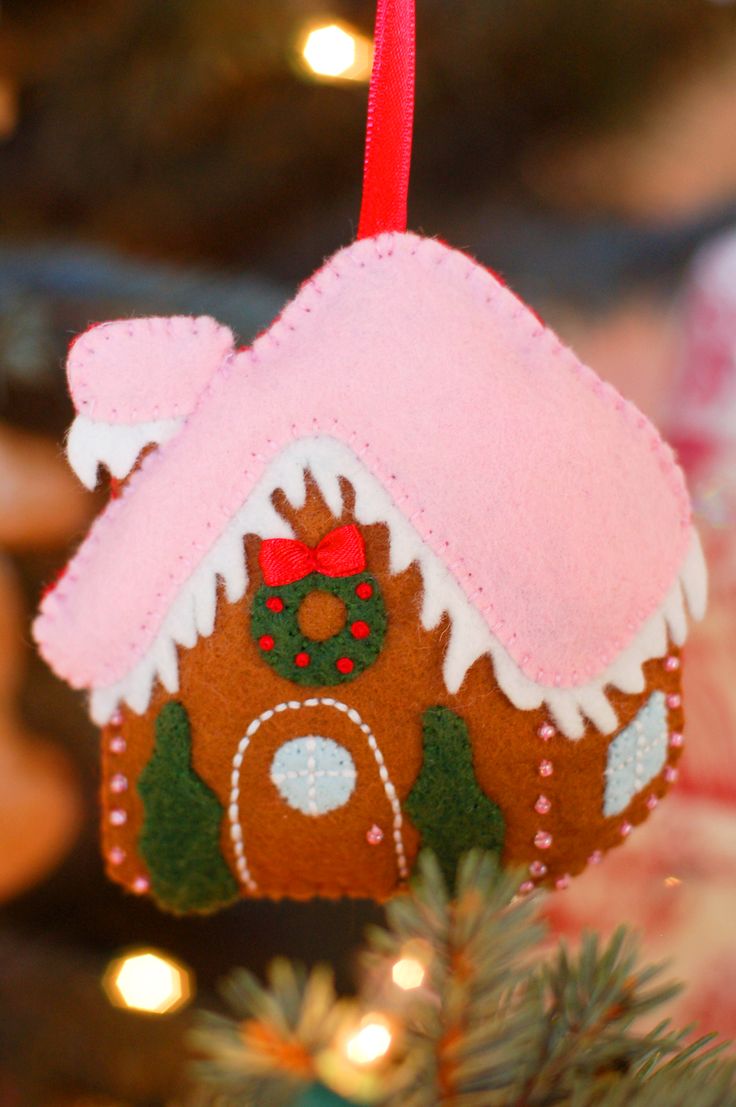
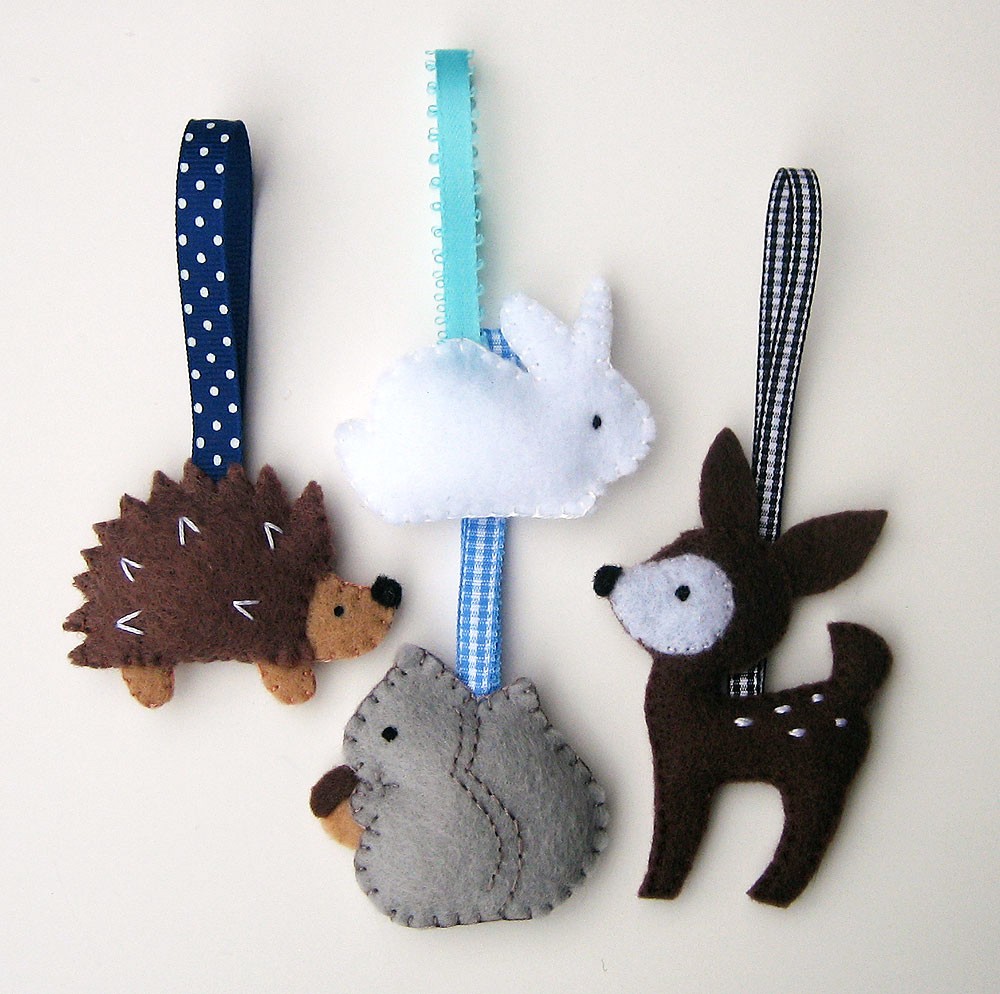
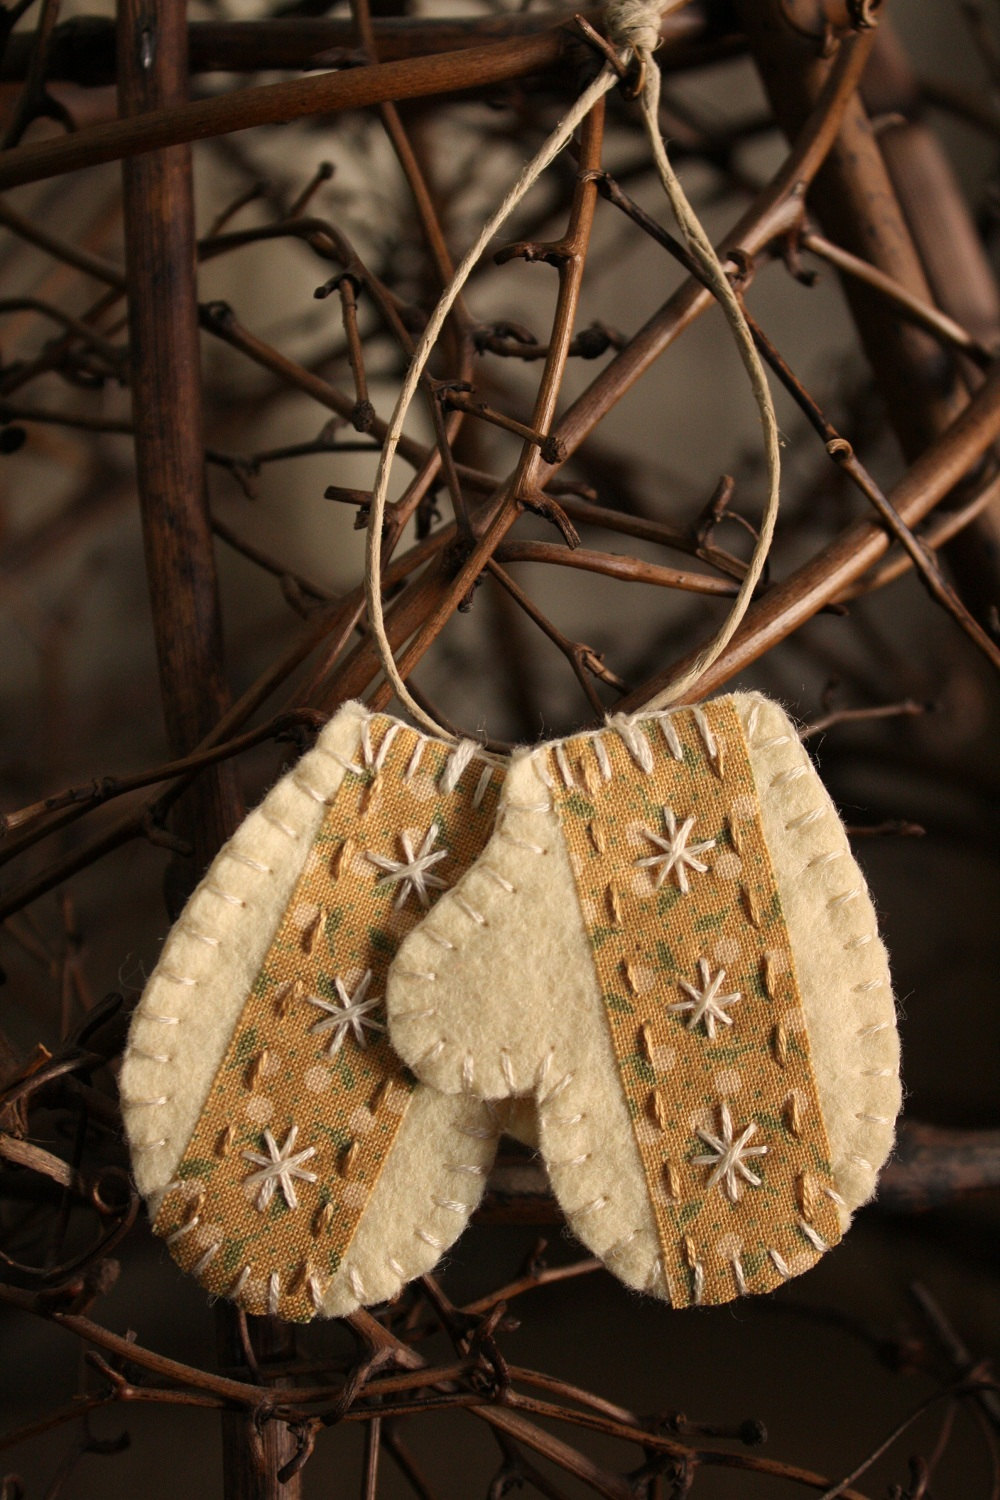
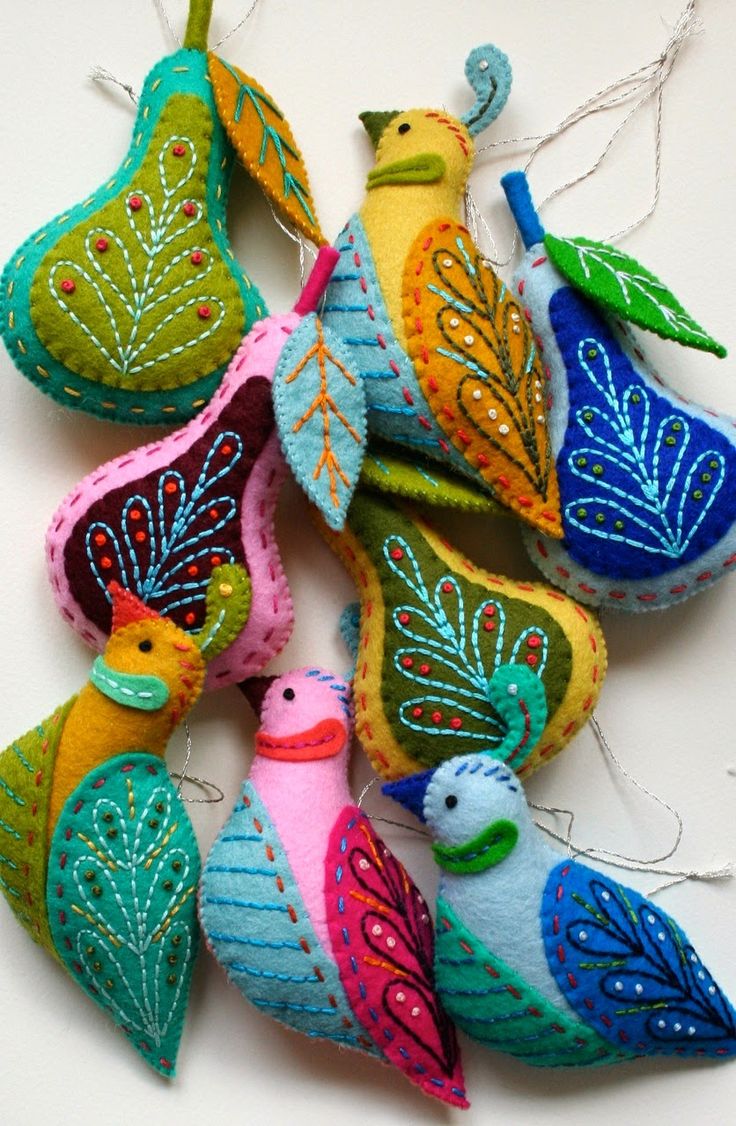
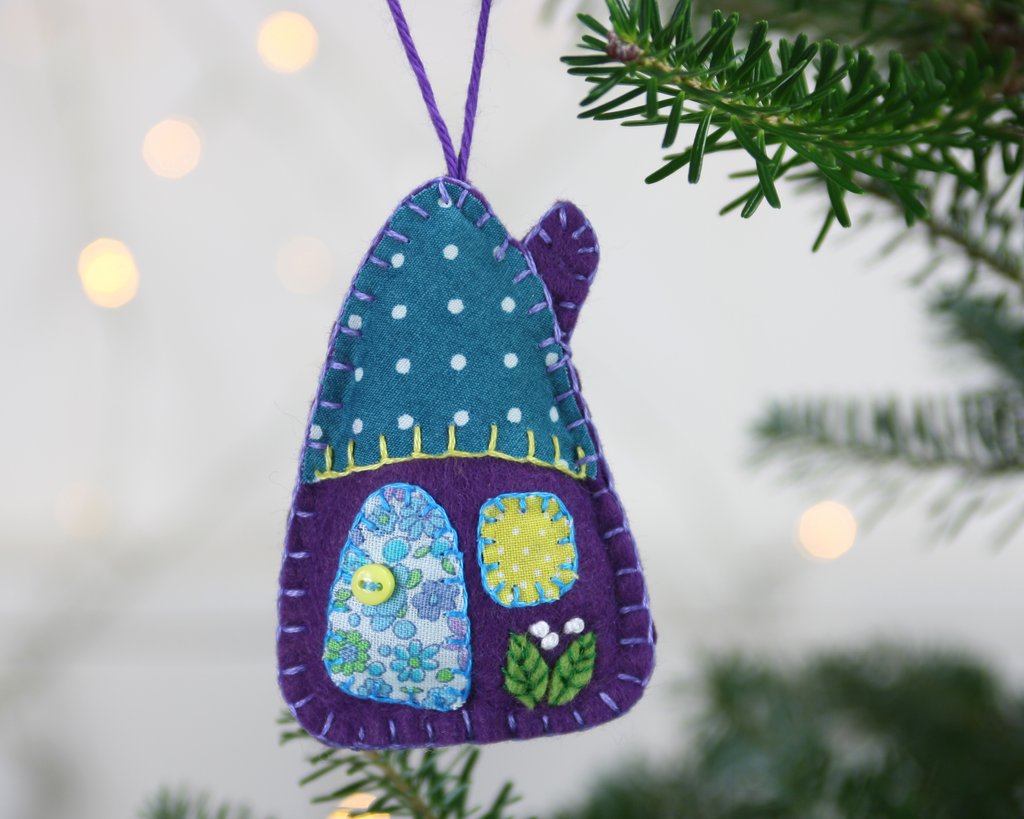
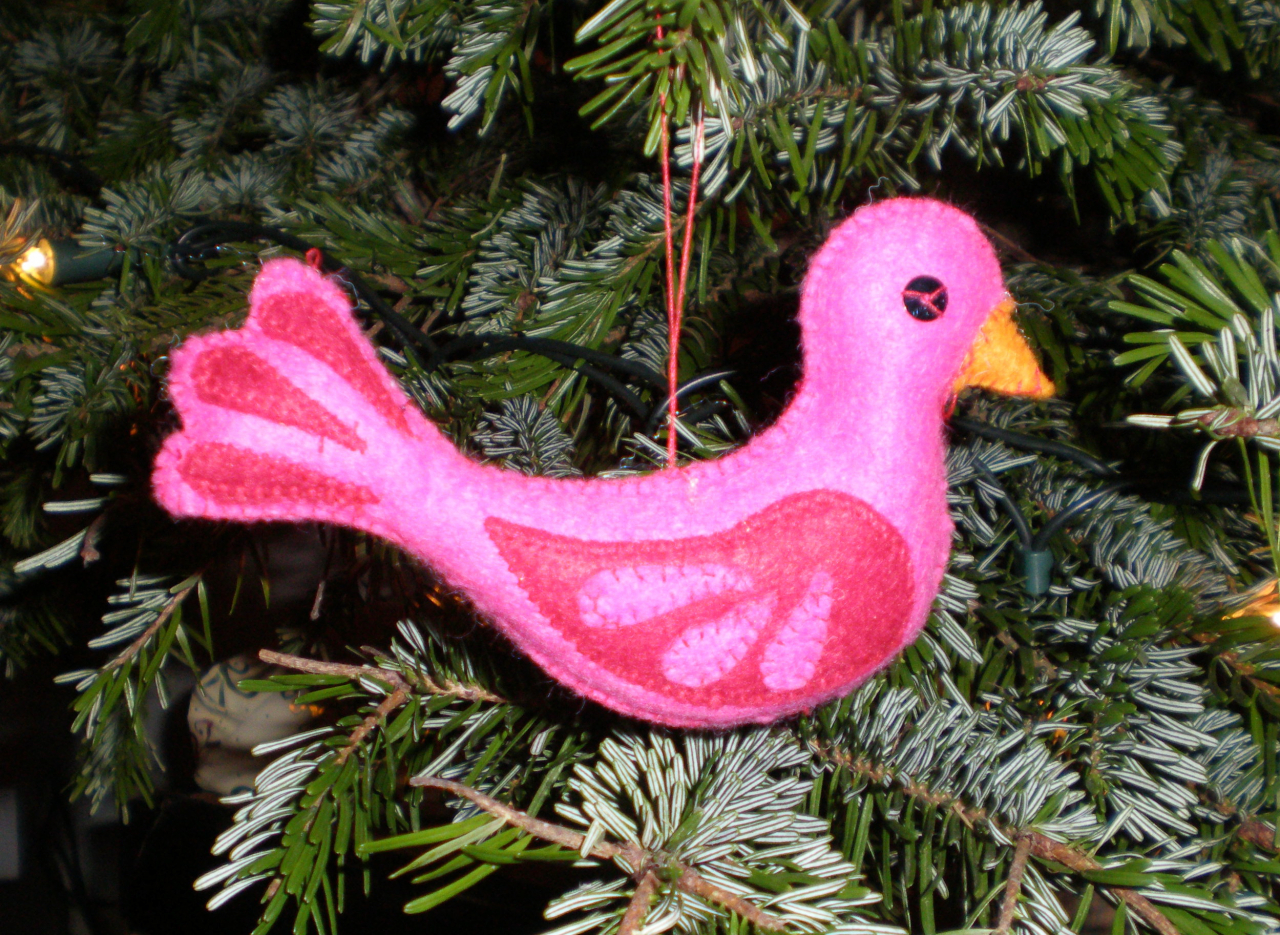
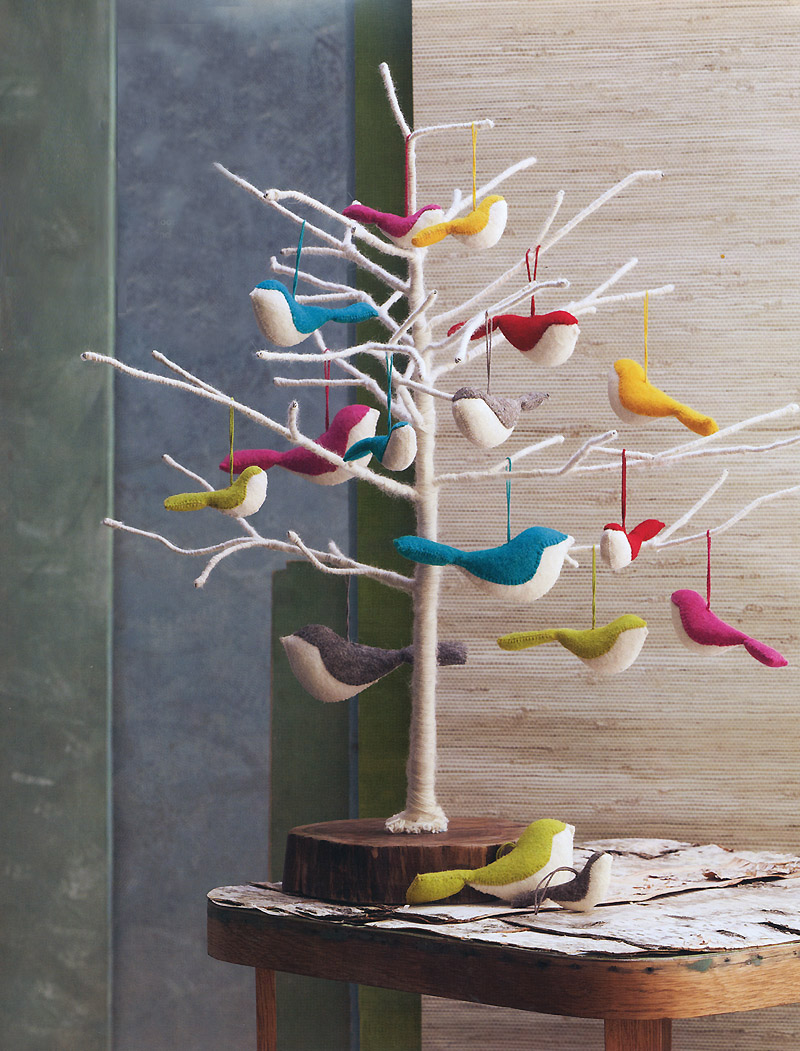
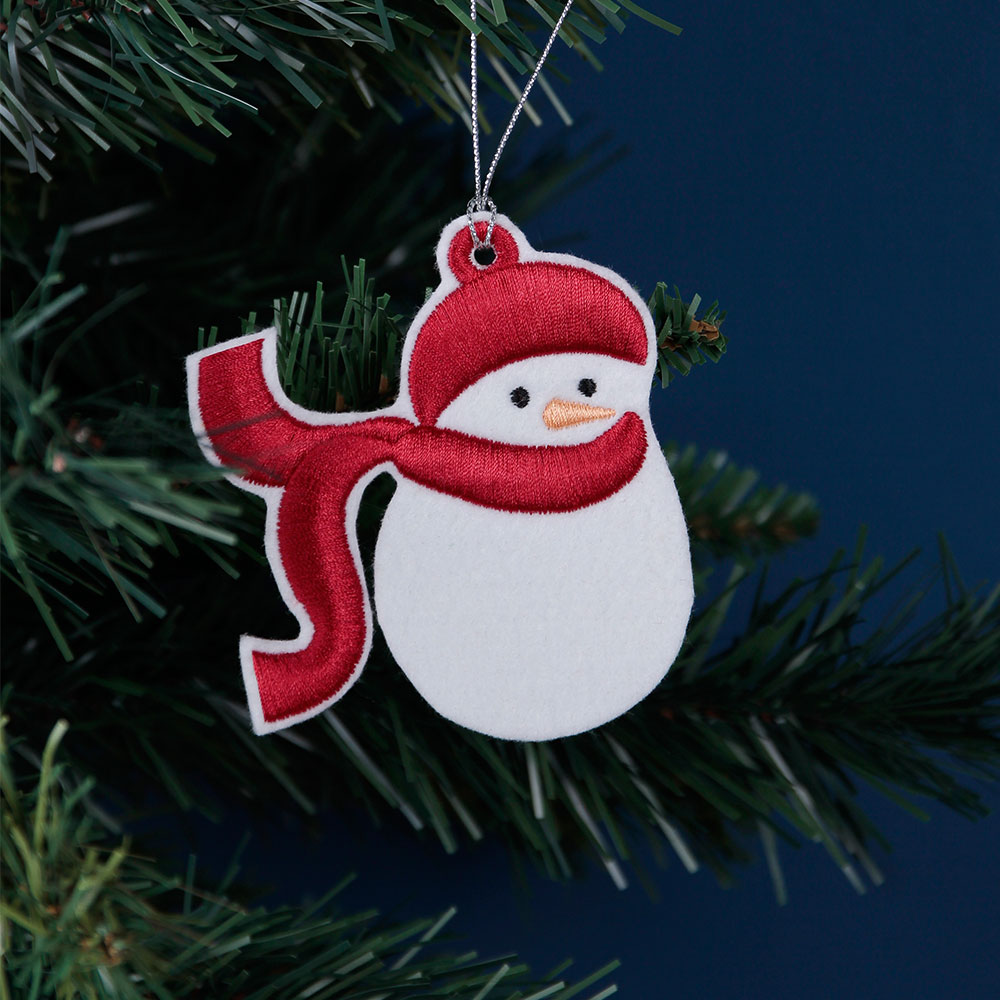
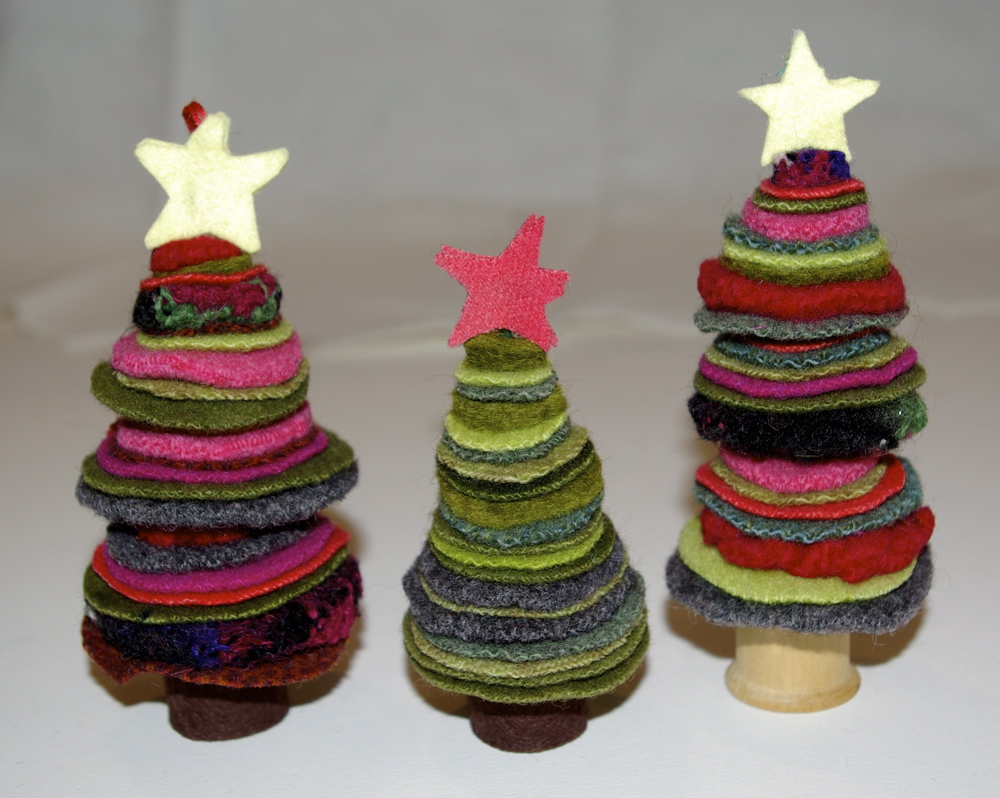
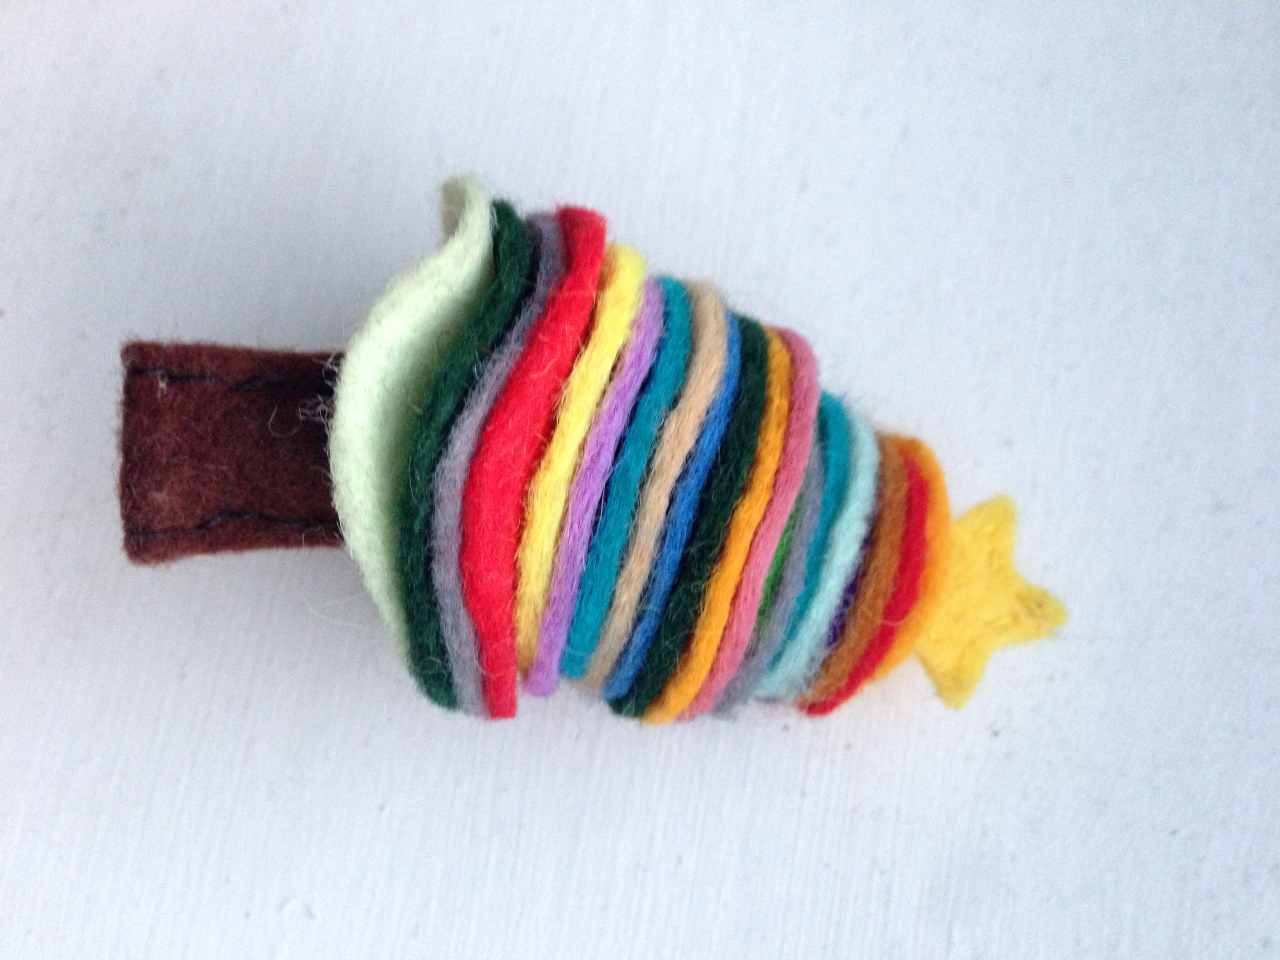
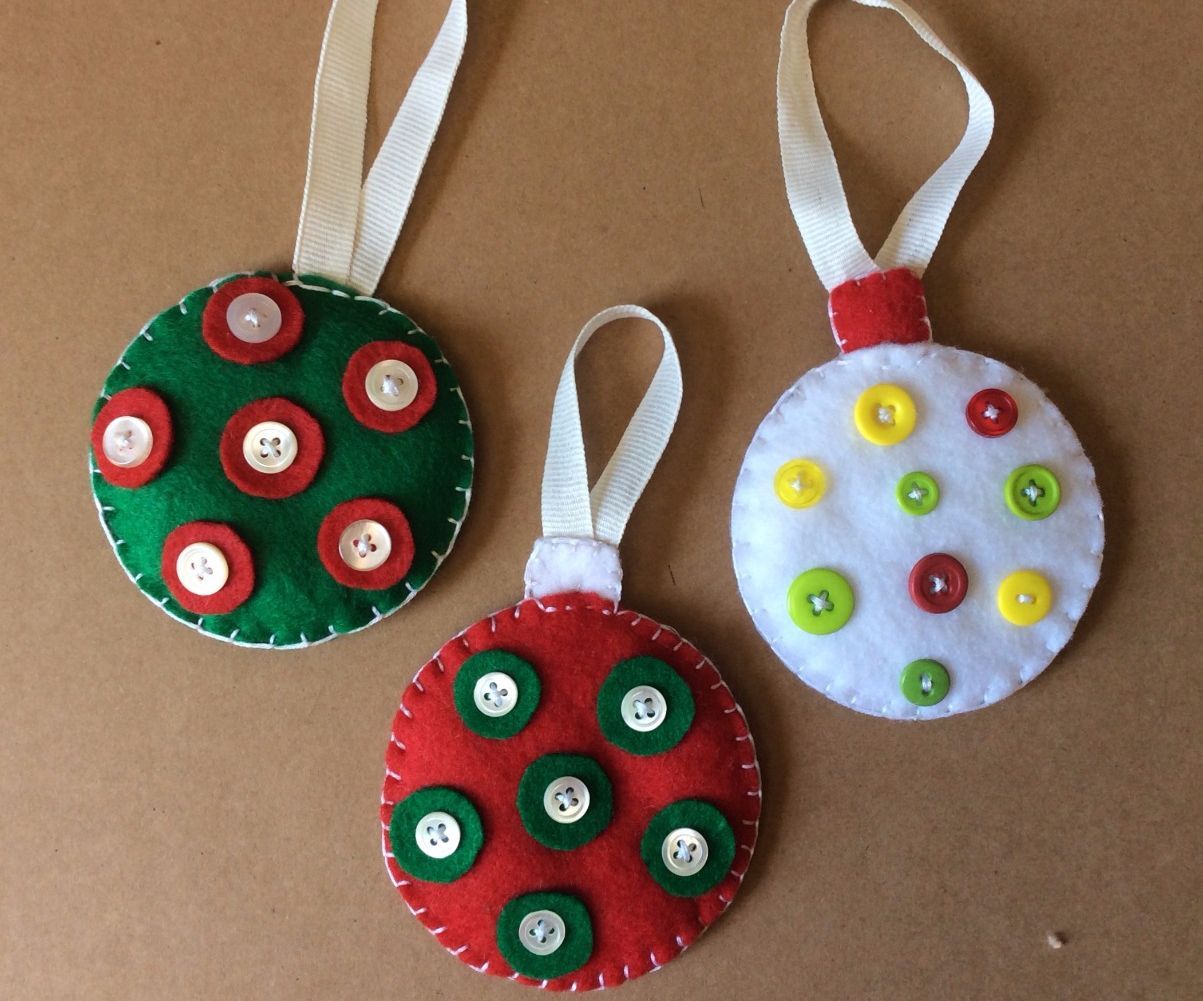
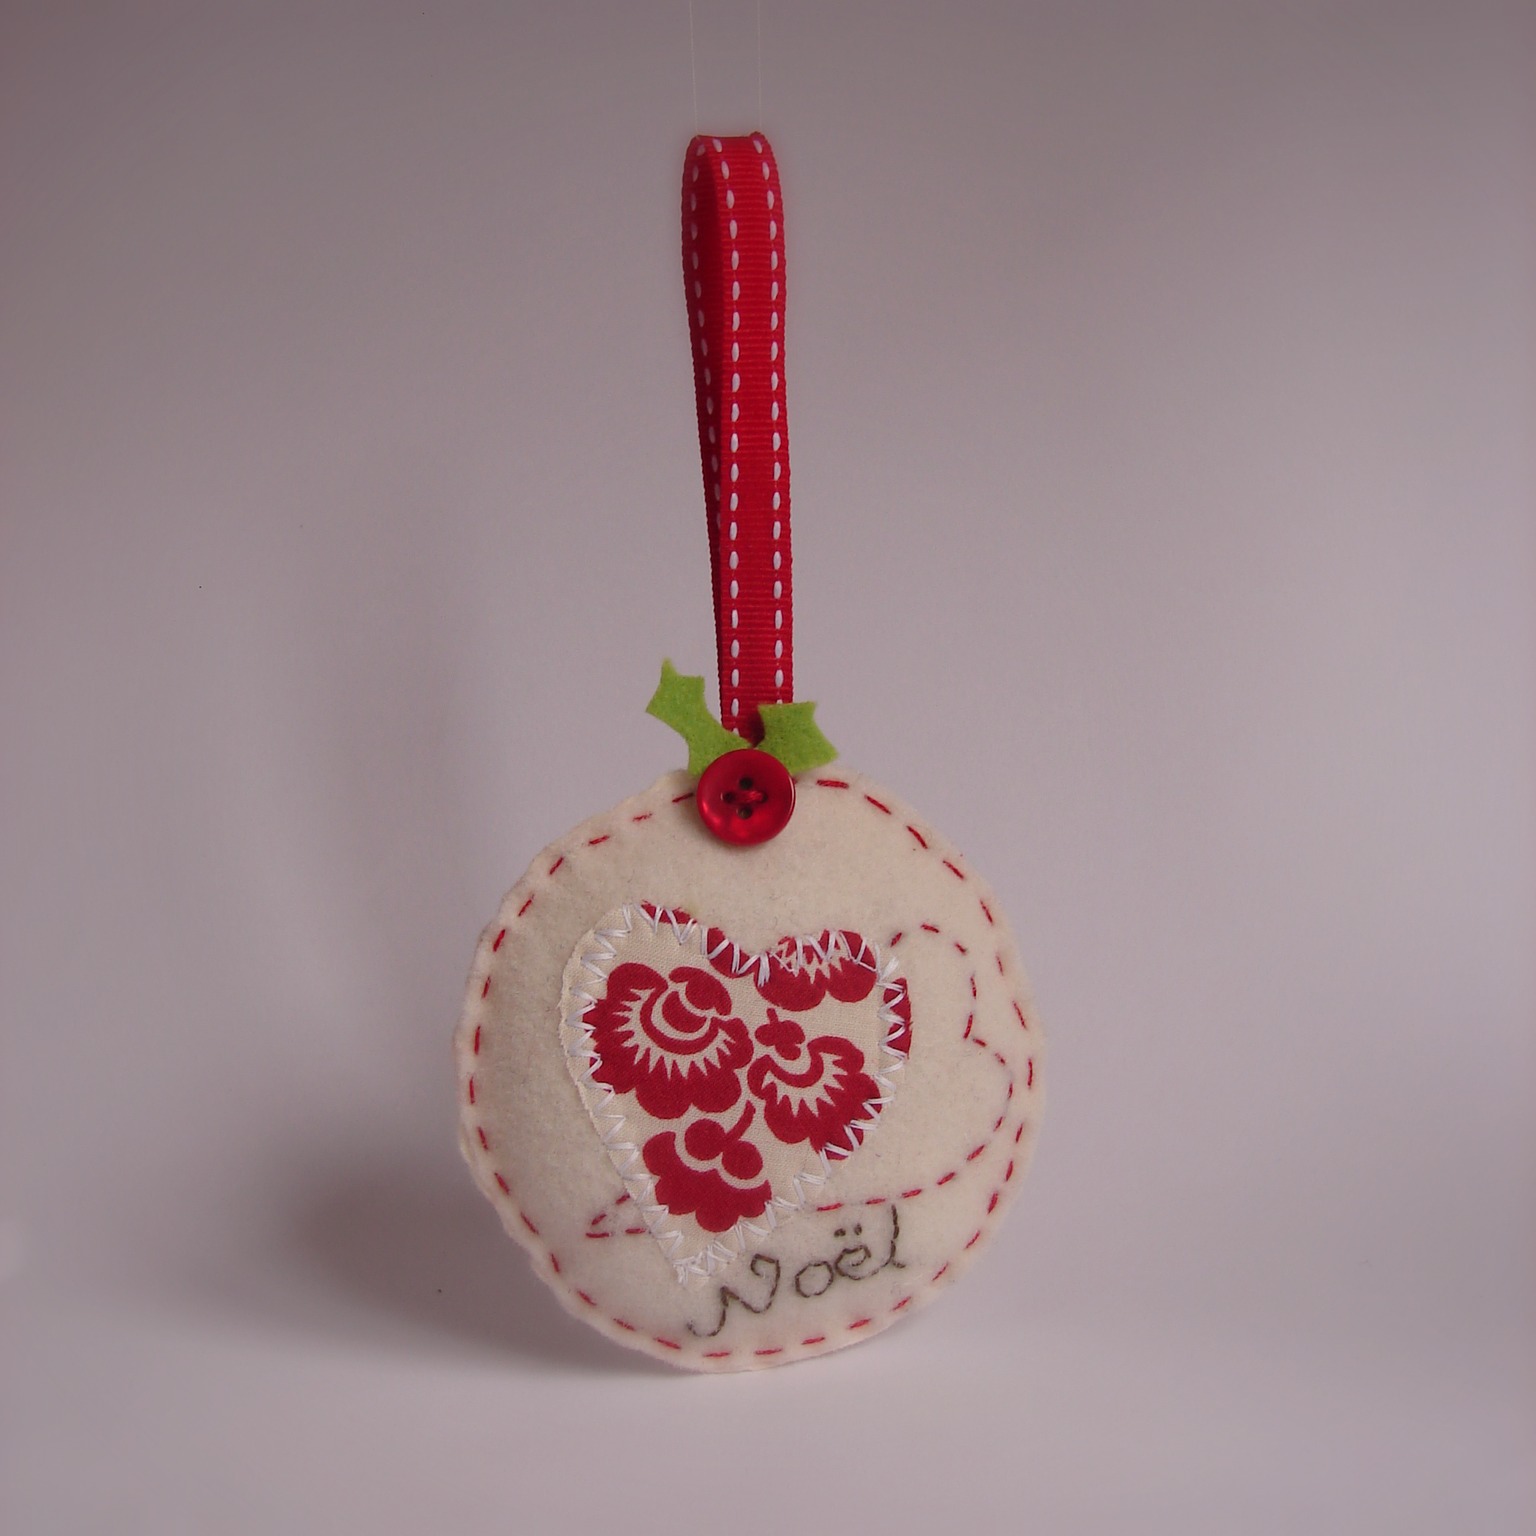
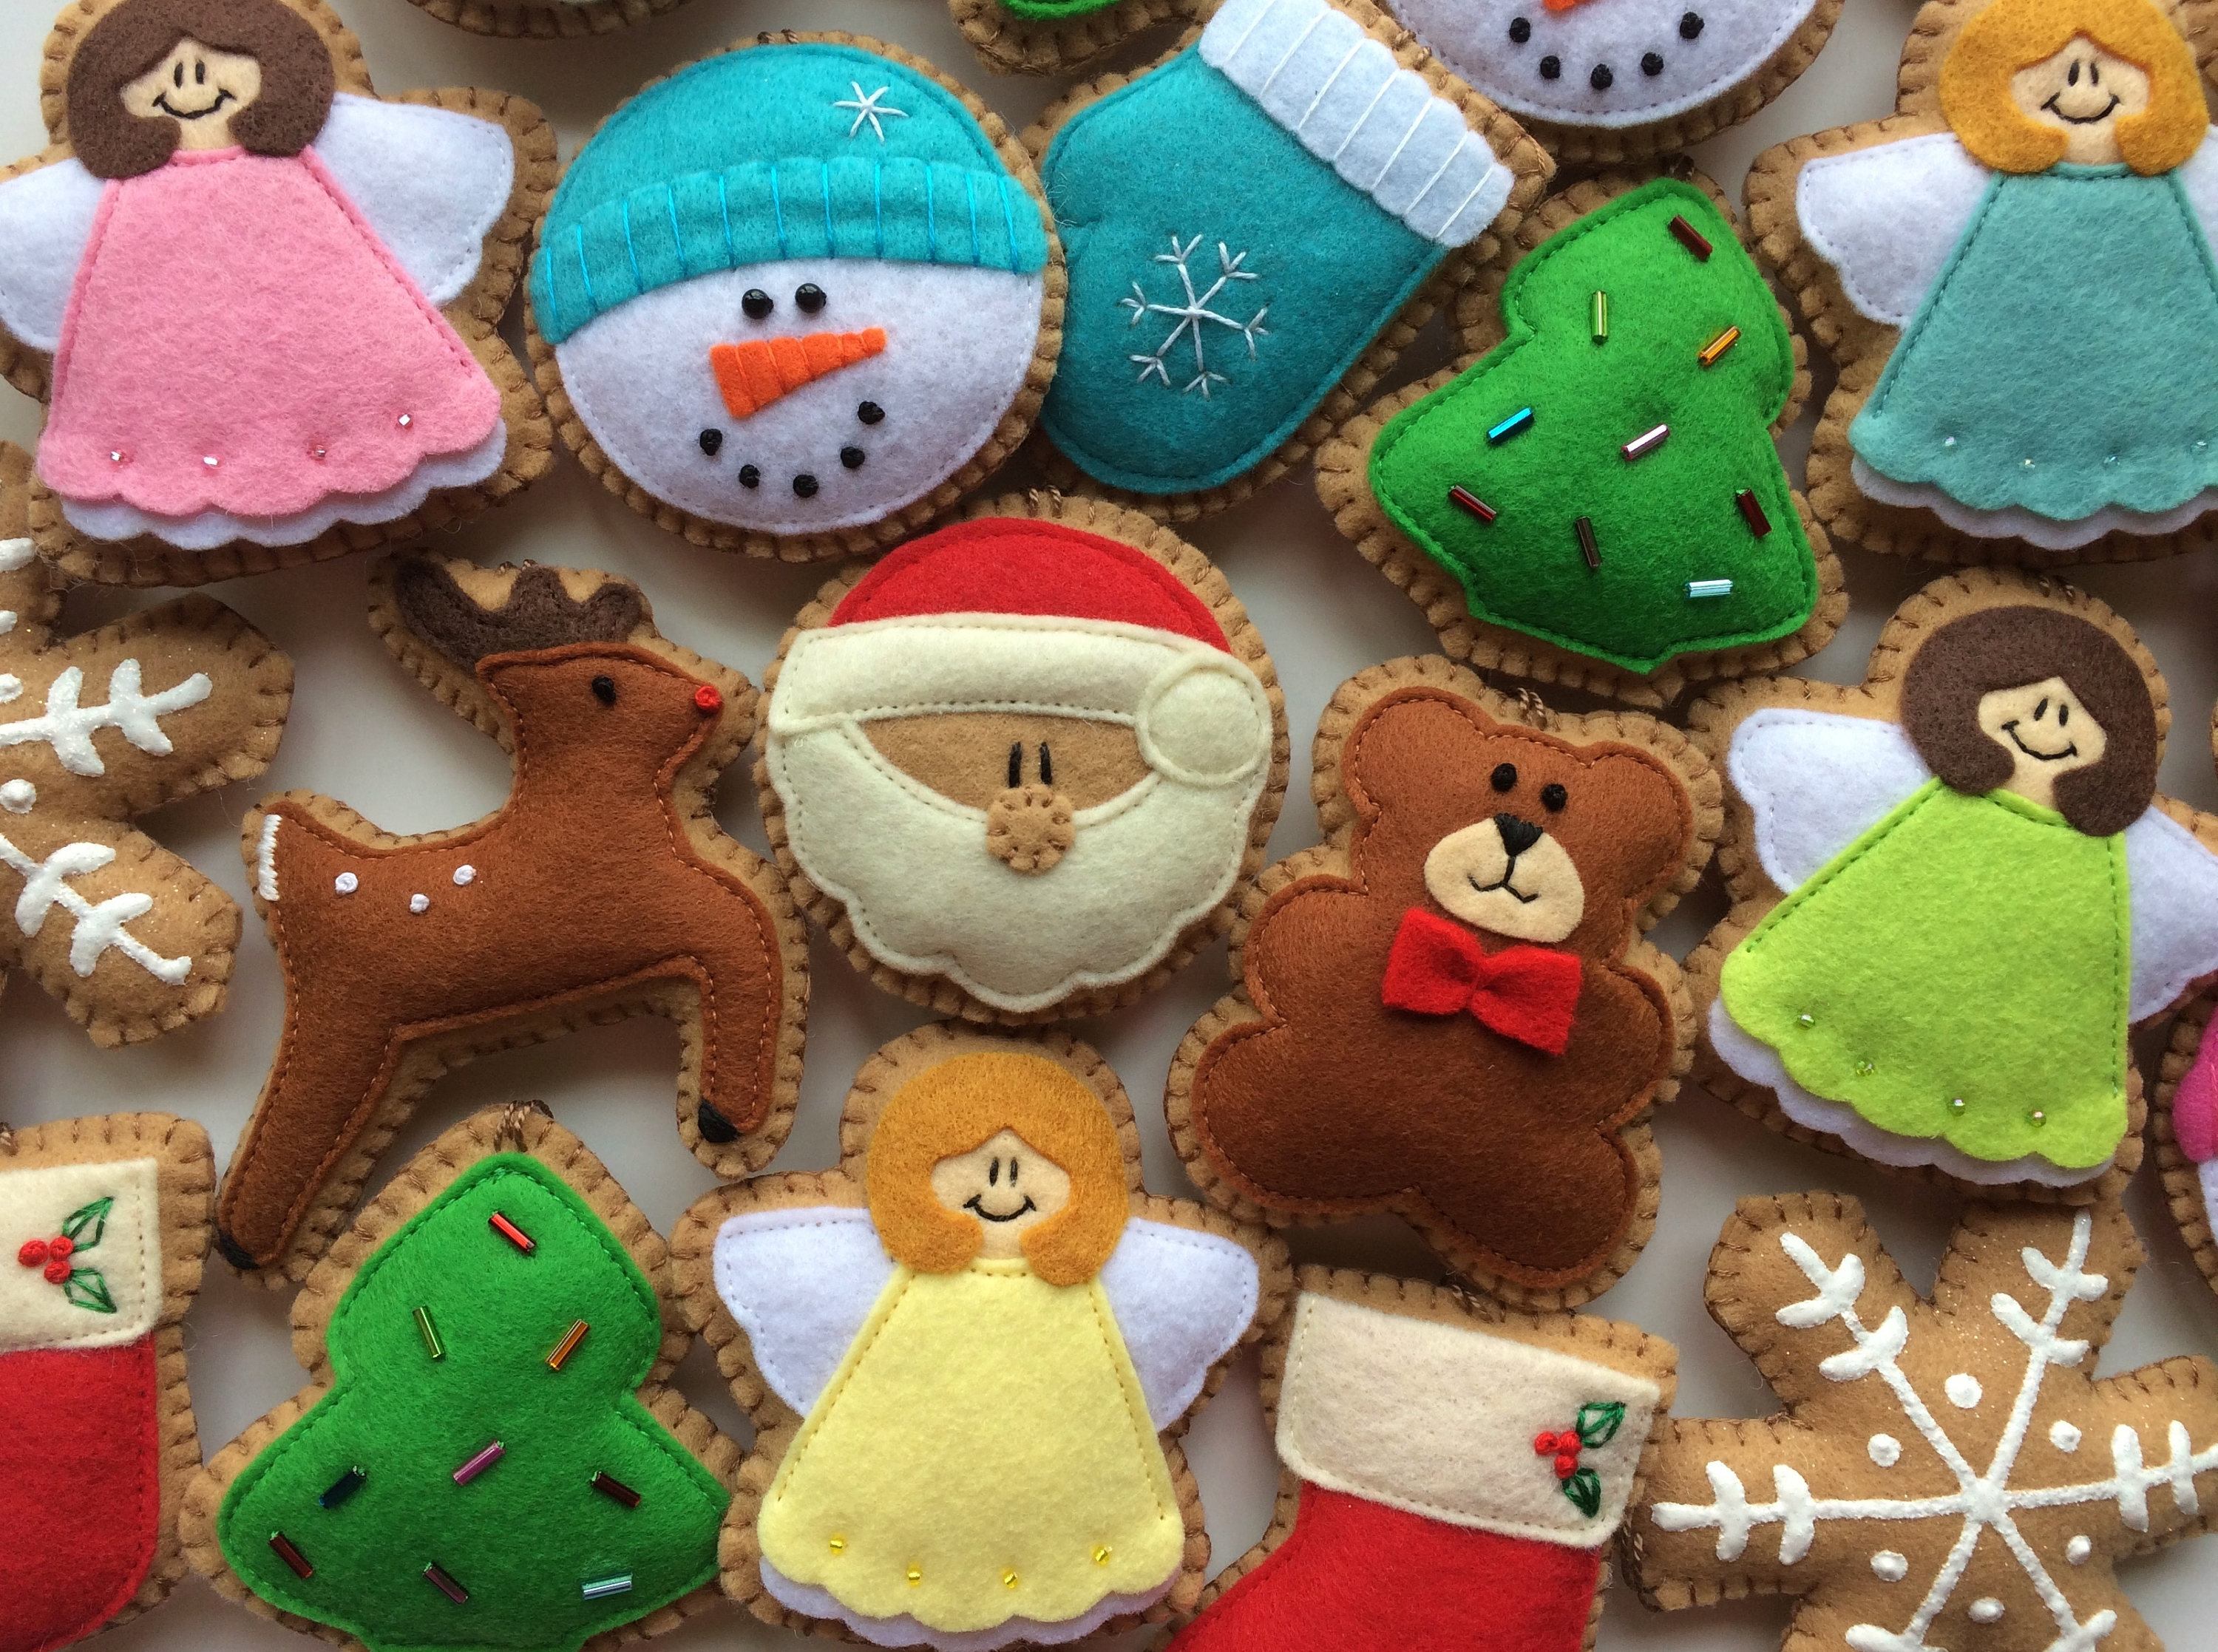
Toys made of felt
175+ Photos of crafts made on New Year's Eve Dogs do-it-yourself: Patterns and Patterns for beginners


: Do-it-yourself interior design")