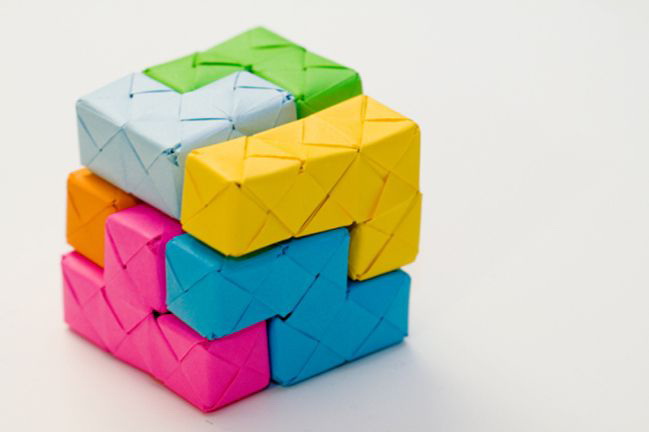
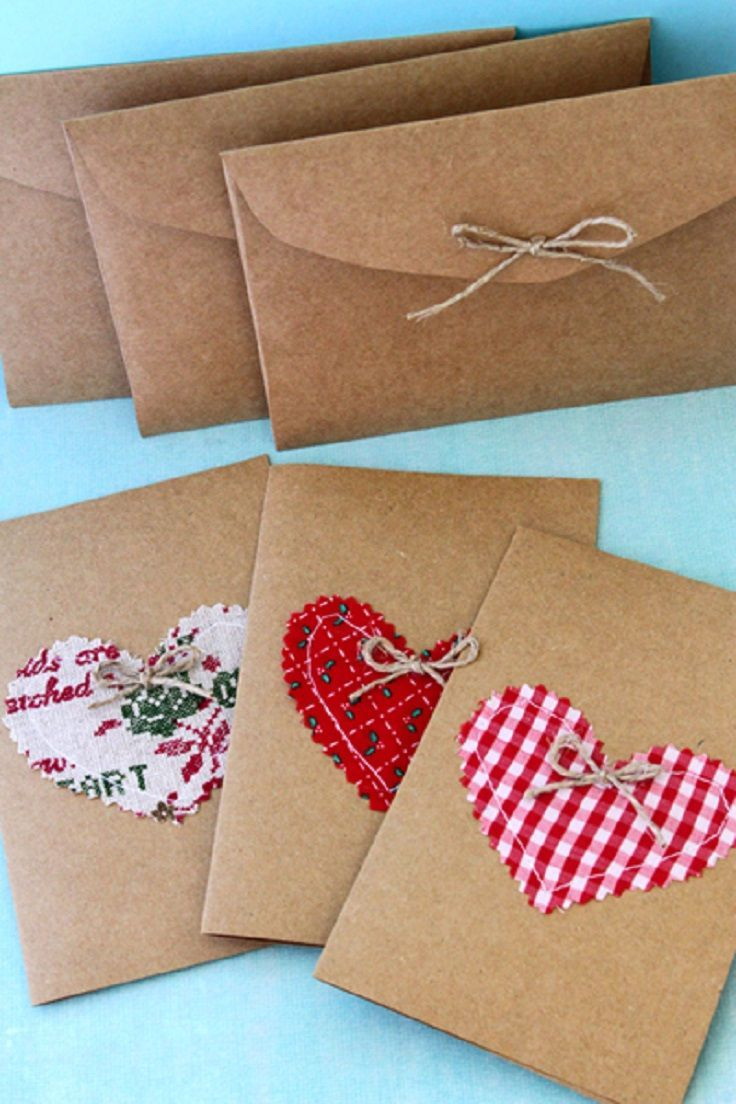
Crafts from a sheet of paper with their own hands (7 step-by-step instructions) 130+ Photo: we start with the simplest. Collection of the best master classes!
 130+ Photo: we start with the simplest. Collection of the best master classes!")
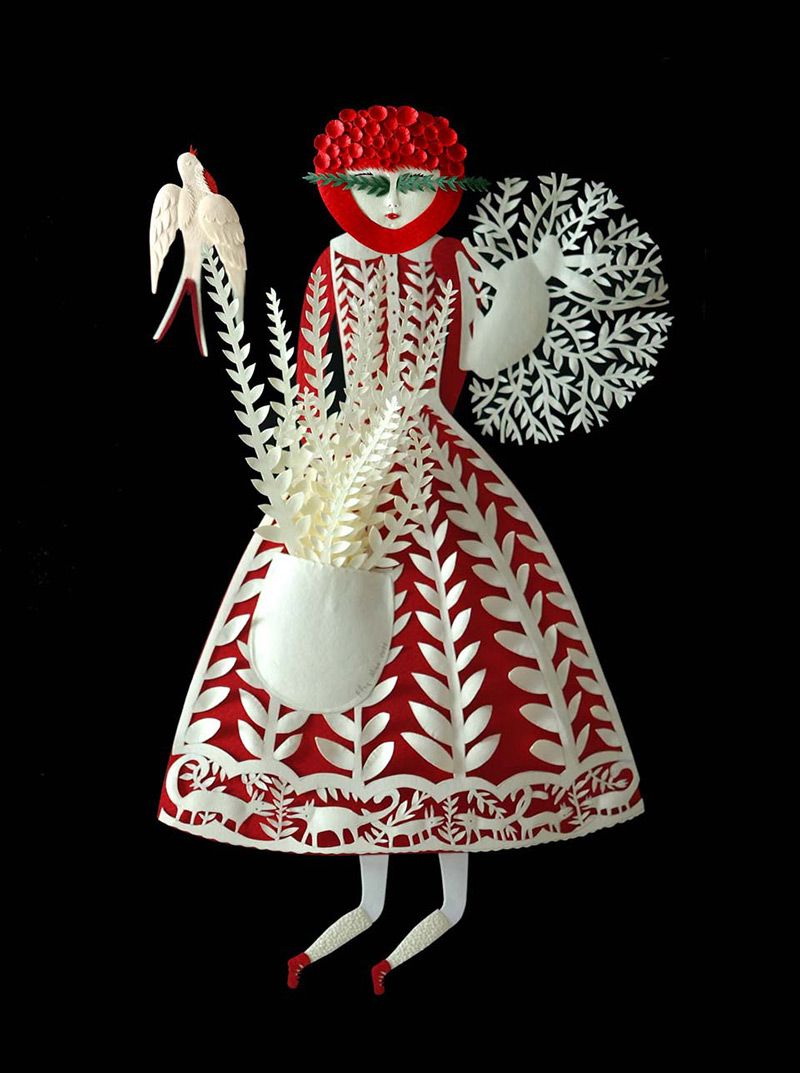
With the help of a sheet of paper you can make interesting things that do not require investments at all. Just a little patience and time. Sure that you will like the result. Try with us.
Content of this article:
5 pieces of paper home decor that you can do yourself
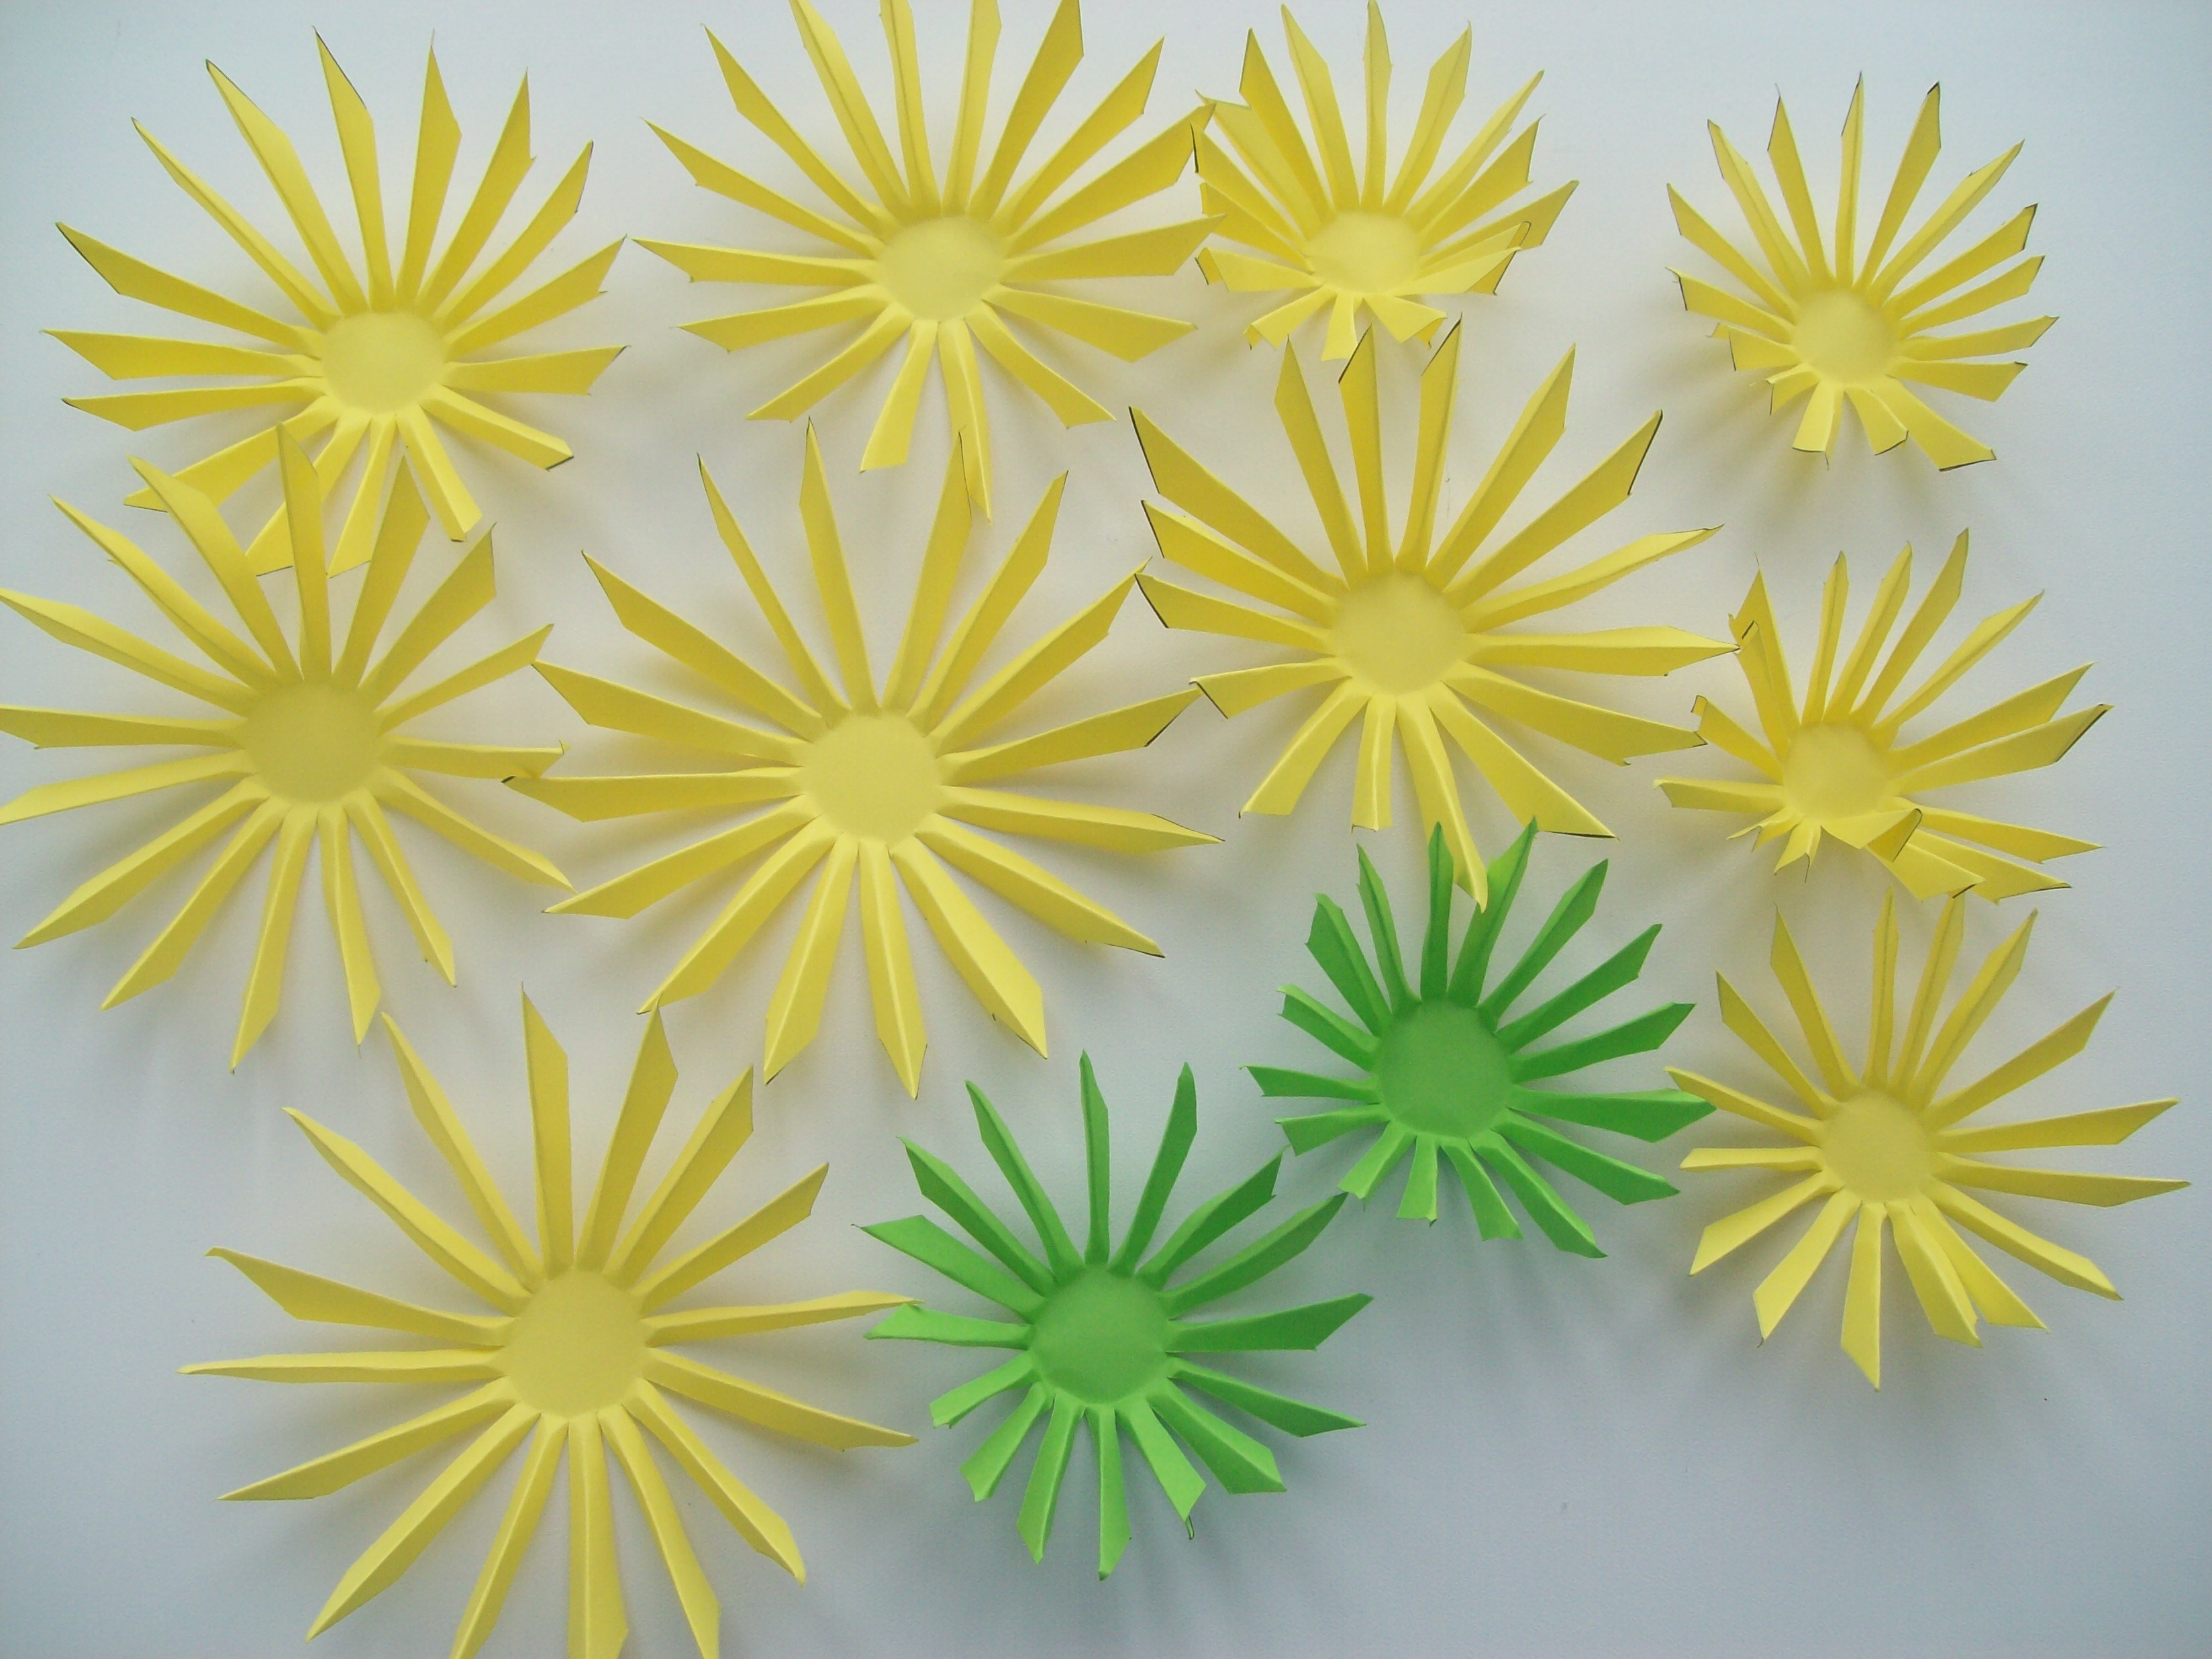
Colorful paper craft ideas for children, adults, inspired by contemporary wall paintings or wall decorations in ethnic styles, create unique room decor accessories for contemporary home interiors.
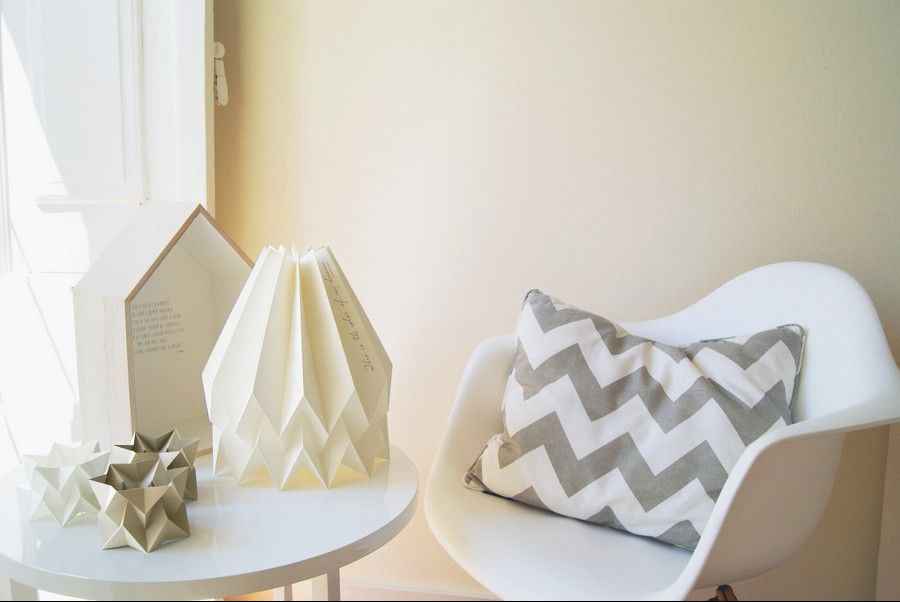
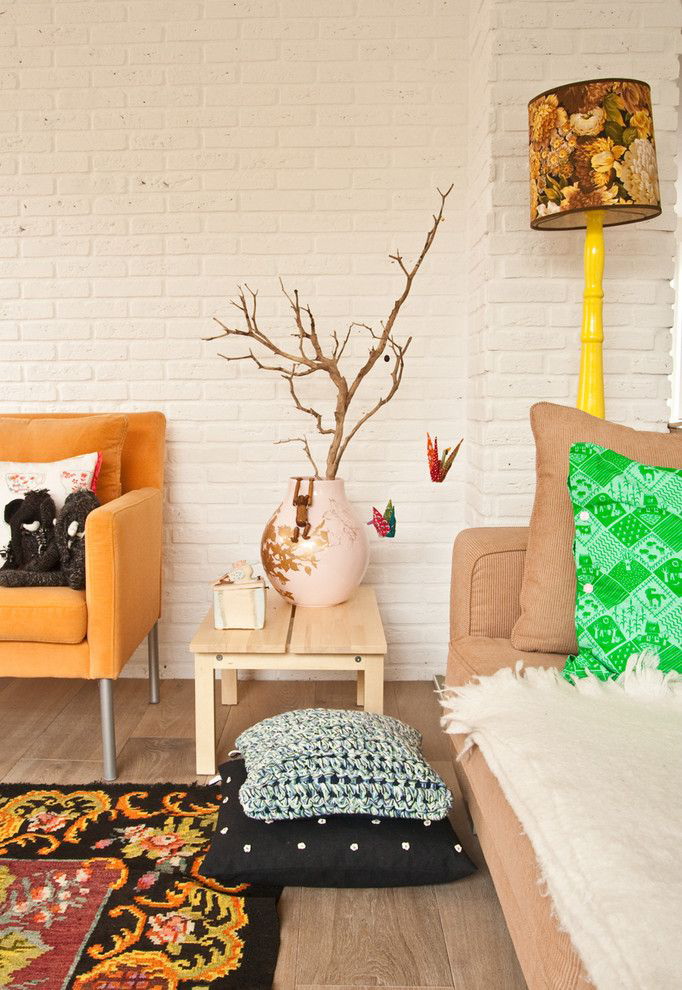
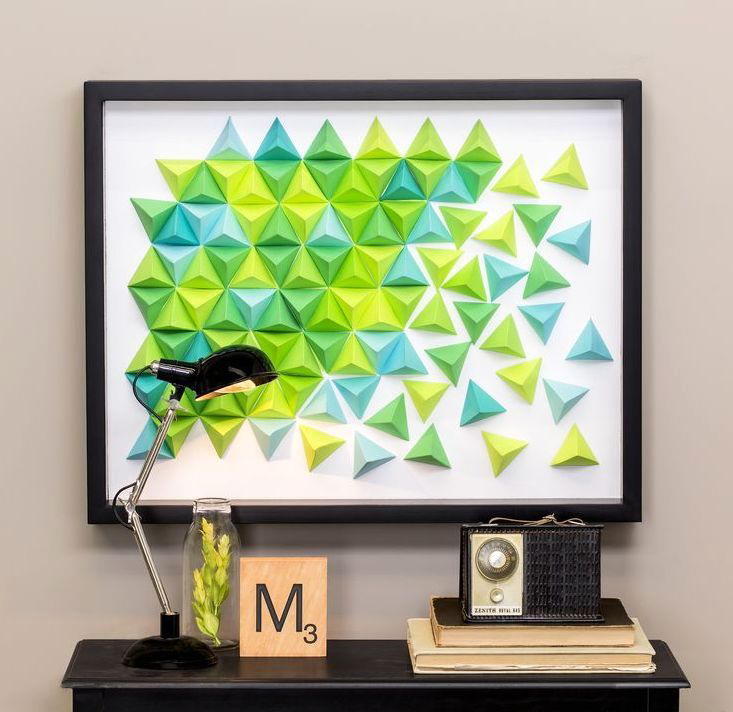
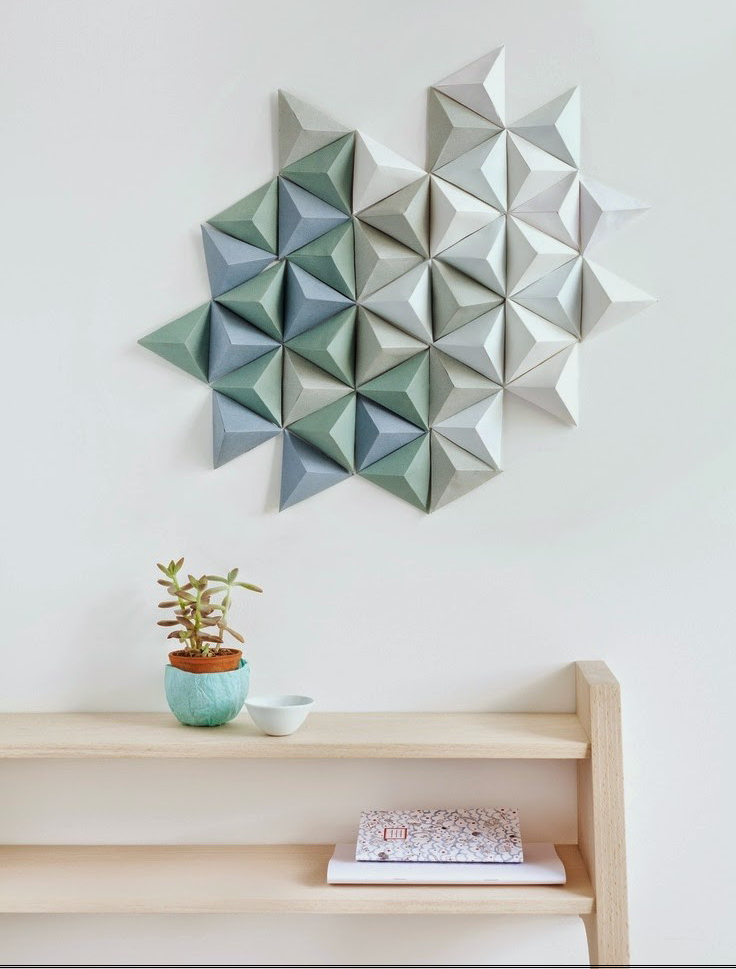
Beautiful decorations for the interior
Home decorations do not have to empty your wallet. Instead of visiting the store, rethink, rearrange items that you probably already have in your home. With the help of a printer and a small artistic talent, you can give your home a new cosmetic look.
Home decorations can liven up every corner.
It will be interesting to you:OVERVIEW: Crafts from the leaves on a sheet of paper. What you need to know to create a beautiful application
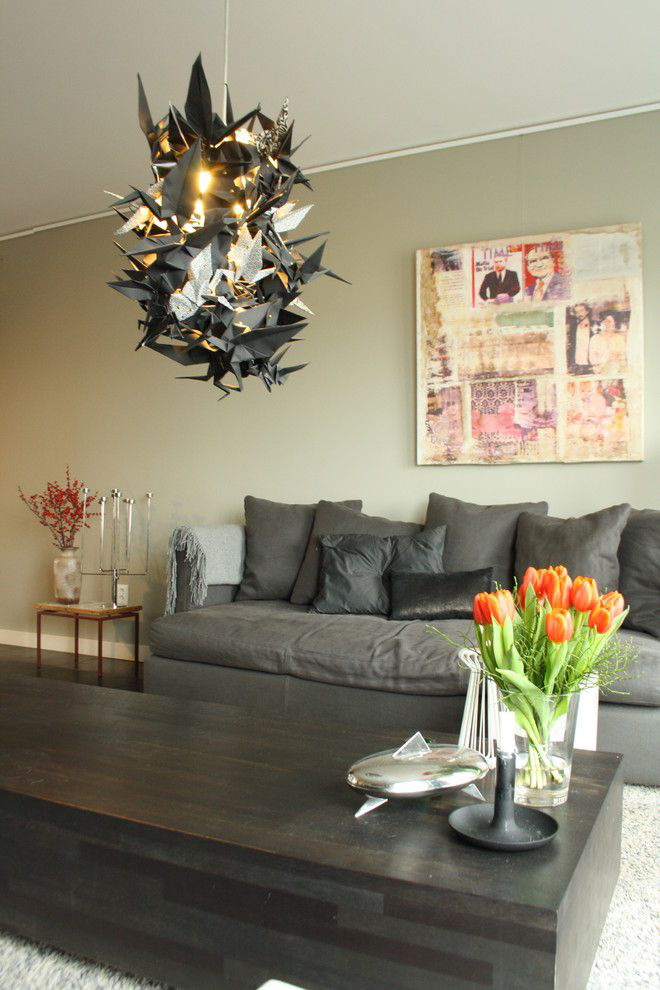
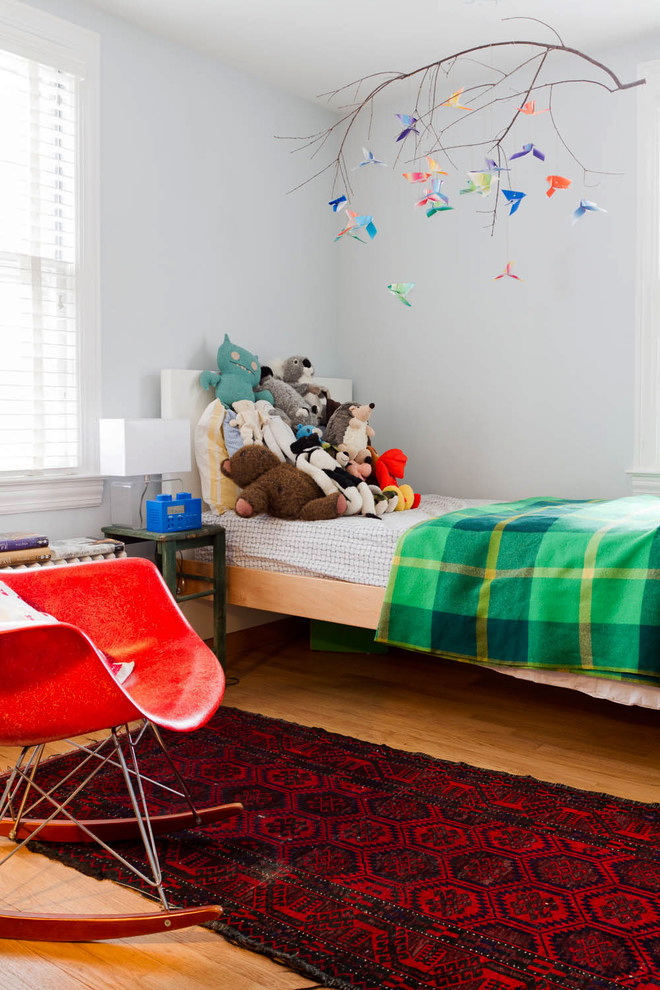
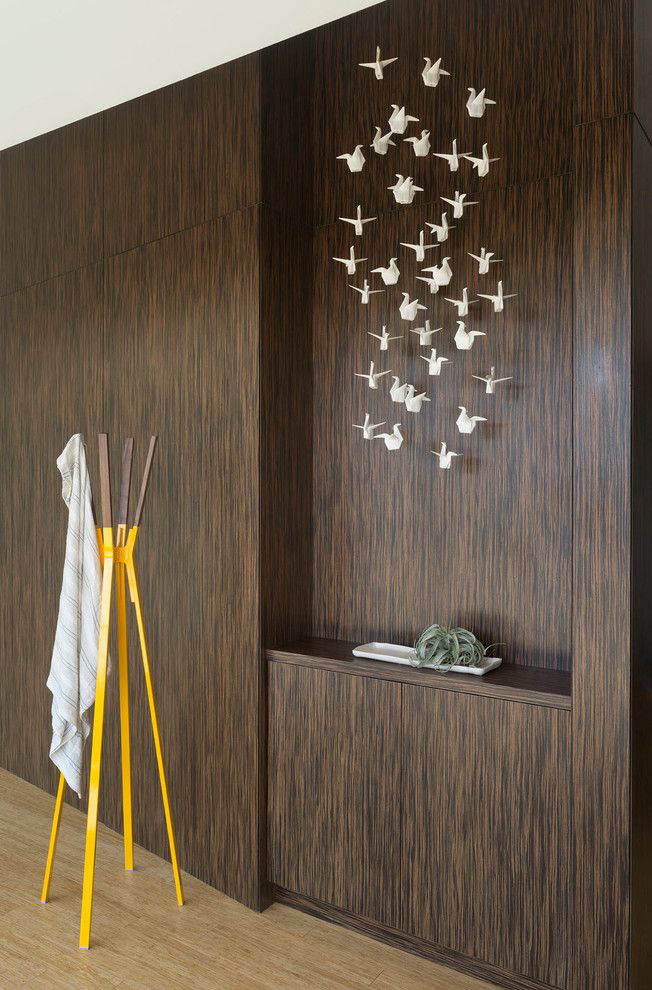
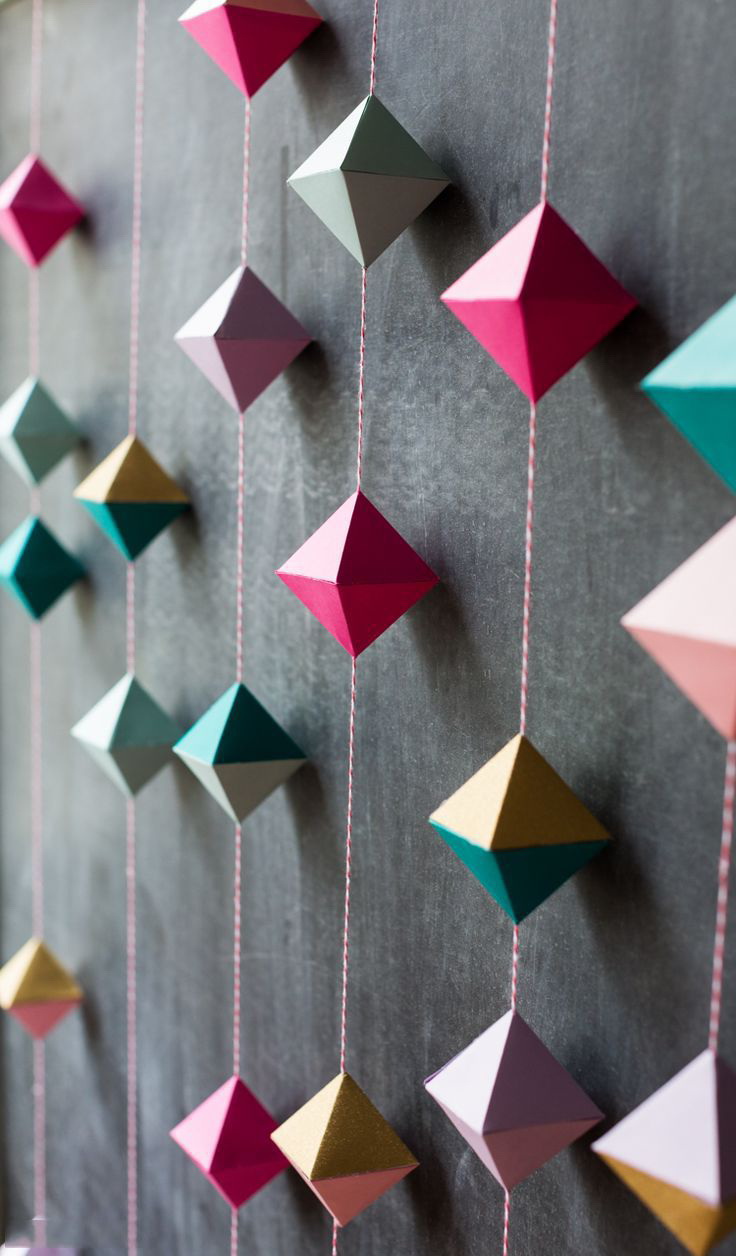
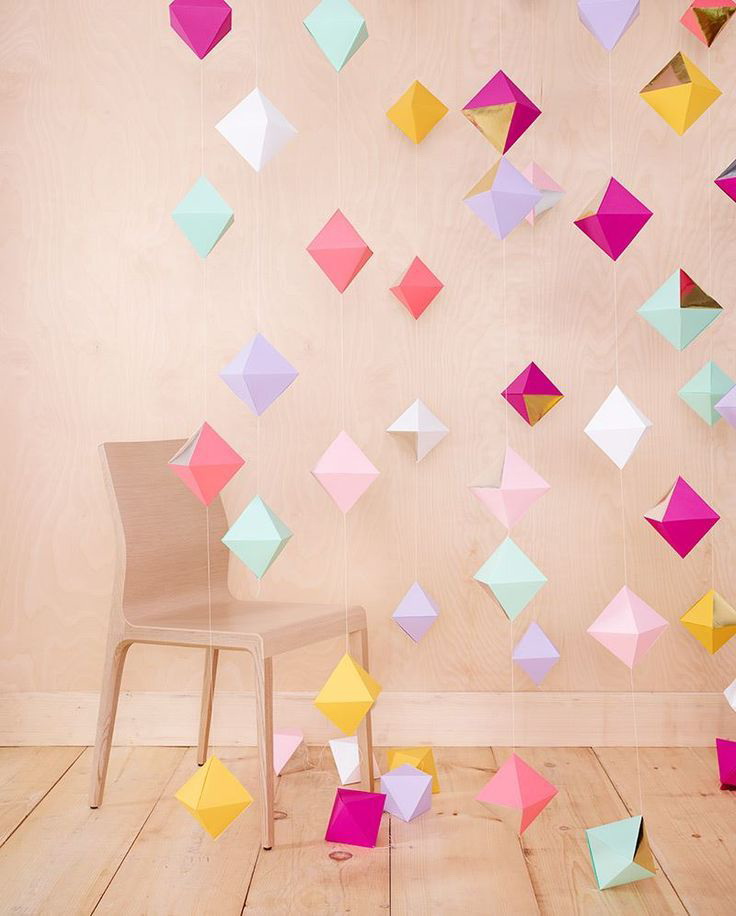
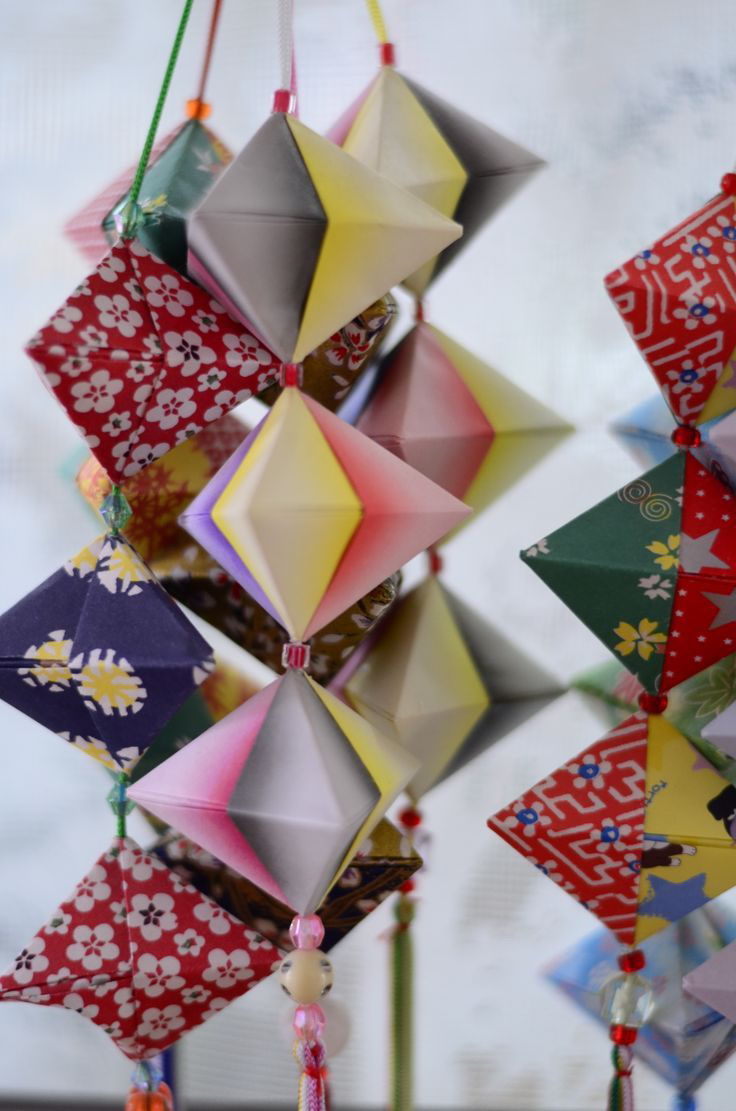
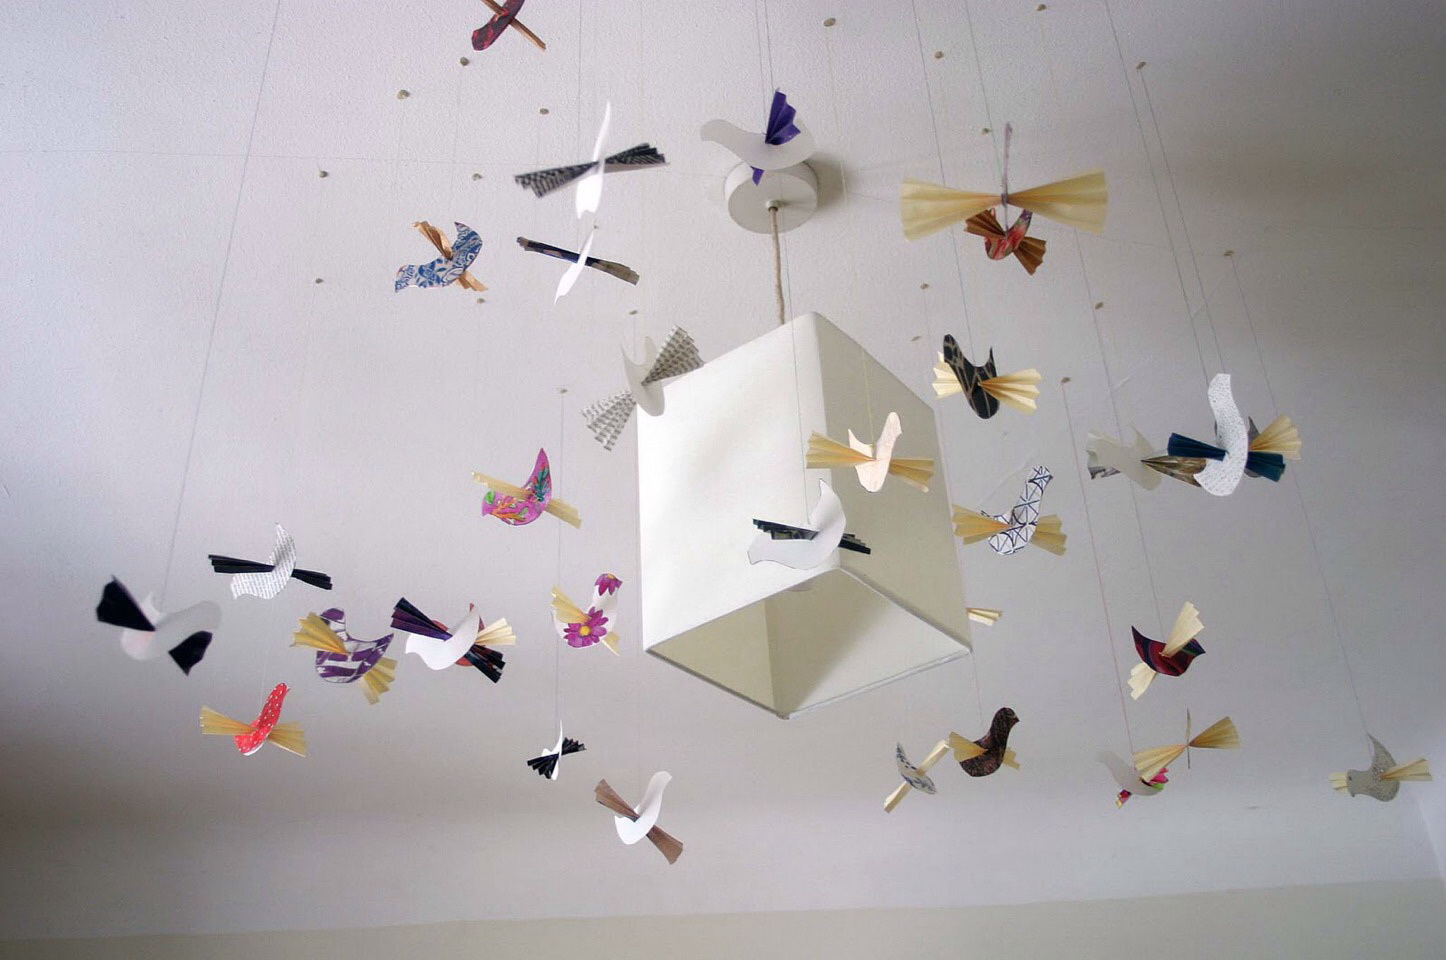
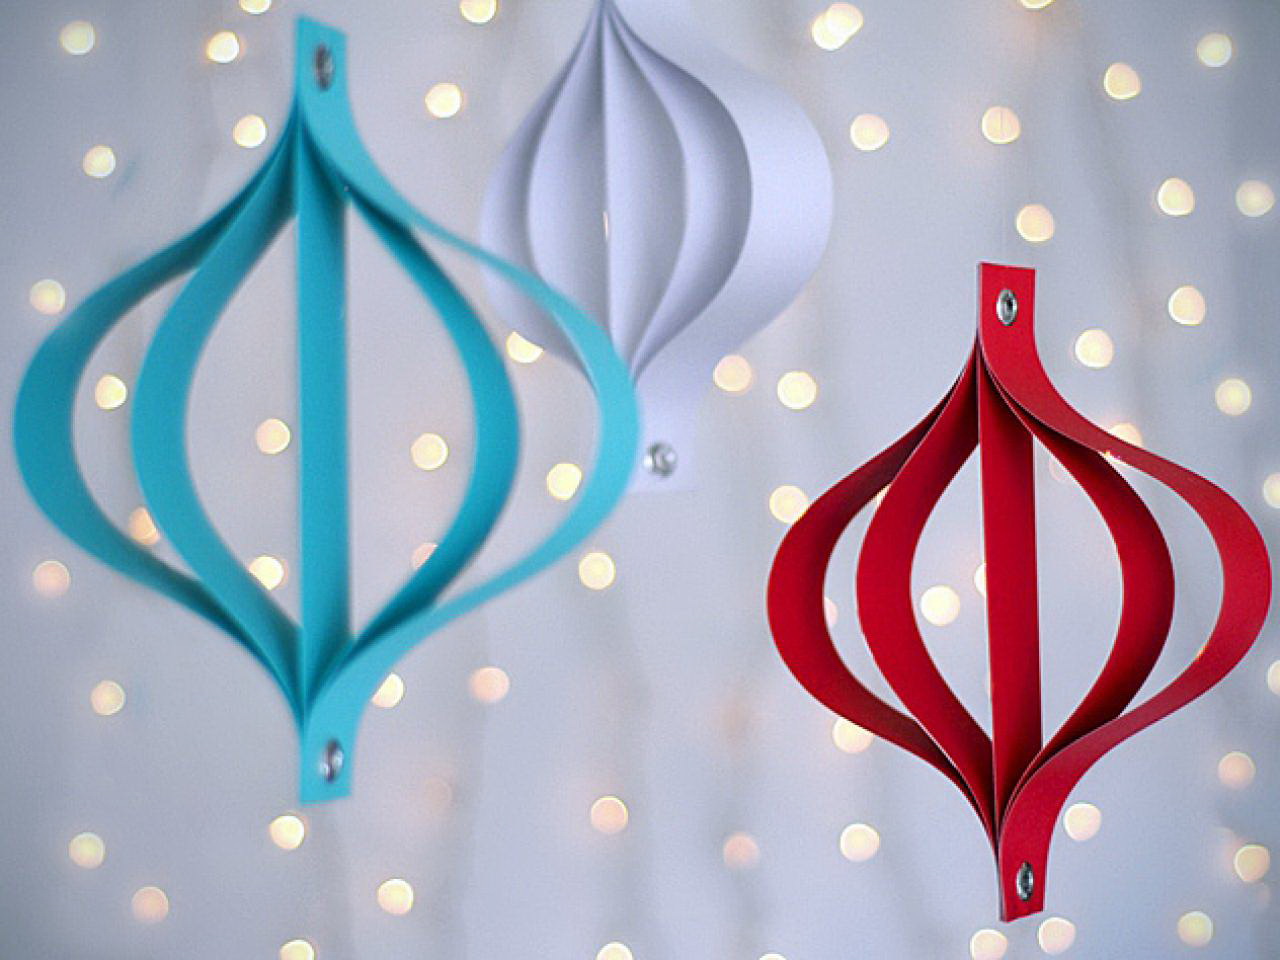
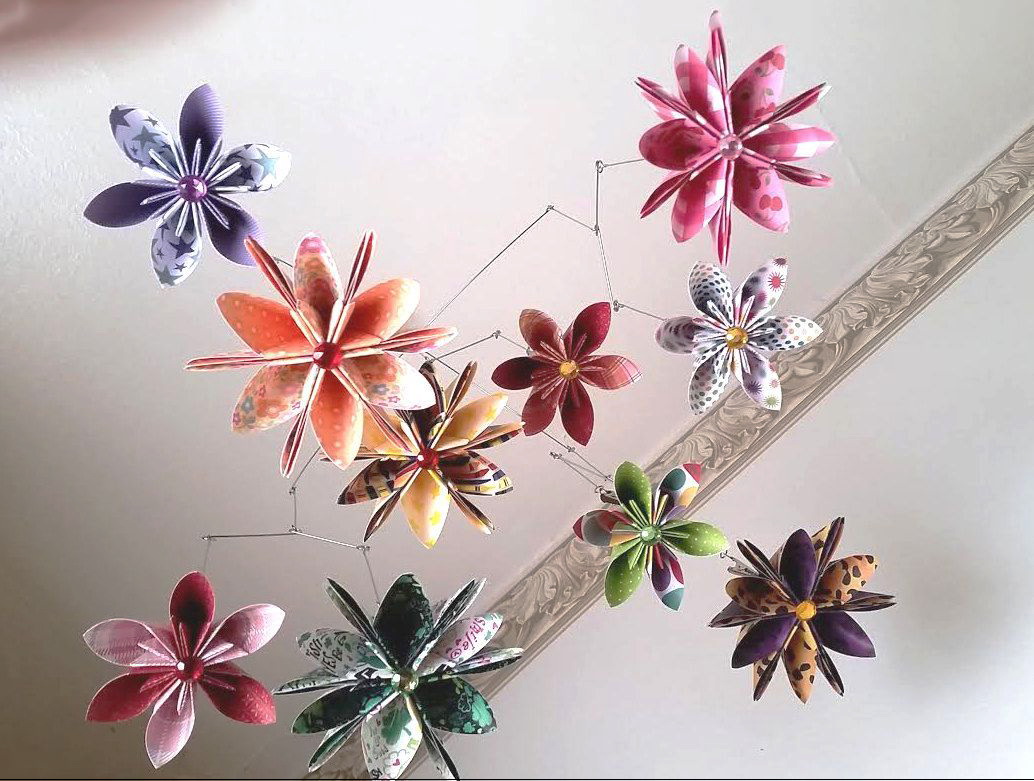
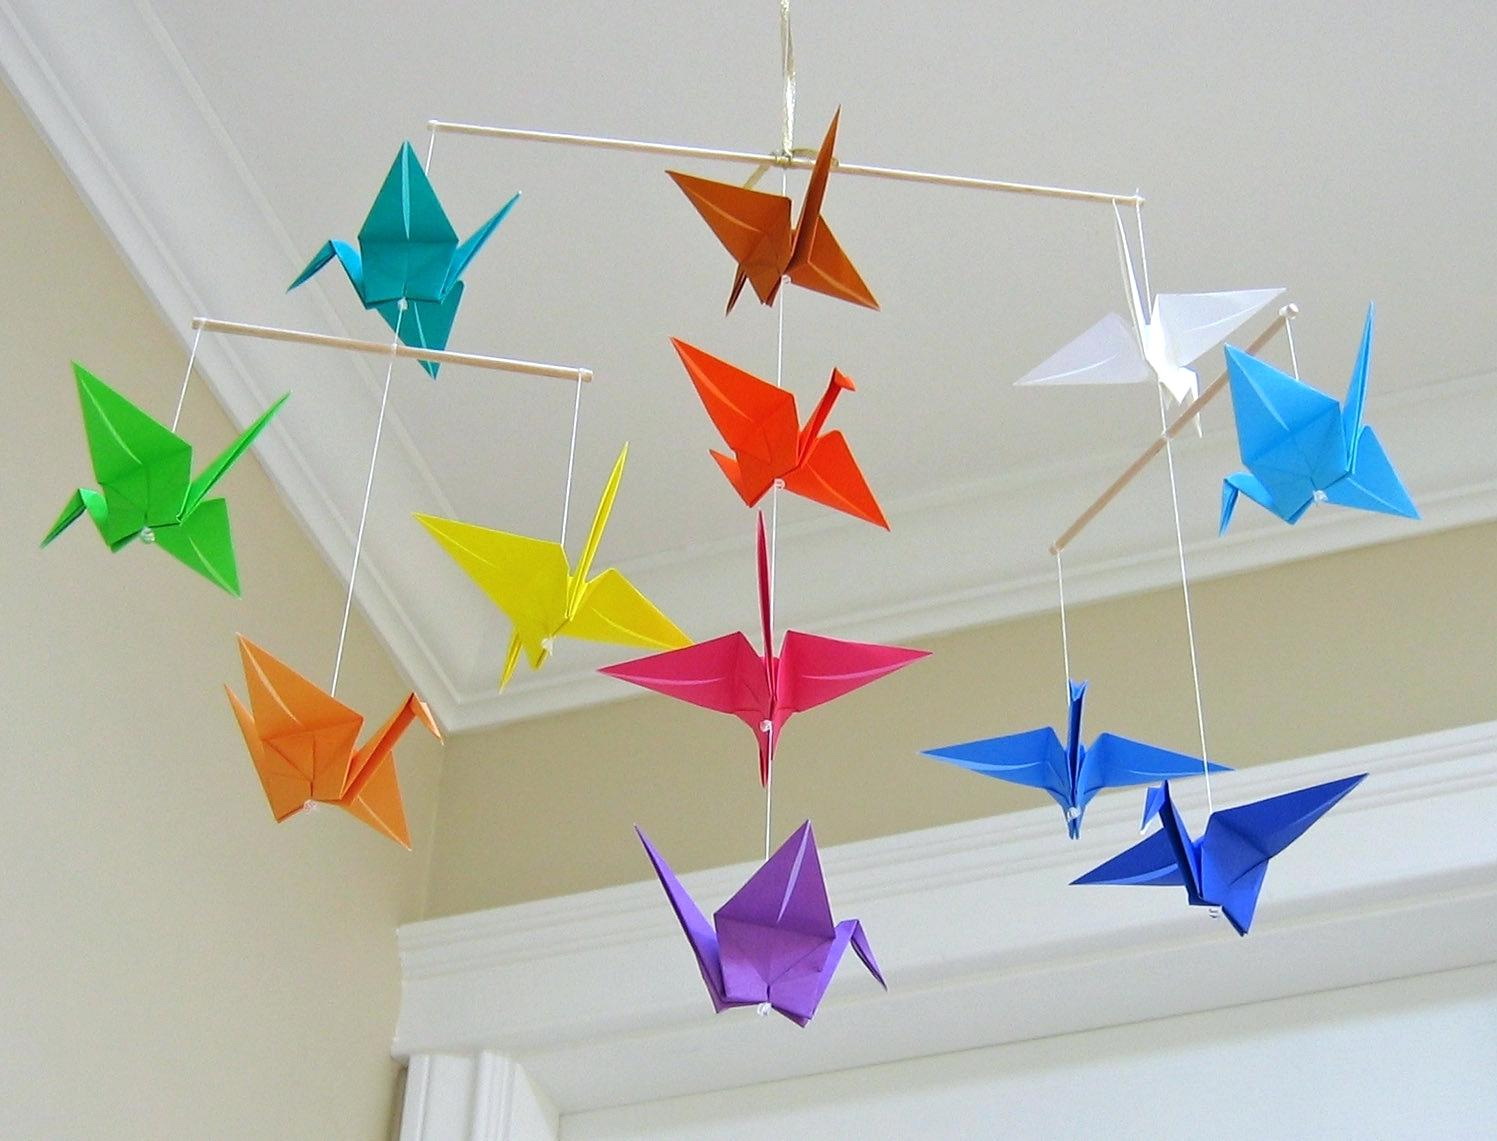
return to menu ↑Personal Hanging Mobile
Decorating empty space on the wall with something else, instead of the usual printed picture in a frame, can be a gap in the budget.
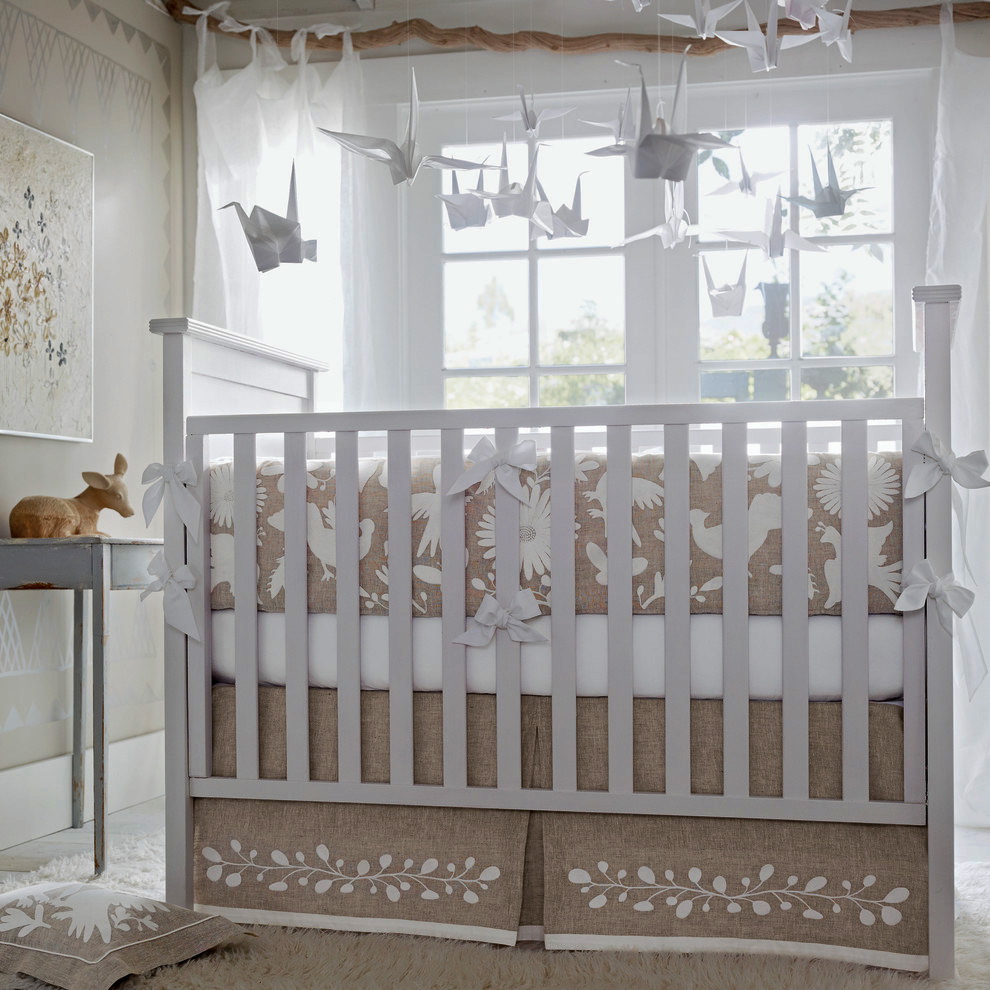
Swan mobile over the crib
But with some imagination, pictures, a collection of your favorite photos You can create a unique mobility wall in half a day.
Print your favorite pictures on a black and white printer, then cut out the images in the form of geometric shapes (for example, in the form of circles or hearts).
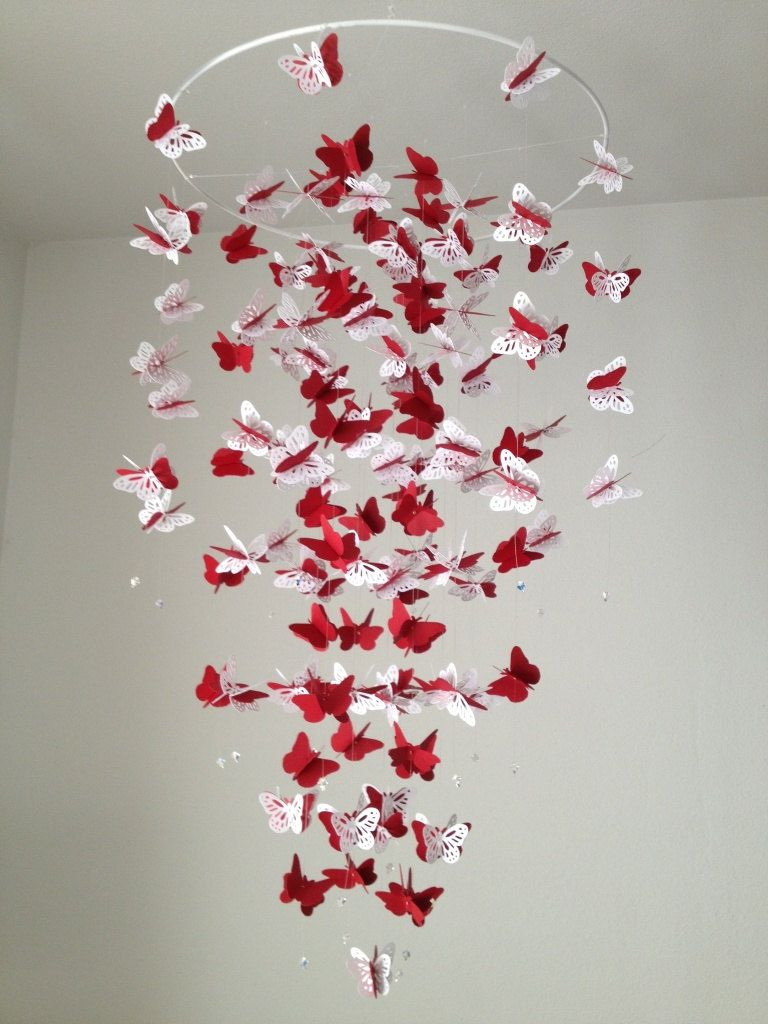
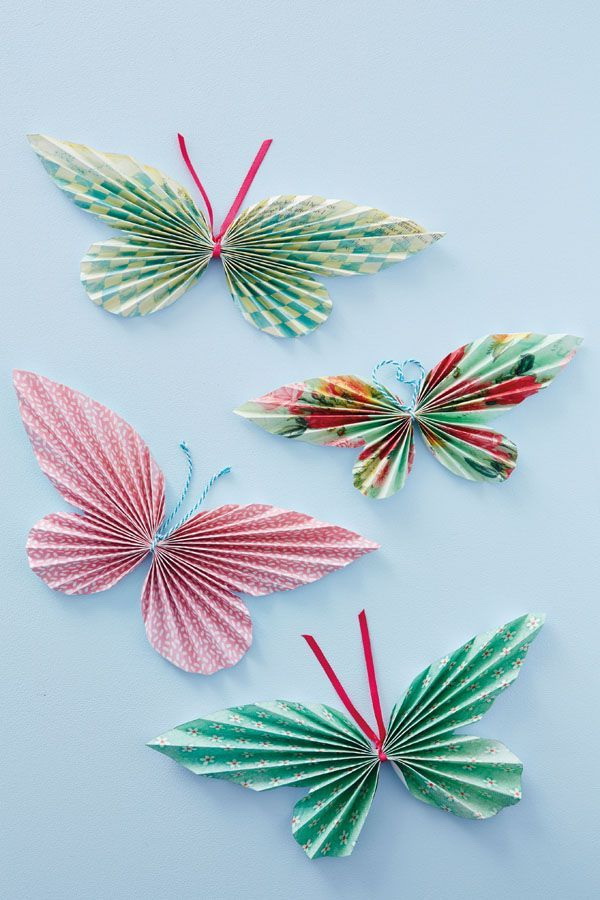
Very beautiful butterflies
Sew or glue the long fishing line to the top of the images, attach them on buttons-studs at different lengths, hang them and voila! Instant trick.
Add a bit of contrast by alternating photos with colored cardboard cut into shapes that match your home interior, or print pictures in original colors on photo paper.
We set the room a certain key
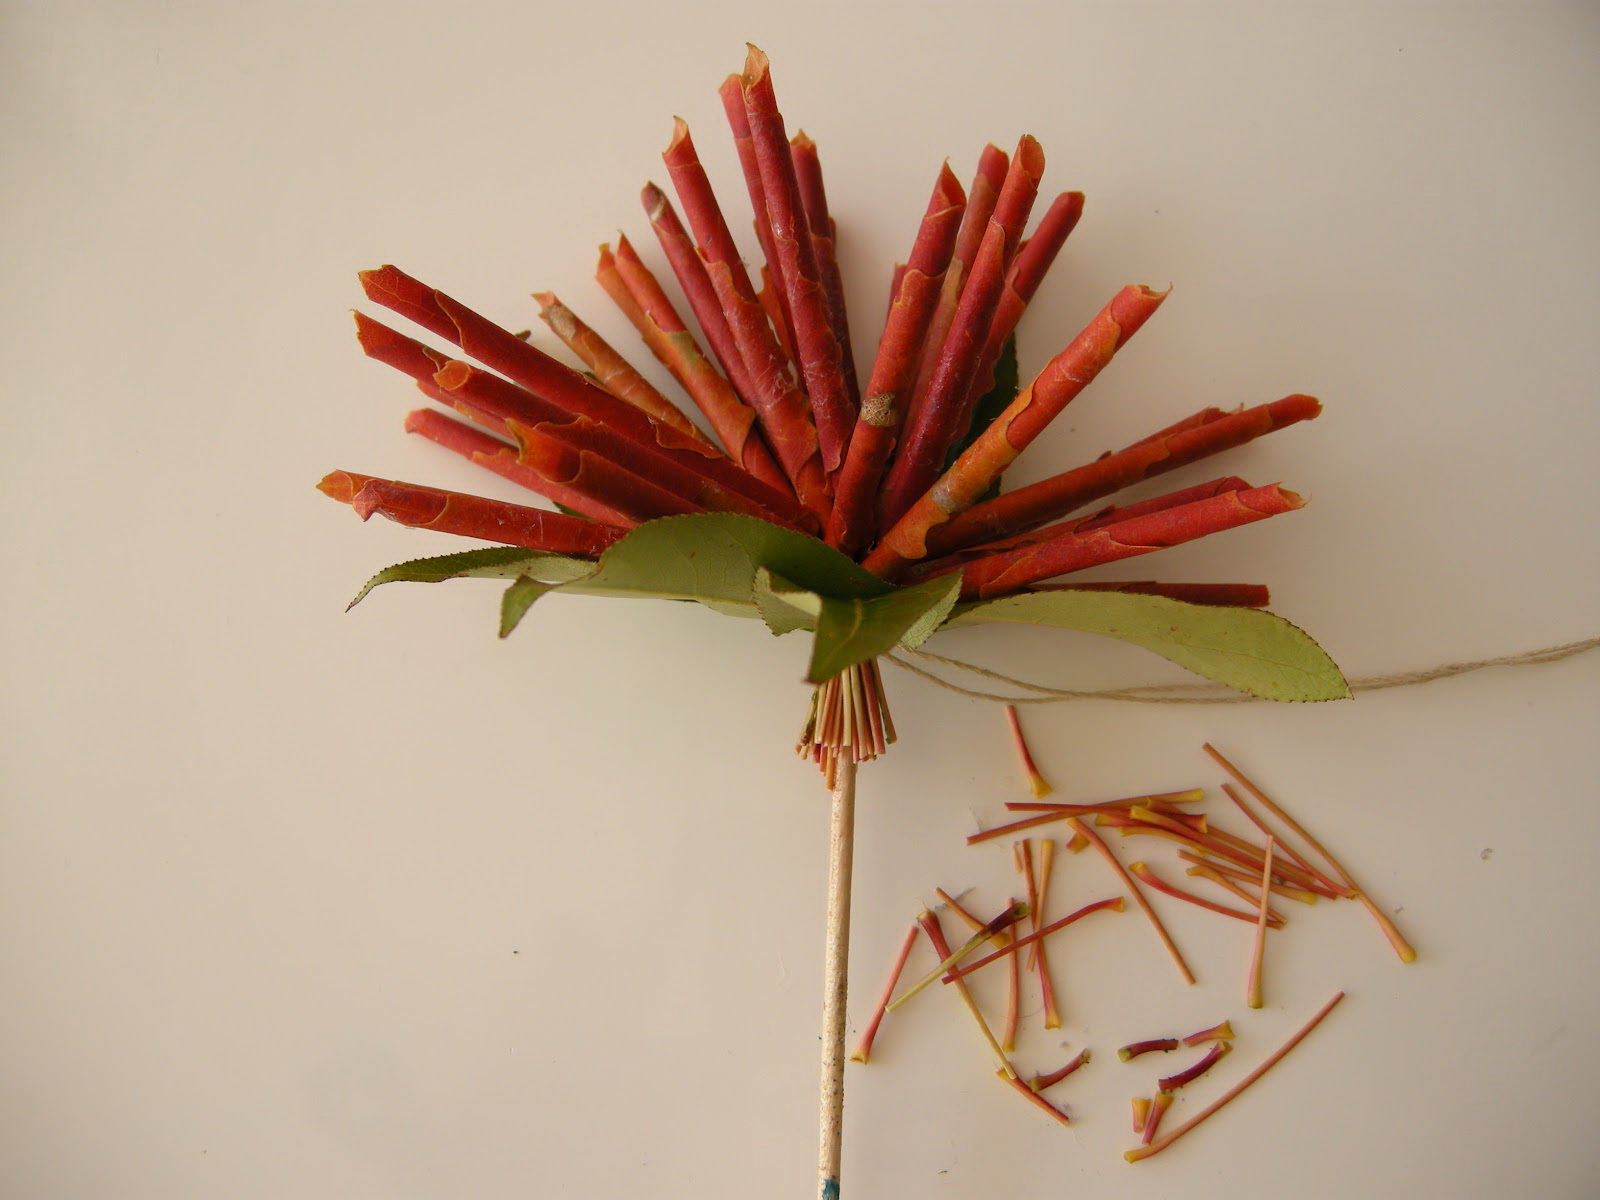
Candle Wrap
Let the living room express your individuality with a handmade candle wrapper. Create your own drawings, patterns and fonts that you like, change them every season.
Add contrast
Such small accessories, which transform the entire home decor, are often used to decorate the little things in the interior, so the idea of candlesticks is a great way to give the room some tone and accent with minimal waste.
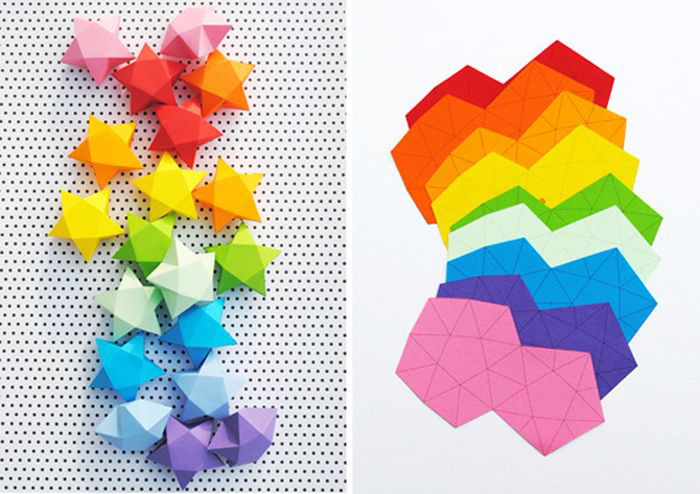
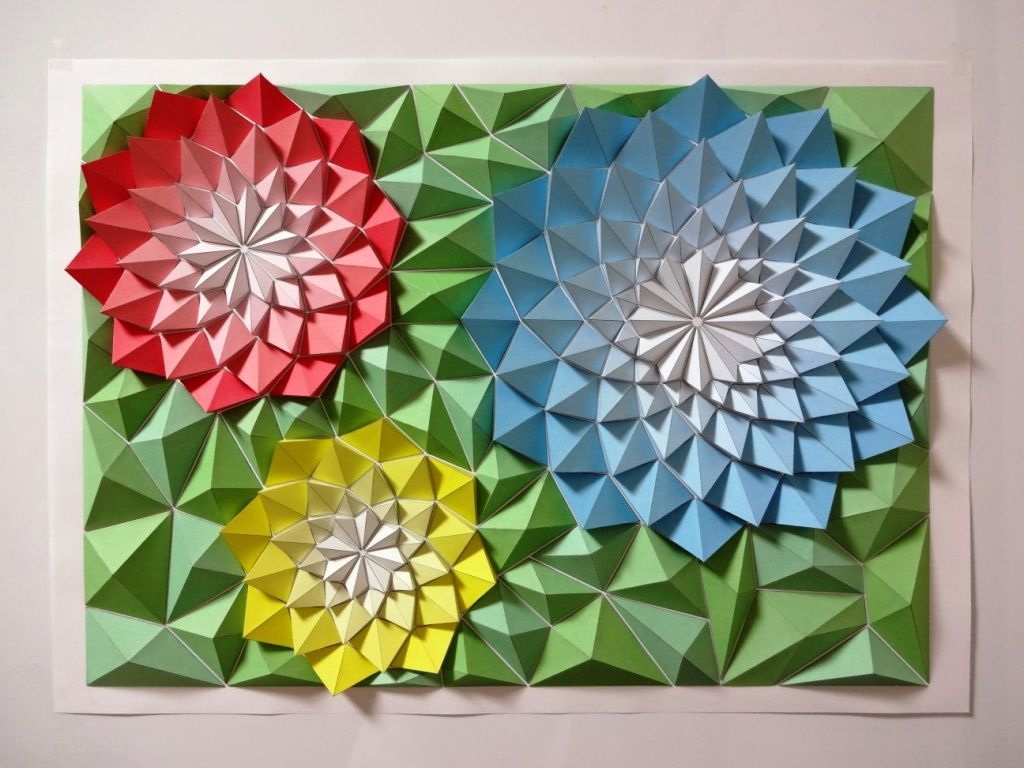
Variations of crafts a lot - turn on the fantasy
You can repeatedly use wrappers. Add ribbons, different suspenders or sparkles for extra chic.
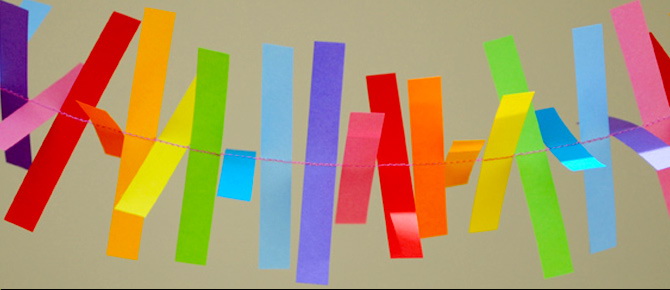
return to menu ↑Garland from Instagram photo
If you have your own Instagram channel, which is filled with amazing pictures, so why not include it in your home decor?
Garland do it yourself
Create your own banners by printing a few of your favorite Instagram photos on thick sheets, photo paper, in Instagram booths of your city.
Punch holes in the two upper corners, push a long string, flap or rope into them. Decorate photos with a decorative ribbon, a few of your favorite phrases or an individual decoration from each family member. Hang out and admire your creativity!
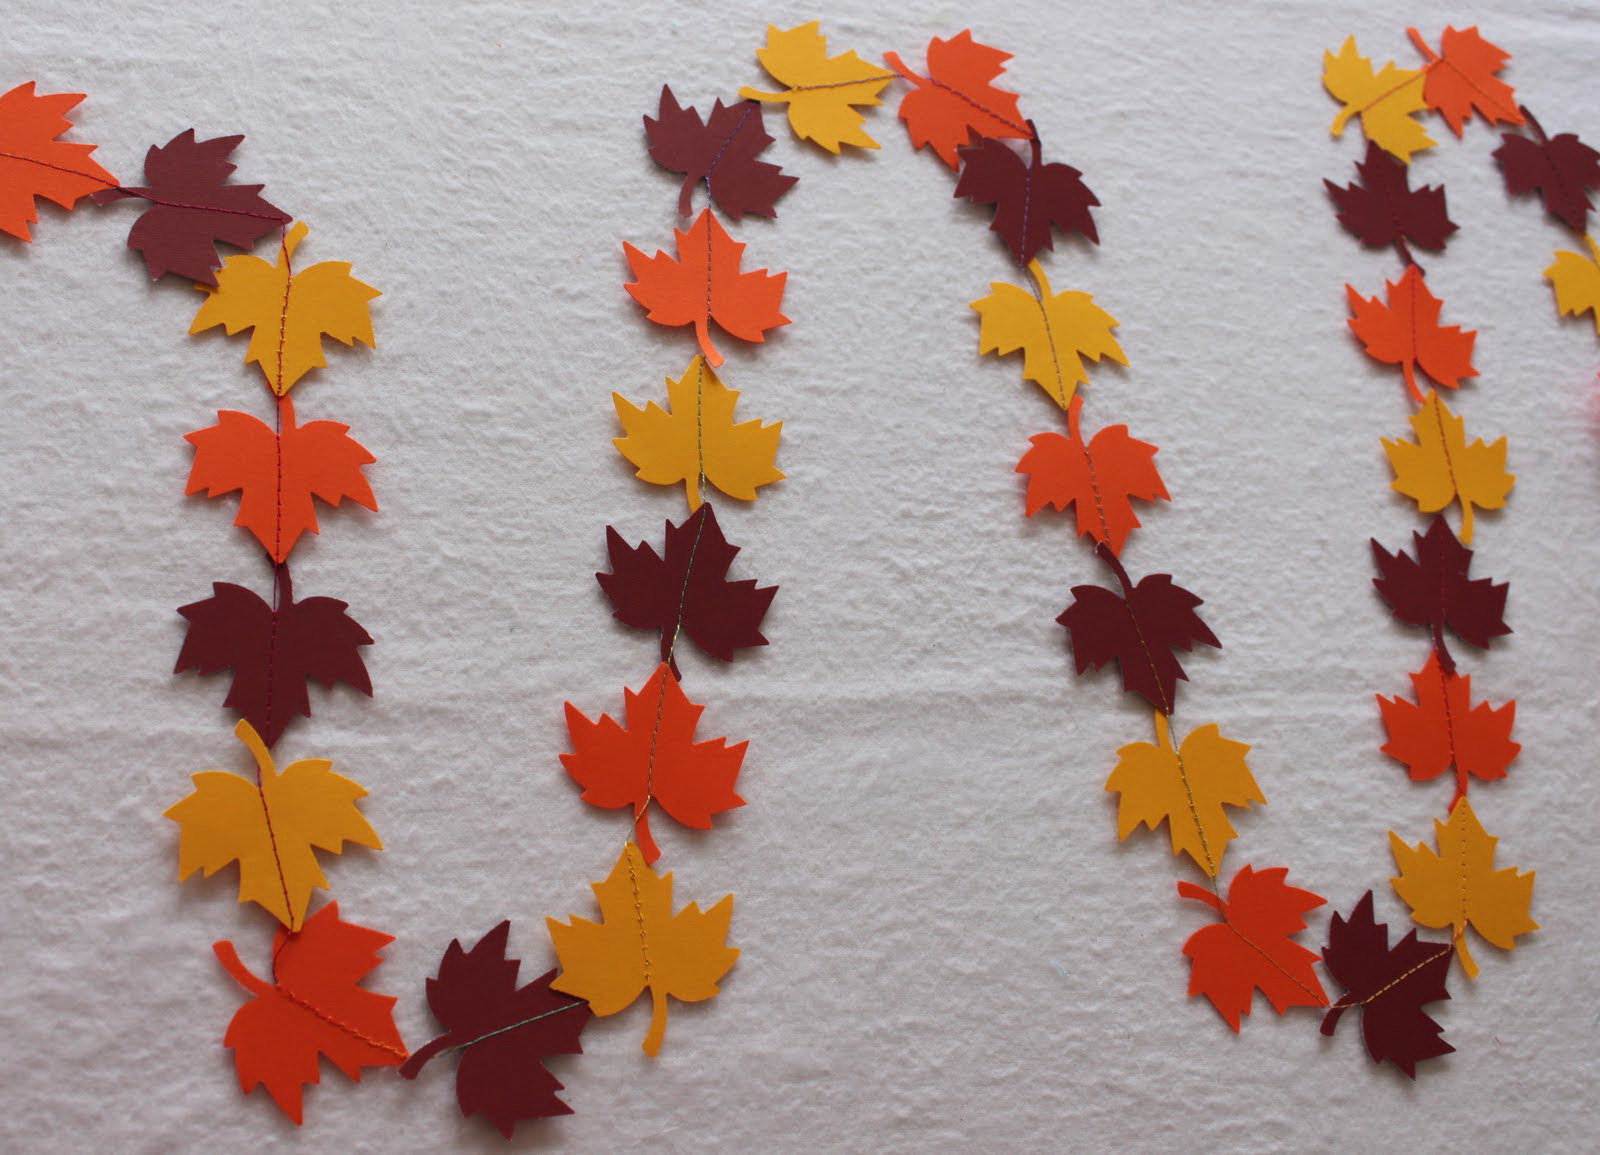
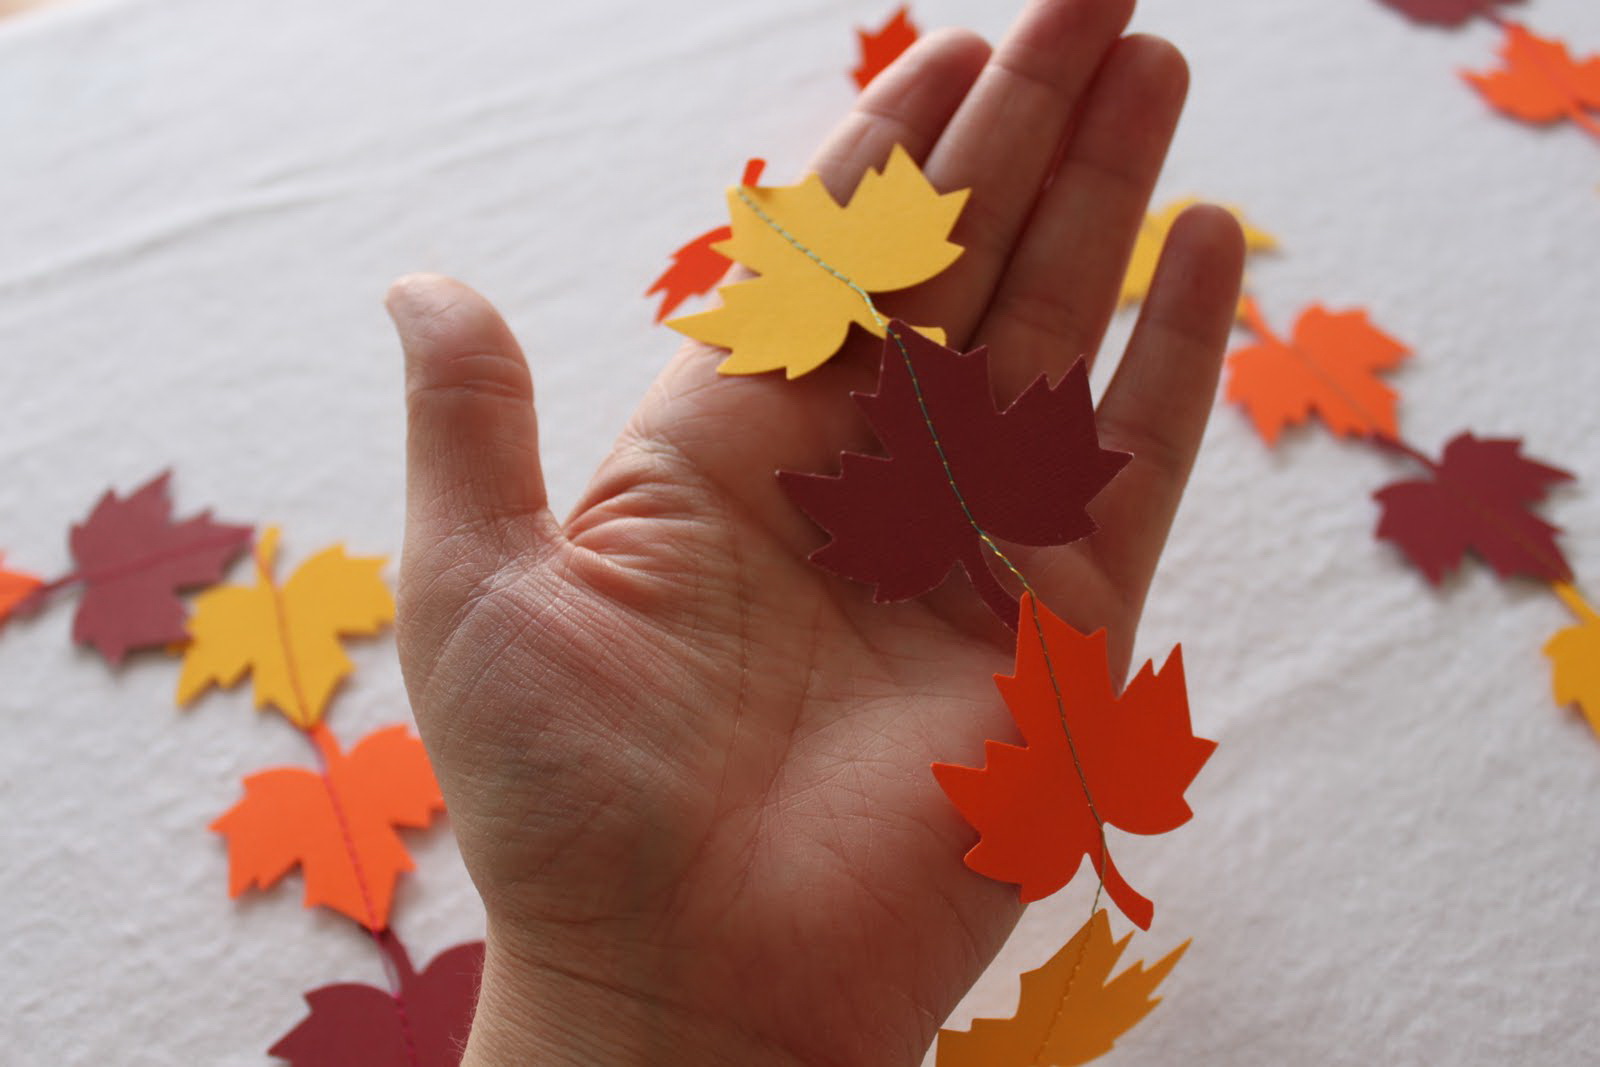
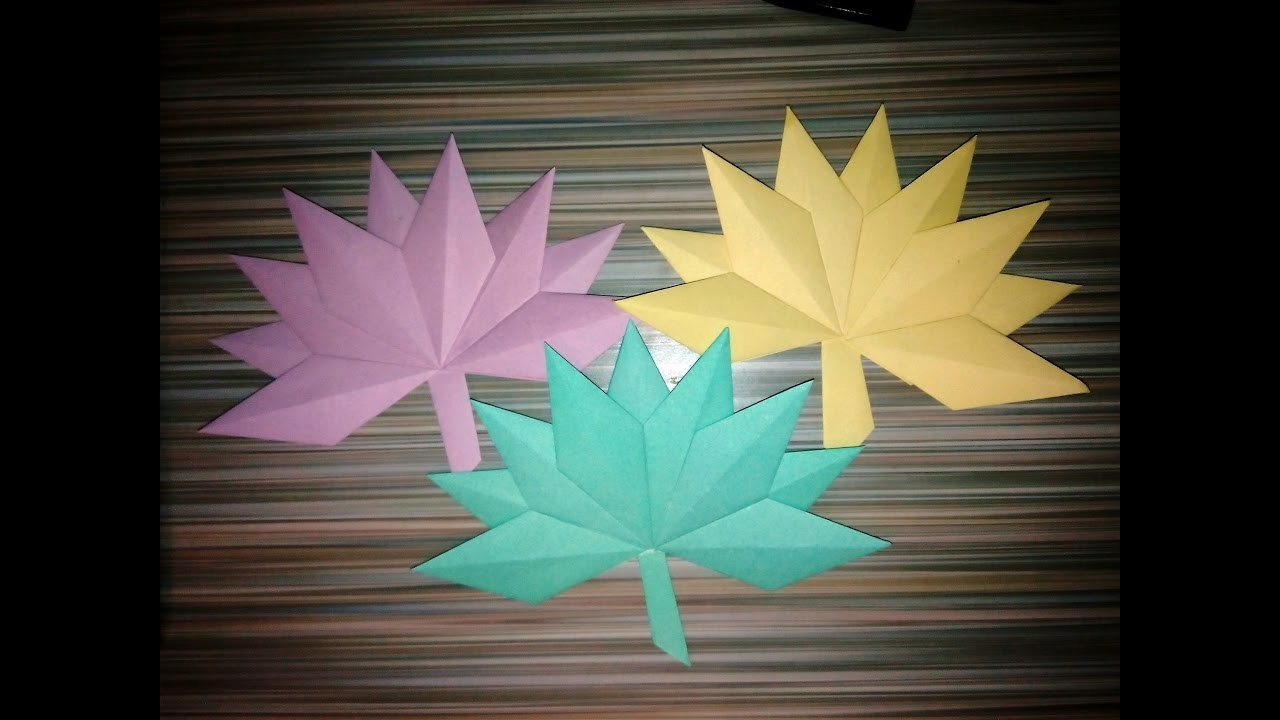
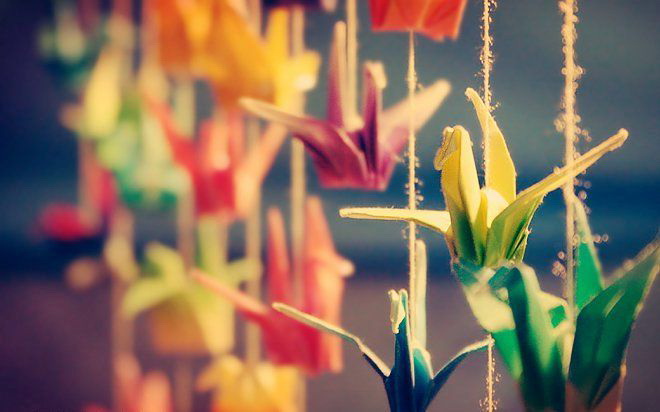
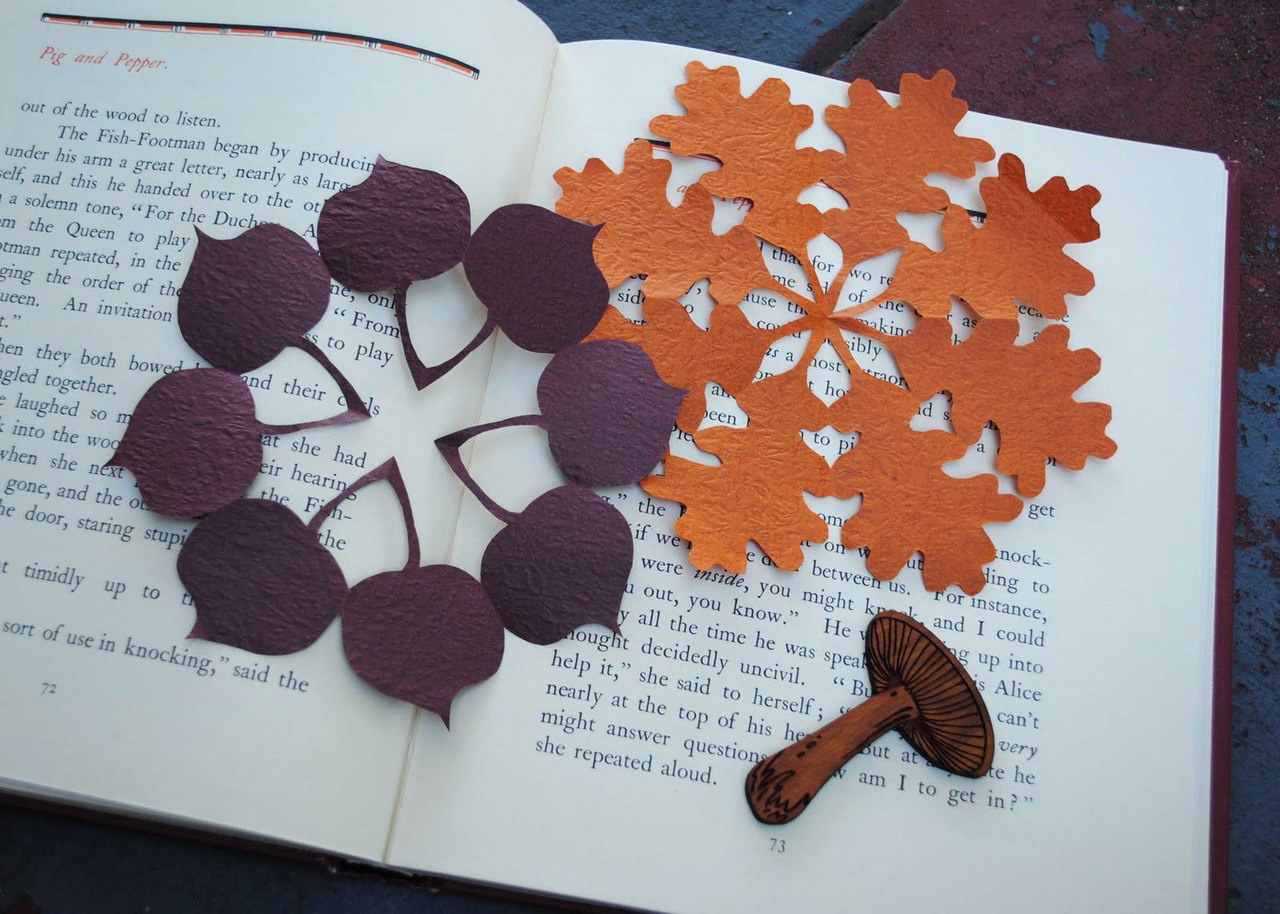
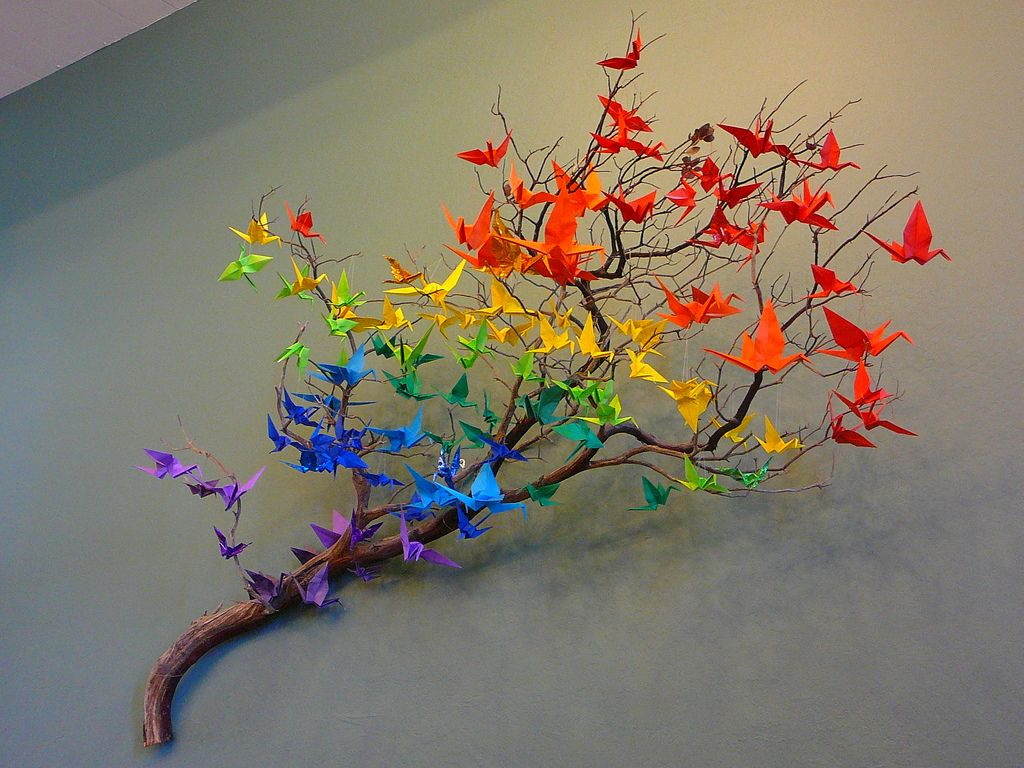
Autumn leaves
It will be interesting to you:REVIEW: How to make flowers from corrugated paper with your own hands? 125 Photos and 5 simple workshops
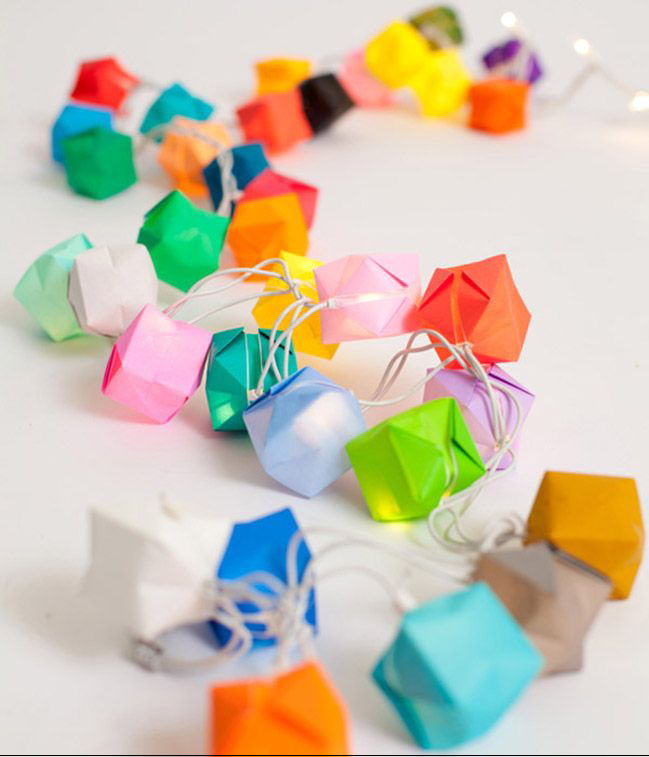
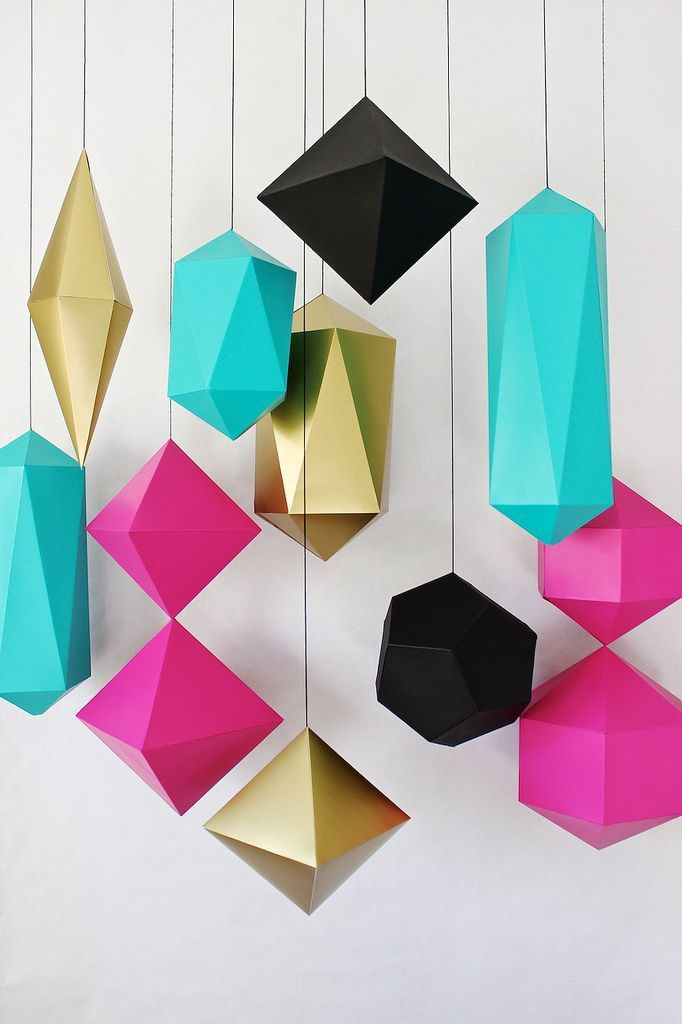
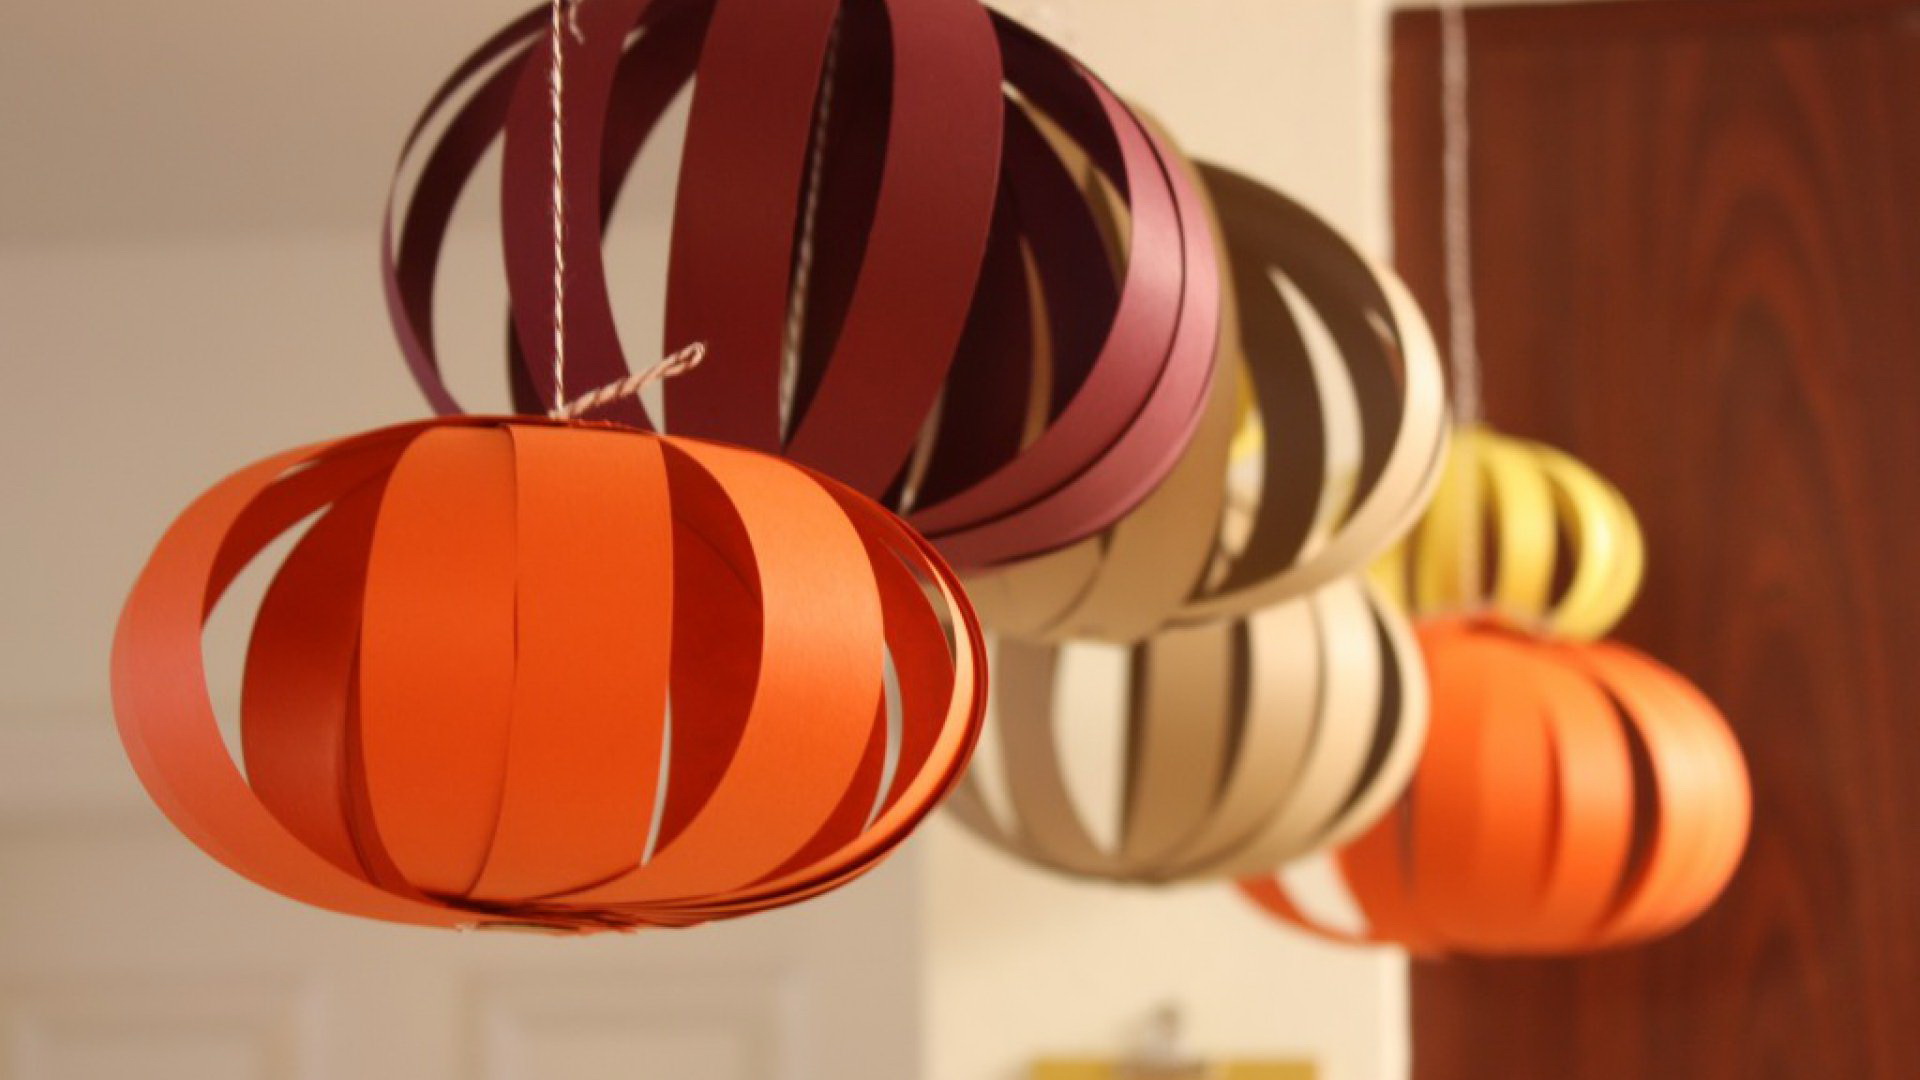
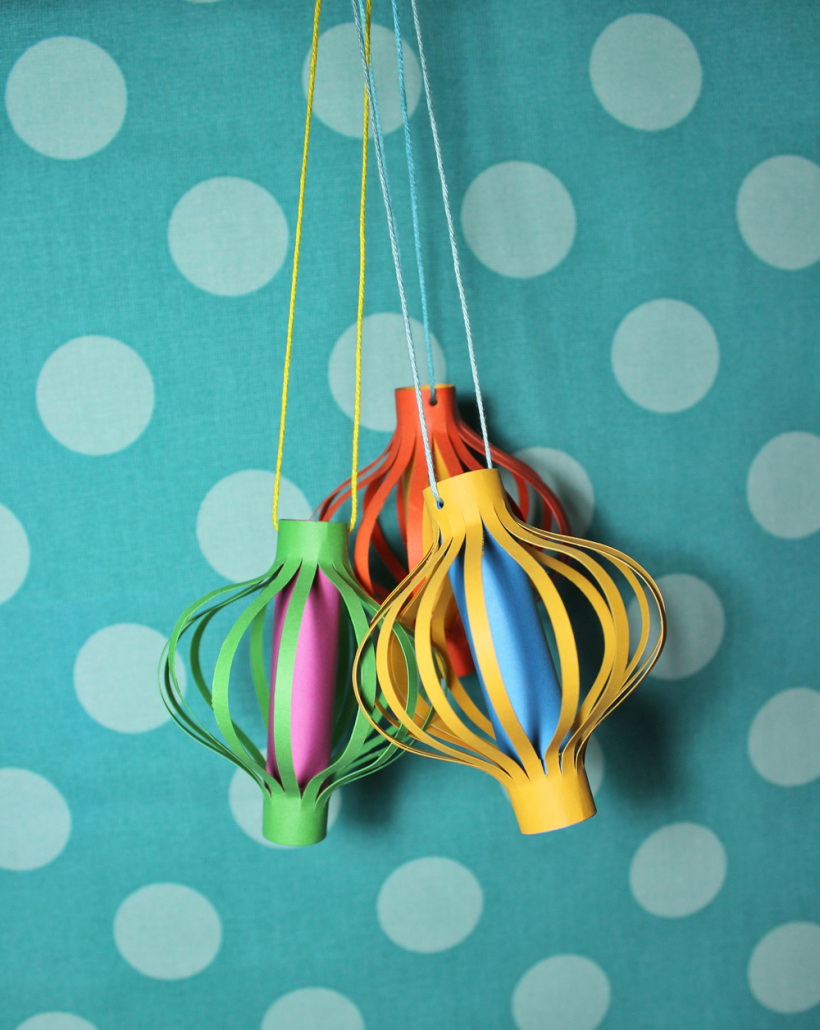
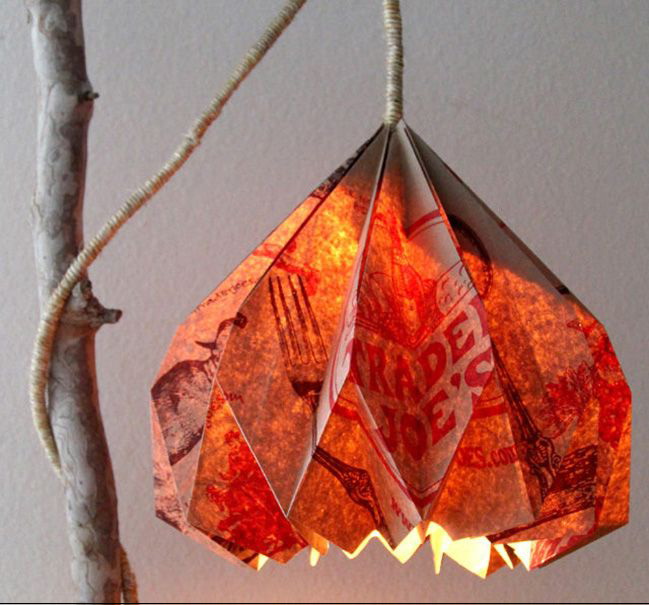
return to menu ↑Chinese lanterns
Lights are not only for outdoor activities. Bring a familiar summer glow to your home by making Chinese lanterns with paper and a few stationery.

Home decor should boost your mood
Forget expensive appliqué paper from a craft store, search the Internet for the colors and patterns you need.
Print a few selected pictures, draw a picture of your own, or use your favorite page from the magazine.
The scheme of the Chinese lantern
Follow our guidelines below to fold the paper into lanterns of various shapes and sizes, set over electric candles or under "String Light" (the popular "chain of light" decor).
Hang in clusters or just scatter around the room to create a soft, cozy warmth.
We create a cosiness, beauty
Individual liners for the dresser
Not all updates to home decor should be visible - you can raise your spirits by putting your favorite pictures or inscriptions in places hidden from view.
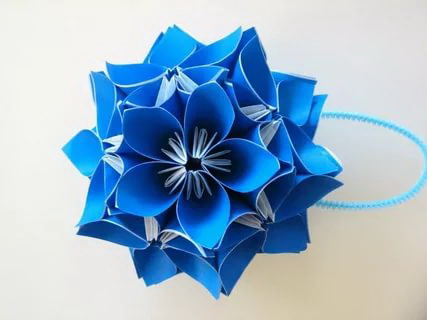
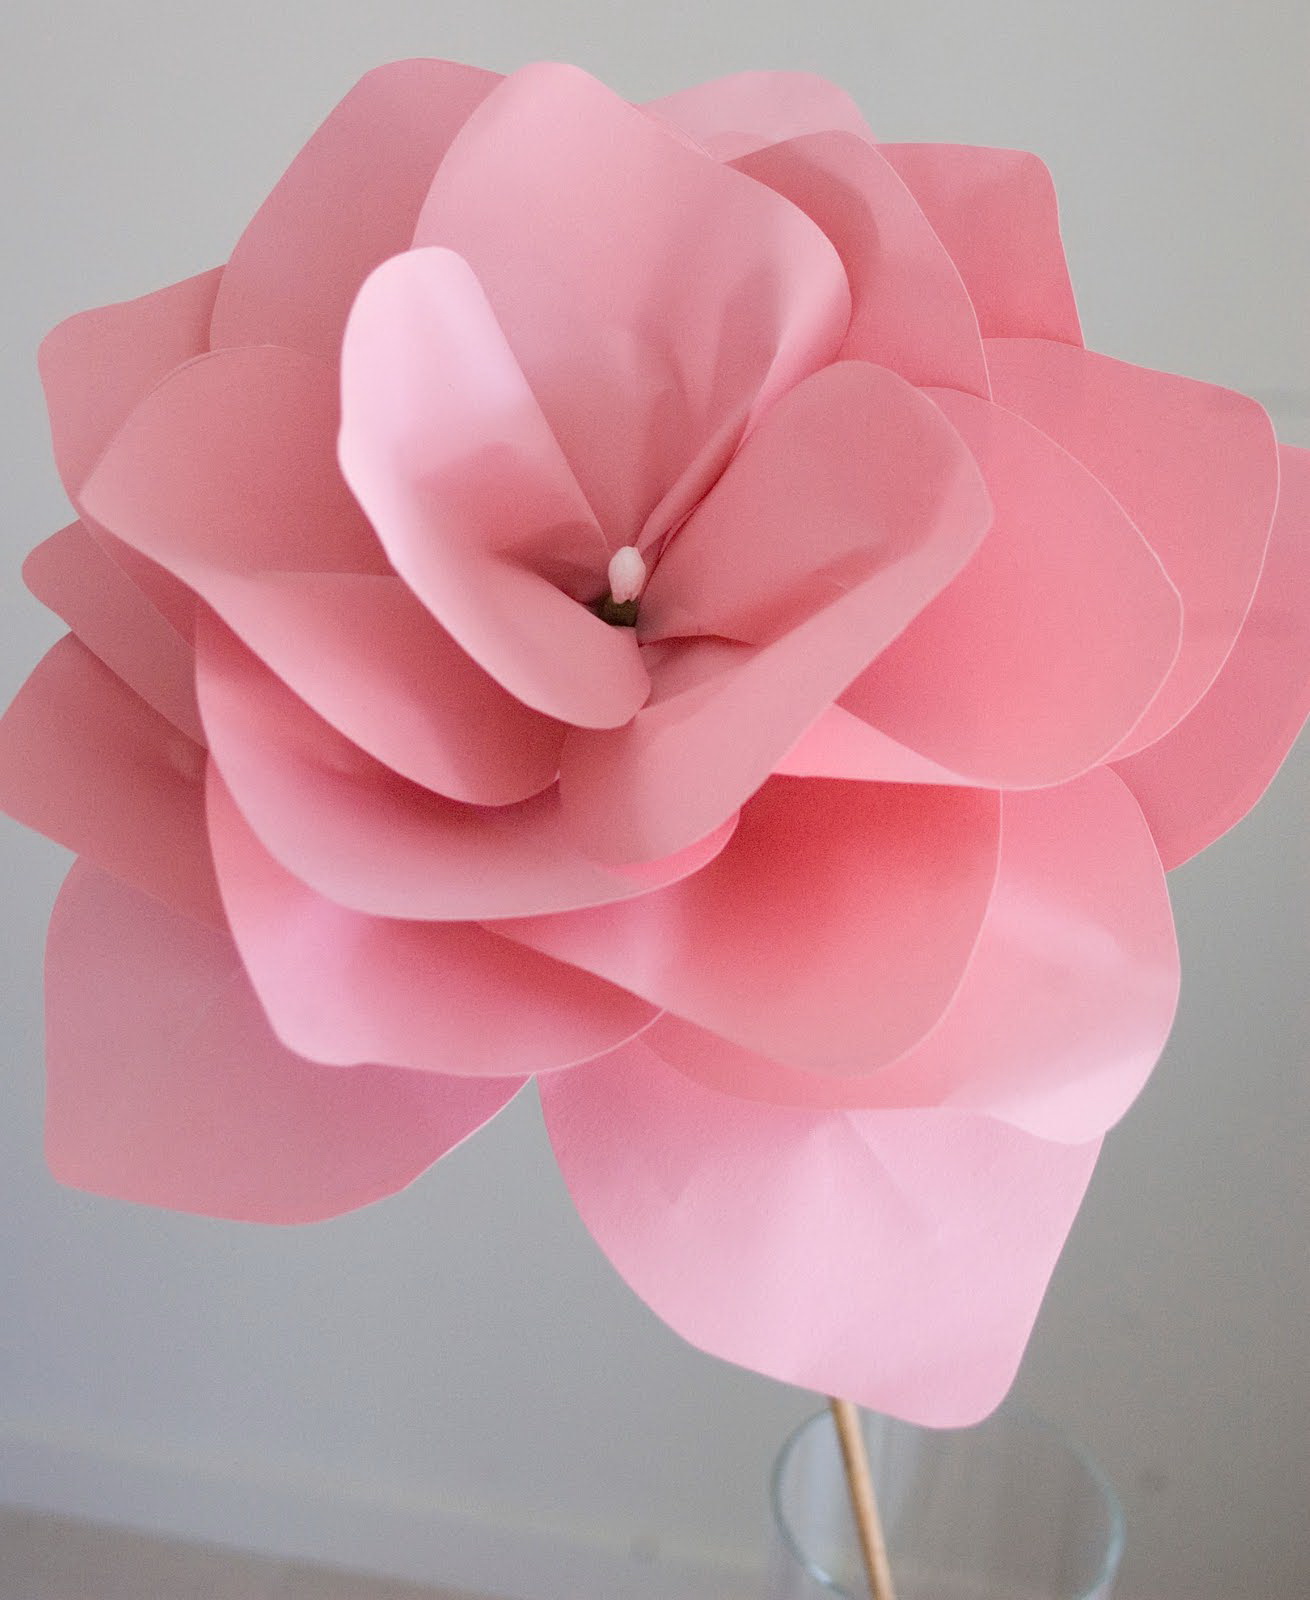
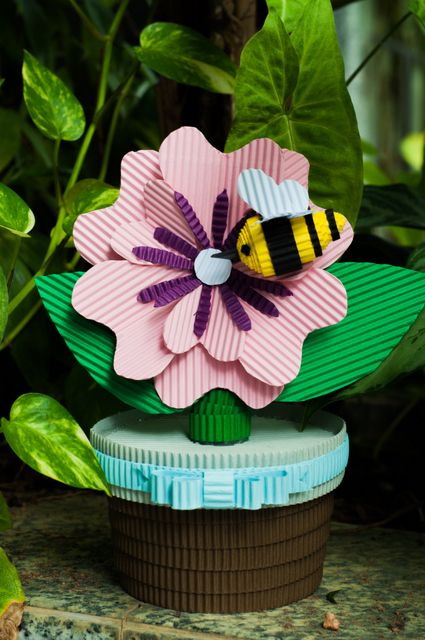
Beautiful flower do it yourself
When I had a desire to add a part just for myself, I transformed a chest of drawers with personal items.
You can do it in your own way, but I chose my favorite digital photos by making funny inscriptions on them.
Bright flowers - good emotions
Prepare enough sketches to fill the bottom of each drawer and securely attach sheets of paper to the bottom with double-sided tape.
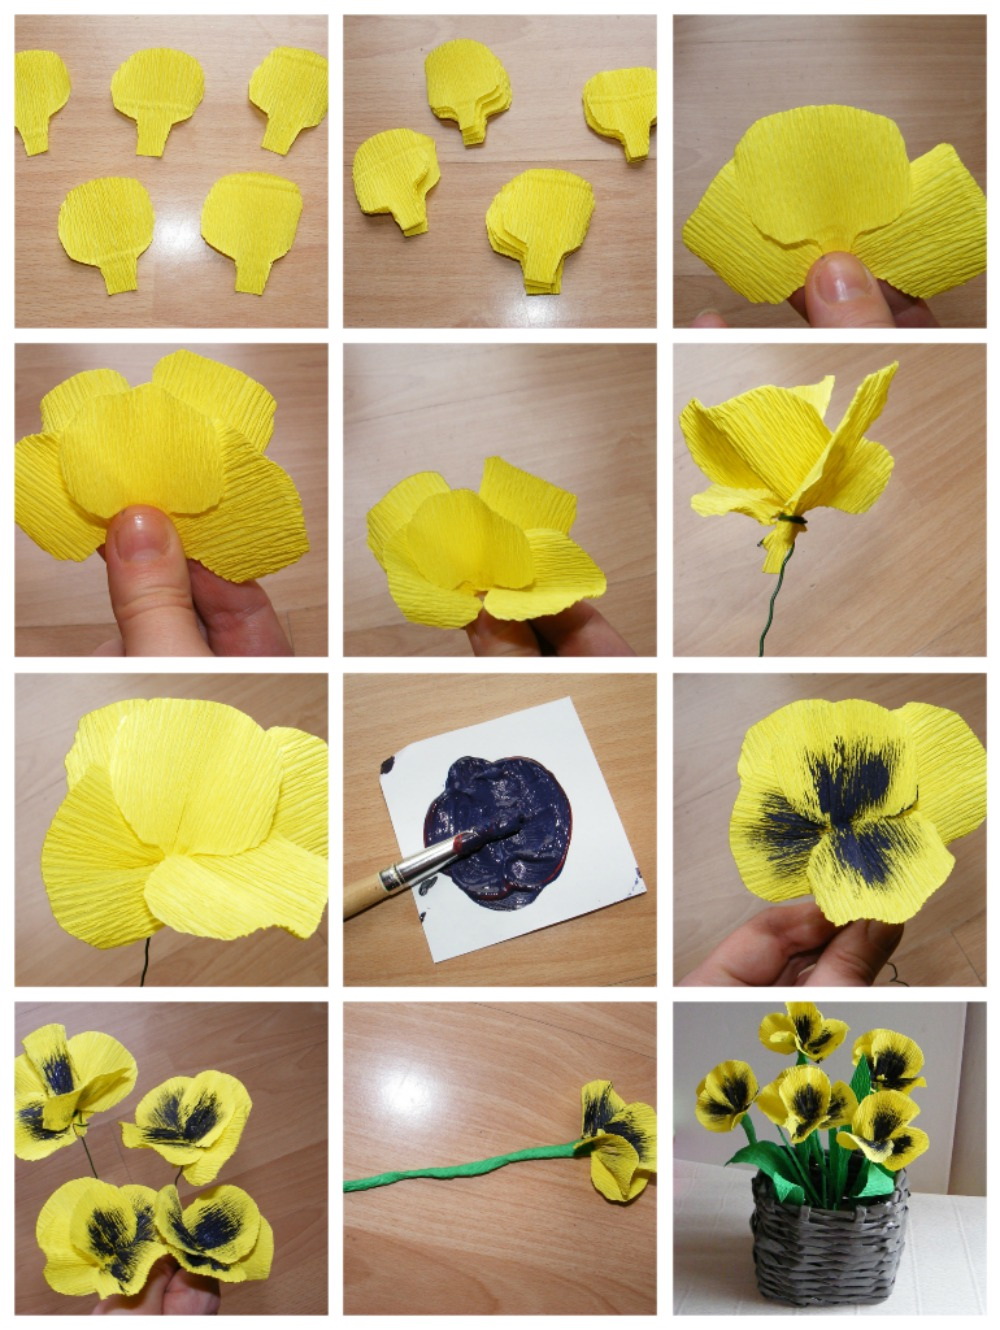
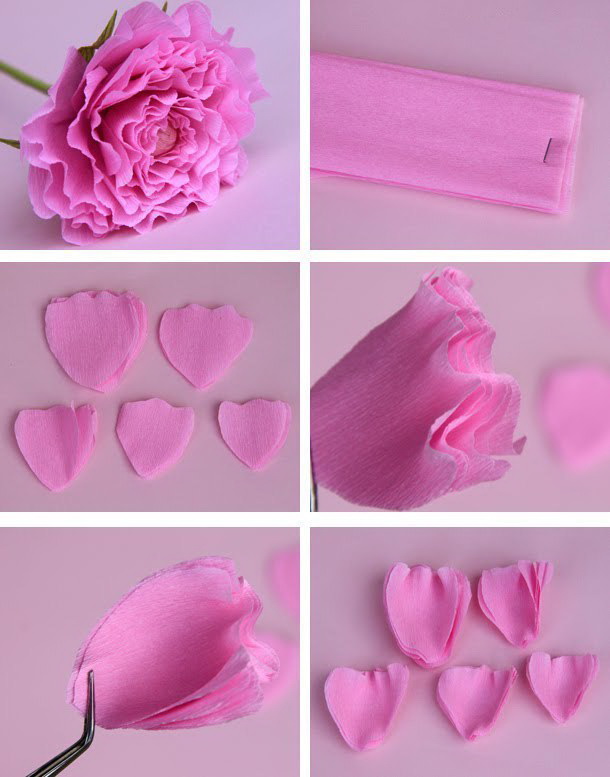
It will be interesting to you:OVERVIEW: How to make flowers from corrugated paper with candy with your own hands? Master class +75 Photos of luxurious bouquets
return to menu ↑Workshop on Chinese lanterns
Making your own Chinese lantern from paper will not cause difficulties even for a child, but it will perfectly decorate your home or other room — be it a school, a cafe, or something else.
We find the right colors, samples.
You can hang them or put them on table, alone or in groups. This is the easiest way to make decoration from paper and all the materials you need are always at hand at home, because all you need is paper, scissors, glue.
Accent with minimal waste
They decorate temples, shrines, parks, shops, houses, offices, Chinatowns everywhere.
Chinese lanterns come in different shapes, sizes and colors.You can try your favorite color scheme, but I stuck to the red and gold shades - the traditional colors for the Chinese.
It will be interesting to you:OVERVIEW: How to make Bulk paper crafts with your own hands? 6 Step-by-step master classes for your decor
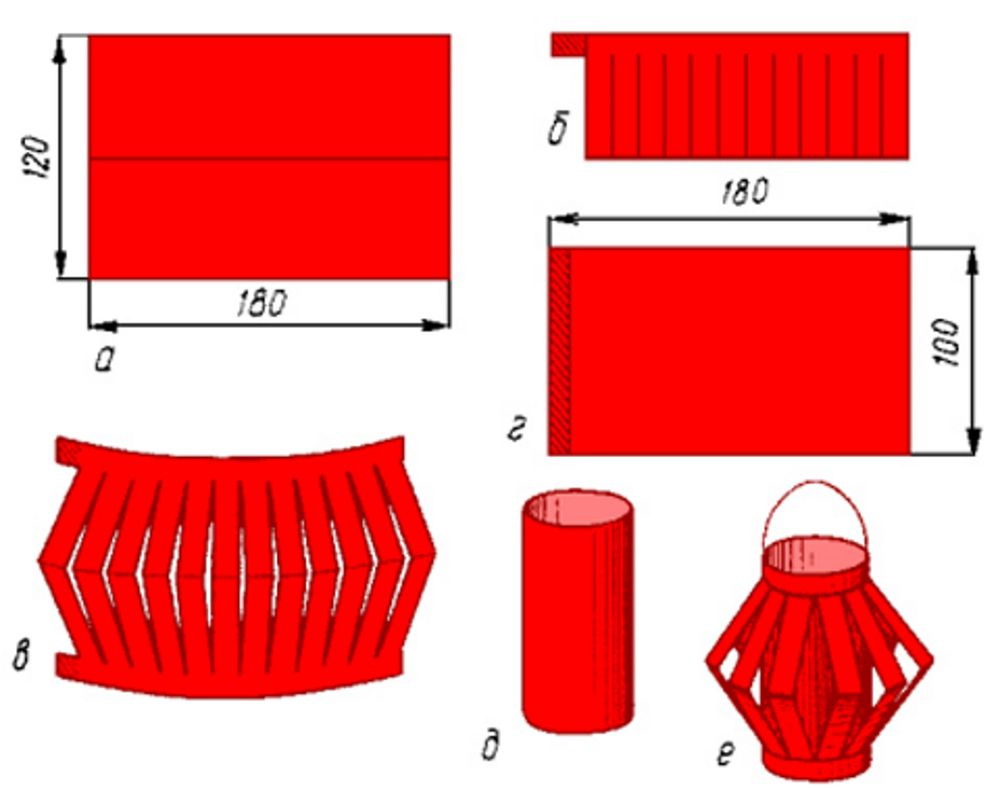
return to menu ↑How I made a Chinese lantern in six easy steps.
Necessary materials:
- A4 sheet of red paper;
- A4 sheet of gold paper;
- pencil, ruler;
- scissors;
- glue.
So let's get started!
Step 1:
1. Fold the red paper in half. 2. Use a pencil and a ruler to draw lines perpendicular to the folded side, about 2 cm each and leave 2 cm below the fold. 3. Use scissors to cut through the lines - they will look like an accordion in the middle of the lantern.
Step 2:
1. Roll the gold paper across to form a tube, it will be the center of the lantern. 2. Secure with a small amount of glue.
Step 3:
1. Flatten a sheet of red paper. 2. Connect one end of a red sheet with a gold tube at one end. 3. Secure with glue
Step 4:
1. Connect the other side, leaving the visible part of the gold tube, depending on how long you want your flashlight to be long or short. 2. Secure with glue.
Step 5:
1. Cut off the excess gold tube from below. 2. Or just leave it as part of the decoration, making a “fringe” and cutting it into thin strips.
Step 6:
1. You can use an excess of gold strip to make a pen. 2. Cut it and glue both ends on top.
Done! Once you have the basic knowledge, it is easy to try different options, depending on the fantasy.
Beautiful decor for any room
It will be interesting to you:REVIEW: Fireworks of ideas: How can you make a long and beautiful garland of paper for the New Year? 100+ Easy Phased DIY Photos
return to menu ↑Fantasize
For example, you can add gold stripes to a flashlight, cutting them with simple or curly scissors, if you have them.
Flower pendants
In this case, the gold stripes should be a little red already, to which they will stick. Install them before sticking the lantern to the gold tube.

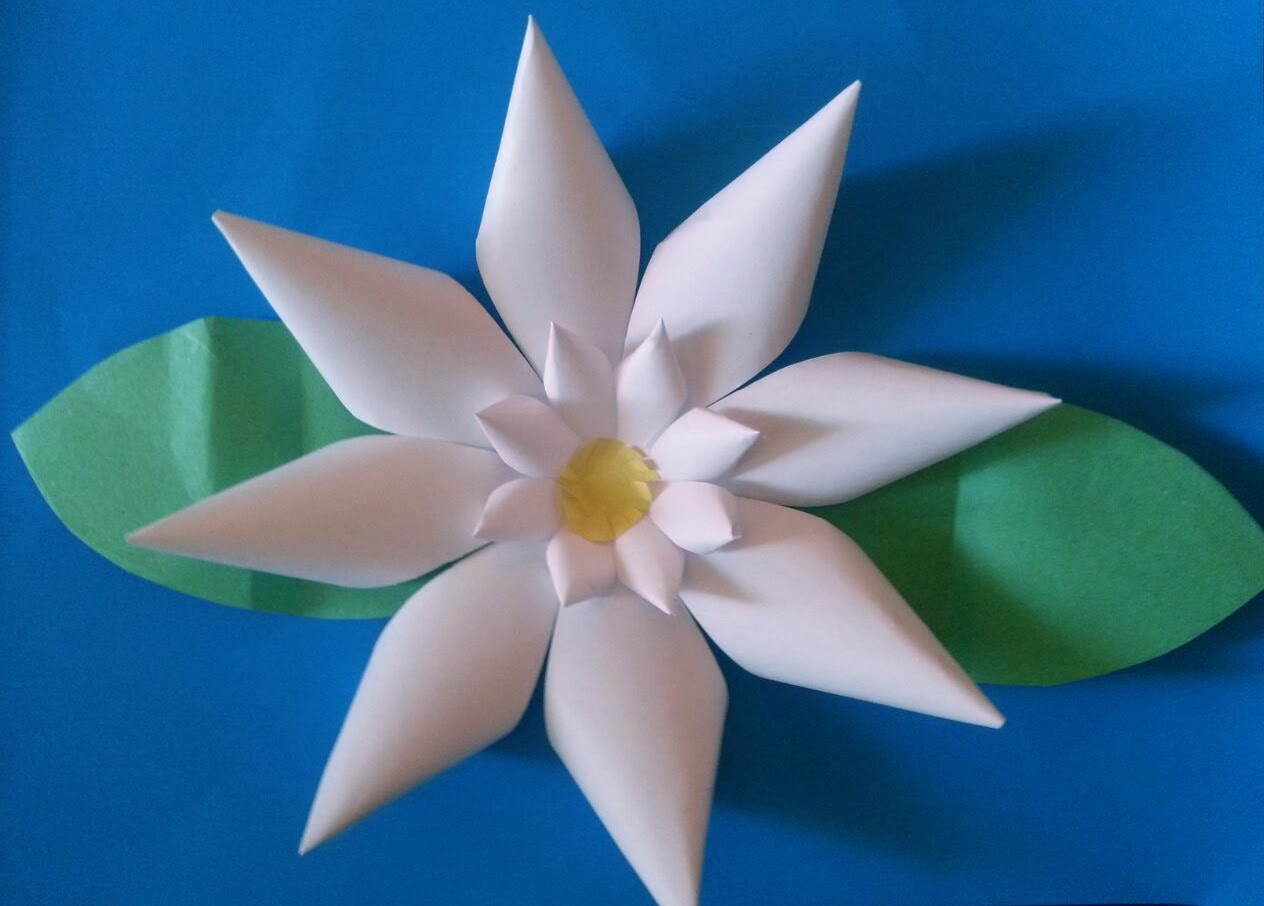
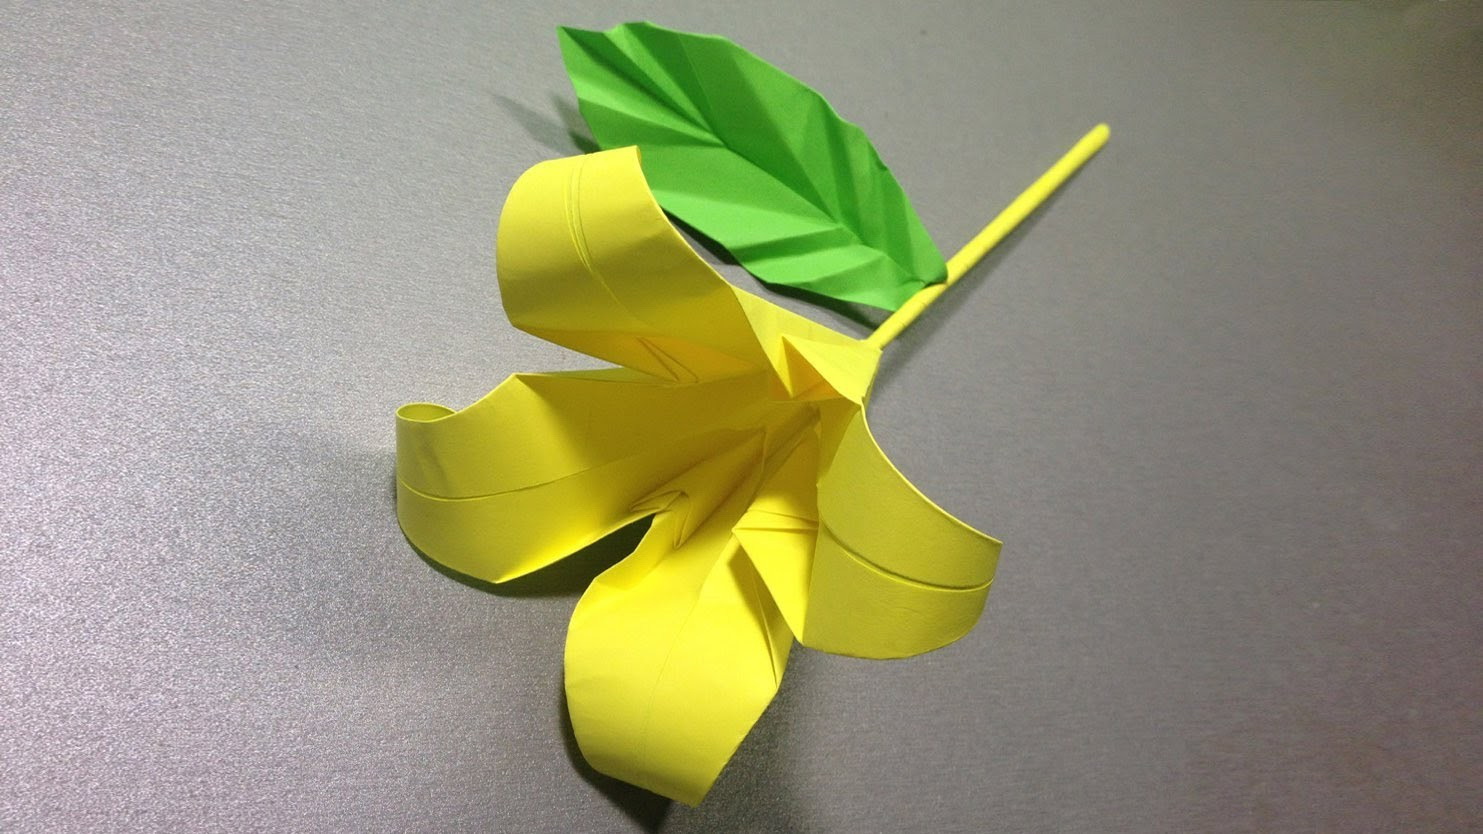
Lily master class
I have tried several different shapes and types, including the most common red ball light, a square light with a box and some delicate prismatic shapes that are great for hanging.
return to menu ↑VIDEO: Master class of Chinese lanterns
Chinese lanterns
Detailed guide to the creation of Chinese lanterns
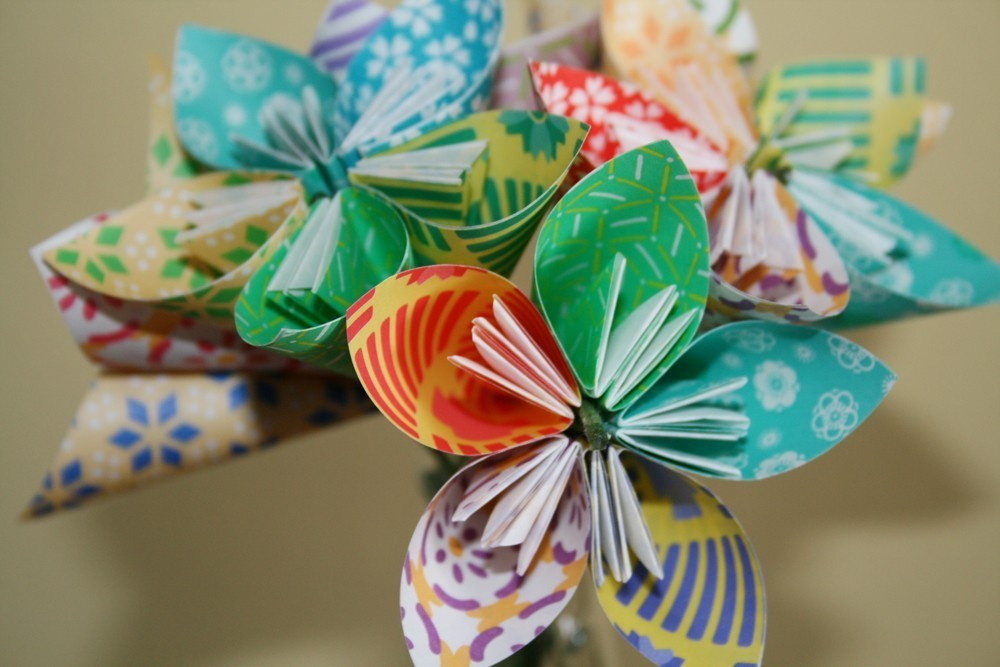
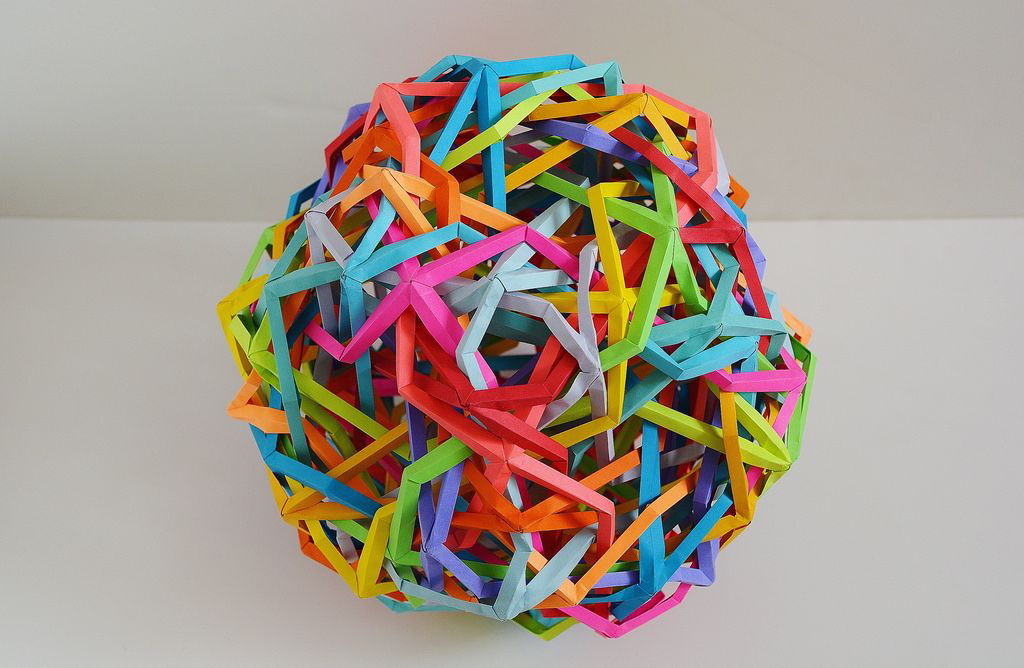
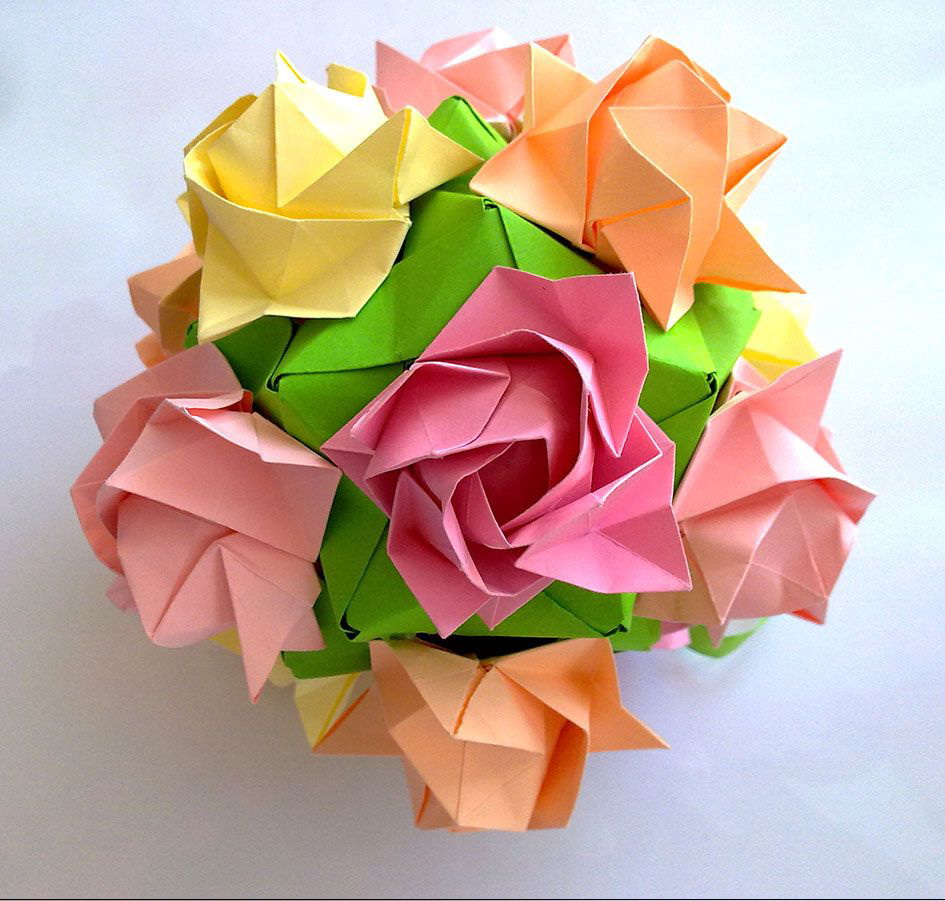
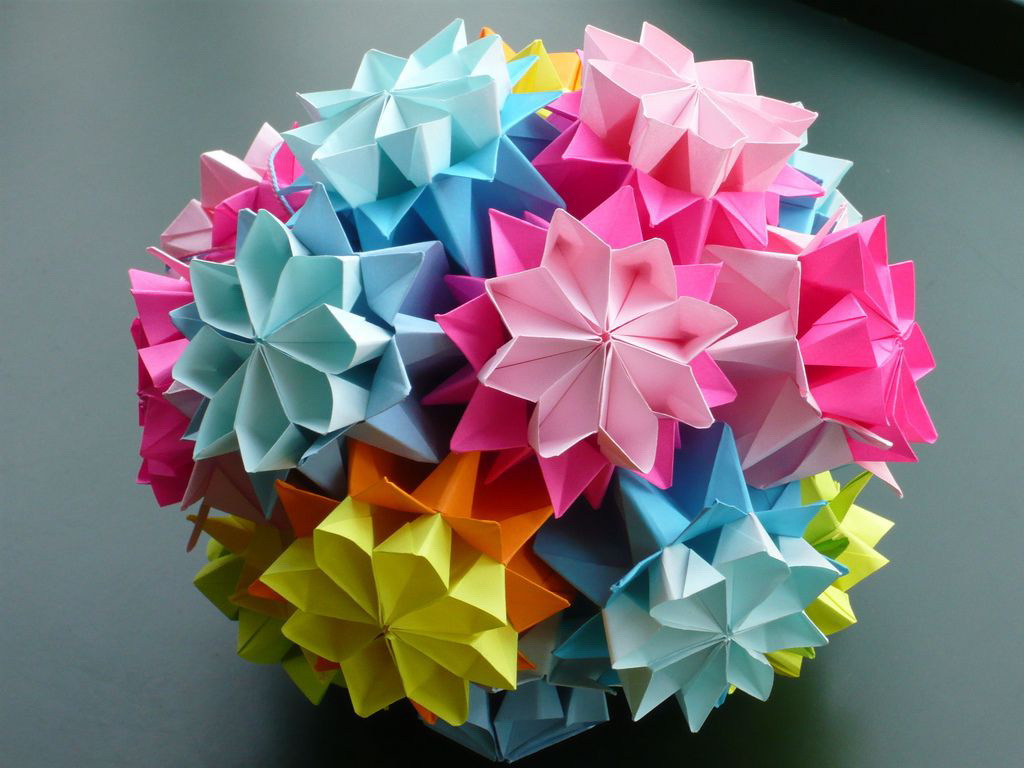
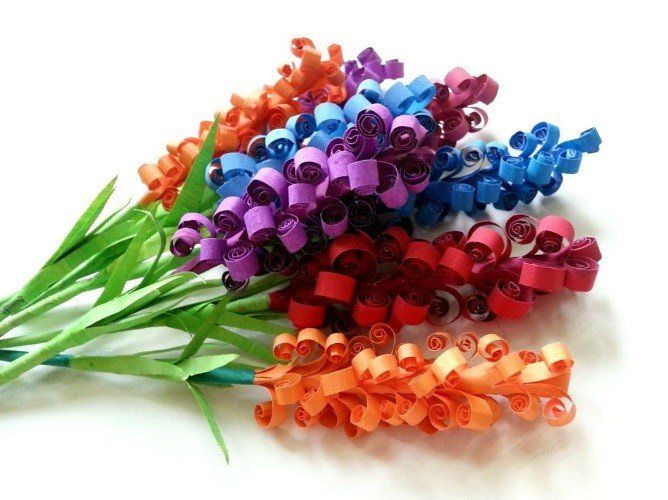
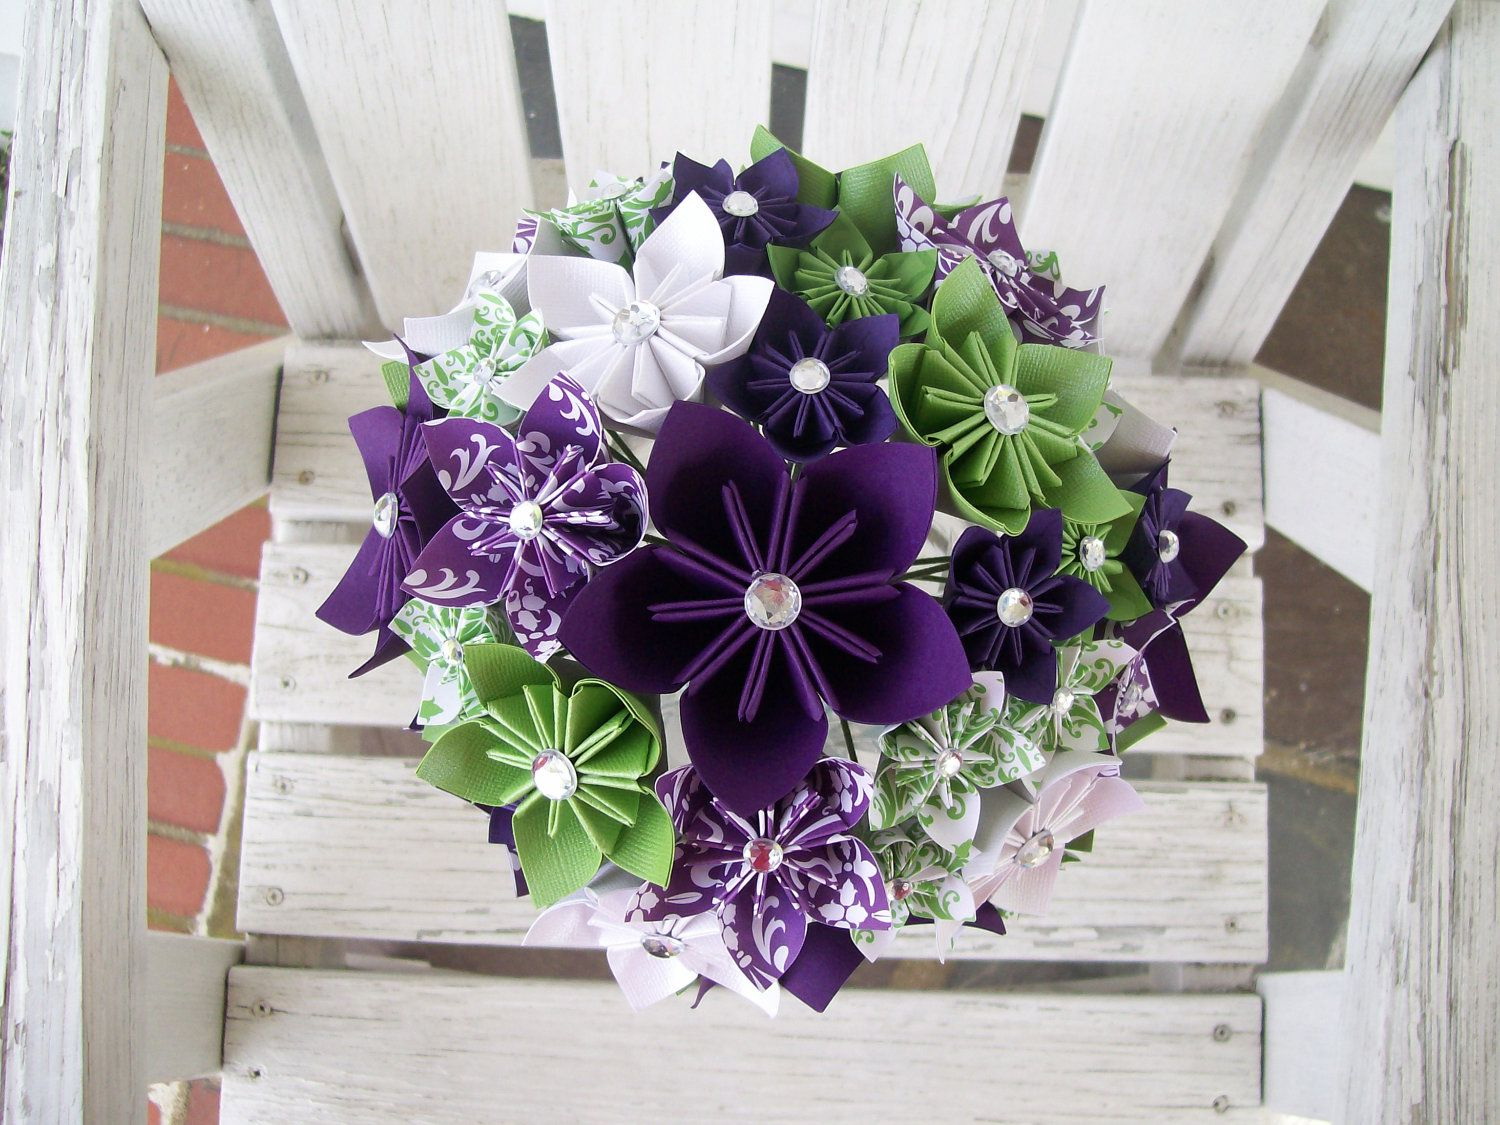
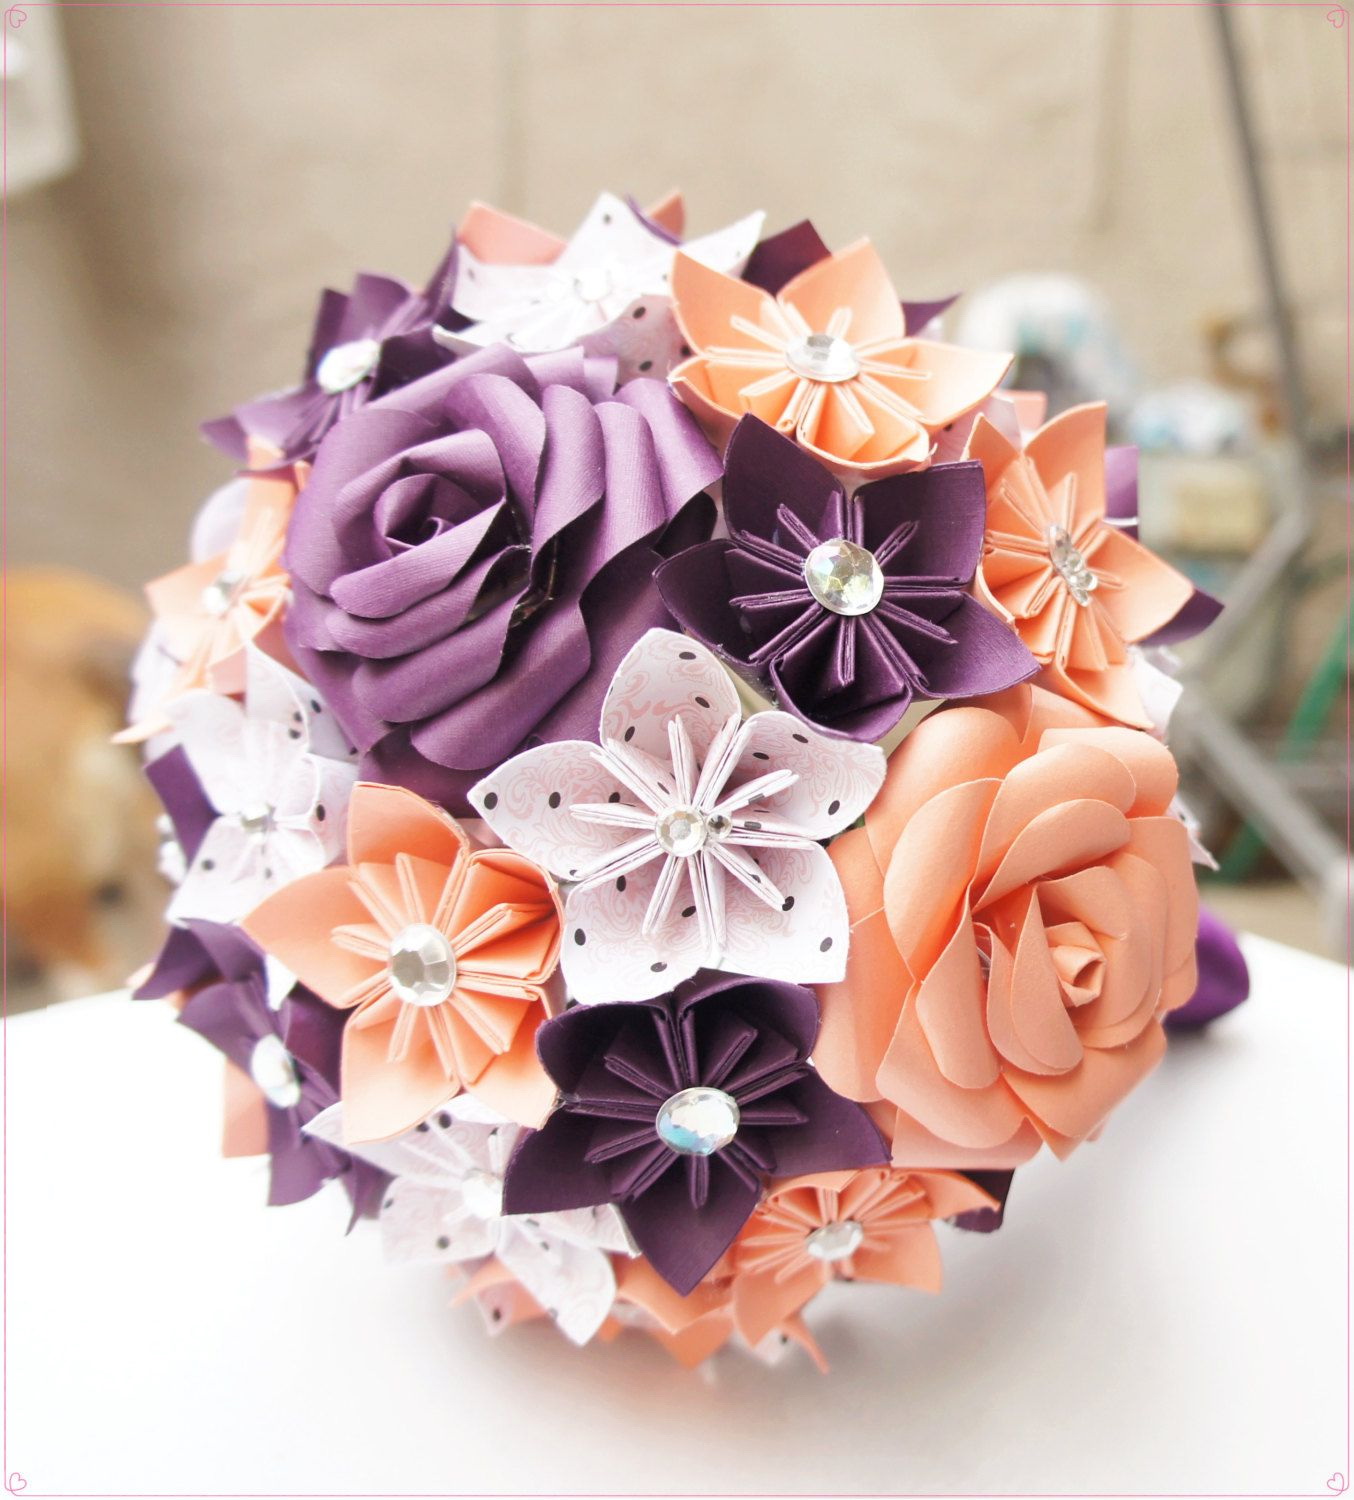
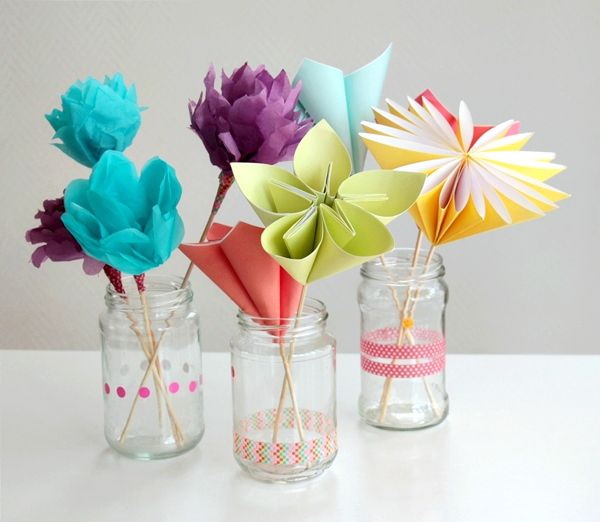
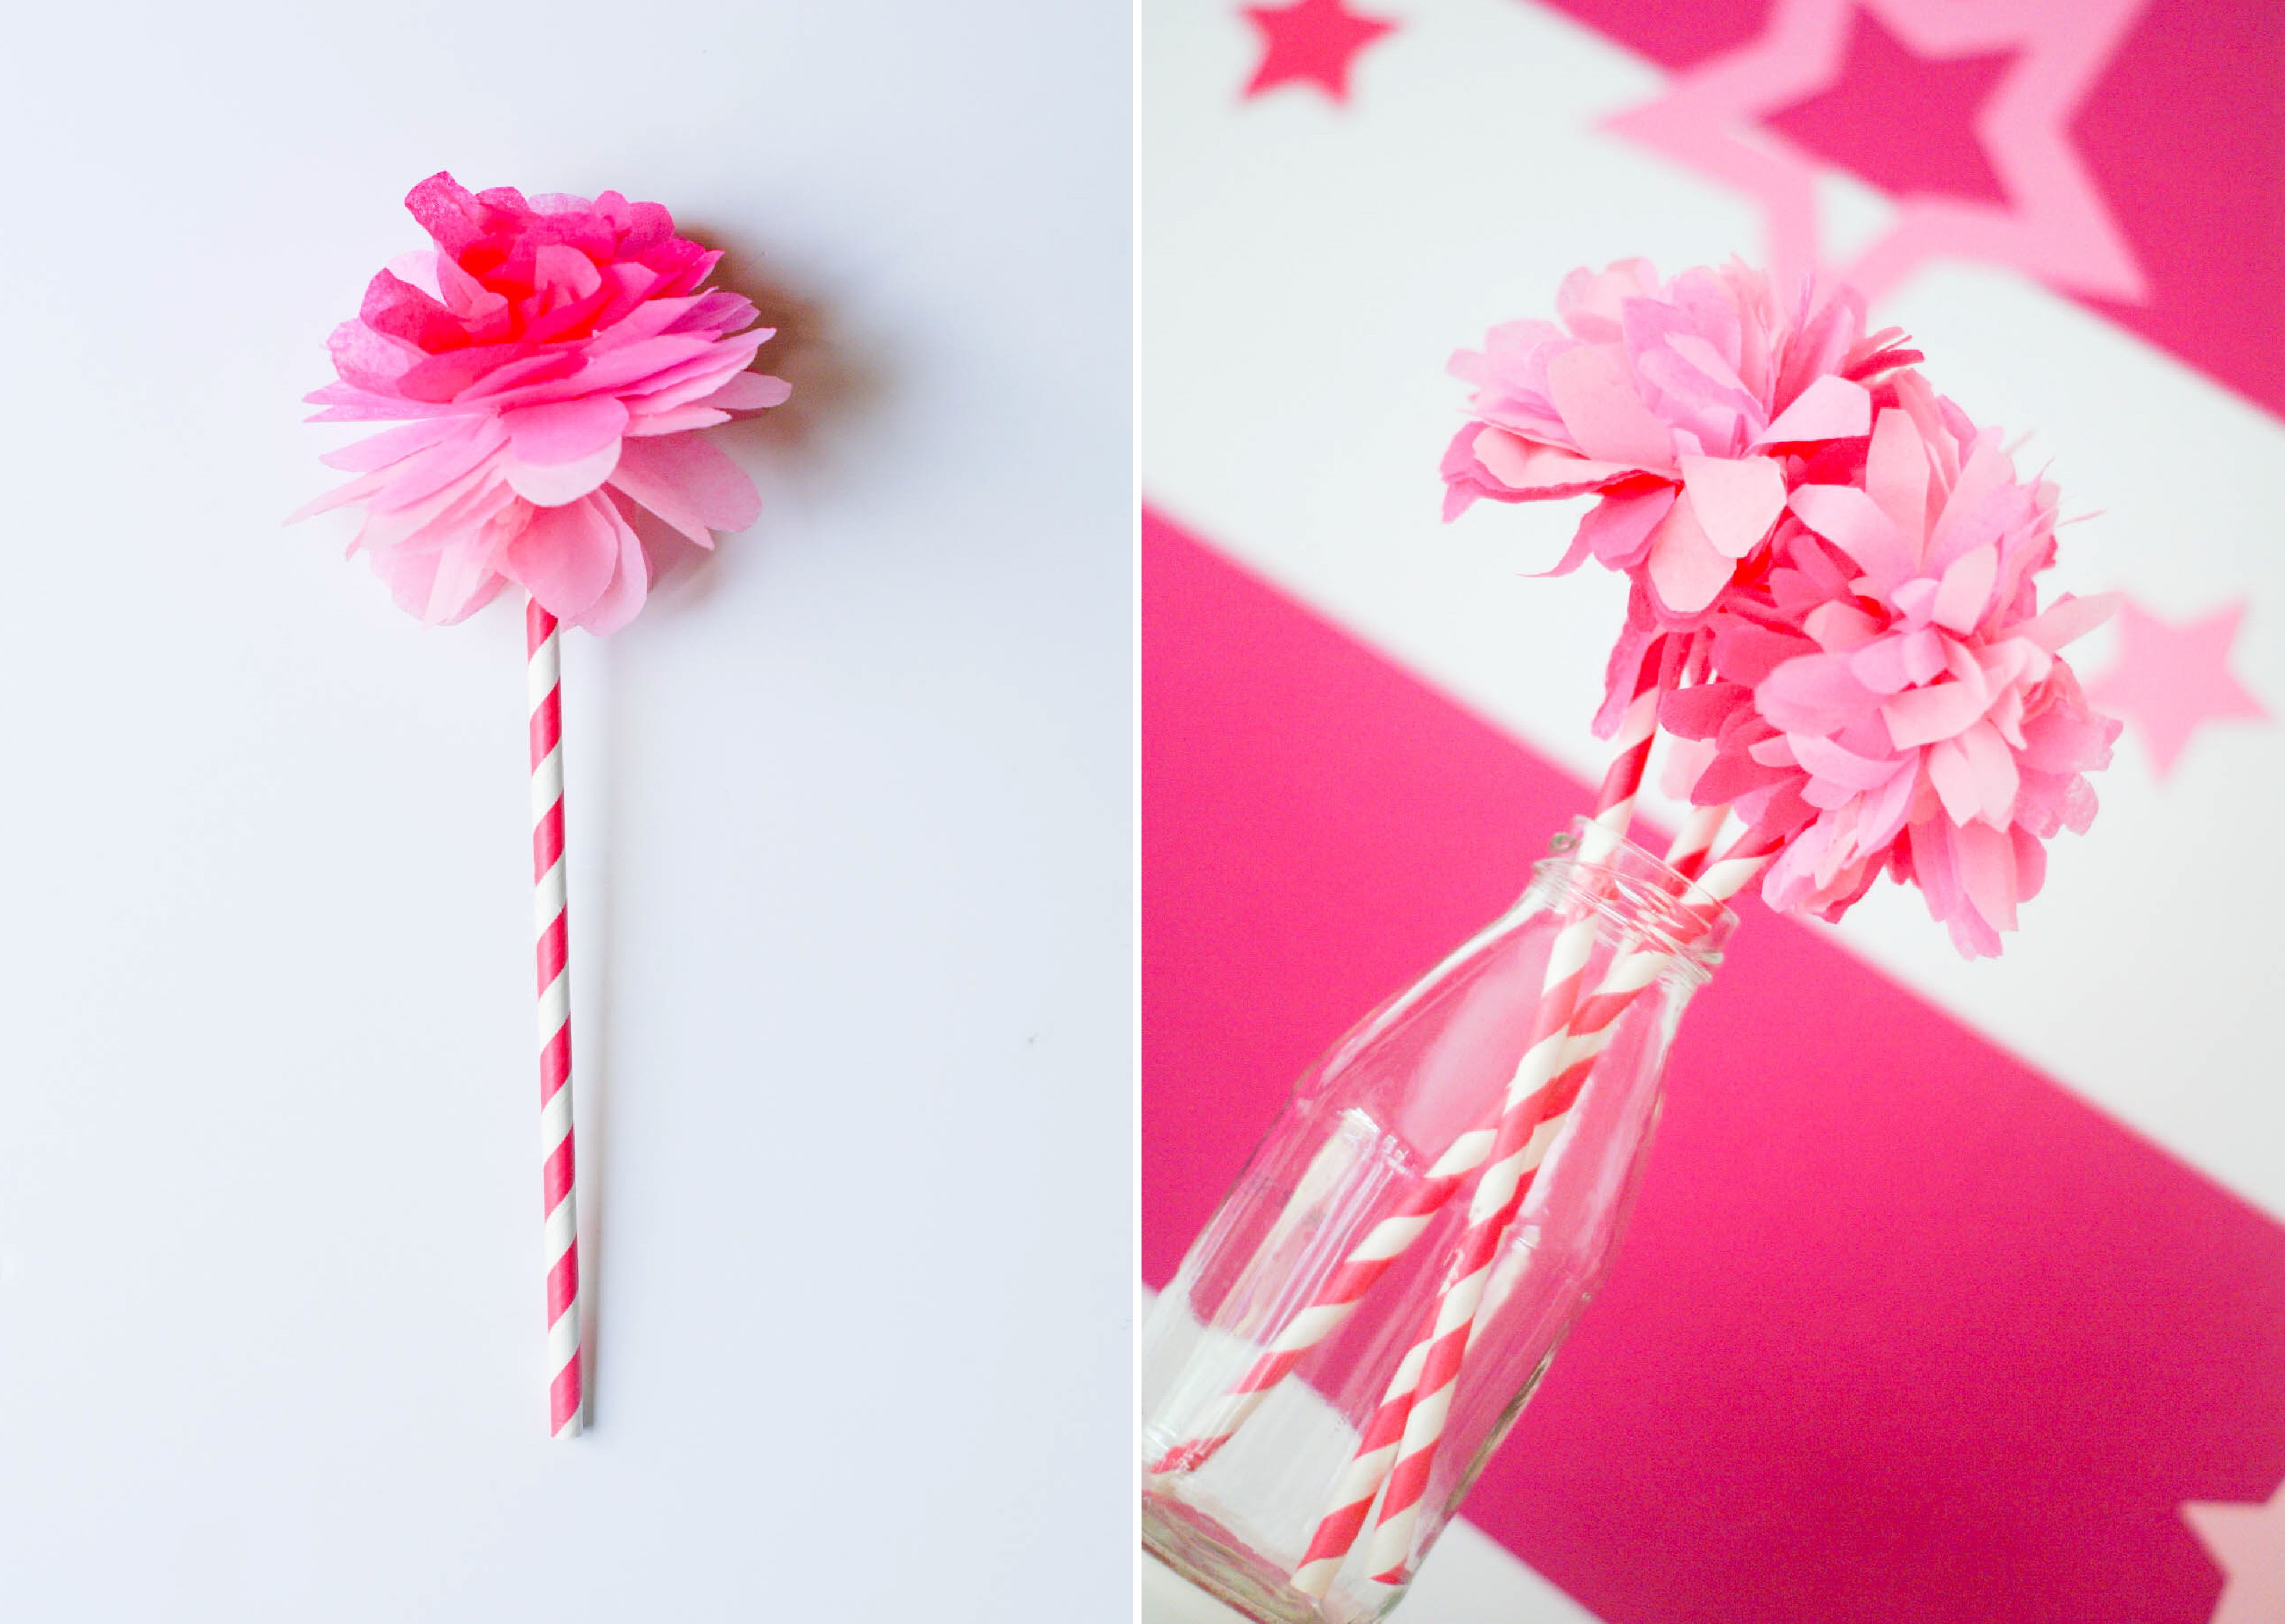
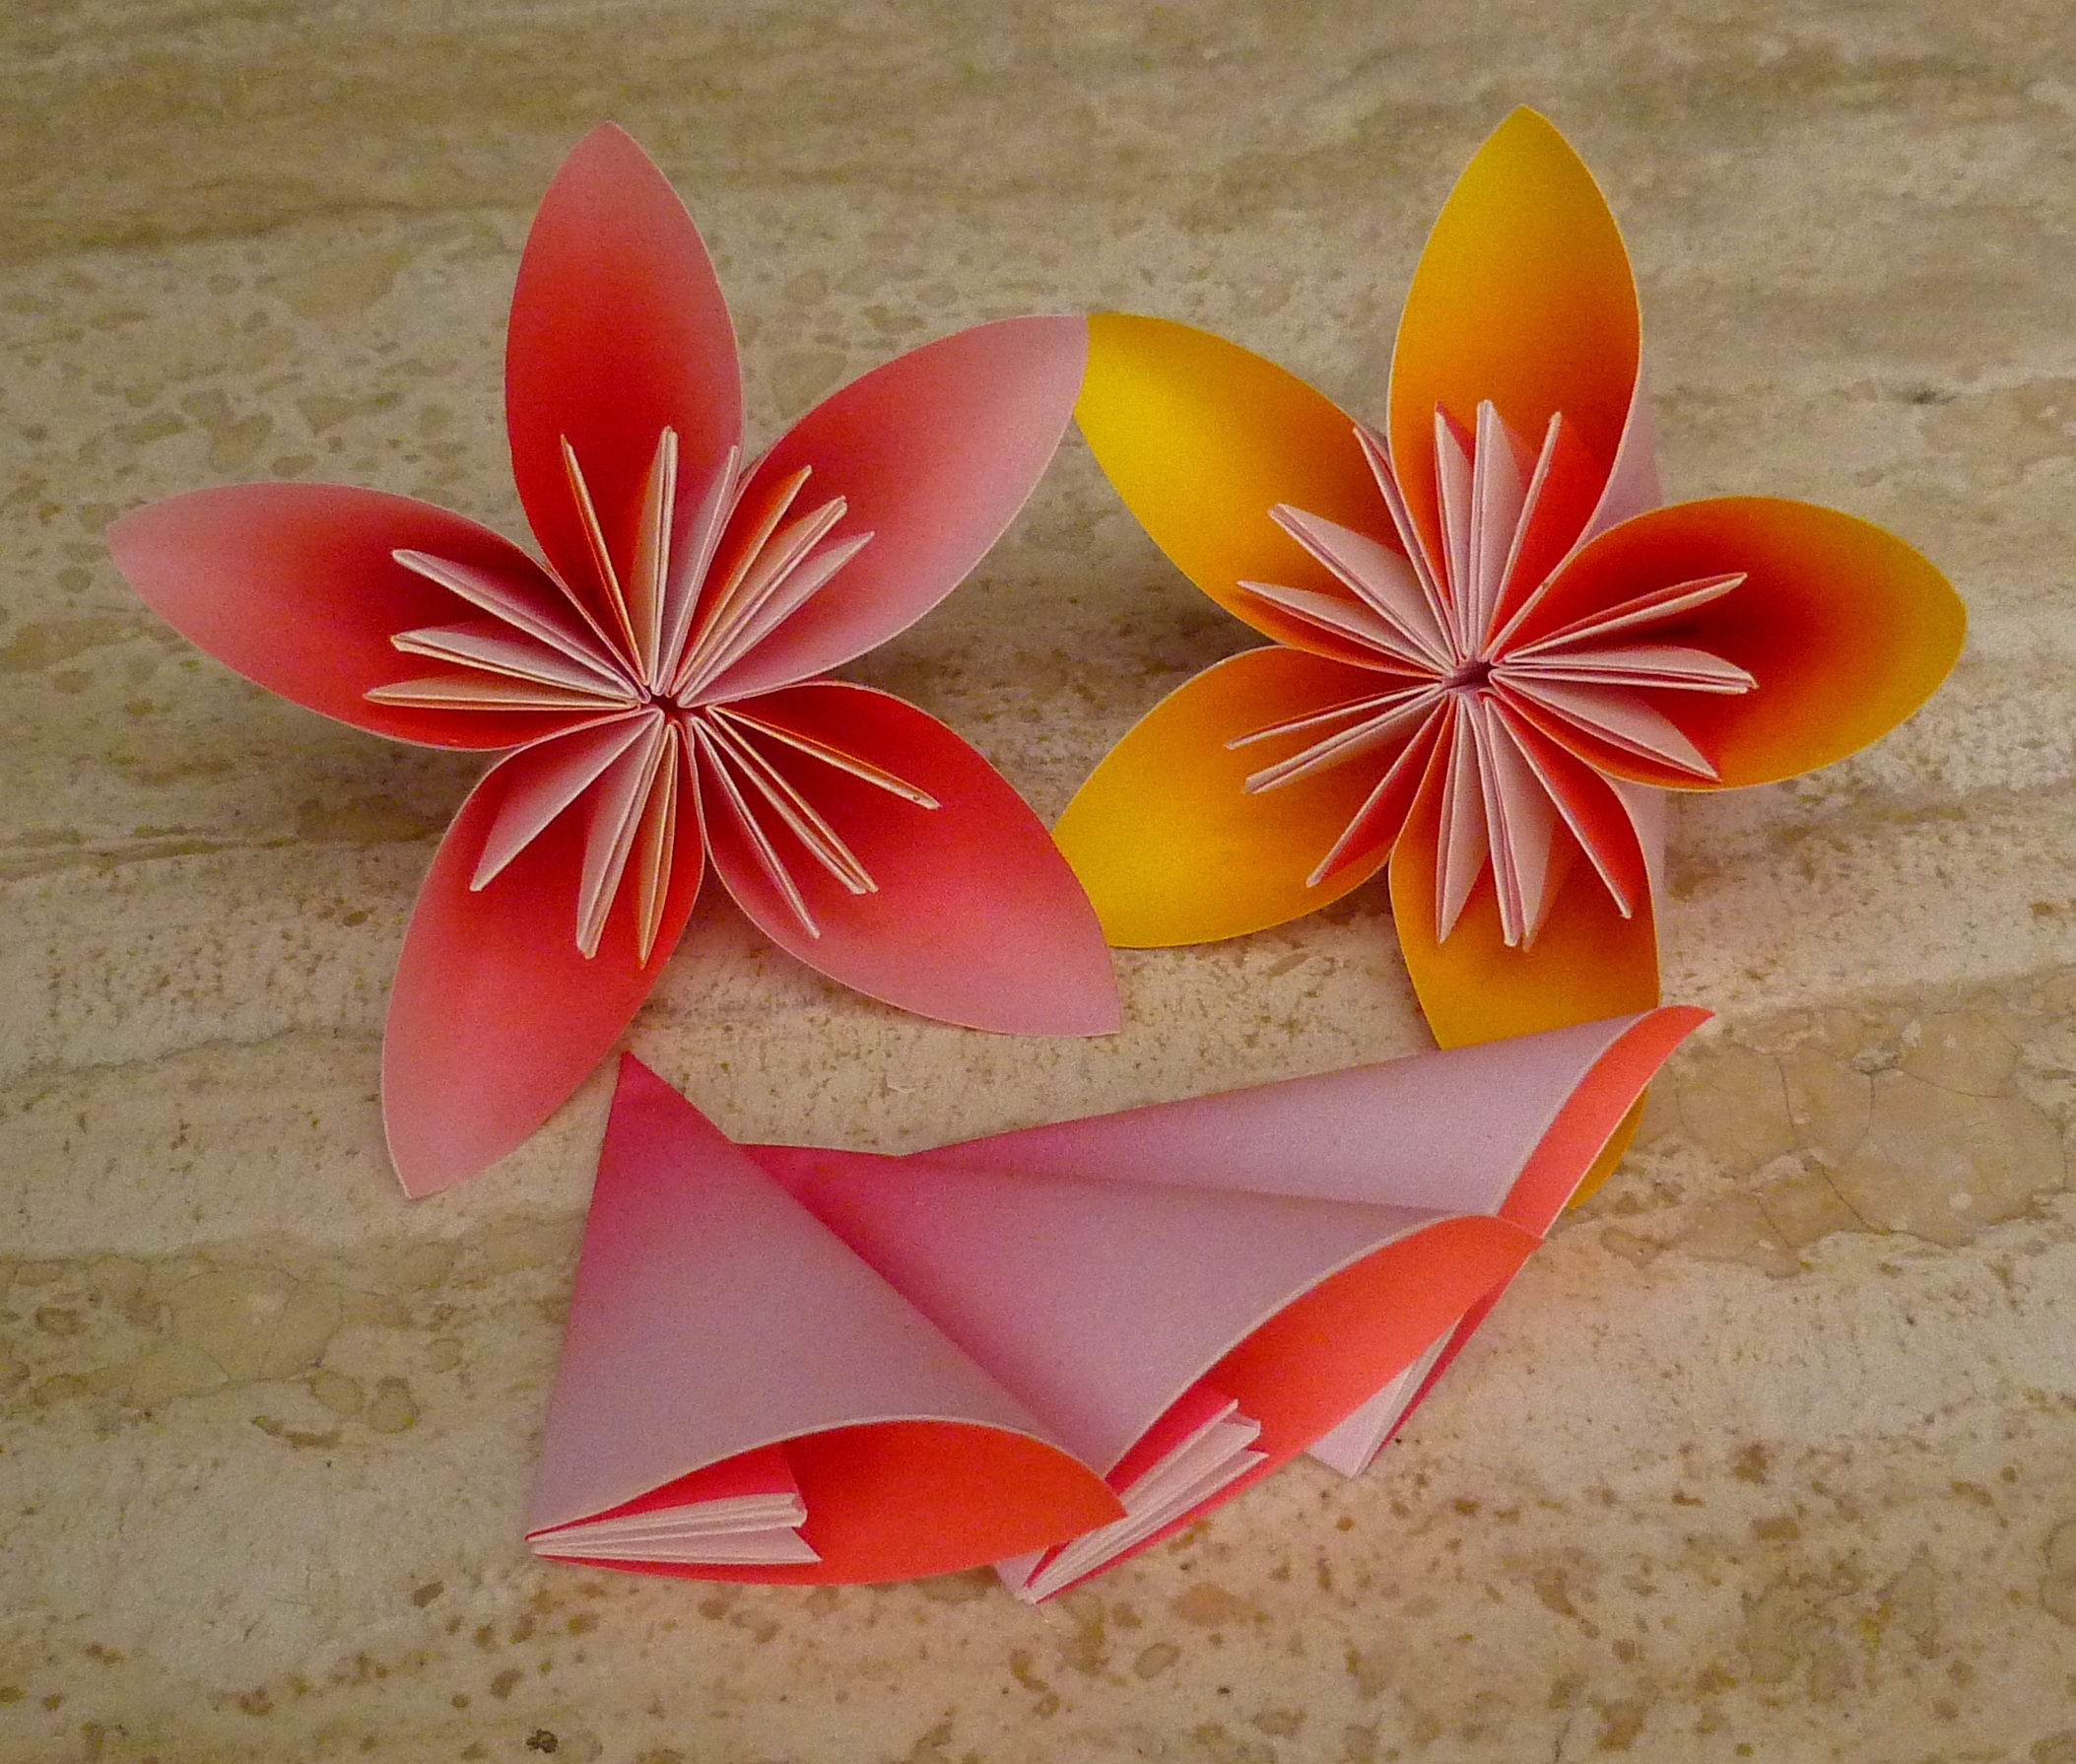
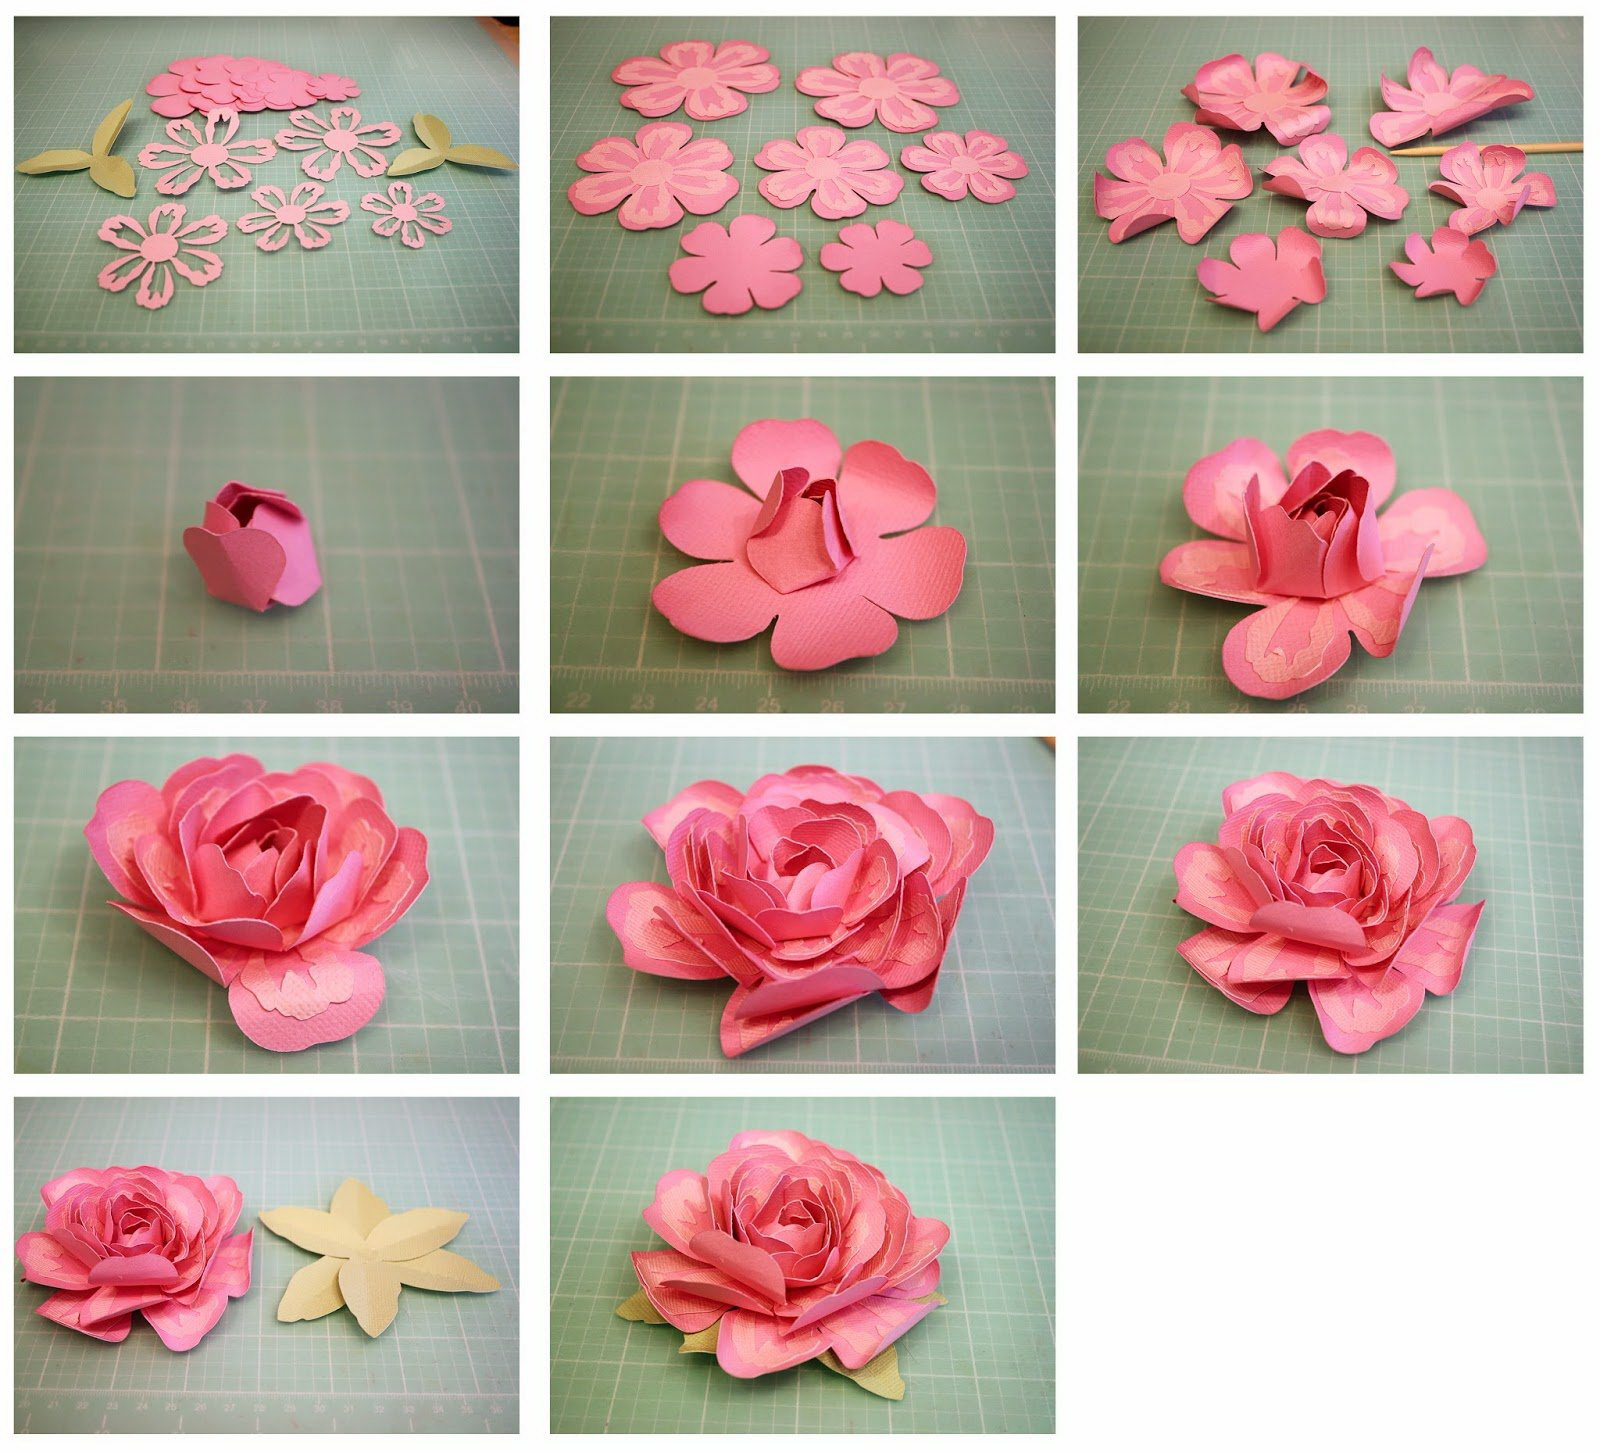
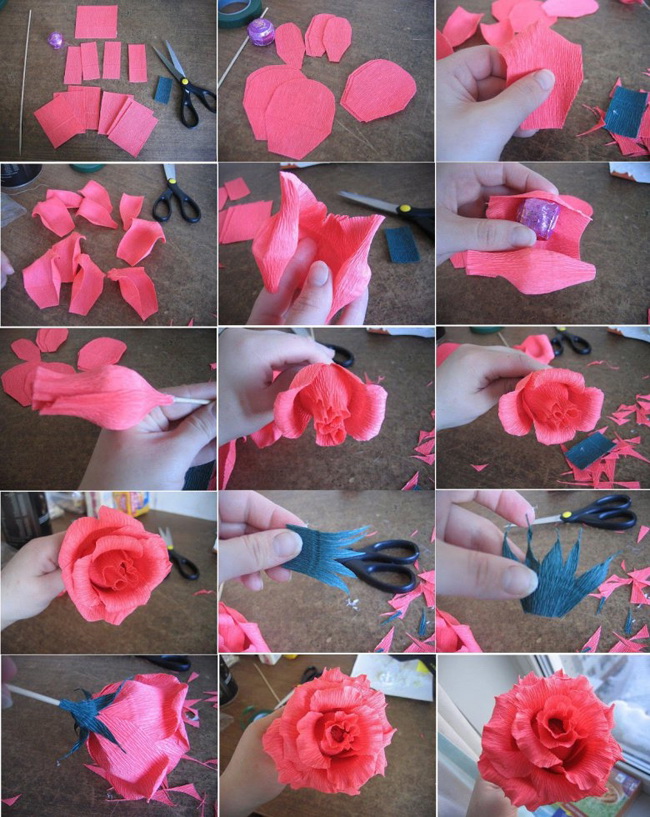
Making a bouquet of paper flowers
And now we will try to make with you a small bunch of lovely flowers, using only paper, glue and some improvised tools.
A craft that is easy to do with a child
Paper craft will play for you with new colors with these little beauties!
You will need:
- colored paper in squares 15 x 15 cm, five colors;
- glue stick;
- PVA glue;
- hot glue;
- scissors;
- wooden skewers.
Such a twig will refresh any boring interior.
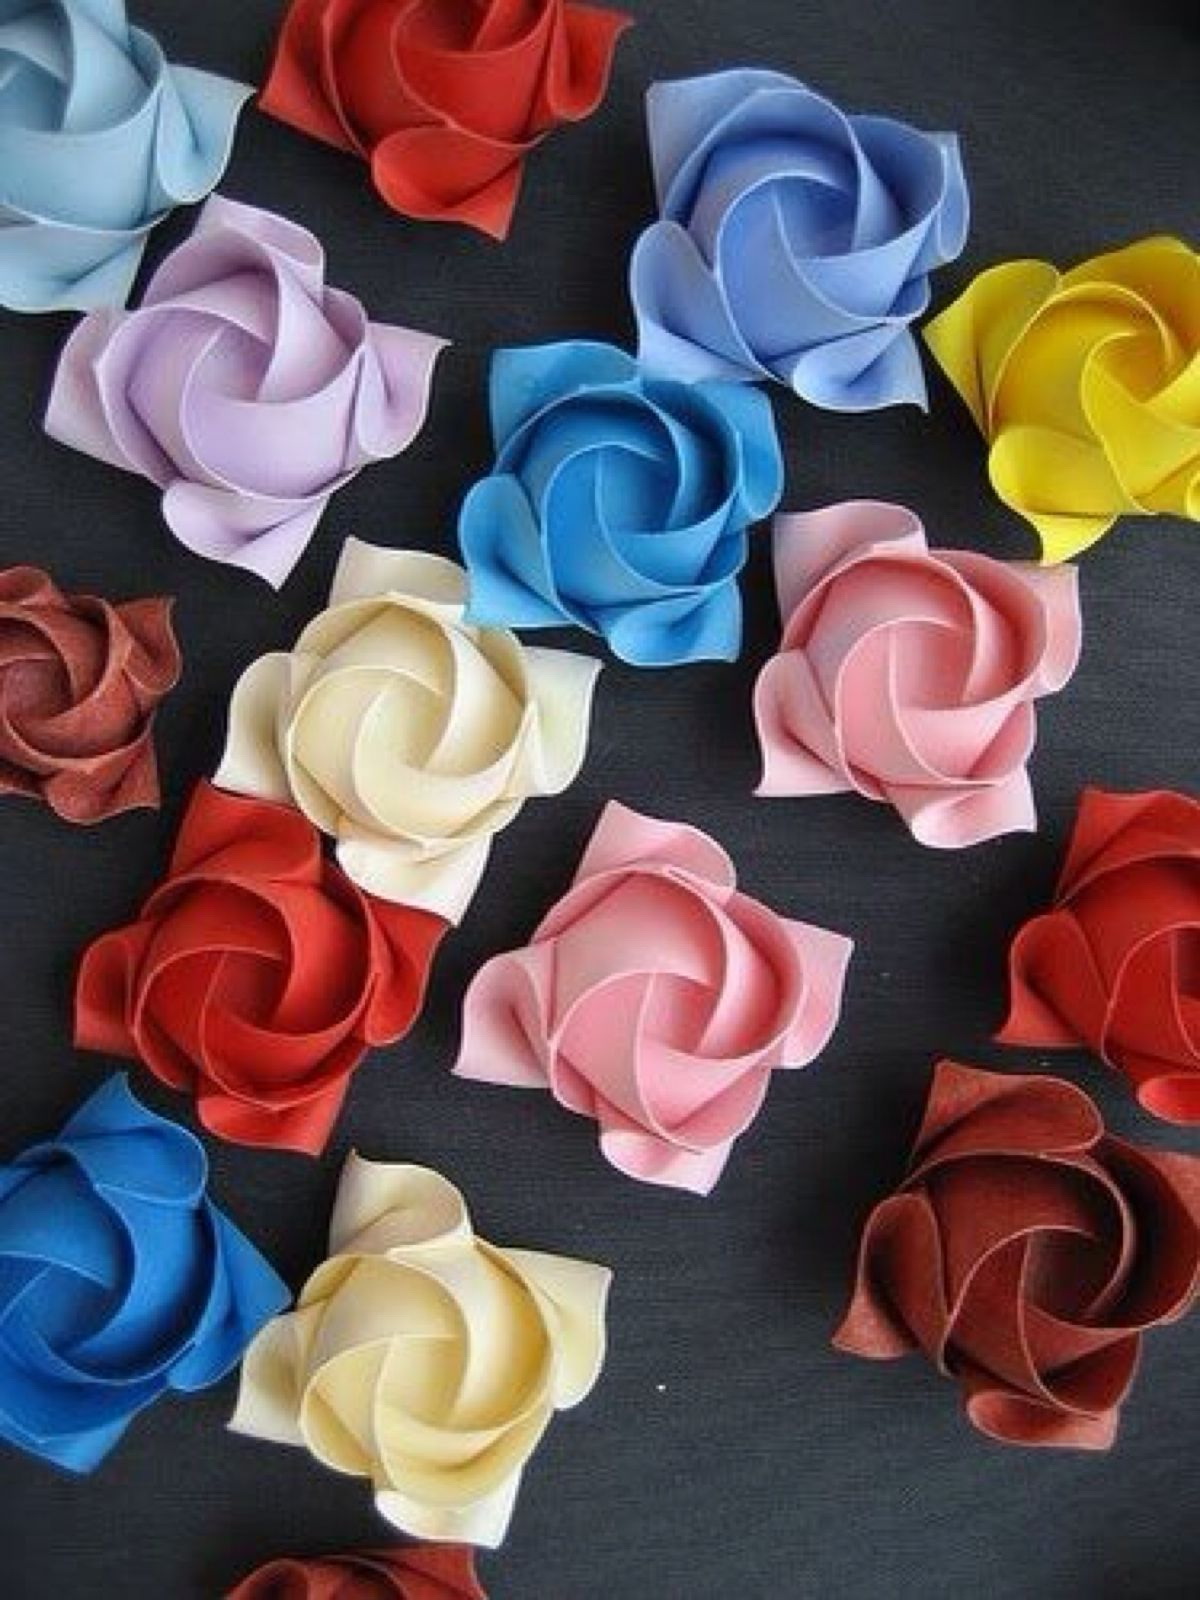
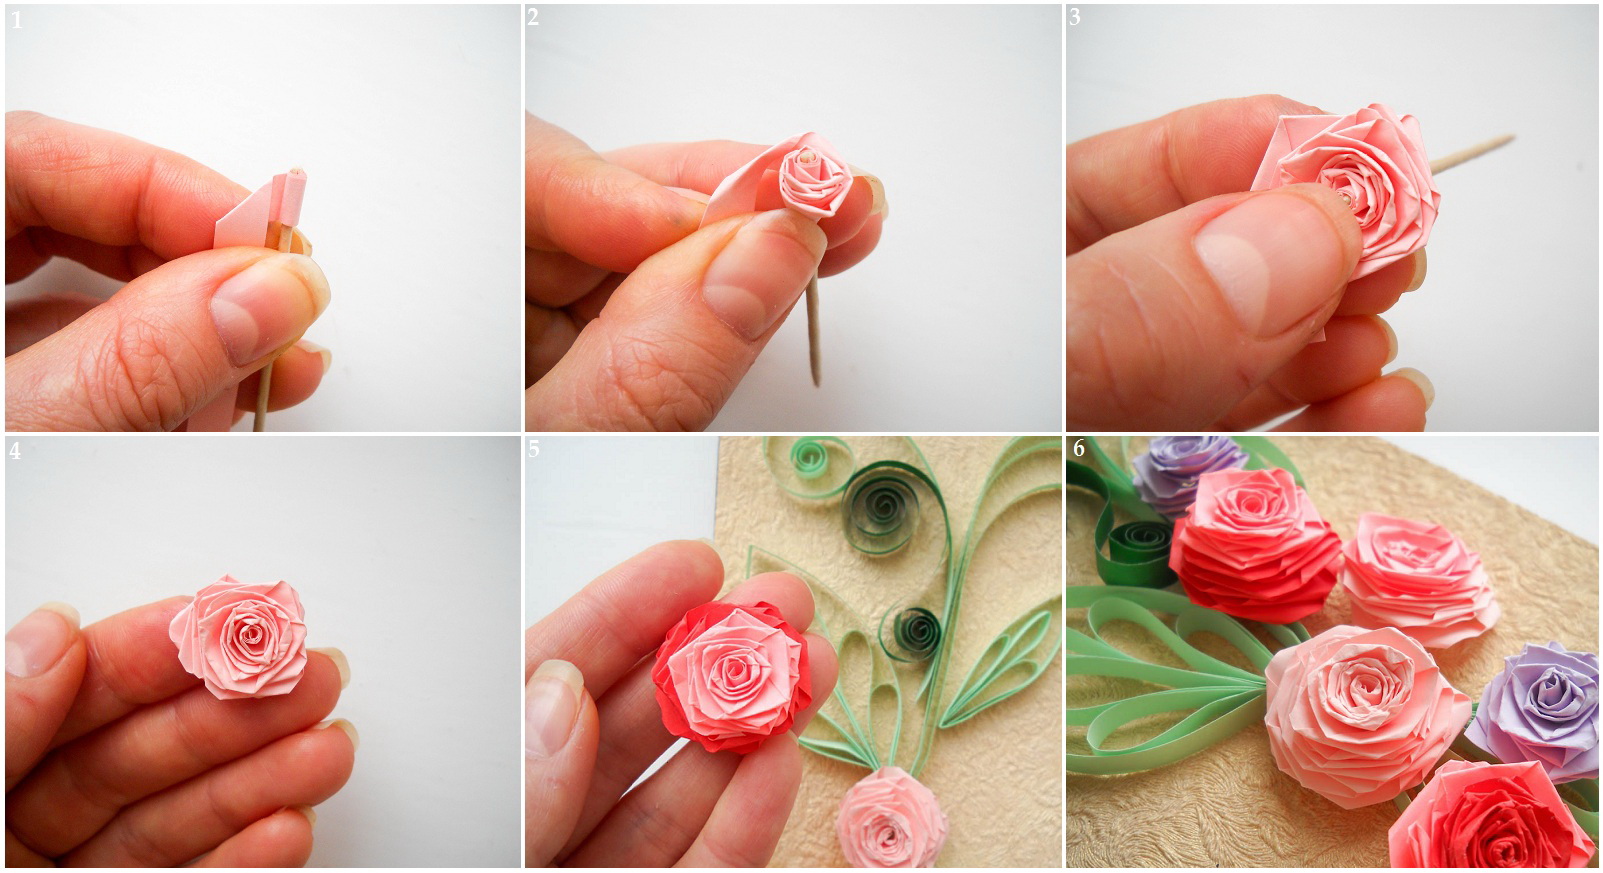
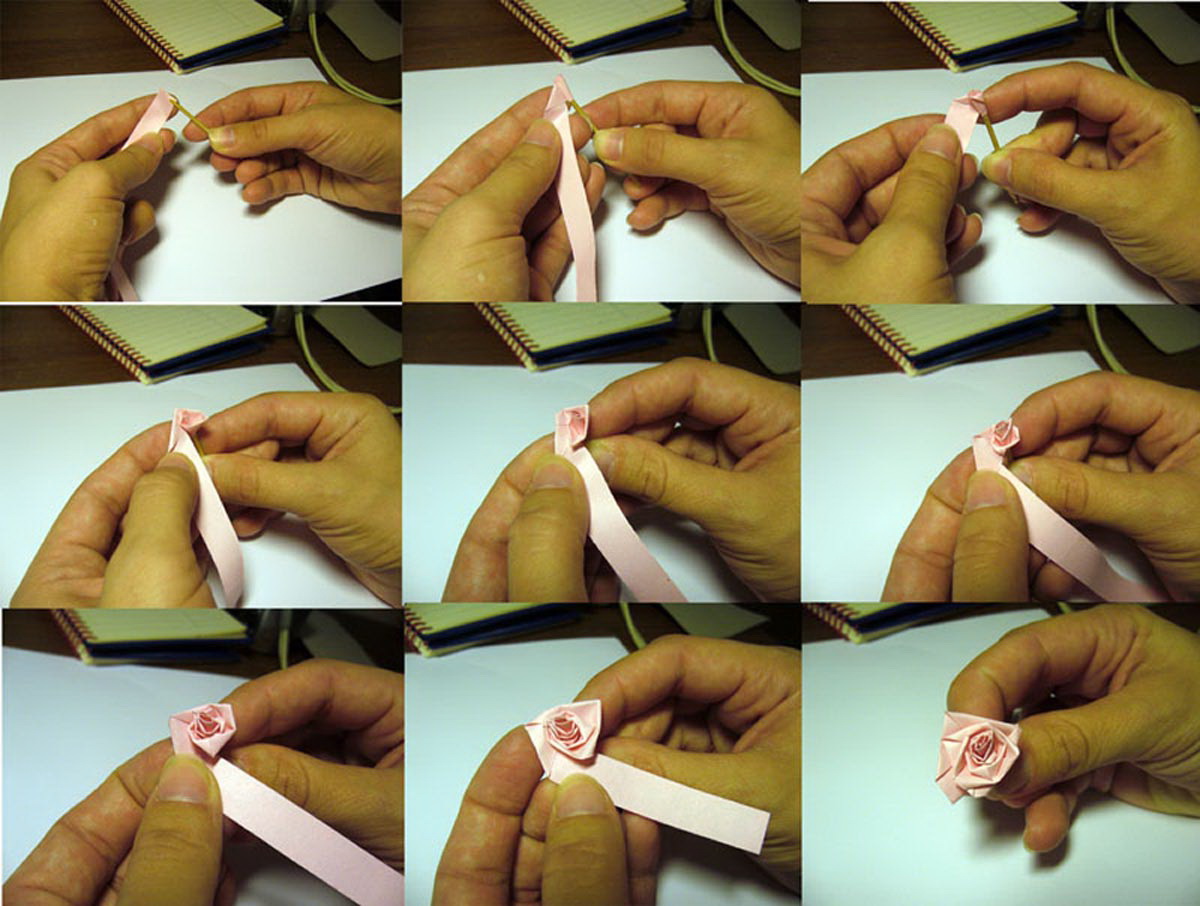
It will be interesting to you:REVIEW: How to make roses from paper with your own hands: Step-by-step instruction for beginners (190+ Photos)
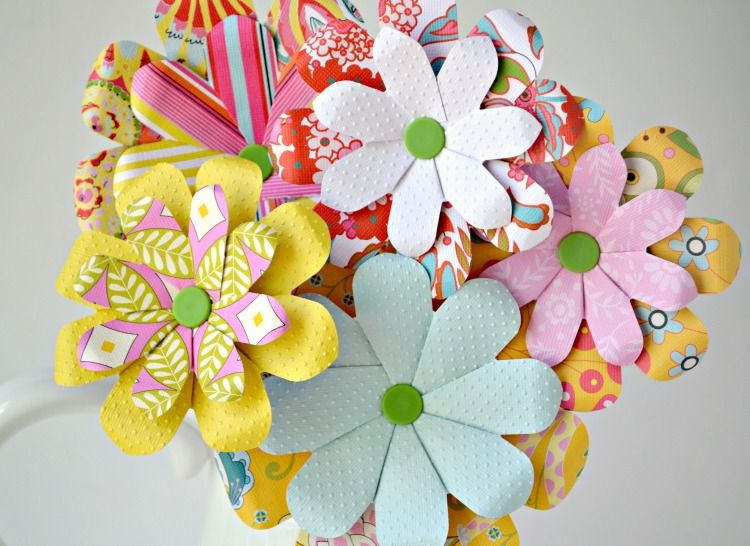
return to menu ↑Making paper daisies
Step 1
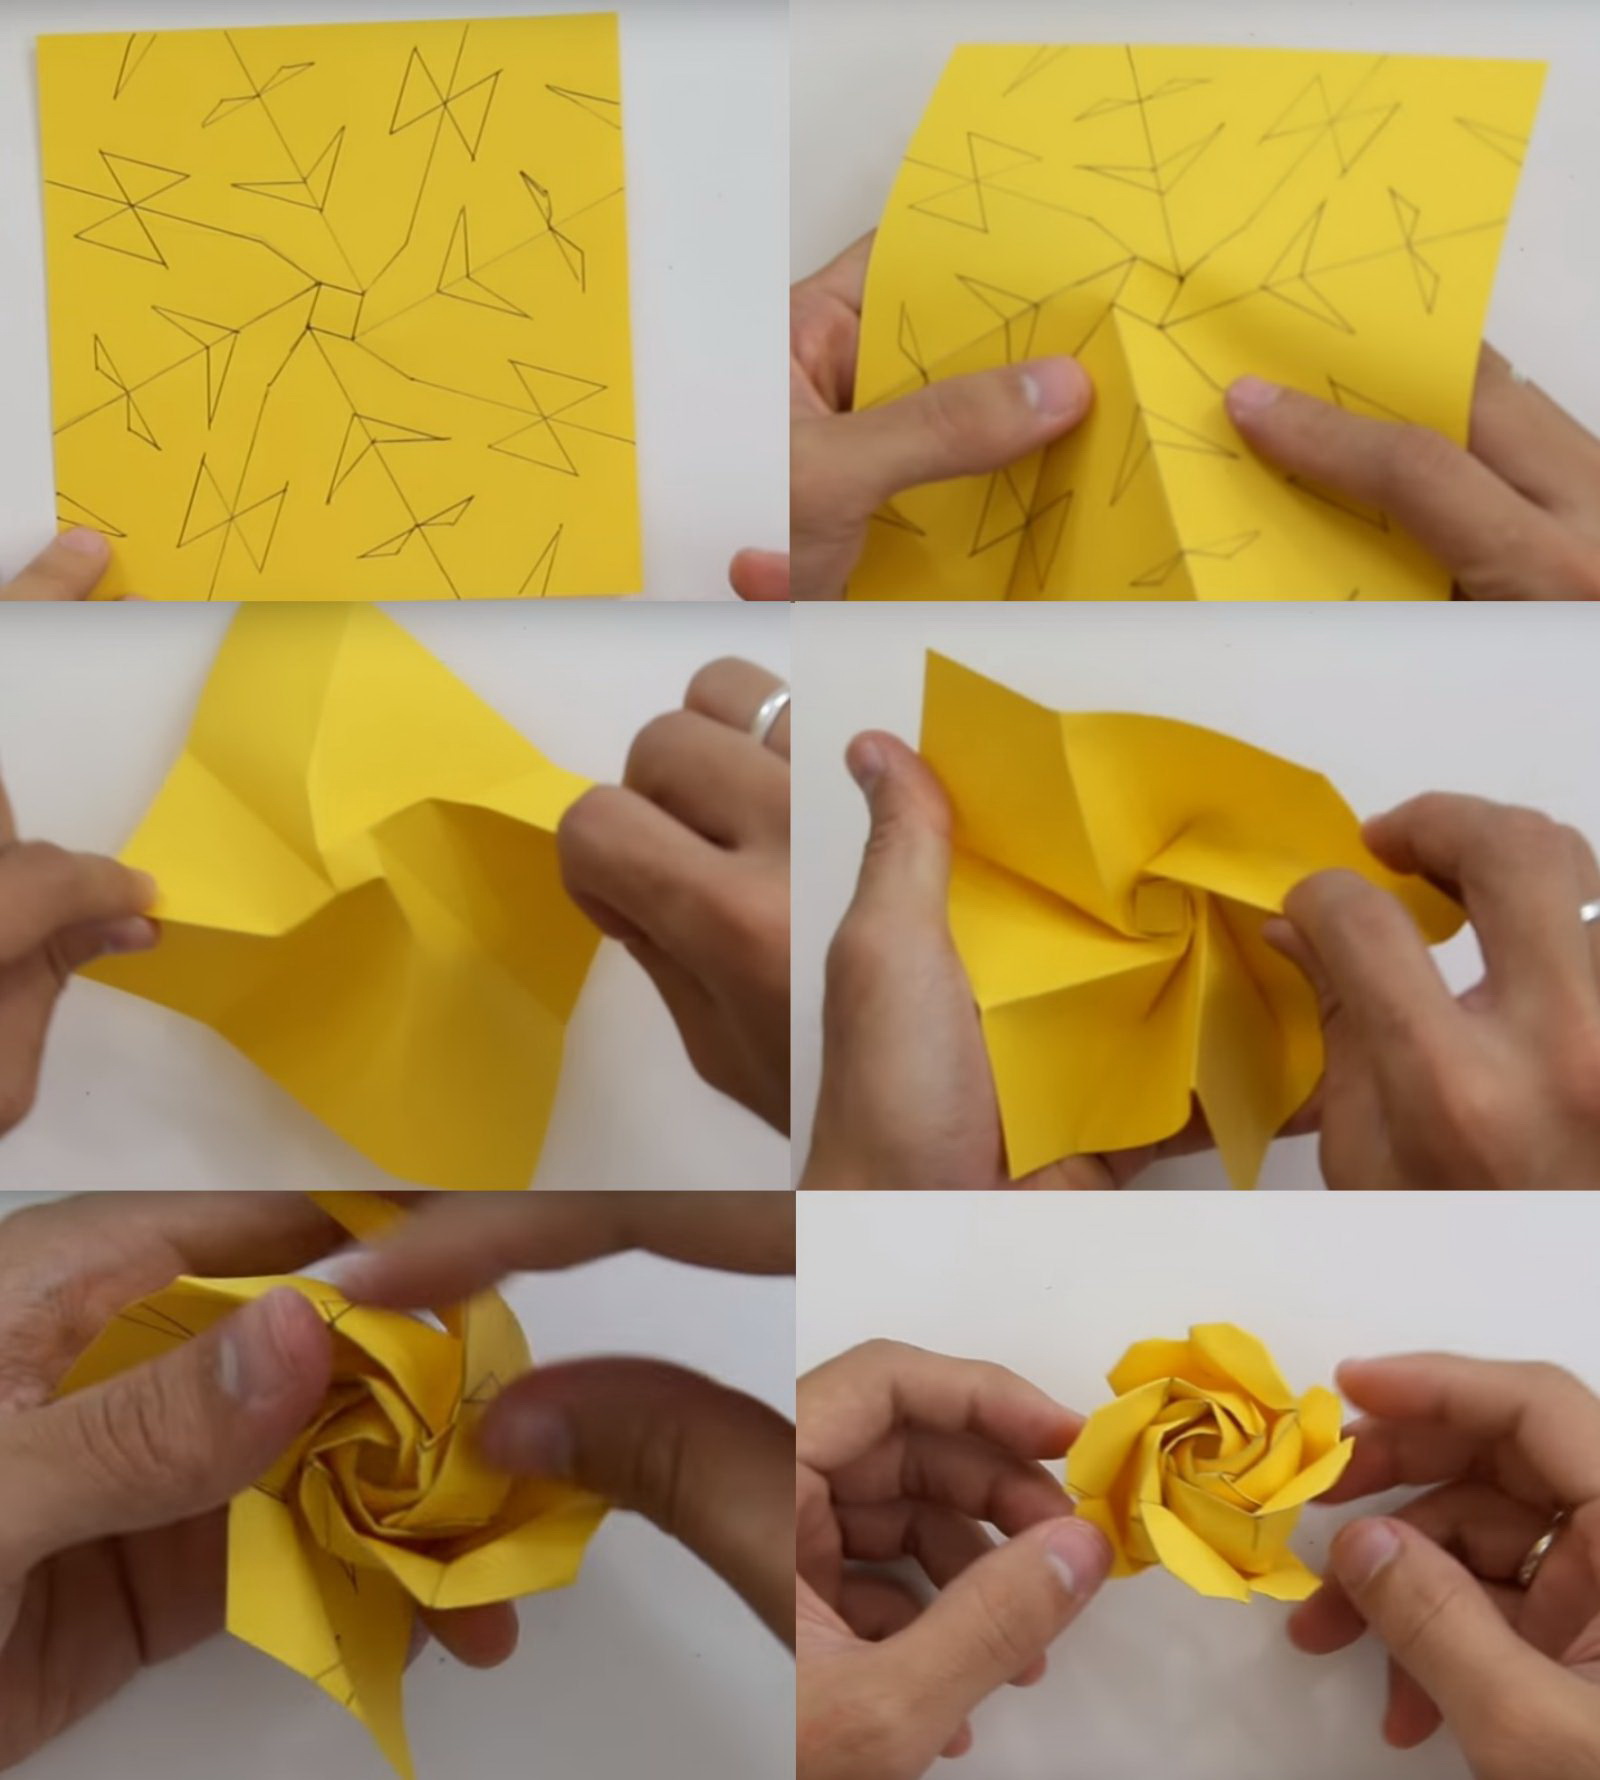
At first I placed the first sheet on the table with the colored side down. She folded it twice perpendicularly to form a triangle, and bent the bottom corner upwards, carefully folding the paper.
Scheme diy roses
Then I took the lower right corner and brought it to the top point, making a triangle. Repeated in the left corner. I got a diamond shape.
Opened the flaps and returned the original triangle in this way.
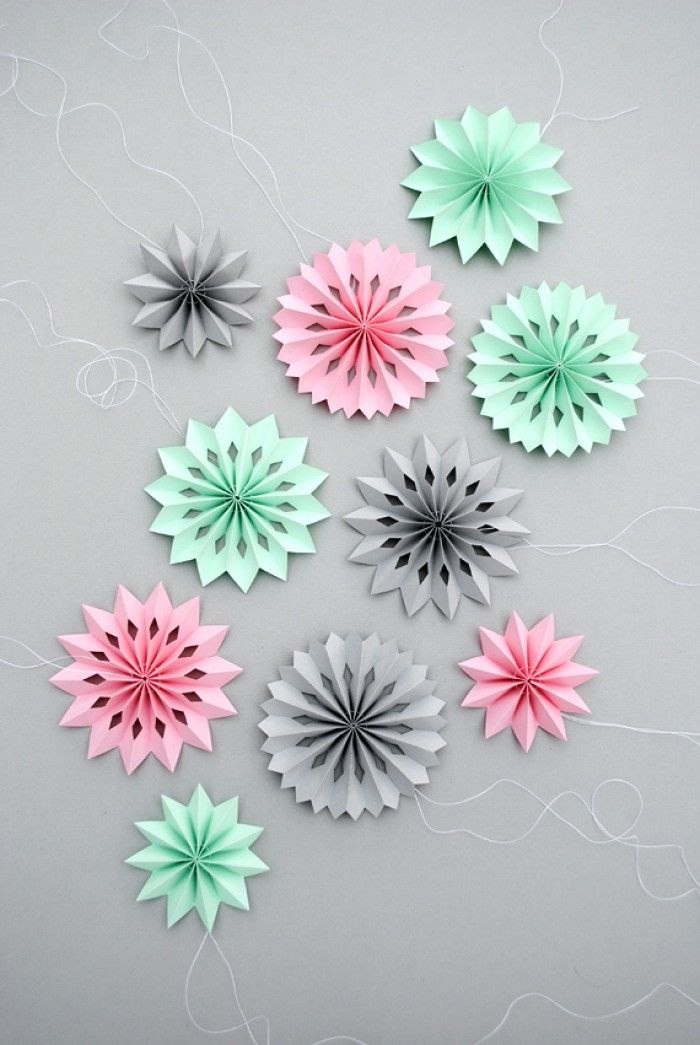
Funny colored suspensions
I lifted the lower right corners first and then the lower corners so that the line of the previous fold coincided with the upper edge of the edge.
Spectacular garland for decoration
The resulting "tails" bent back.Now I have all the folds that will be useful for further work on the final product.
Step 2
1. Unfolded the paper to the primary triangle.
2. Triangles tucked inside.
3. Folded the bottom level.
4. And once again folded triangles inward. Cooked glue.
A little decoration that you can do yourself
Step 3
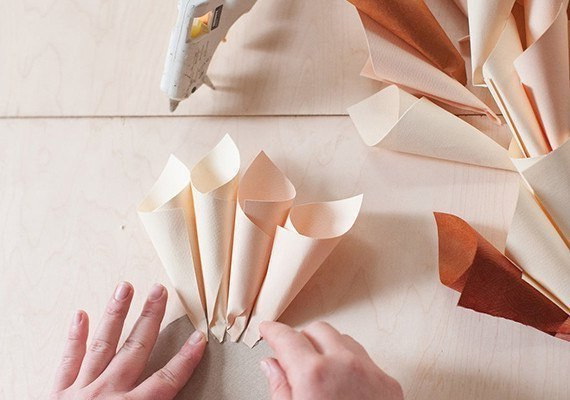
Using glue, connected the parts and created a cone. Strongly pressed the edges of the clip so that they should be glued together. The first petal of my chamomile is ready!
Engage your child in such a simple and interesting job.
Step 4
Repeated the process 4 times to get a total of 5 petals.
As soon as the petals were ready, she used a hot glue gun to successively fix them all on the skewer. They should carefully frame the skewer-stem.
Chamomile is ready. Great job!
return to menu ↑VIDEO: Master class for creating daisies
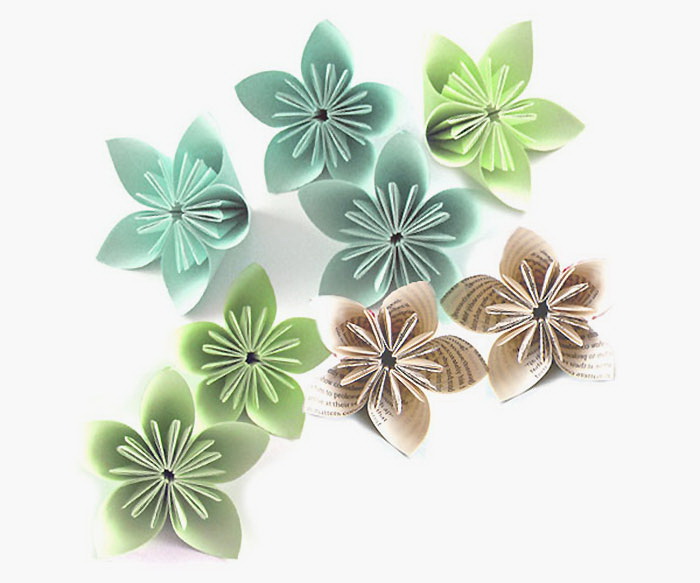
Paper Daisies
Making daisies from colored paper step by step
It will be interesting to you:REVIEW: How to make decorations on the windows of paper with your own hands? (150+ Photos). We meet the new 2018 Year of the Dogs beautifully
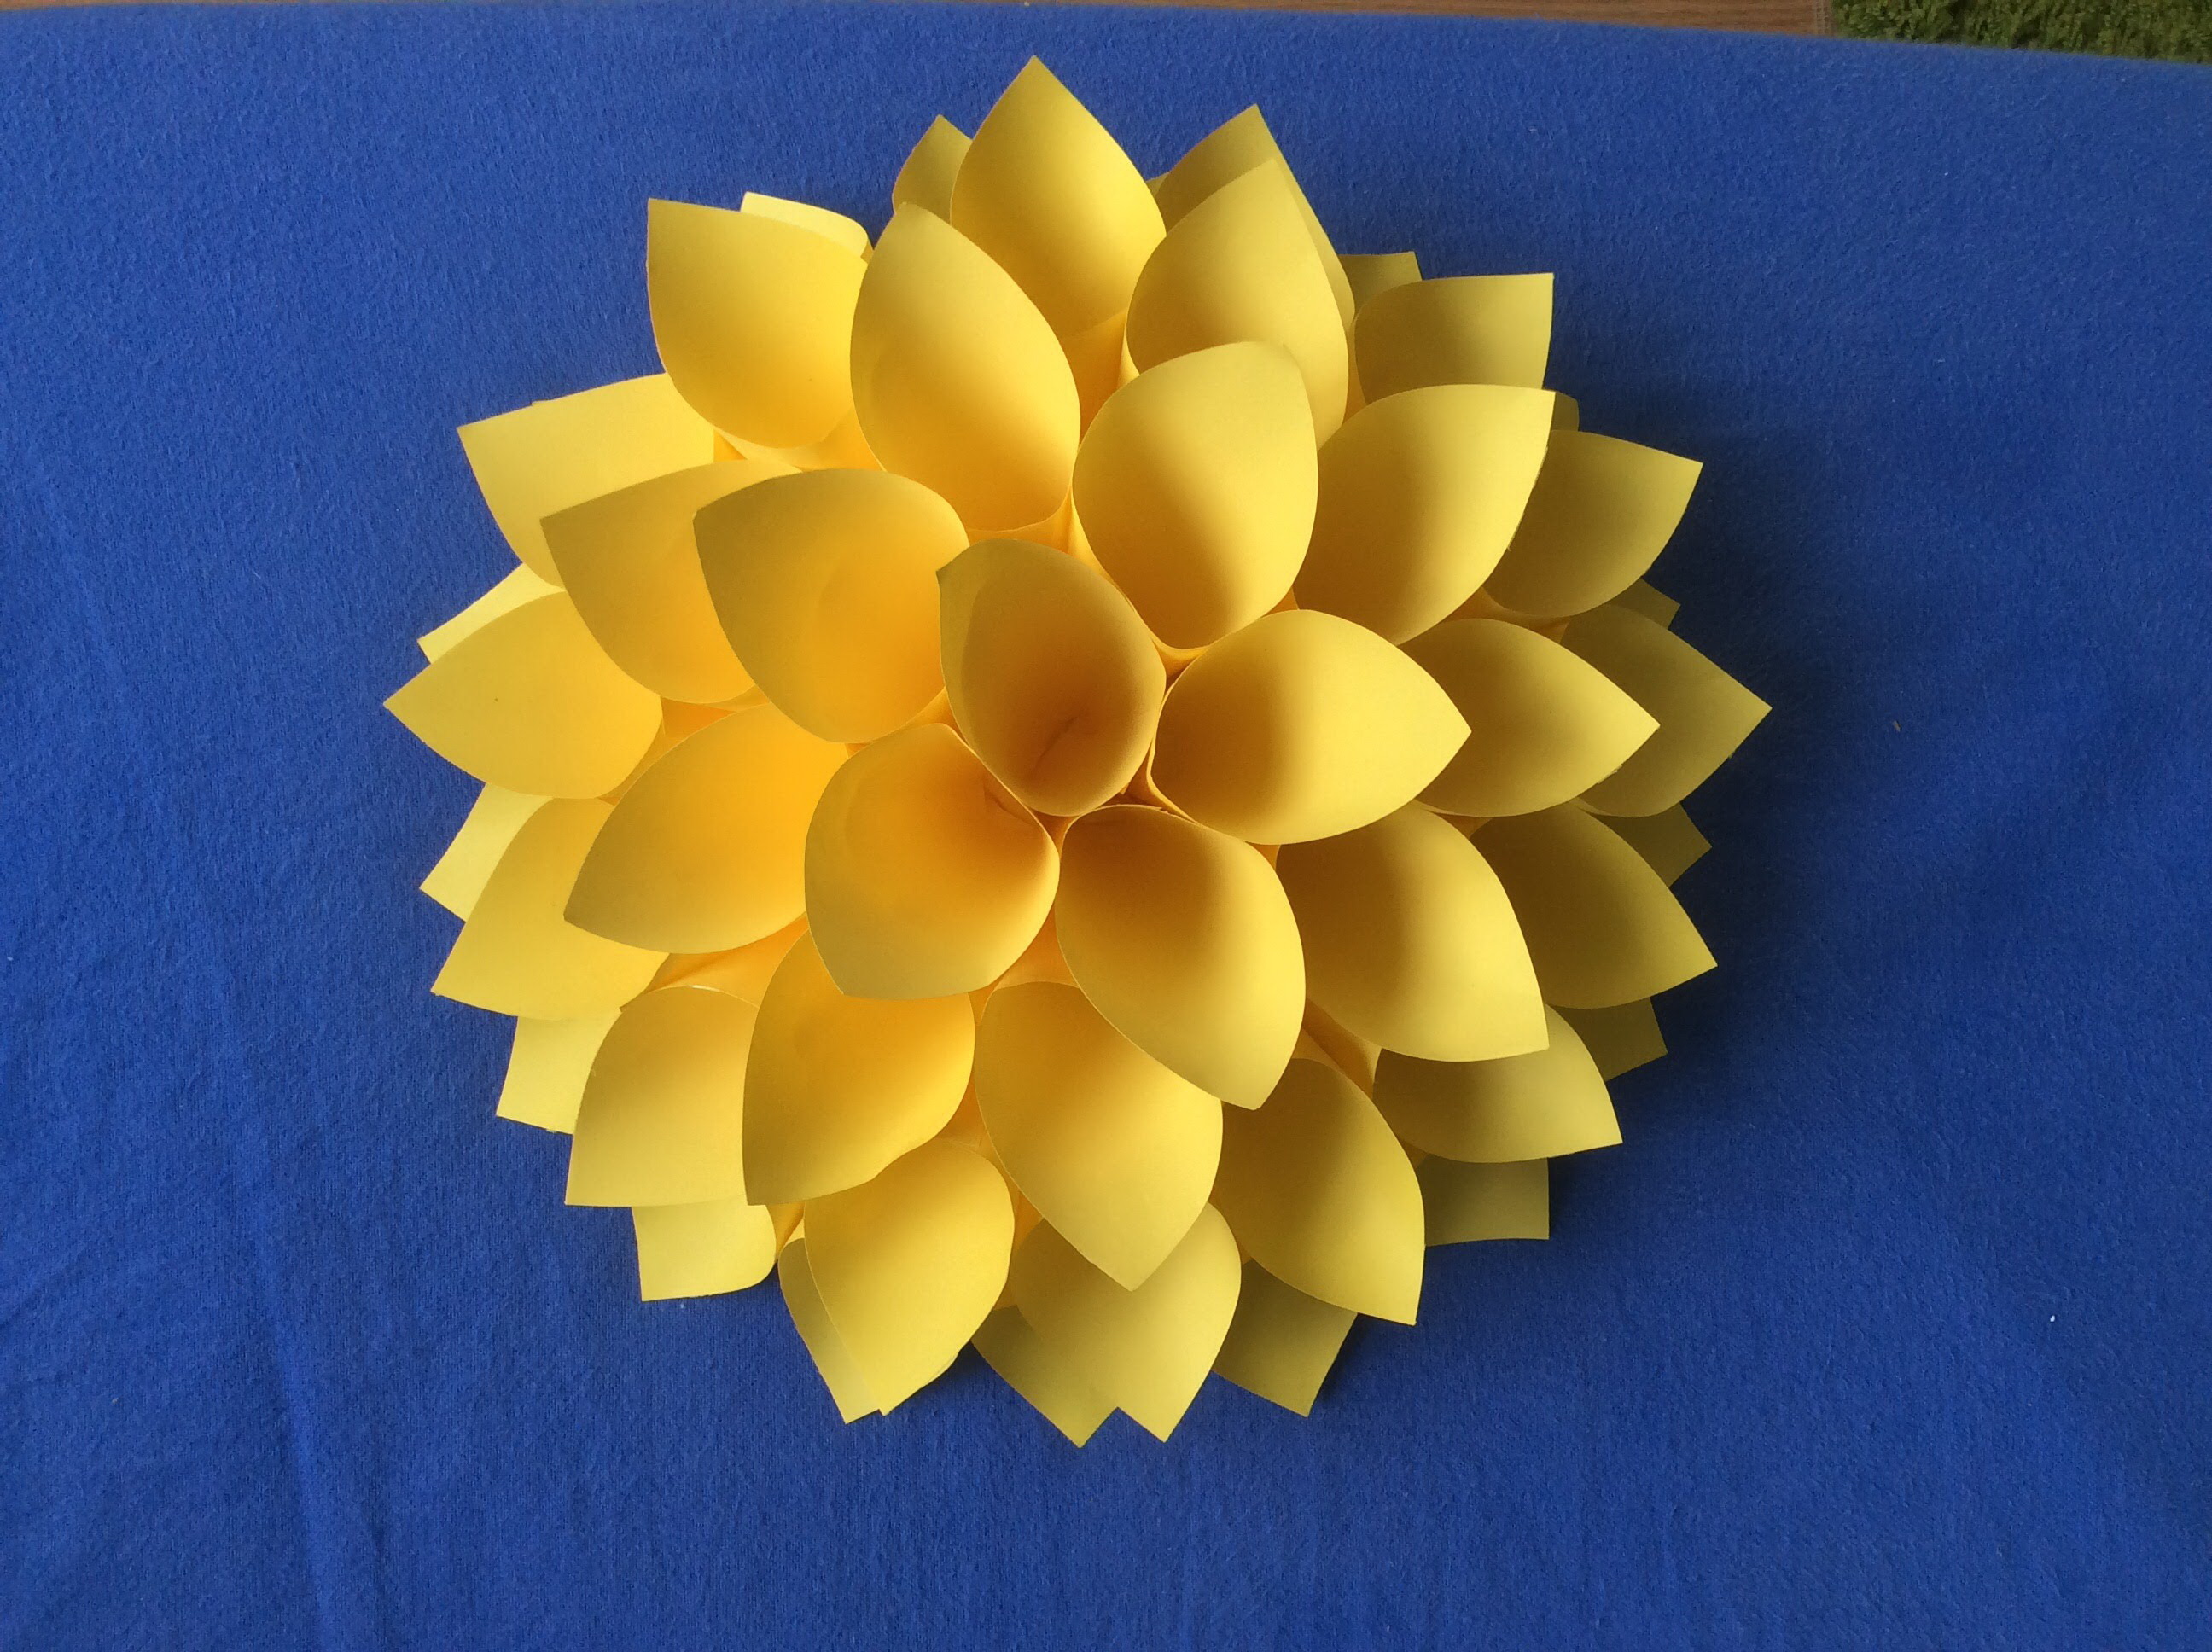
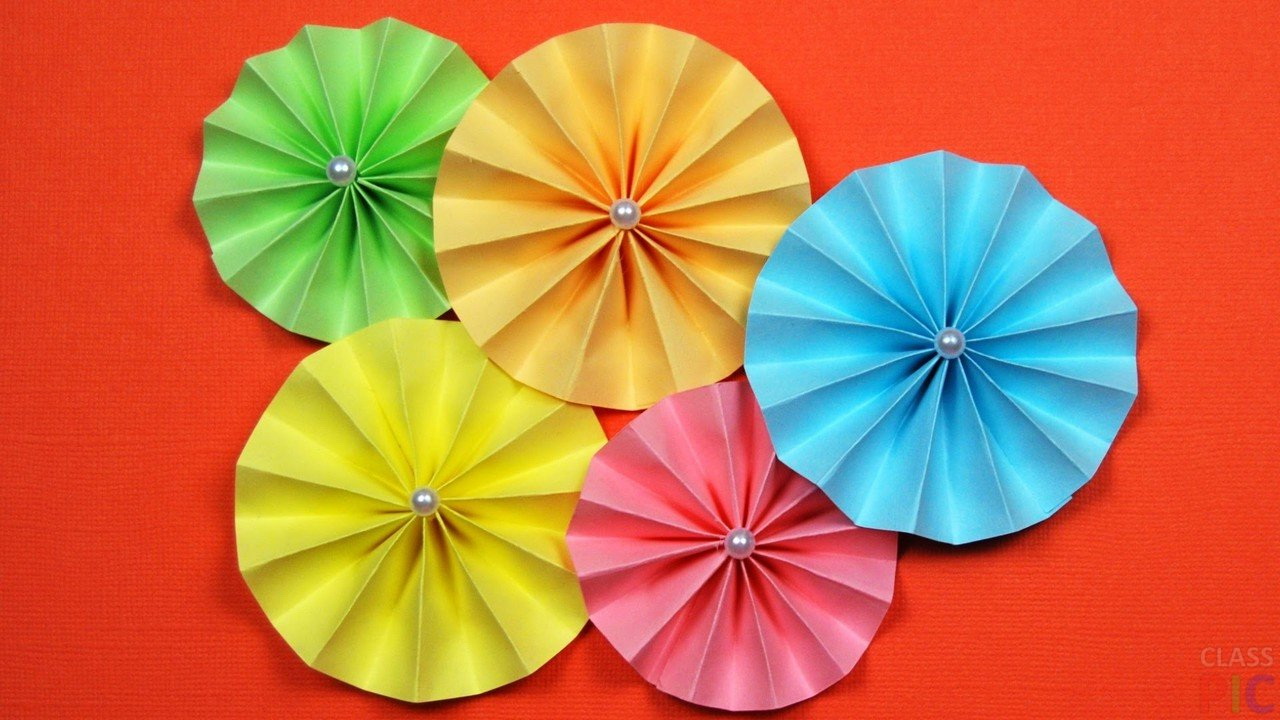
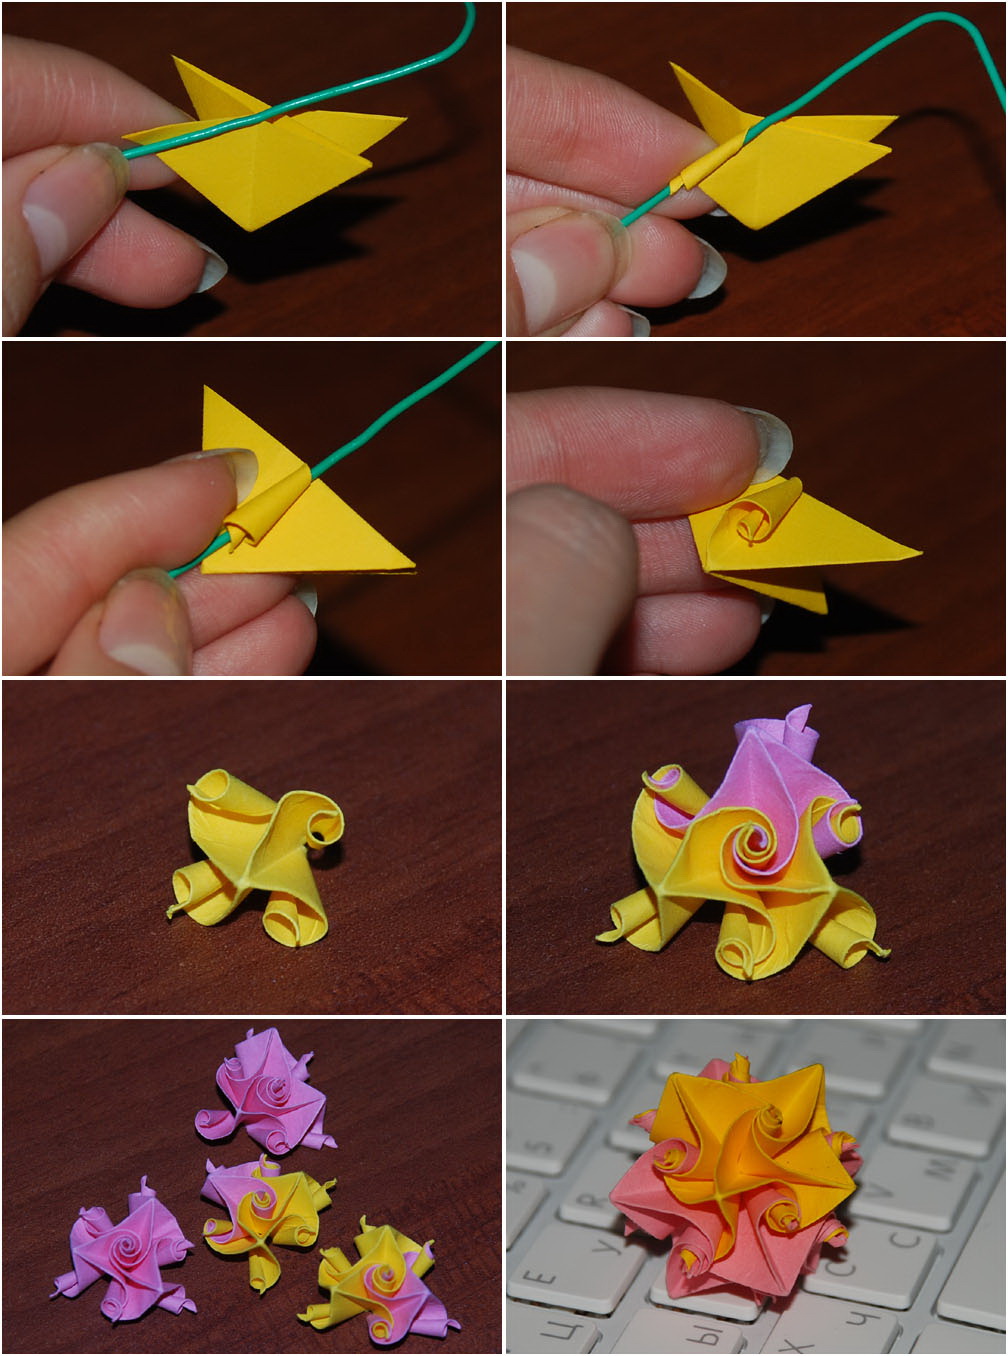
return to menu ↑Making paper dahlias
Step 1
For a dahlia, I took a sheet of paper of the same size, but with a different texture and color on both sides. In order to get double-sided colored paper, I glued two single-sided colored sheets to each other.
Beautiful flowers in a vase
It is not necessary that both colors match. You can combine two different colors that will provide a wonderful effect on the finished colors. For example, my dahlia turned pink-green.
Beautiful interior with flowers
Step 2
1. Put the sheet on the table with the green side up, as shown in the figure.
2. Raised the bottom left corner up to the top right corner to get a triangular shape.
3. She unfolded the sheet and again folded it from a different angle.
We do with us
Step 3
1. Opened the paper and turned it over. Now on top was the pink side.
2. Raised the bottom edge to the top and folded in half horizontally.
3. Opened the paper again and made the left edge to match the right, twisted vertically in half.
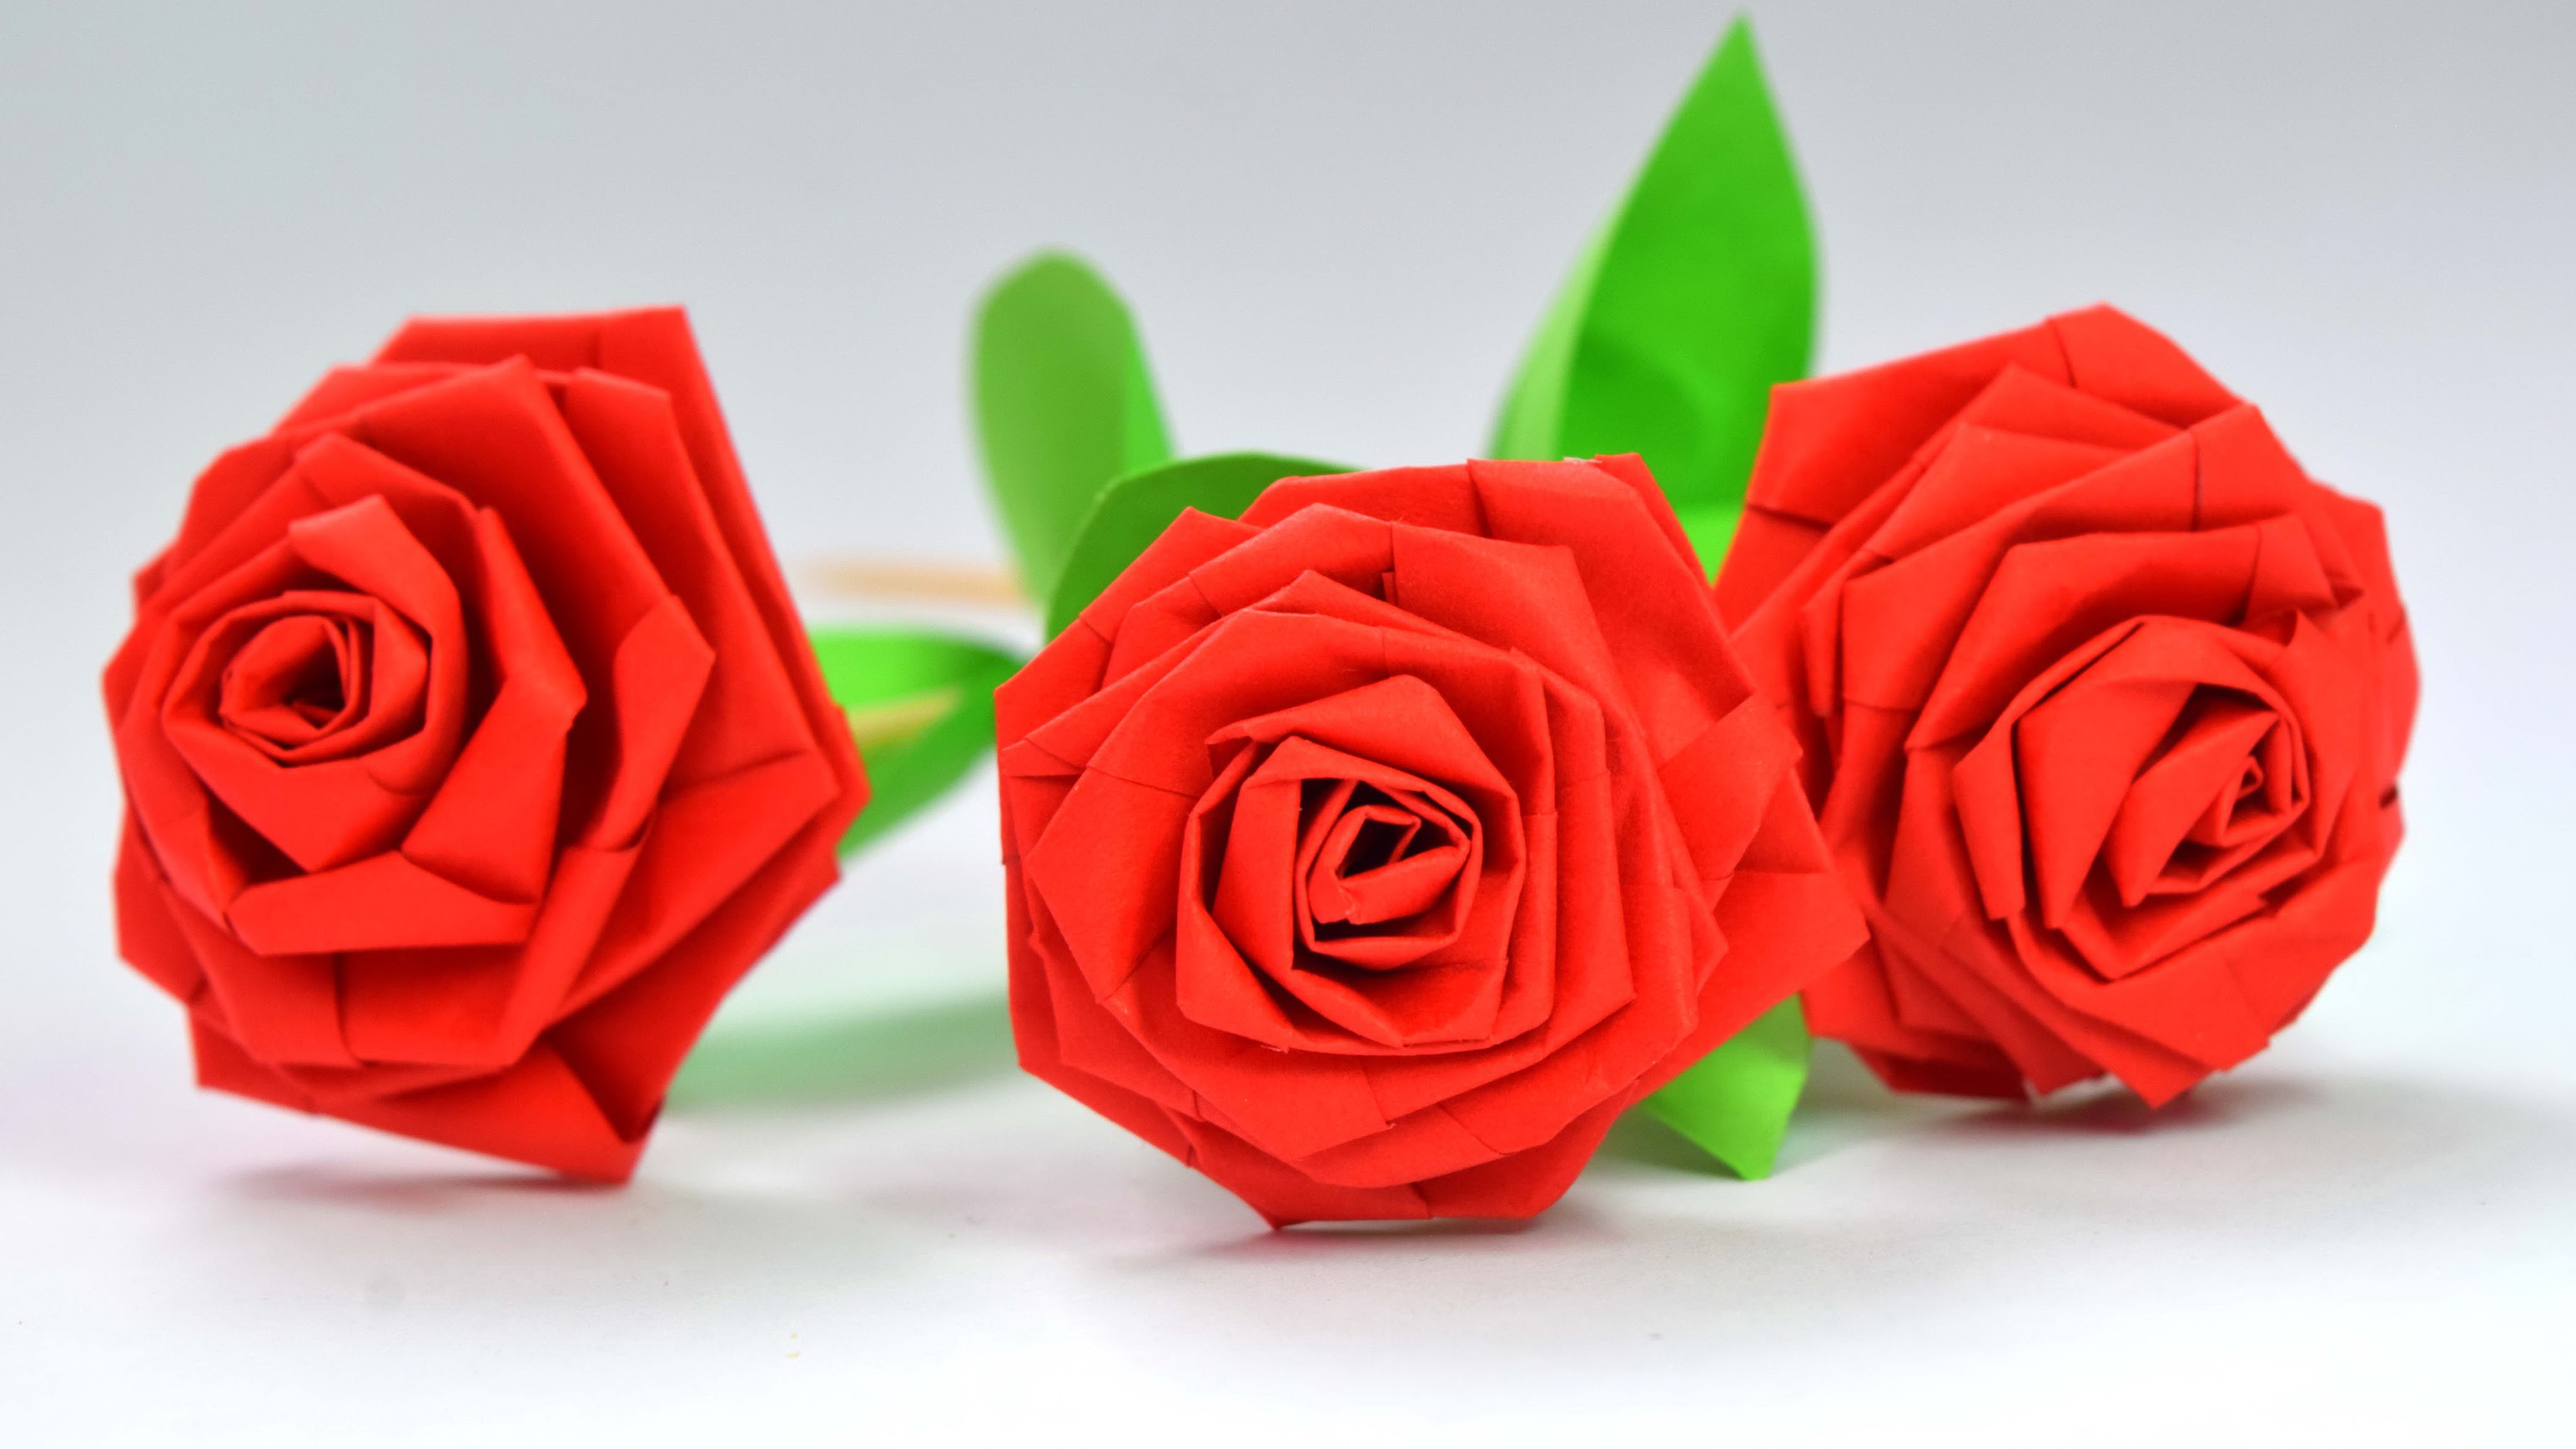
Lush rose
Step 4
1. Unfolded the paper with the necessary folds, which will act as a guide for the next steps. Folds form the form "+" and "x". Notice that the “x” folds go in opposite to the transverse lines.
2. Holding the “X” at the top of the line, moved the transverse lines down so that they meet in the middle.
3. Now turned all sections to one side.
4. At this moment, all four petals of my "x" are bent and smoothed towards each other.
Step 5
1. Again opened the structure and put glue in place of the two joints of the details of the petal.
2. Push all the way to the place of the folds.
3. Press the center with your fingers.
4. Opened the petals with your fingers so that they look better.
Getting started with dahlias
Step 6: Final
1. Applied the same method to make another 3-4 lobes.
2. Arranged all the floral pieces around the stalk skewer and glued them with hot glue.
3. Aligned the top of the flower, turning it on the table and pressing it to it.
4. Press all the details of the flower so that they are well glued.
VIDEO: Master class for creating dahlias
Beautiful dahlia
Easily and simply update the interior with the help of a master class
Now my paper dahlia is ready!
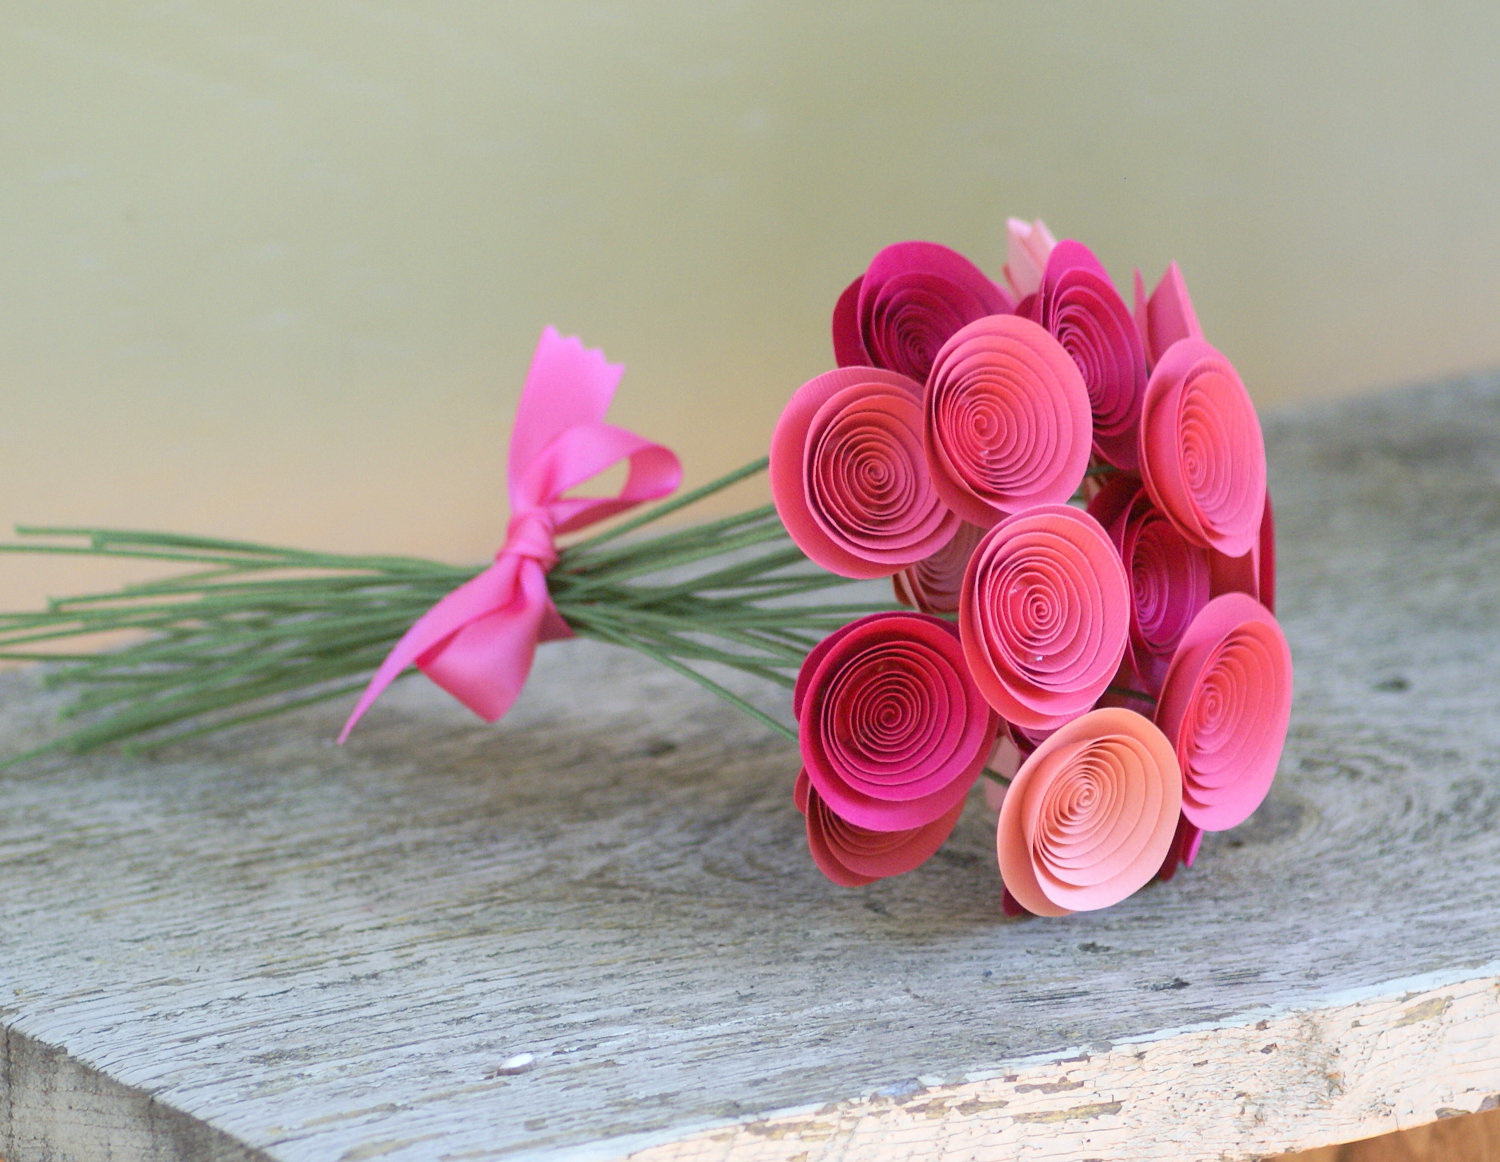
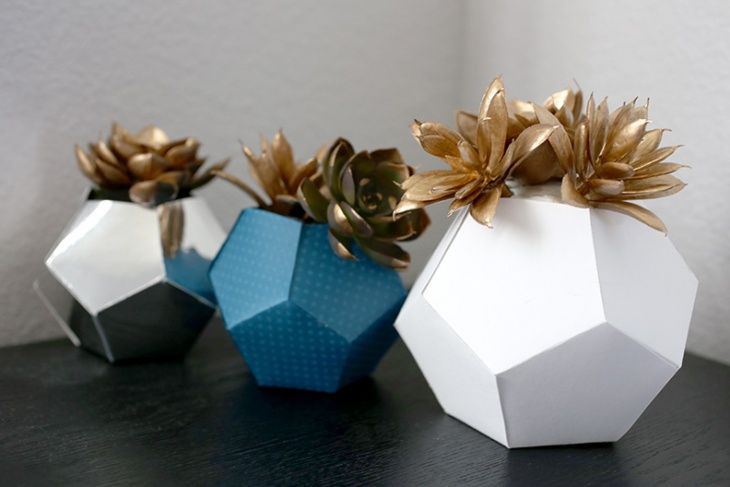
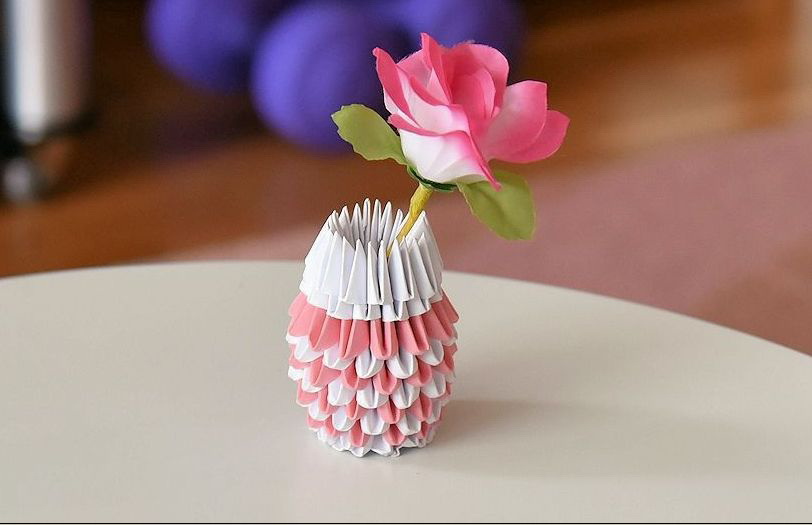
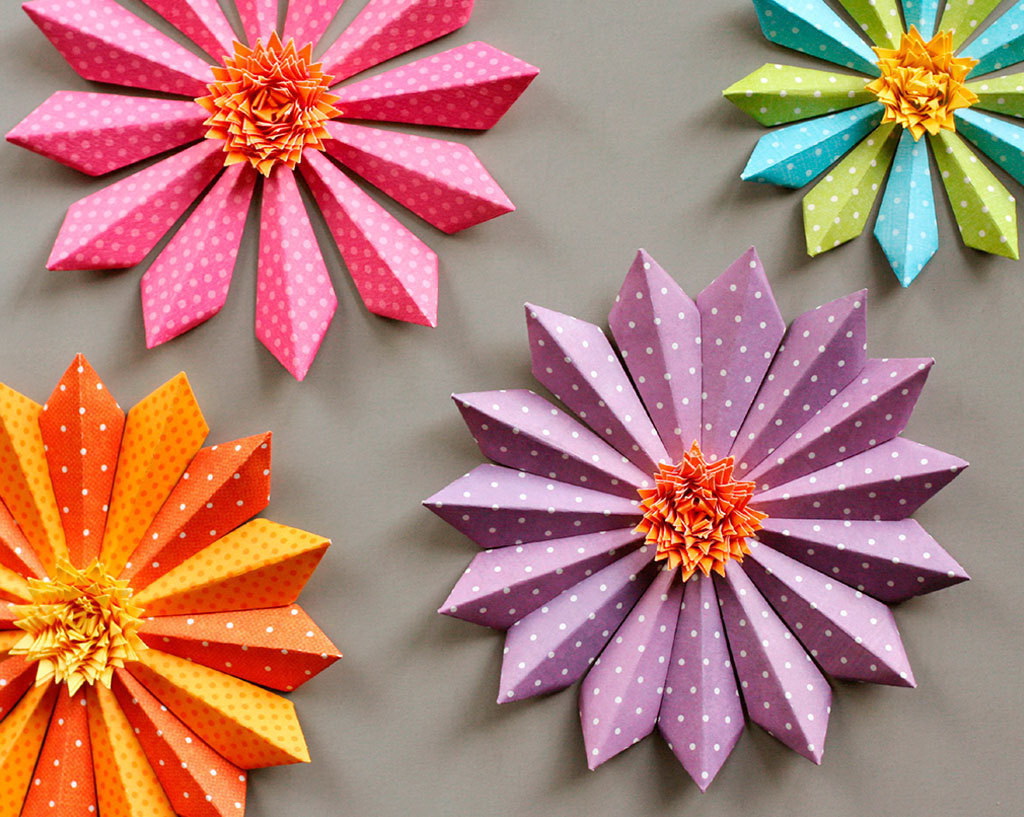
These floral ornaments can be combined to create a bright spring bouquet that is suitable for home decoration.
A craft that is easy and quick
They are connected with each other by ribbon or placed in a handmade vase. Alternatively, flowers can be used to decorate gifts.
Bright and beautiful flowers